Originally Posted by
WacoNut
Bird,
The seat and floor looks nice, I also have a 1/3 AMR Cub. I built production model #1 for a review in FLY R/C magazine a few years ago. I didn't go overboard with details as I was crunched to meet a deadline. I had 2 months to build and fly the plane and write the review. Was a bit of a tall task at the time.
I am now finishing up an overhaul of the Cub after it suffered some hangar rash in my trailer, a shelf fell and broke the fin and rudder. I stripped all the Solartex and recovered the plane in fabric finished with Stits products. Also installing a new engine as the old engine we a PITA to start.
Here are a few pics: I have a thread going in the crash and rebuild forum.
Later!!
Anthony
BTW: When I post pics I clicked on the "Go Advanced" button and then type the message there and click the manage attachments tab below and select the pictures there for uploading.
Very nice indeed Waconut! I really like AMR's build process. The new finish looks very nice. Like working with Stits. We, a friend and I. put it on the wings of his full size Stearman. Learned a few things about shrinkage with it and not to apply it like monocote or model fabric! Good knowledge to have if applying it to models!
Thanks for the heads up on the advanced thing. Will try to put multiple pic's up.
One thing i did with the cub mentioned was to reduce the windshield bulkhead's inside diameter to around half an inch in all. This allowed for a more scale covering job of the inside. It was a 'female dog' to do for sure but what an effect! Well, looking forward to more chatting about this great bird.
Catcha later.
bird.

.

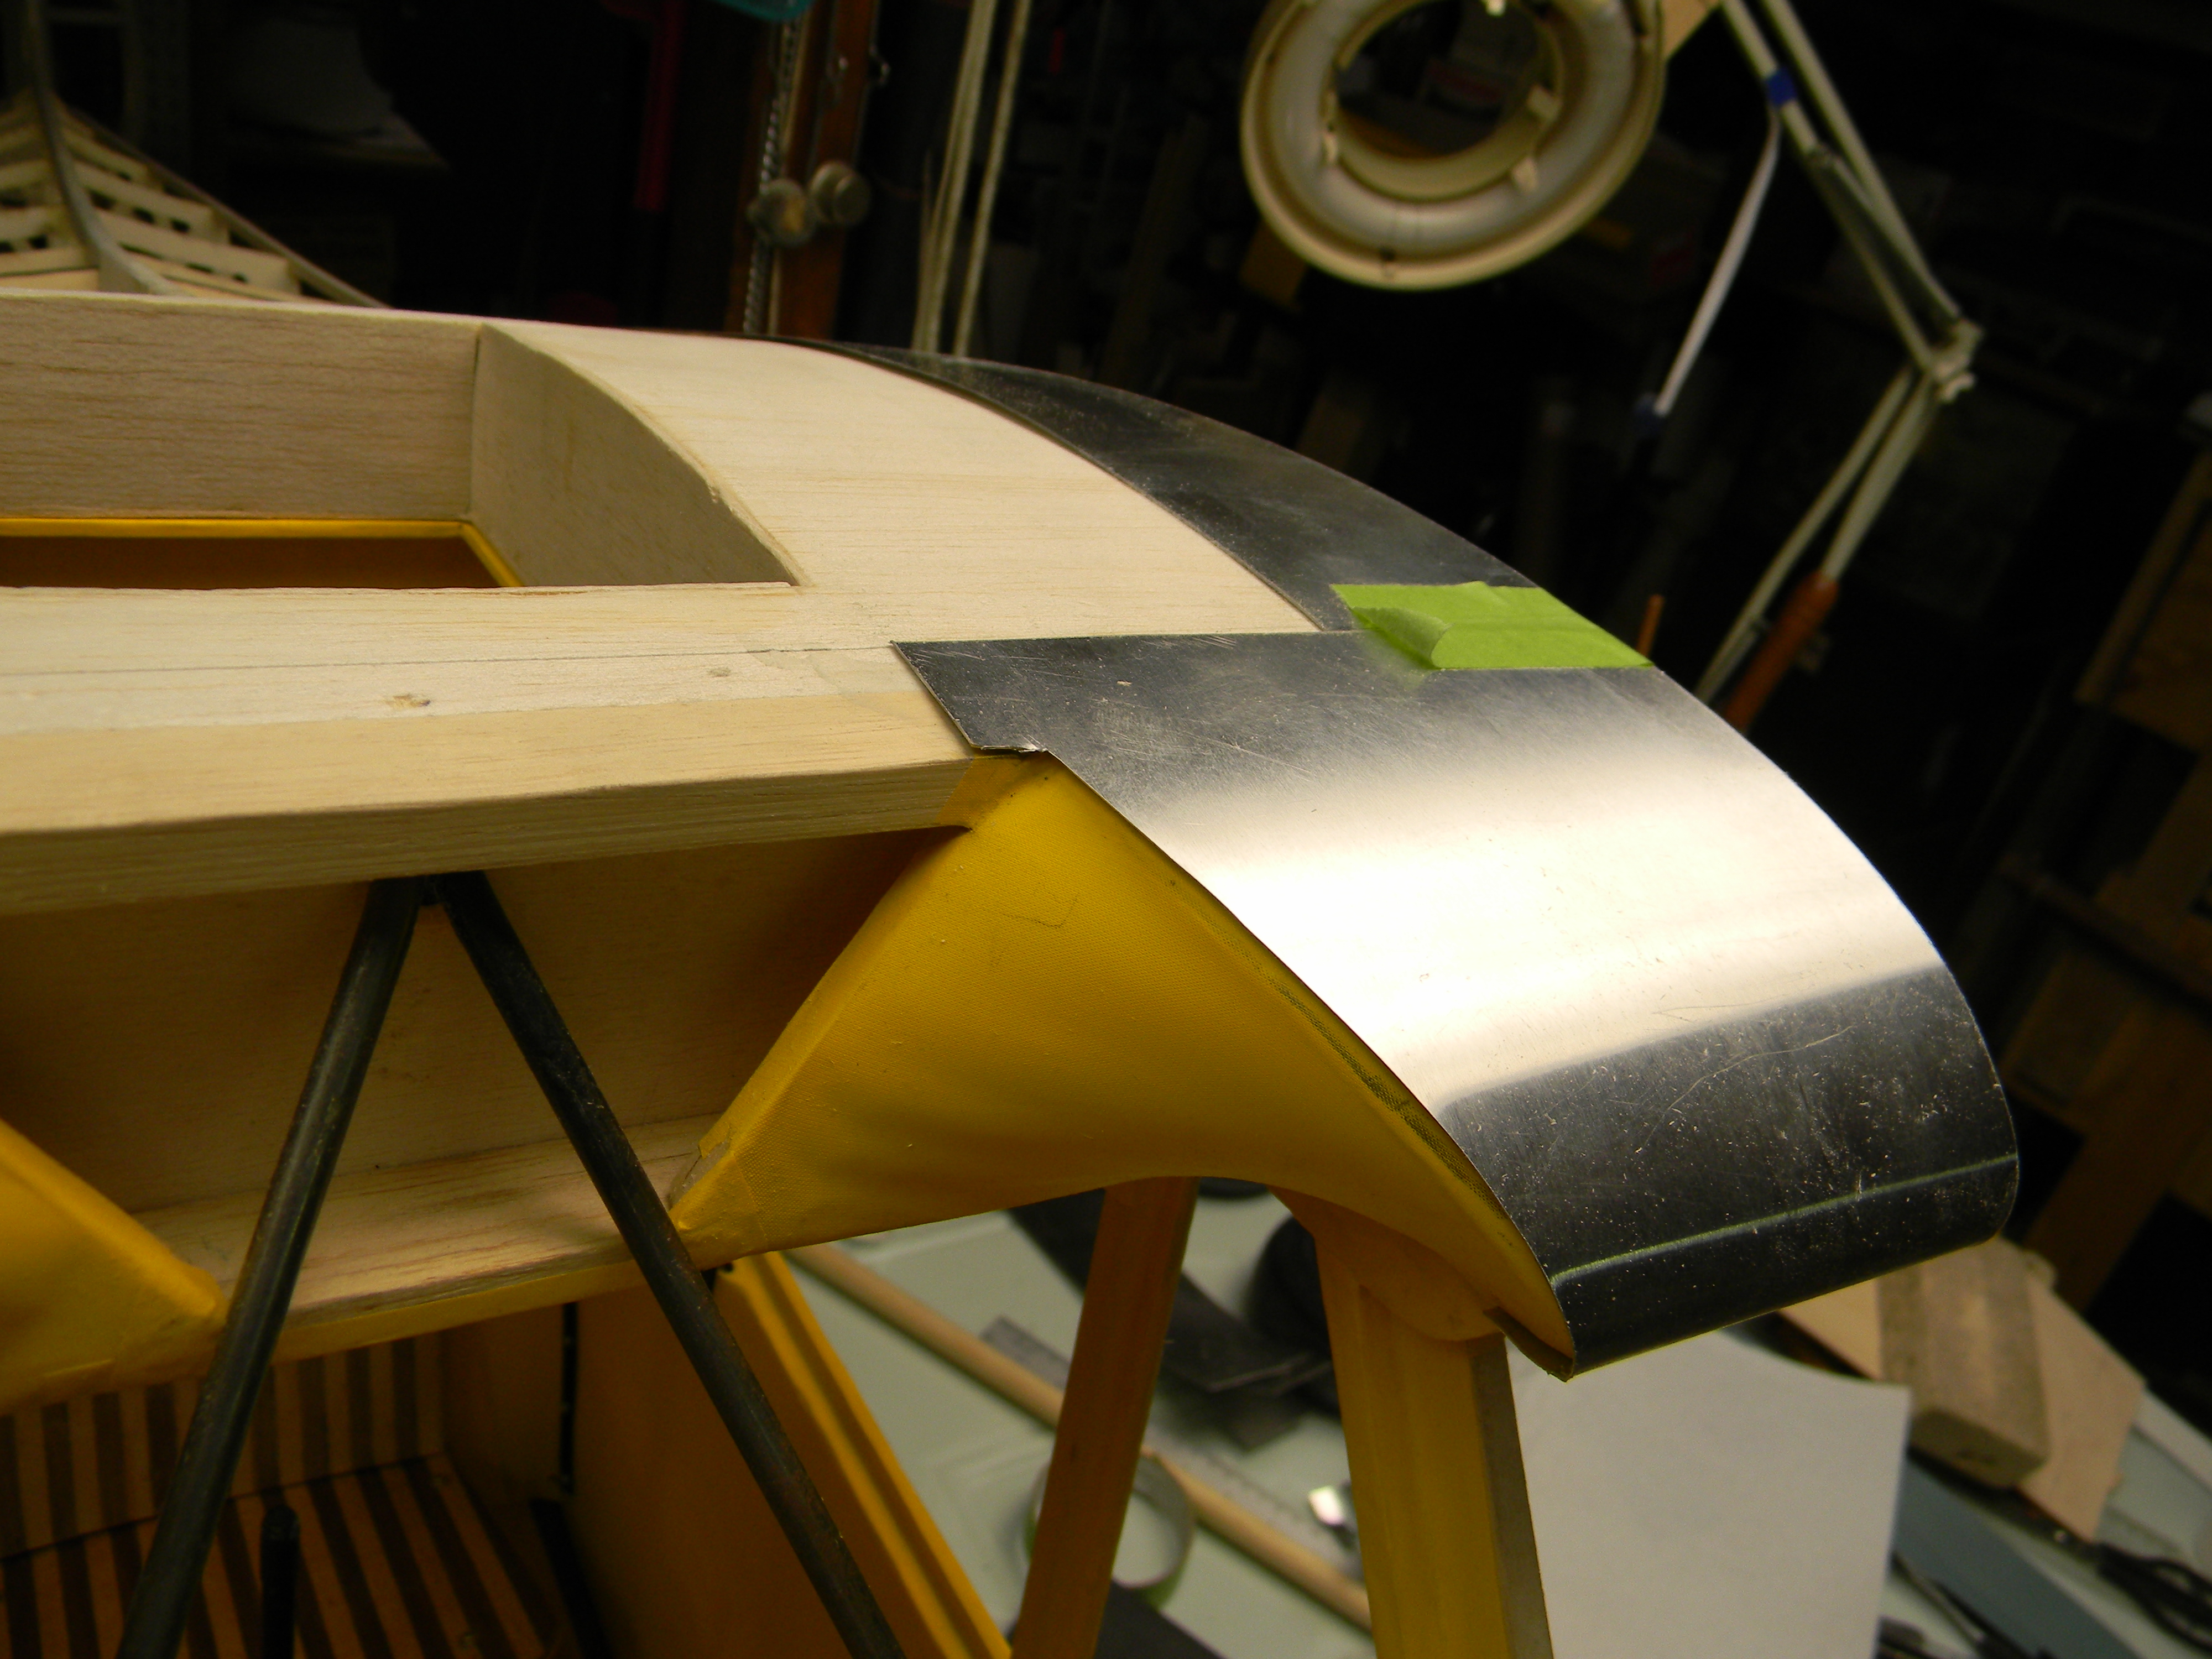
The aluminum sheeting and parts is made from Roof Flashing from the lumber yard! It is tempered and scores and cuts easily enough with a #11. The blade must be used pretty good and sharpened with 220 grit to work. Just keep sharpening it. I cut mine on my glass table. It is a 3-0 door (36") with two layers of glass recovered from a sliding door that lost it's gas integrity. Two layers because I didn't have anywhere safer to store the second one! If you cut the aluminum on a wooden surface, you will end up grooving the wood and perhaps ruining the cut. Same goes for cutting covering! Most of the time you can score it a couple of times and then gently and progressively bend it back and forth and it will snap apart. Multiple scores are recommended because it will not snap with only one score, you could bend or over tweak it and they won't come out! I also found that putting a sheet in a roller can't get tight enough to roll the part, like for a turtle deck like the one on my Pawnee in my Gallery. It had to be hand rolled! Very tricky but doable. It is that tempered! The gasket for the windows and front cuffing on the windshield was made from split electrical wire insulation. The trick here is, in some cases, not to cut it the first time but, if it will, go ahead.. Take your time, it will take some practice. make a hard wood trough that will hold the wire still and pin one end to the base. Lay the blade at an angle resting on one edge of the trough as a guide and keep your finger on the wire close behind the blade and cut it slowly.
There you go! It really turned out nicely.......................I think!
Once more.............I sign off.
bird.