Only 4 more days left in 2014. On New Years Eve I'll go to a hockey game with my wife and best friend then come home and watch TV with my wife and dog until 2015 arrives. What a wild and crazy life I lead. Our club's Frosty Finger Fun Fly is set for New Years Day and is an annual tradition. VP me is bringing authentic Polish Kielbasa with rolls, sauerkraut, and industrial strength horseradish. There's gonna be lots of sore buttholes on Friday morning! On to the build.
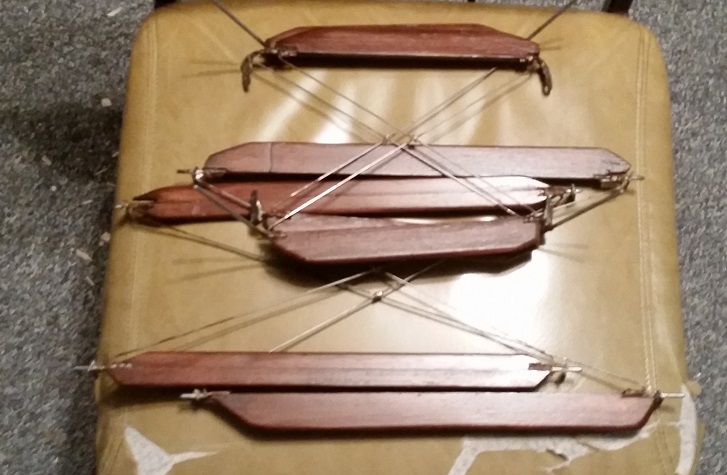
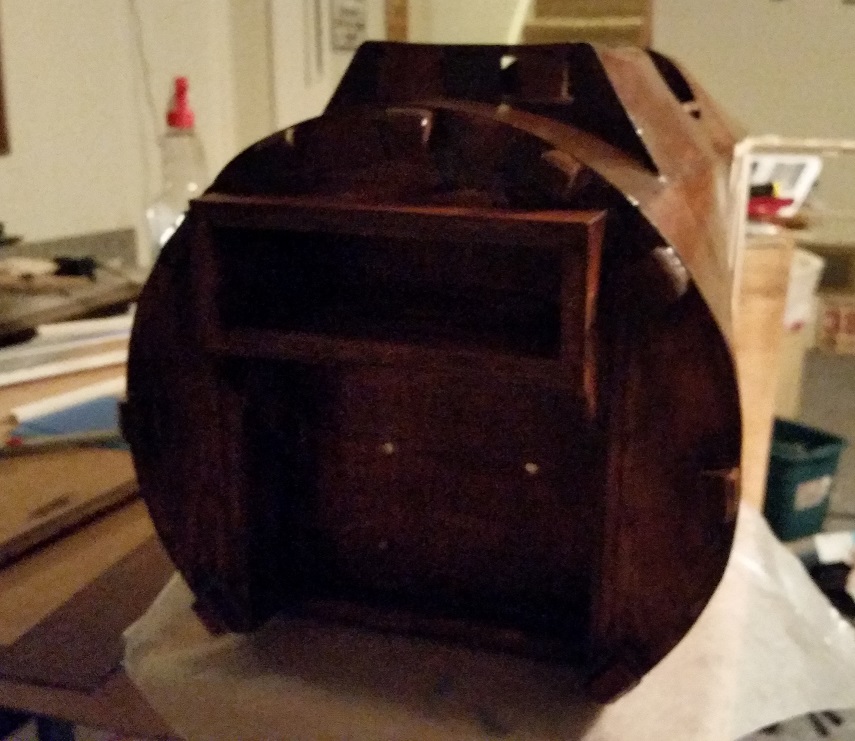
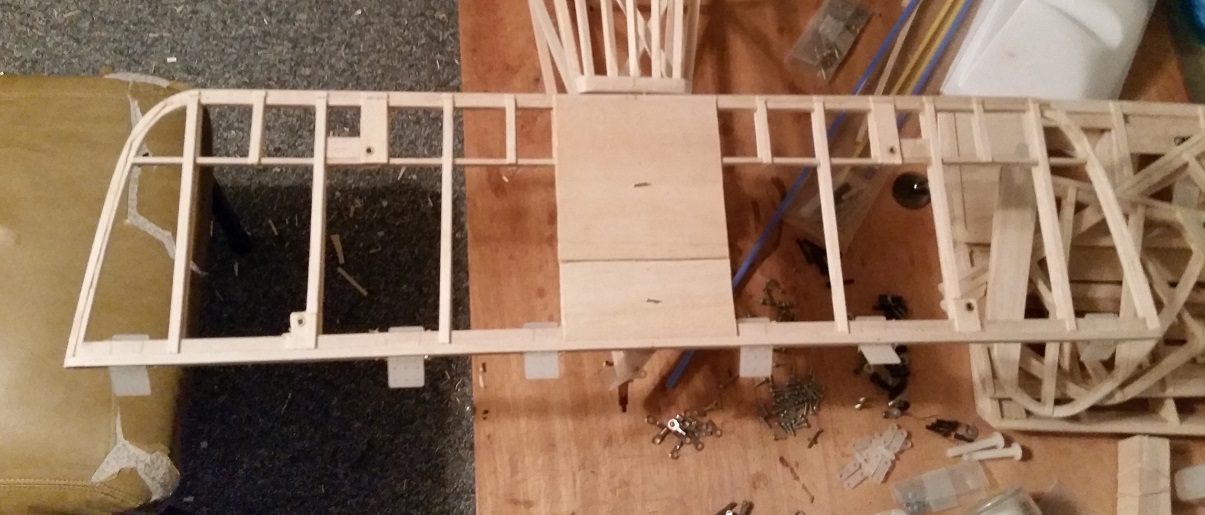
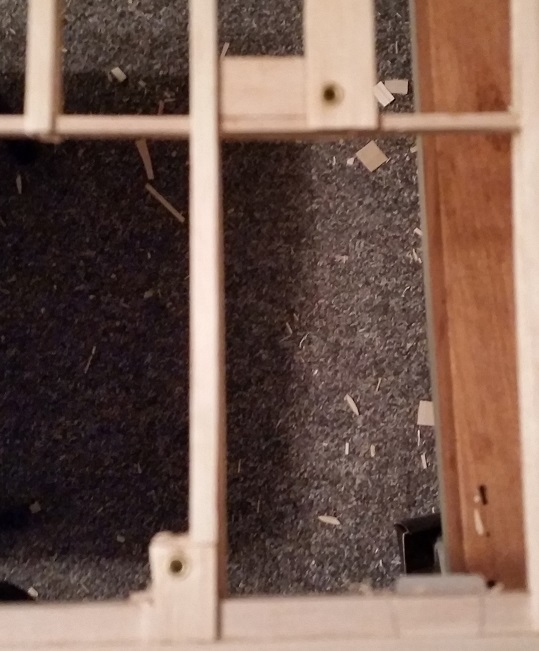
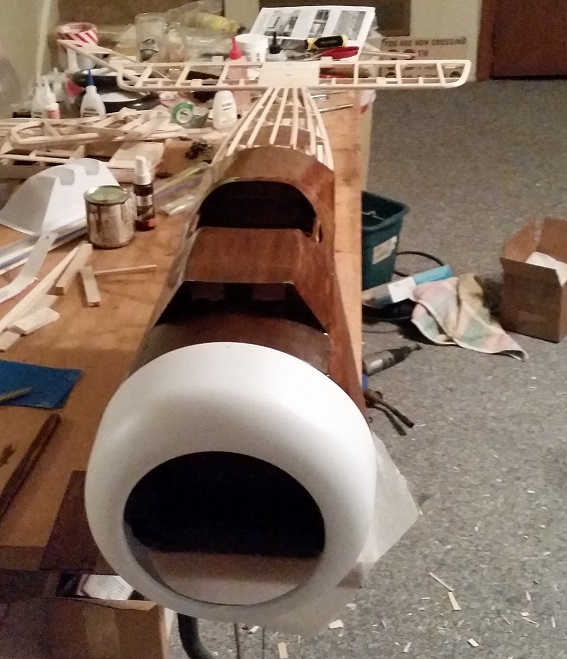
Photo's # 1 and 2 show the landing gear, cabanes, and struts built and finished with varnish stain. They look and feel great. Photo #3 is of the fuselage front and, as you can see, it's ready to accept the engine. The battery box has also been built and stained. I'll be able to mount my 6.0 NiMi C cell battery plus hide any weight I may need to add to this beauty. In photo #4 we see that the horizontal stab has been installed after making sure it's square and level with the wing. I'll install the elevator halves, ailerons and rudder after they've been covered. I like to make my flight surfaces removeable just in case I need to do some work on them. And, speaking of removeability, photo #5 show where I've installed servo brass grommets in the holes where the tail support wires get installed. They're installed on the top and bottom of the horizontal stab and on both sides of the vertical stab. The 2-56 bolt goes through perfectly and this way, the wood won't be crushed when I put the nut on the other side. Photo #6 shows the almost finished fuselage with the cowl installed. I may leave the cowl in its unpainted white form for forward visibility when the plane is flying towards me. Looooooooooooooooooooking Goooooooooooooooooooood! And now the sermon.
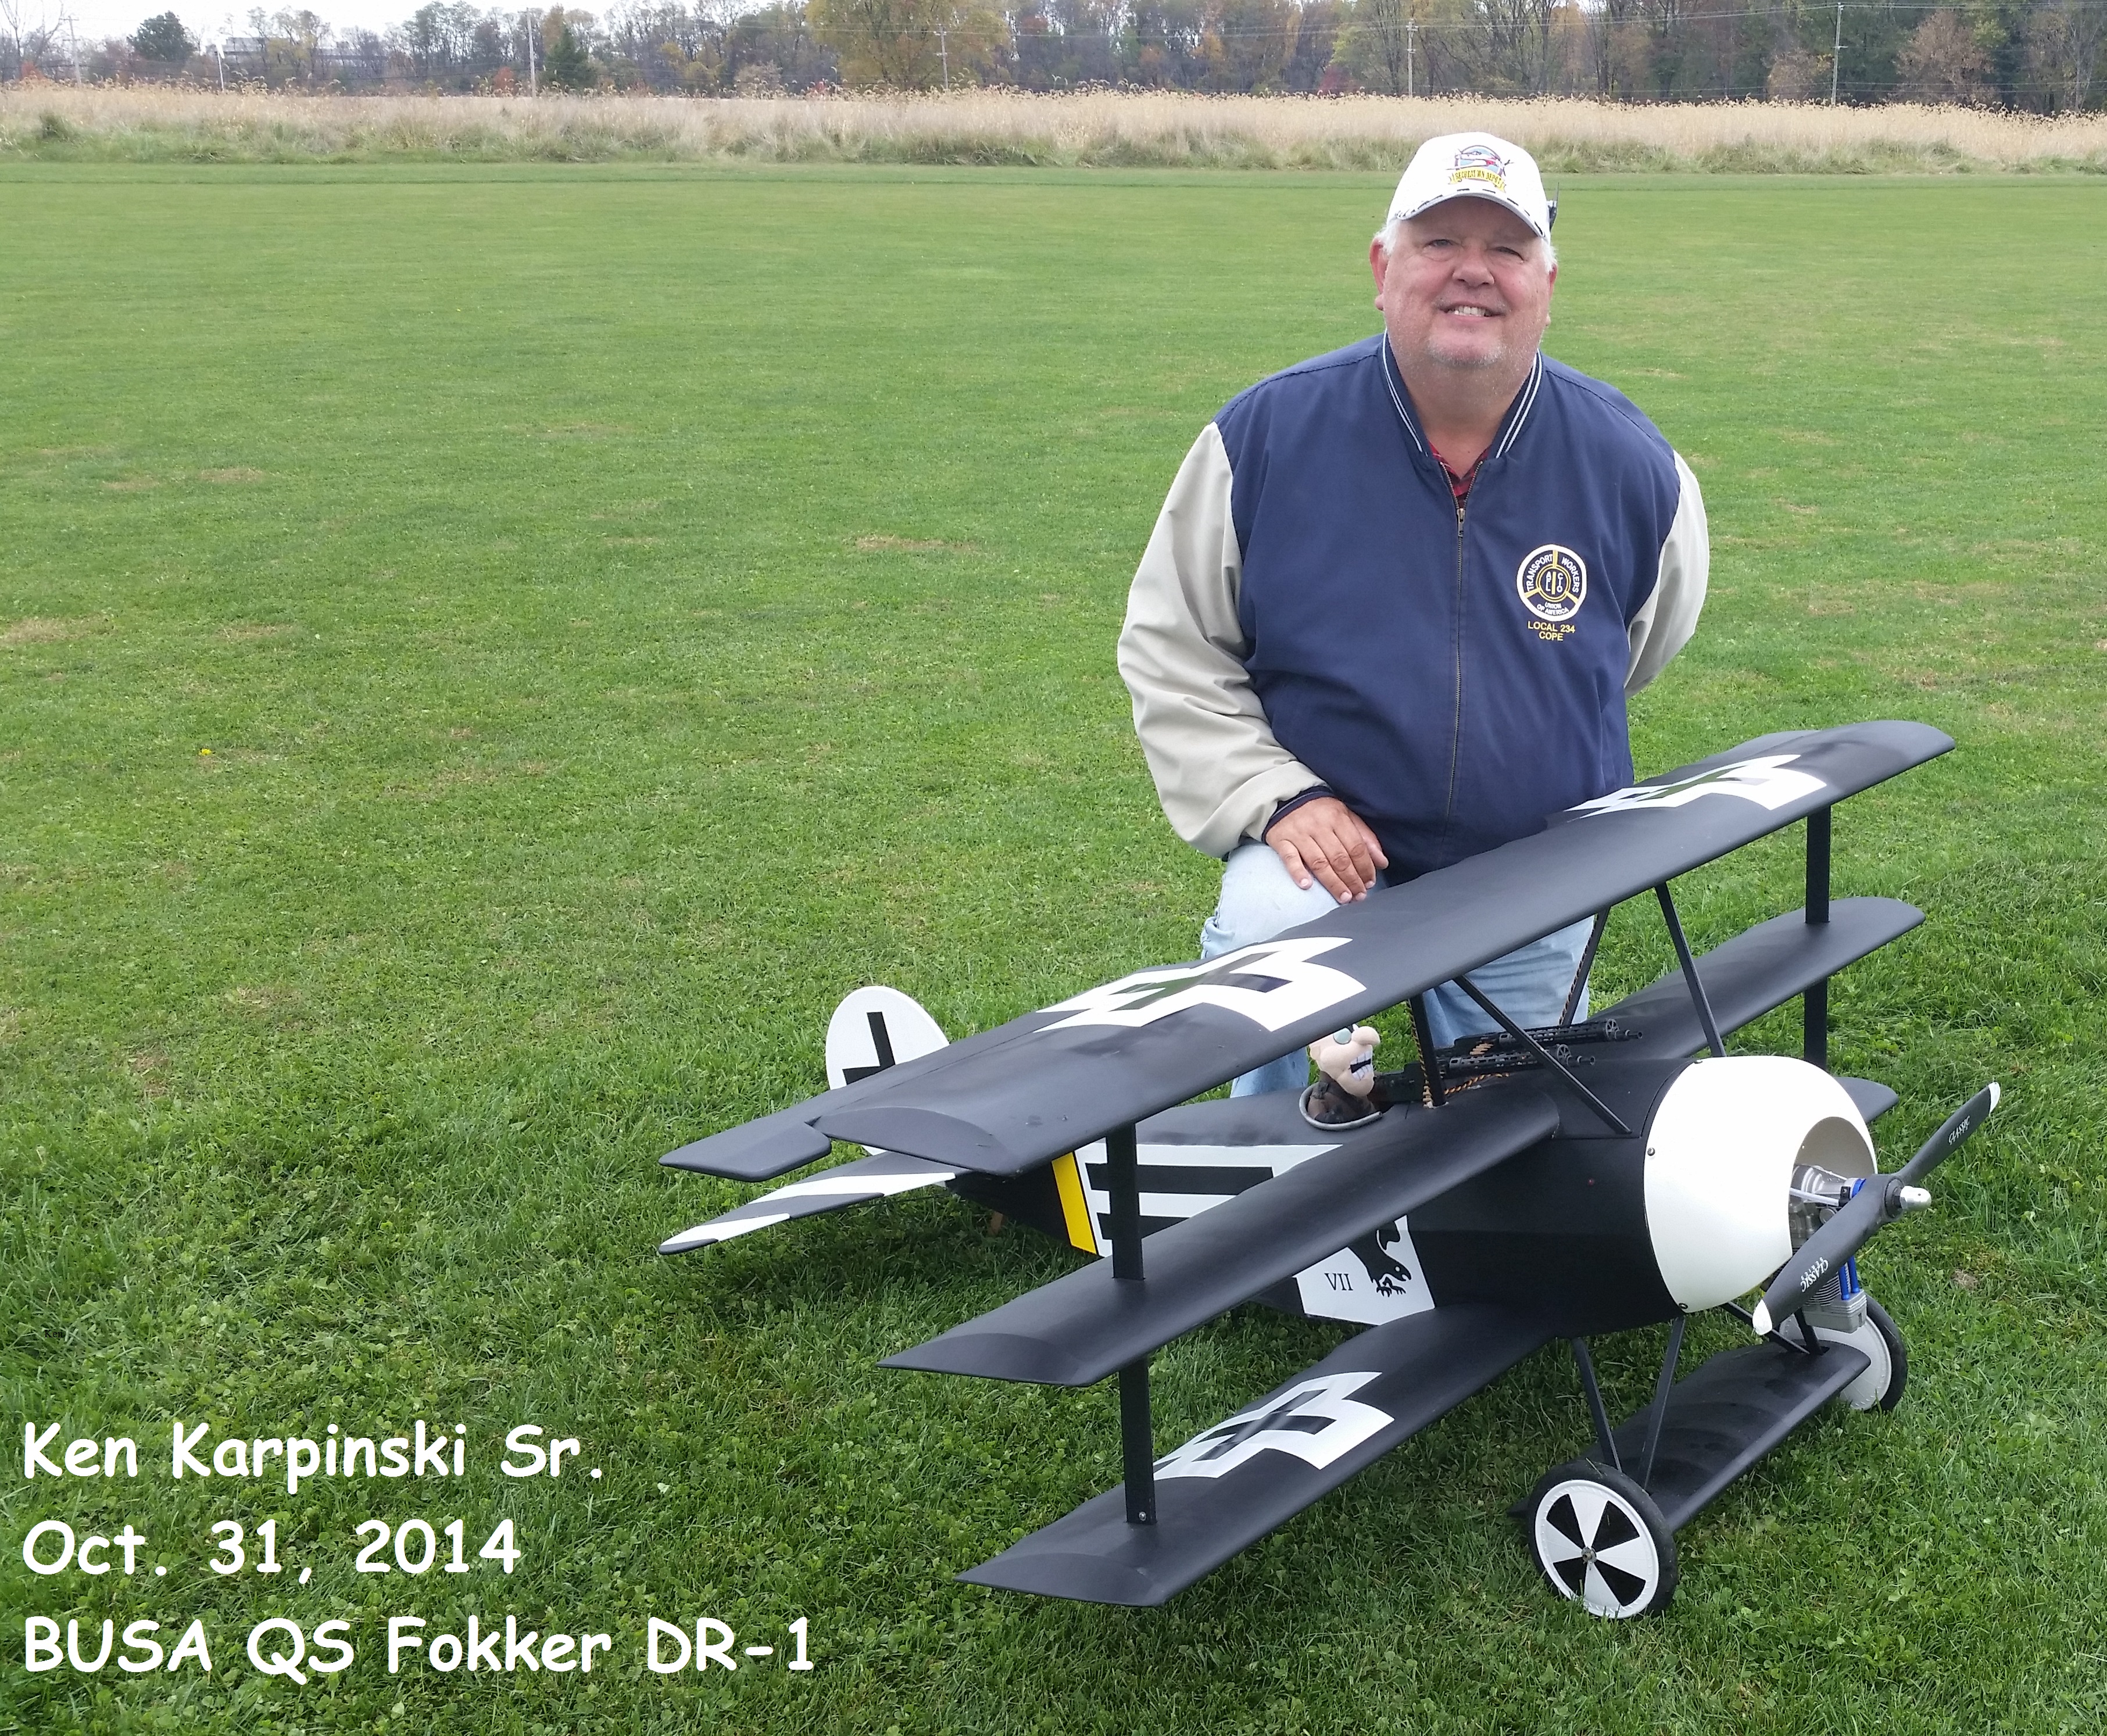
Certainly, if you're building your plane for scale competition, you'll have to stay strictly with the color scheme of your topic. However, if you're just building for your own private use, you might want to think long and hard on your color scheme. It's funny how that 1/4 scale airplane can look so small when it's flying but it's not funny if you can't tell whether it's coming towards you, going away, right side up, or upside down. Your color scheme of a green and tan airplane looks great on the ground but how great will it be when you duck below the tree level and you plane suddenly disappears? This is why I'm keeping the cowl white. I will definitely see that white cowl when I'm on final approach and I'll be able to tell what's going on with a white cowl on the front and a red, white, and blue tail on the back. I've also been known to make the right wing tip green and the left red. I may do that on this plane also. It's my signature touch. Here's my 1/4 scale DR-1 which is covered in black Solartex. Please notice the overabundance of white graphics on the model and the white cowl. The cowl on the full scale airplane is black. You better believe I can see that cowl when the model is on final! Tune in tomorrow when I ramble on about something else. The sermon is ended; glue in peace.