Greetings my fellow night owls. I got bored watching the hockey game and the wife fell asleep so I decided to go work on my plane. I'd like you to notice how much sharper and clearer the photos are. I broke out my Nikon Coolpix and used that to take the pictures. I'll use it for NYD photos at the fun fly. Things are moving along quickly but the plane will not be ready for the fun fly. I figure I have about another week or so which is ok as I can now add more detail for the wow factor. Now, on to the build.
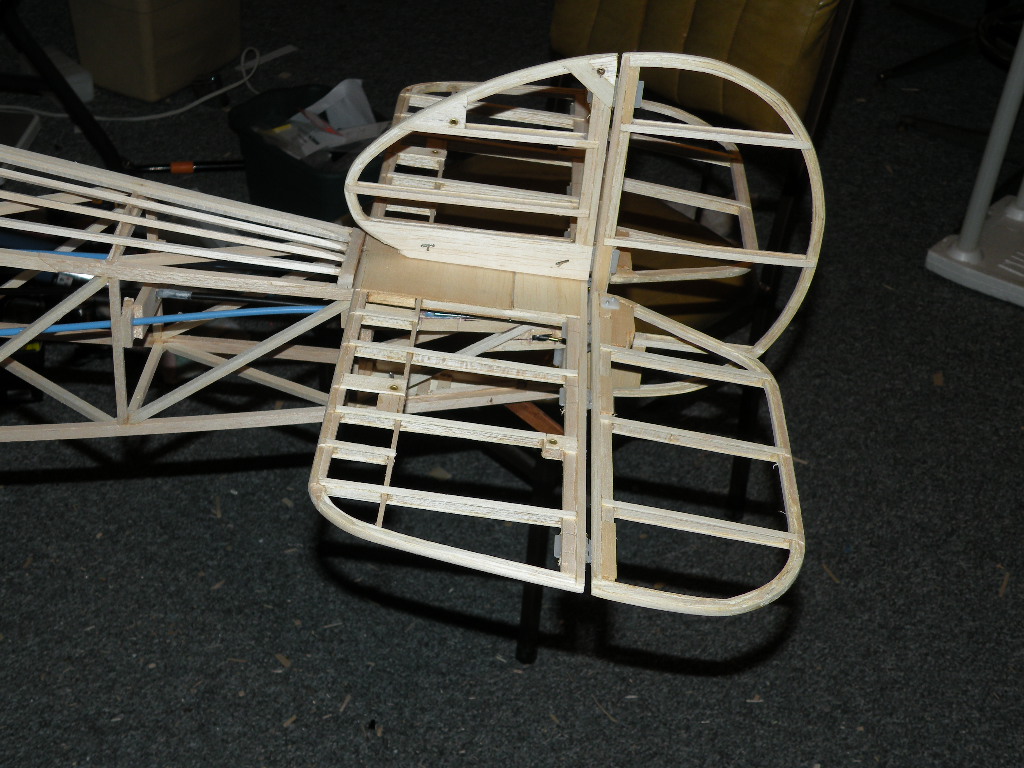
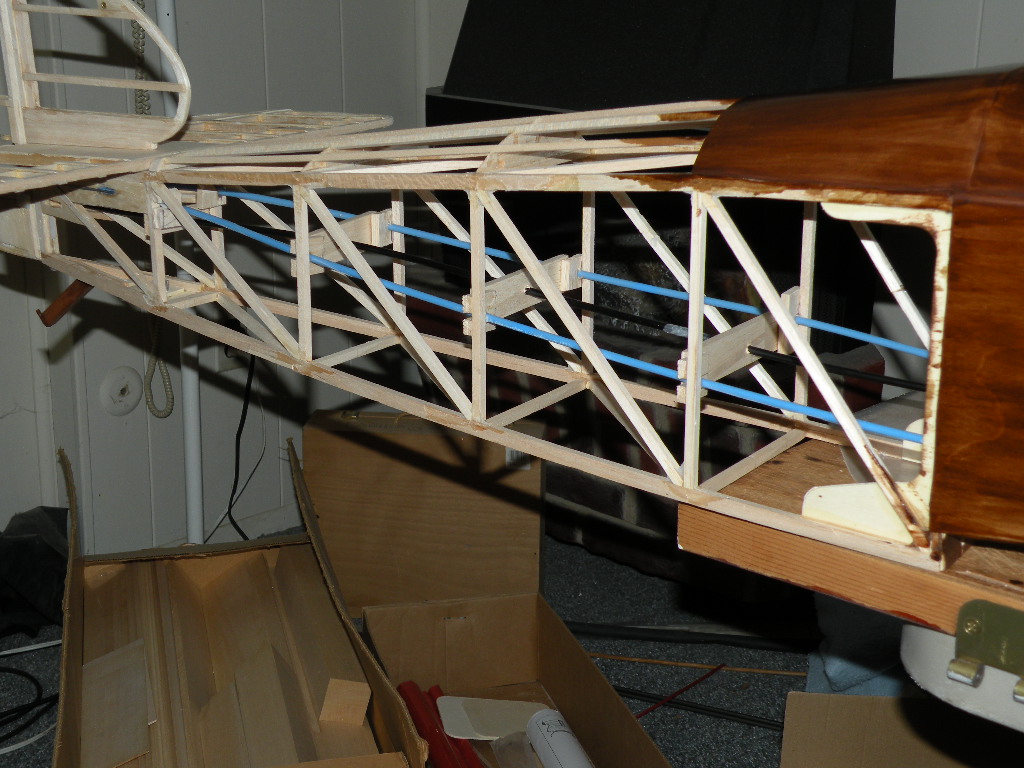
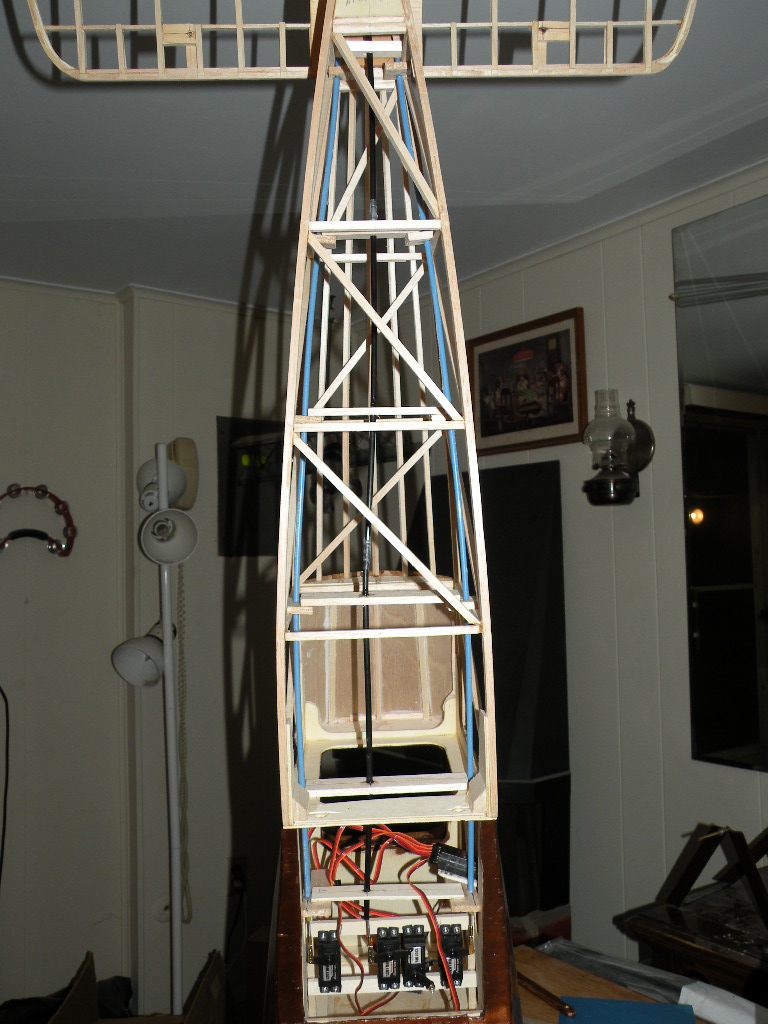
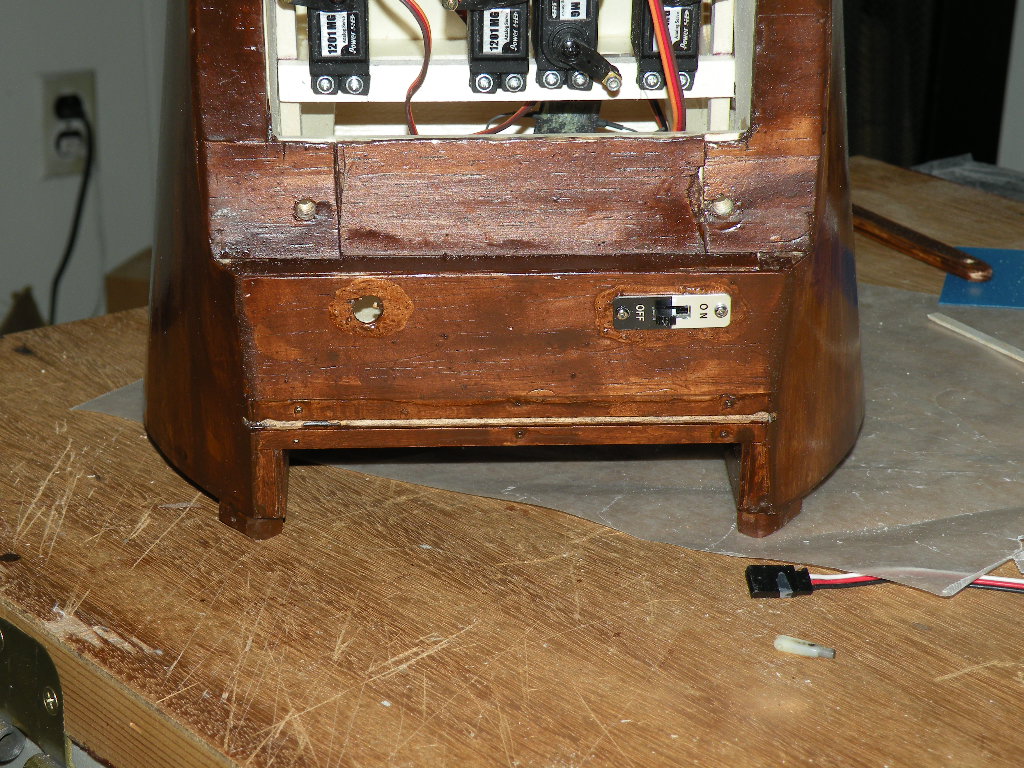
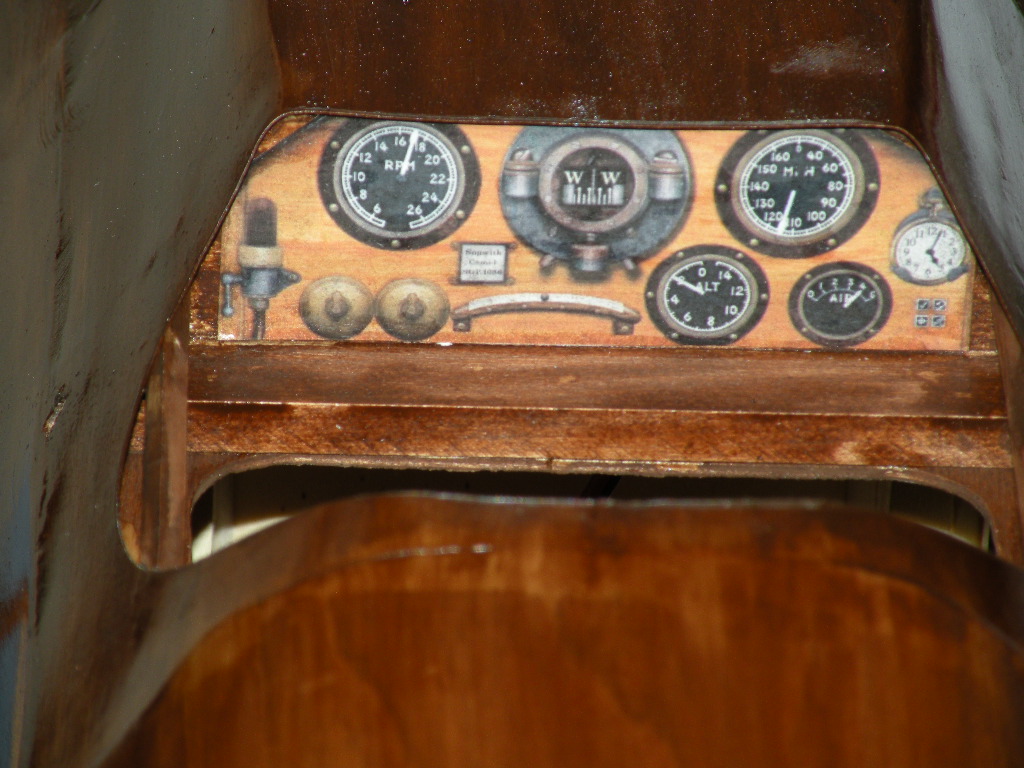
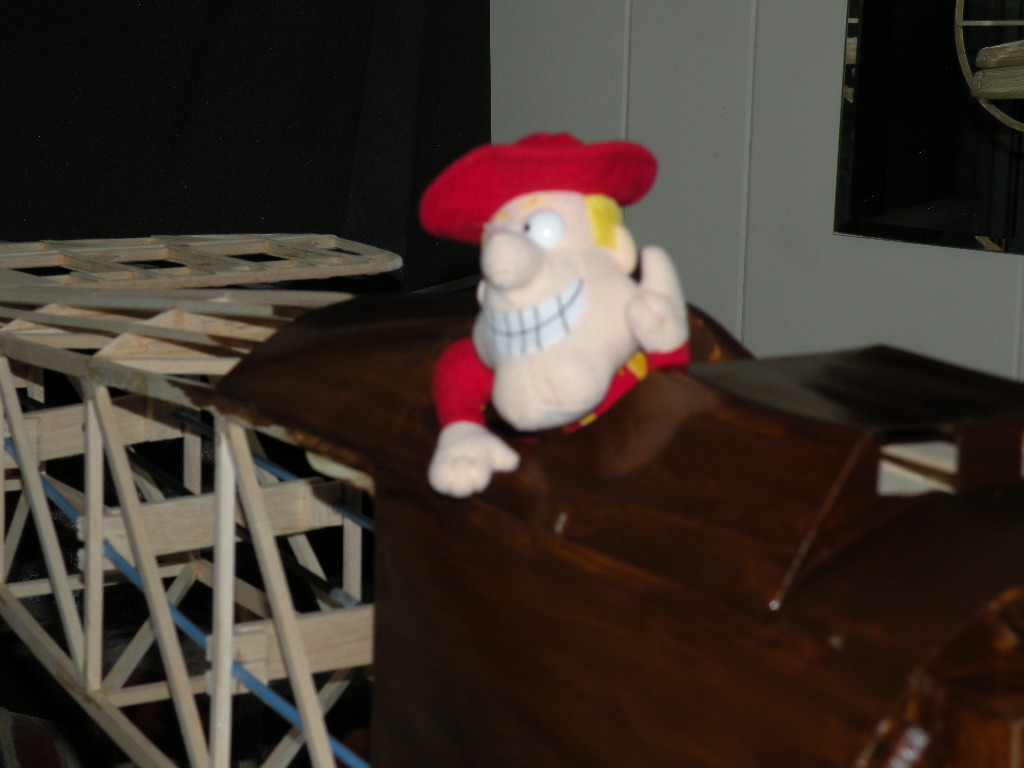
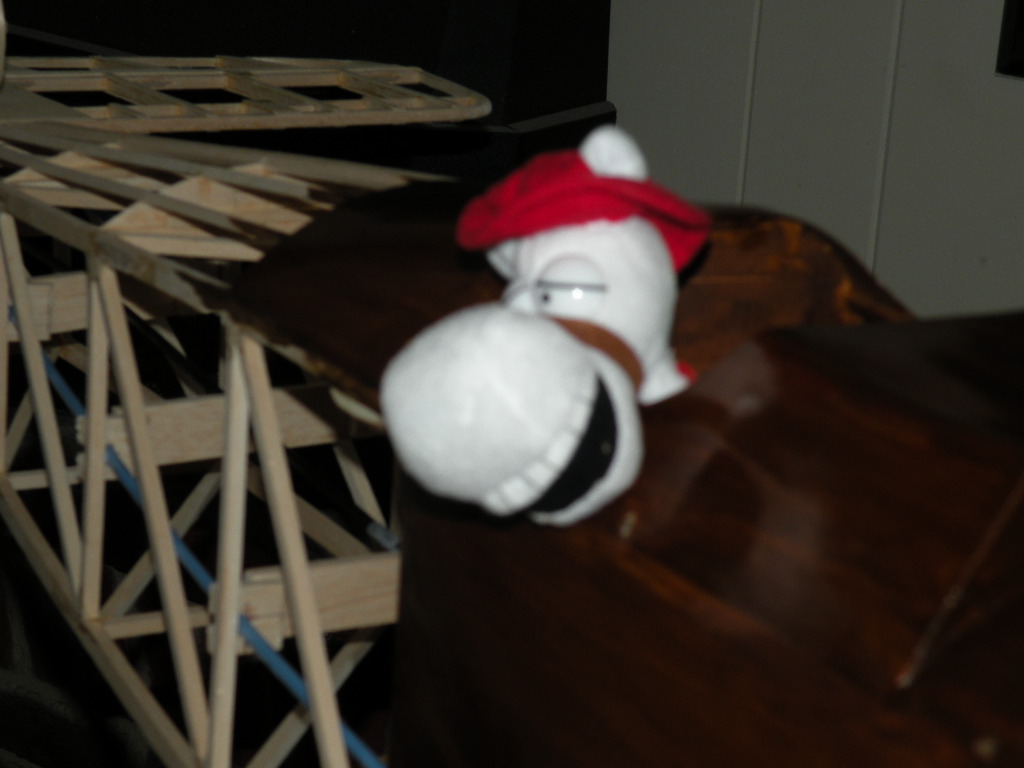
Photo #1 shows that the tail has been squared off and attached with 5 minute epoxy. Can't have that falling off. In photo #2 you'll notice the nyrods have been braced at every former and have been kept as straight as possible to prevent flexing. At the bottom of photo #3 you can see the servos that have been installed on bass wood rails. There's a left and right elevator, rudder, and throttle servo. These are HD Power 1201MG servos which are metal gear, high torque, analog servos. They provide 187 oz. of torque at 6.0 volts and they're only $12 plus shipping from Hobby King. I've been using them for a couple of years now and they're great. They're Futaba splined, have a universal plug, and are now the only servo I use for planes that call for standard sized servos. I get them from Hobby King but Troy Built also sells them. They're a great value and worth checking into. In photo #4 you can see the hole on the bottom left panel. That's where the fuel filler will go. And, on the right, is my receiver off and on switch which means IT'S ALIVE! Yep, there's a 7 channel Spektrum receiver installed along with a 4200ma NiMi 6.0 Sub-C battery pack. When the engine goes in, so will a battery eliminator board which allows me to run the receiver and engine off of one battery. There will be a light installed to tell me when the engine power is on and the board will be operated by the unused gear switch and the gear port on the receiver. It's a handy little gadget that costs $50 from Troy Built Models which I have been using for years with no problem. Photo #5 is of the finely detailed dash I put in my model. Looks good, doesn't it? Actually it's a picture I found on the internet. I believe it's from a flight simulator. It works for me. Which brings me to photos # 6 and 7. These two are the finalists for the job of test pilot. They're running chin and chin as #6 has the advantage of having hands and fingers while #7, who has hoofs, has the advantage of greater horse sense. When I build the cockpit, I'll see who fits best and make my decision then.
There's no sermon tonight so you get a break. It's 2:30 in the morning so I'm going to have another beer and then go to bed. Until next time: Keep on glueing!