
Wing Jig Set-up:
- This particular wing was built with the outside edge of the uprights of the aluminum jig brackets moved in 2 �” from each end of the two wood mounting rails (or “base” rails of the jig). This is done by drilling holes 3 1/4" in from the outside edges of the wood base rails of the jig.
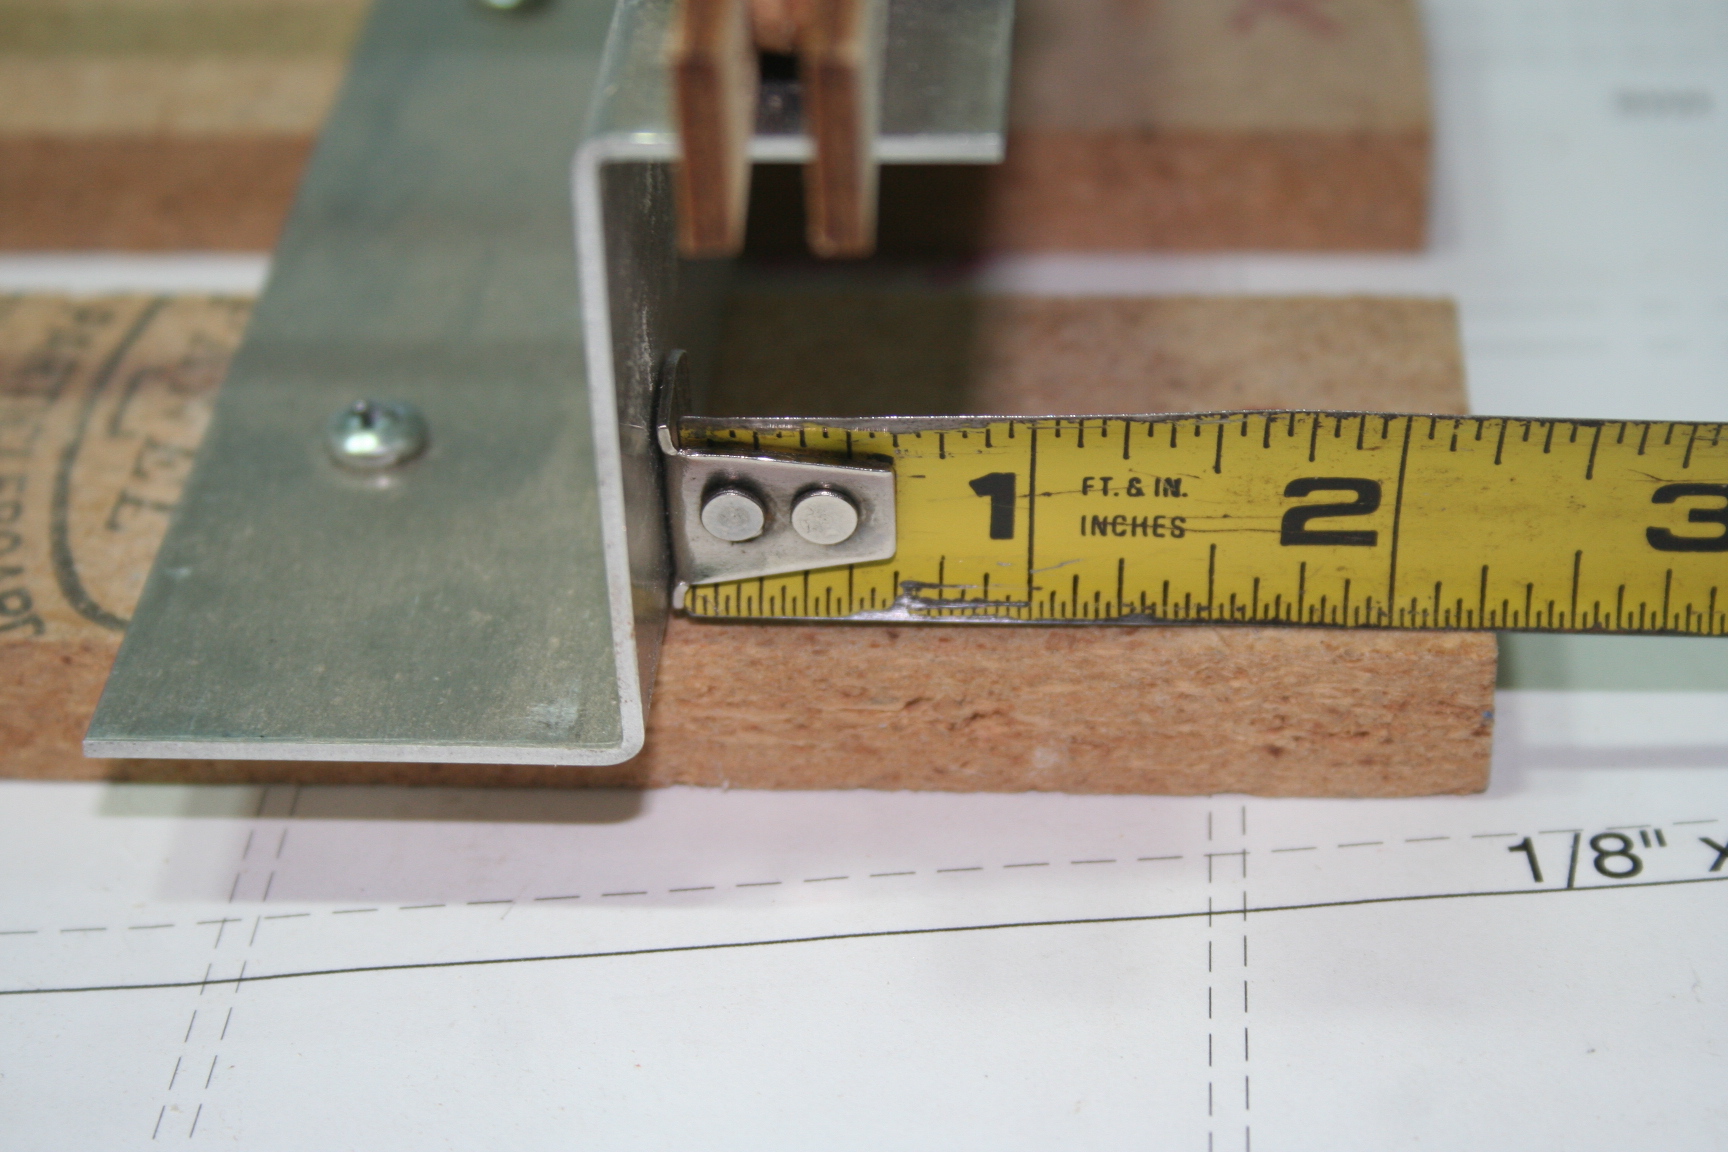
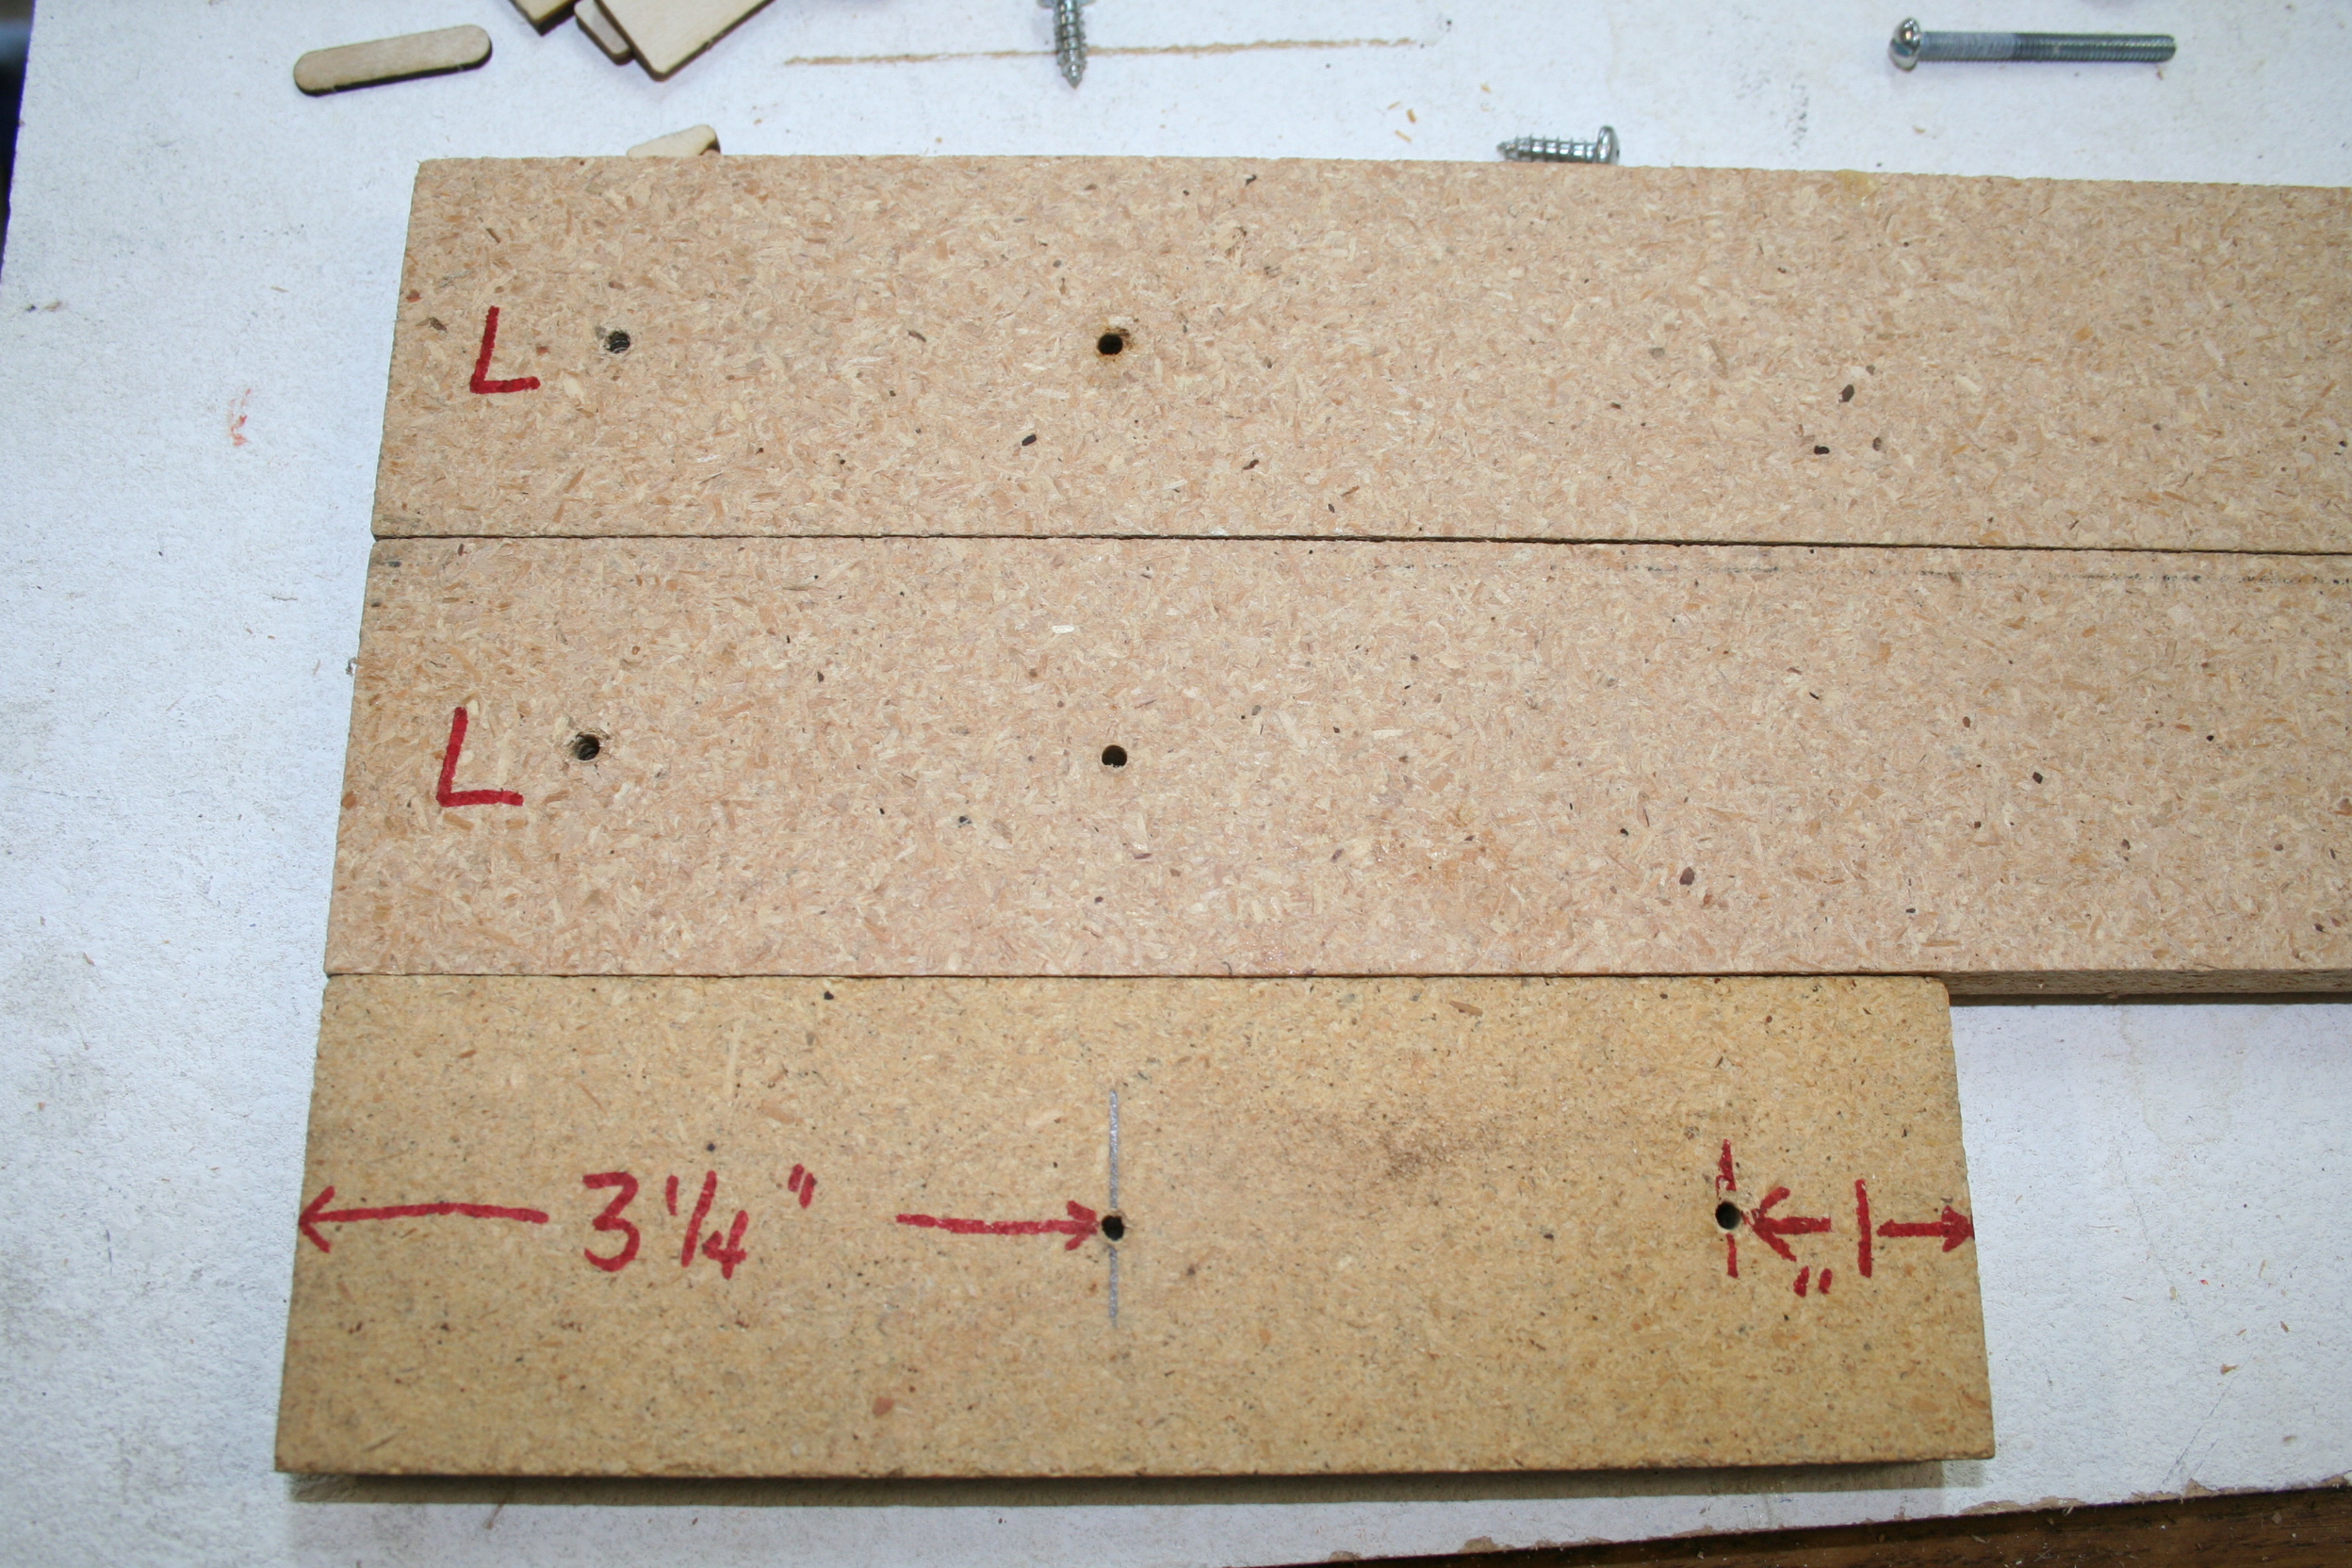
The left edges of the wood mounting rails are shown with both the "standard" hole drilled 1" from the outside edge, and the 3 1/4" from the outside edge more appropriate for accommodating washout in this design's wing panels.
Notes for general building of wings (not specific to this kit):
When setting up the wing jig for a wing with no washout, the position of the aluminum brackets really doesn't matter. They can be aligned with the outer edges of the wood base rails of the jig assembly, giving plenty of room for larger/longer wing panels, longer stick sheet and stock, etc., without having to continually re-drill holes to mount the aluminum brackets. This would be accomplished by measuring in 1" from the outside edge of the base rails to drill the standard mounting hole.
However, in wings in which washout is desired, the degree of washout would diminish the longer the distance between the brackets. The brackets were moved in for construction of this wing design in order to maintain the full 3 degrees, while still giving enough room on each side of the panel to measure angles, and slightly overhang the edges of stick and sheet stock during assembly.
Last edited by Iron Dog; 02-28-2015 at 05:55 PM.