
Sheeting the Top of the Wing:
6. Set a piece of 3/32” x 6” x 36” sheet on top of the wing panel, directly in front of the rear sheeting piece you just glued down, with just a slight amount of overhang beyond the tip rib, and most of the extra sheet extending well beyond the root rib. Center the leading edge of the sheeting at the very center (or “midline”) of Spar A, and mark the point that this sheeting meets the rear sheeting at the tip of the wing panel. Measure and mark 25” towards the opposite end.* Line up your straight-edge diagonally from your mark at the tip, such that the straight-edge runs off the other edge of the sheeting at the 25” mark, leaving the full 6” at this end. In other words, once the overhanging 11” x 6”* piece is eventually removed, you will have a mid-wing sheeting piece that measures 6” at the root, and between 2 3/4 - 2 7/8”* at the tip. The grain should be oriented at a 90-degree angle to the wing centerline, running straight out to the tip; and should span the distance from the mid-line of Spar B up to the mid-line of Spar A across the length of the panel. When satisfied the fit and alignment will be correct, use your Exacto[SUP]�[/SUP] knife to make the diagonal cut. Once cut, place the angled sheeting piece in-position and remove the 11”x 6” rectangular overhang at the root with a razor saw. (* Please note that these dimensions are for the clipped-wing version being modeled and shown in the pictures. The piece needed for the full-span version will likely be 27 1/4” long and approximately 2 5/8” in chord at the tip, with only about an 8 3/4” x 6” rectangular shaped overhang at the root.) Spray the back side of this wing center sheeting with CA Accelerator if desired, apply medium CA to the rear edge of Spar A, the front edge of Spar B and the top of the rib sections in-between. Carefully align this sheeting piece (ensuring a slight overhang at both the root and tip) so that it is flush against the rear sheeting and gently press it in place, from the rear forward, until the glue is set. As much as possible, pinch the sheeting together at the spars or otherwise support the structure from underneath to avoid inducing a warp.
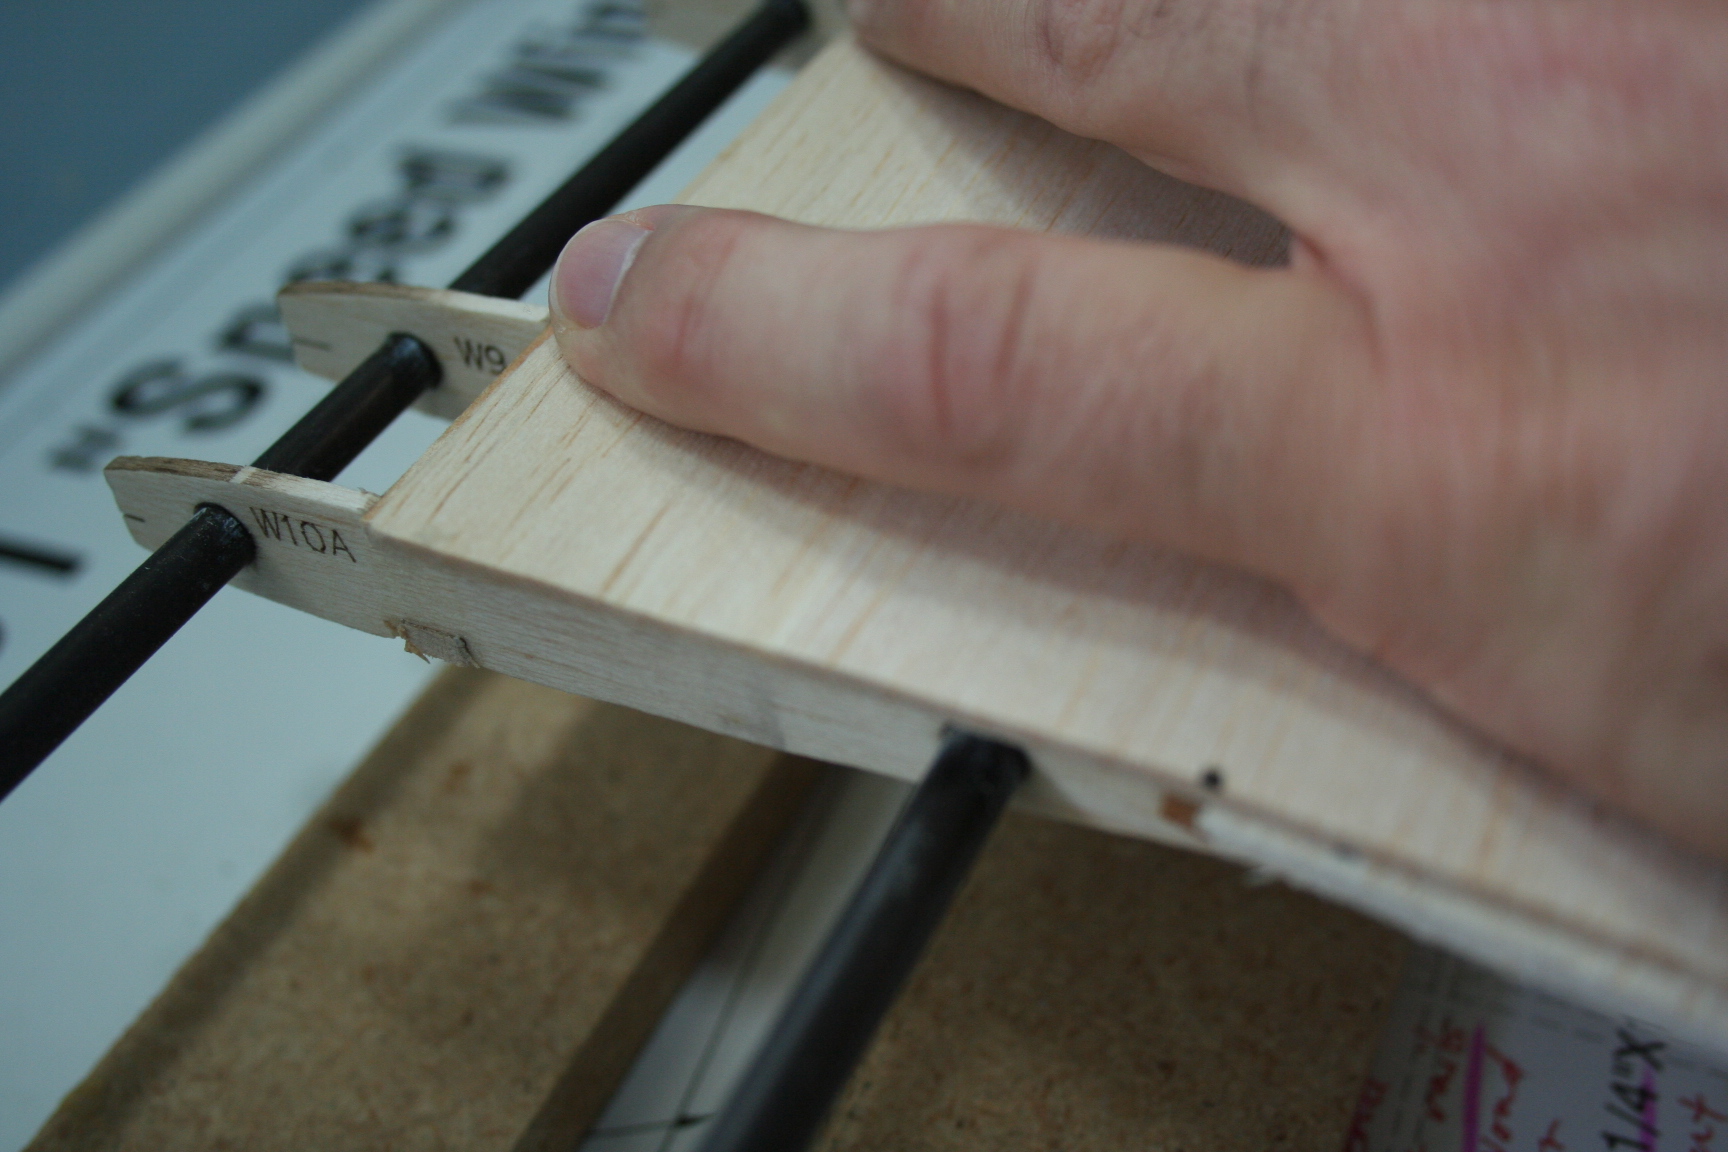
At the tip rib, mark the cut line where the center sheeting meets the rear sheeting (at the centerline of rear Spar B).
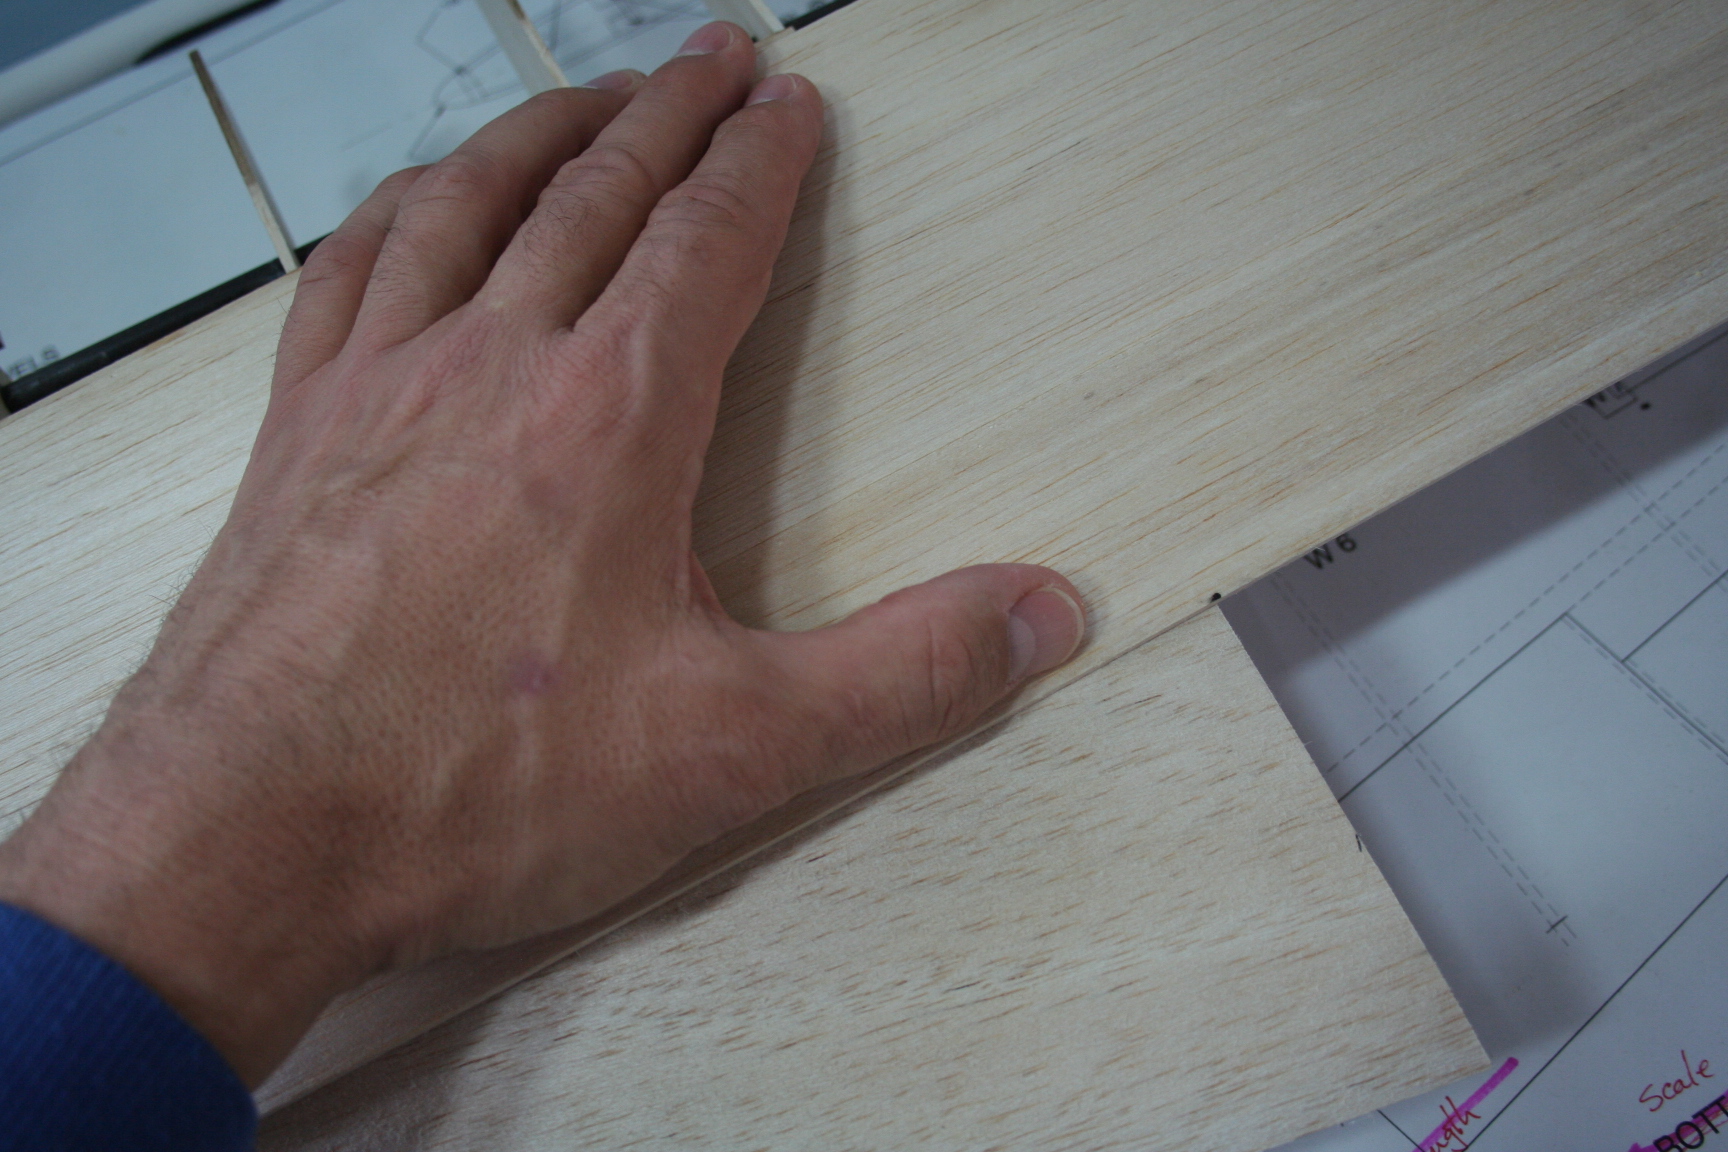
The mark at 25" is long enough to meet the edge of the rear sheeting, also overhanging slightly beyond the root rib.
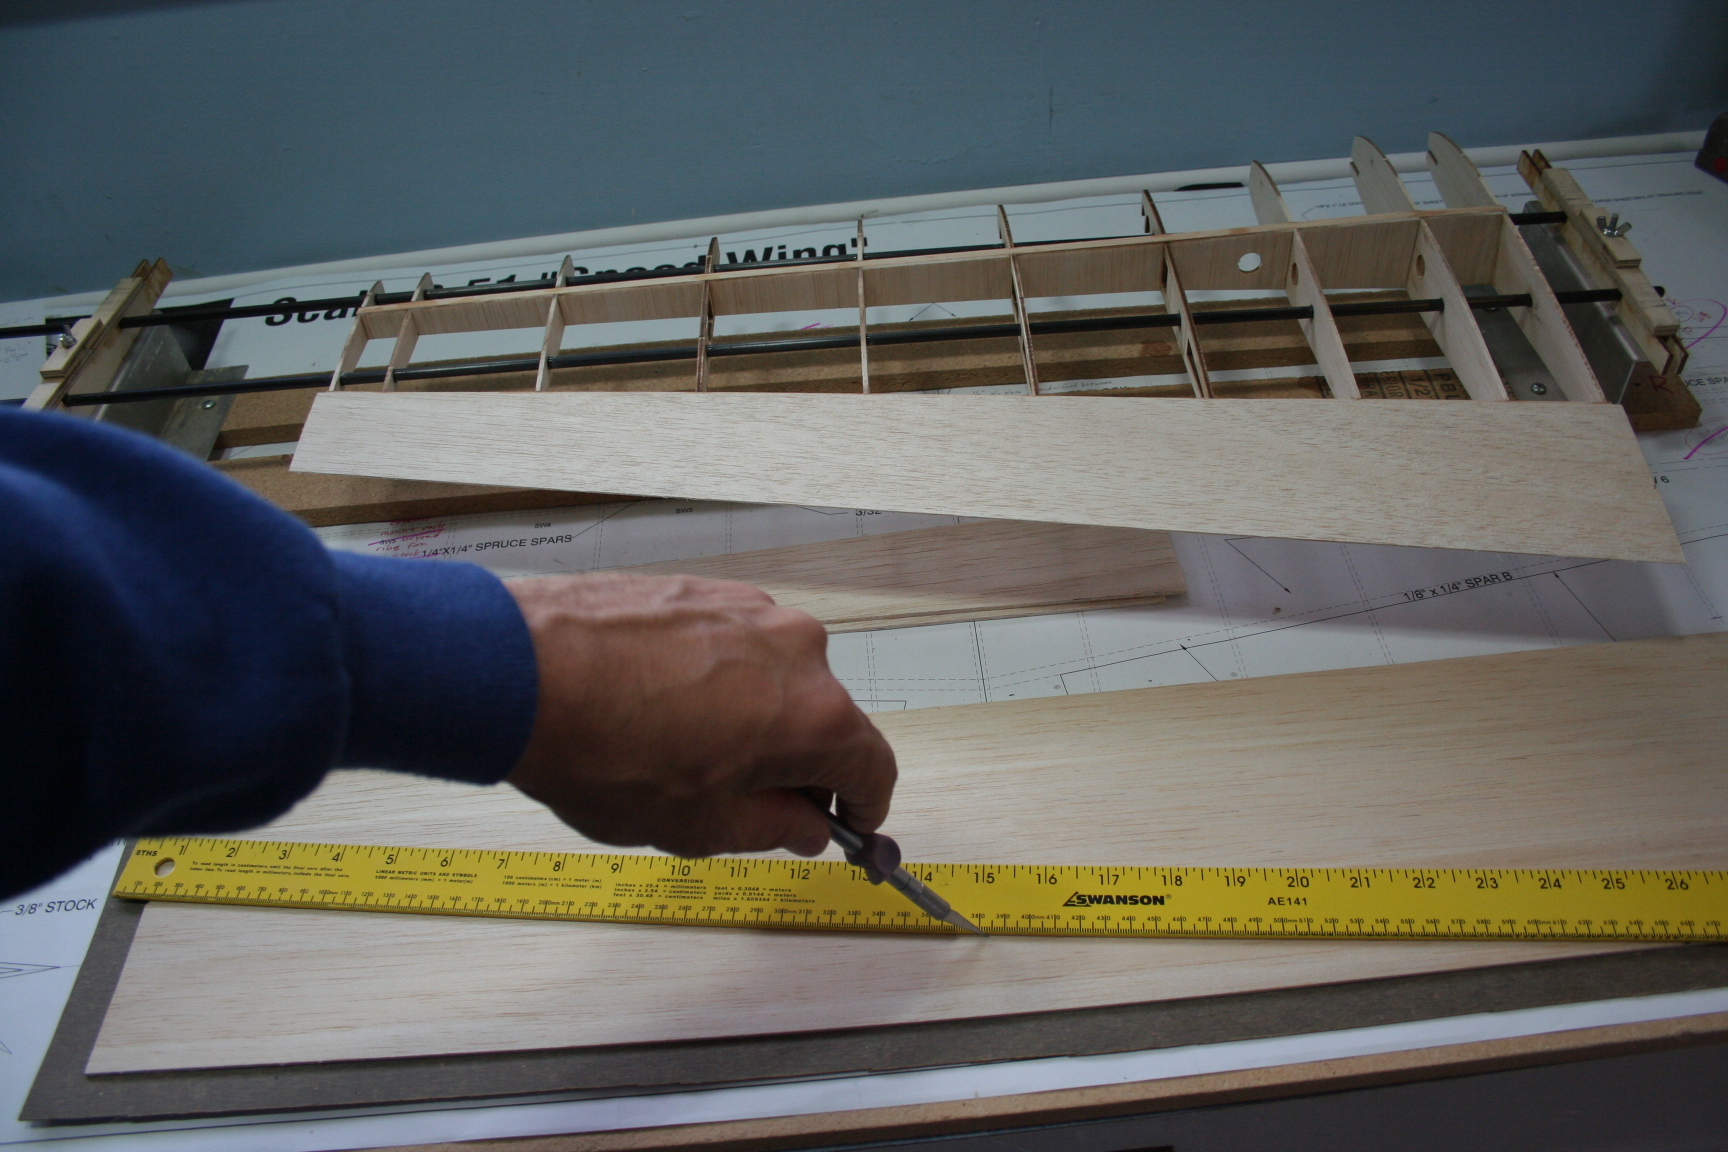
I'm not "a lefty"; would never try to make my cut without holding the knife perfectly vertical, and firmly holding the straightedge in-place; etc. Picture for illustration purposes only.
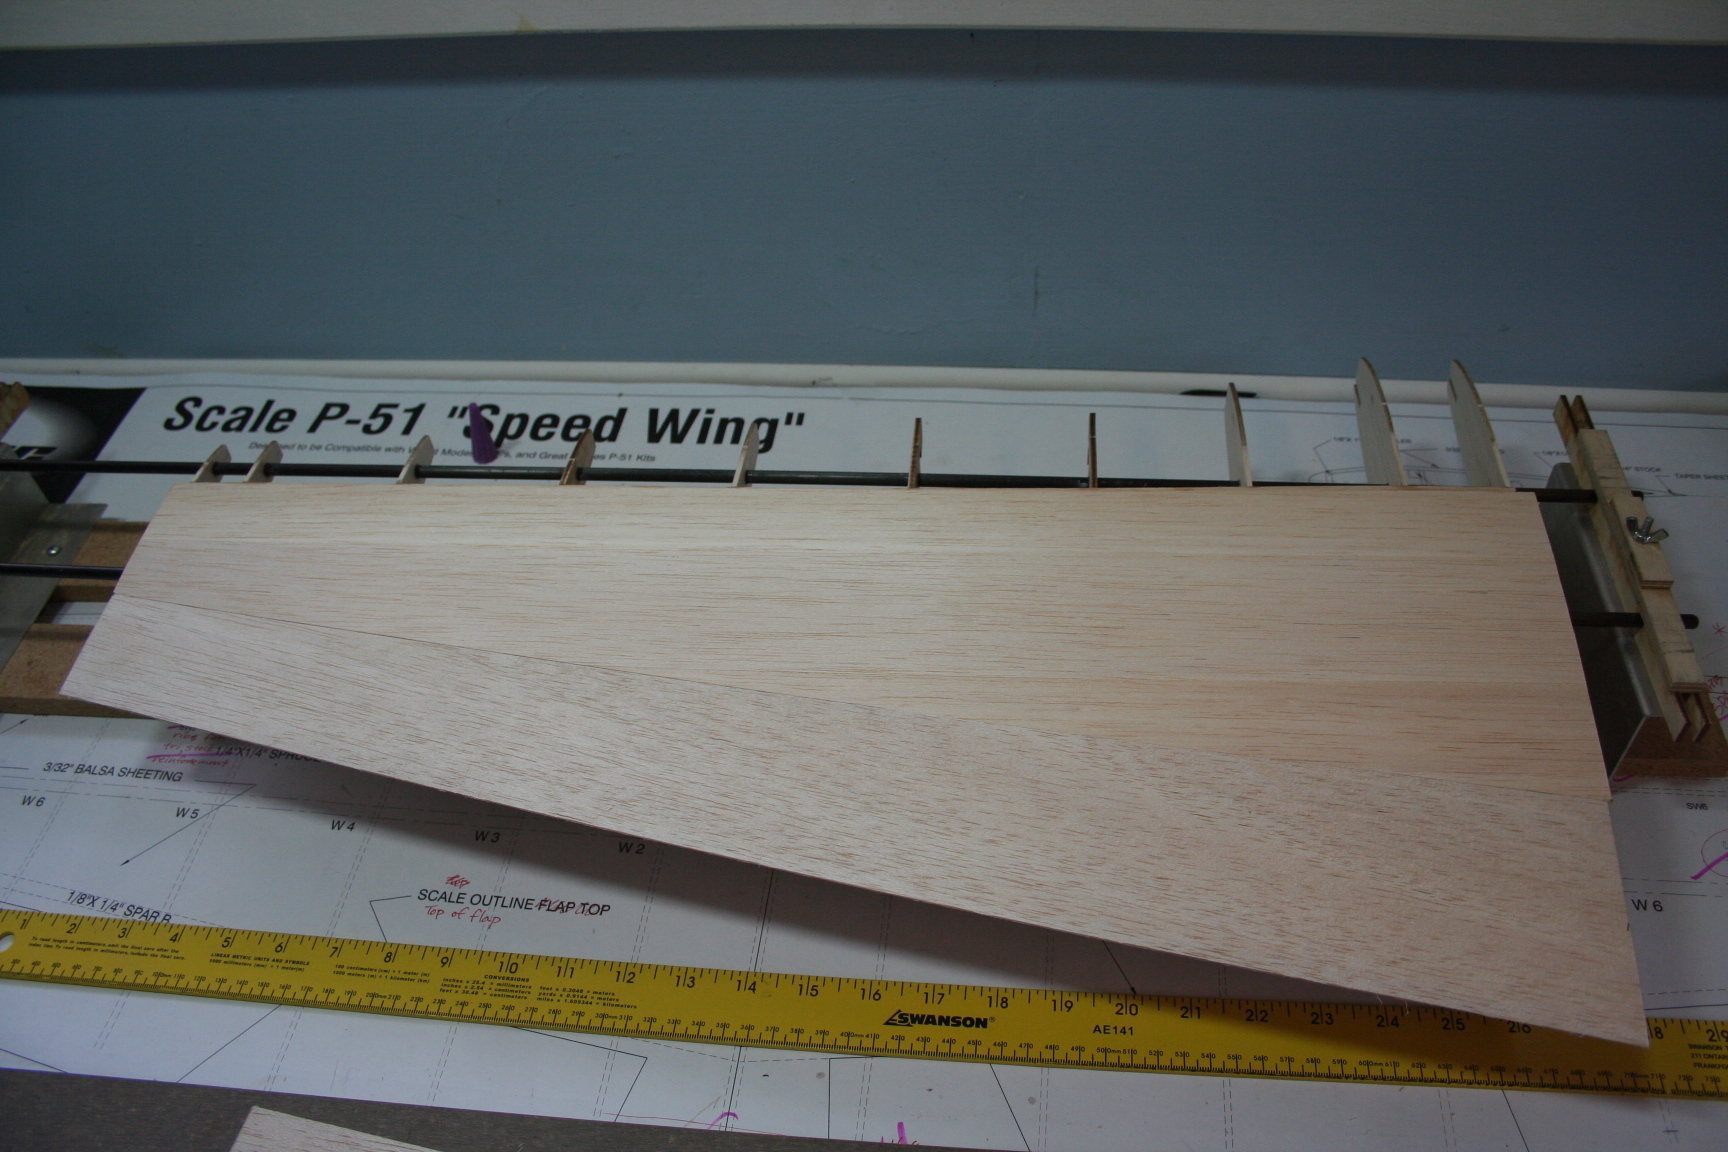
Center sheeting glued in-place.
Last edited by Iron Dog; 03-05-2015 at 10:24 PM.