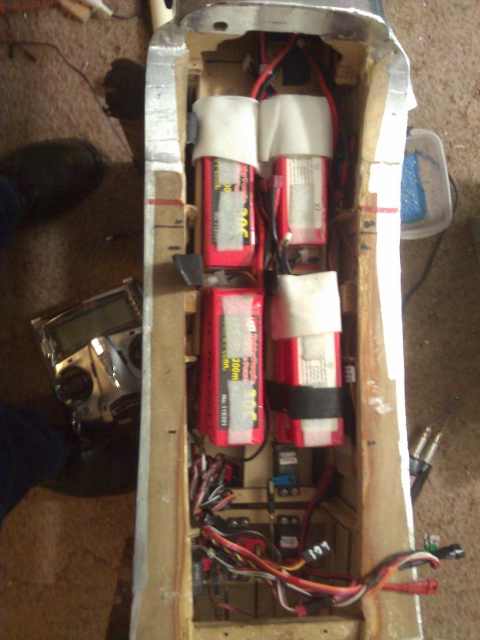
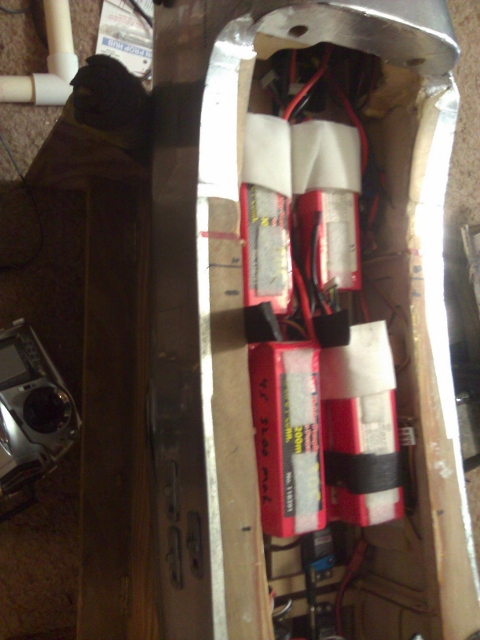
I removed the tank shelf and installed a shelf on each side of the compartment. The electric installation is installed with wood screws and the plane can be converted back to gas in a couple of hours. There are 6, 4 cell lipos. In this picture 4 are stacked behind the CG and 2 in front. The wiring harness is not shown. The red and black marks on the wing saddles are there to check the CG before putting the wing back on. I first set the CG with all equipment on board ( move the batteries around to get it exactly right), then removed the wing and lifted the fuse with 2 fingers on the wing saddles to locate the CG without the wing. I put the 2 marks on each side of where my fingers need to be for the fuse to hang level. At the field when installing battery packs of different weight ( 1 have 3 different batt. configurations), I lift the fuse with 2 fingers on the wing saddles for a quick CG check. If OK, put the wing on and go fly.
I will probably get a new fuse part from Tower and build a battery hatch into the top so removing the wing is not necessary. I have seen this done to Aero Works P 51s. This is the way to go if you start out electric, my plane was built with DA 50R power and the change to electric happened during the middle of the Florida flying season (winter). Our building season in Florida starts at the end of May when the temperature gets to 90 degrees.