Didn't quite get it done. The control surfaces on the wing still have to be rigged and covering put on, but that's all.
I am a bit worried that I sanded too aggressively--there are a few spots where the wood is noticeably thinner than it was previously (most worryingly at the root of the horizontal stabilizer), but not by much. Should I be concerned, or is most of the sheeting wood on there only to give it shape?
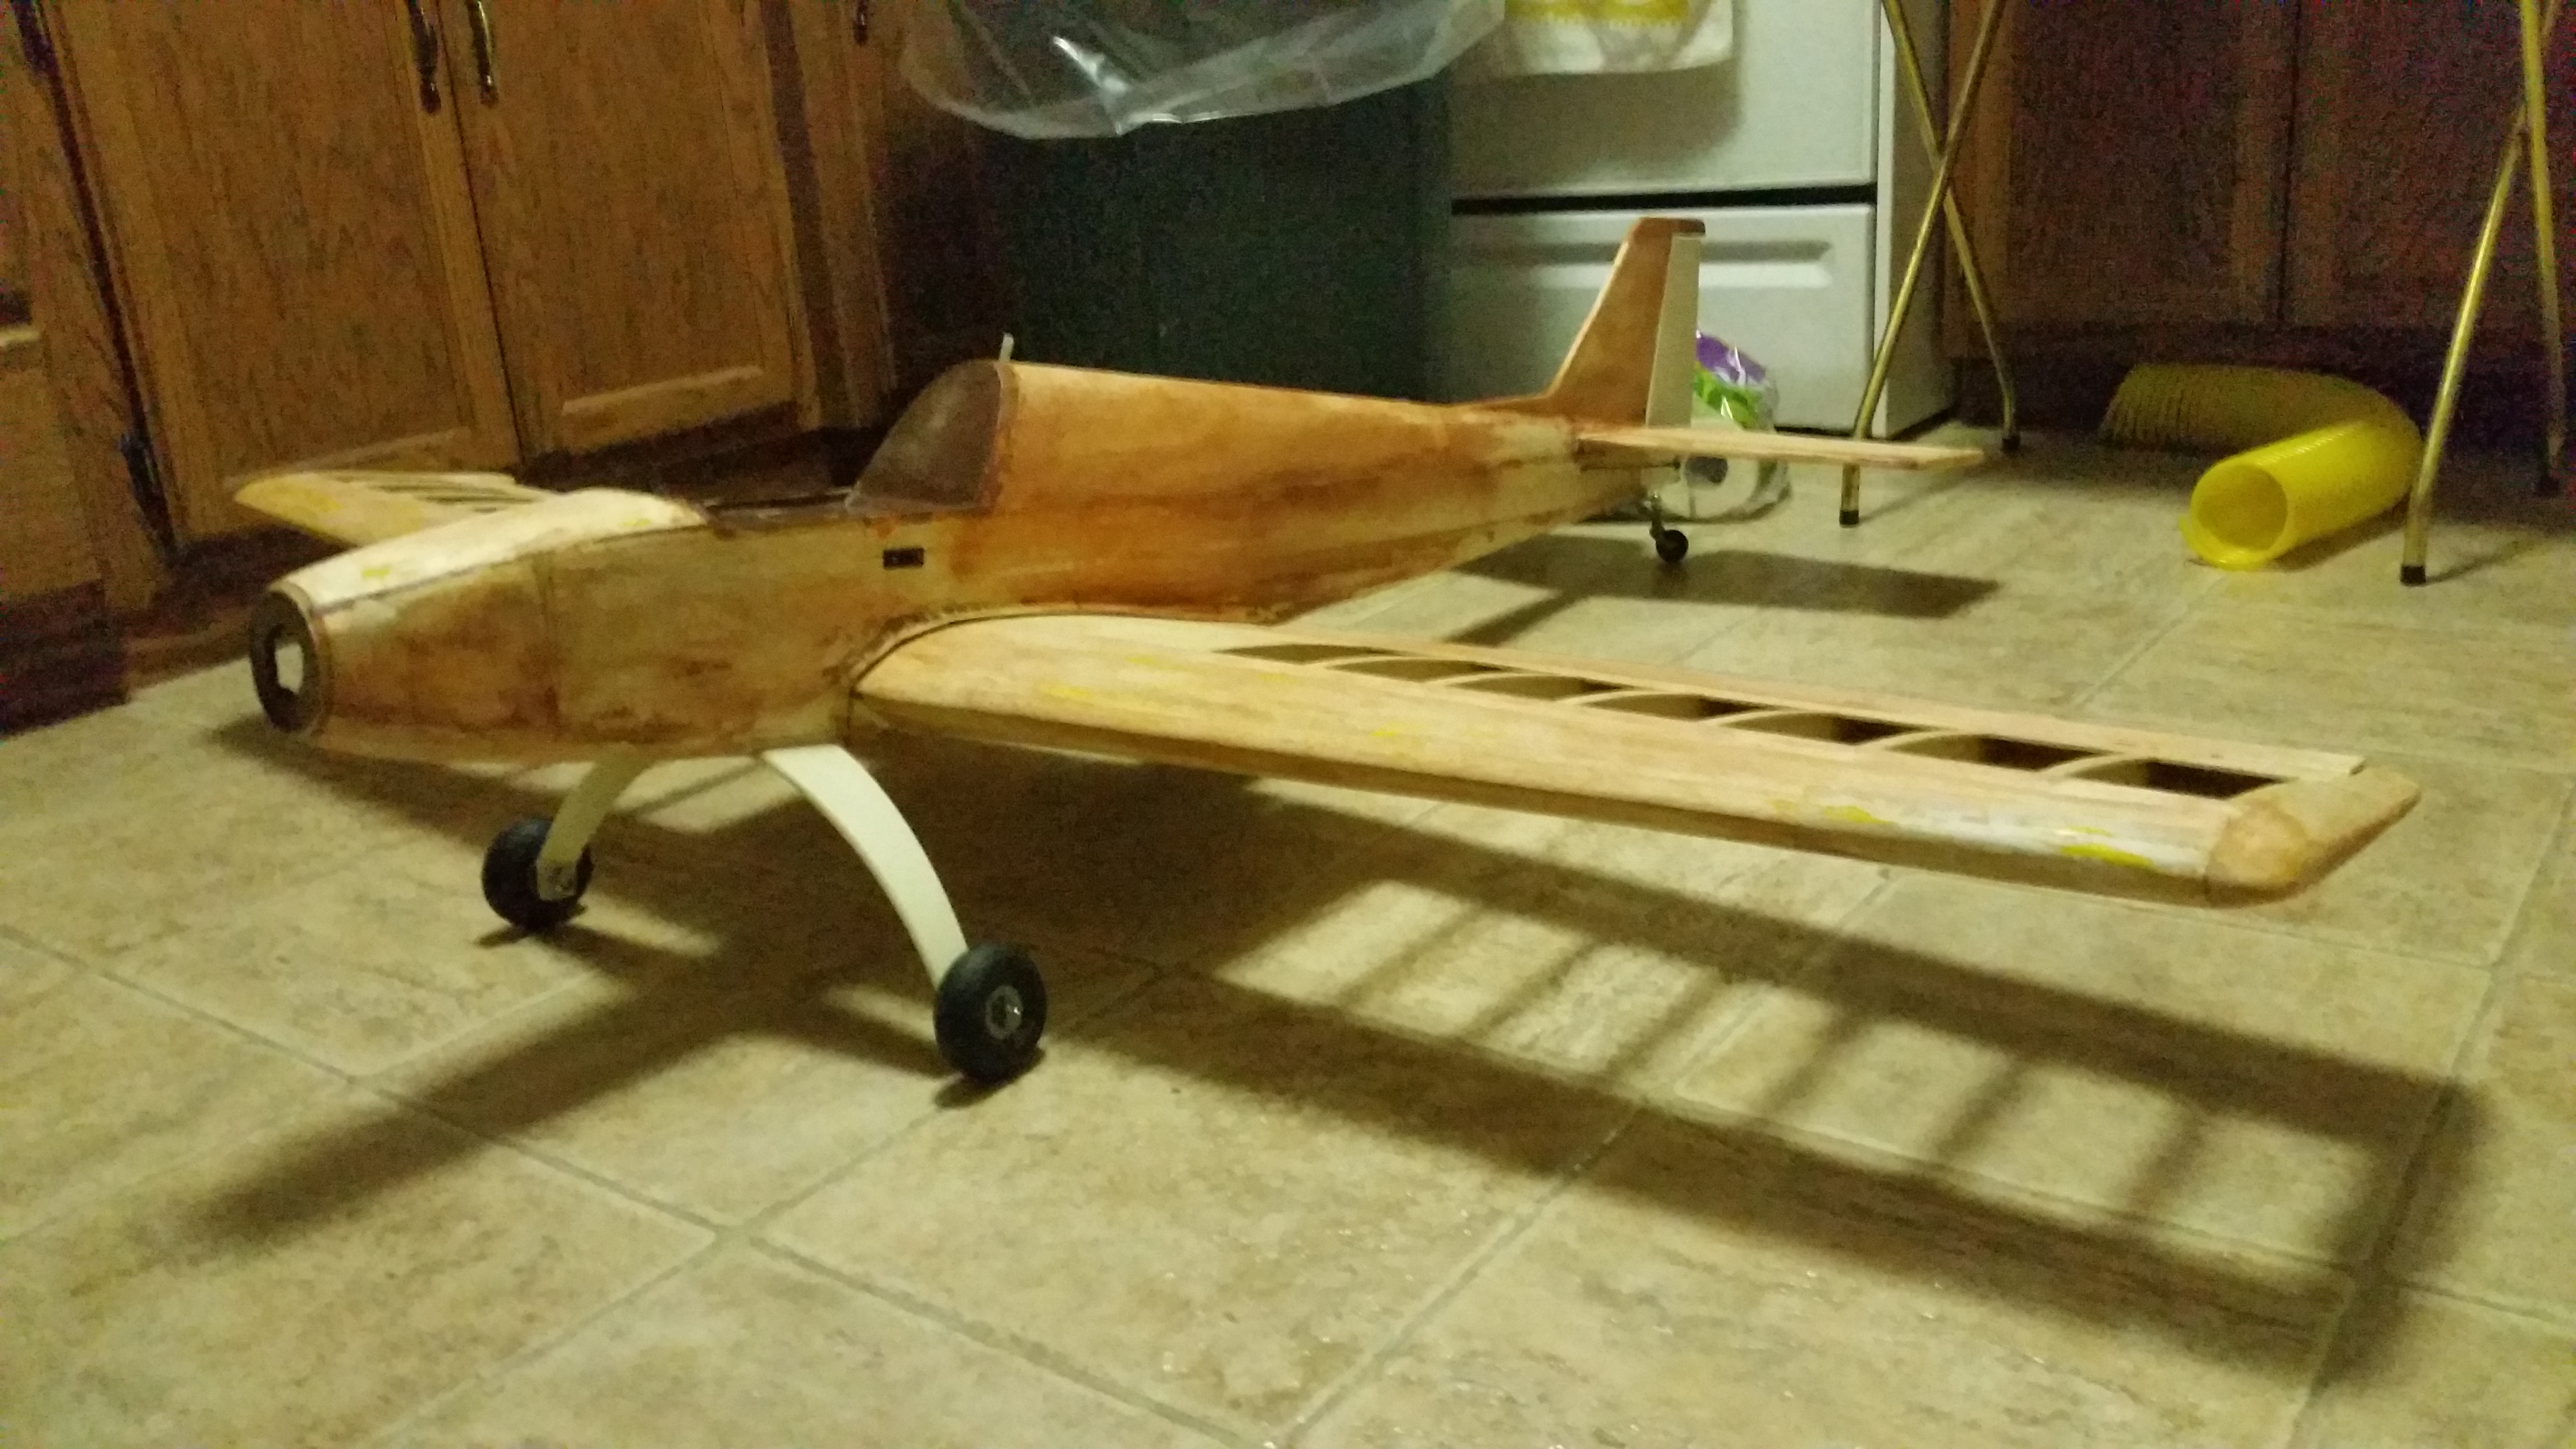
I apologize for the bad quality; my cellphone camera's not the best, nor is the lighting in my dad's basement. I'll take some proper photos with my DSLR when it's done. Nevertheless, I present you with a few of the in-progress pics:
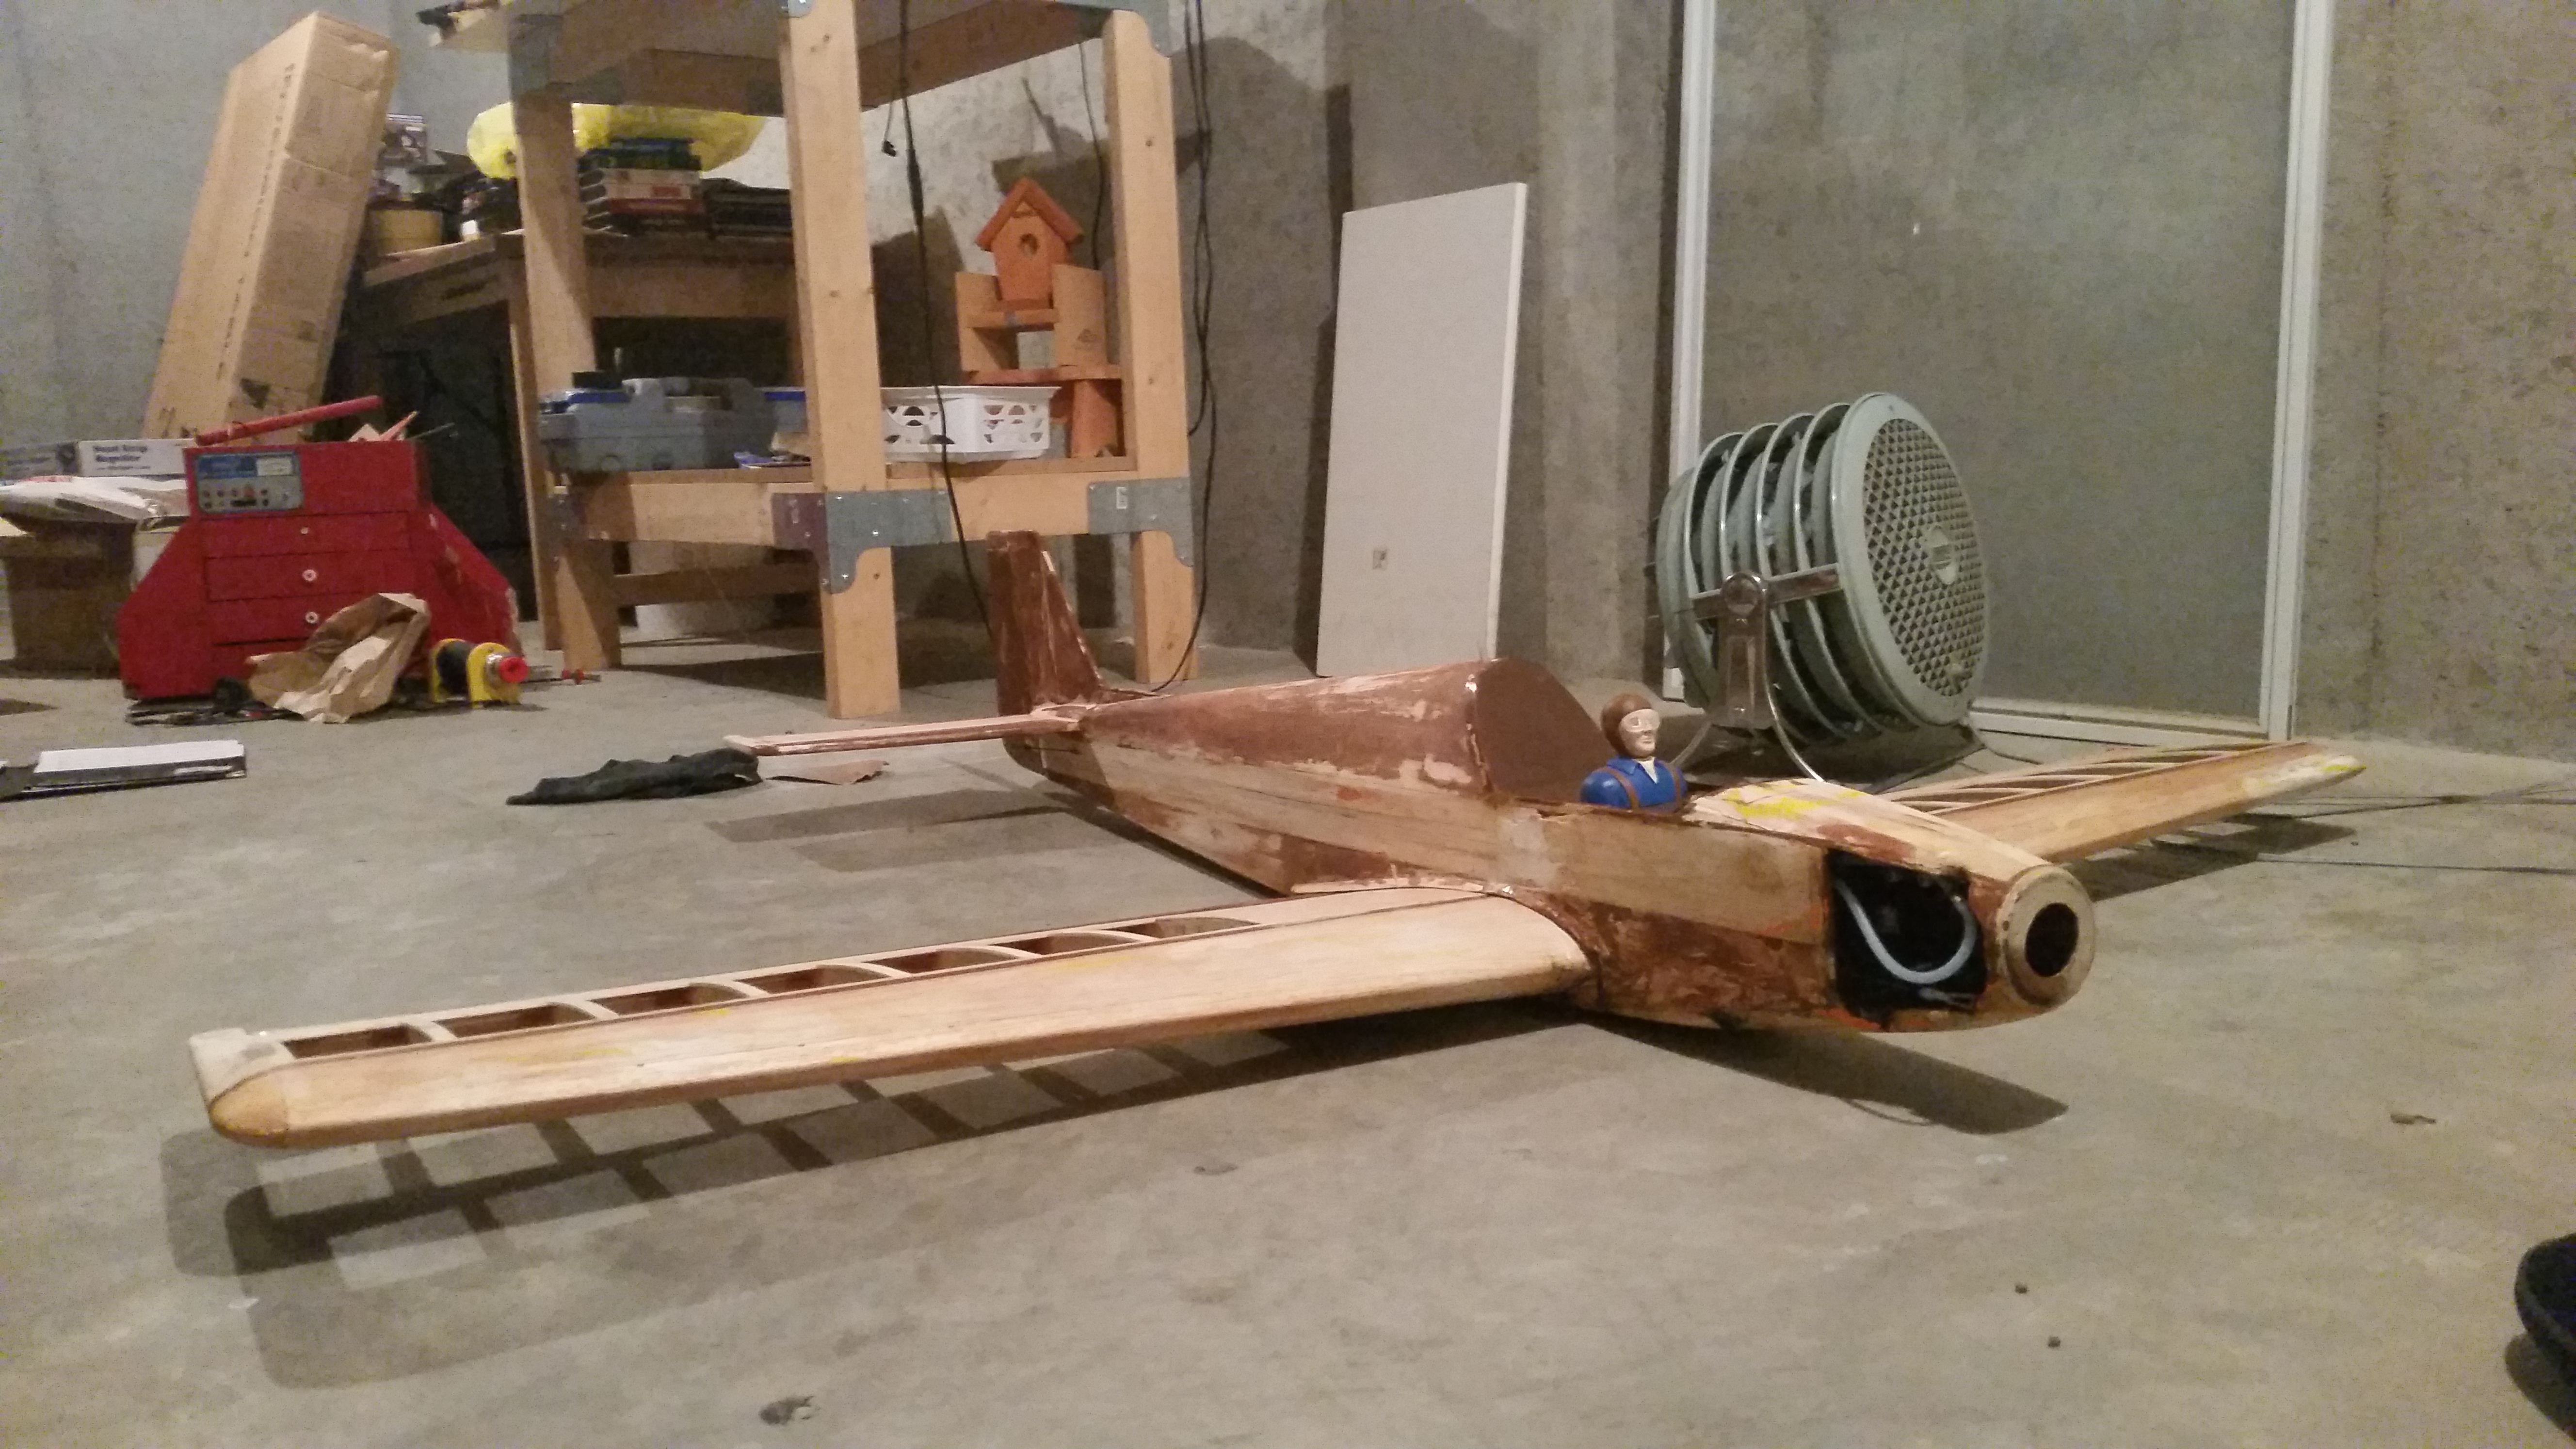
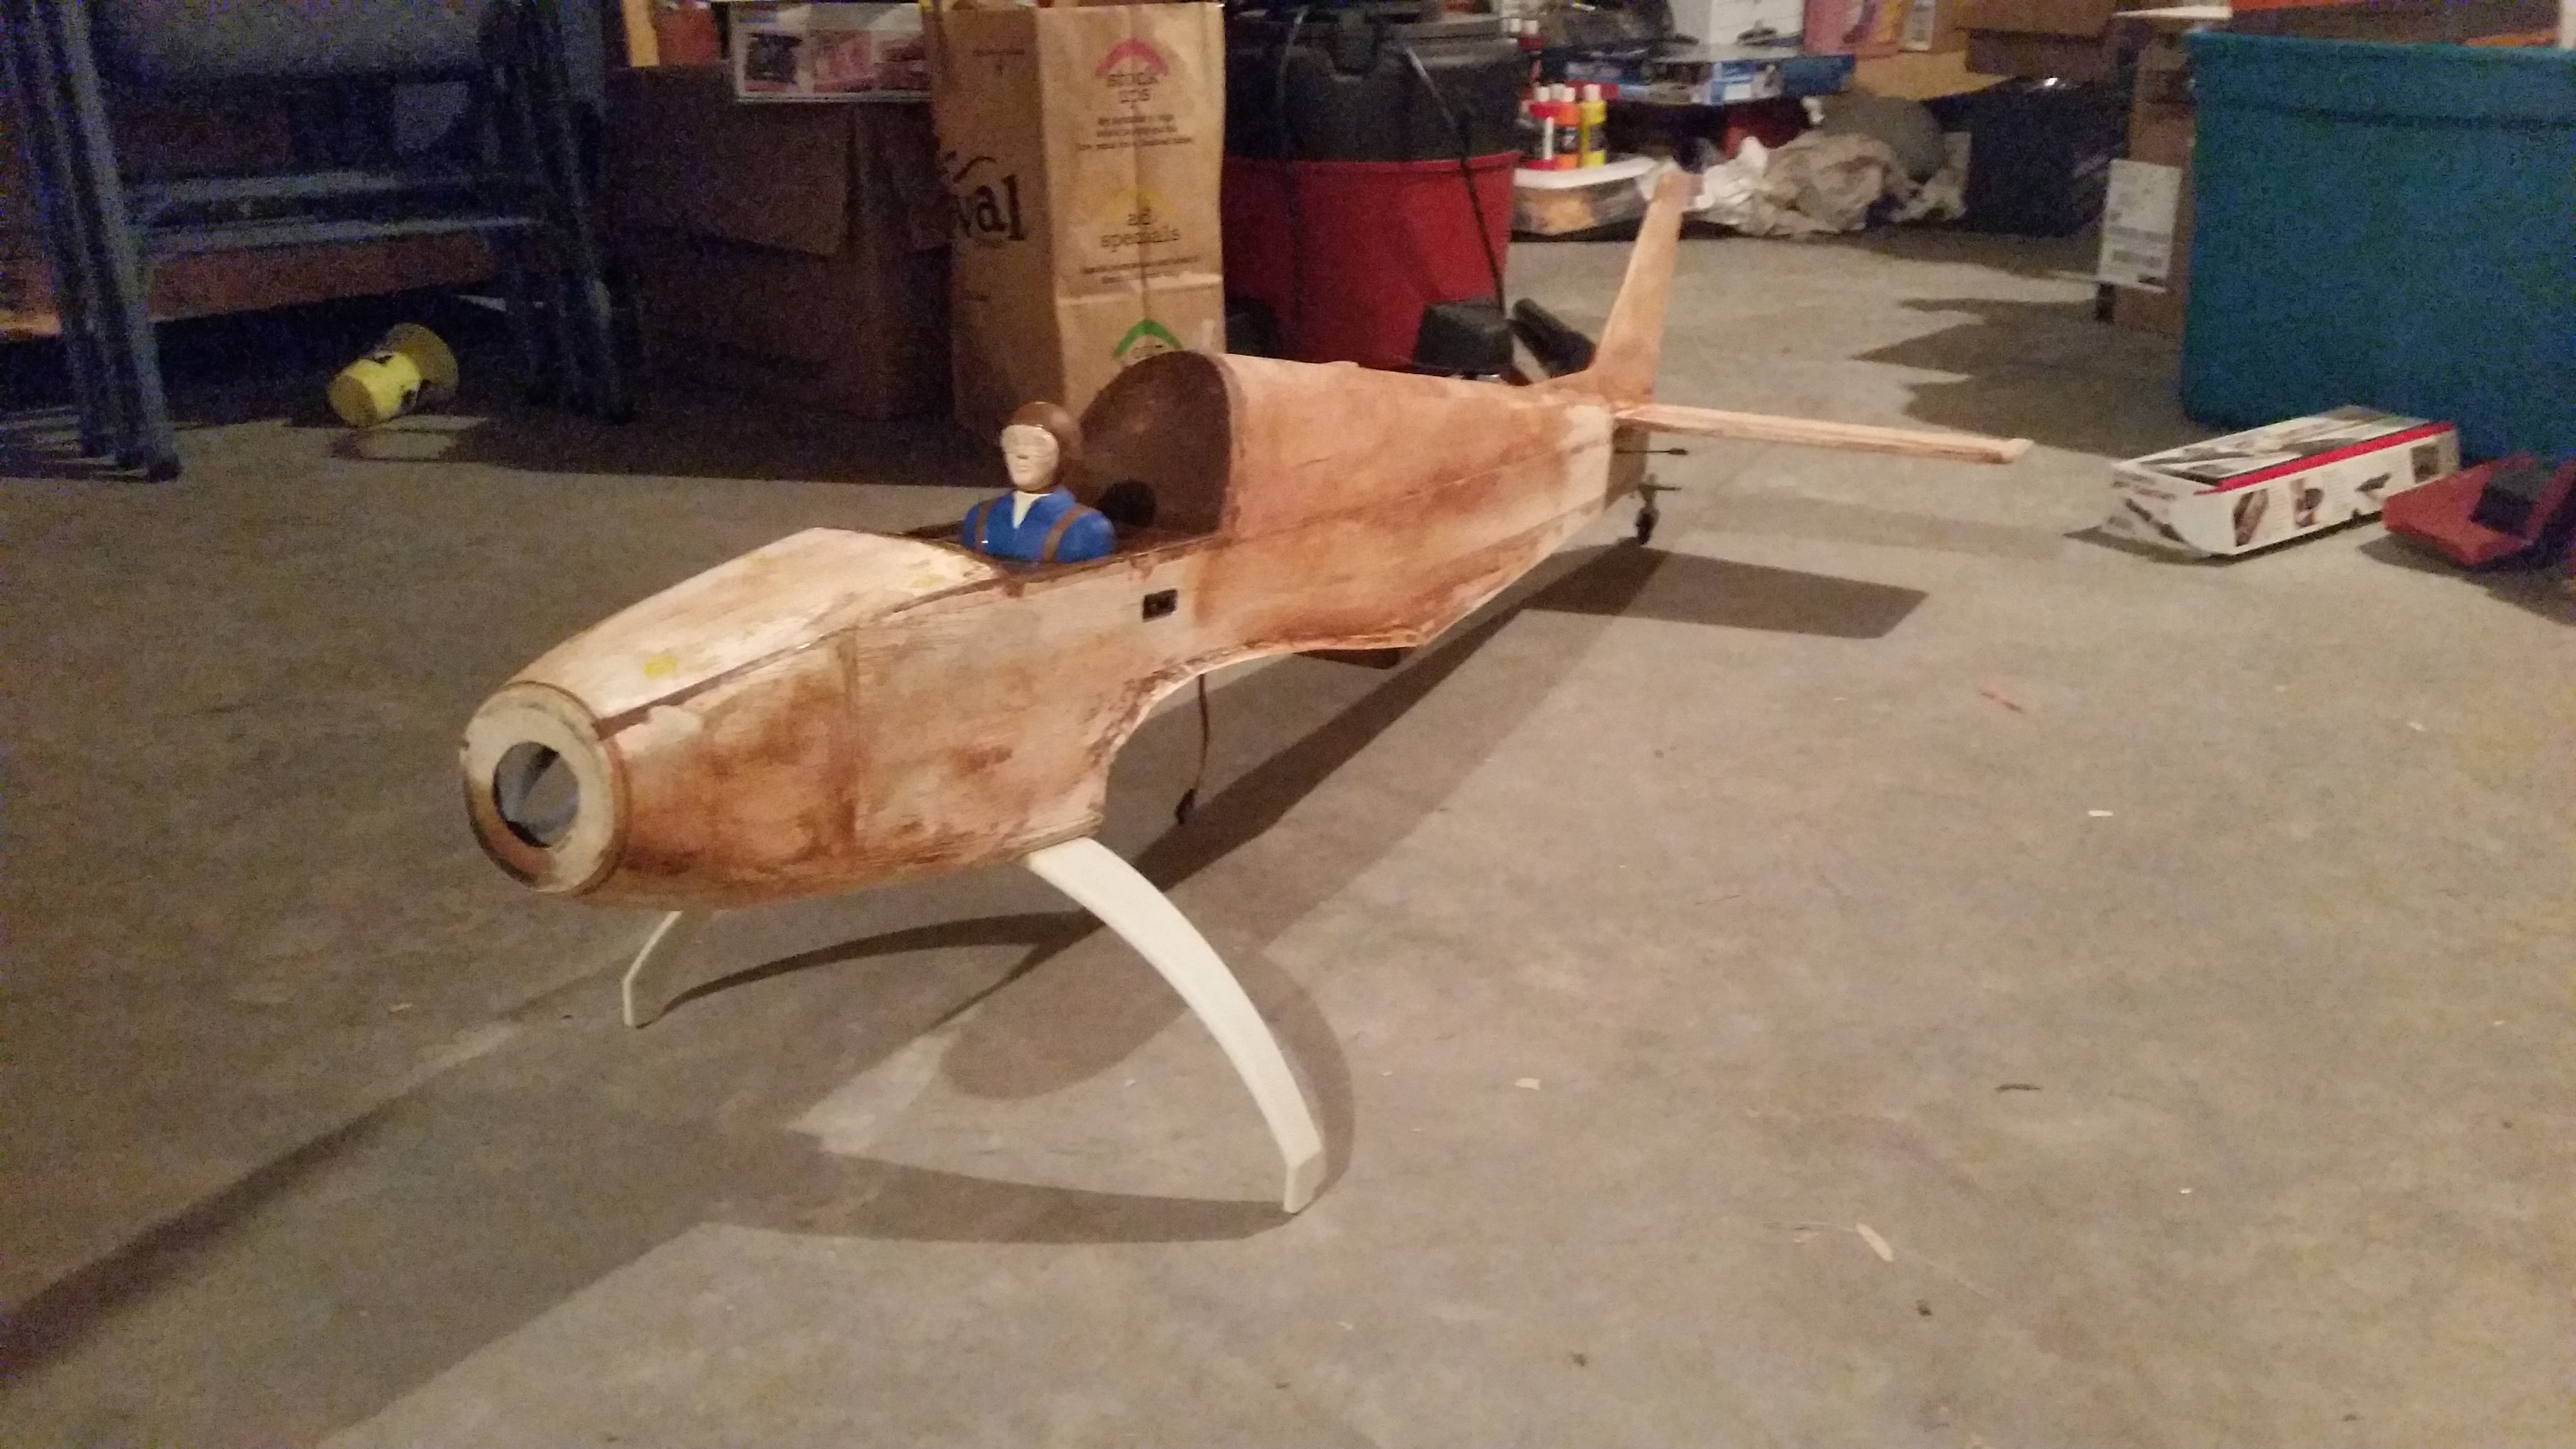
Probably the only picture we'll see of it "gear up," just after I got the tri-gear off. Took a ton of sanding and acetone to get the brown out of the wood--both before and after this photo.
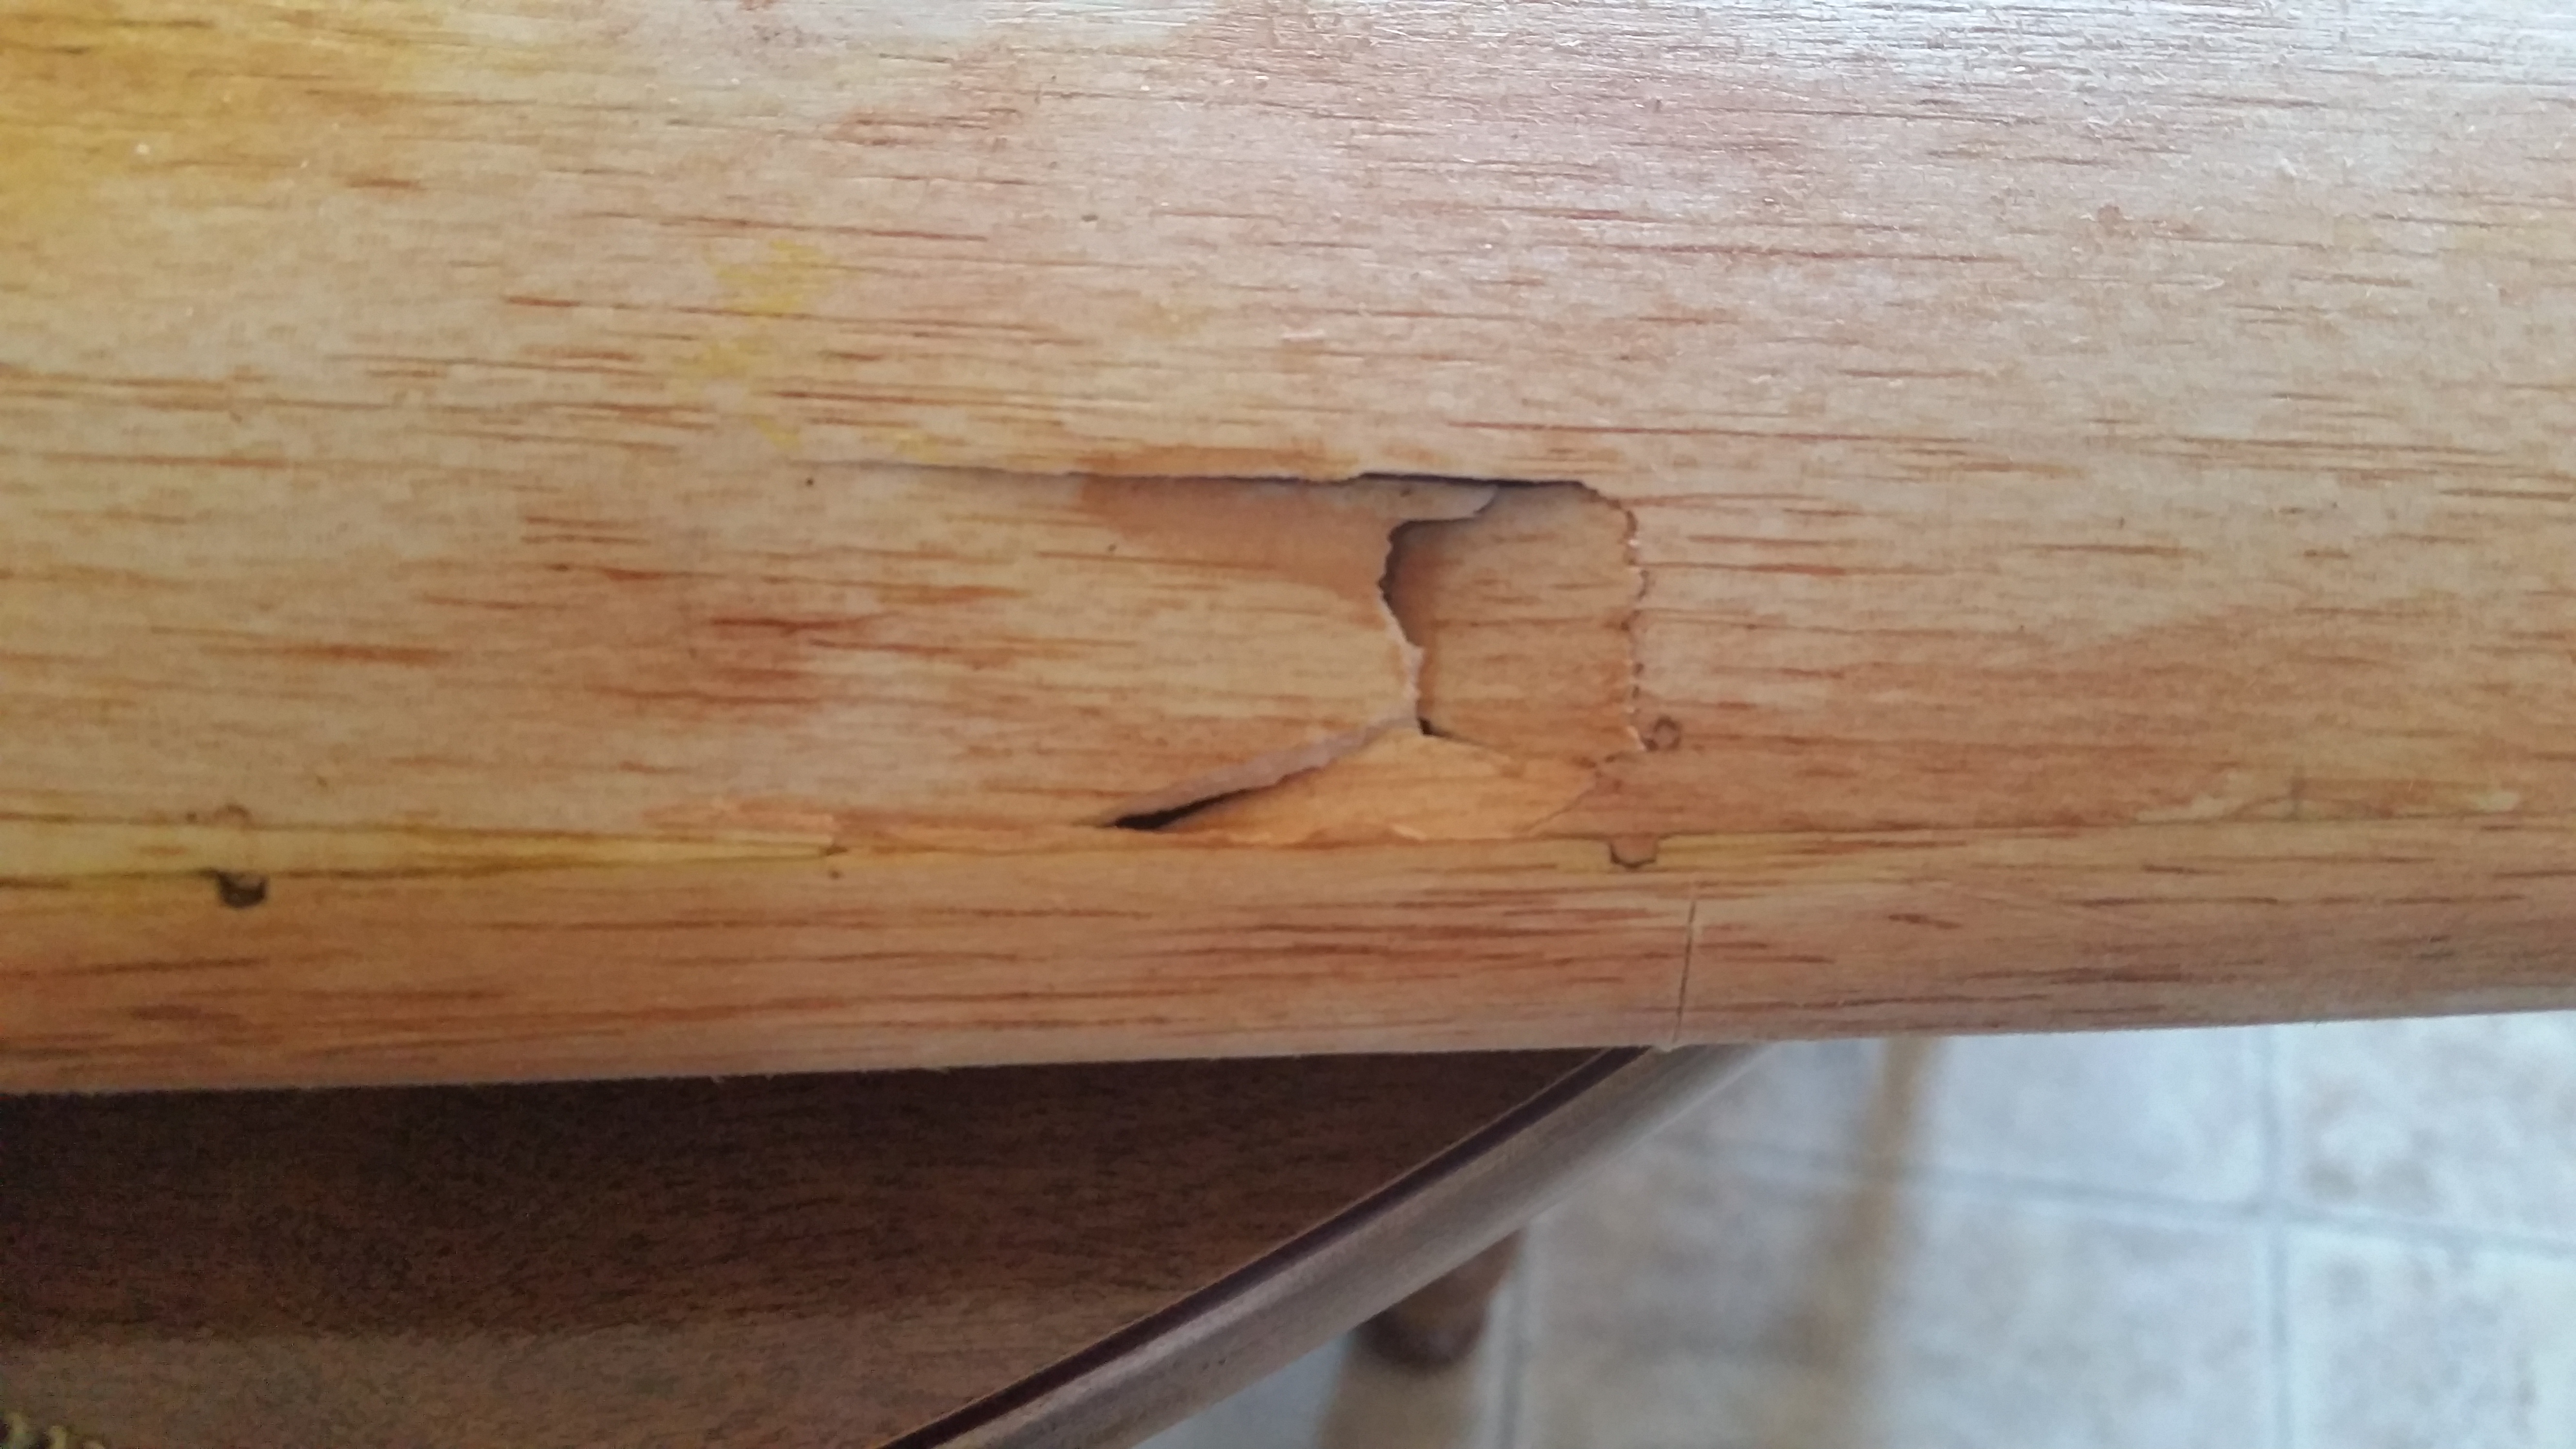
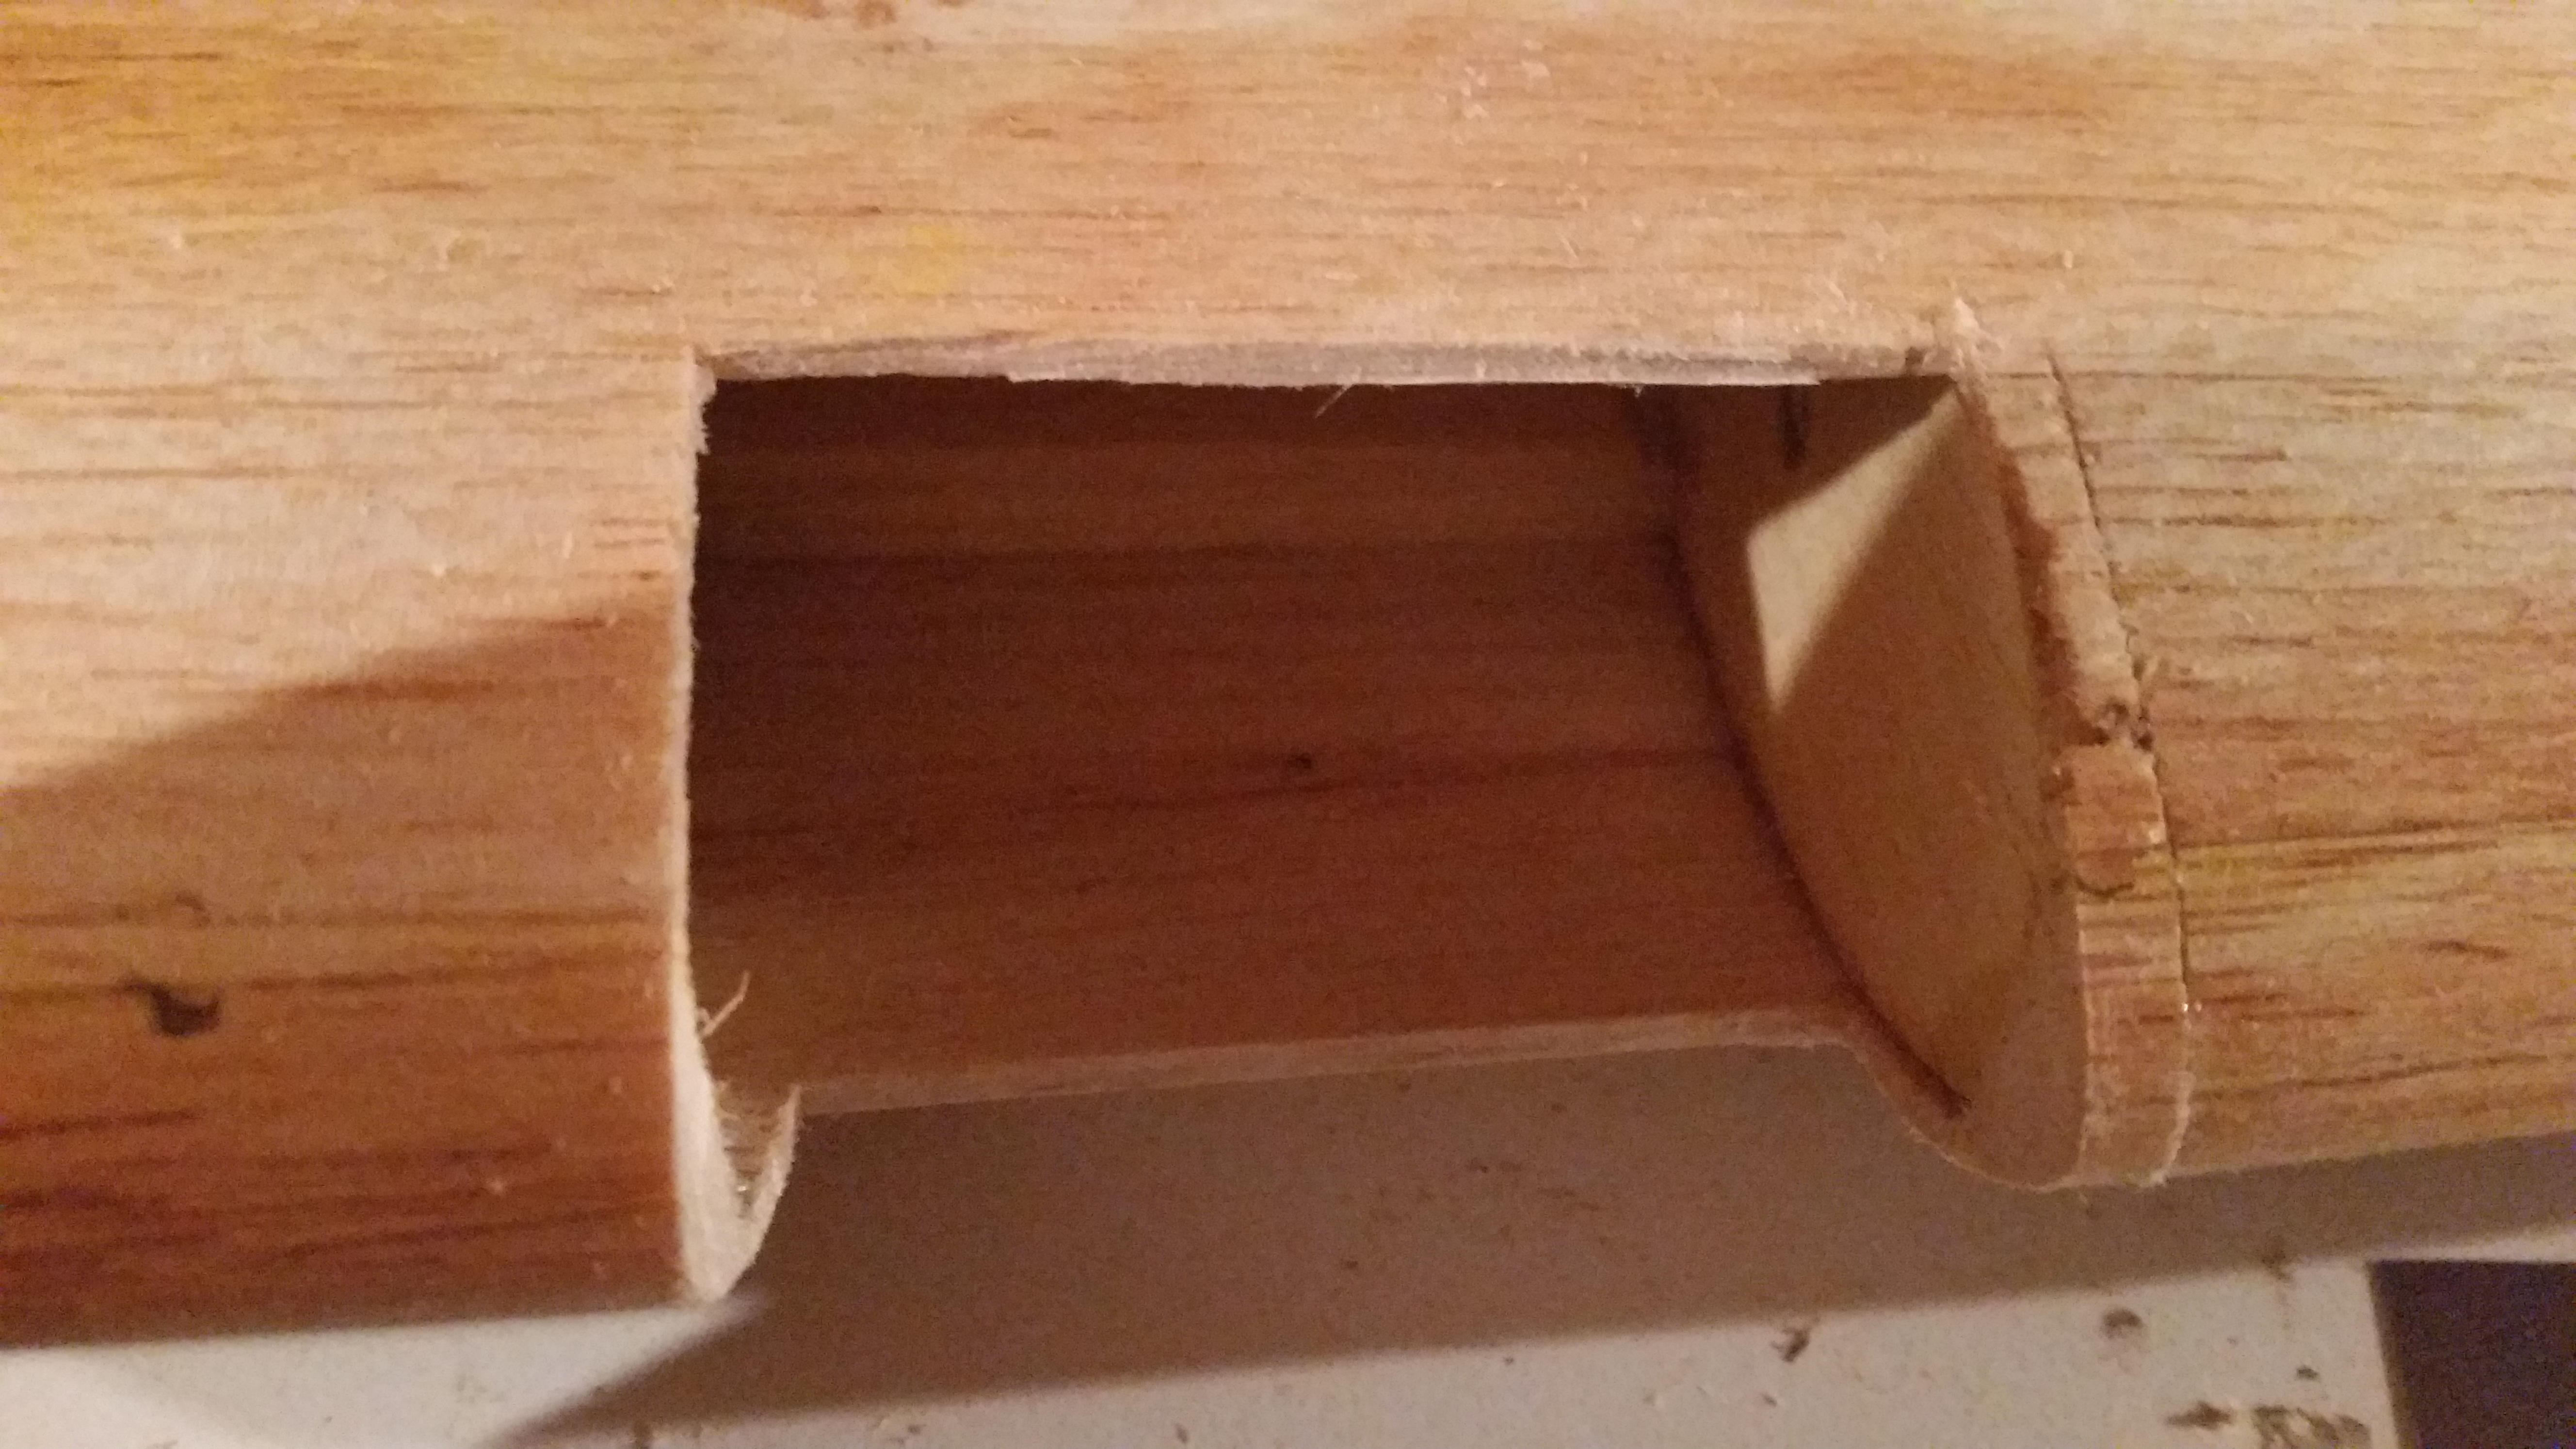
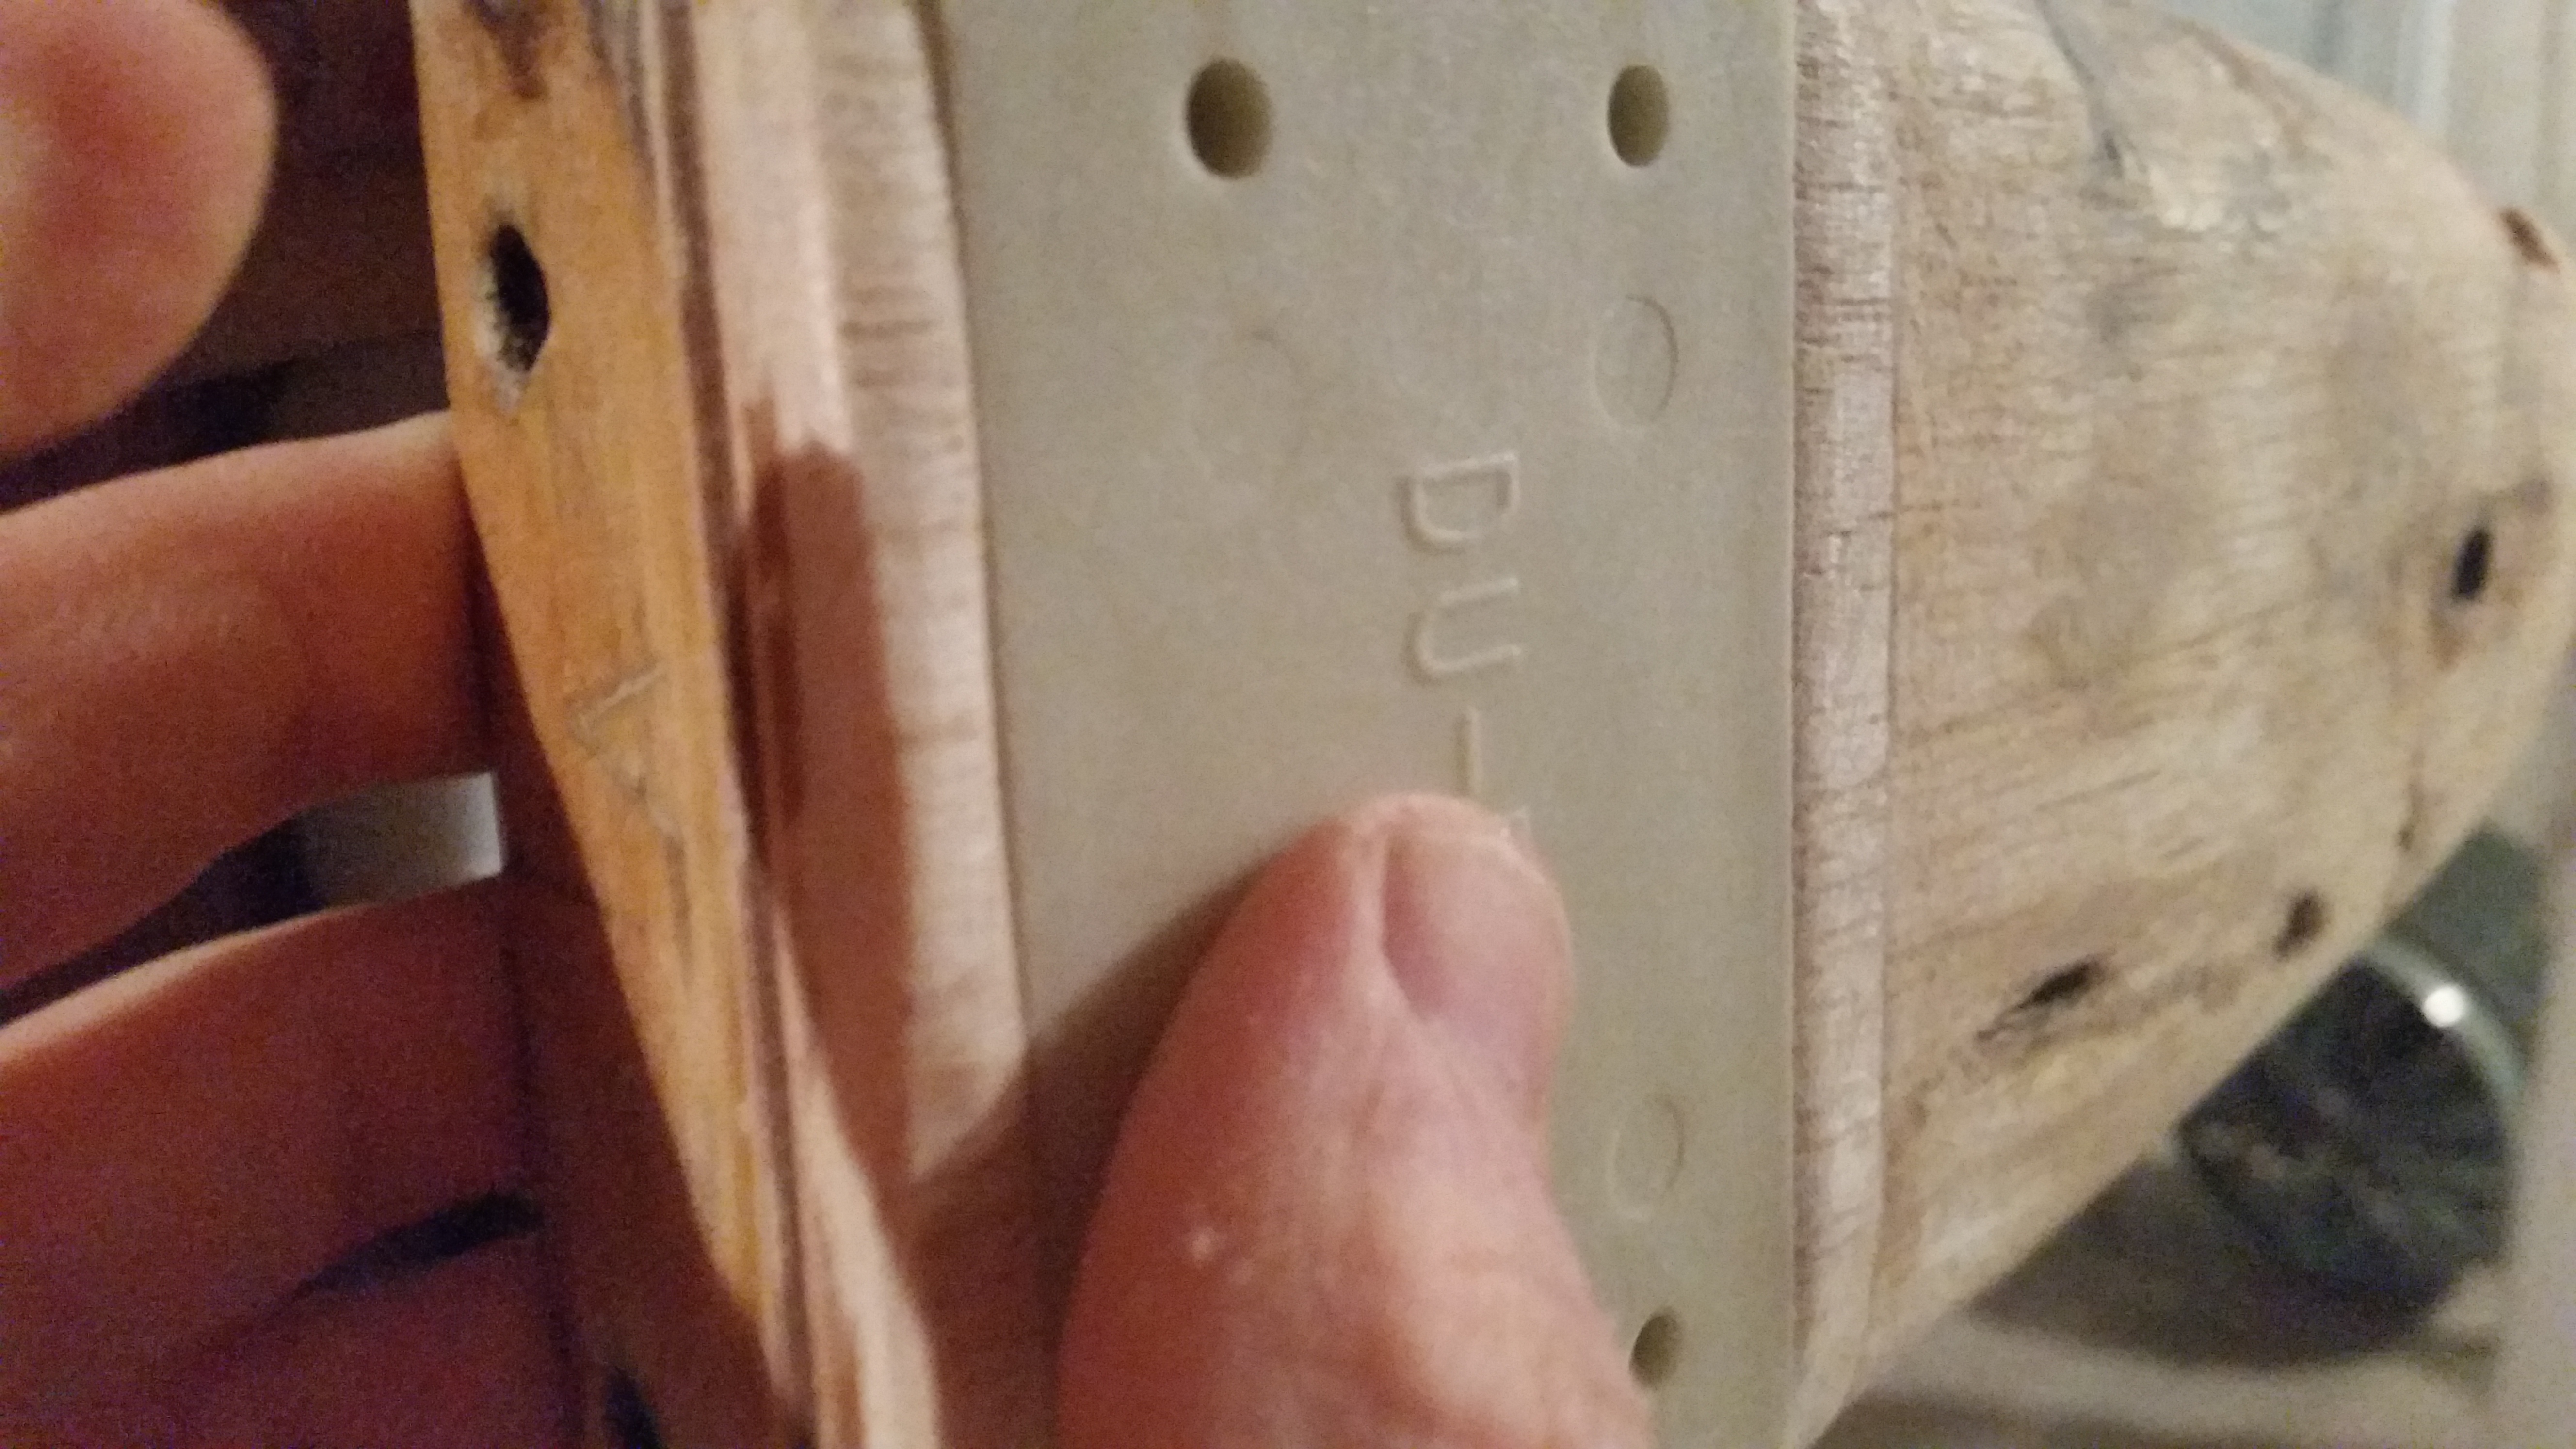
I must be one of the "ham-fisted" people they mention on page 27. Put this hole in the wing with my fingers. I'm sure you can see why repair attempt #1 didn't work. I don't have any photos of the finished product, but attempt #2 went a lot better--the wing has a scar, but it's smooth.
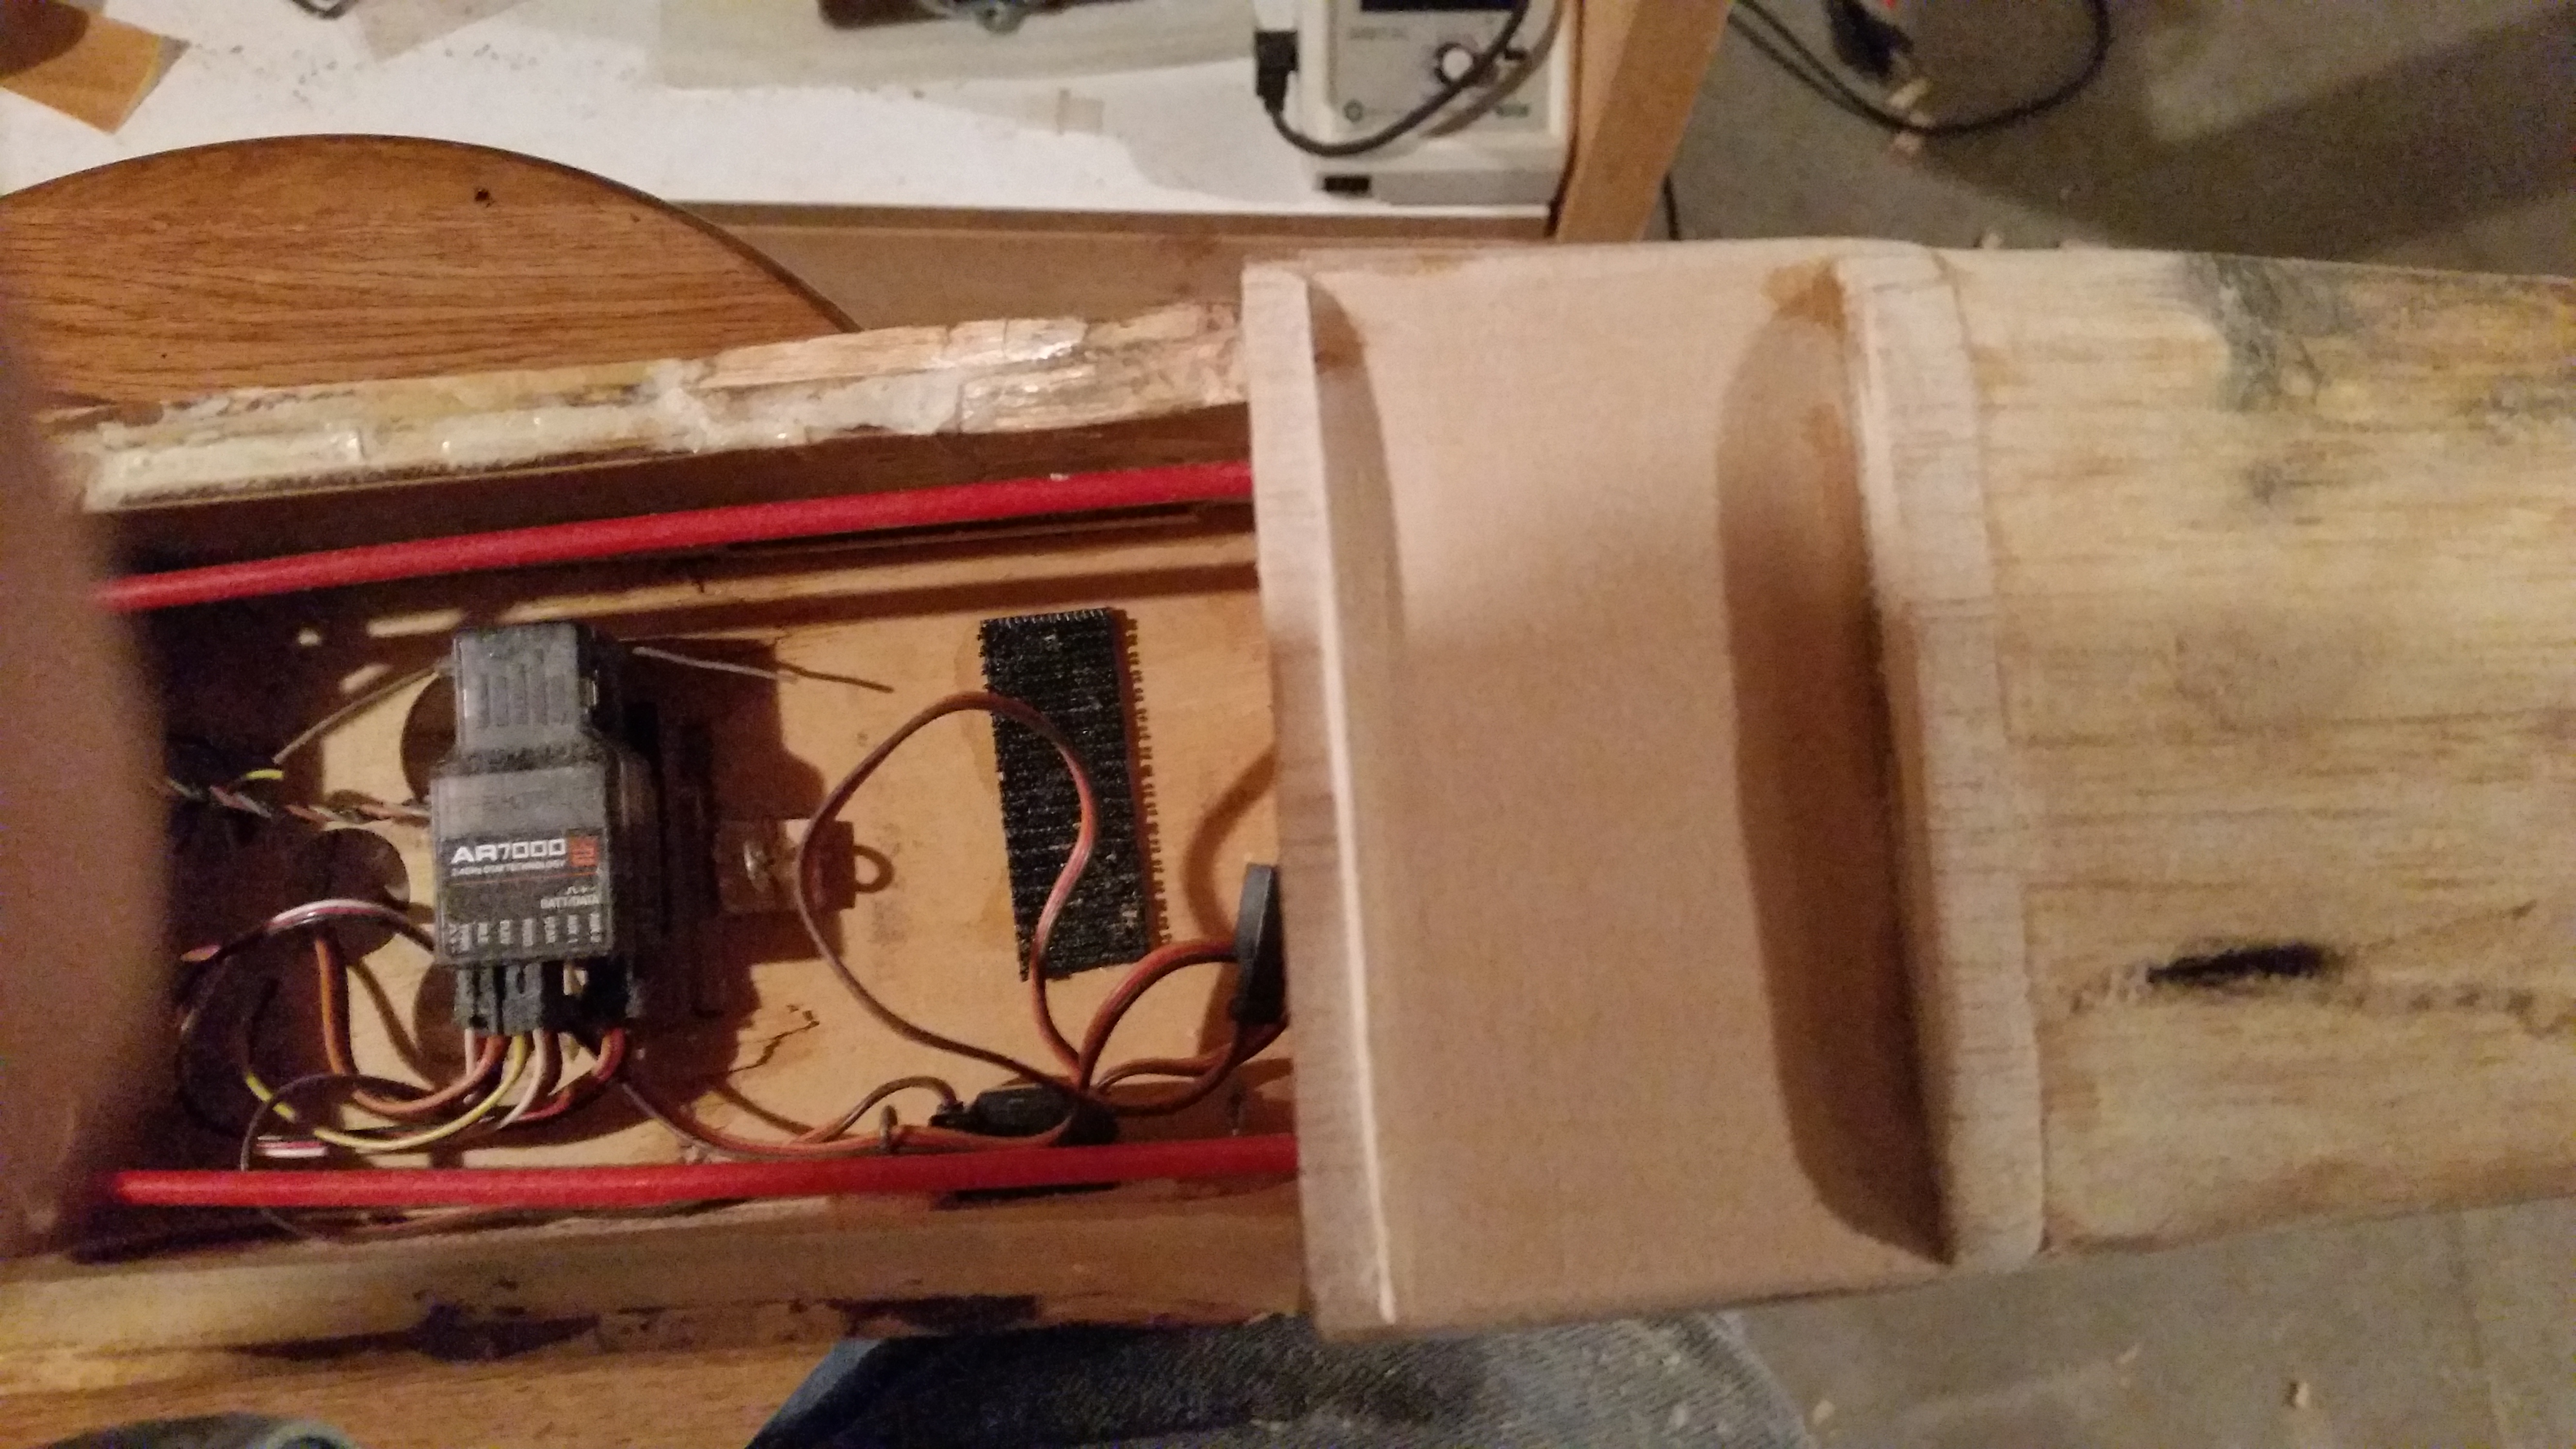
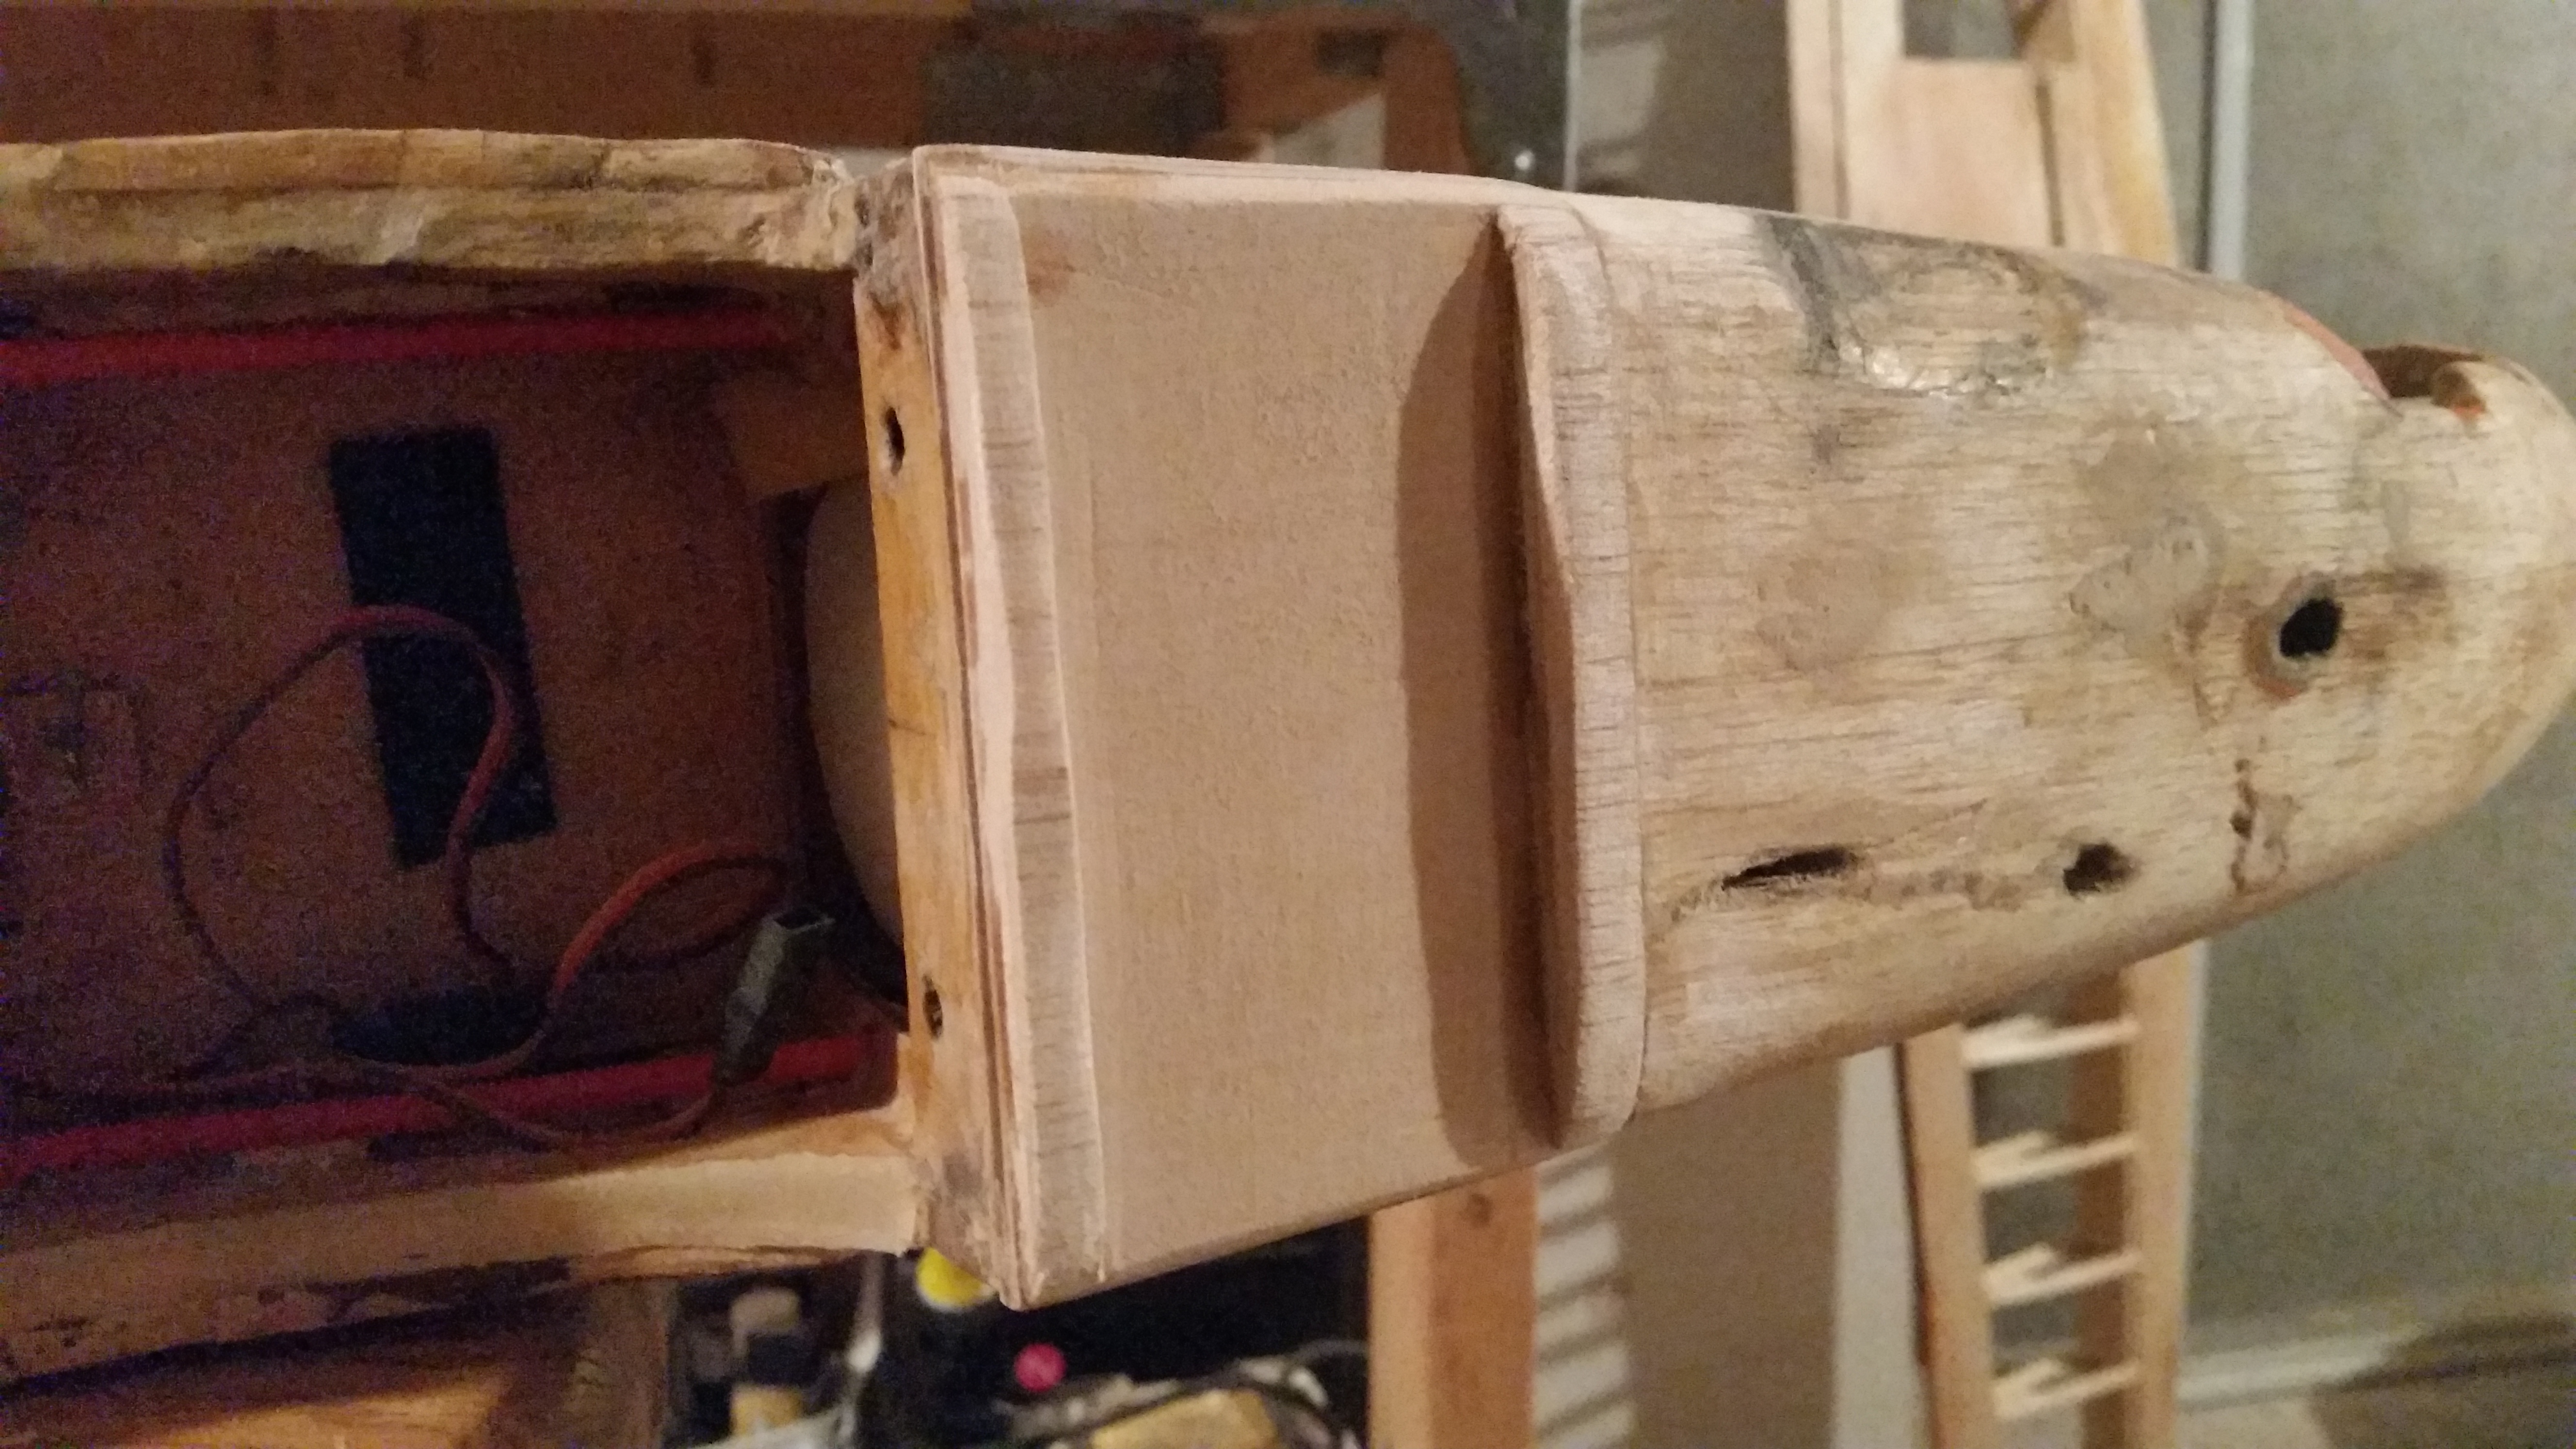
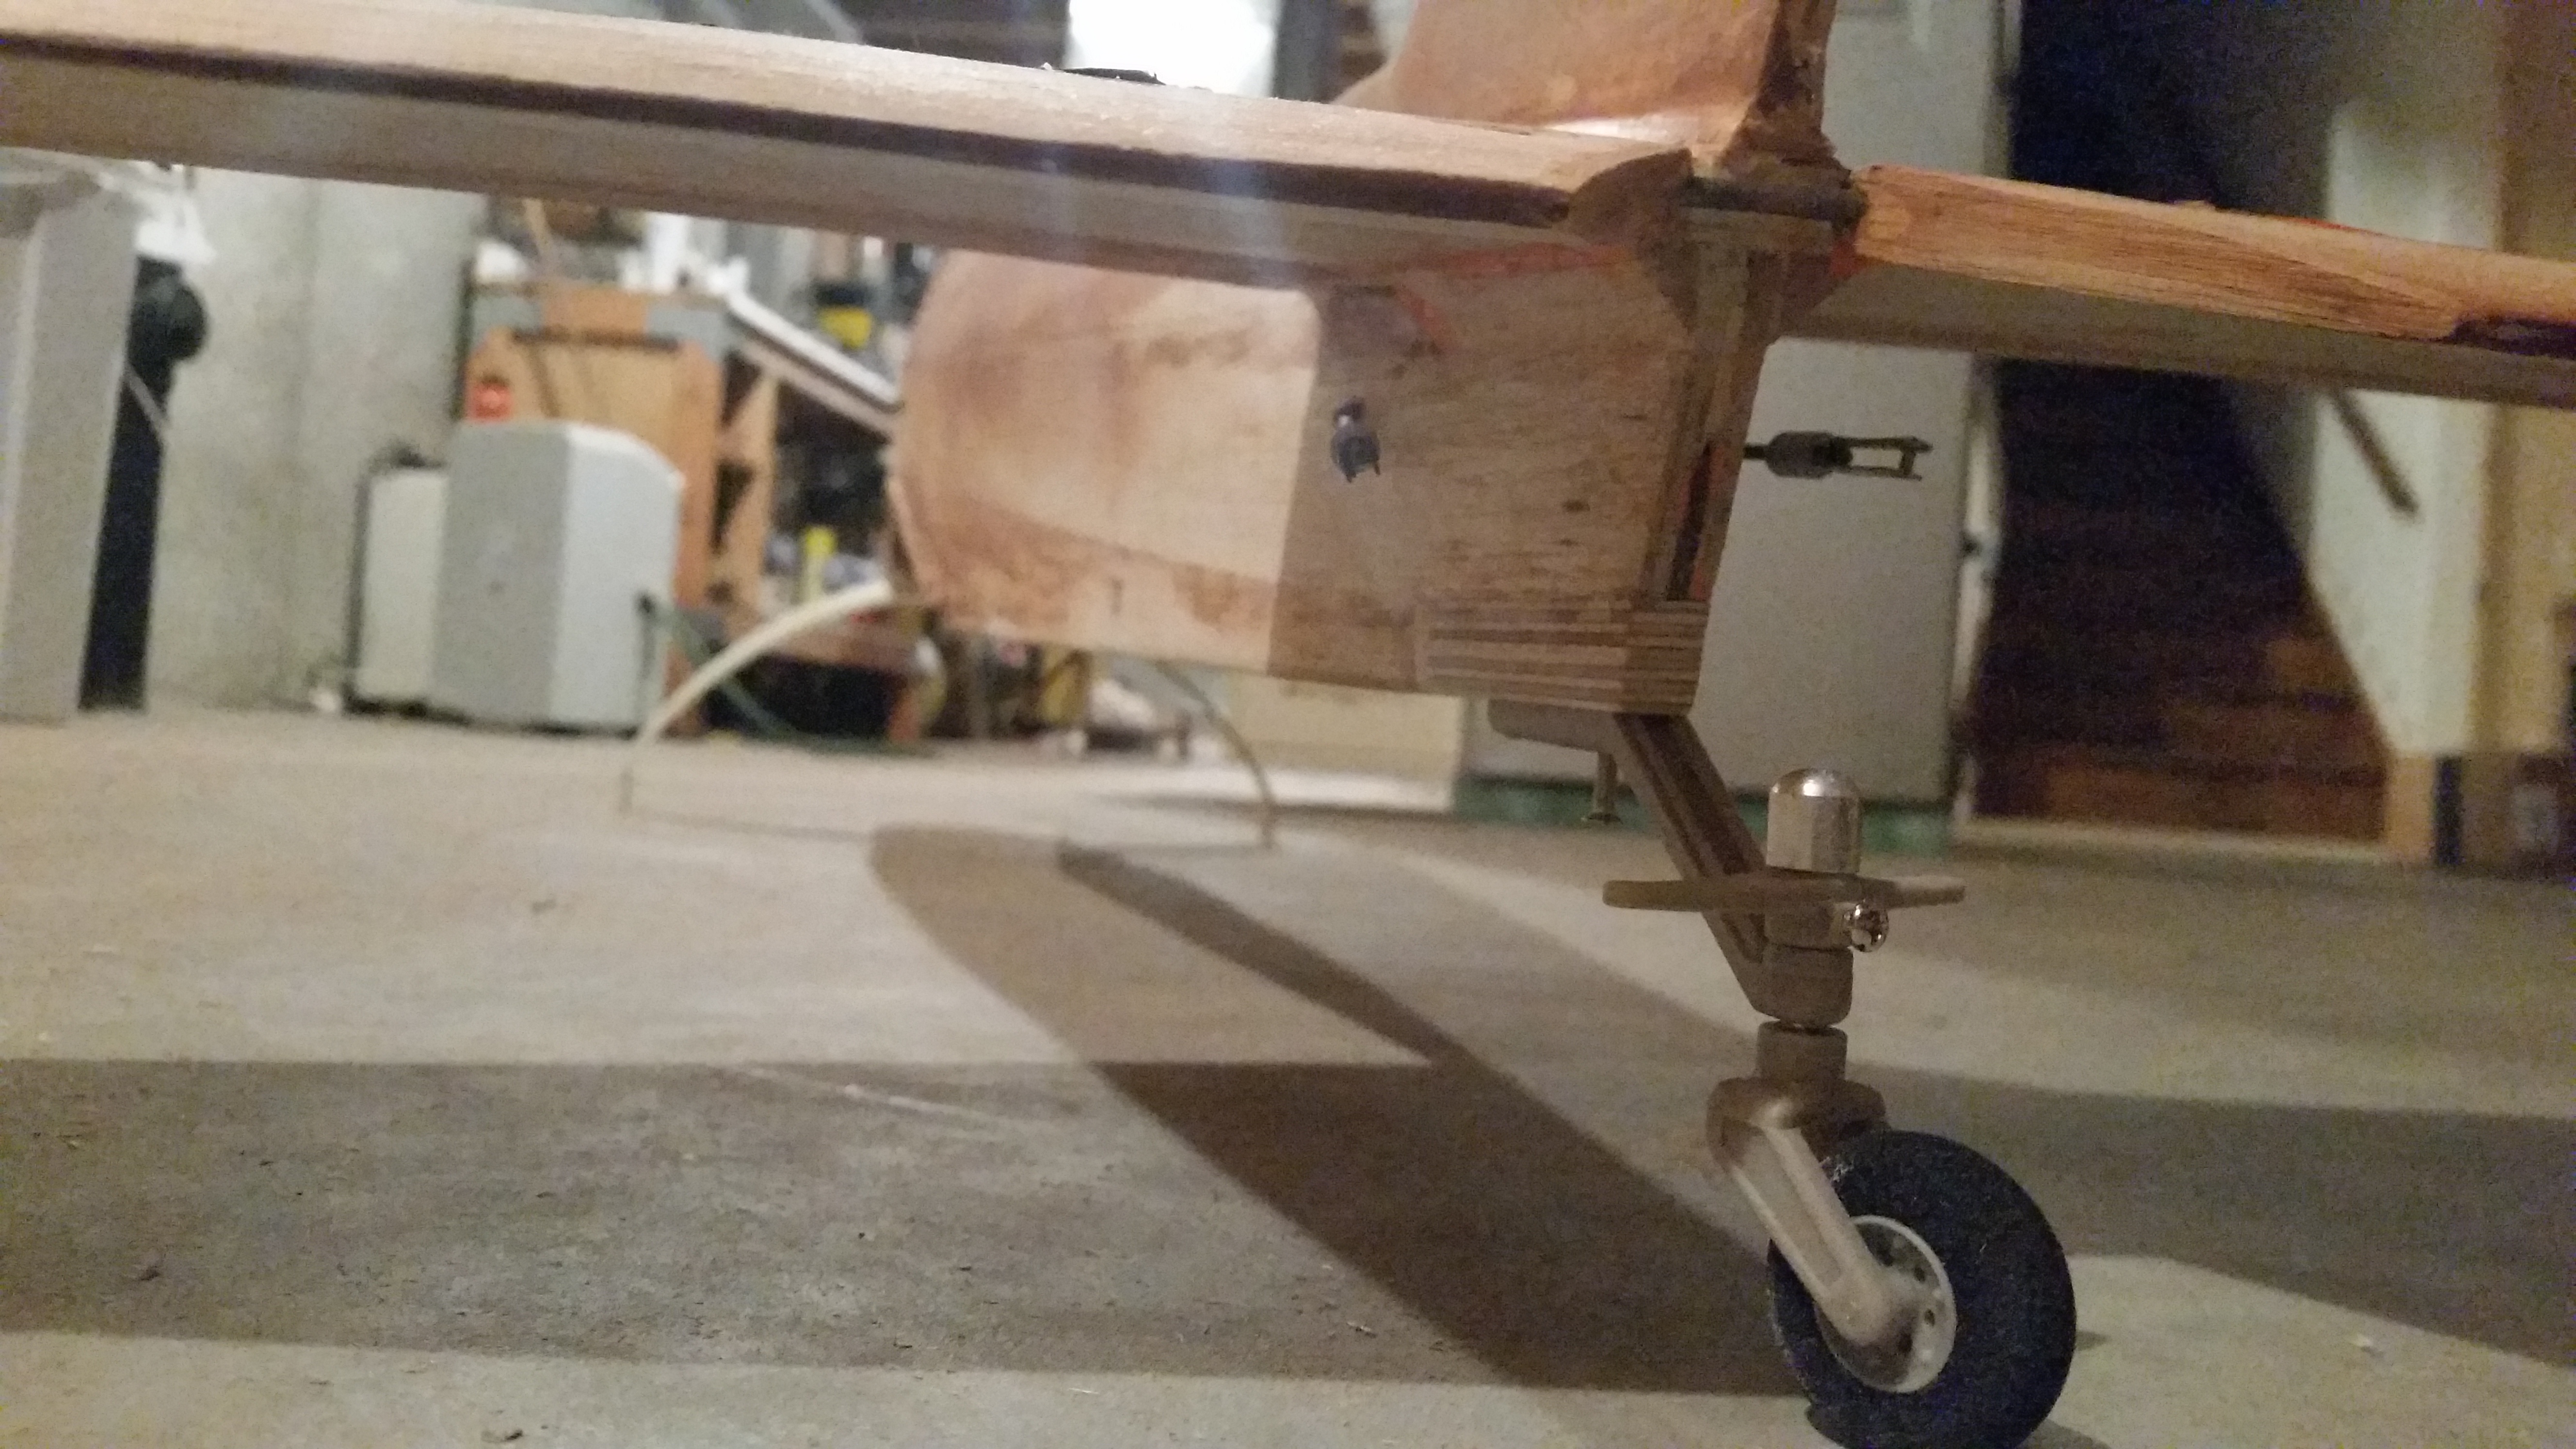
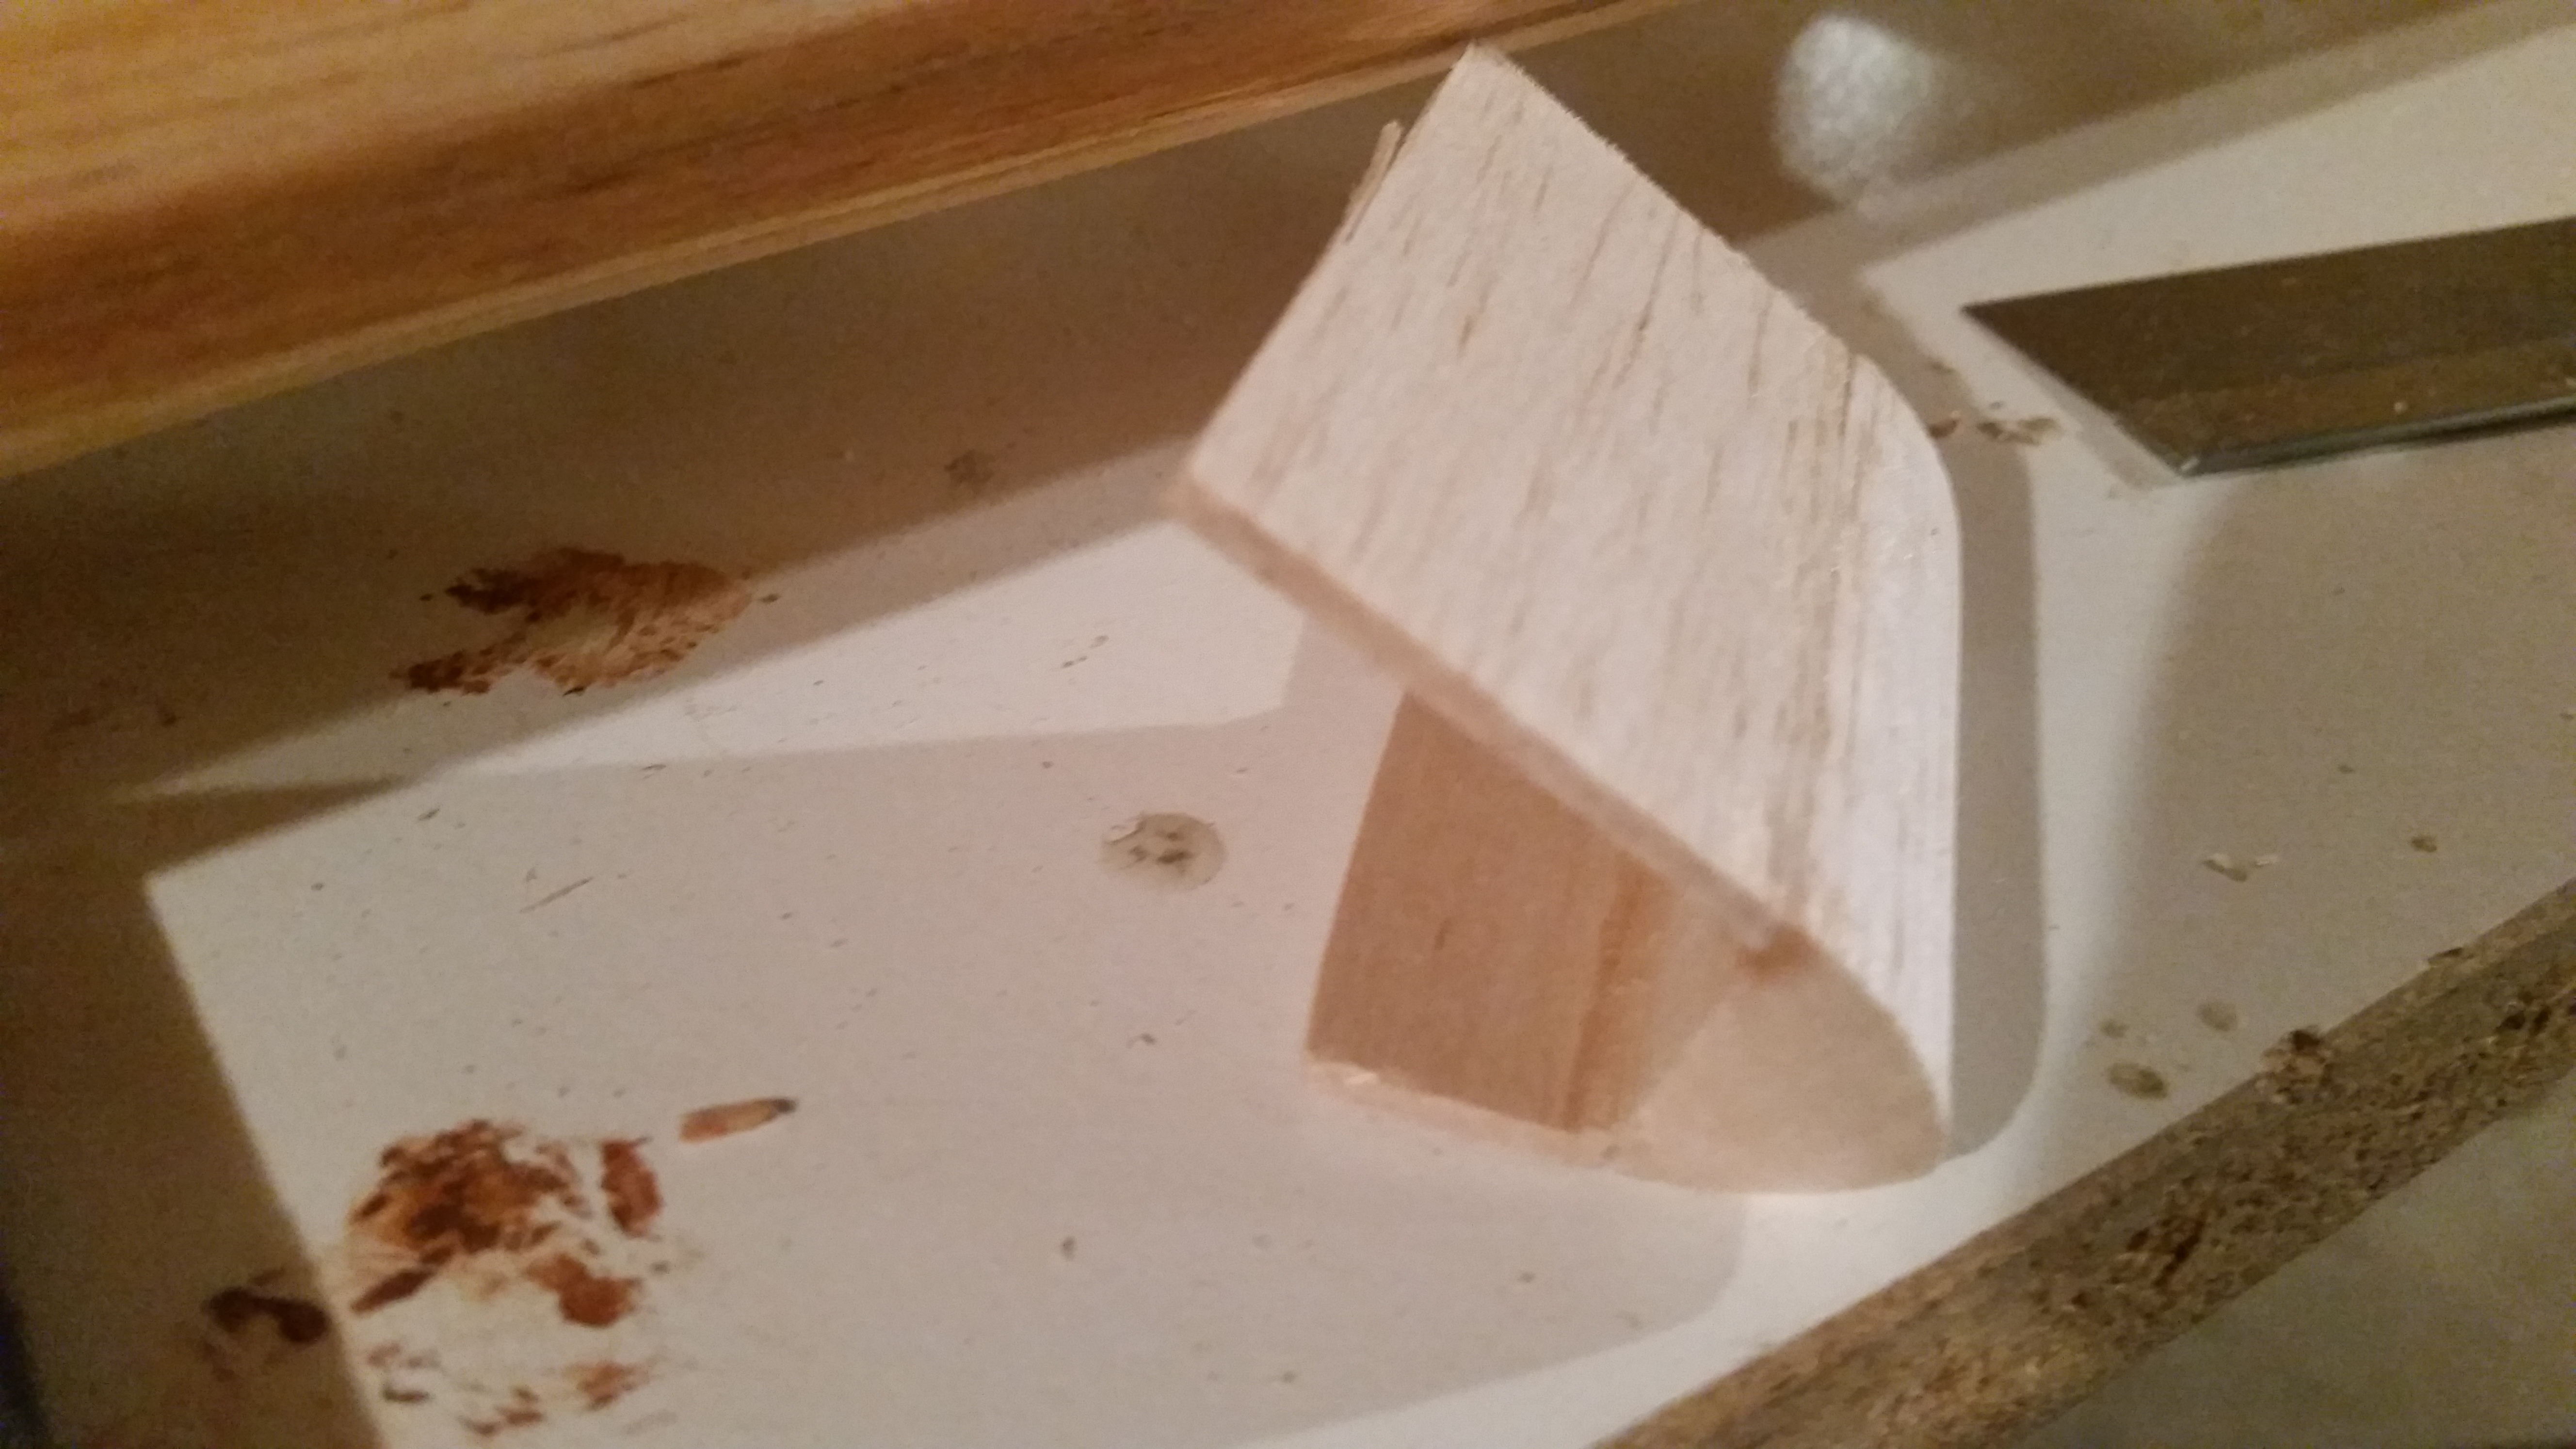
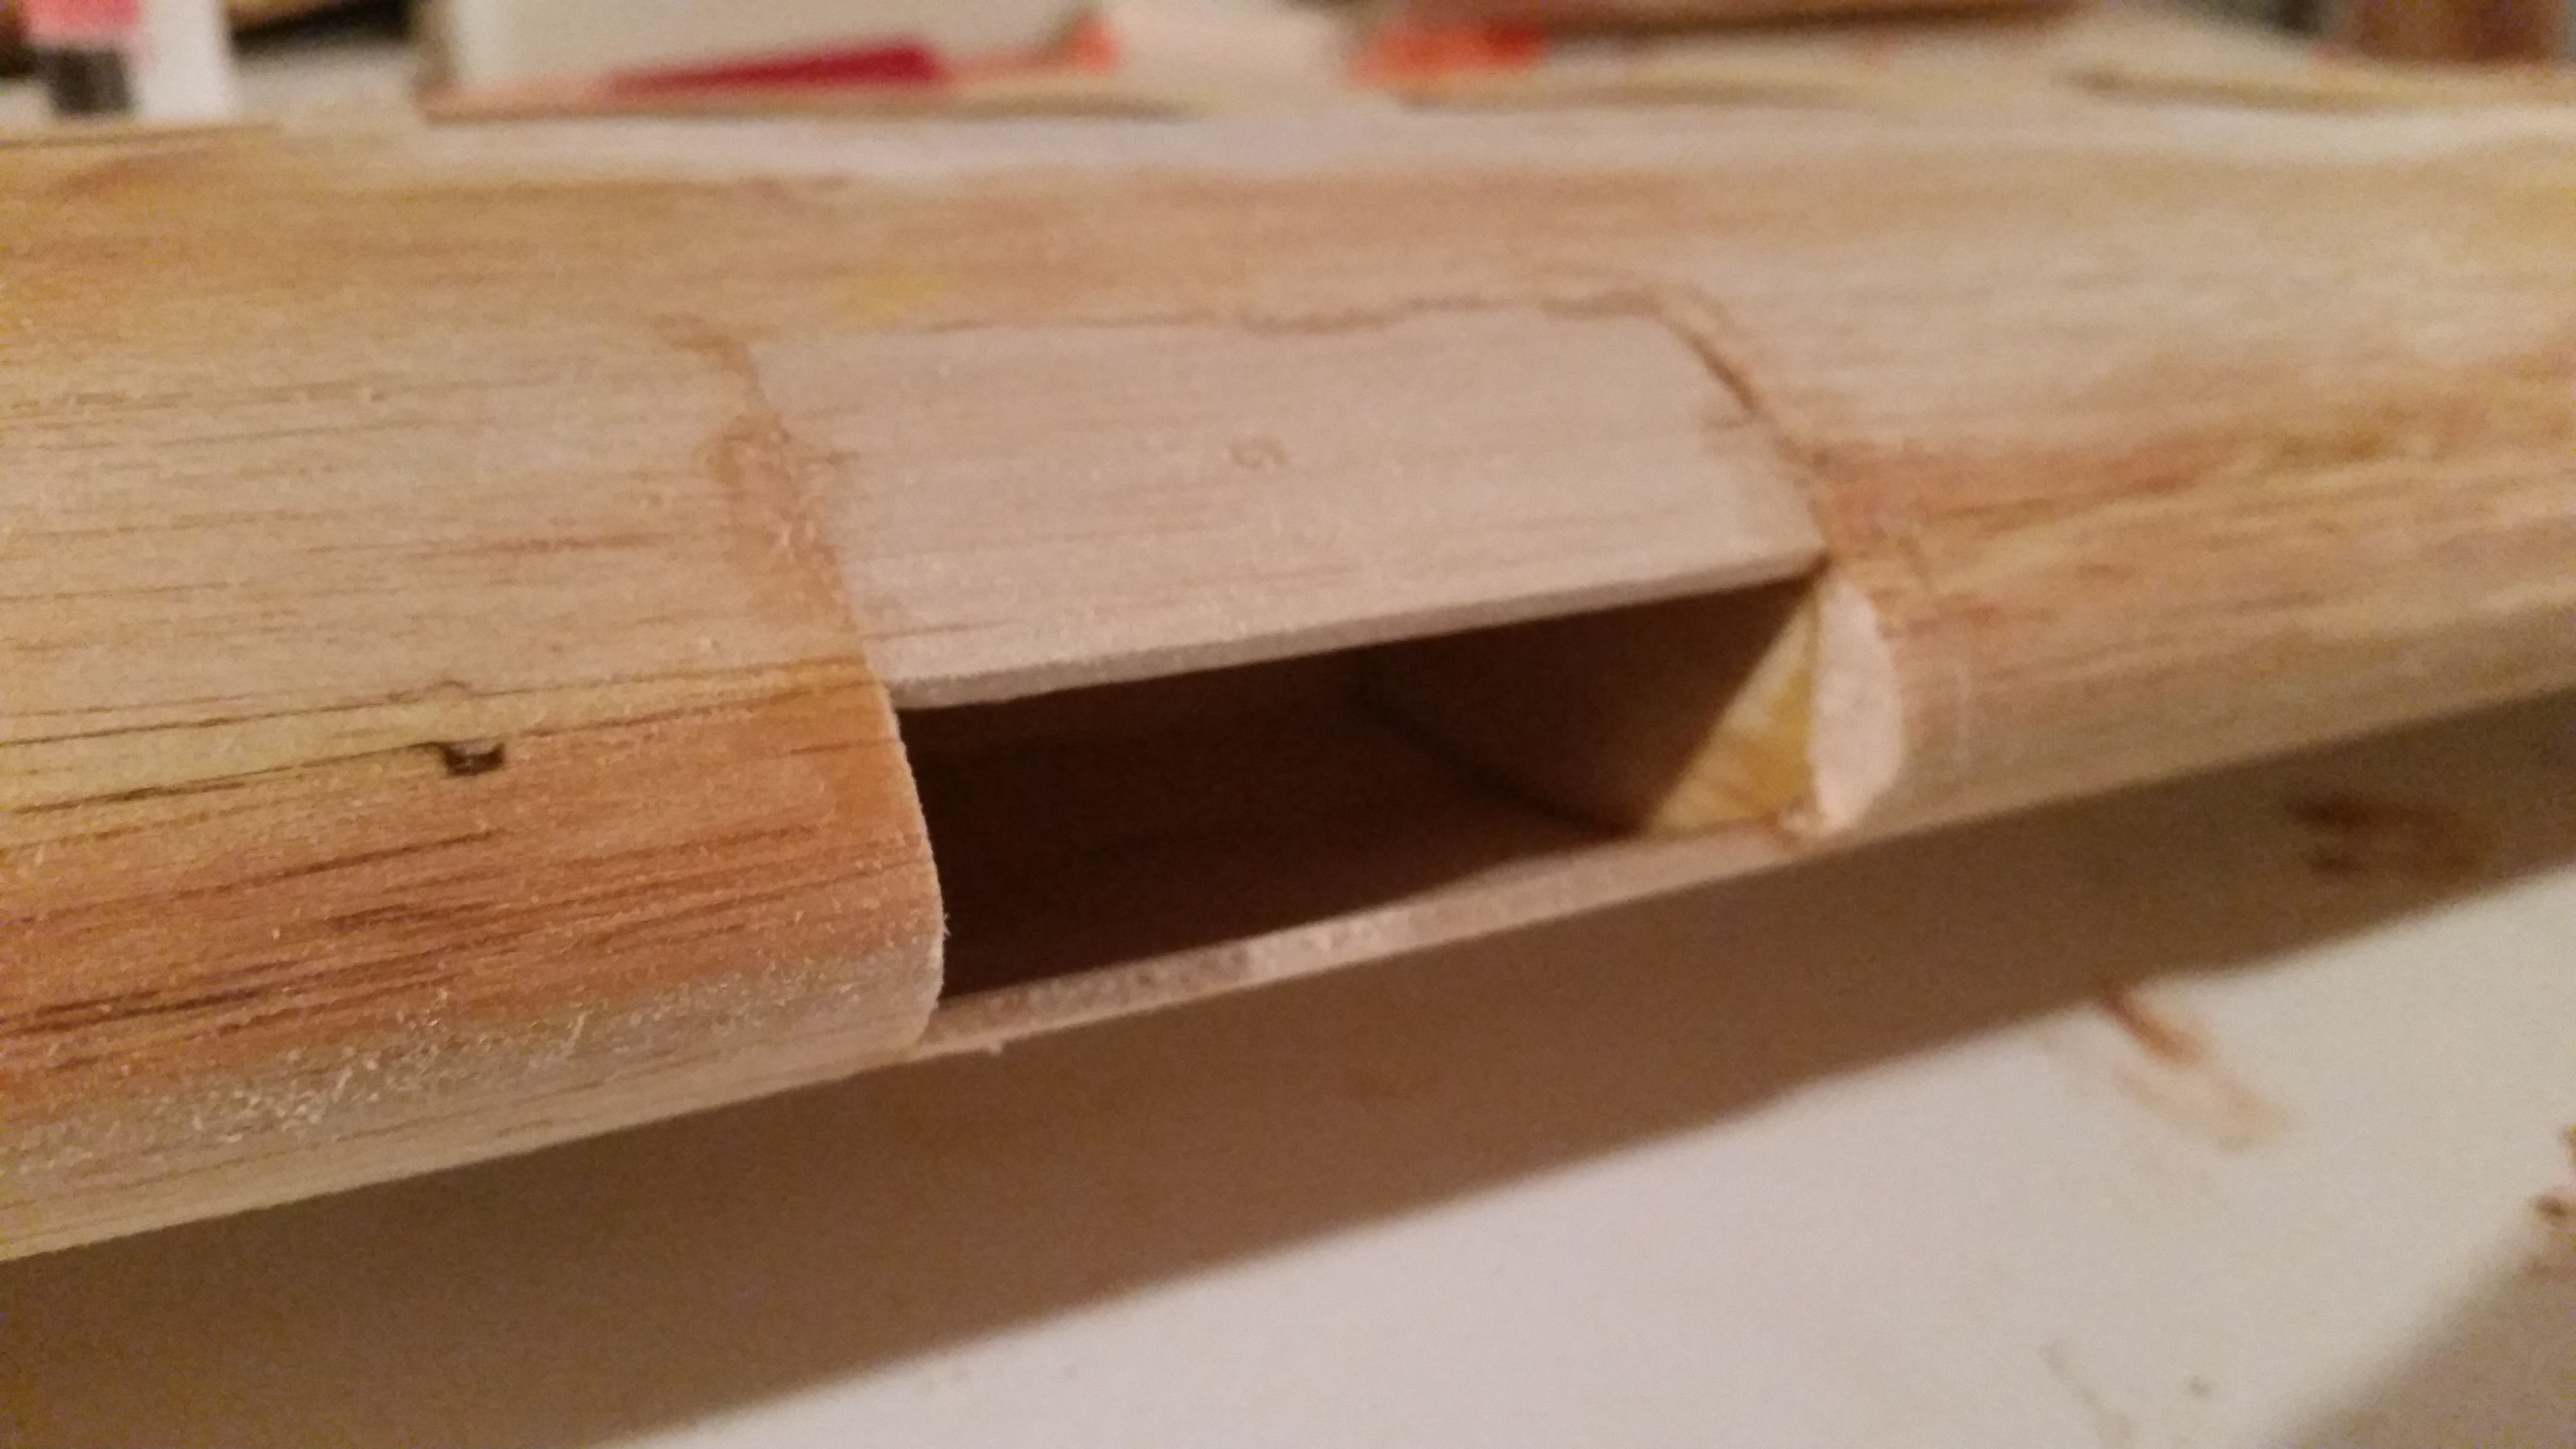
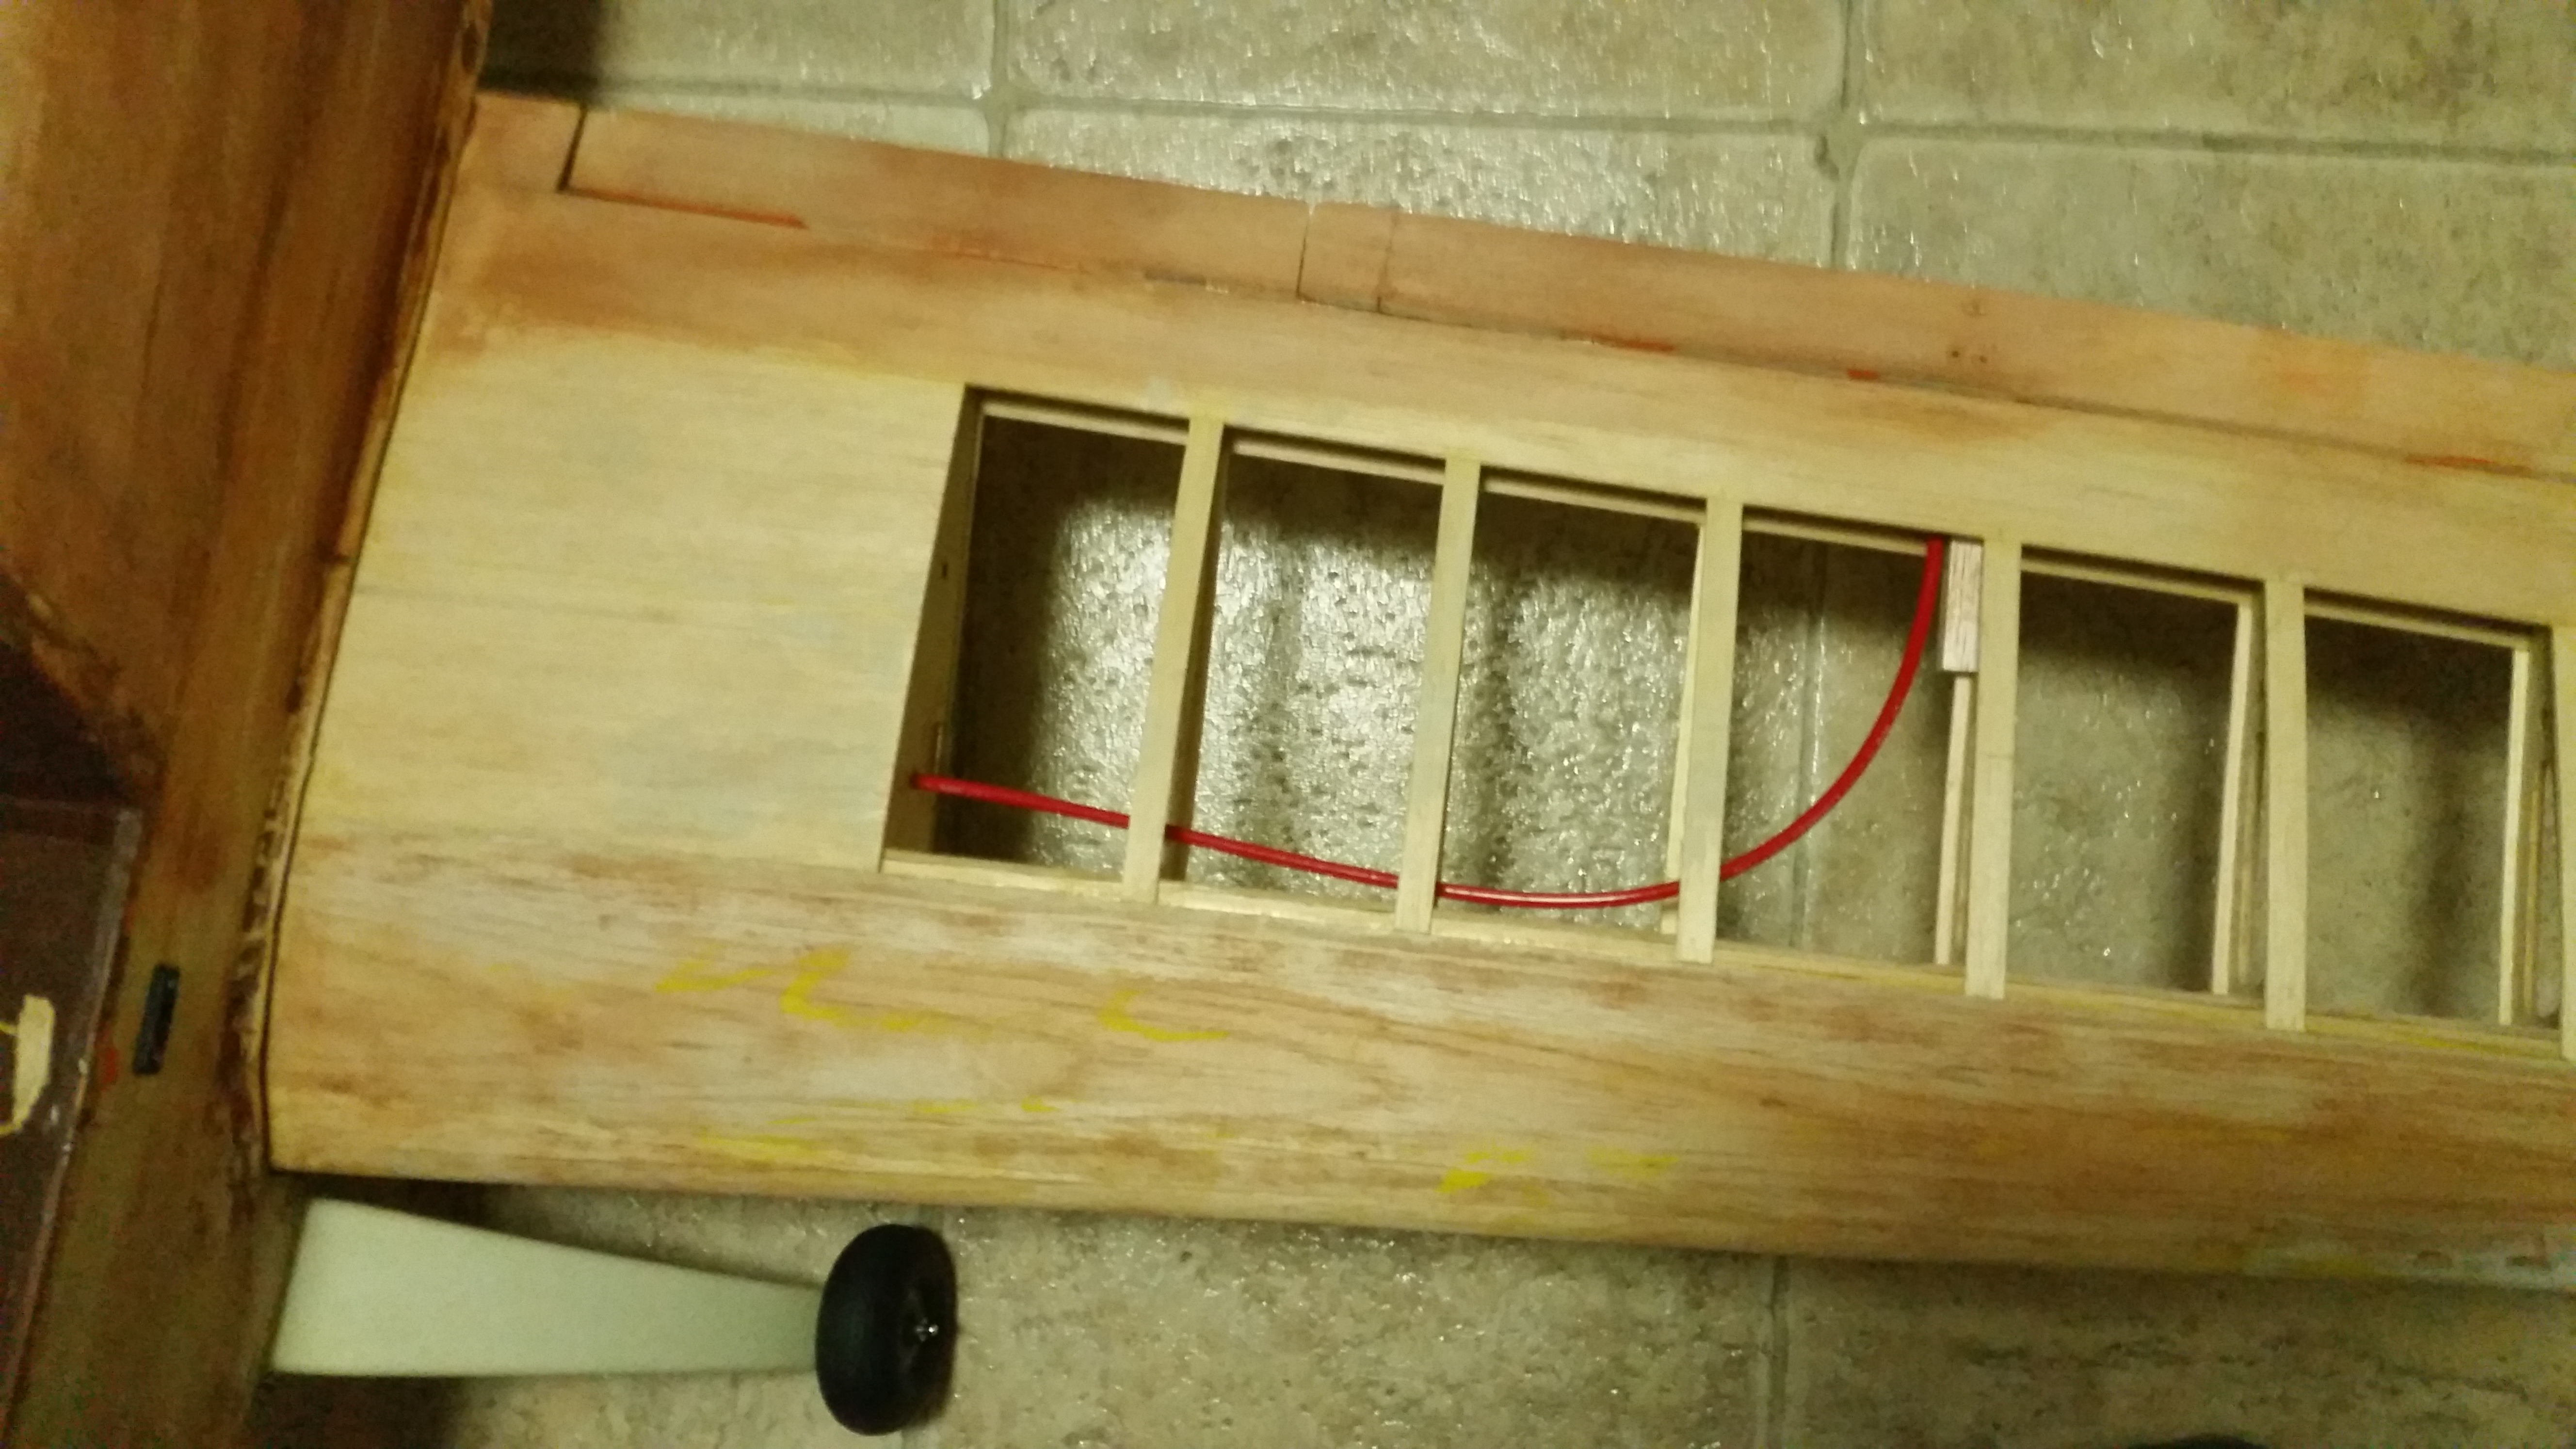
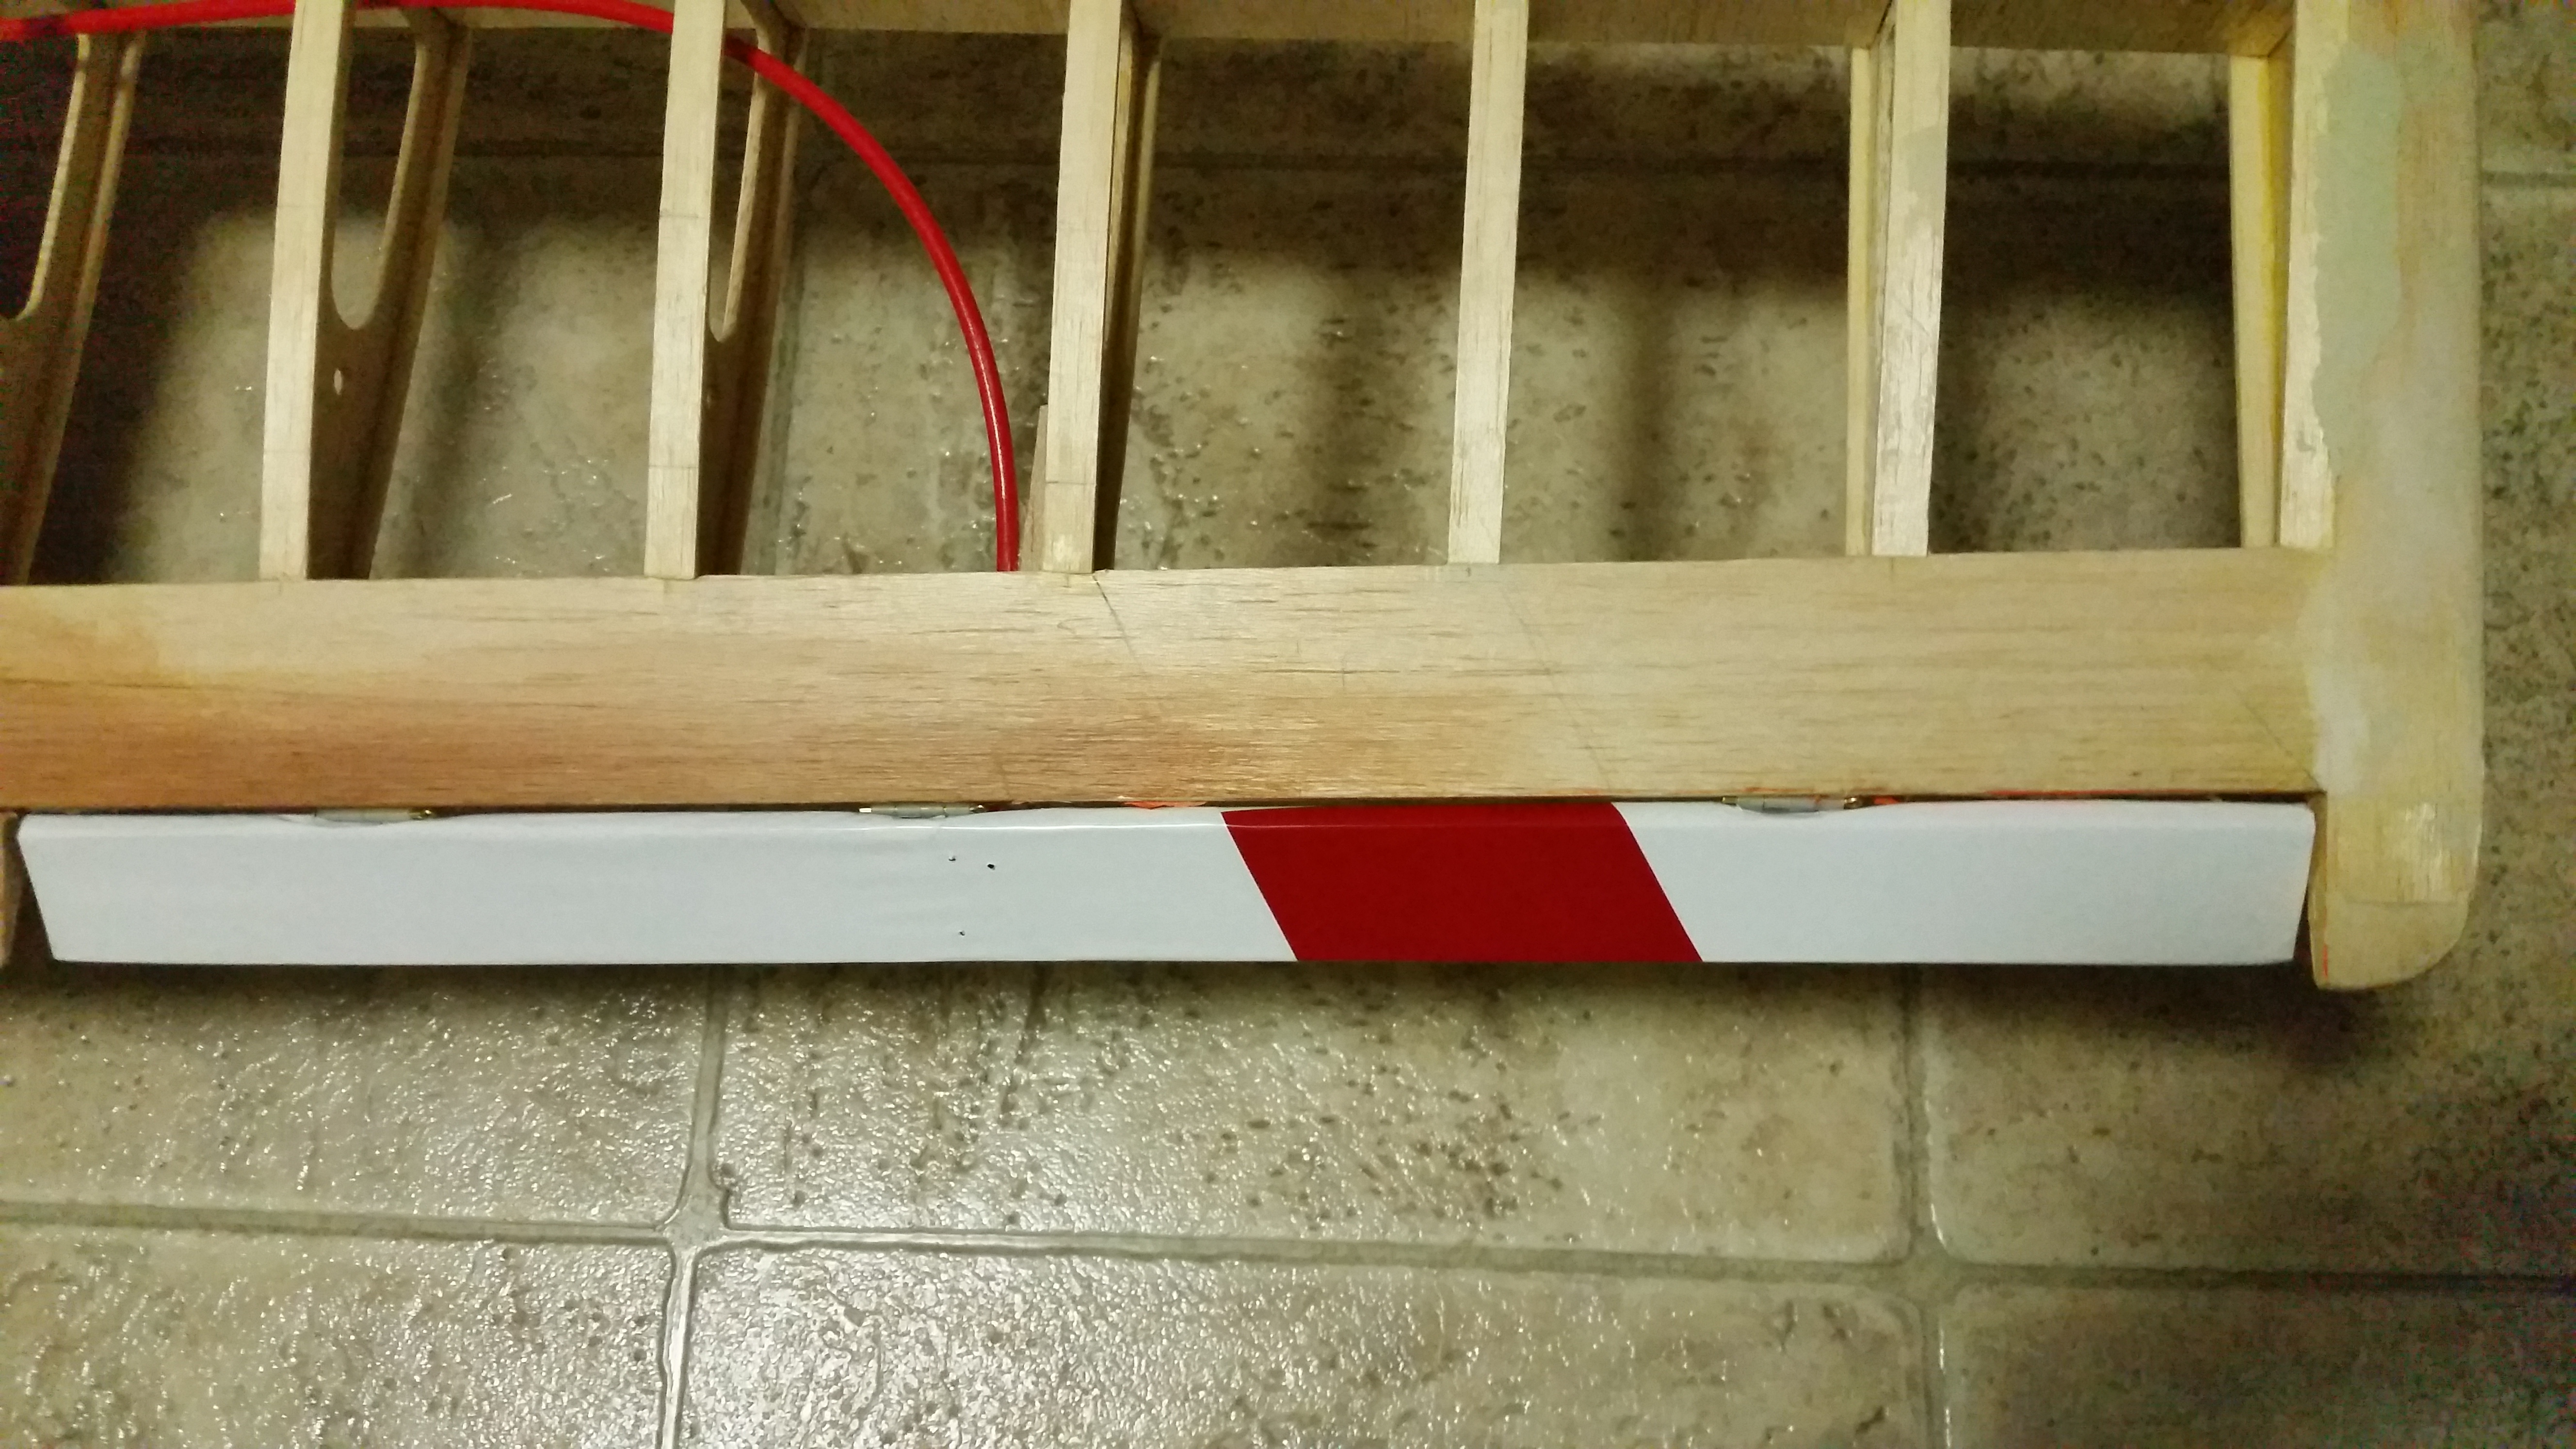
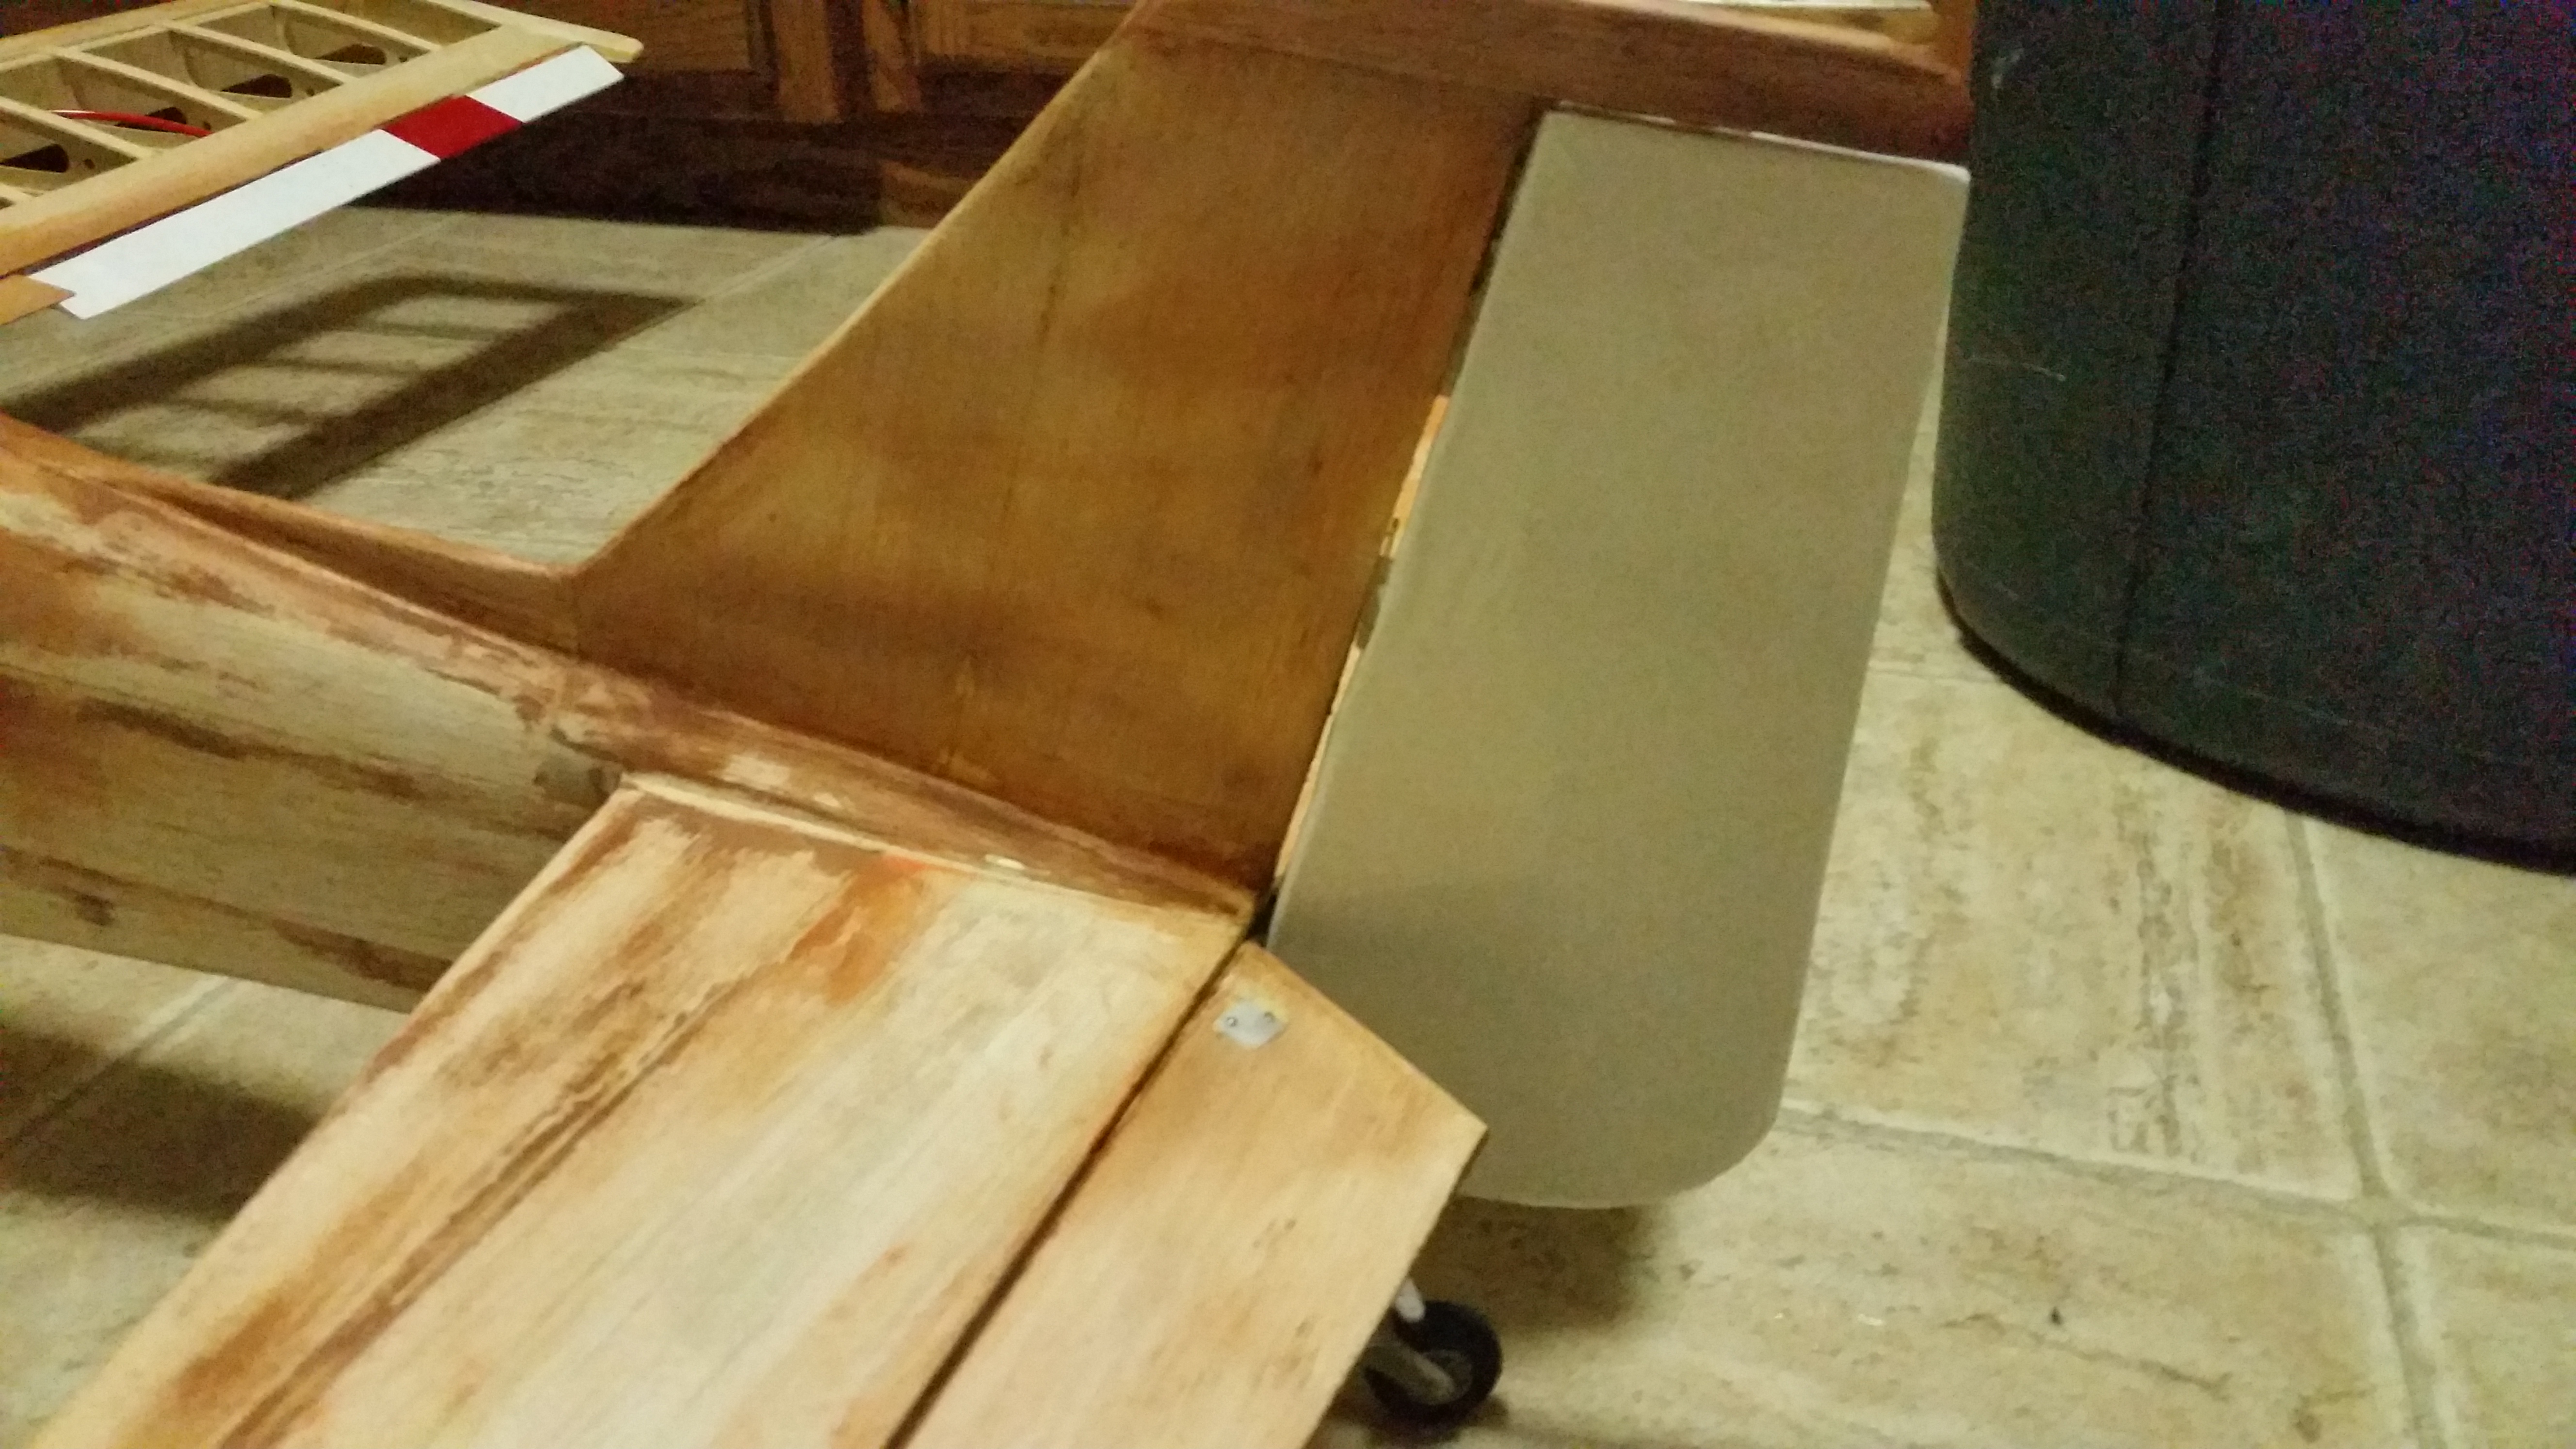
Next up were the plywood reinforcements for the new landing gear. I forgot to put the blind nuts in place before gluing the wood in for the tailgear. Fortunately, I had a 4-40 tap handy (my favorite tool, though I'm not entirely sure why). Unfortunately, hand-drilling through a half-inch of plywood was not fun. I ended up using 3/16 ply for the main gear with 1/4 basswood CA'd to it, because I removed slightly too much wood to make it flush with 1/4 inch ply as I had hoped to use. The balsa strips on the front and back are sanded smooth against the gear, nose, and wing. Gotta minimize that parasite drag! Also took some photos to preview the new gear.
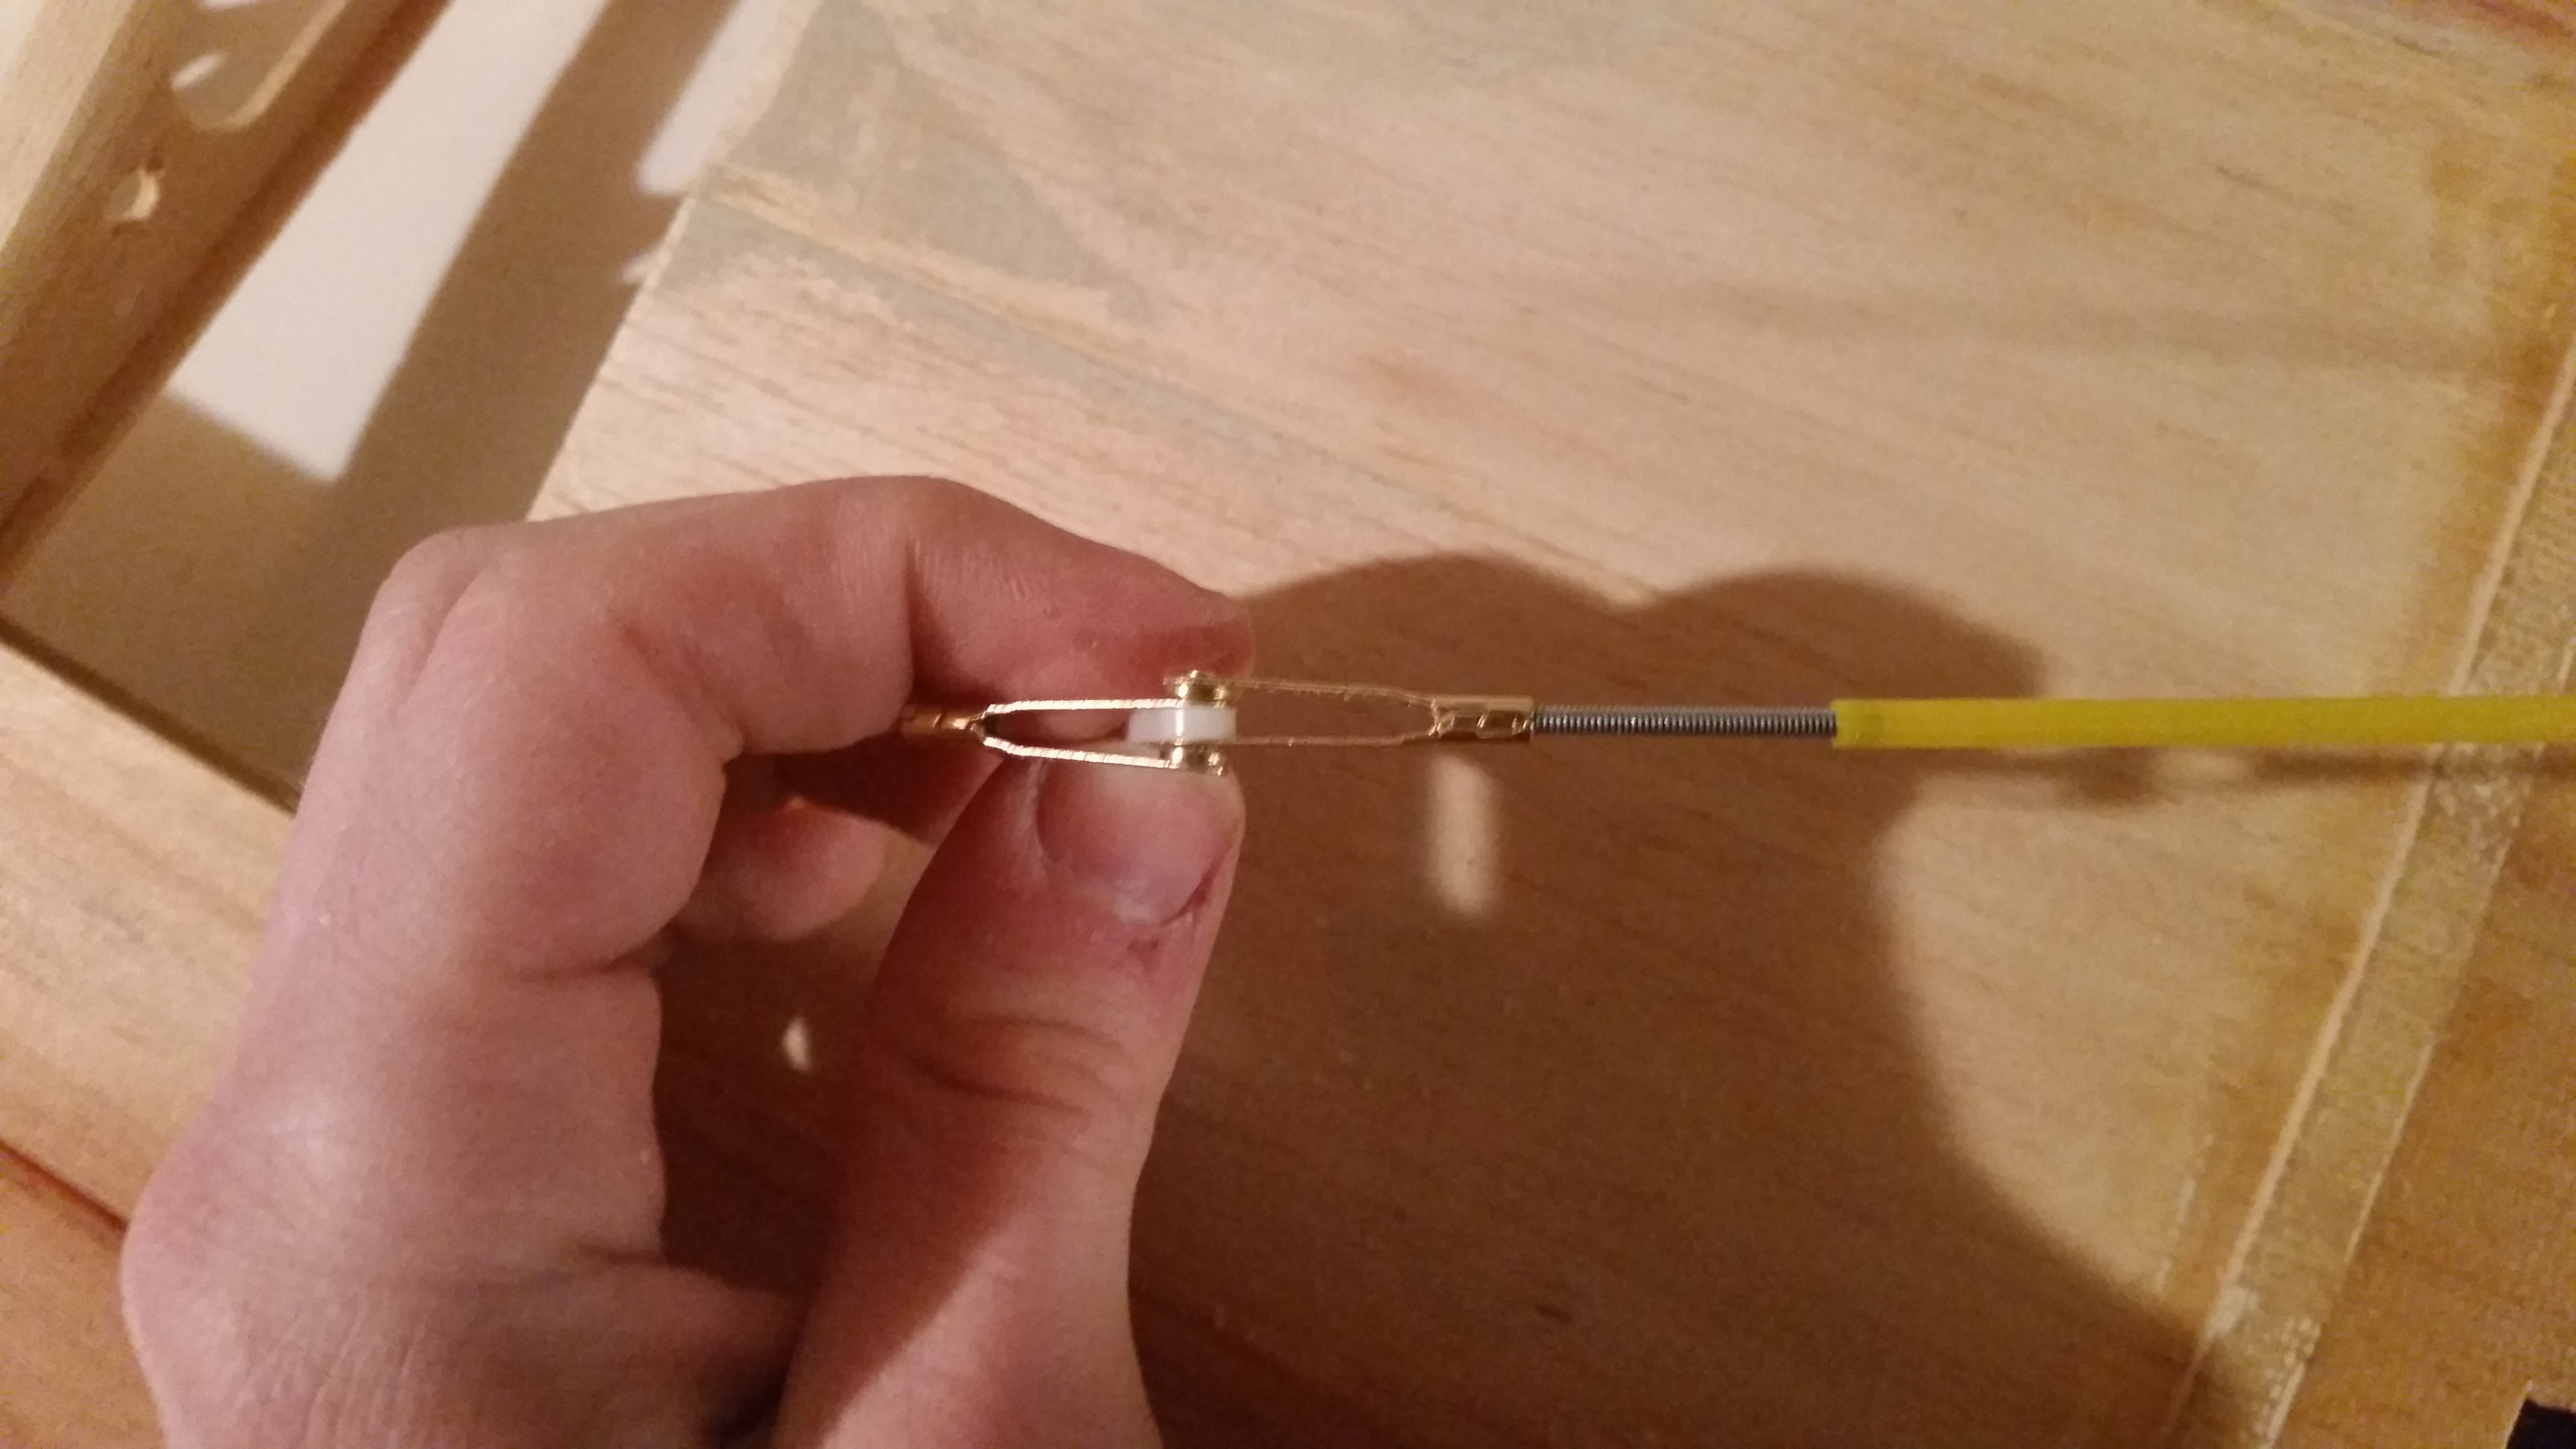
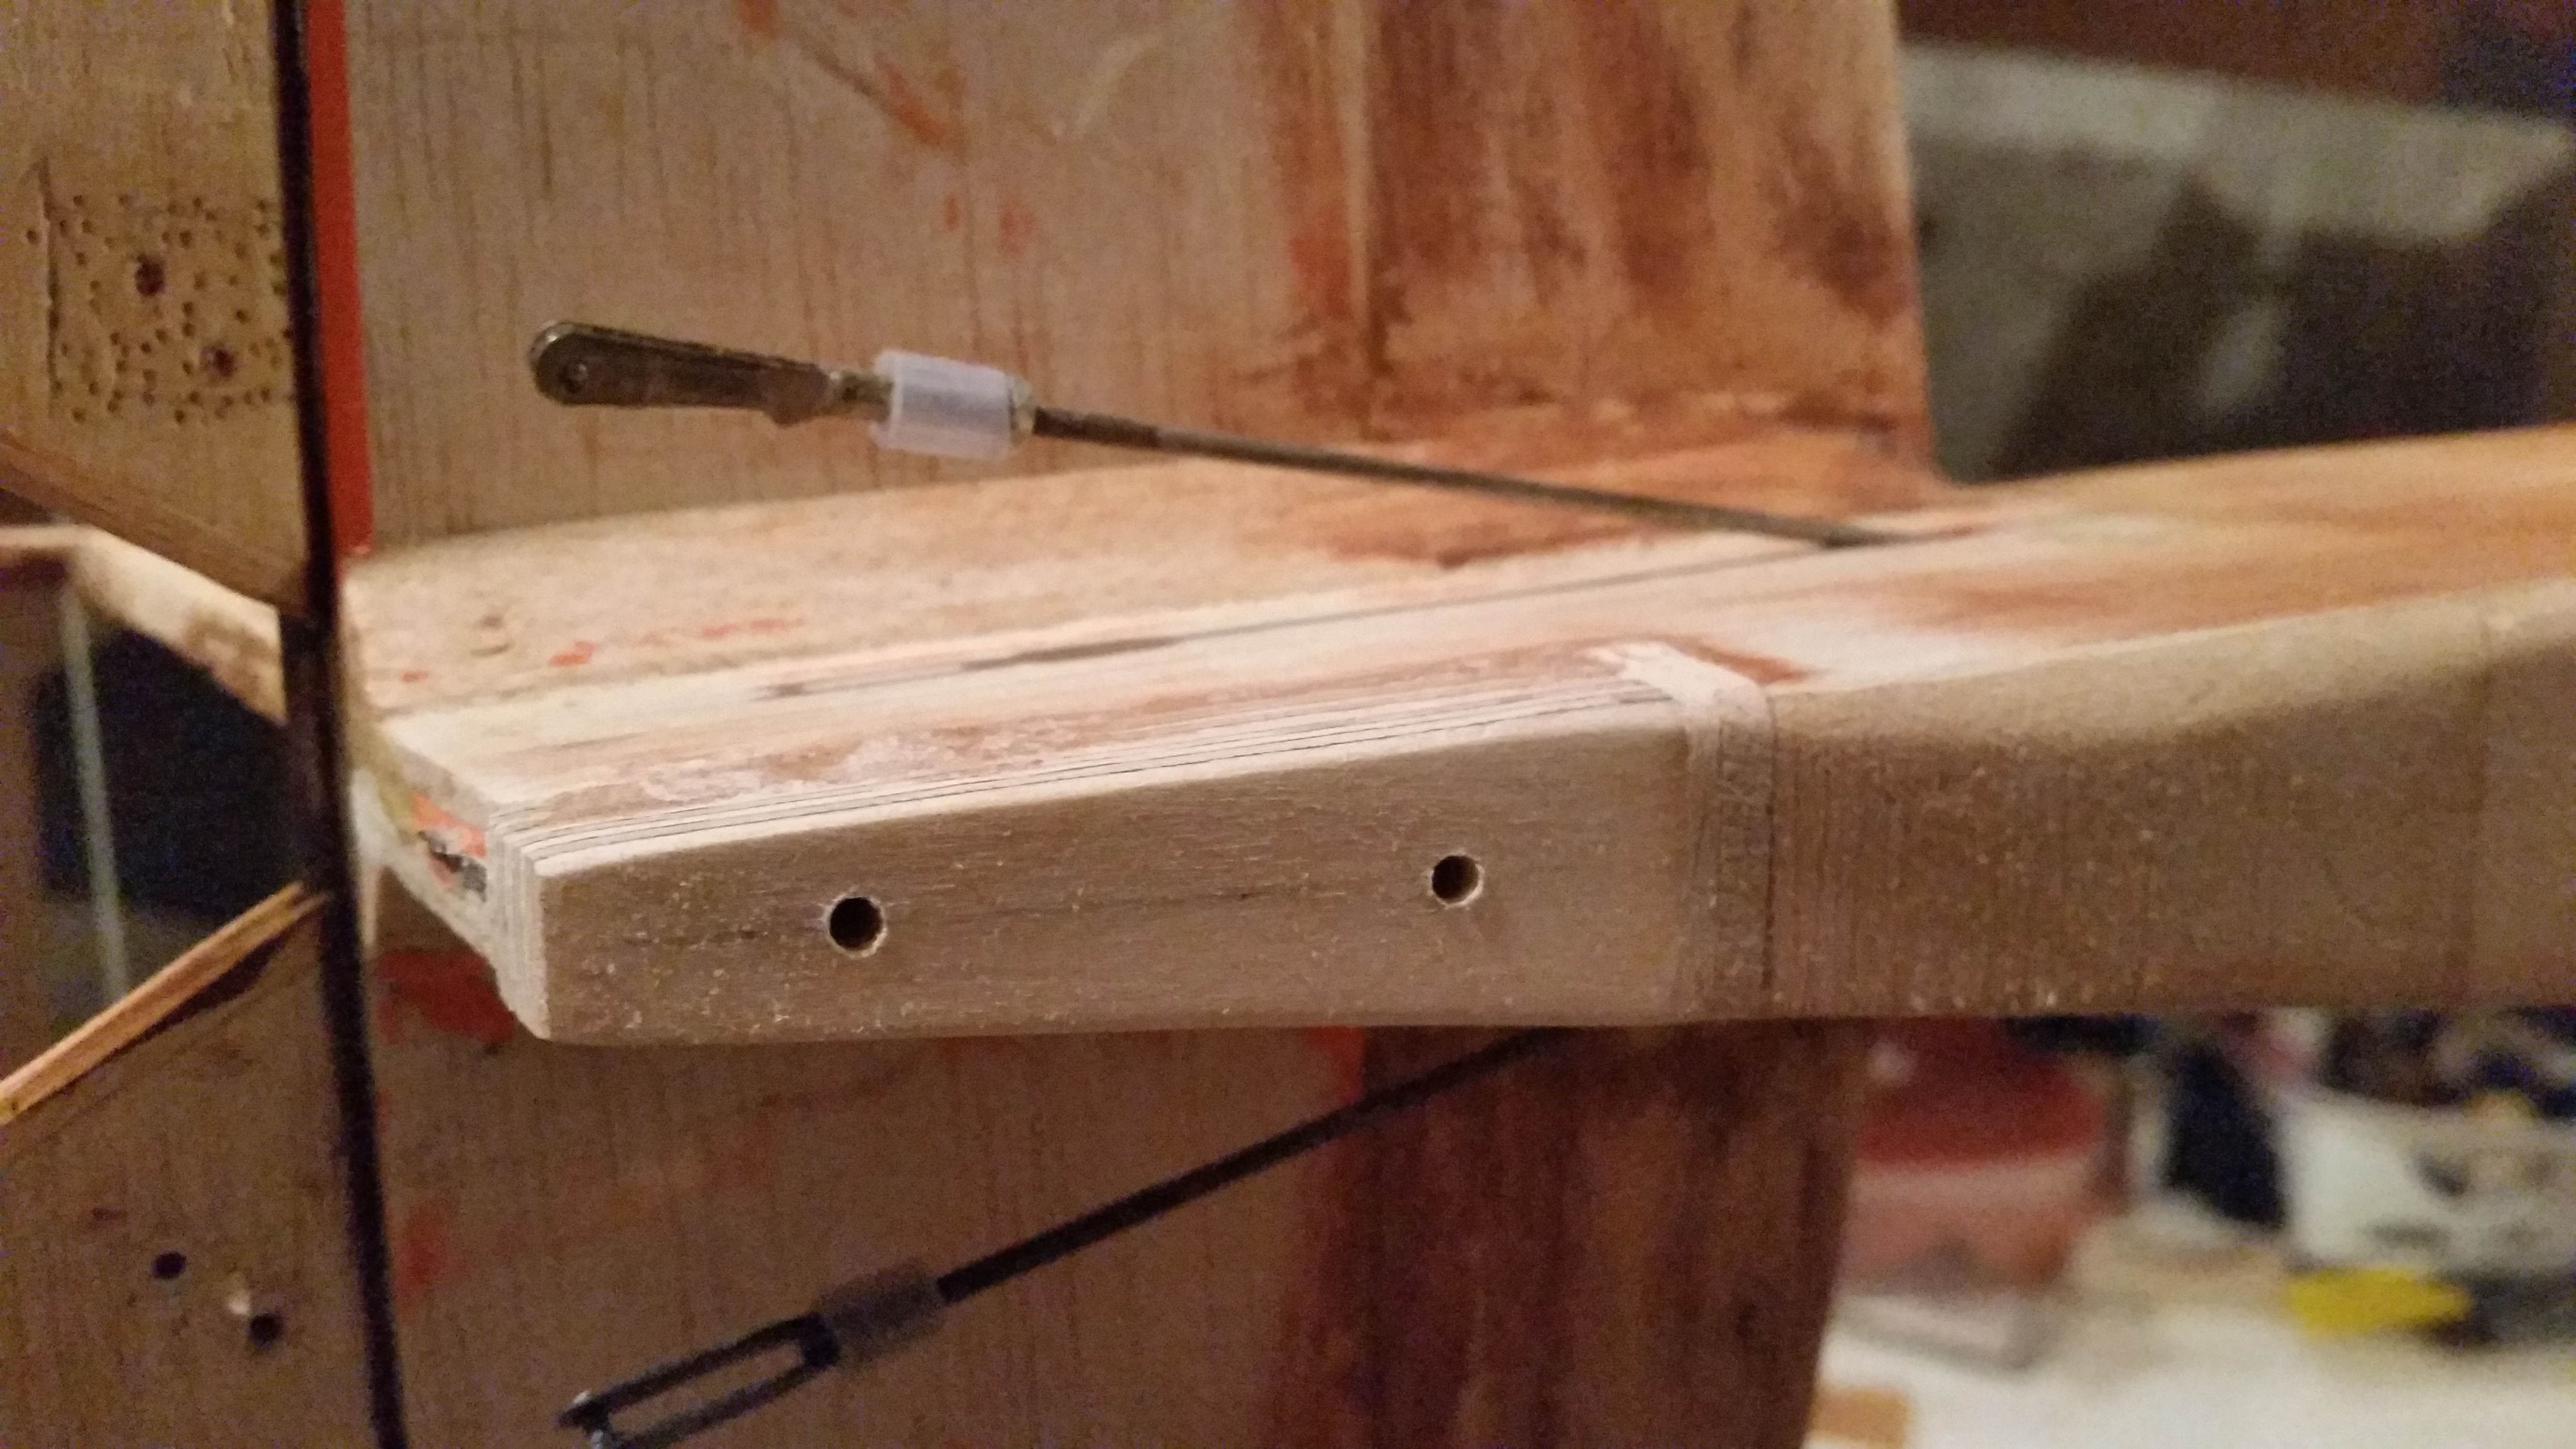
Not sure how people usually rig the aileron pushrods in these. I chose to cut the pin out of one of the brass clevises that came with the Sullivan flexible pushrod kit and put it and one other on the servo as seen here. Works pretty well! Secure, free, and no slop.
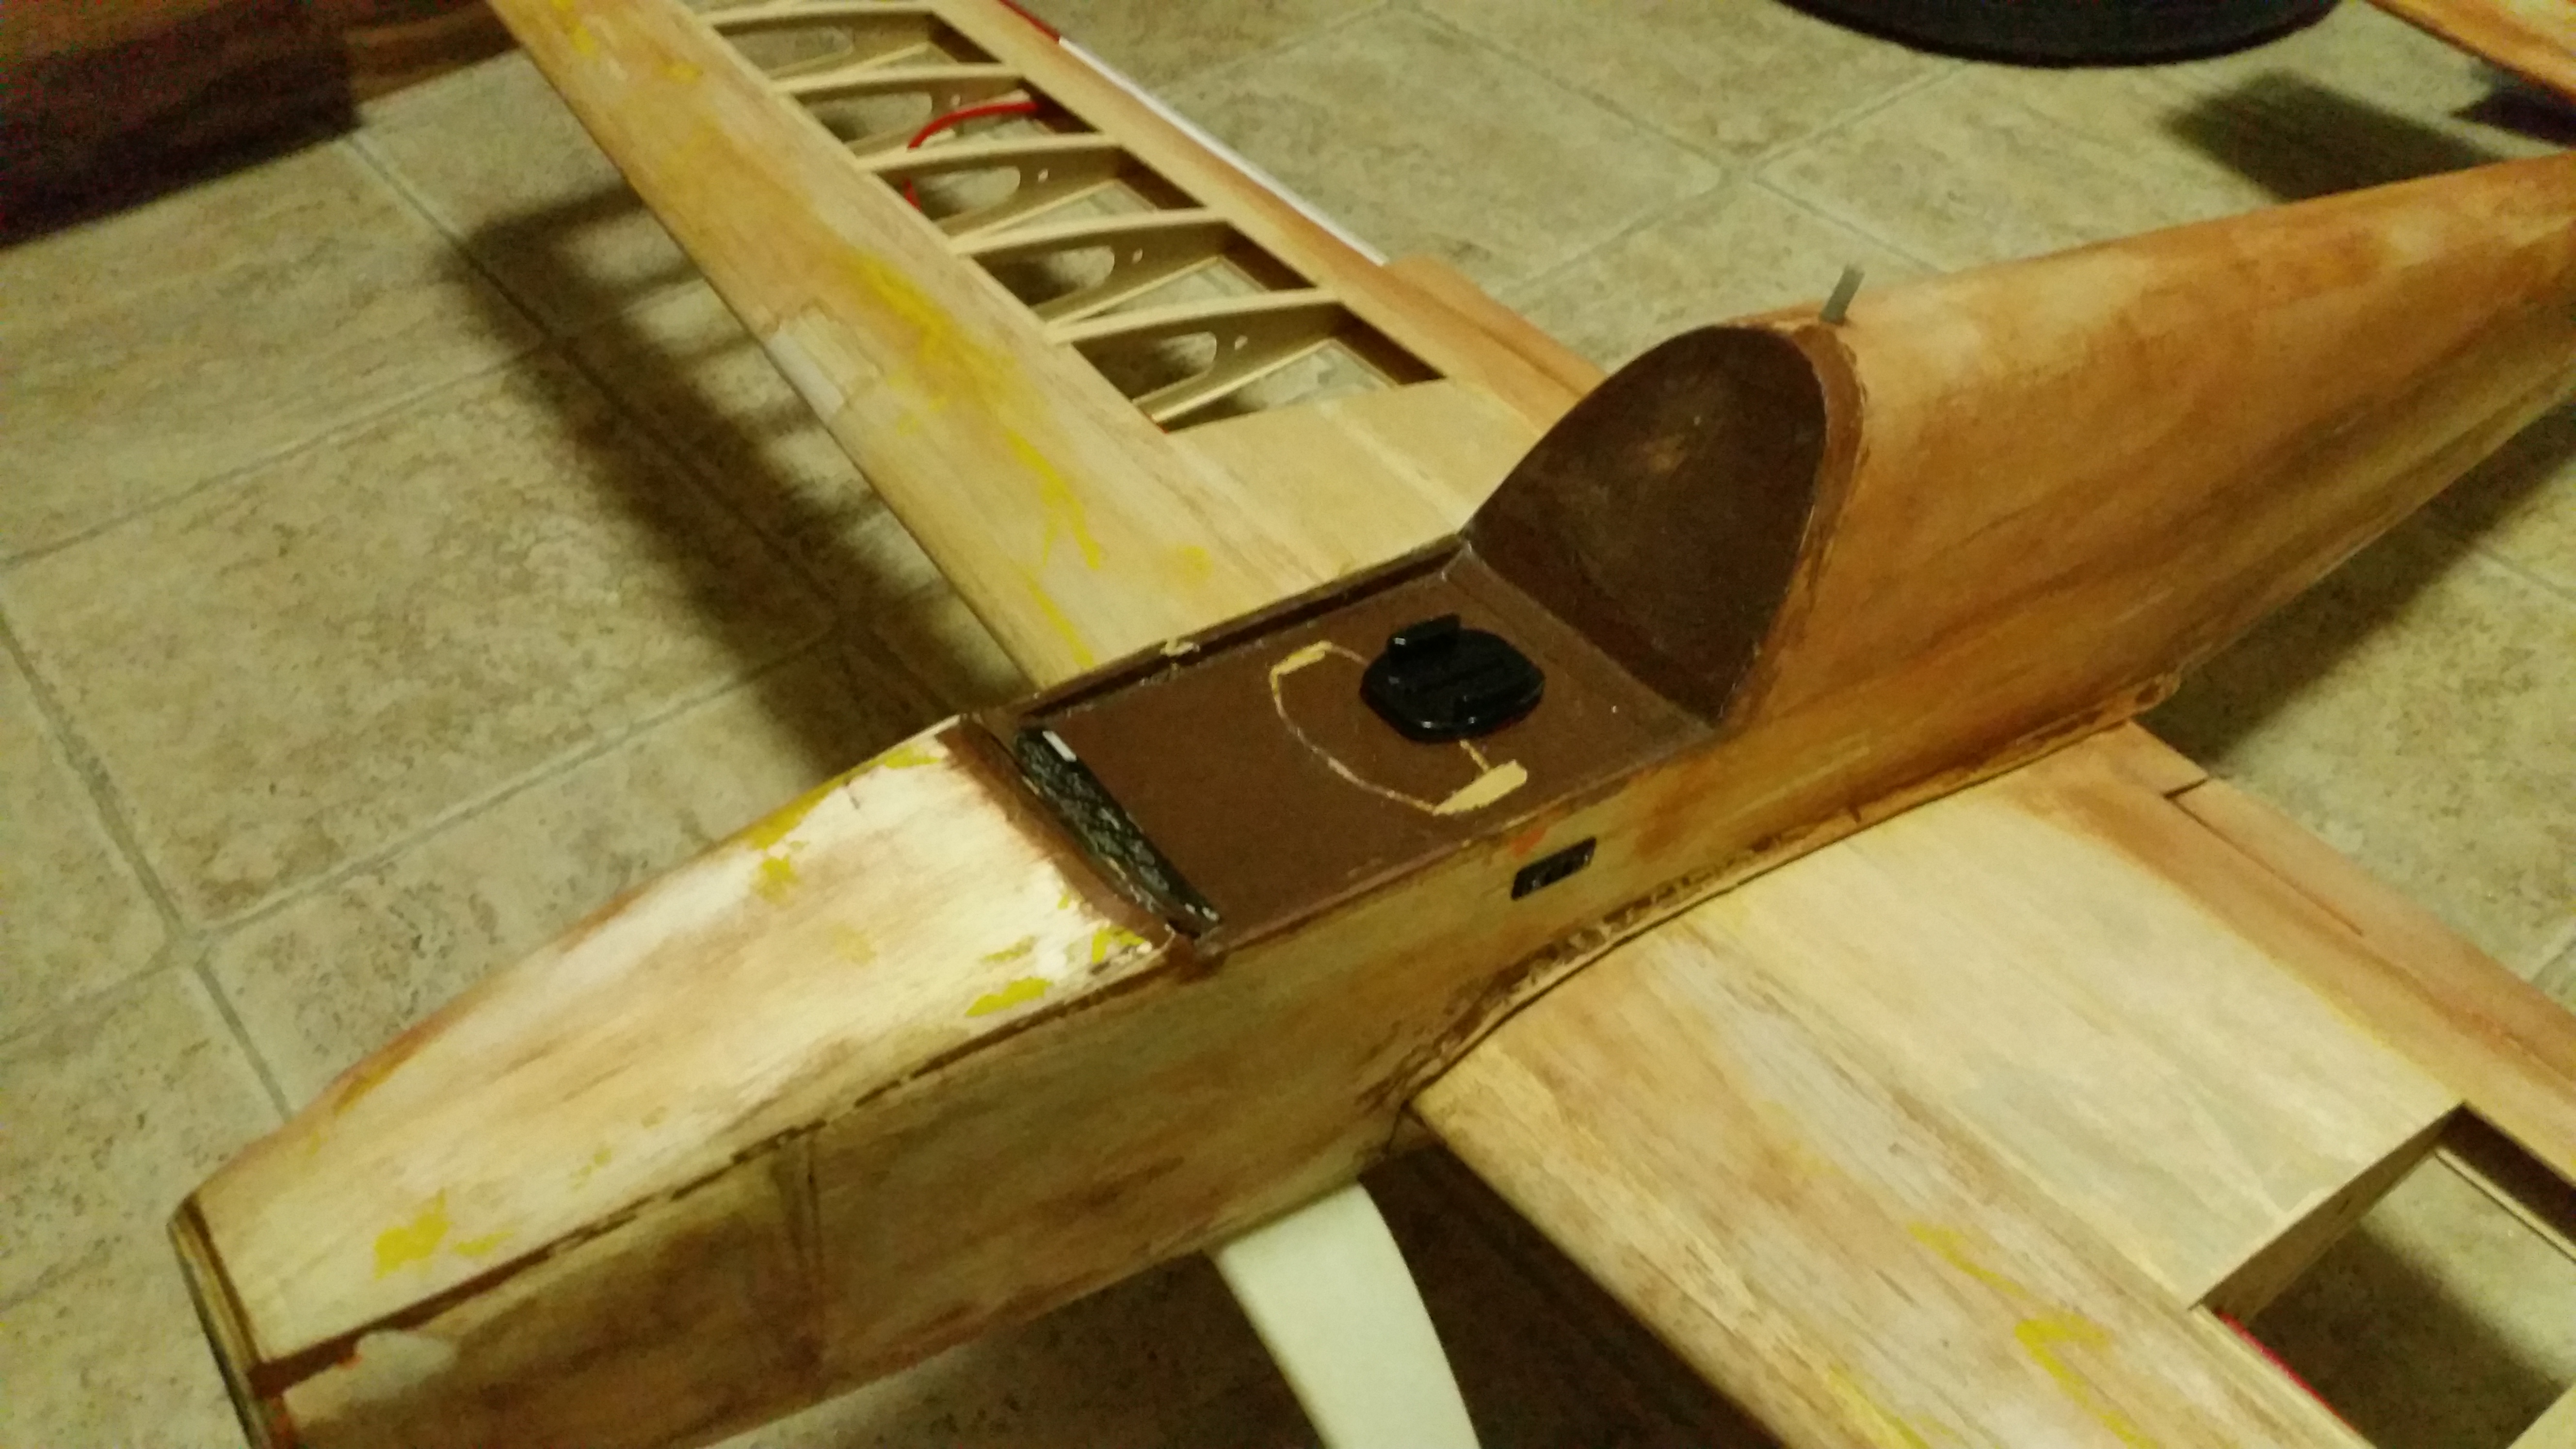
And lastly, a few preview pics. Only had time to get covering on one aileron and the rudder over break. Since then I've half-finished the second aileron. I'd hate to have to do them without taking them off--have to do it for the elevator and flaps though. Overall, I'm pretty happy. Also, what I'm most excited about
: I've removed the pilot figure to make room for a GoPro mount. Should have some exciting videos once I get it back in the air!