Finished the wings, sanding the sheeting down smooth with the root ribs. When I put them together they fit together nicely enough, with almost no gap, and after weighting one tip so that wing laid flat on the table the other tip measured at 8.125" from the table top. That's measured from chord center, I built in the washout, remember?

Normally they would have been epoxied together with each tip elevated 4.125", so it seems I'm off by about .125" (0.0625" per side). Close enough; I guess my dihedral fixture works.


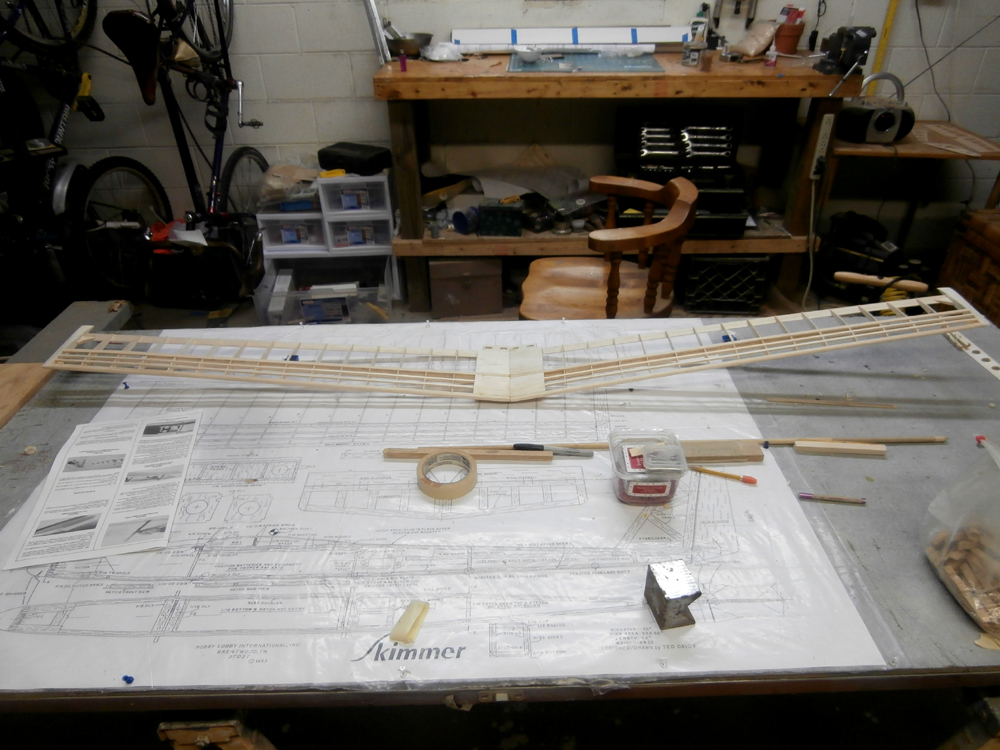
 Now for the fuselage...
Construction of this starts with the large angle pieces at the nose. Normally these form a backing for the firewall which is mounted at the very front of the plane with the motor mounted behind that, the shaft sticking through. However I know from experience that not only does this leave damn little shaft left for the prop/spinner to grab onto, but it also makes for a fragile front end once all the shaping is done. So I am moving the firewall further back into the fuselage and mounting an outrunner
to the front of it. This will make for a stronger mount, give the prop more shaft to clamp onto and as an extra bonus it will alleviate the problem of routing the wires around the spinning motor's bell housing.
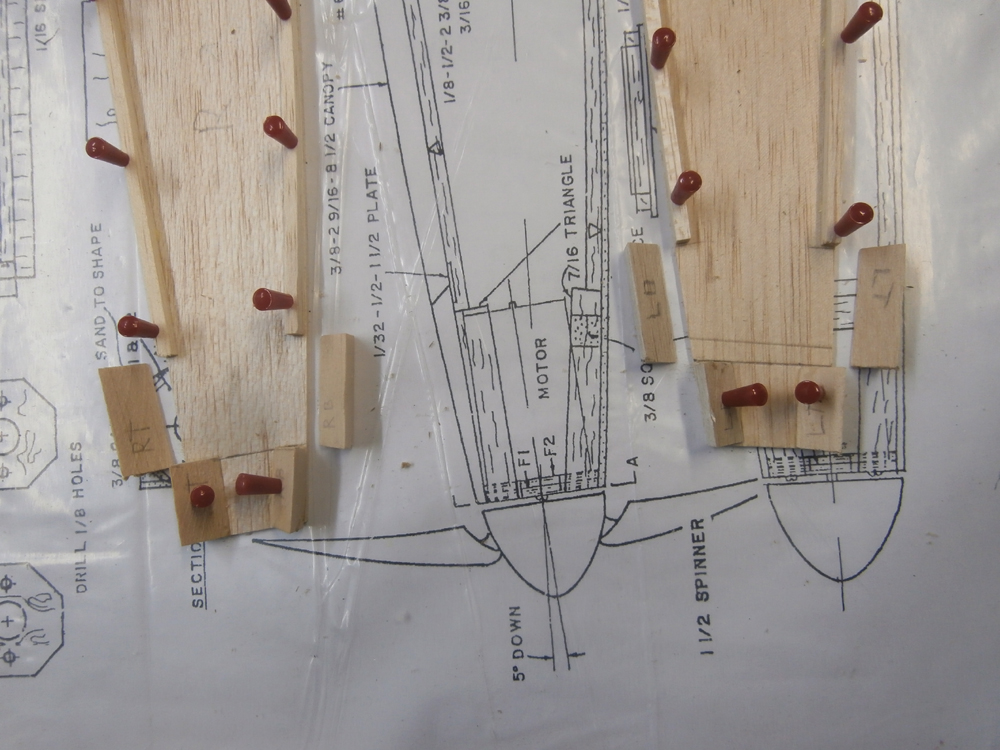
The rest of the triangle stock will be behind the plywood firewall, which obviously I will have to custom make as the pieces that came with the kit are now too small; these will be sandwiched in between the front and back pieces. I'm using plywood instead of an alumin(i)um 'X' mount so I can blend the front of the fuselage to match the round shape of the spinner. The remaining fuse section in front of the firewall will basically be a cowl.
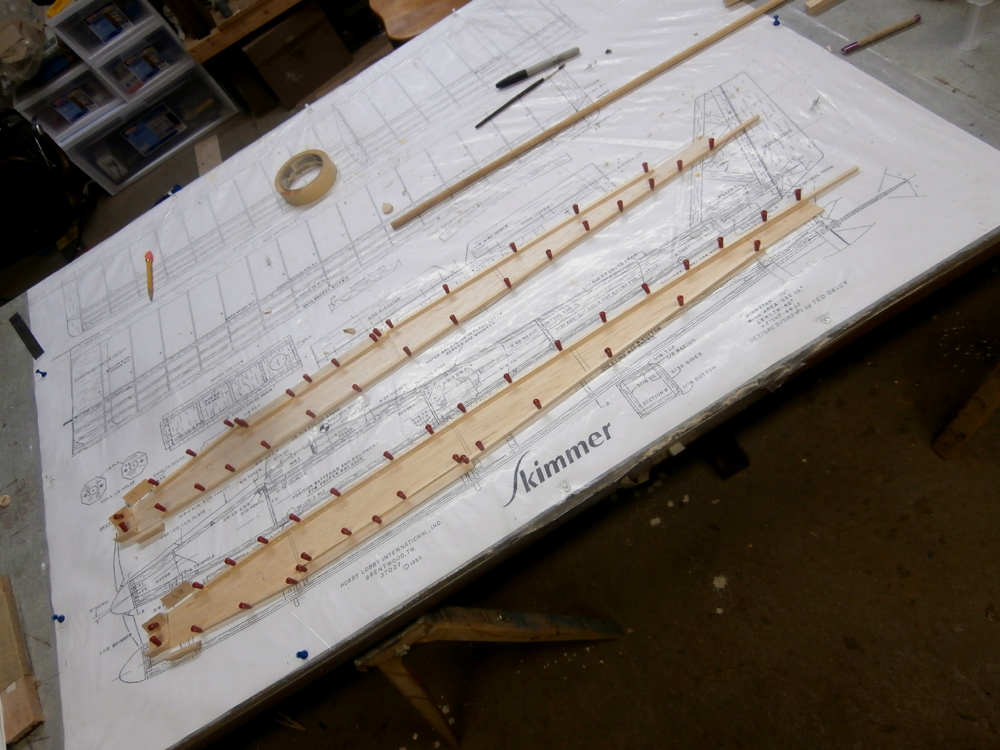
The rest of today's construction consisted of adding the 0.1875" Sq. stock that makes the inside corners of the fuselage, the wing cradle doublers and the two 'formers', which I personally think should actually be called
bulkheads, as they don't 'form' anything; they only hold the two fuse sides apart and separate it into sections. You'll notice I have changed these slightly, the bottom of the front one has been removed as I will probably have to move the battery pack to balance the plane. Normally it sits under the wing right at the CoG, but because I'm not using the brushless outrunner I will probably have to move it forward.
I did this ->
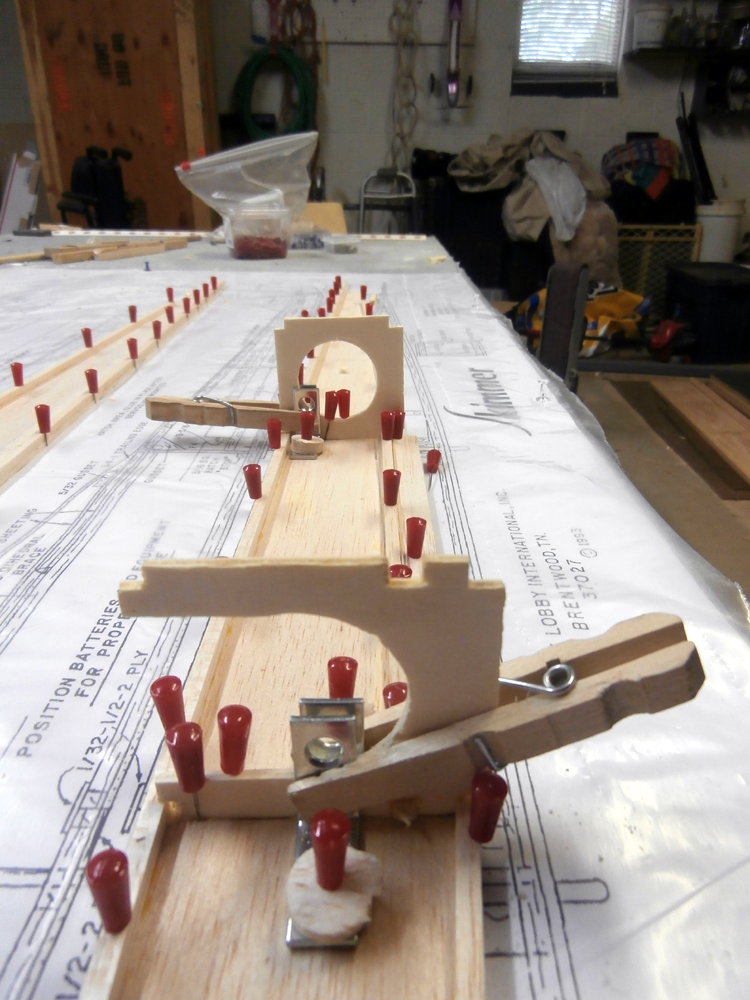
because this ->
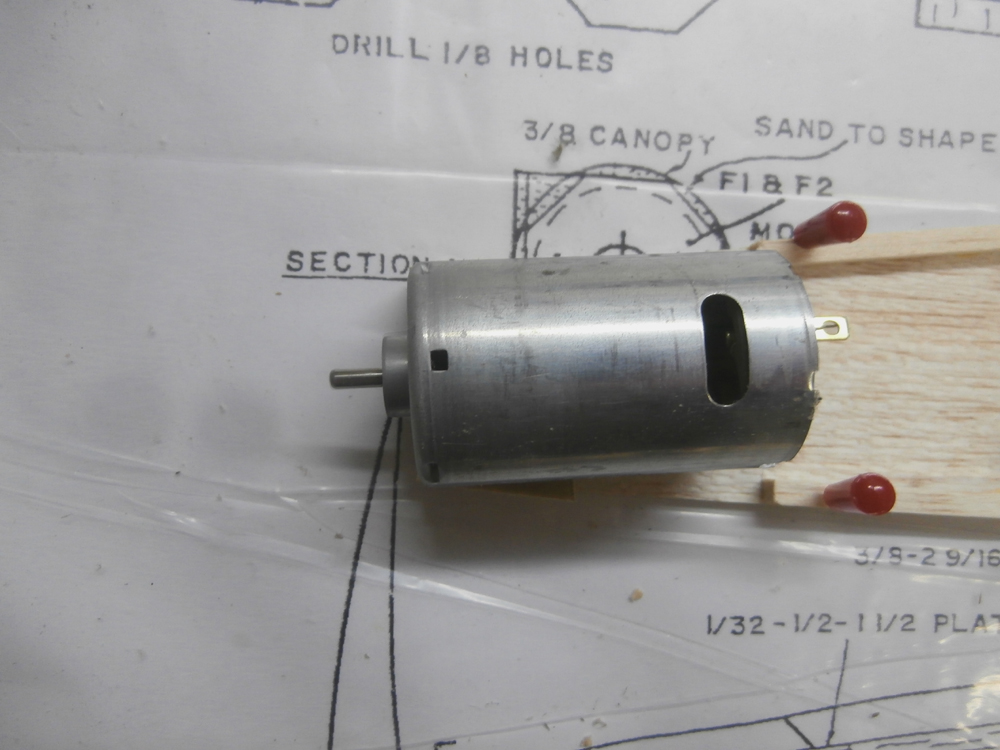
...is being replaced by this ->

Removing the lower portion of the bulkhead will make balancing the plane easier in case the proper balance point puts the pack partway 'through' it. This section is not really needed as the latch for the removable bottom panel sits here and it will make up for the missing portion of the bulkhead.
That's it for today. my NSLHS (Not So Local Hobby Shop) called the other day, the covering I ordered is in. As I am headed up that way anyways I'm going to pick it up tomorrow along with some ply and more 0.1875 square stock, as it seems they didn't supply enough in the kit.
")