Scale Details
After all the work I did in re-engineering and building the model, I found it was a lot of fun to try to add as many accurate scale details as possible. I'm sure that I'll be adding more details, but here's what I've got so far:
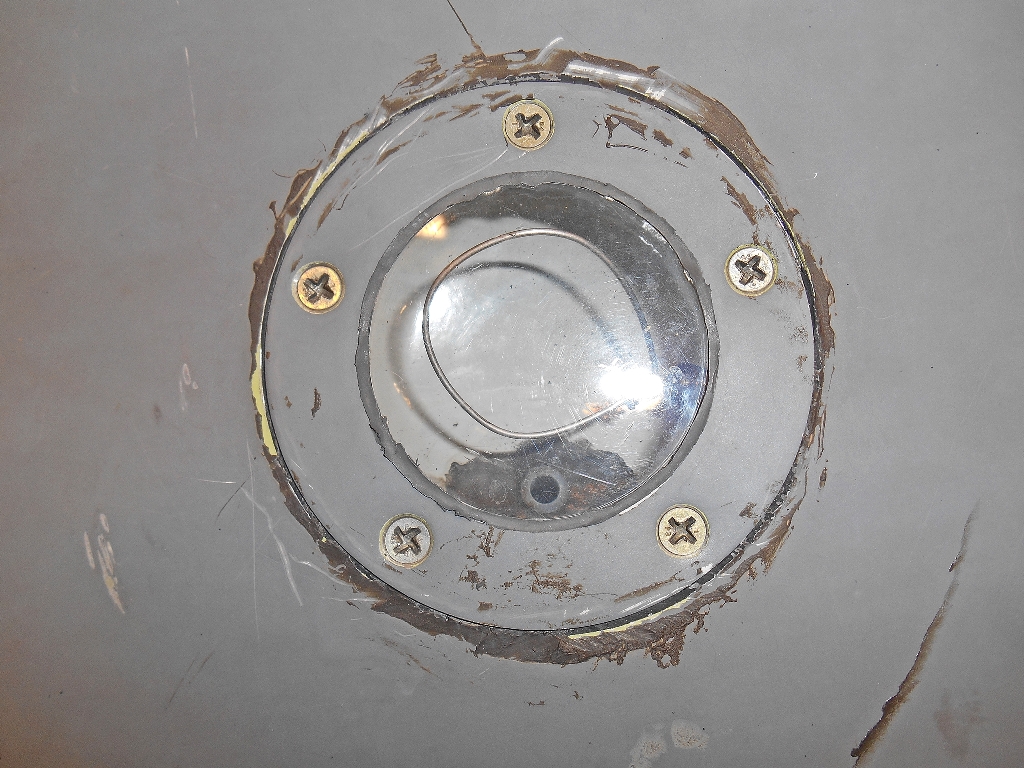
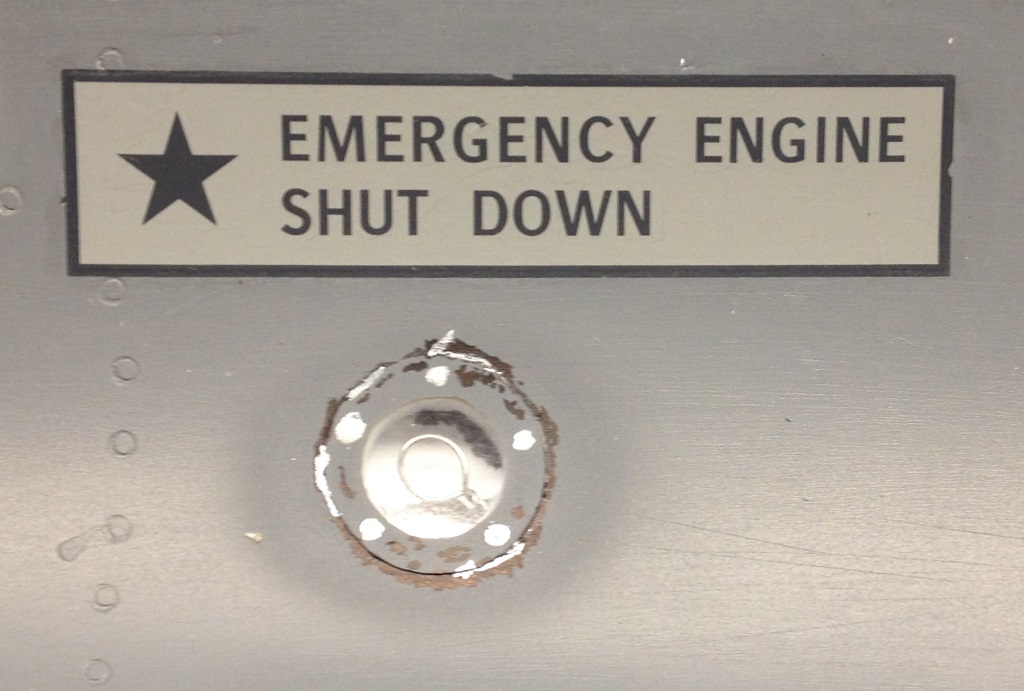
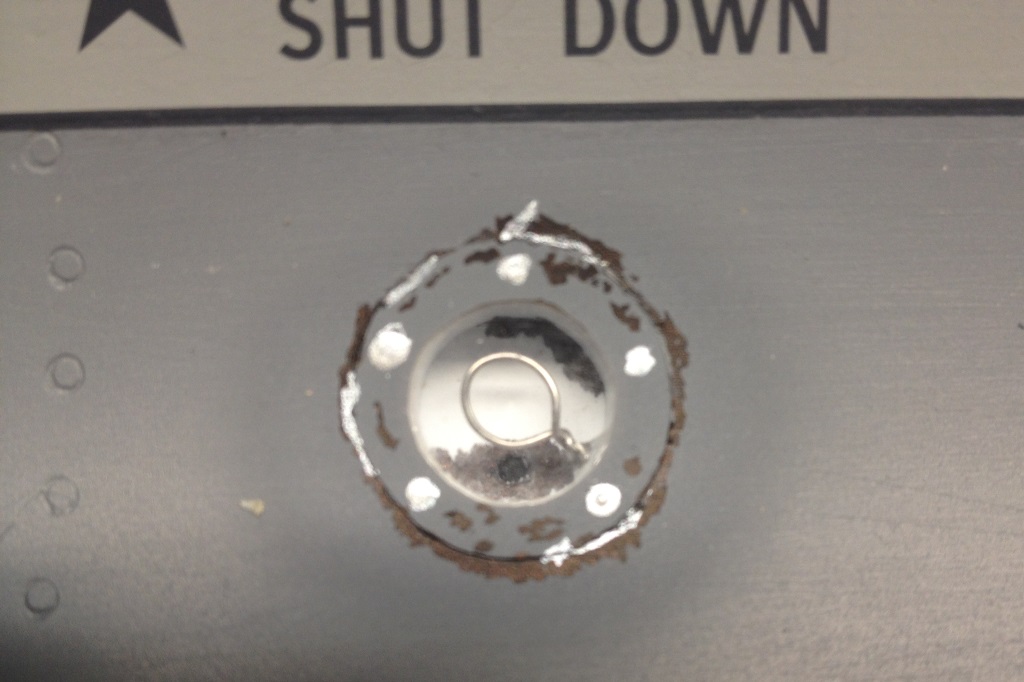
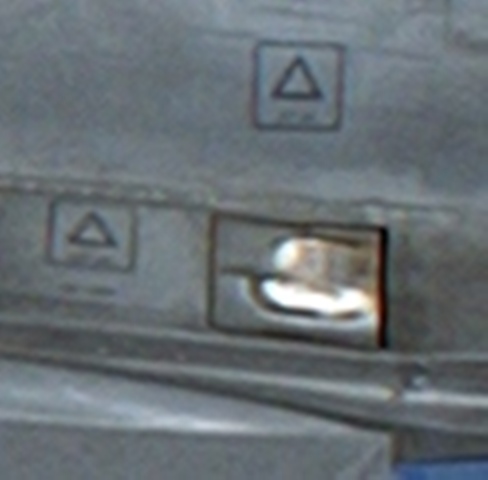
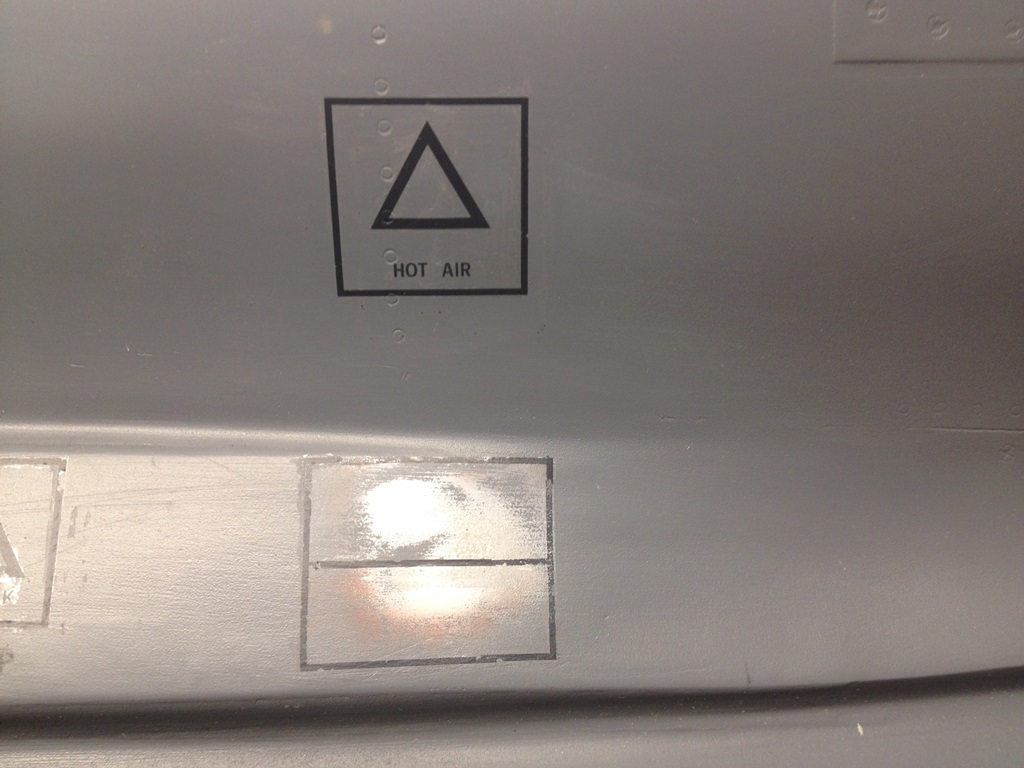
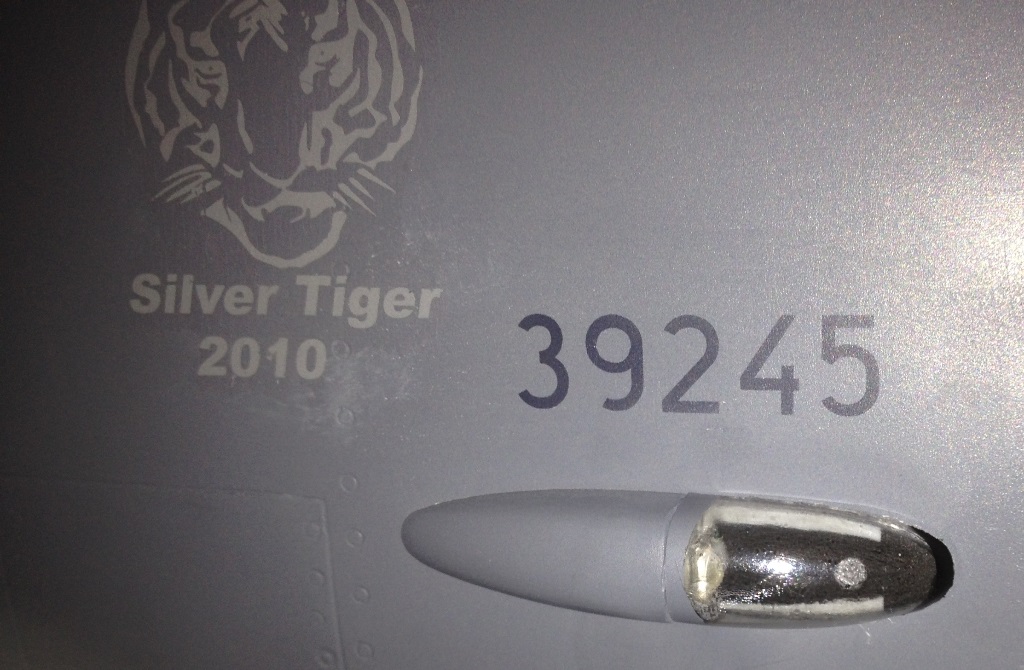
Emergency Engine Shut Down – The Gripen has an engine external emergency shut off feature on the right aft upper fuselage. You literally break the glass, and pull the wire loop. I made the recess from styrene tubing/sheet, added safety wire, a clear cover from the screen packaging, and painted it all to match the reference photos.
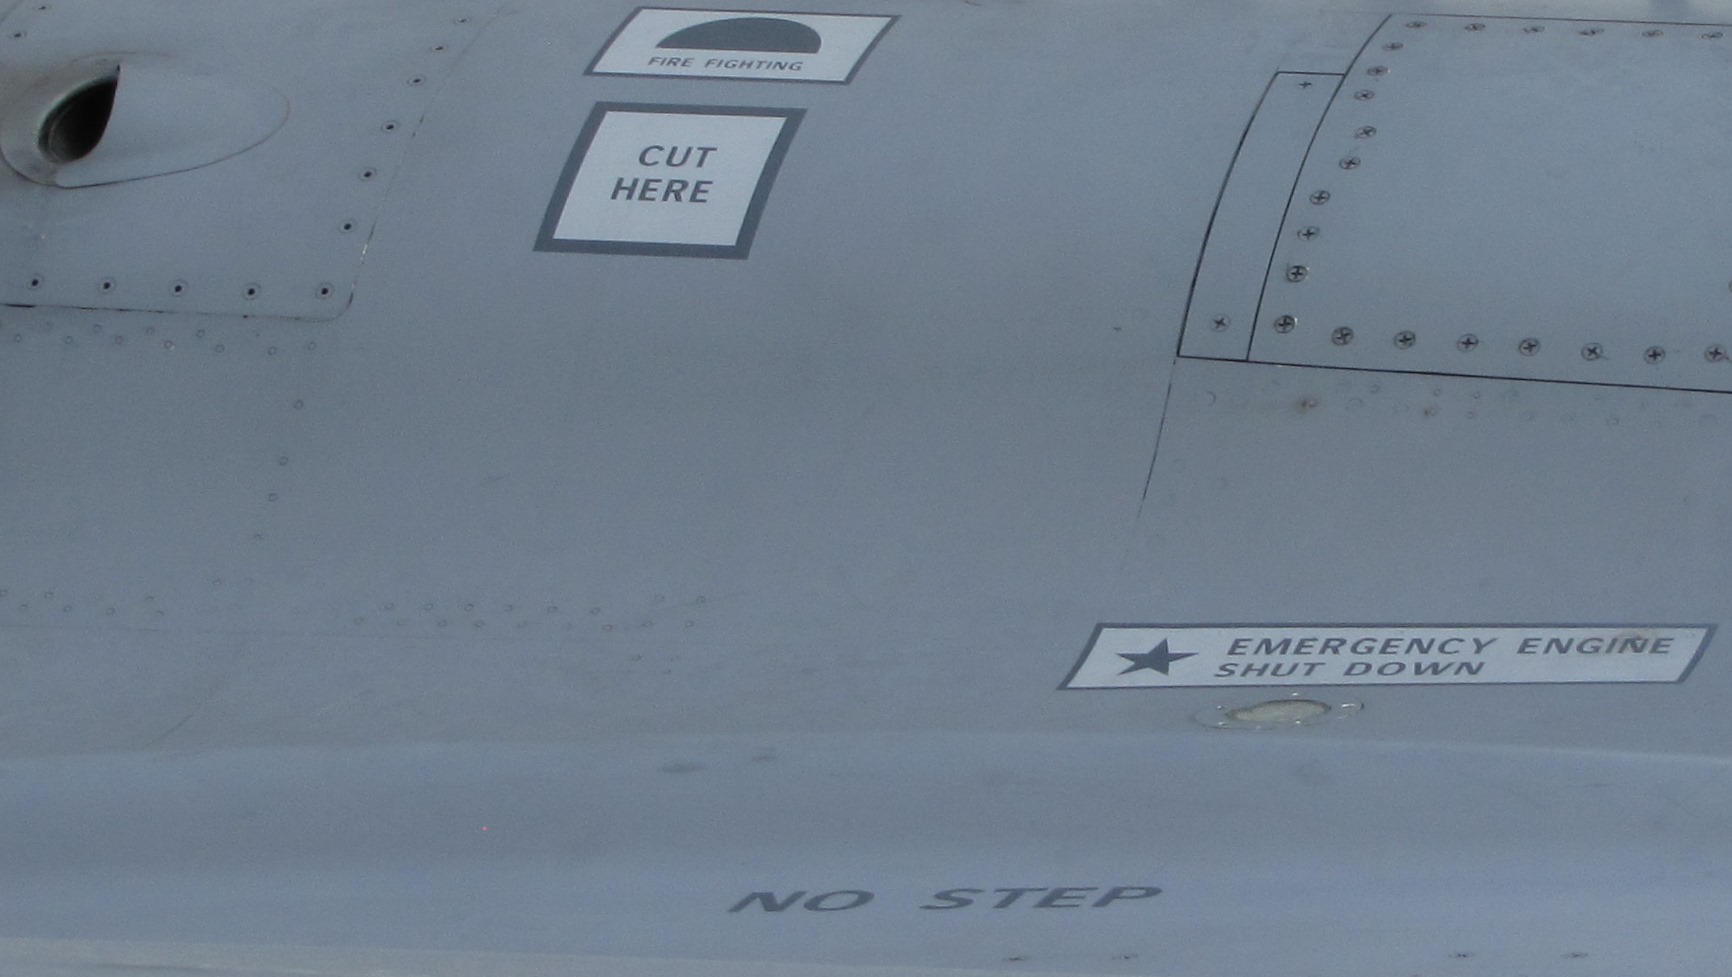
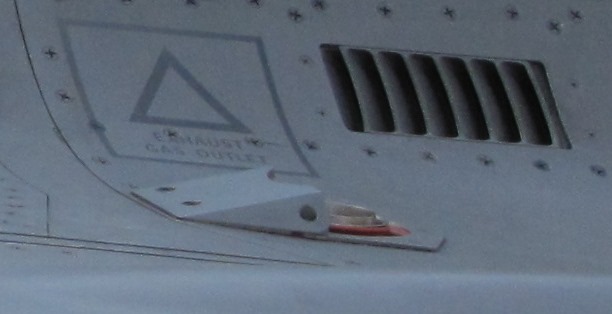
Gearbox Exhaust – This is another prominent feature on the upper fuselage. Short lengths of brass tubing were installed through the fuselage and painted silver. Red RTV was used to mold the rubber area between the tubes and the surrounding bracket.

APU Exhaust Burns – The APU rear door features paint discoloration/burn from the APU exhaust. The burn pattern seems different on each Gripen (like a fingerprint) but fortunately I had high enough resolution pics of 9245 that I could get a good idea of its pattern. It was a bit of a challenge to reproduce it with an airbrush, but I think I got it pretty close – sorry the pic isn’t better.
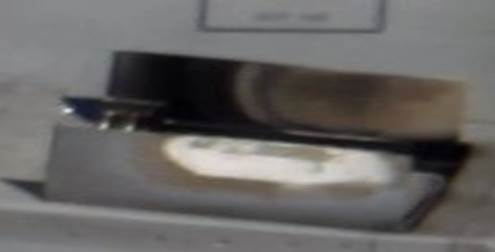
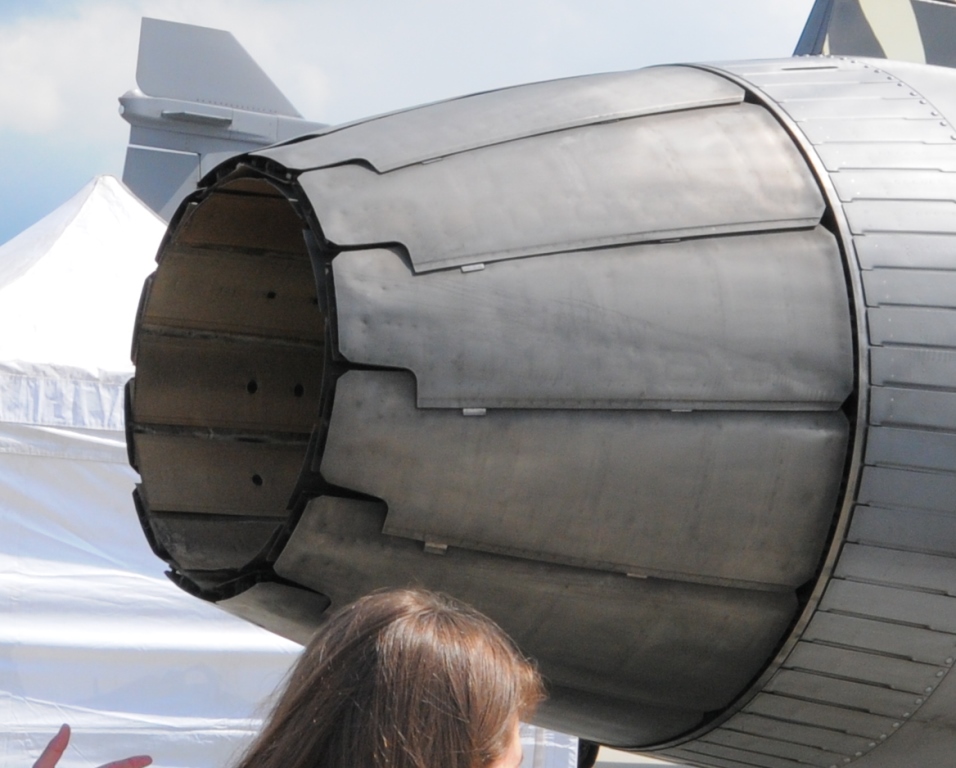
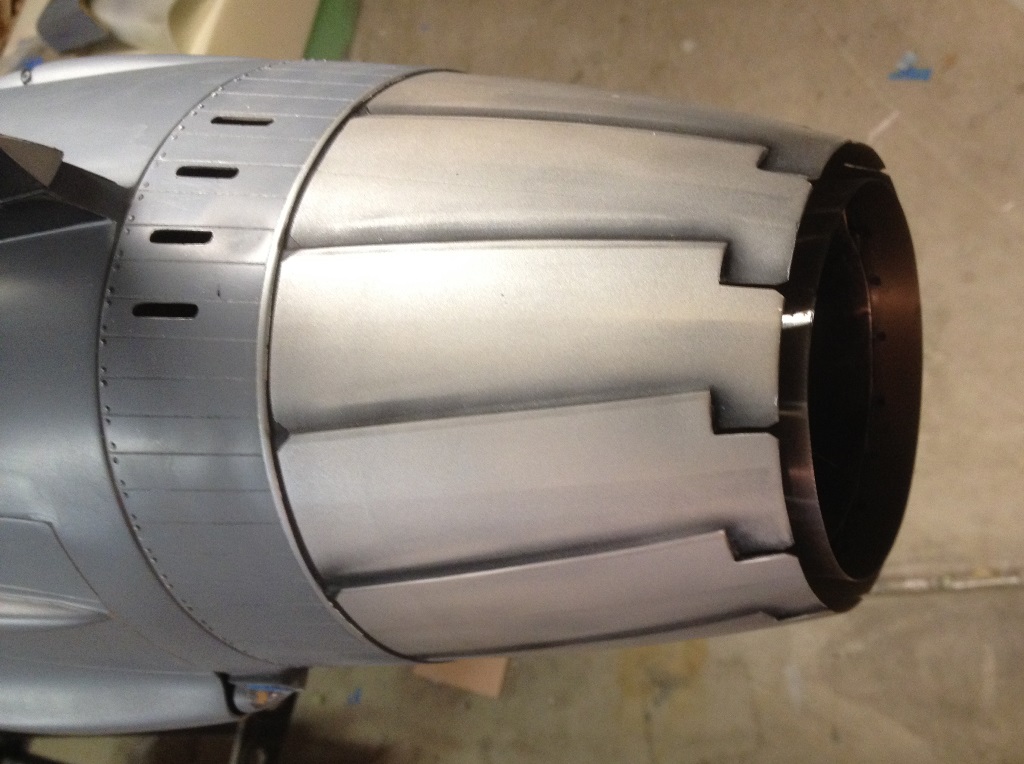
Exhaust Nozzle – The kit’s one-piece exhaust as filed to show the gaps between individual pedals. I then airbrushed the nozzle to reproduce the color, shading, and patterns of the full scale nozzle. I’m no airbrush artist, but hopefully it looks pretty good.
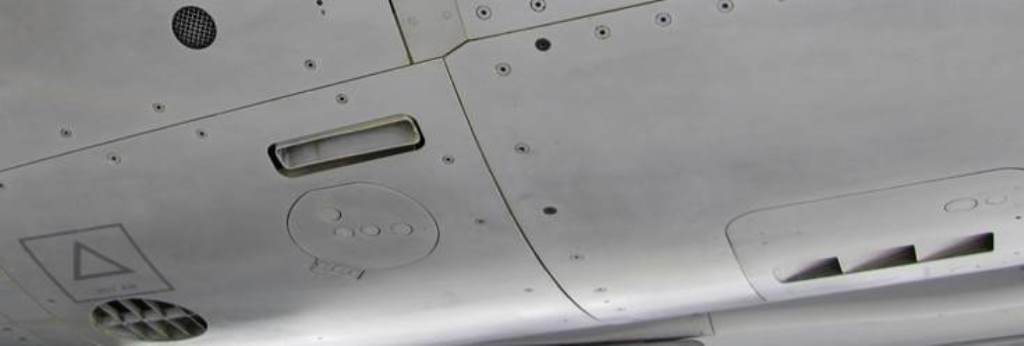
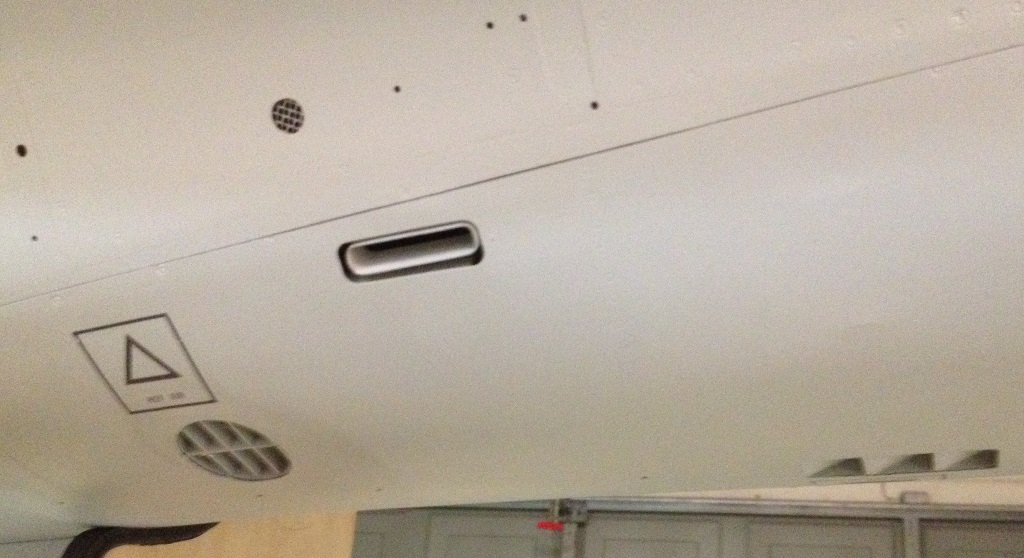
Belly Details – the last of the belly details (at least the last details installed before Top Gun) were adding bits of screen to two holes in the aft lower fuselage. Obviously, some weathering is required to show the rivets,etc.
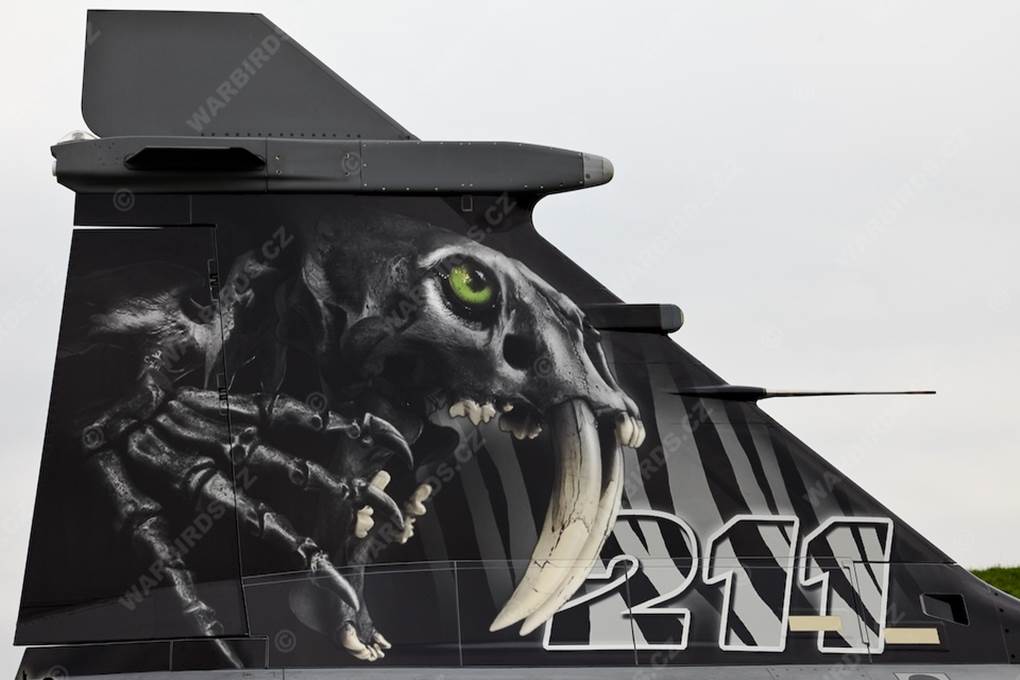
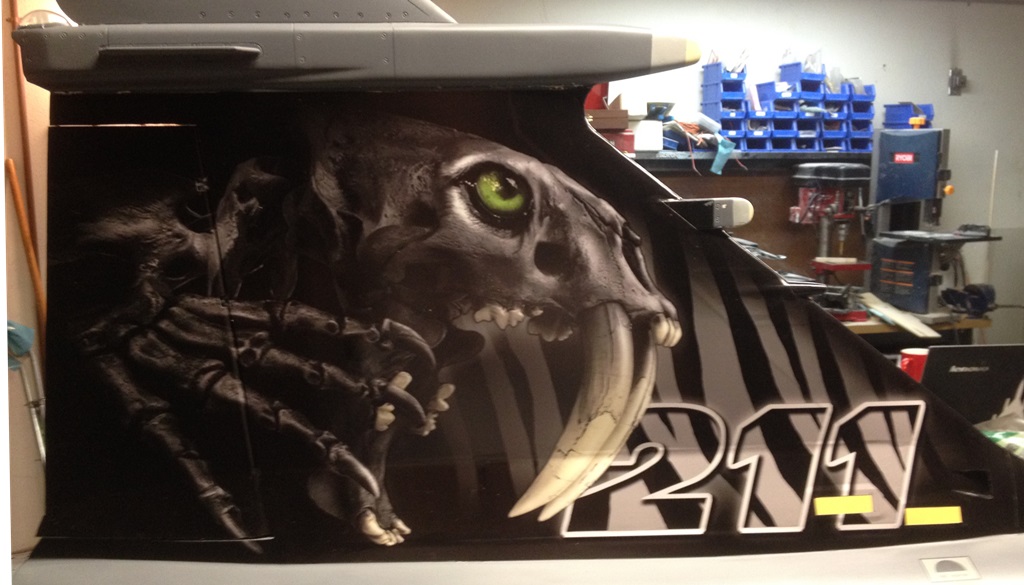
Formation Lights & Fin Vinyl Covers – I made formation lights from .020” thick G-10 which was painted and installed on the fin in the scale locations. The vinyl covers are installed and then cut out around the lighted panel of the formation light. Any error in either the placement of the light or the vinyl itself would be obvious as the cutout would not match the full scale. As such, I put a lot of effort into this and figure that I have the lights/covers installed to within 1/16”. The trick for installing the vinyl is to liberall spray the back of the vinyl with Windex so that it won’t stick and can be moved around and exactly positioned. Once positioning is correct, simply hold the vinyl in place and use a squeegee to squeeze the Windex out from under the vinyl.
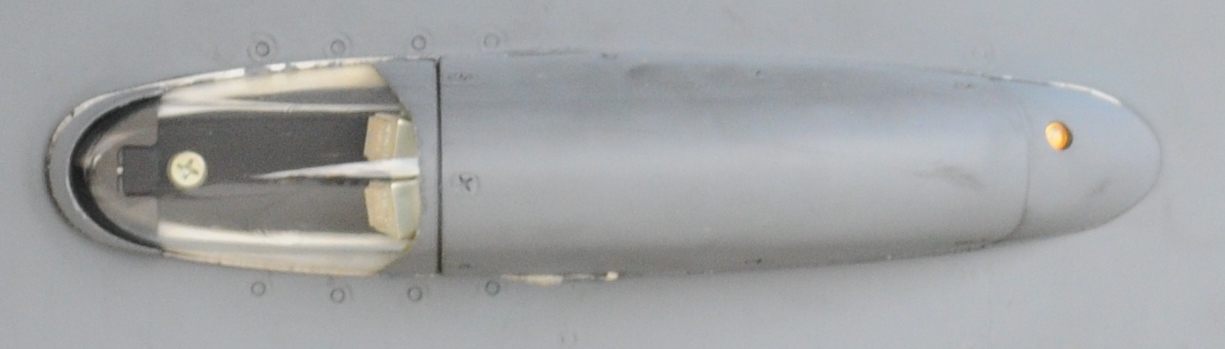
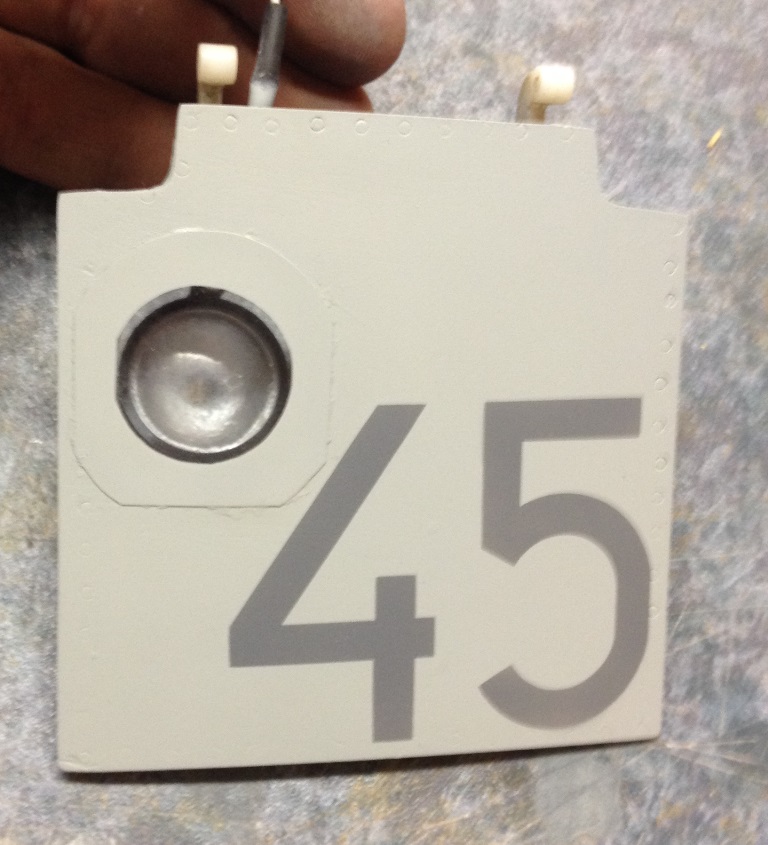
Fuselage-mounted Lights – Another division of my company makes the lights for the Gripen and I have assembly level drawings of the lights. I also have a variety of close up photos of the lights and I knocked myself out to get them as scale as I could.
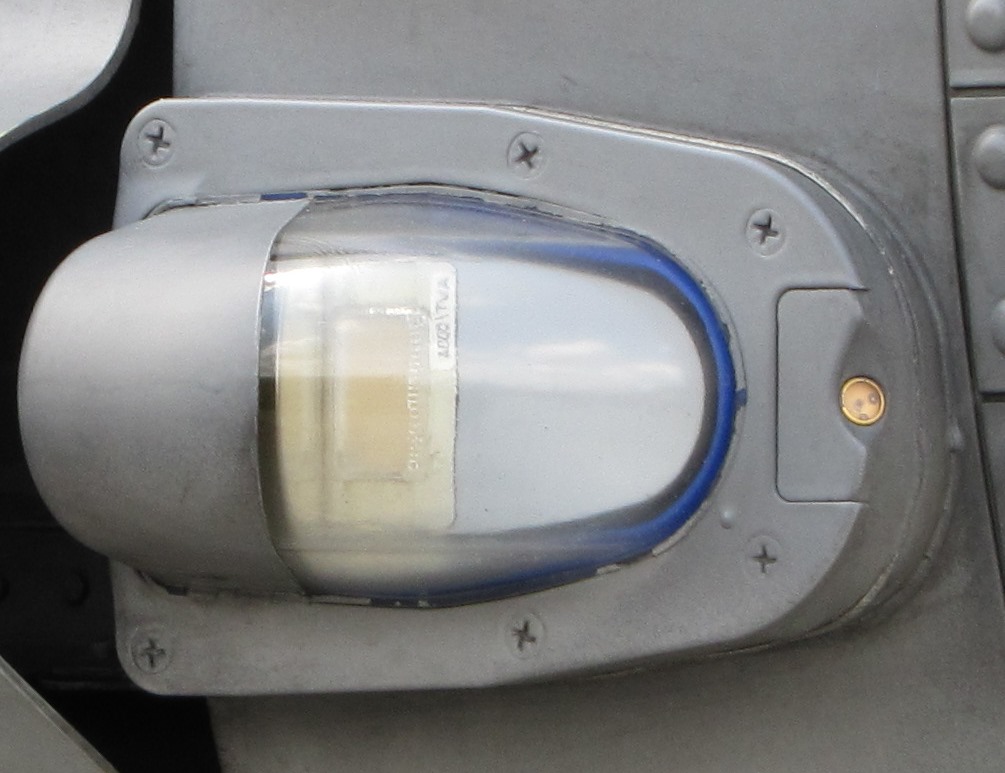
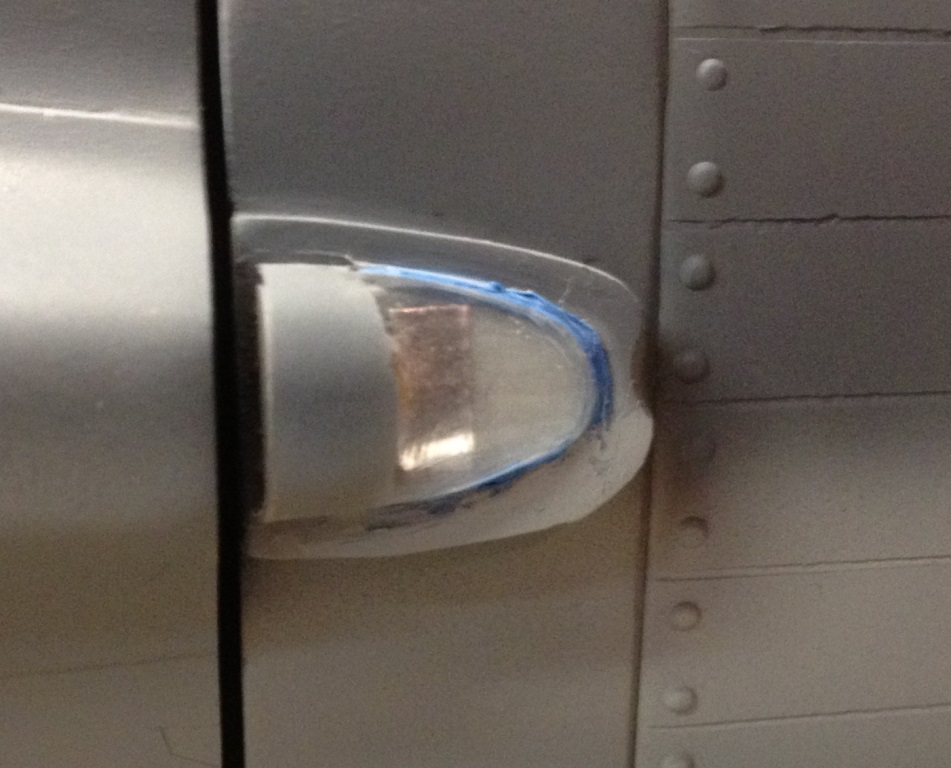
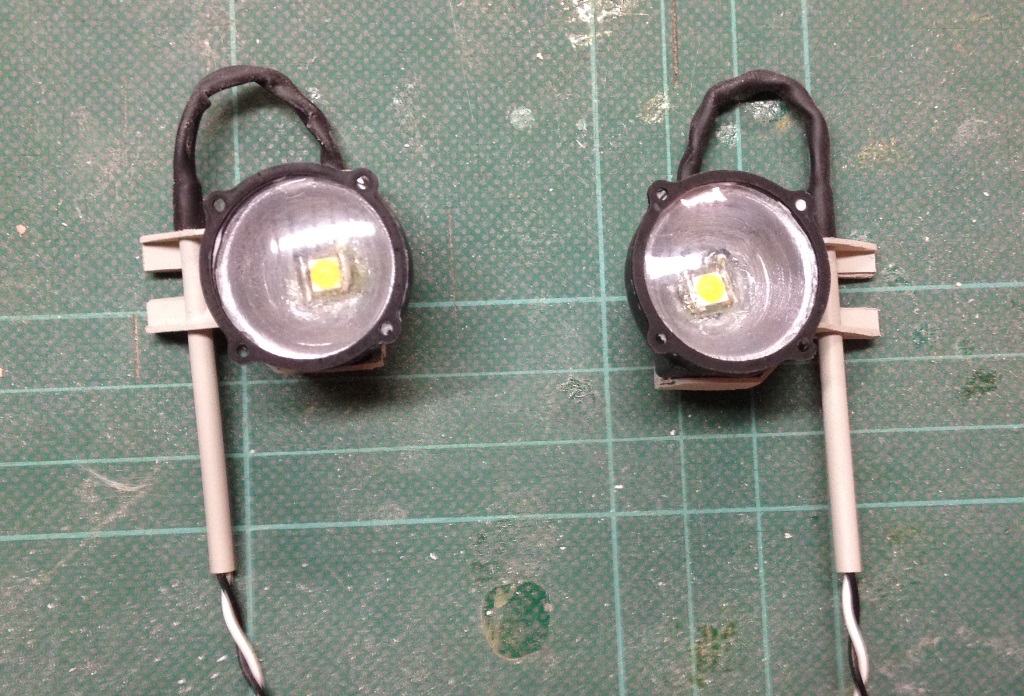
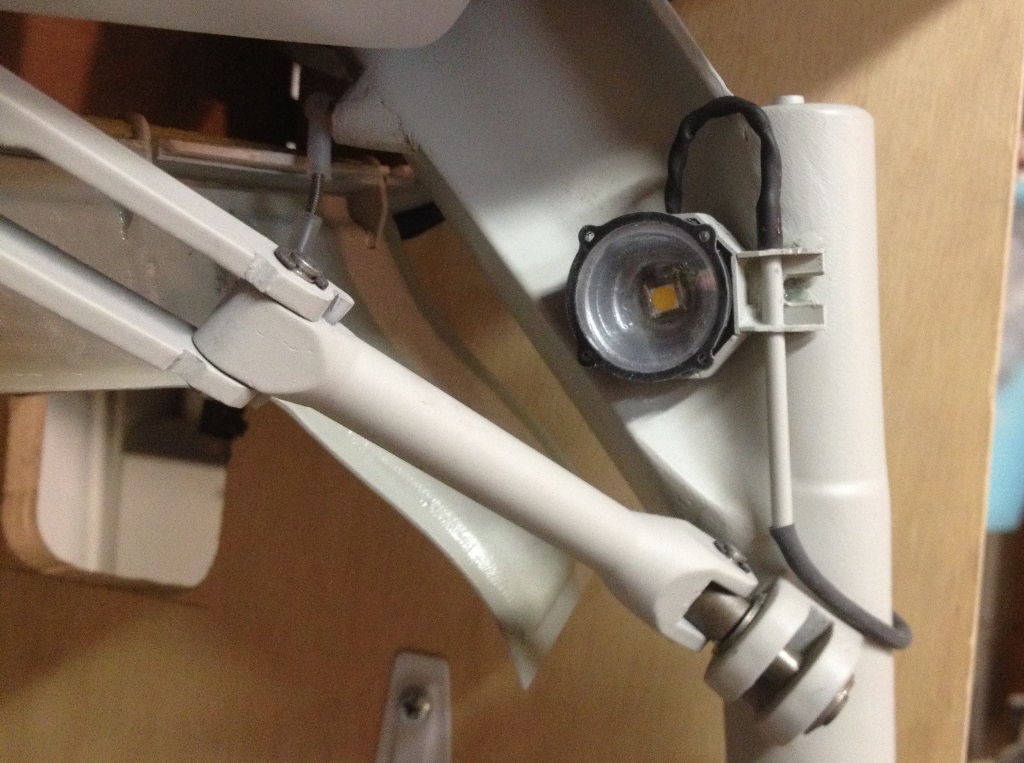
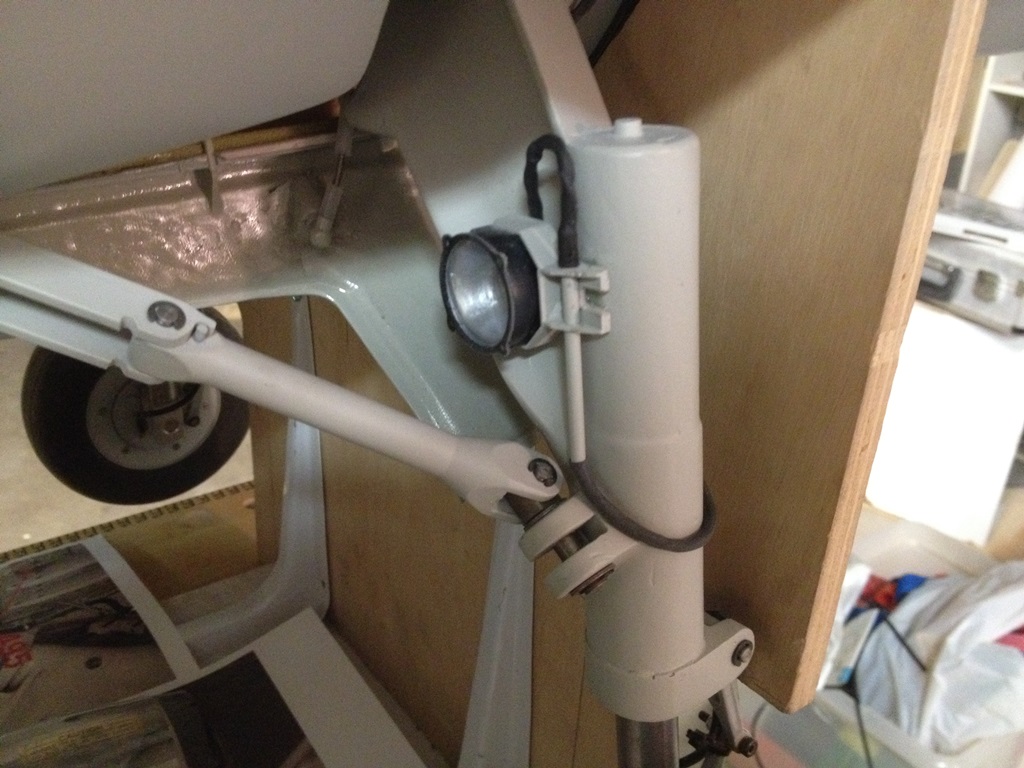
The taxi and landing light are made by Grimes (now Honeywell) so while I didn’t have the same personal affiliation with these lights, I still wanted a high level of accuracy. The clear panel over the circular cutout in the nose gear door was cut to shape from the plastic packaging of a screen repair kit (which was needed for scale details on the belly) and glued to the nose door and painted. After the photo below was taken, I noticed the shape of the cover wasn’t quite right so a bit of rework is planned.
.
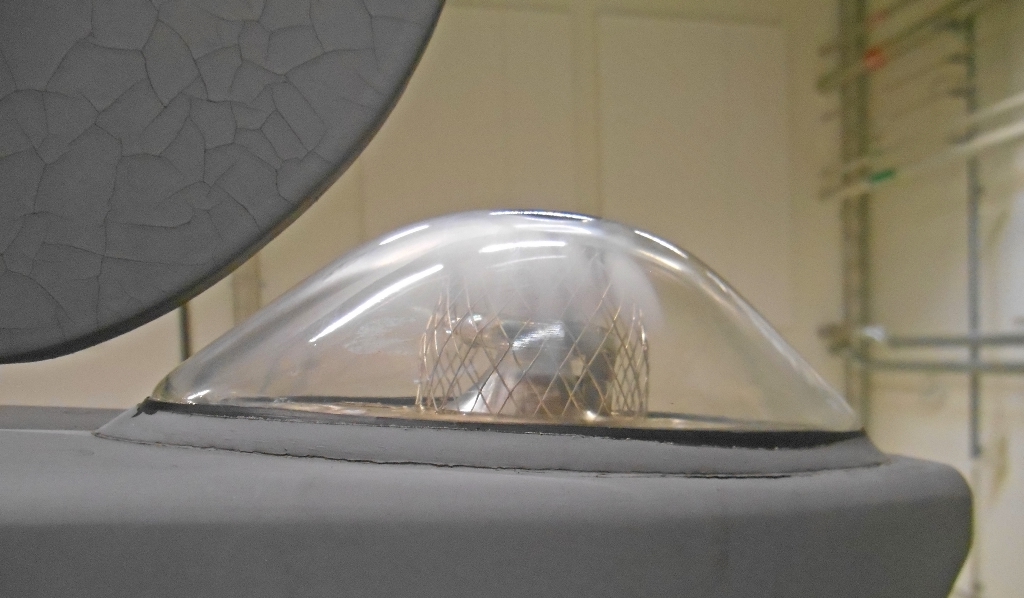
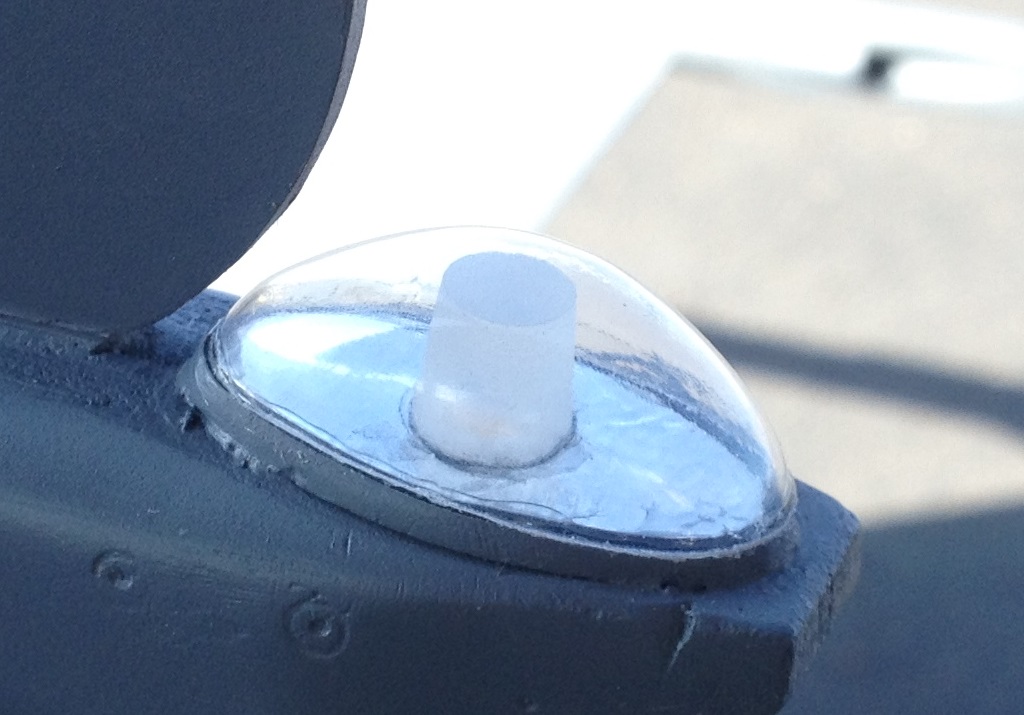
The landing lights are mounted to the main gear struts with an octagonal-shaped bracket. The brackets for the model were made from G-10, styrene angles, and brass tubing. The wires from the light were routed through heat shrink tubing and a .125” brass tube glued to the light bracket per the full-scale.

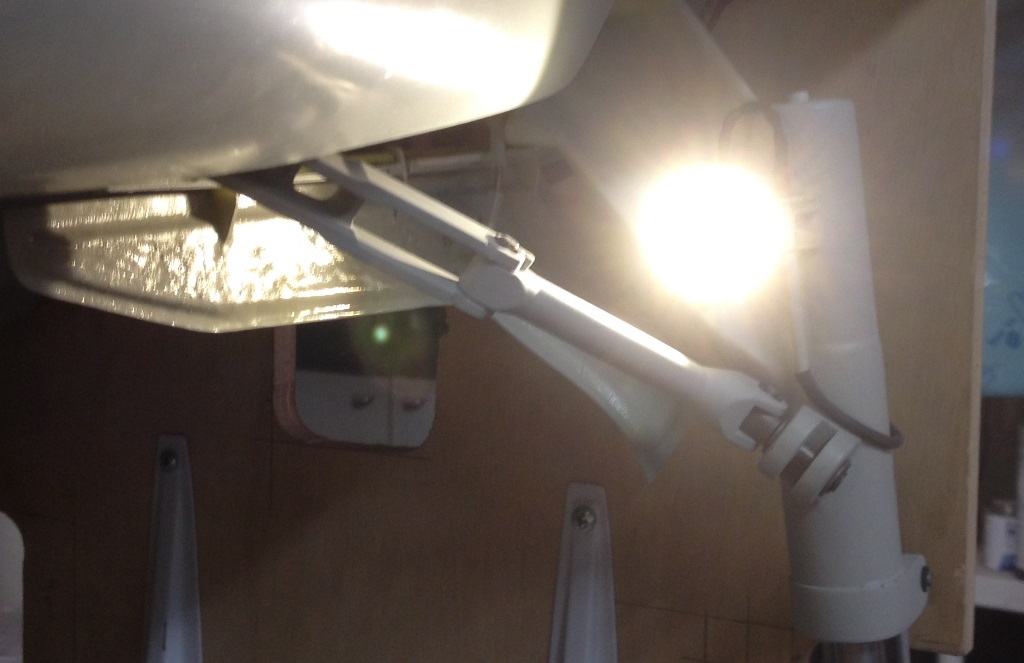
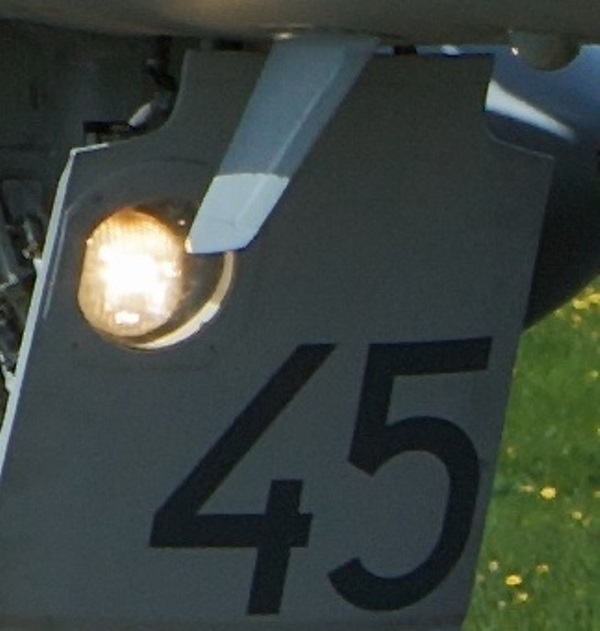
I’m hoping the lights look great on final approach; I guess we’ll find out next Friday after static judging.
Regards,
Jim