Thanks Robert for your kind words my friend.

Pete,
After further thought, the blisters will not get feathered in and rivets will be in order.
In the initial iteration of the blister, the flange was very flat and pronounced. Didn't look quiet right.
After feathering the flange to a thinner edge and elongating the fillet. Batabing Bataboom, "Just right" (quote from Goldie Locks

)
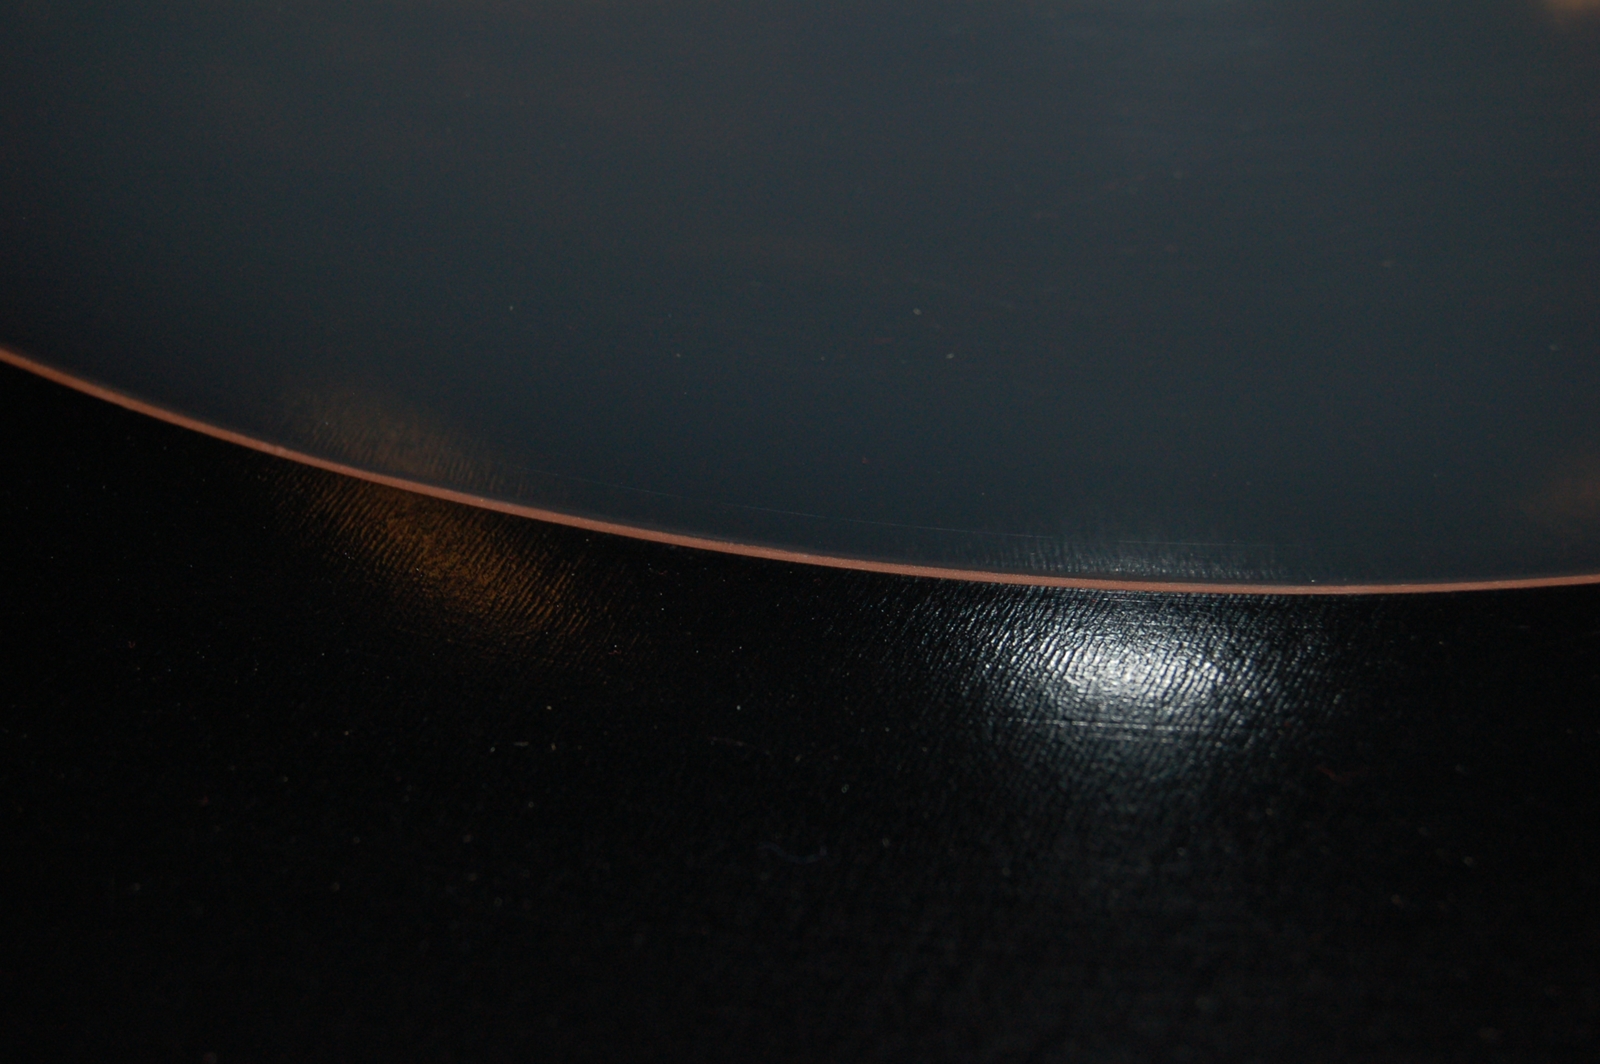
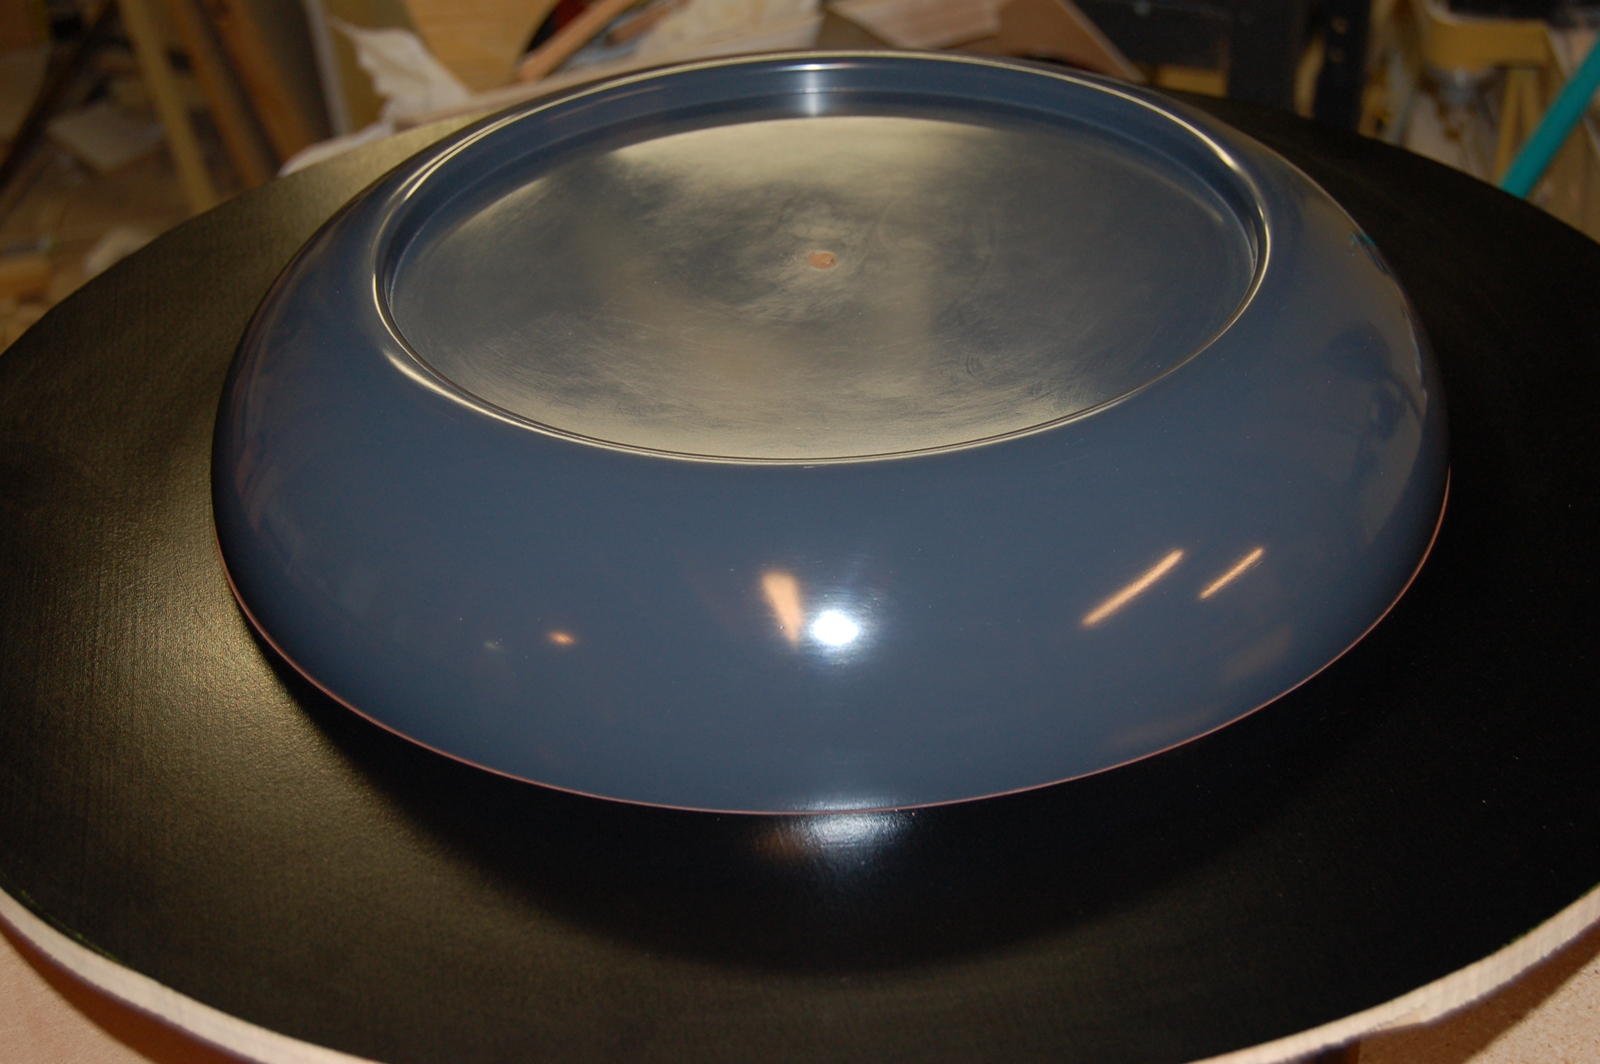
The cowl has had the parting plane installed, seam filled with mold clay, waxed 4 times and has just had part all sprayed on it.
One disappointing setback. I thought I had enough cloth to mold the whole cowl. Tragically, only enough to do the front .
Will have to order more and wait. Did I tell you waiting is my favorite past time
")
. sarc off.
All the material that I am using came from a start up kit from ACP composites. I bought this kit 2 years ago knowing I would be crossing this bridge eventually.
It was supposed to be enough to do 2 or three cowls. Regular ones, Not 1/3 scale basketball tee's.
Silly me for not taking inventory before beginning.
This is the clay for sealing the parting seam.
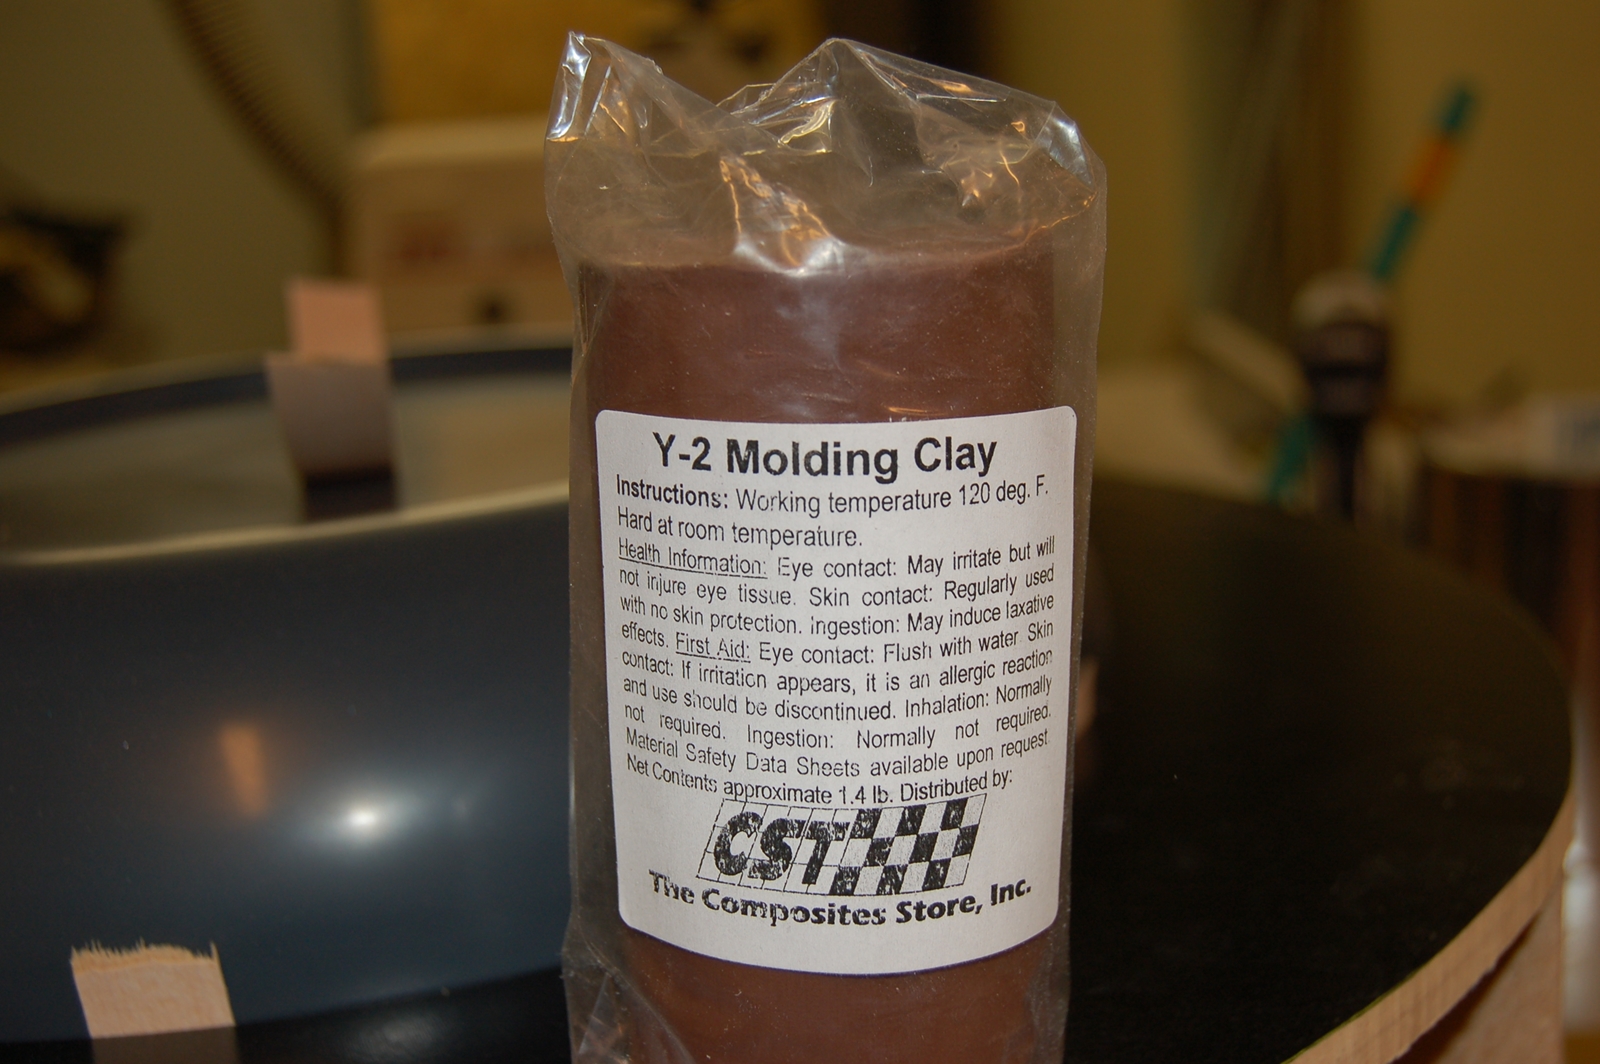
It does just what it says. It did take me about an hour to fill the seam. It was tedious and no fun.
I started filling the seam before waxing the cowl. Thought I would just wax it up when the plan was set.
Then it hit me. All this hardened clay is going to be a mother to get this plane released later.
So I undid what I began and took the cowl out and waxed the upper wring real good.
Then put it back together and proceeded. I used a squared off credit card to make a clean corner.
Next I waxed everything 3 times and then sprayed Part All film release on all the surfaces.
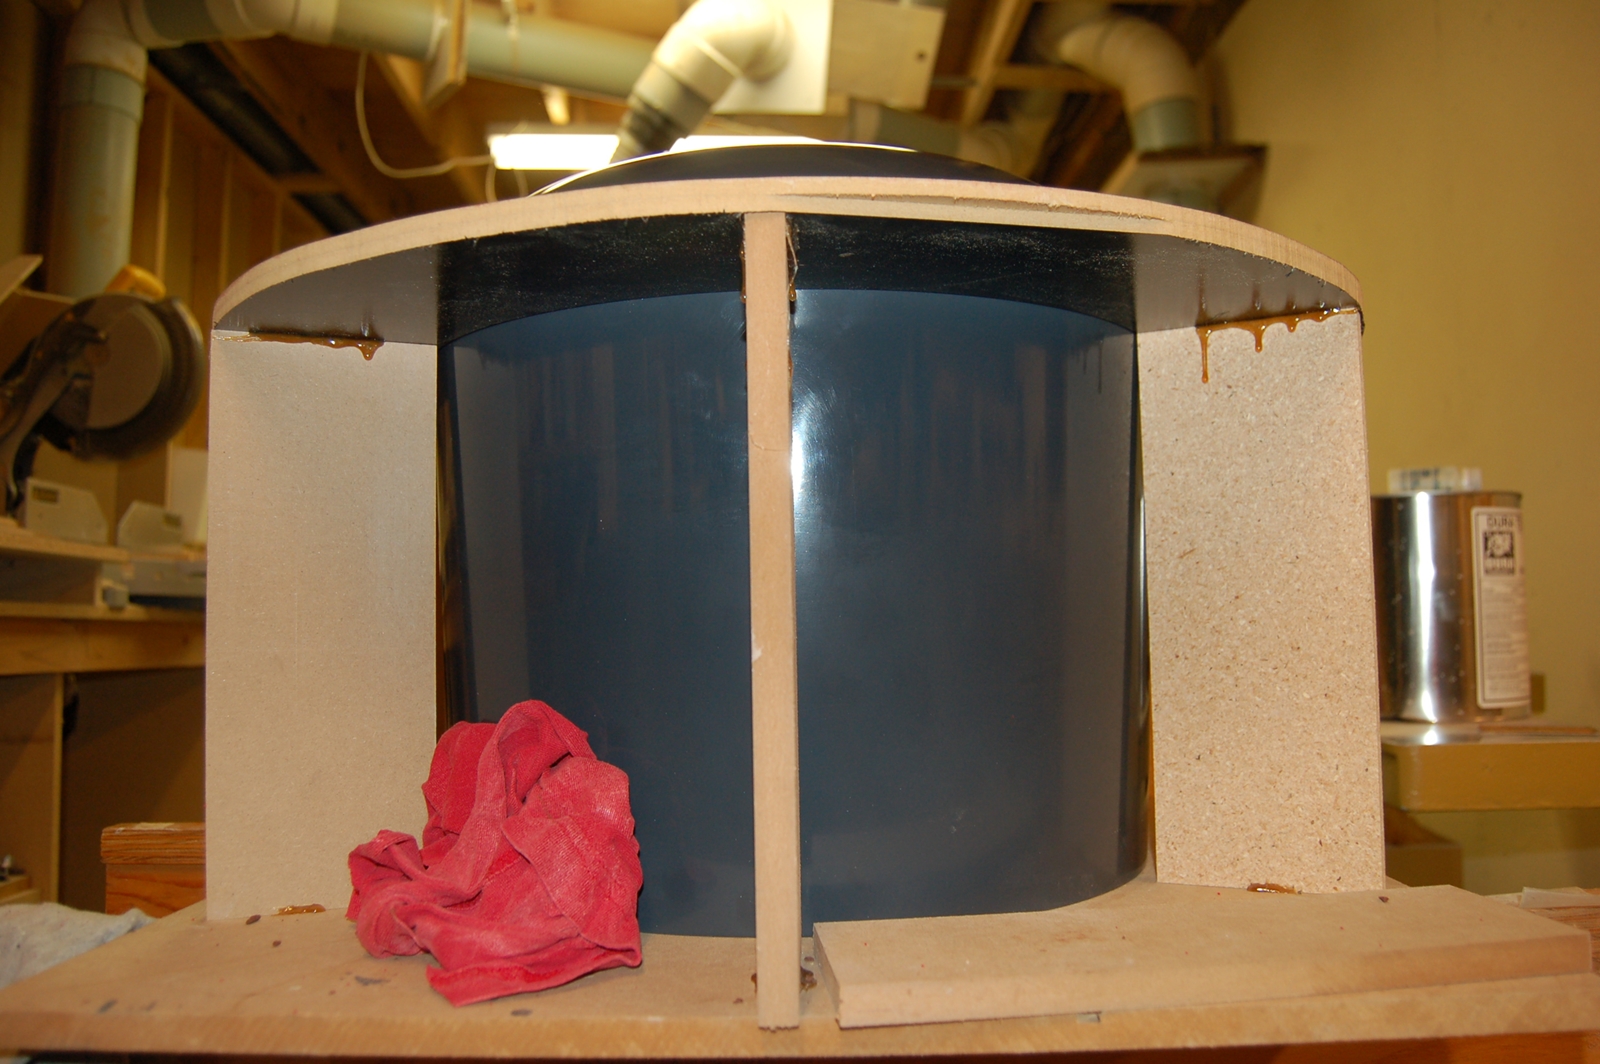
The parting plane consisted of 2 pieces of 1/4 inch melamine.
I used 2 cause the panel was bowed. So I cut 2 pieces and glued then outy to outy.
It was only necessary to clamp the edges this way. Also equal apposing bows cancel each other out and wala, straight panel.
Kevin