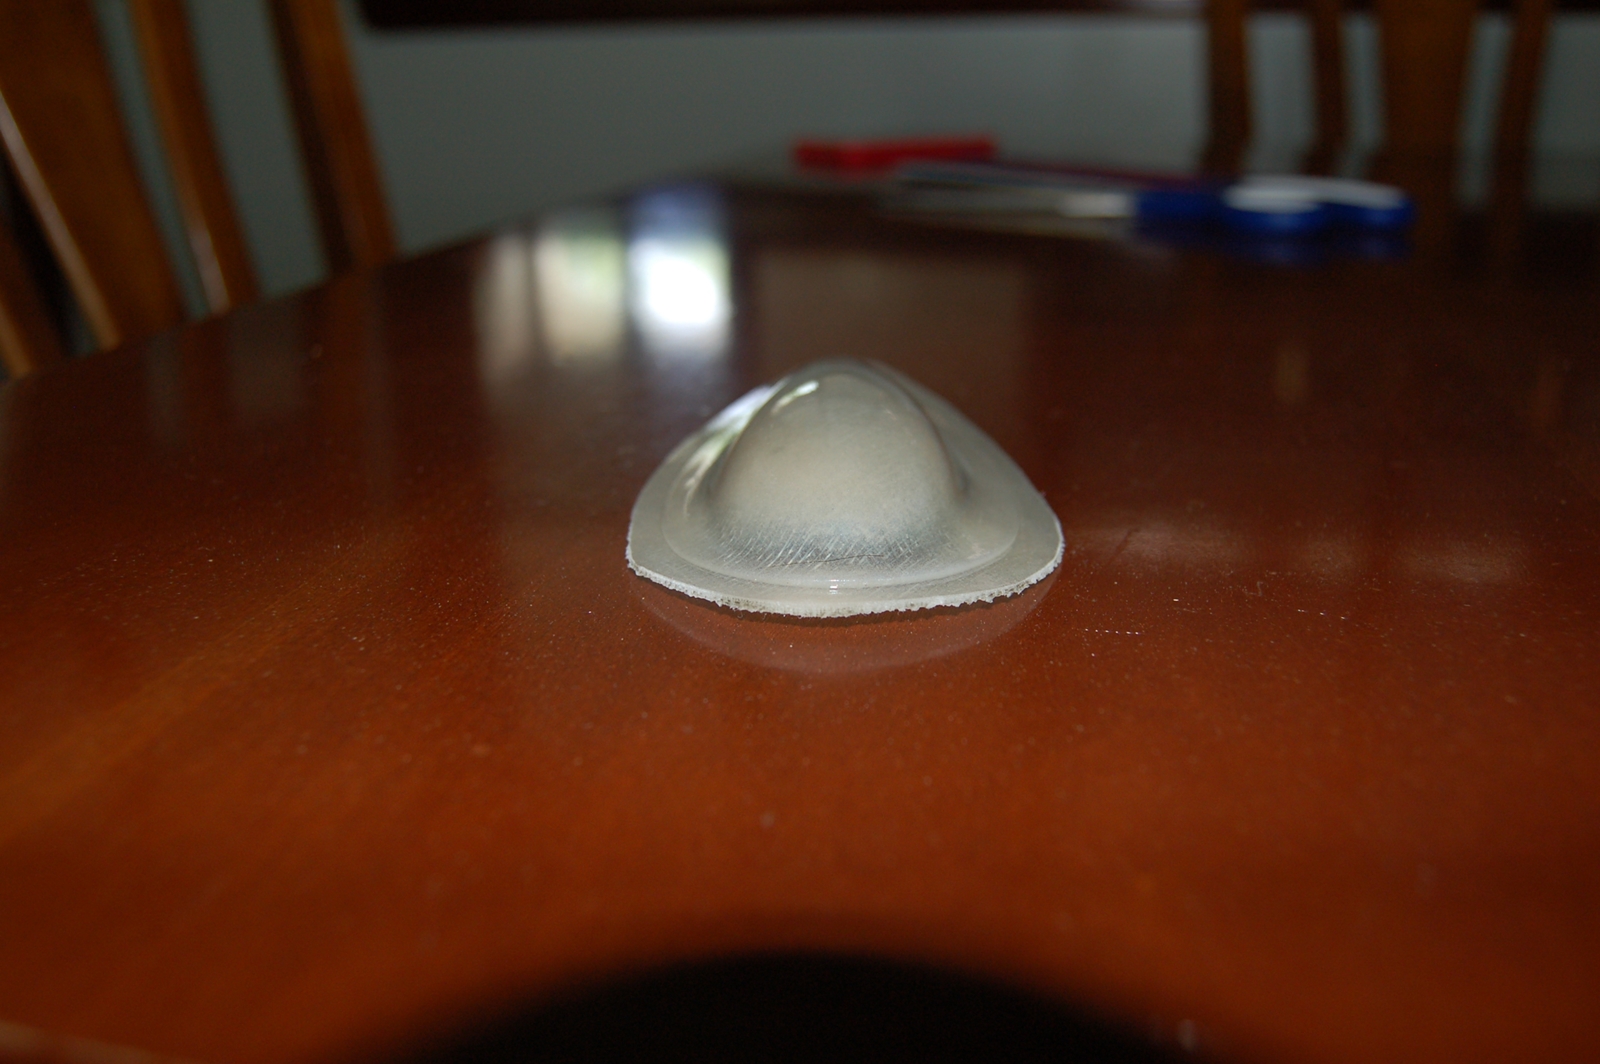
This morning I did a couple trials with the vacuum bag.
This was done with just the bare mold, no layup. That turned out to be a wise choice.
The trouble was my bag is a thick heavy vinyl. Initial pull up looked great. The flange portion was very distinct, meaning great conforming pressure.
Upon further inspection the heavy bag bridged the deep pocket of the blister, meaning no pressure.
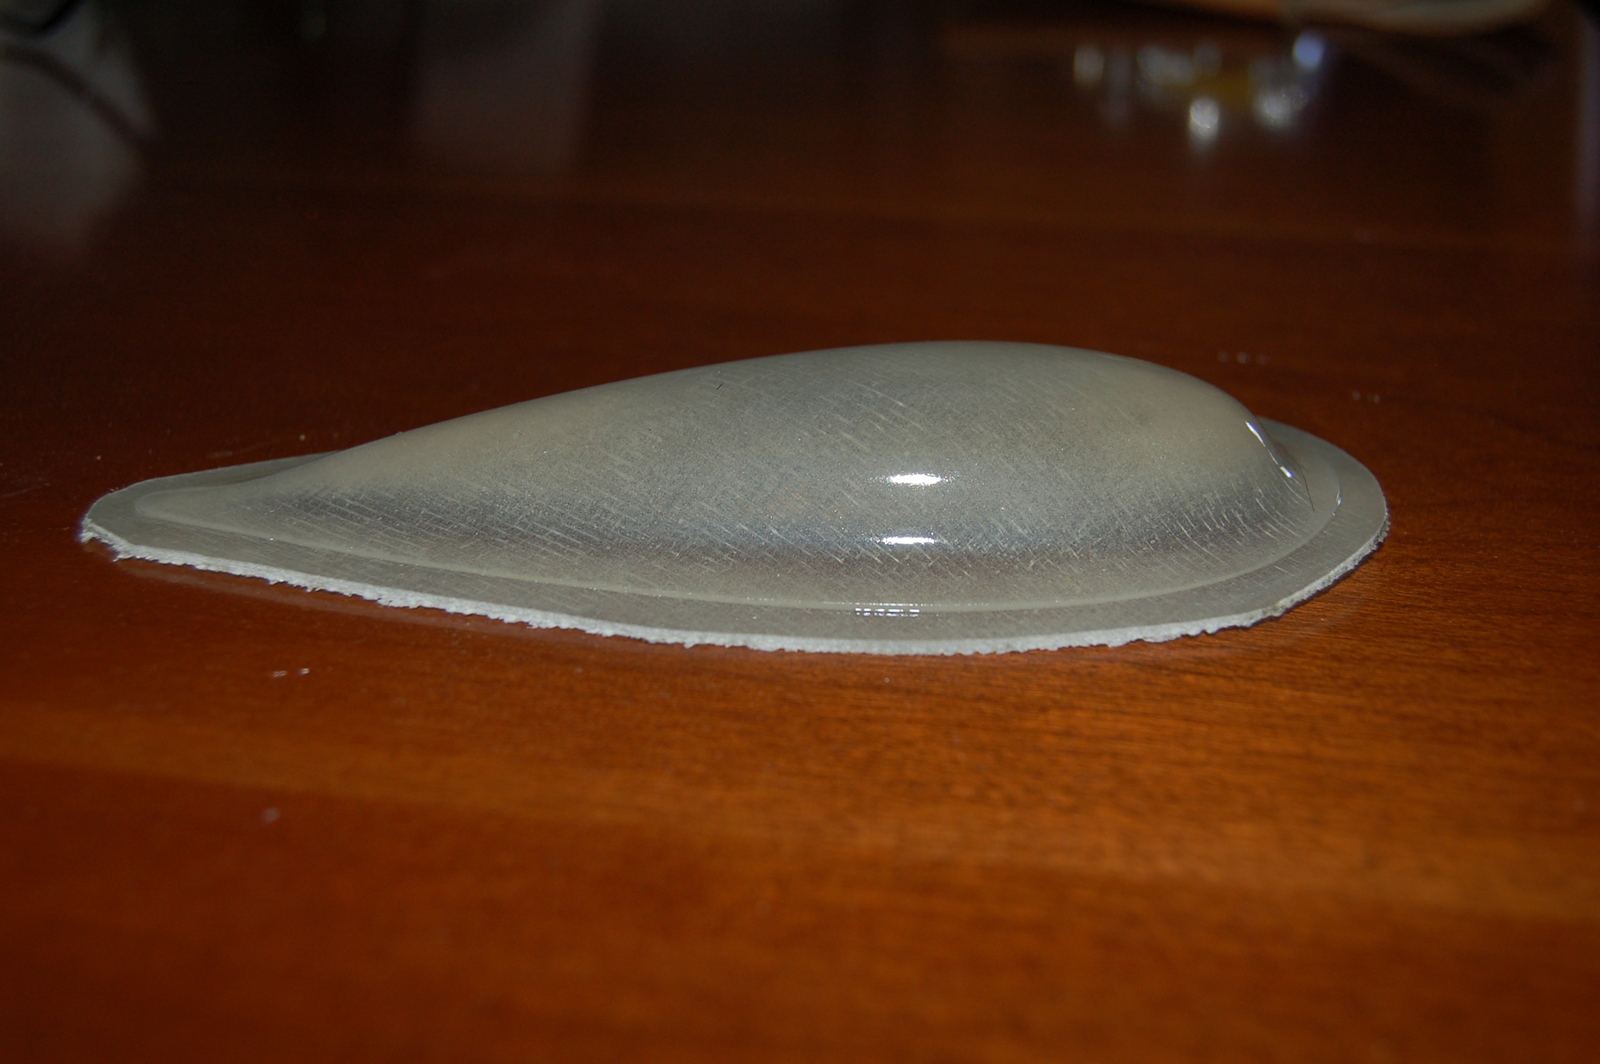
So I undid it and tried again forcing the bag into the pocket before the pressure build up. Got great pressure in the pocket but the bag bunched up on the flange, meaning hit and miss pressure at the flange. The bag material was just to heavy.
So I still plan to vacuum bag the blisters. I ordered some bagging material from Fiberglast. It is called Strechlon 200. It is capable of stretching up to 500 %.
Just the ticket for this application.
The reason I want to bag these, is. Composites are always stronger when they set up under pressure. Also with bleeder cloth the excess resin can be removed from the layup at press up. Making a lighter stronger part.
So in the mean time I did a gravity layup cause I was itching to see my mold make a baby.

I wanted to make sure there was cloth in the slim flange. So I used 4 layers of .75 oz cloth and 2 layers of 6 oz to give it strength on the bubble.
This one will probably be a discard cause it is heavy. There might be a couple of discards until I get strength vs. weight just right.
Remember there are 18 of these. If each one is heavy that will make a lot of extra weight.

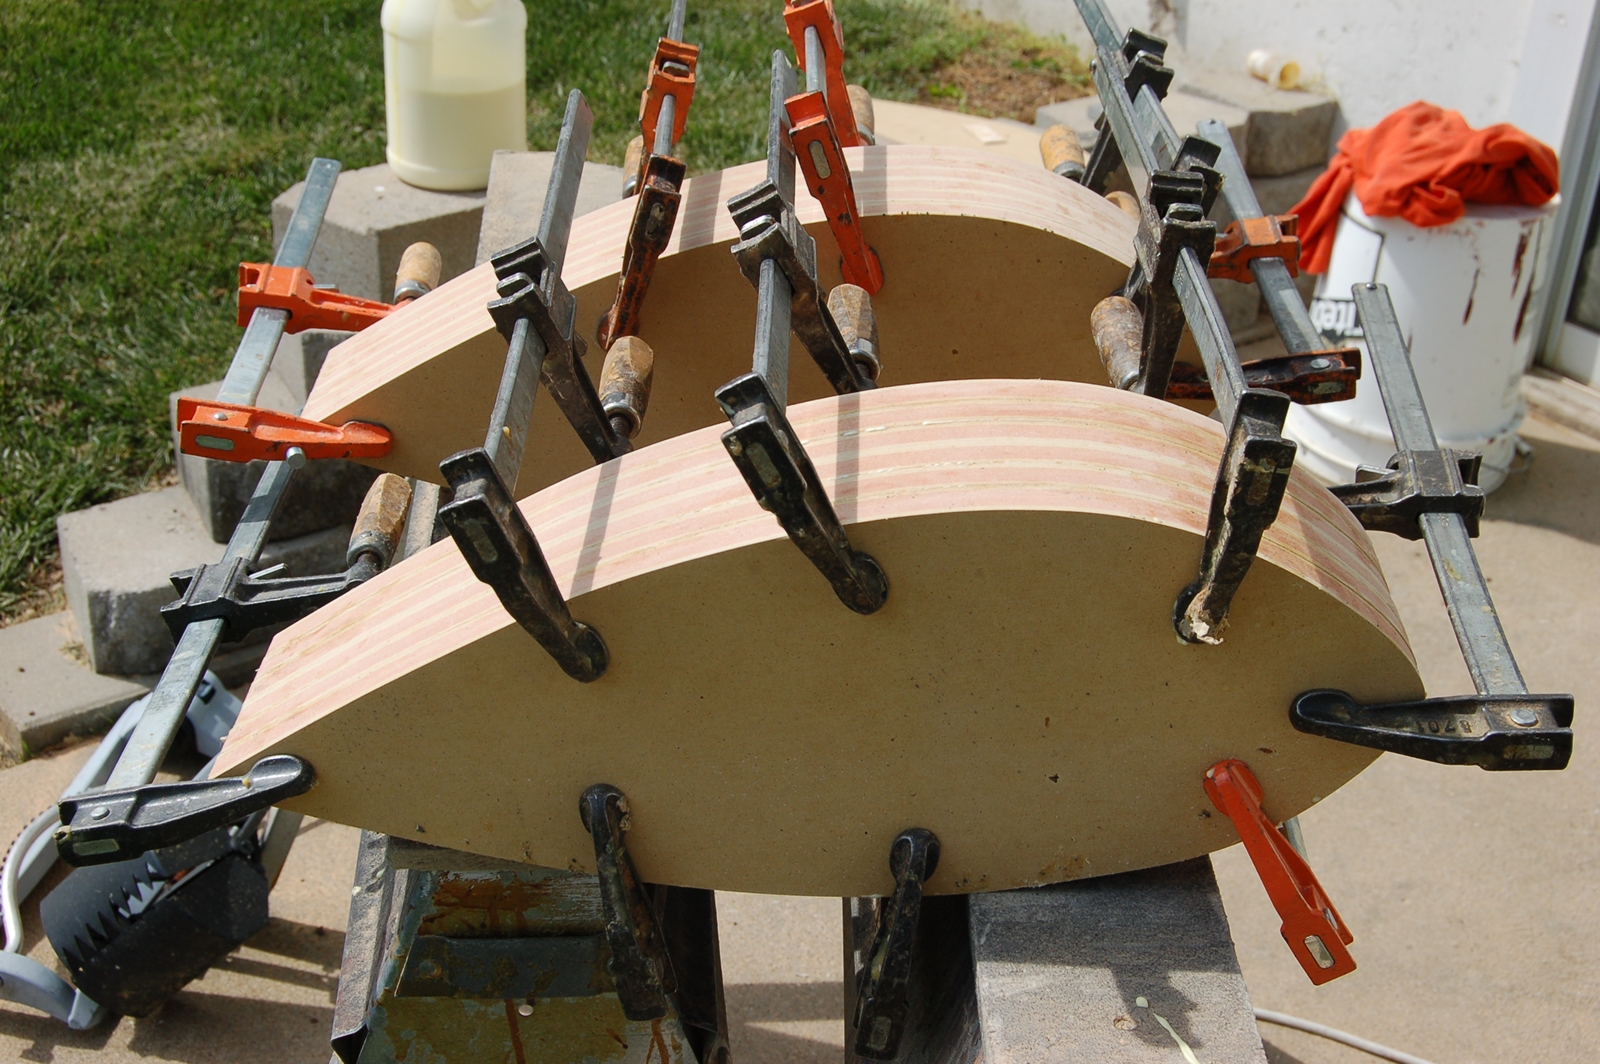
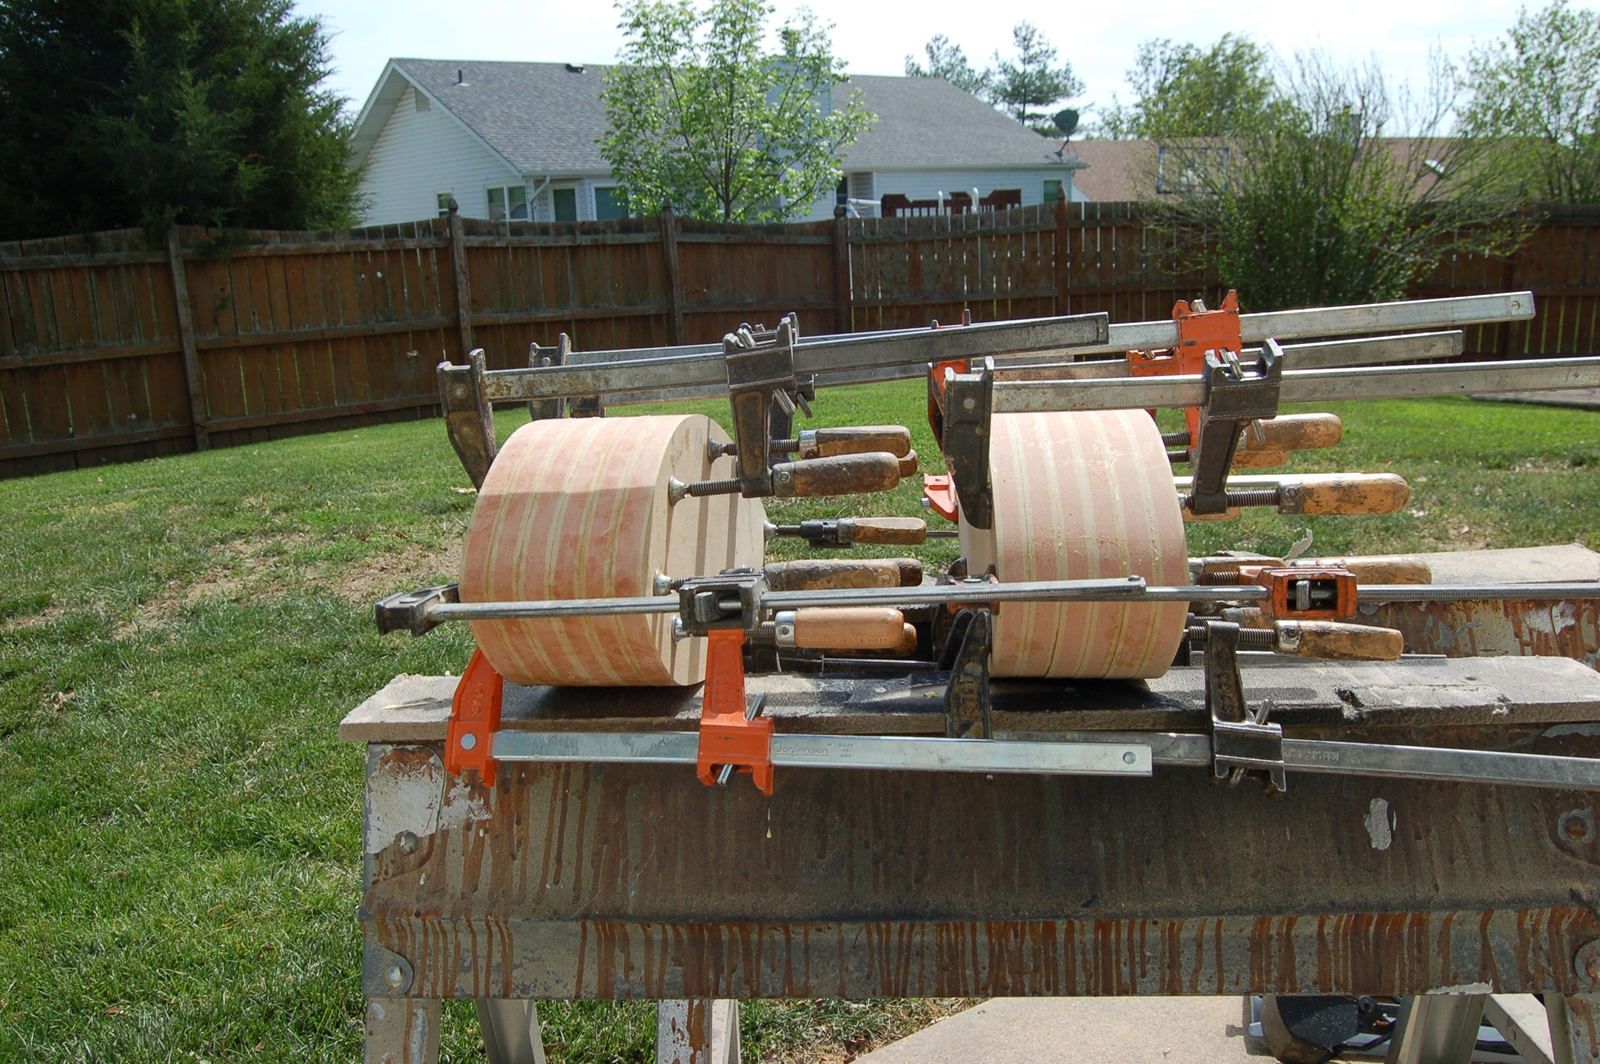
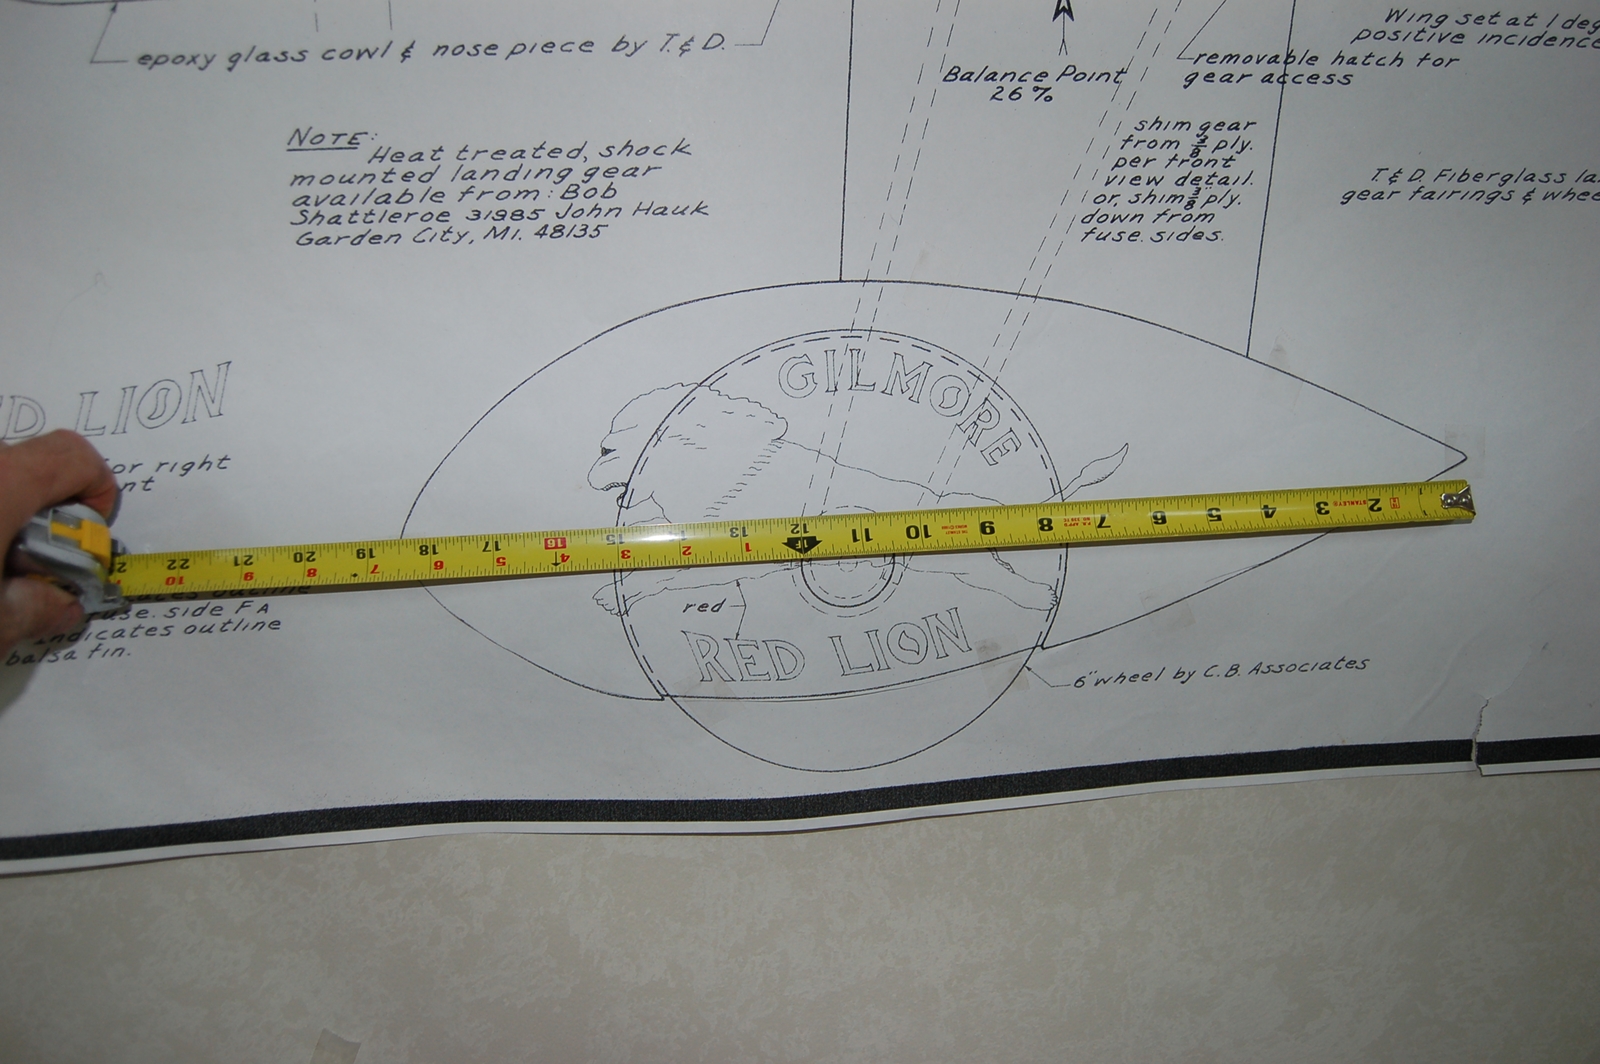
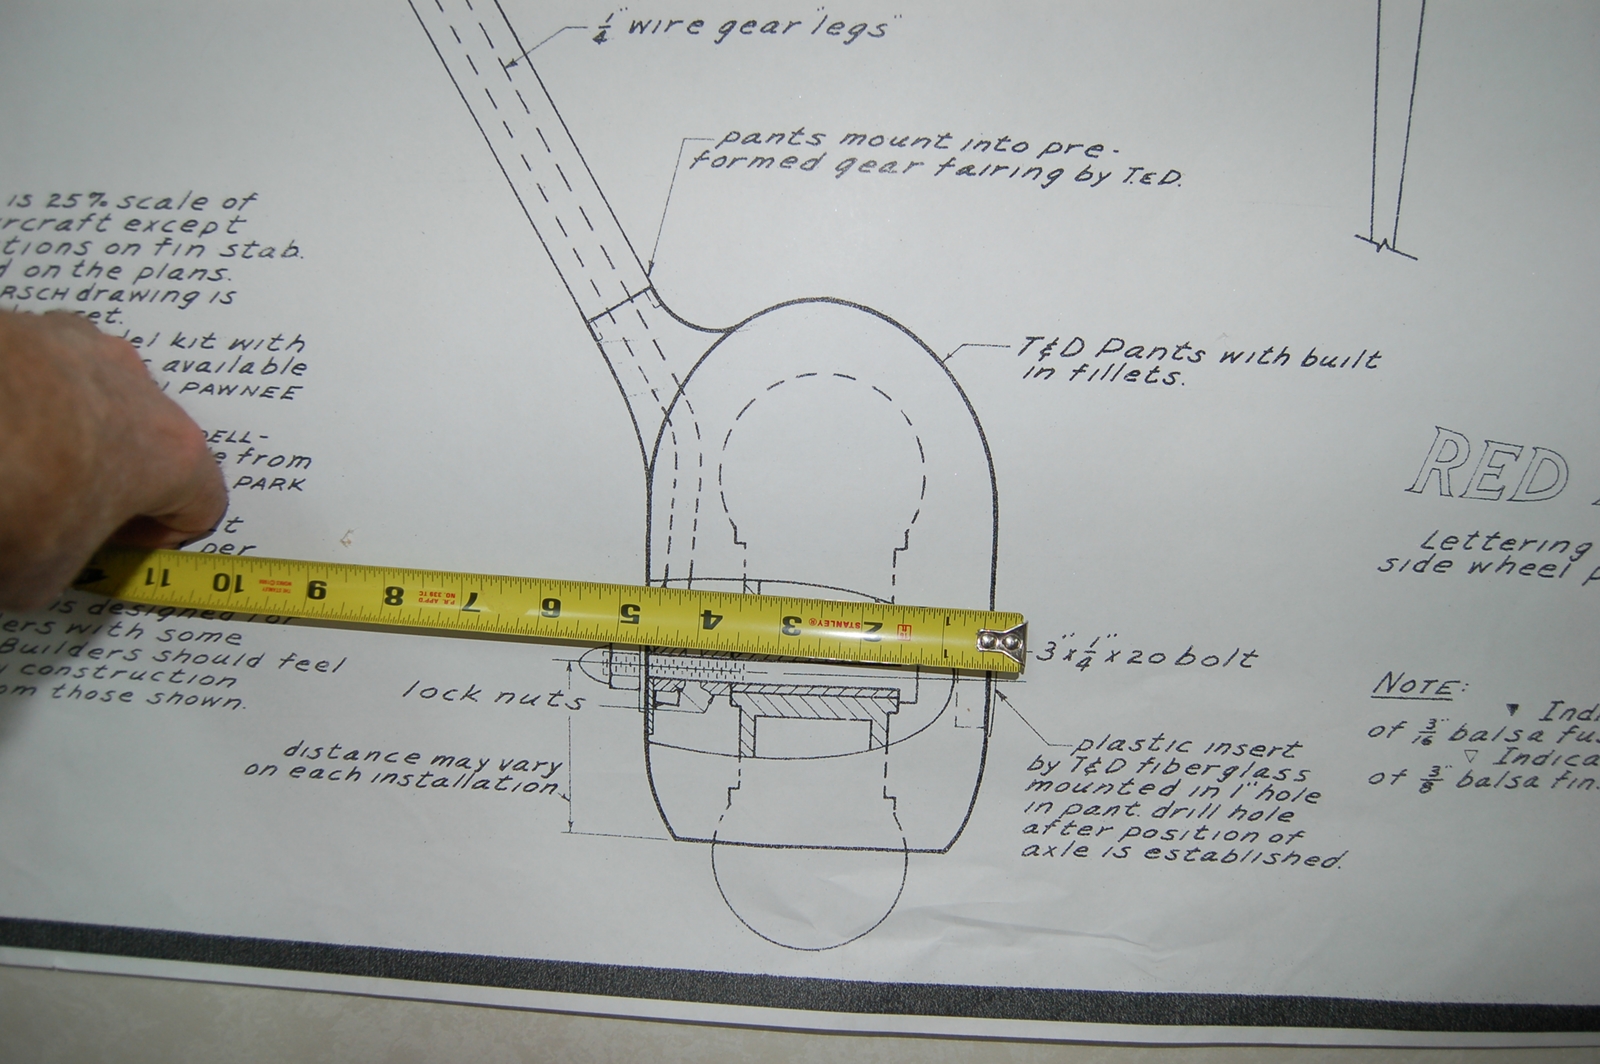
While my first baby was gestating I set to work on the wheel spats.
On the cowl I used foam for a plug. The foam was great for shaping but very fragile.
I even put some little dings in the cowl while I was buffing it for the final time.

Those little dings will be in the FG cowl but primer will fix them fast. But still it galled me.
So I opted for MDF for 2 reasons. I got it for nothing (off fall from work). And each inside spat half gets a fairing molded to it. That fairing will be part of that plug half. Easy peasy gluing a fairing to mdf, not so much foam.
The glue up consist of 2 plug half's. No glue between the 2 middle sandwiches. Each plug half as is, is still 1/4 inch narrow. I will glue a 1/4 one sided black melamin to each half black side out. Those 2 black sides of each pair will then get spot glued together. This will give me a nice black center line that won't go away.
Below is the shape I am pursuing. Also if you notice the flange/fairing that gets fashioned and glued to the plug. Each inside half gets this fairing.
Summitry and the correct angle will be elusive. Thank heavens for Bondo.
")
Onward
Kevin