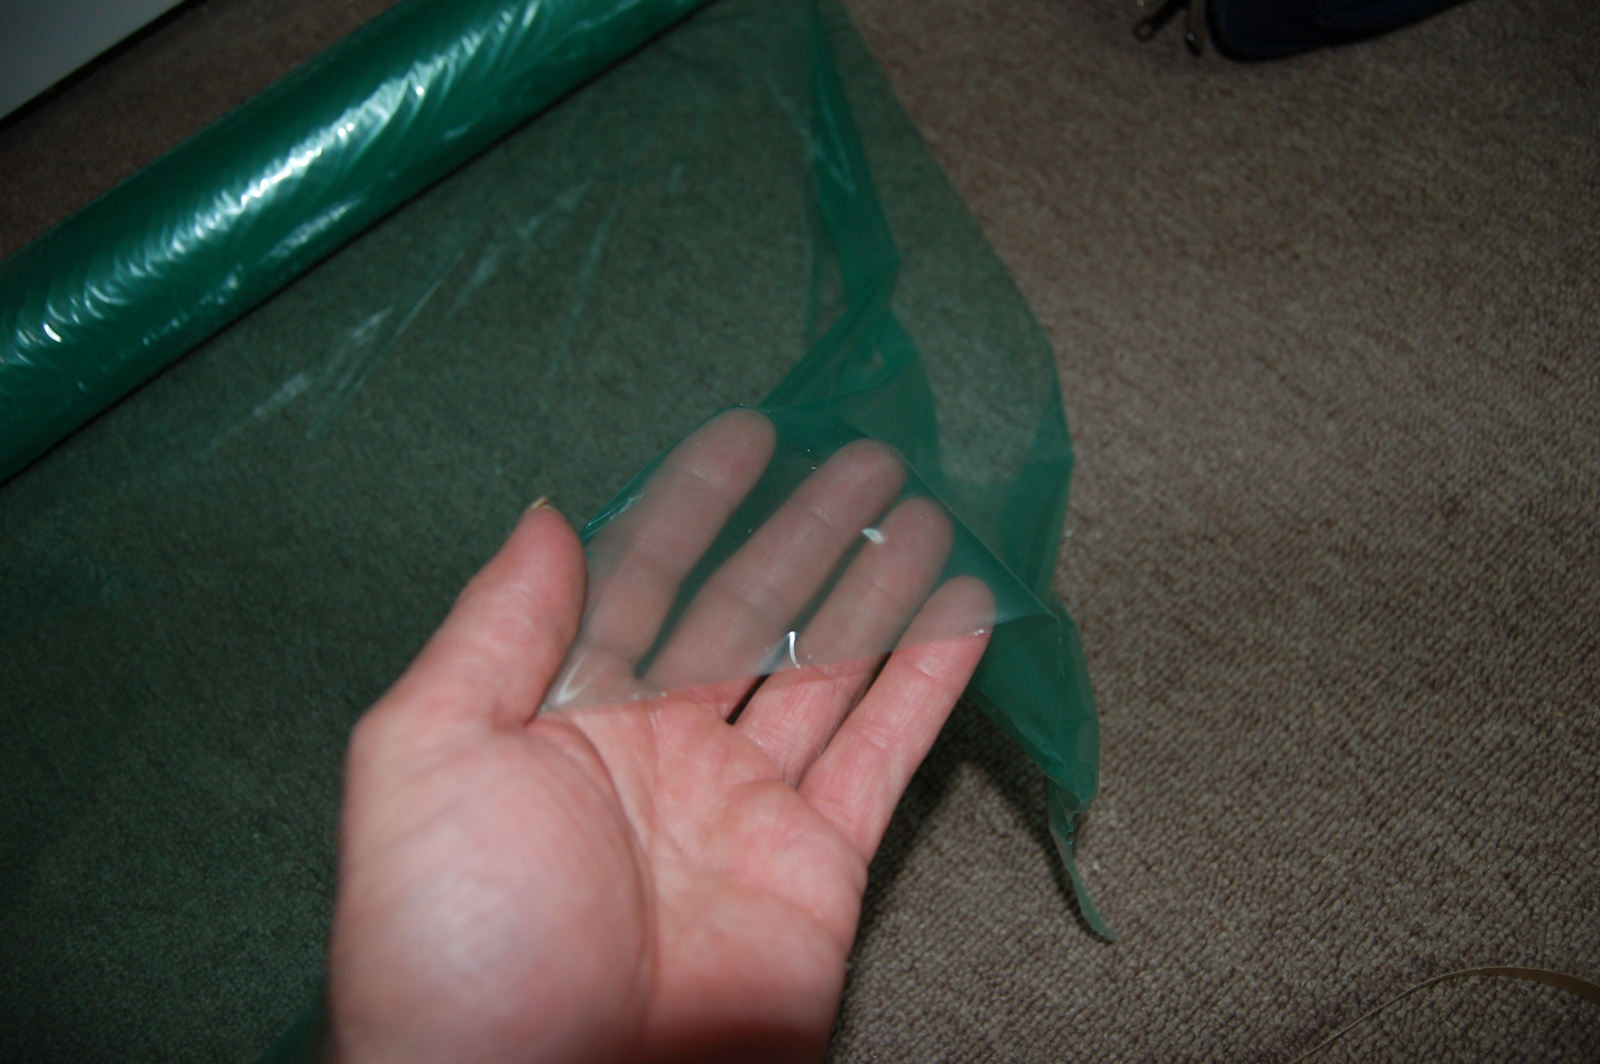
My glass and streachlon came in 2 days ago but was helping a friend move the last 2 days and didn't have time till tonight.
The Strechlon was thinner than I expected. Think sandwich bag. But seams to be pretty tough. Hoping to get multiple pulls out of same bag. We will see.
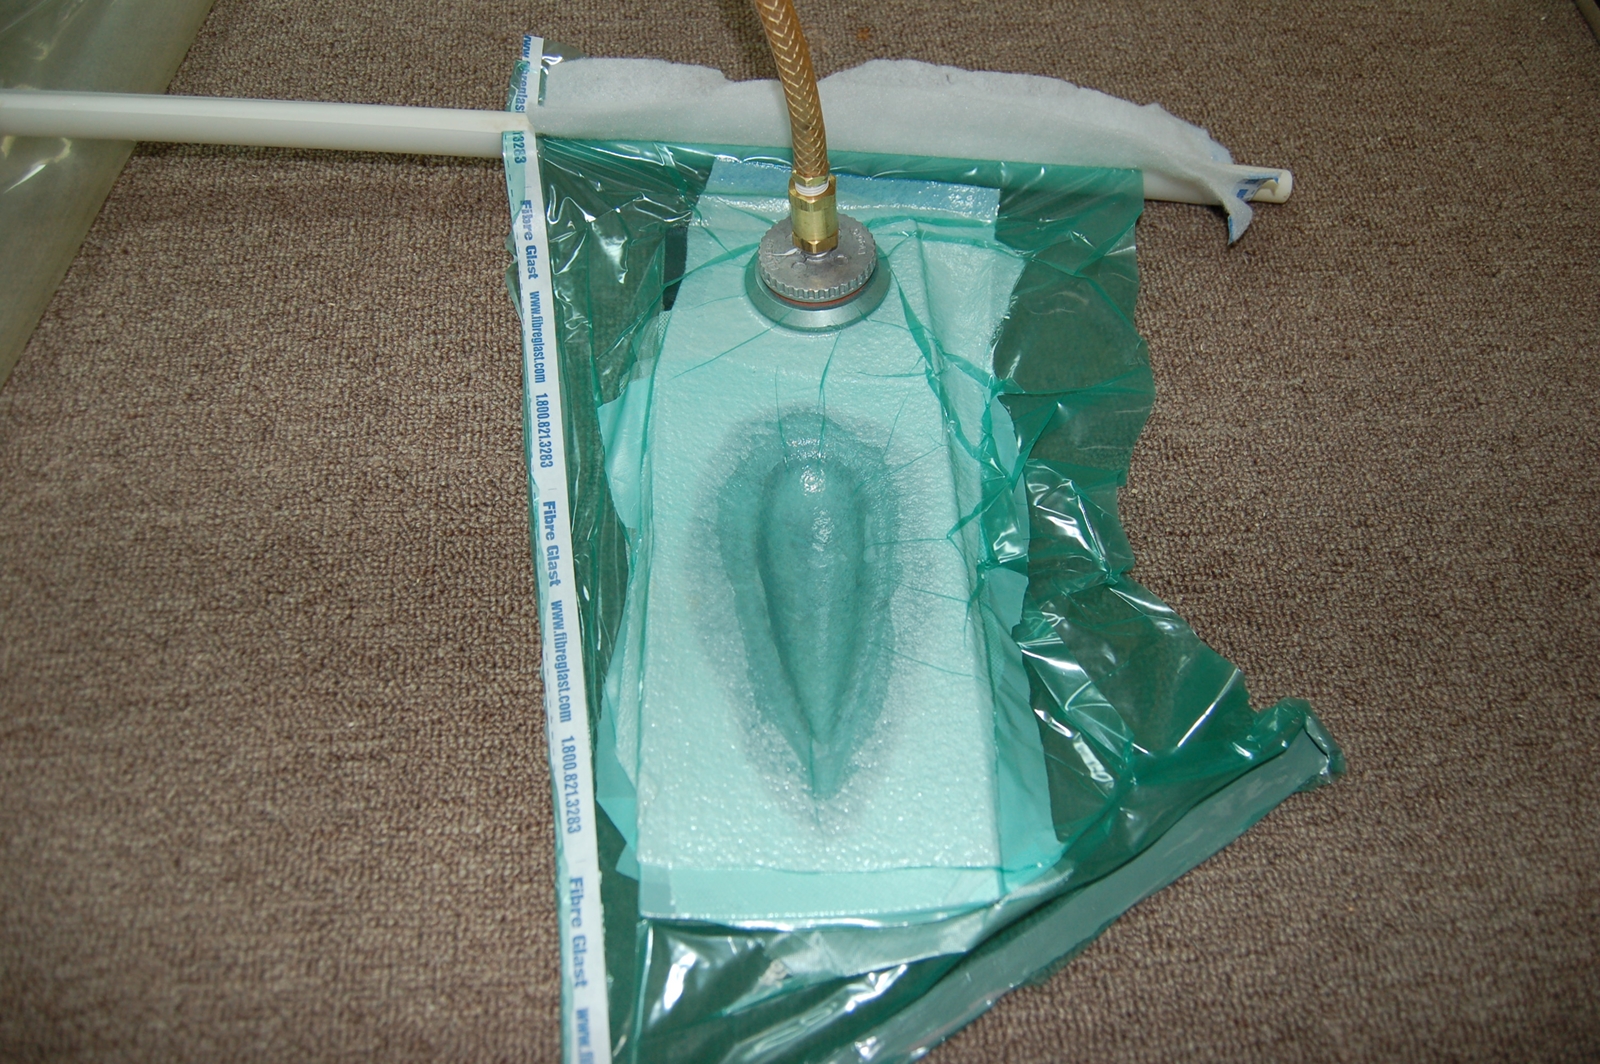
It conforms like nobodies business. The PC police would love this stuff. Can't really see in the pic but there is great definition around the flange rim. Meaning pressure.

For this layup I used 2 layers of .75 oz cloth then 1 layer of 6 oz cloth then 2 layers of .75 oz cloth.
In the last layup there was an extra layer of 6 oz. That got deleted this layup.
The first blister was very stout but also resin rich. This layup may prove a little flimsy but we will know tomorrow.
Some of you may have wondered why the long section in front of the blister part of the mold.
In the following pic you will see it was for the vacuum nipple plate to rest on.
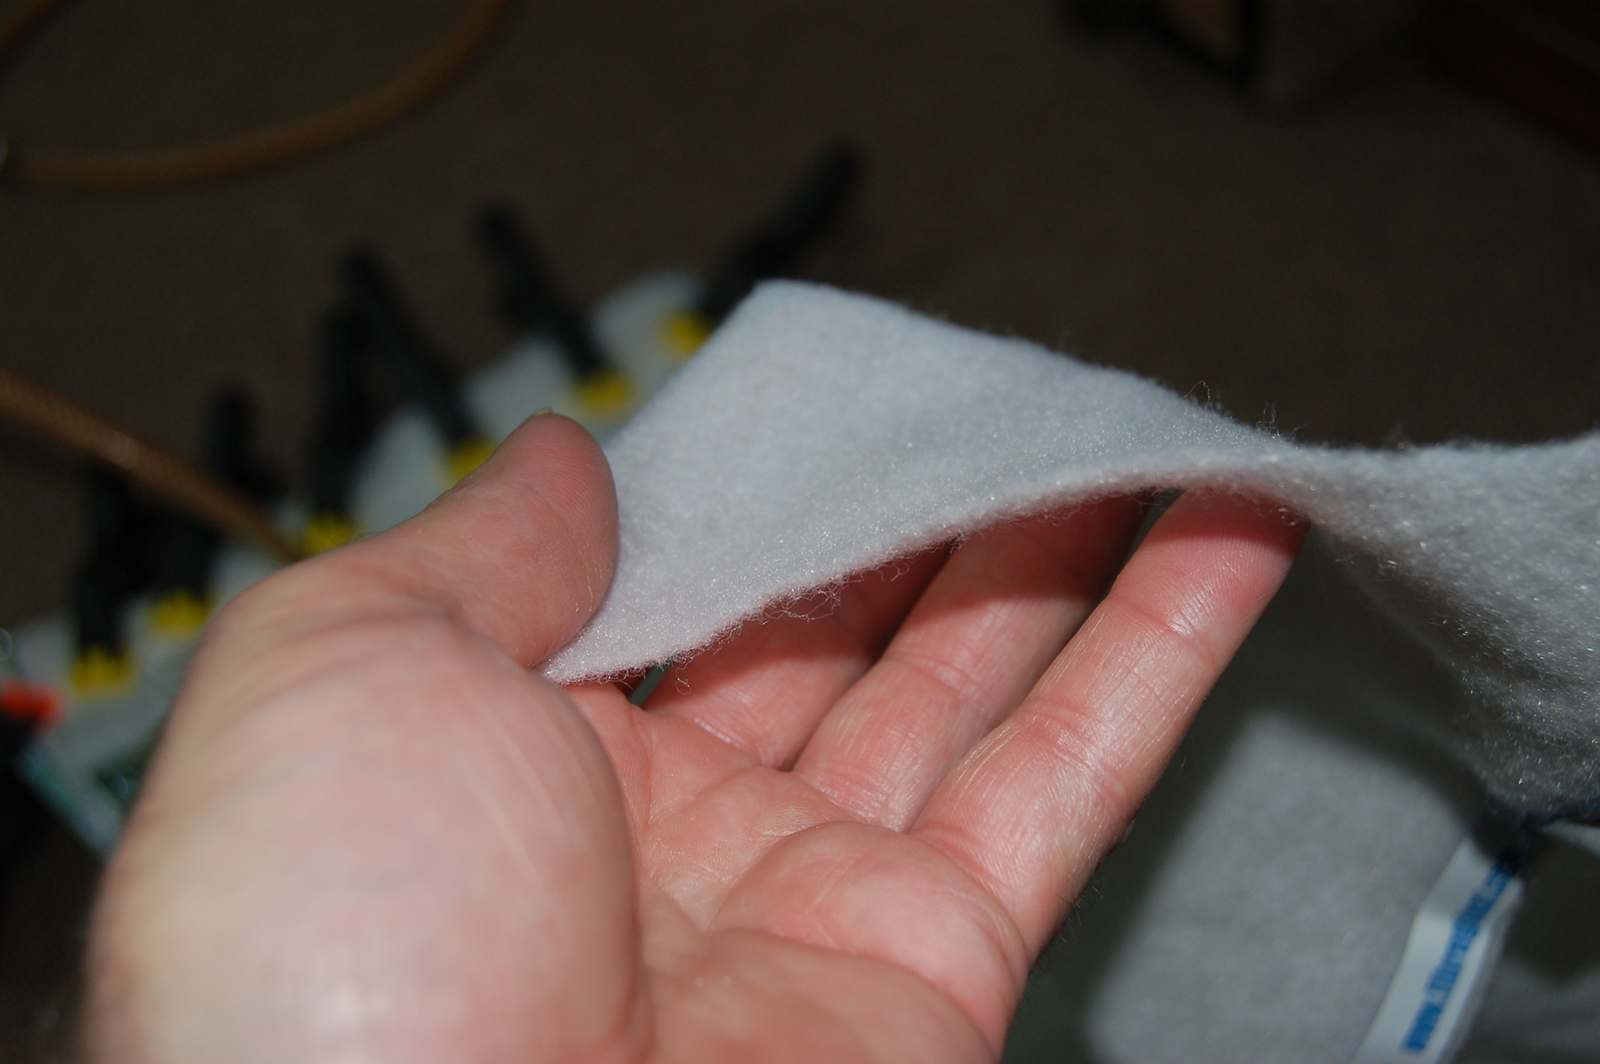
After the glass and resin was placed into the mold, a layer of peel ply was placed over that. Then breather cloth over that.
The peel ply keeps breather cloth from being glued to your layup. It also allows the excess resin to be pushed through and get soaked up by the breather cloth. The breather cloth is dual purpose. First to help evacuate atmosphere from bag then to soak up excess resin.
This is what the breather cloth looks like. It comes in 2 weights. This is light weight.
I am hoping this is a good recipe. If it is. It will be the first Blister.

Tomorrow I hope to get the second half of the cowl mold laid up.
Kevin