Thanks Robert for the moral support.
And yes vacuum pressing can be very cool indeed, and heart wrenching if you are depending on success on the first go cause you only have so much material.
Example. At work we press up shapes regularly. Most of the time the veneer going on the shape is matched to its neighbor and there is no margin for error. Some errors can be repaired and made to work. But say a rippled panel could be complete failure and a big problem. (the pitfalls of custom work).
So first thing this morning I pulled iteration 2 out of the bag.
First observation. The stretchlon did release from the epoxy but with a little rending. Conclusion. Stretchy bag material will not last if measures are not taken. Next time I will put a little scab of extra stretchy bag material to act as a skin between bag and layup.
When I pulled the part from the mold, initially was very pleased. Light as a feather and potentially strong enough.
After closer inspection I could tell some bridging happened and 2 areas that did not get complete lamination.
Bridging happens when pressure builds up in surrounding areas and there is not enough bag material or veneer/cloth to press down in the crevasses.
In this case it was the cloth not the stretchy. Stretchy is stretchable. Cloth not so much. When I was laying up all 5 ply's I did notice a little bit of bubbles by layer 4. Nothing bad enough that I thought the pressure would squeeze them out.
Wrong
Below is a crude example of bridging. In the magnificent drawing to the left is an example of bridging when laying up and outy. Under it is how we work around it at work. To the right of it is an inny. Having never layed up an inny before there is a learning curve.

When pressing shapes there is a lot of manipulation of bagging material to make sure it is down in the crevasses before pressure gets to great.
On a large bag there is time for the manipulation cause of the time to evacuate the bag. You can turn off the pump if needed and manipulate bag.
On my little blister time to evacuate was short of 2 seconds. Not much margin between a little pressure and full pressure.
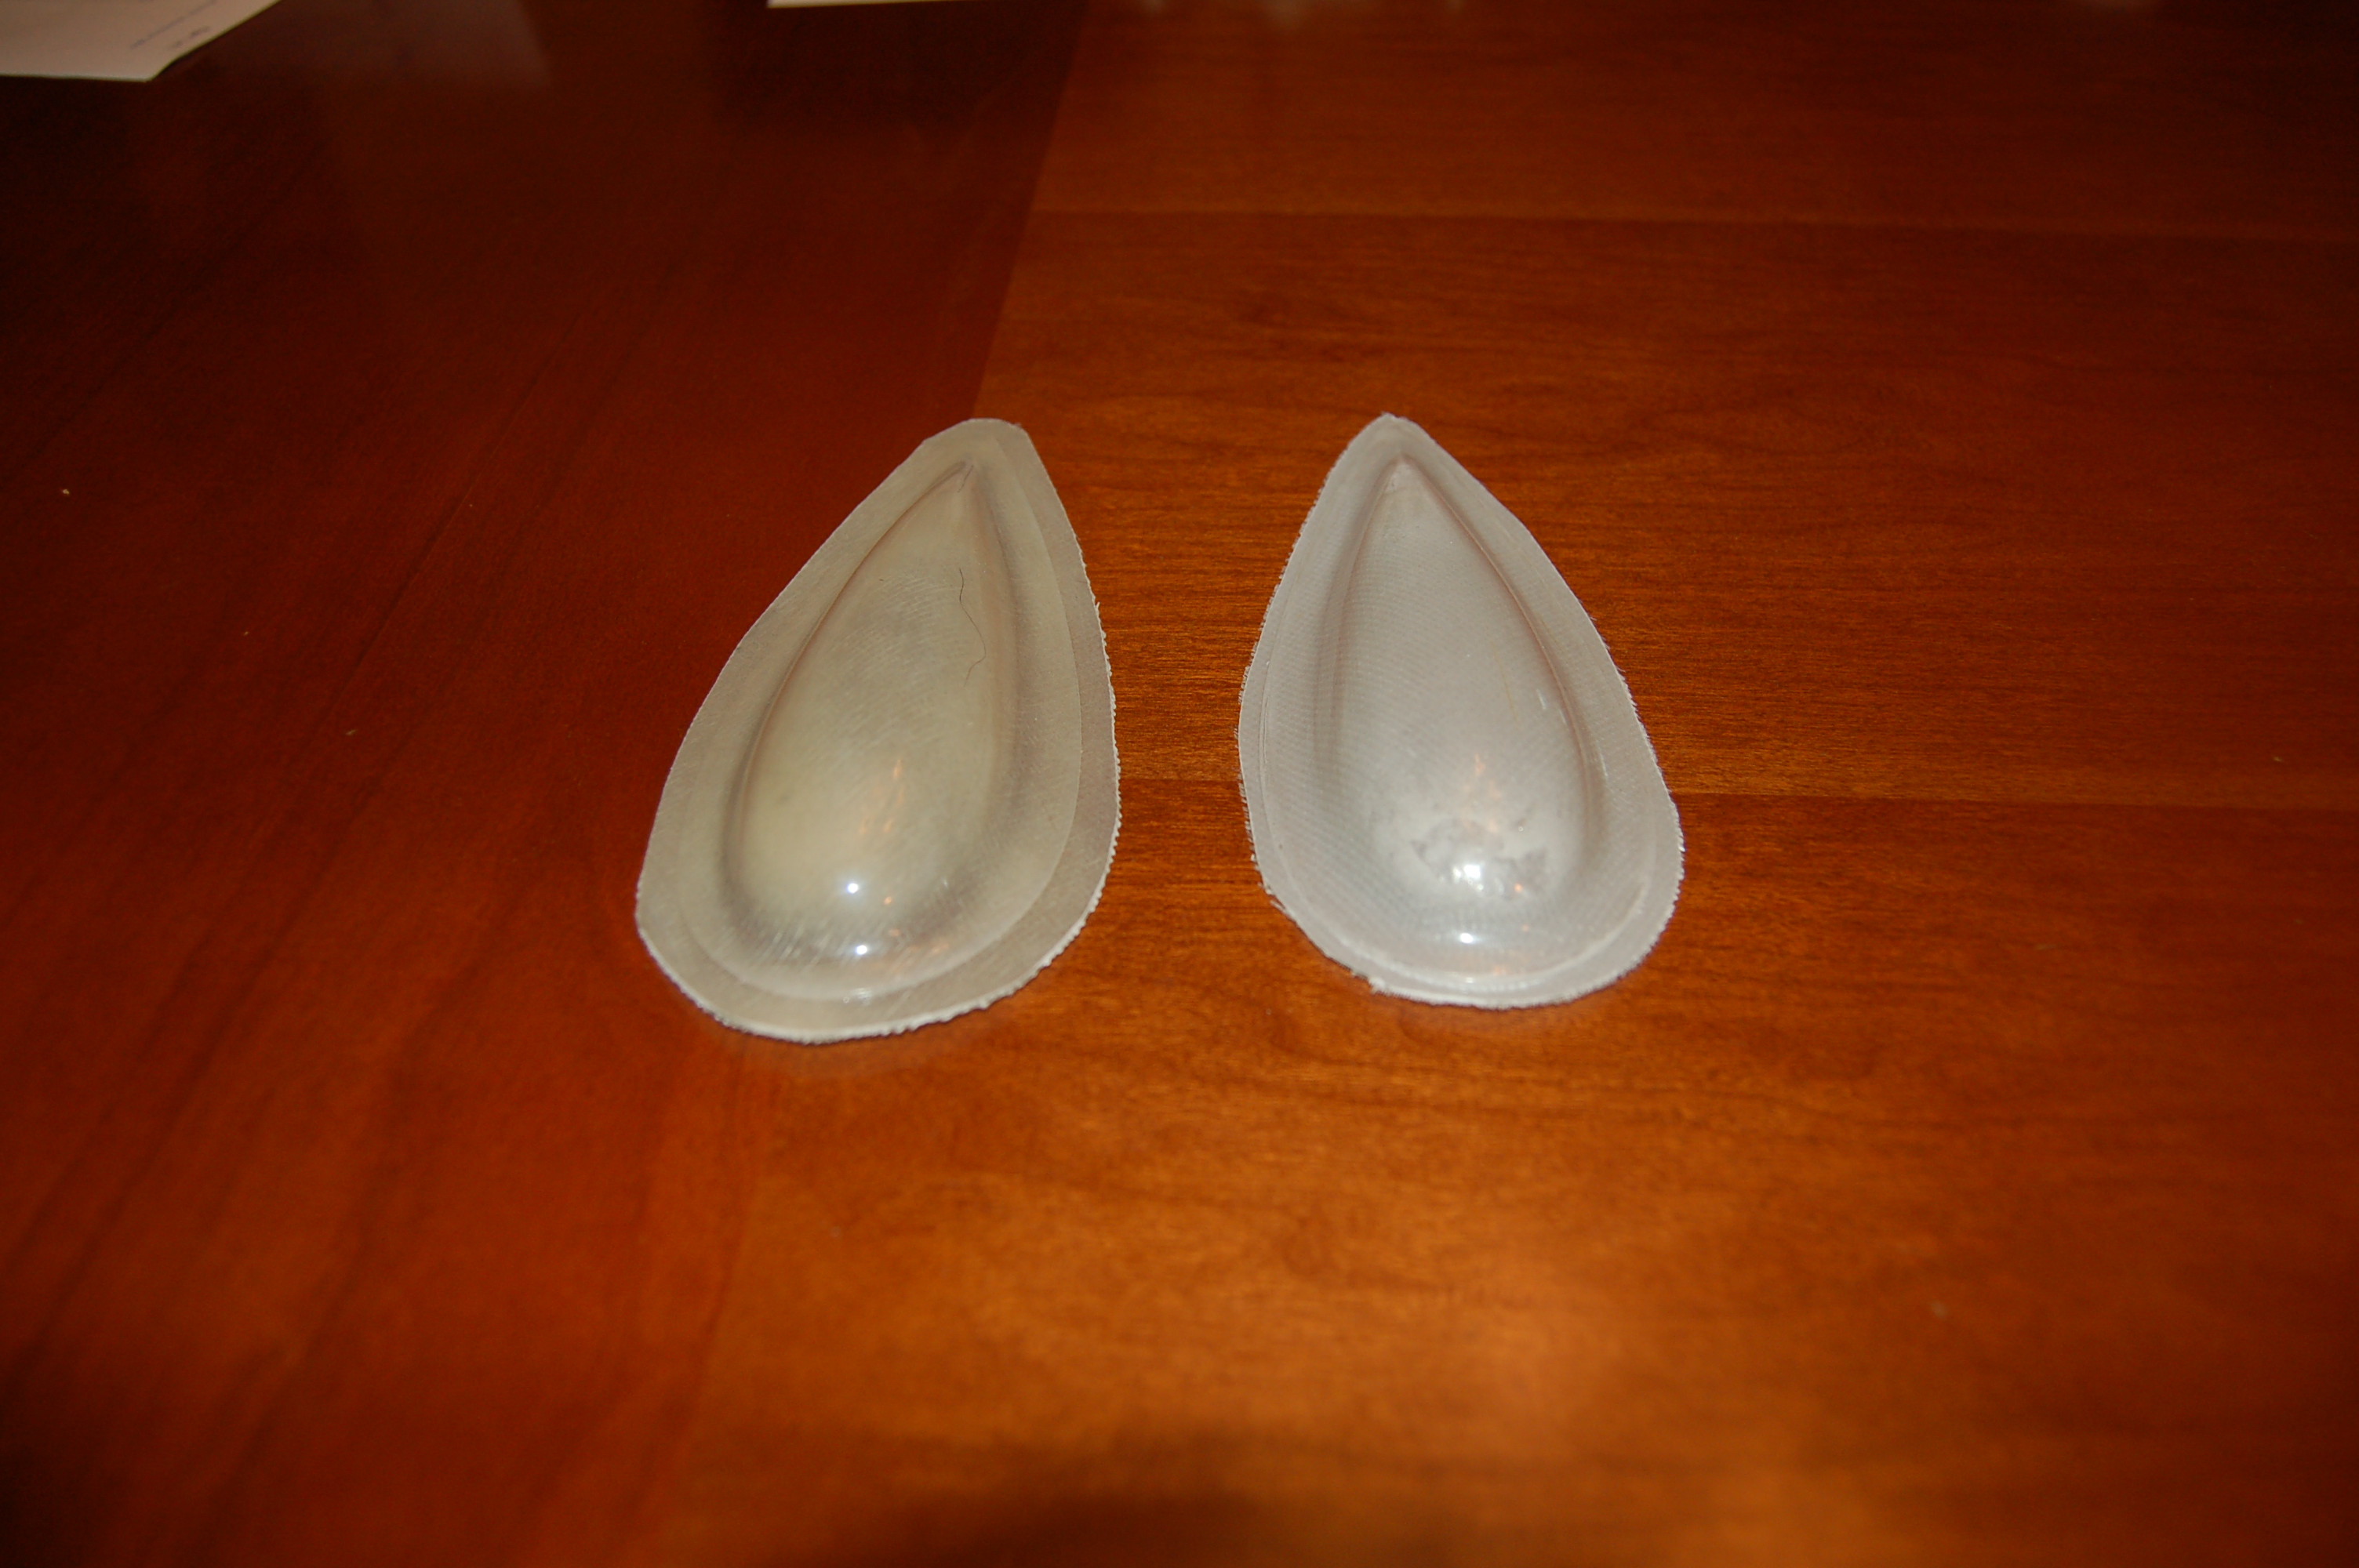
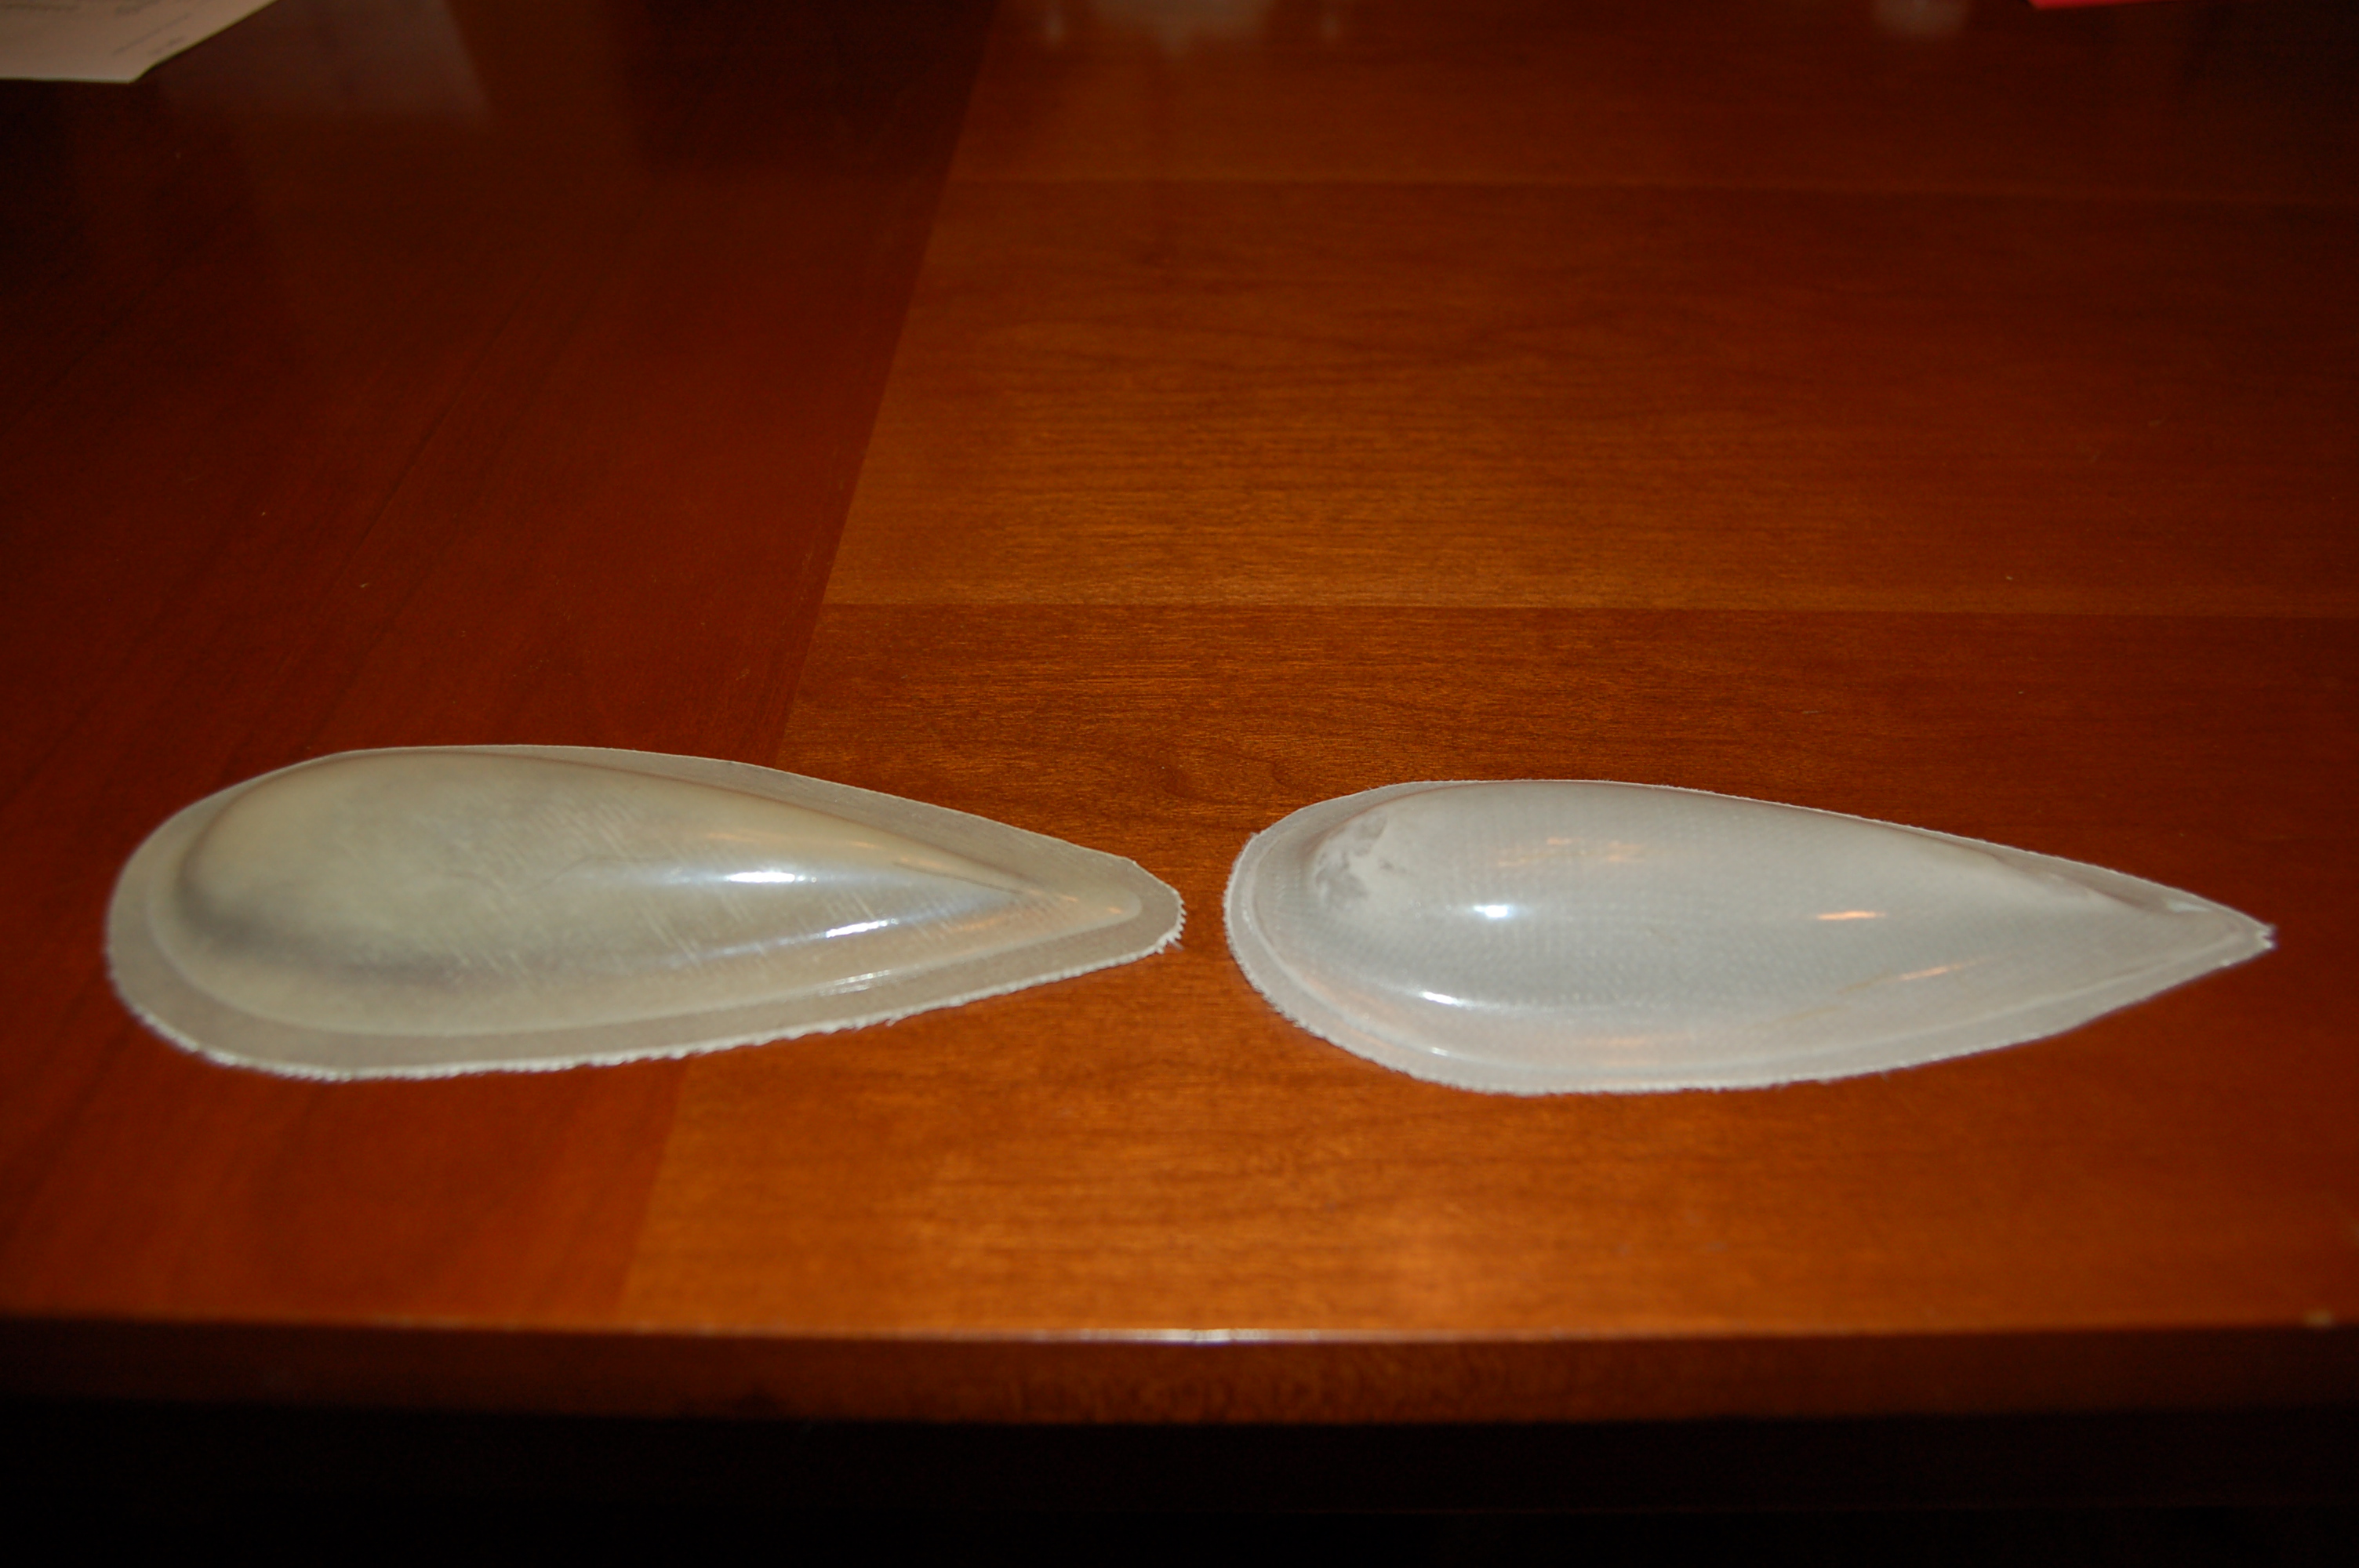
Any way here is the result. The 1st and2nd pic the second layup is on the right.
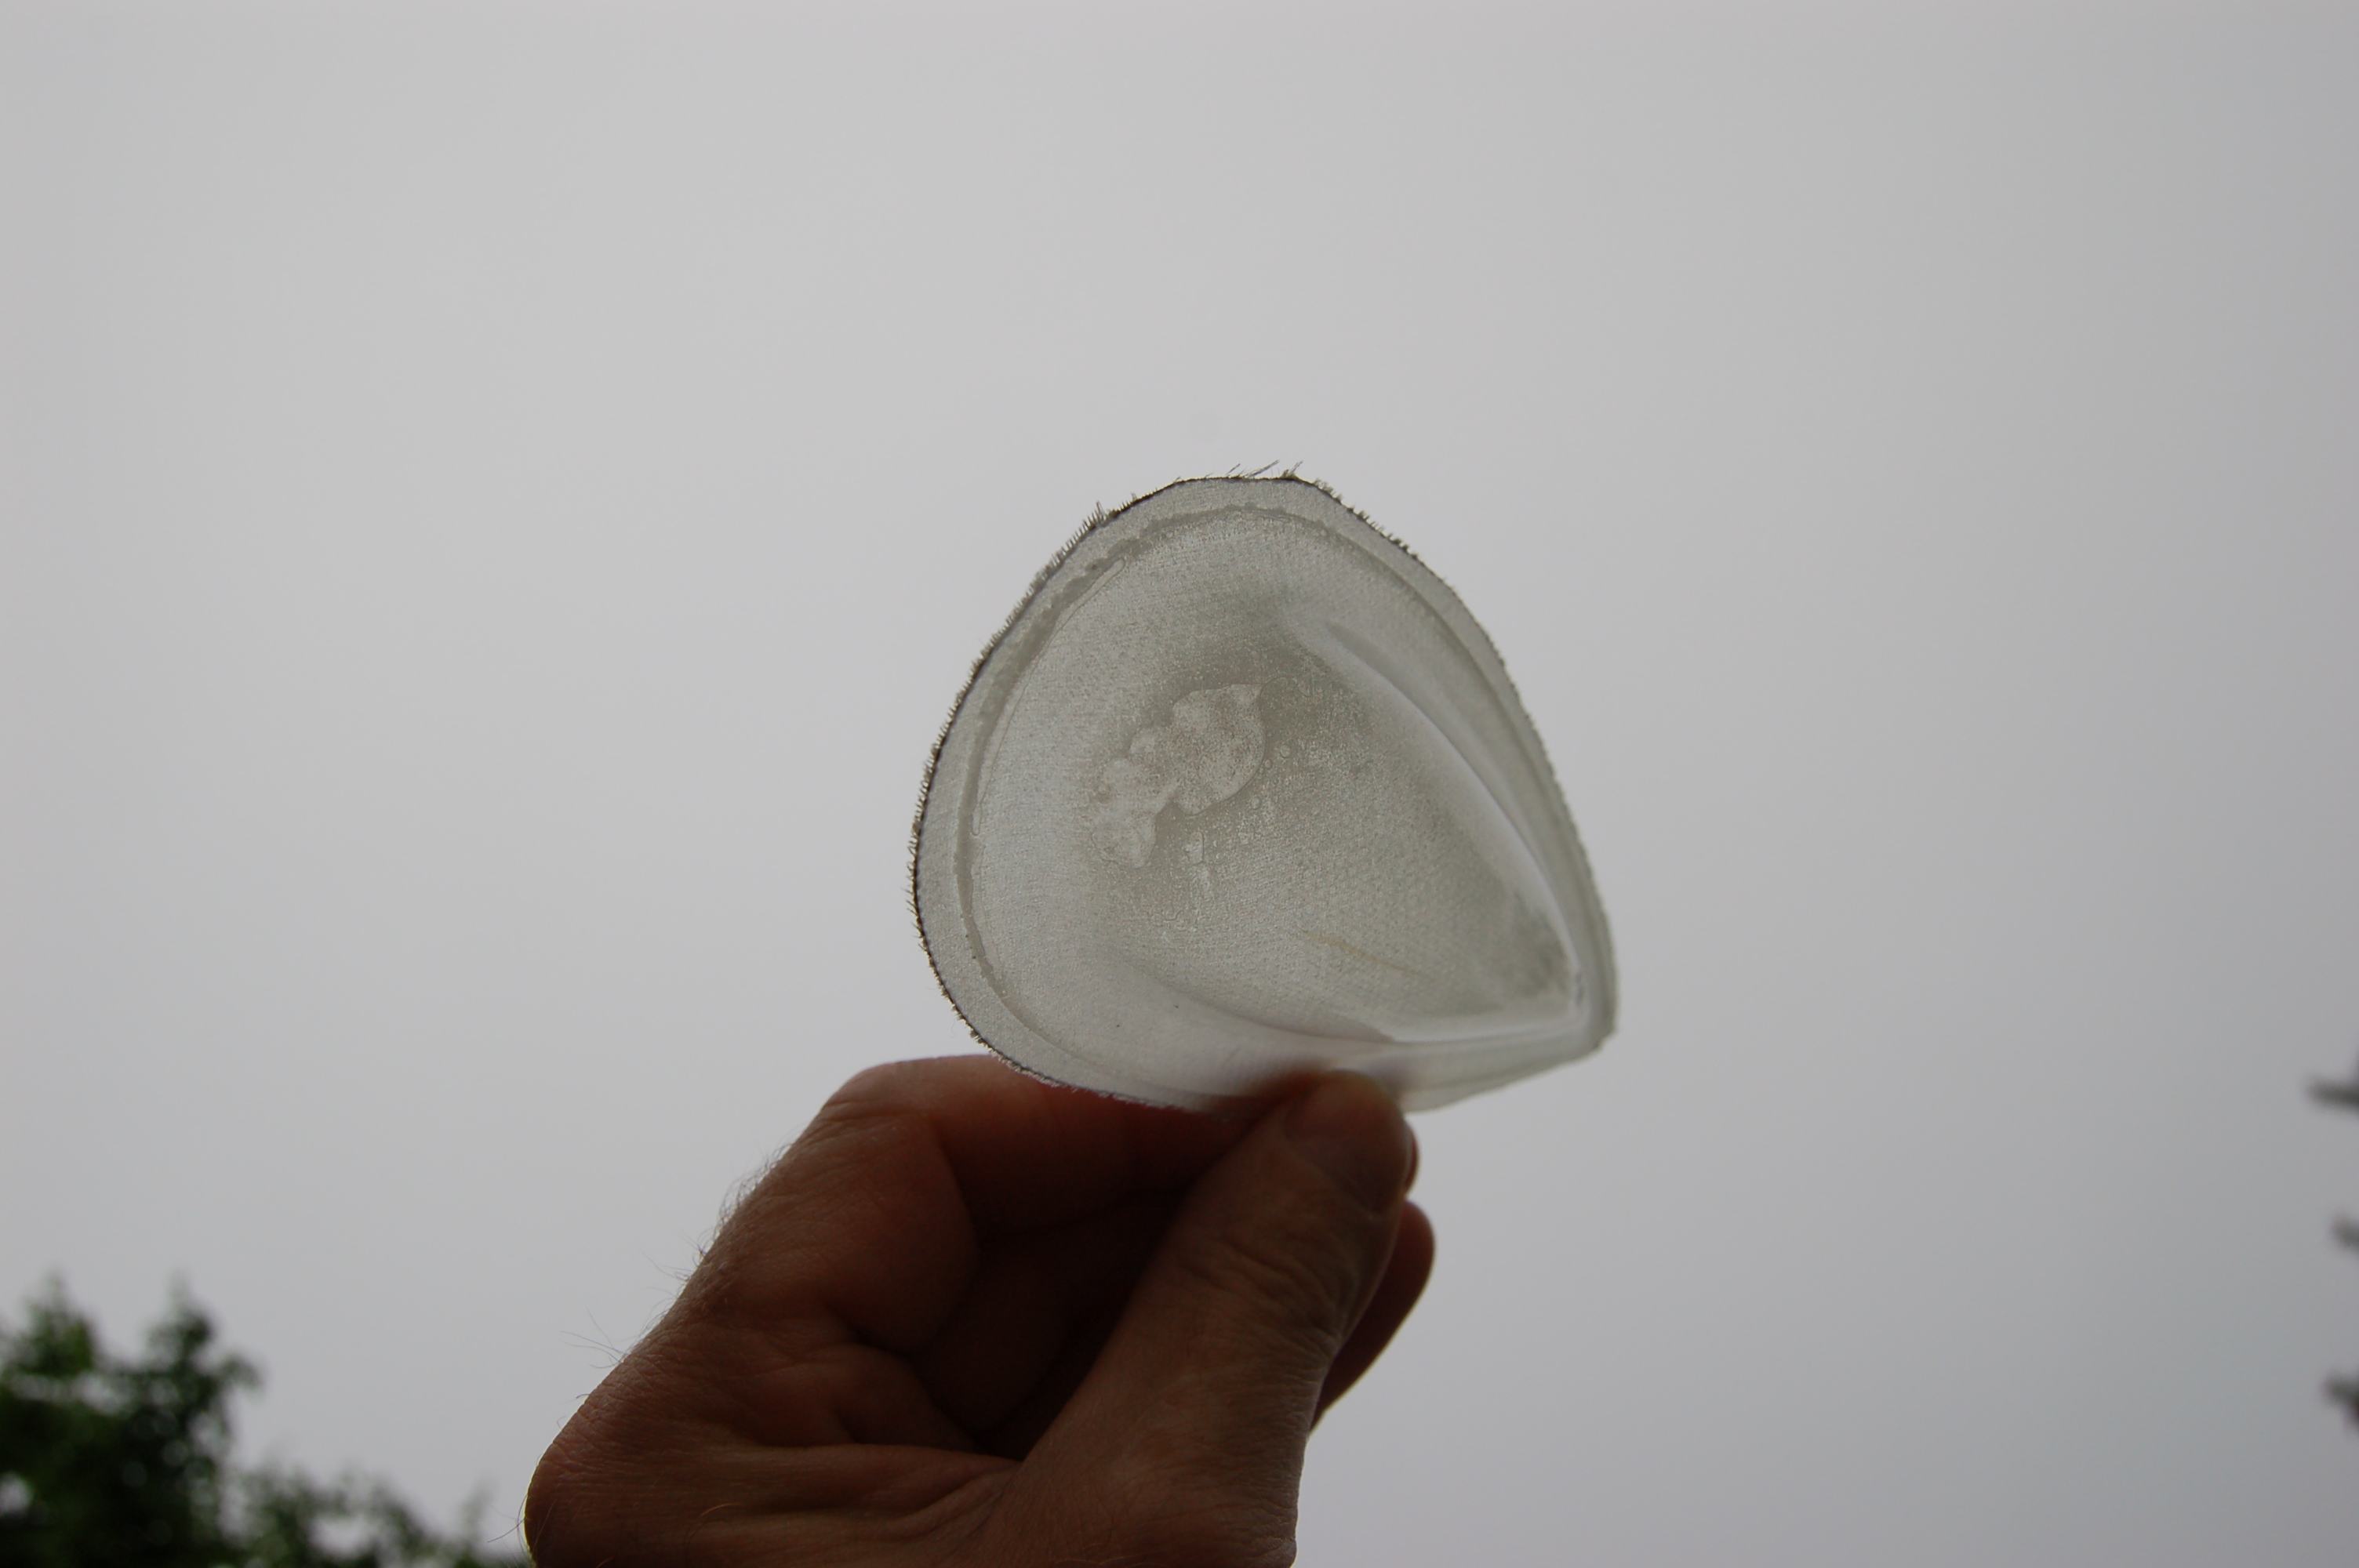
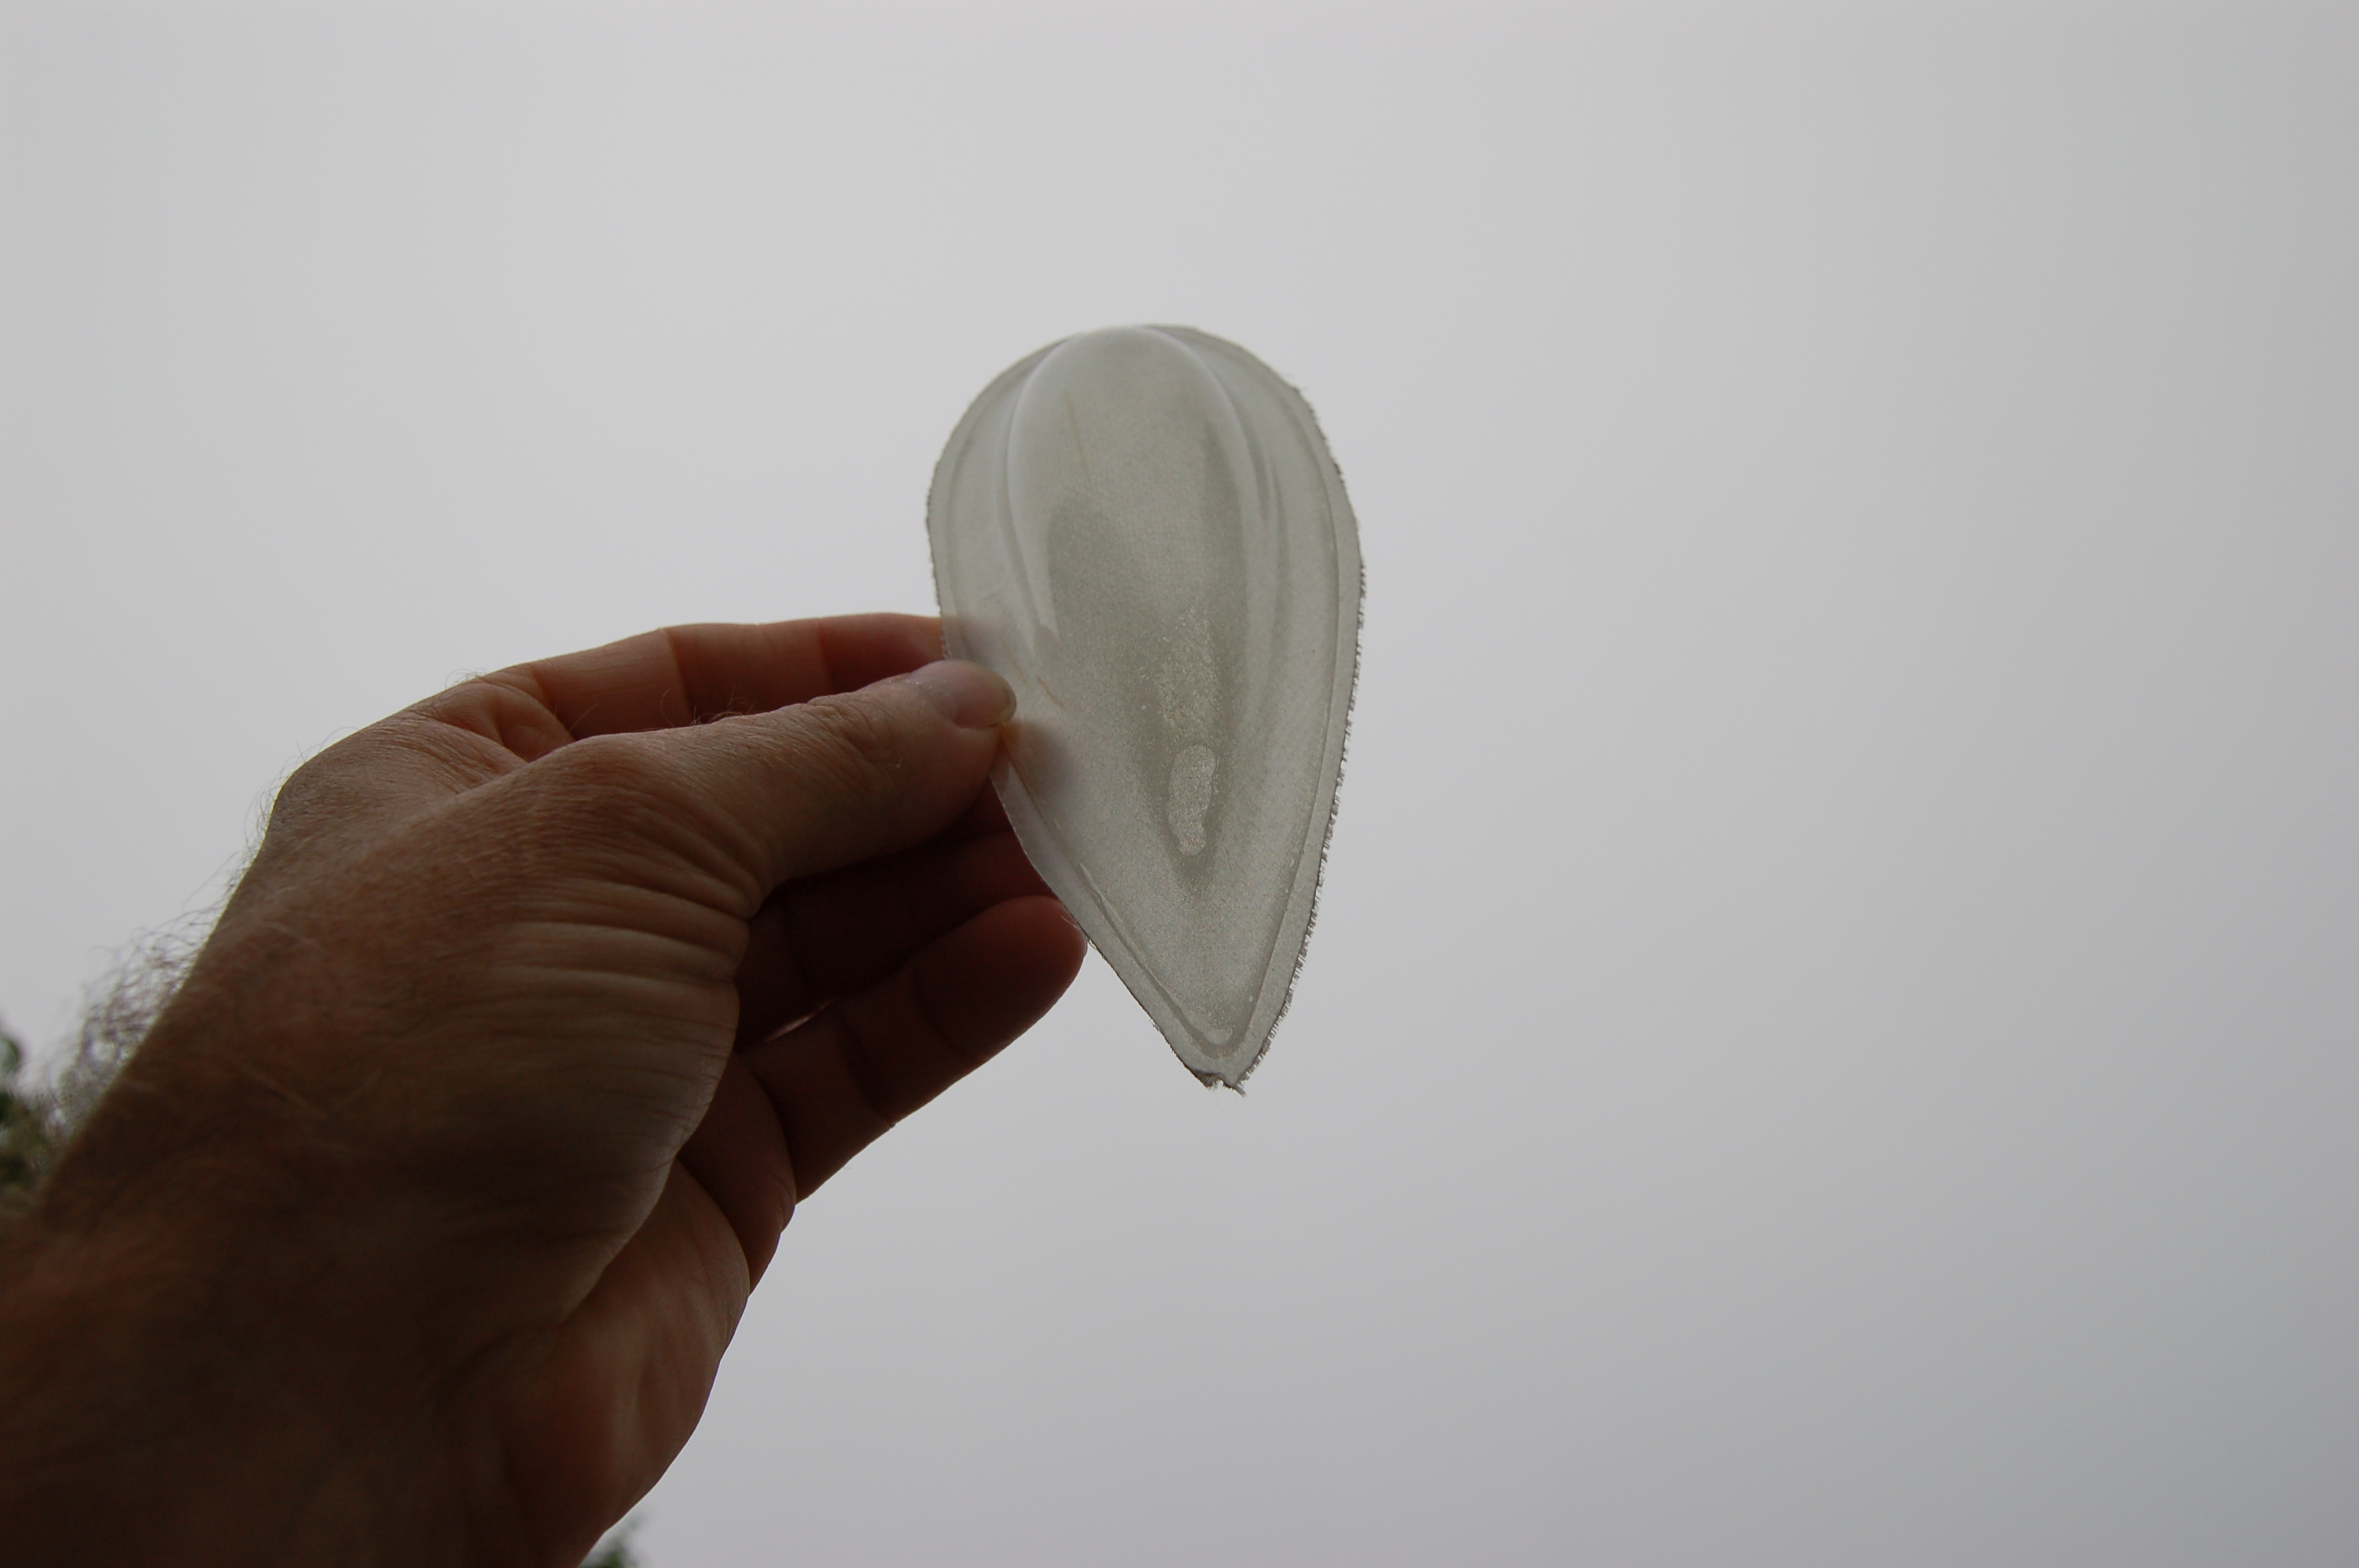
3rd and forth pic, if you look close you can see space between plys.
Next iteration will be 2 layers of 6 oz.
No disappointment . This is part of the learning curve.
Kevin