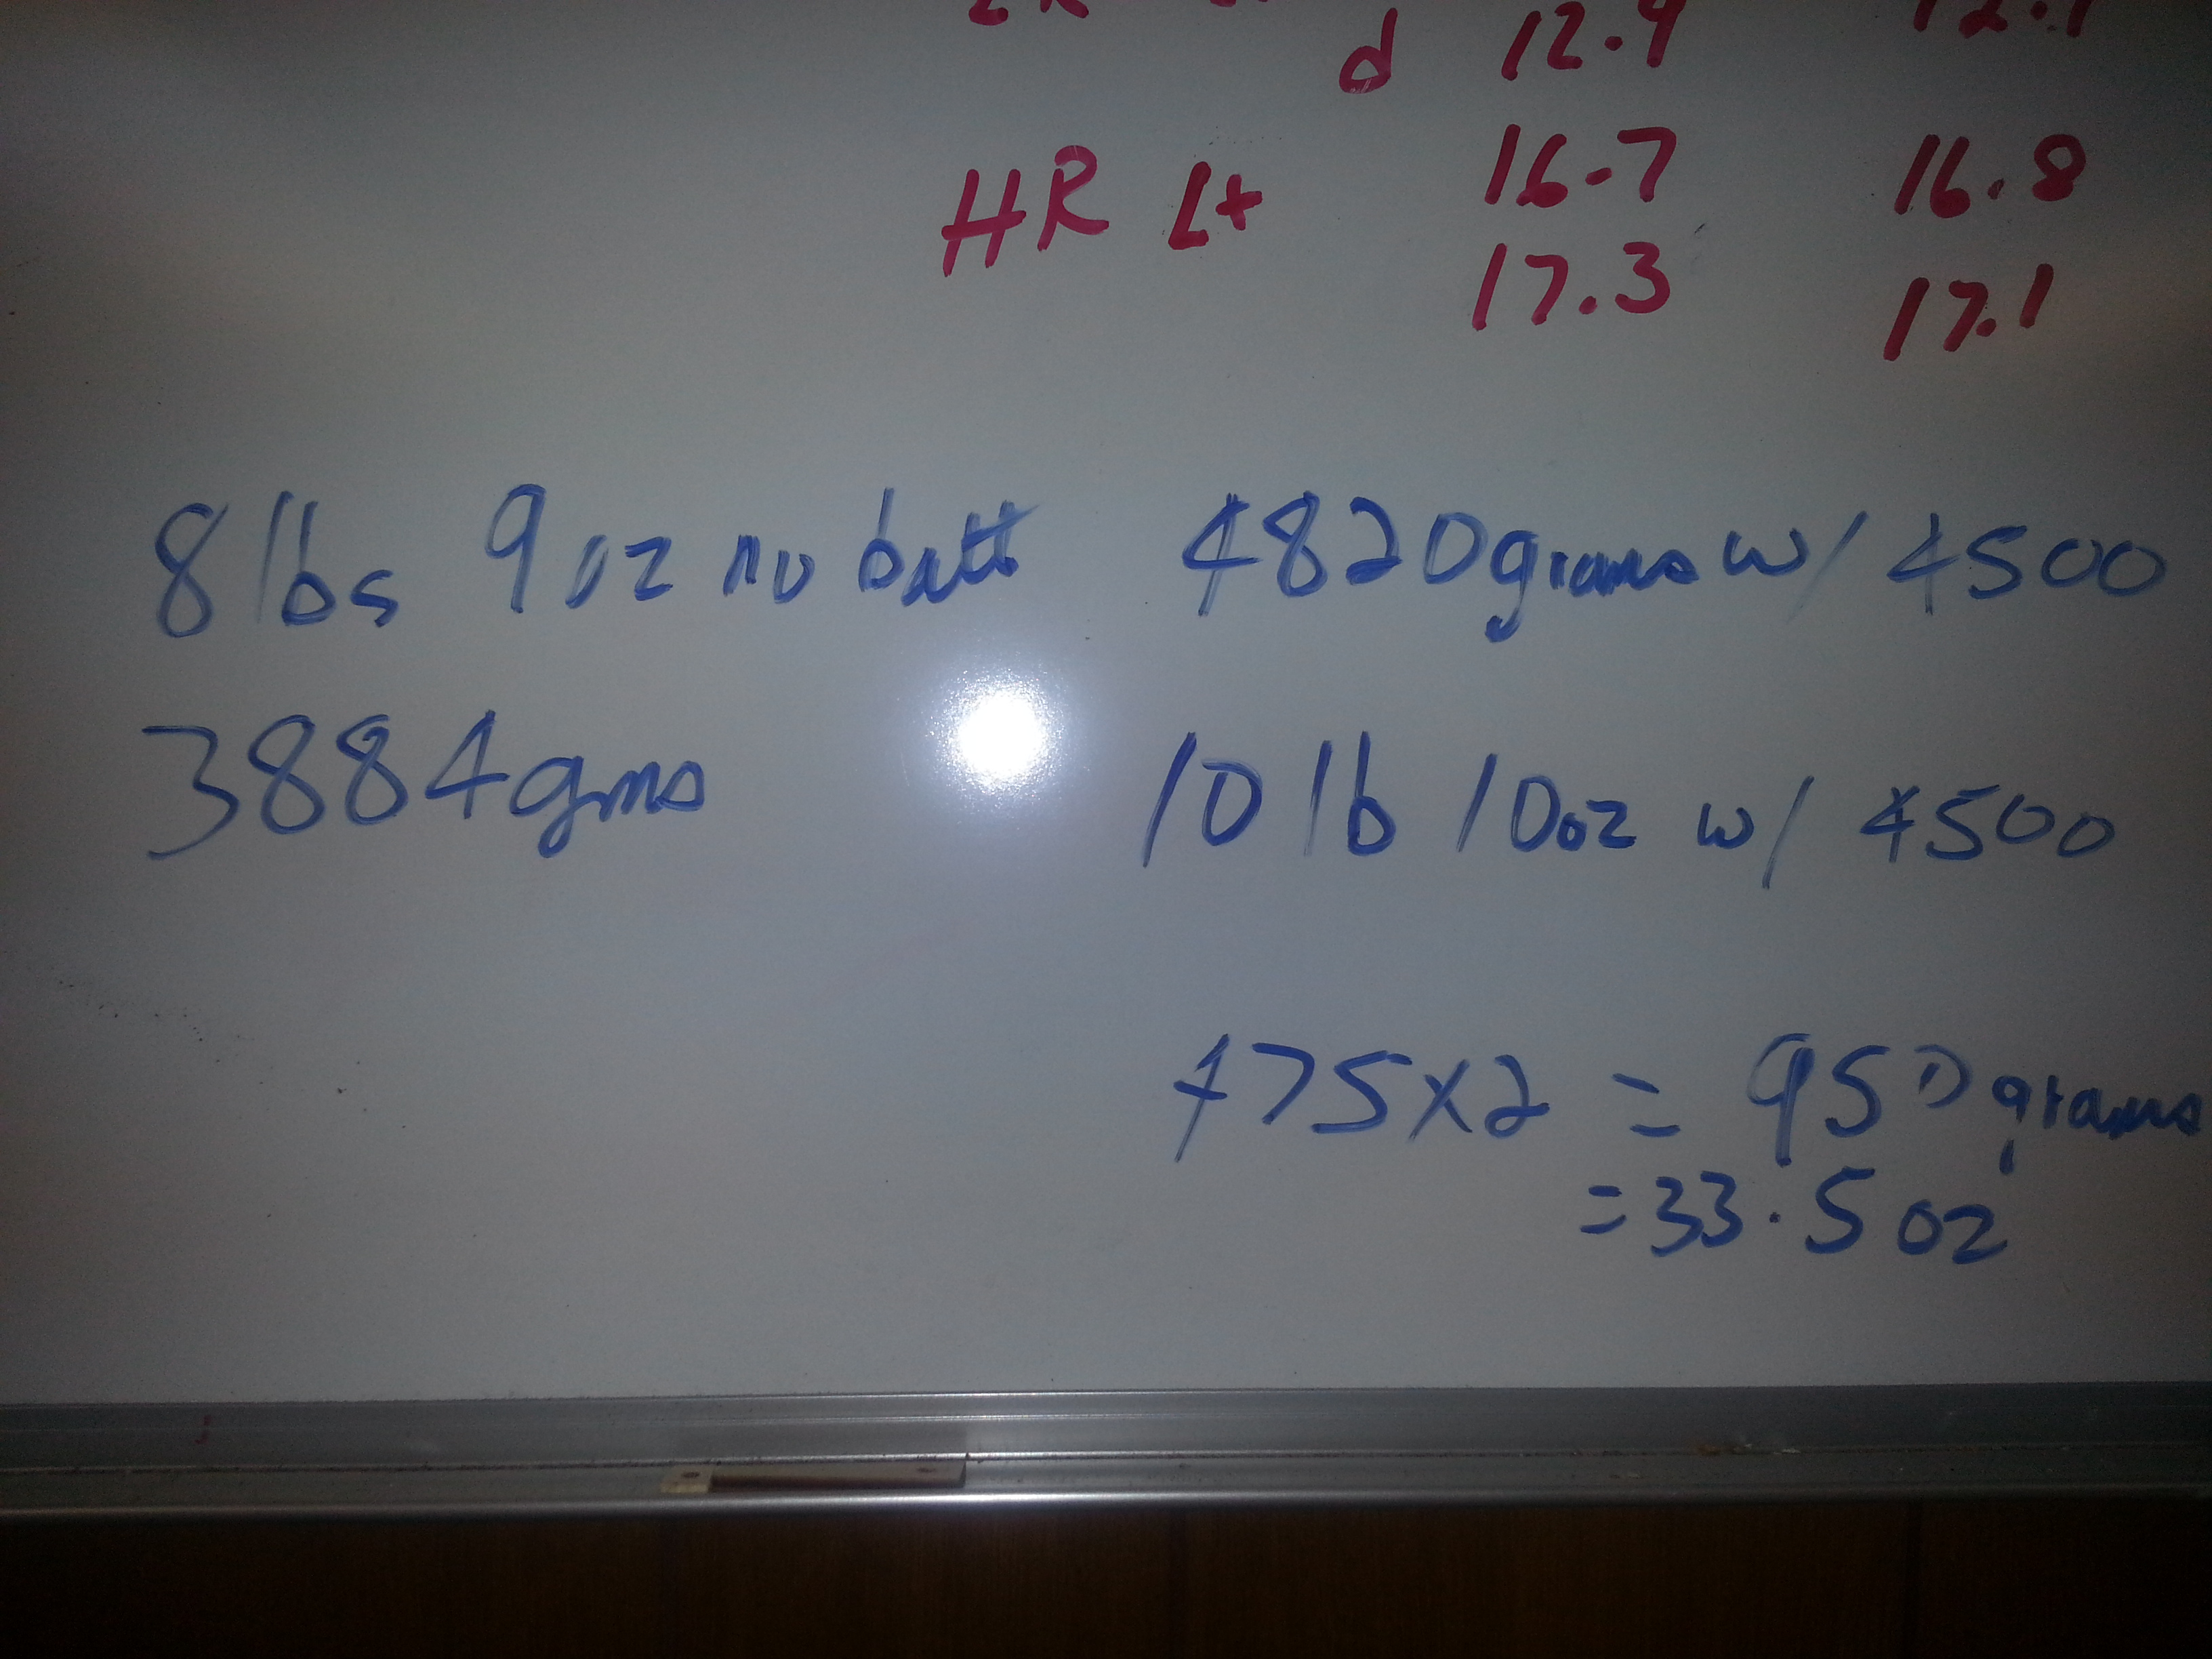
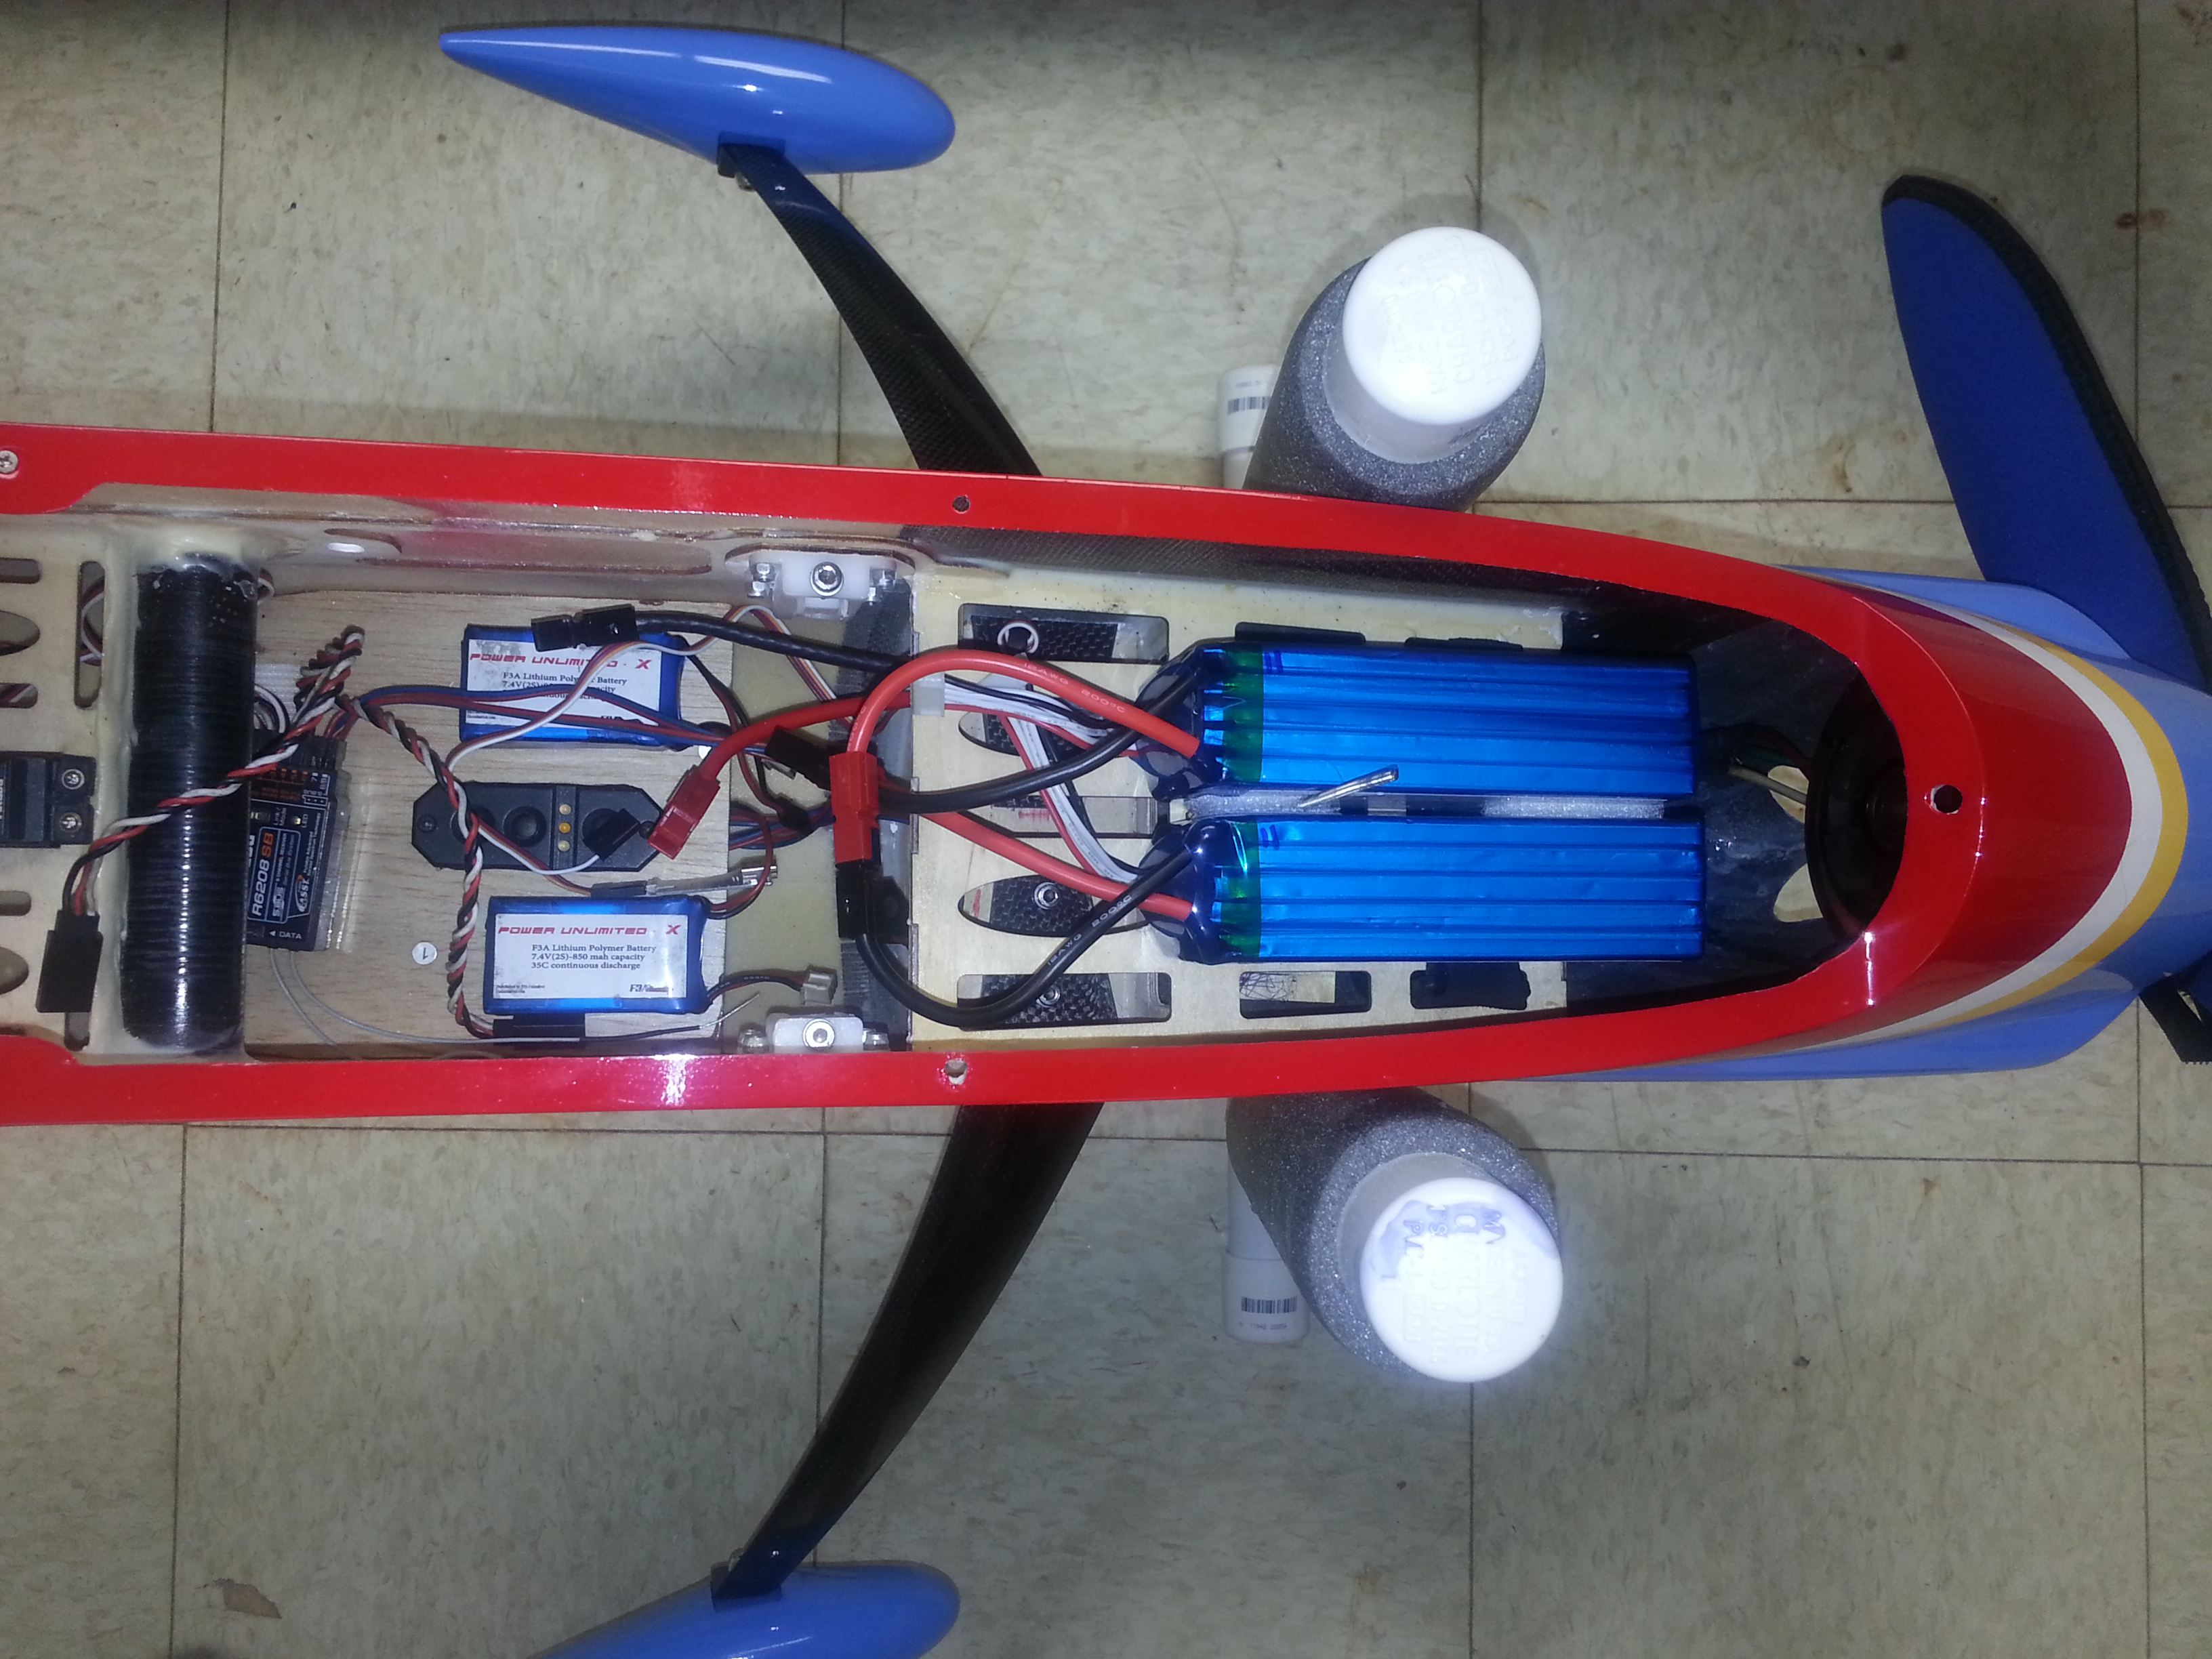
Here's what I have 'discovered'. I've been using the white latch buttons as the balance point reference. It's behind where the manual's suggested CG is by about the amount some of you guys seem to like better once you fly. To get mine to balance there I have to put the motor batteries FORWARD, not aft, of the main batter tray.
With the light 4500s that Mike sent along with the plane the batteries protrude forward of the battery tray. If I use my yellow zippy 5000mah battery packs they are more or less centered right on the tray, maybe towards the rear a little. So here's some photos including my whiteboard where I kept notes with the different weights involved.
Preface these numbers by saying I don't own a precision scale that can weigh values this high so I'm just using a digital fish/luggage type scale but it seems to be pretty accurate when I test it out against known weights. With no batteries it came out to 3884 grams. 4820 with the 4500 mah pack in the picture. That pack weighs about 950 grams on my food prep scale. So the numbers don't add up the same every time but they are plus and minus about 20 grams or 0.71 ounce which is less that the resolution of my digital scale.
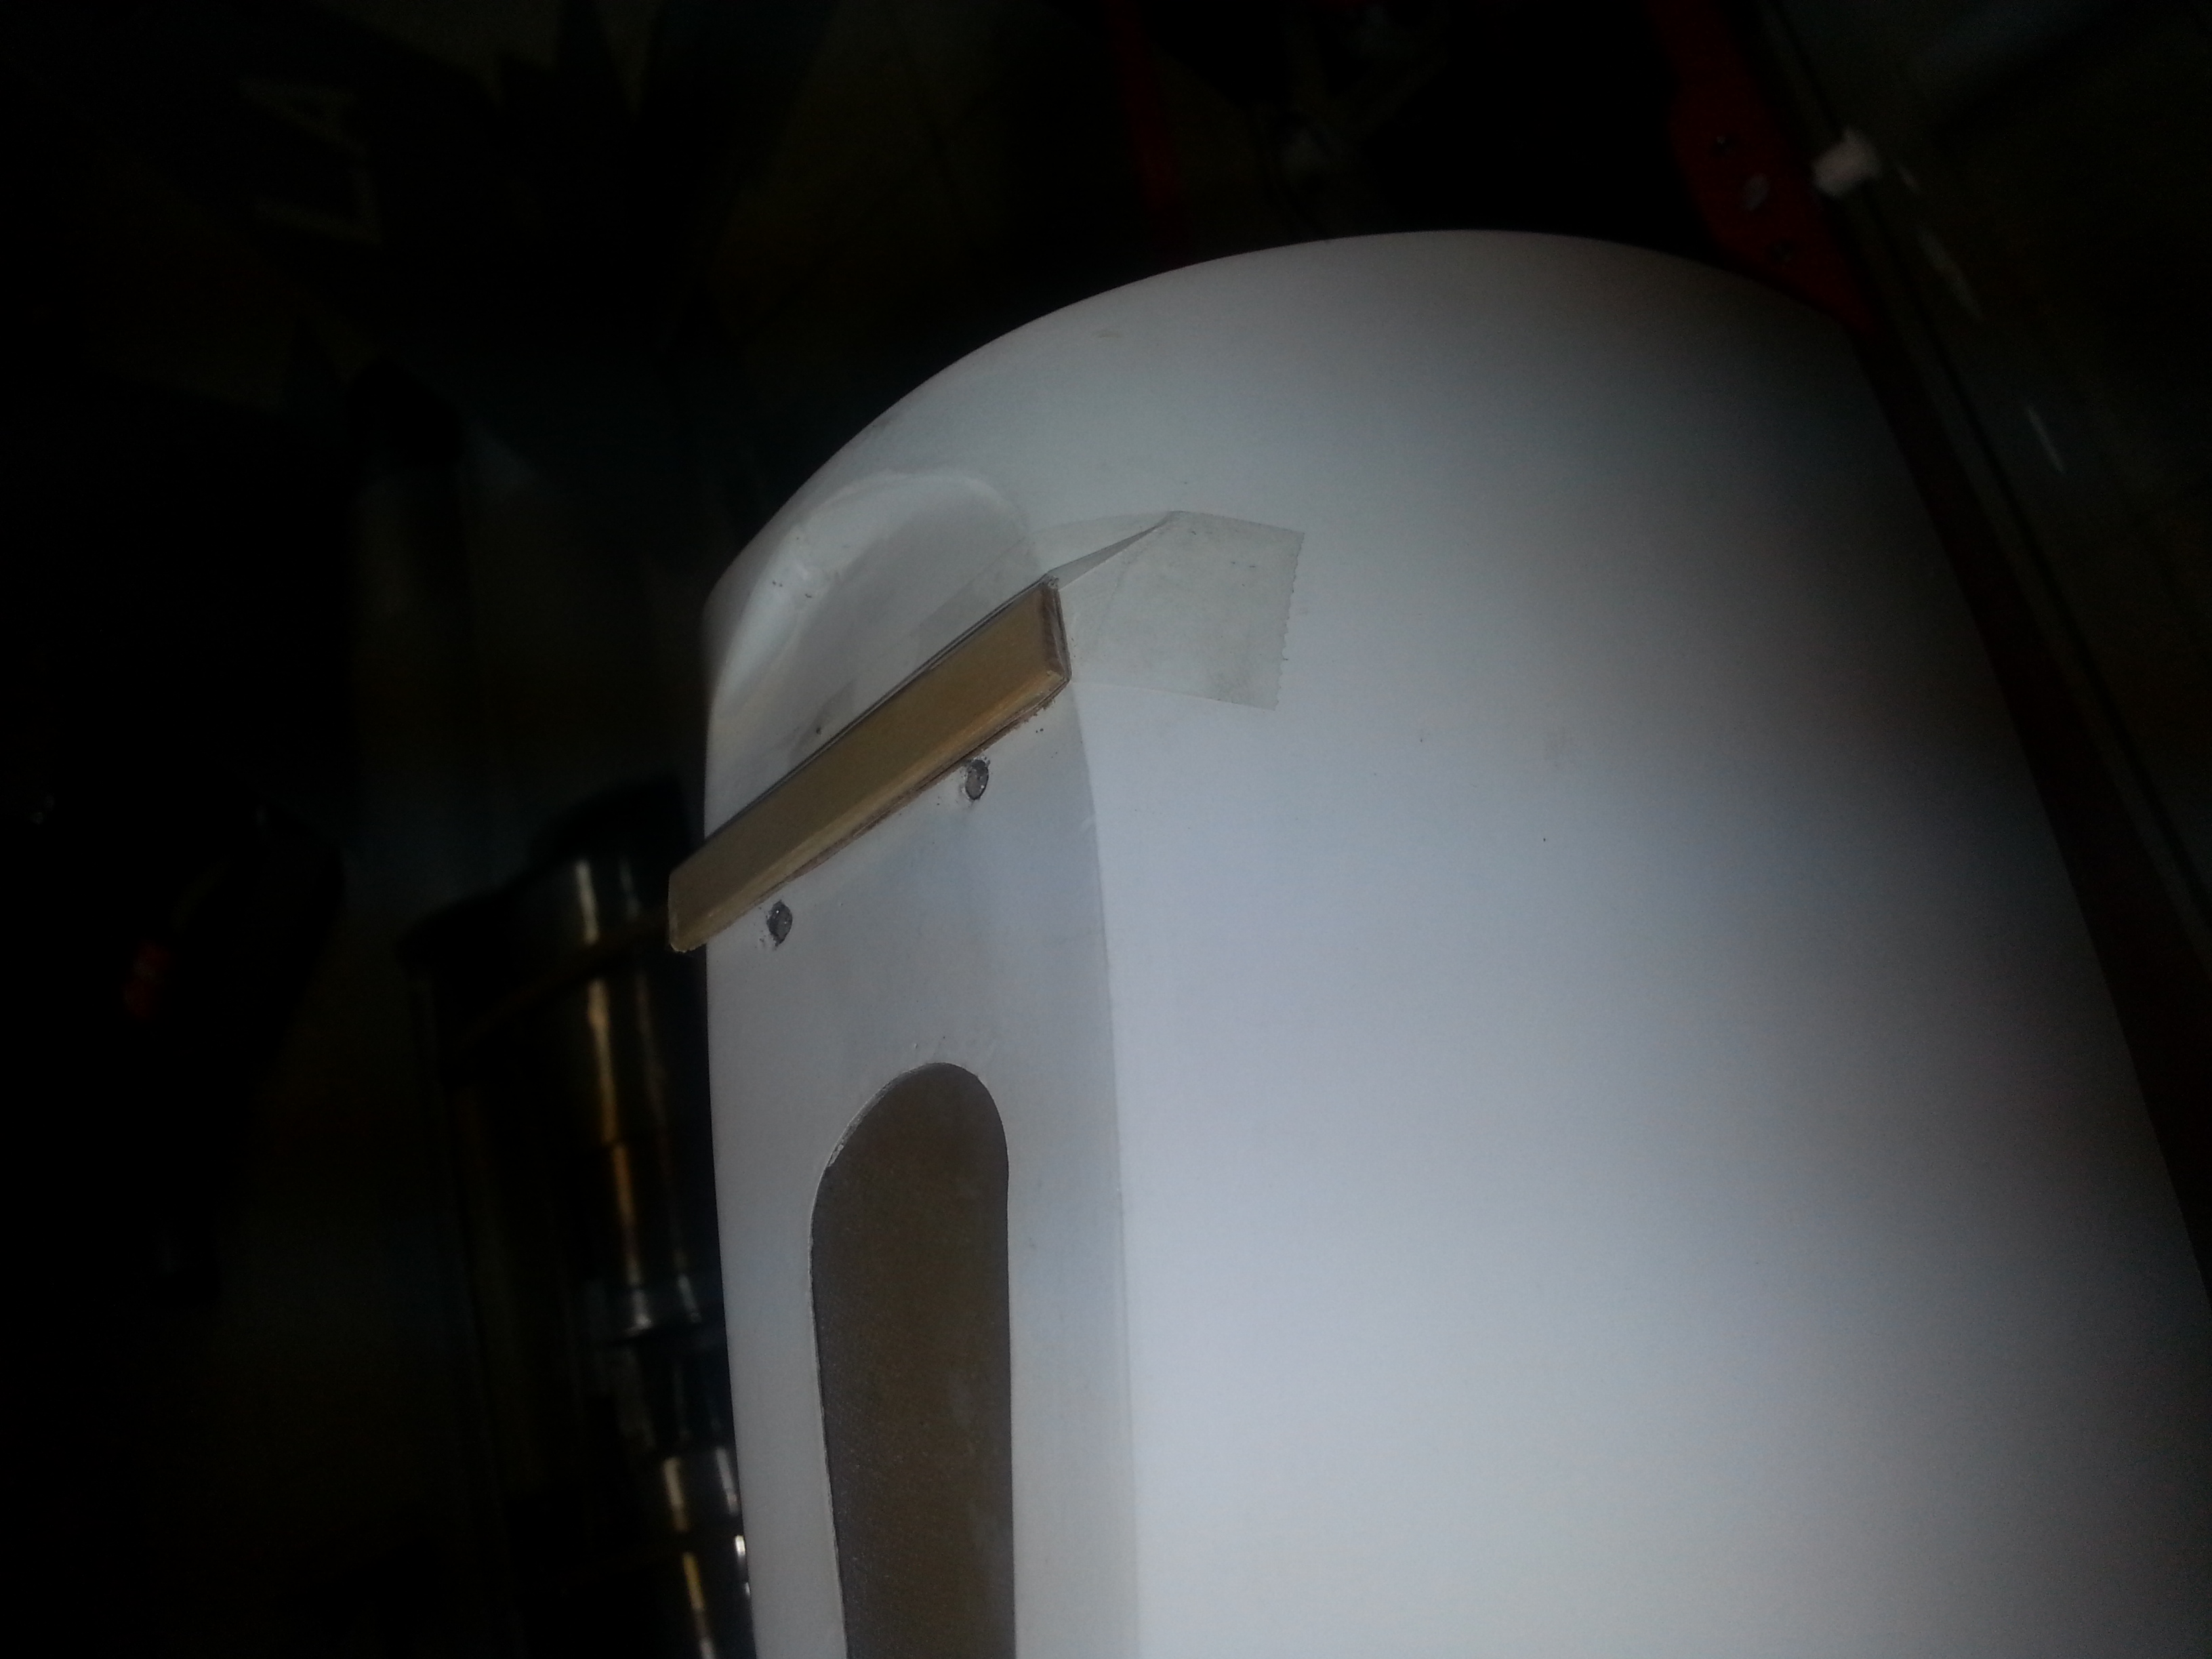
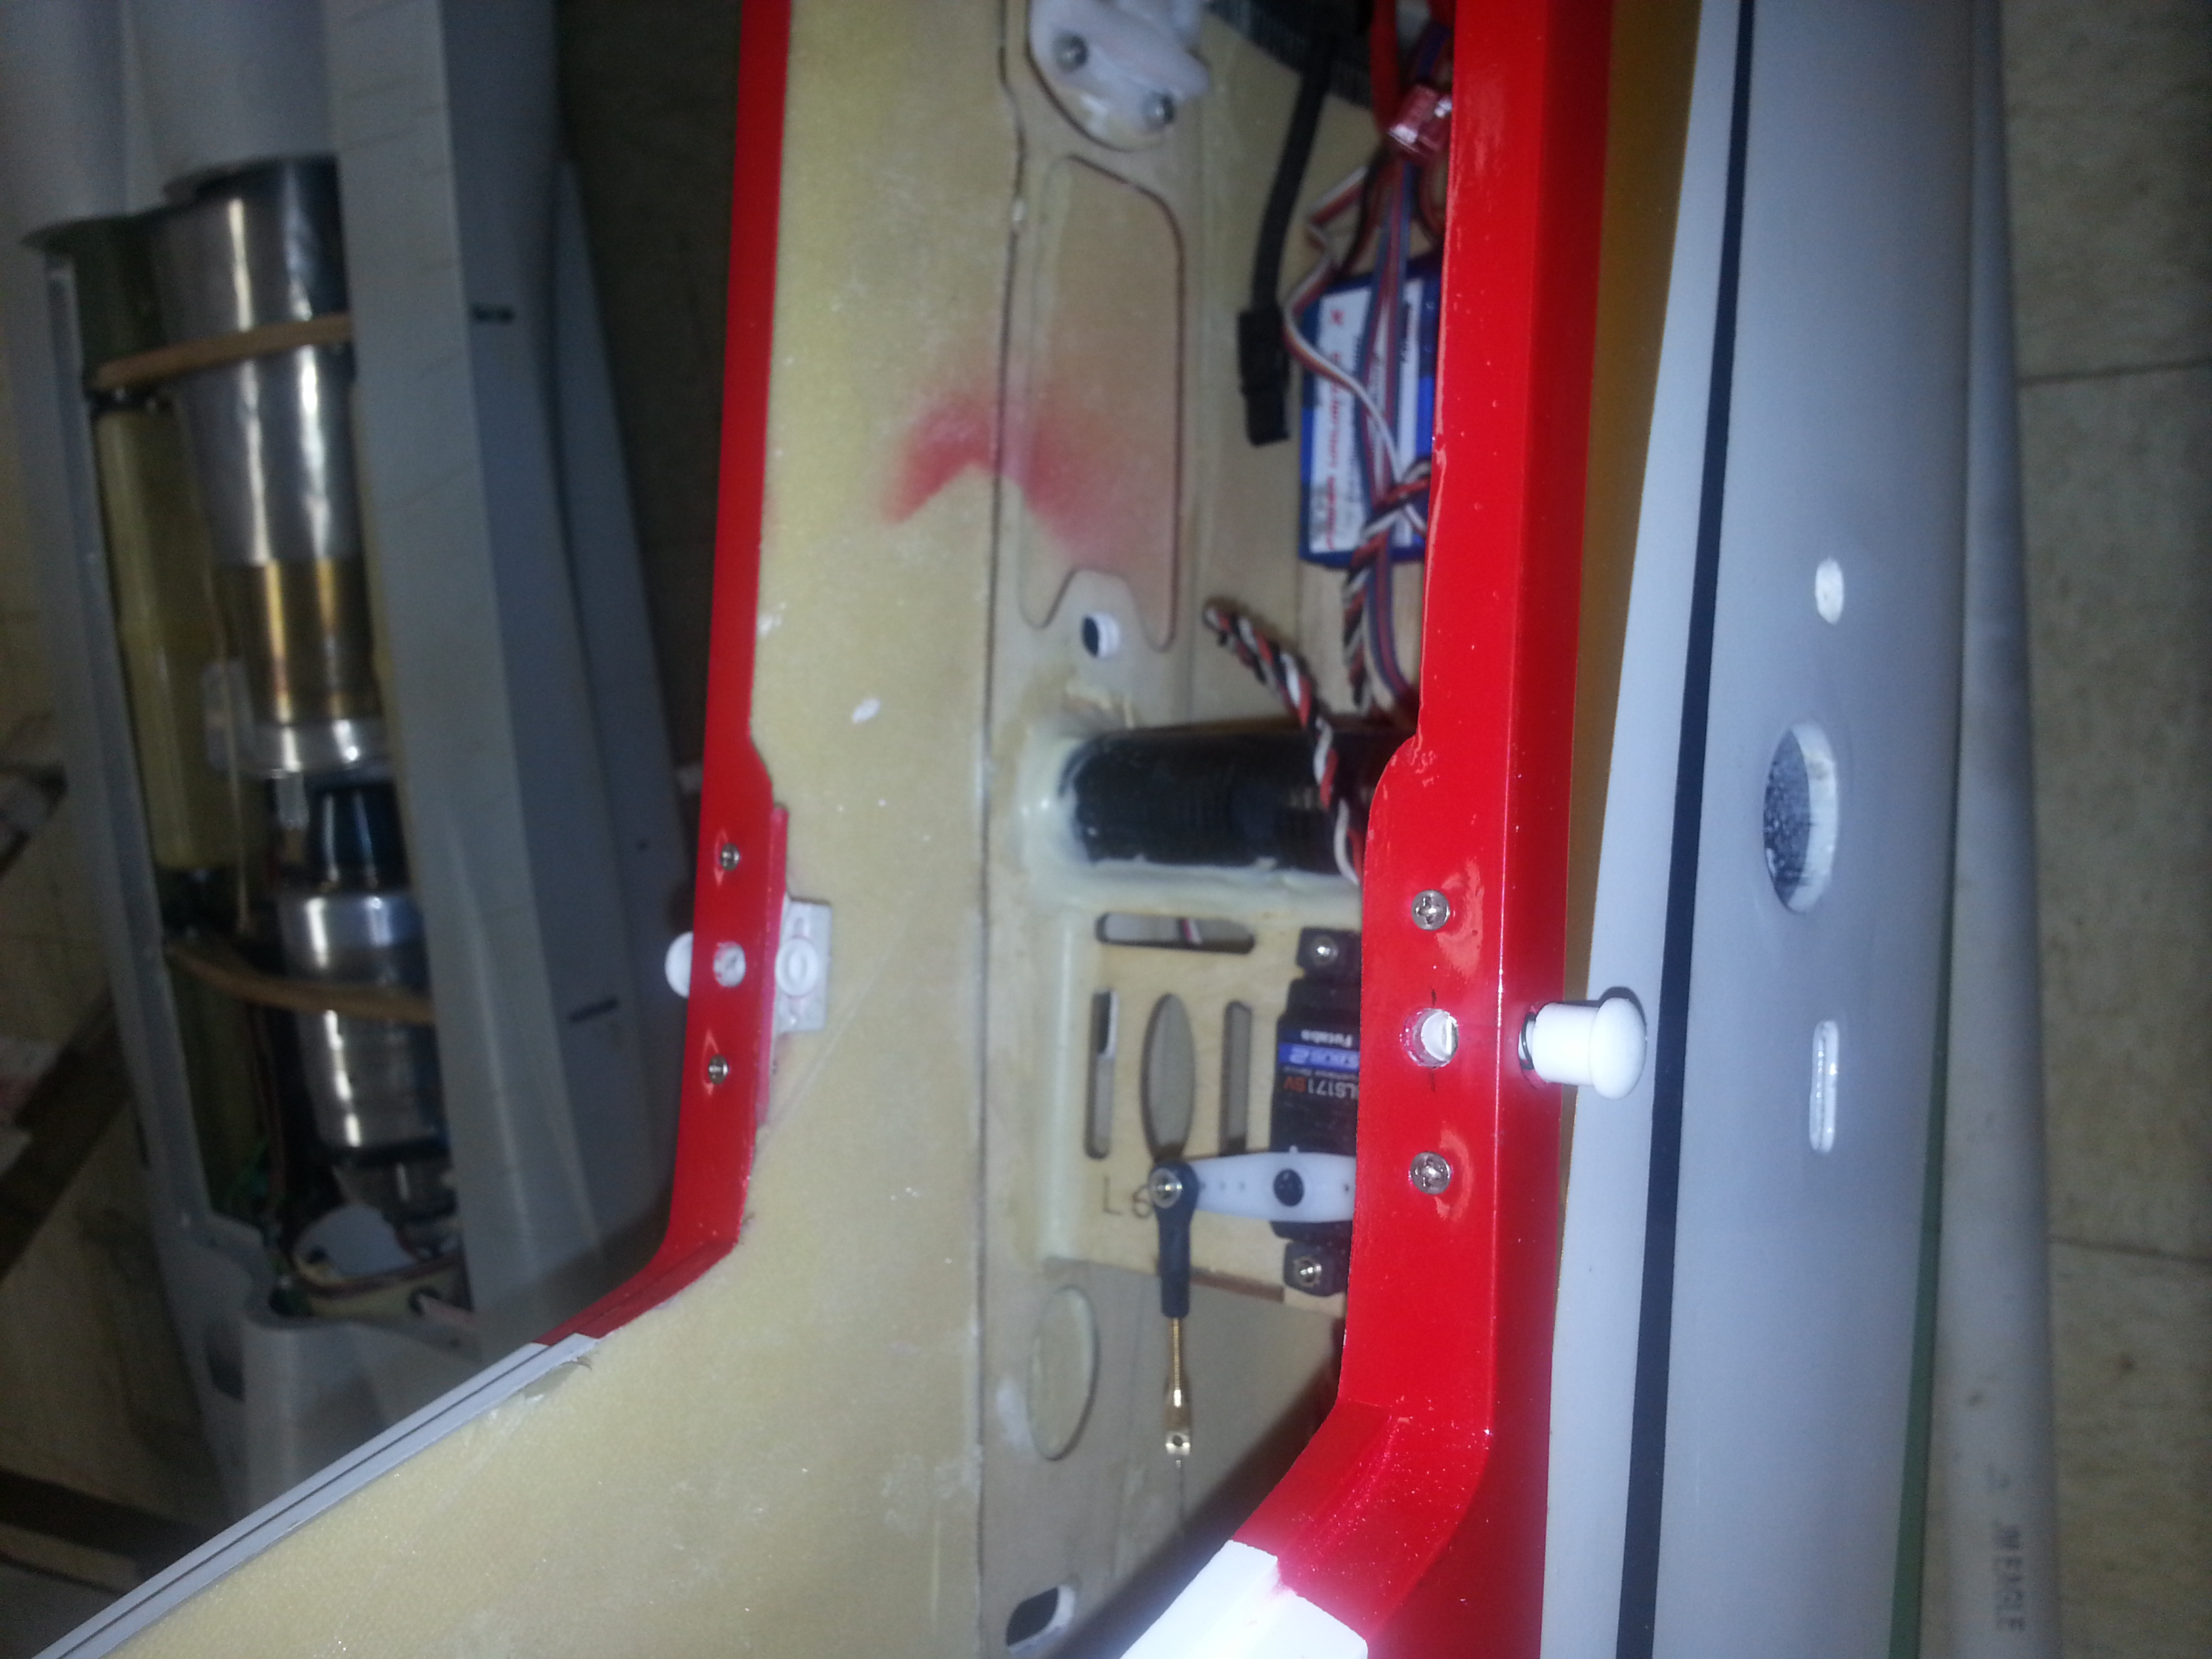
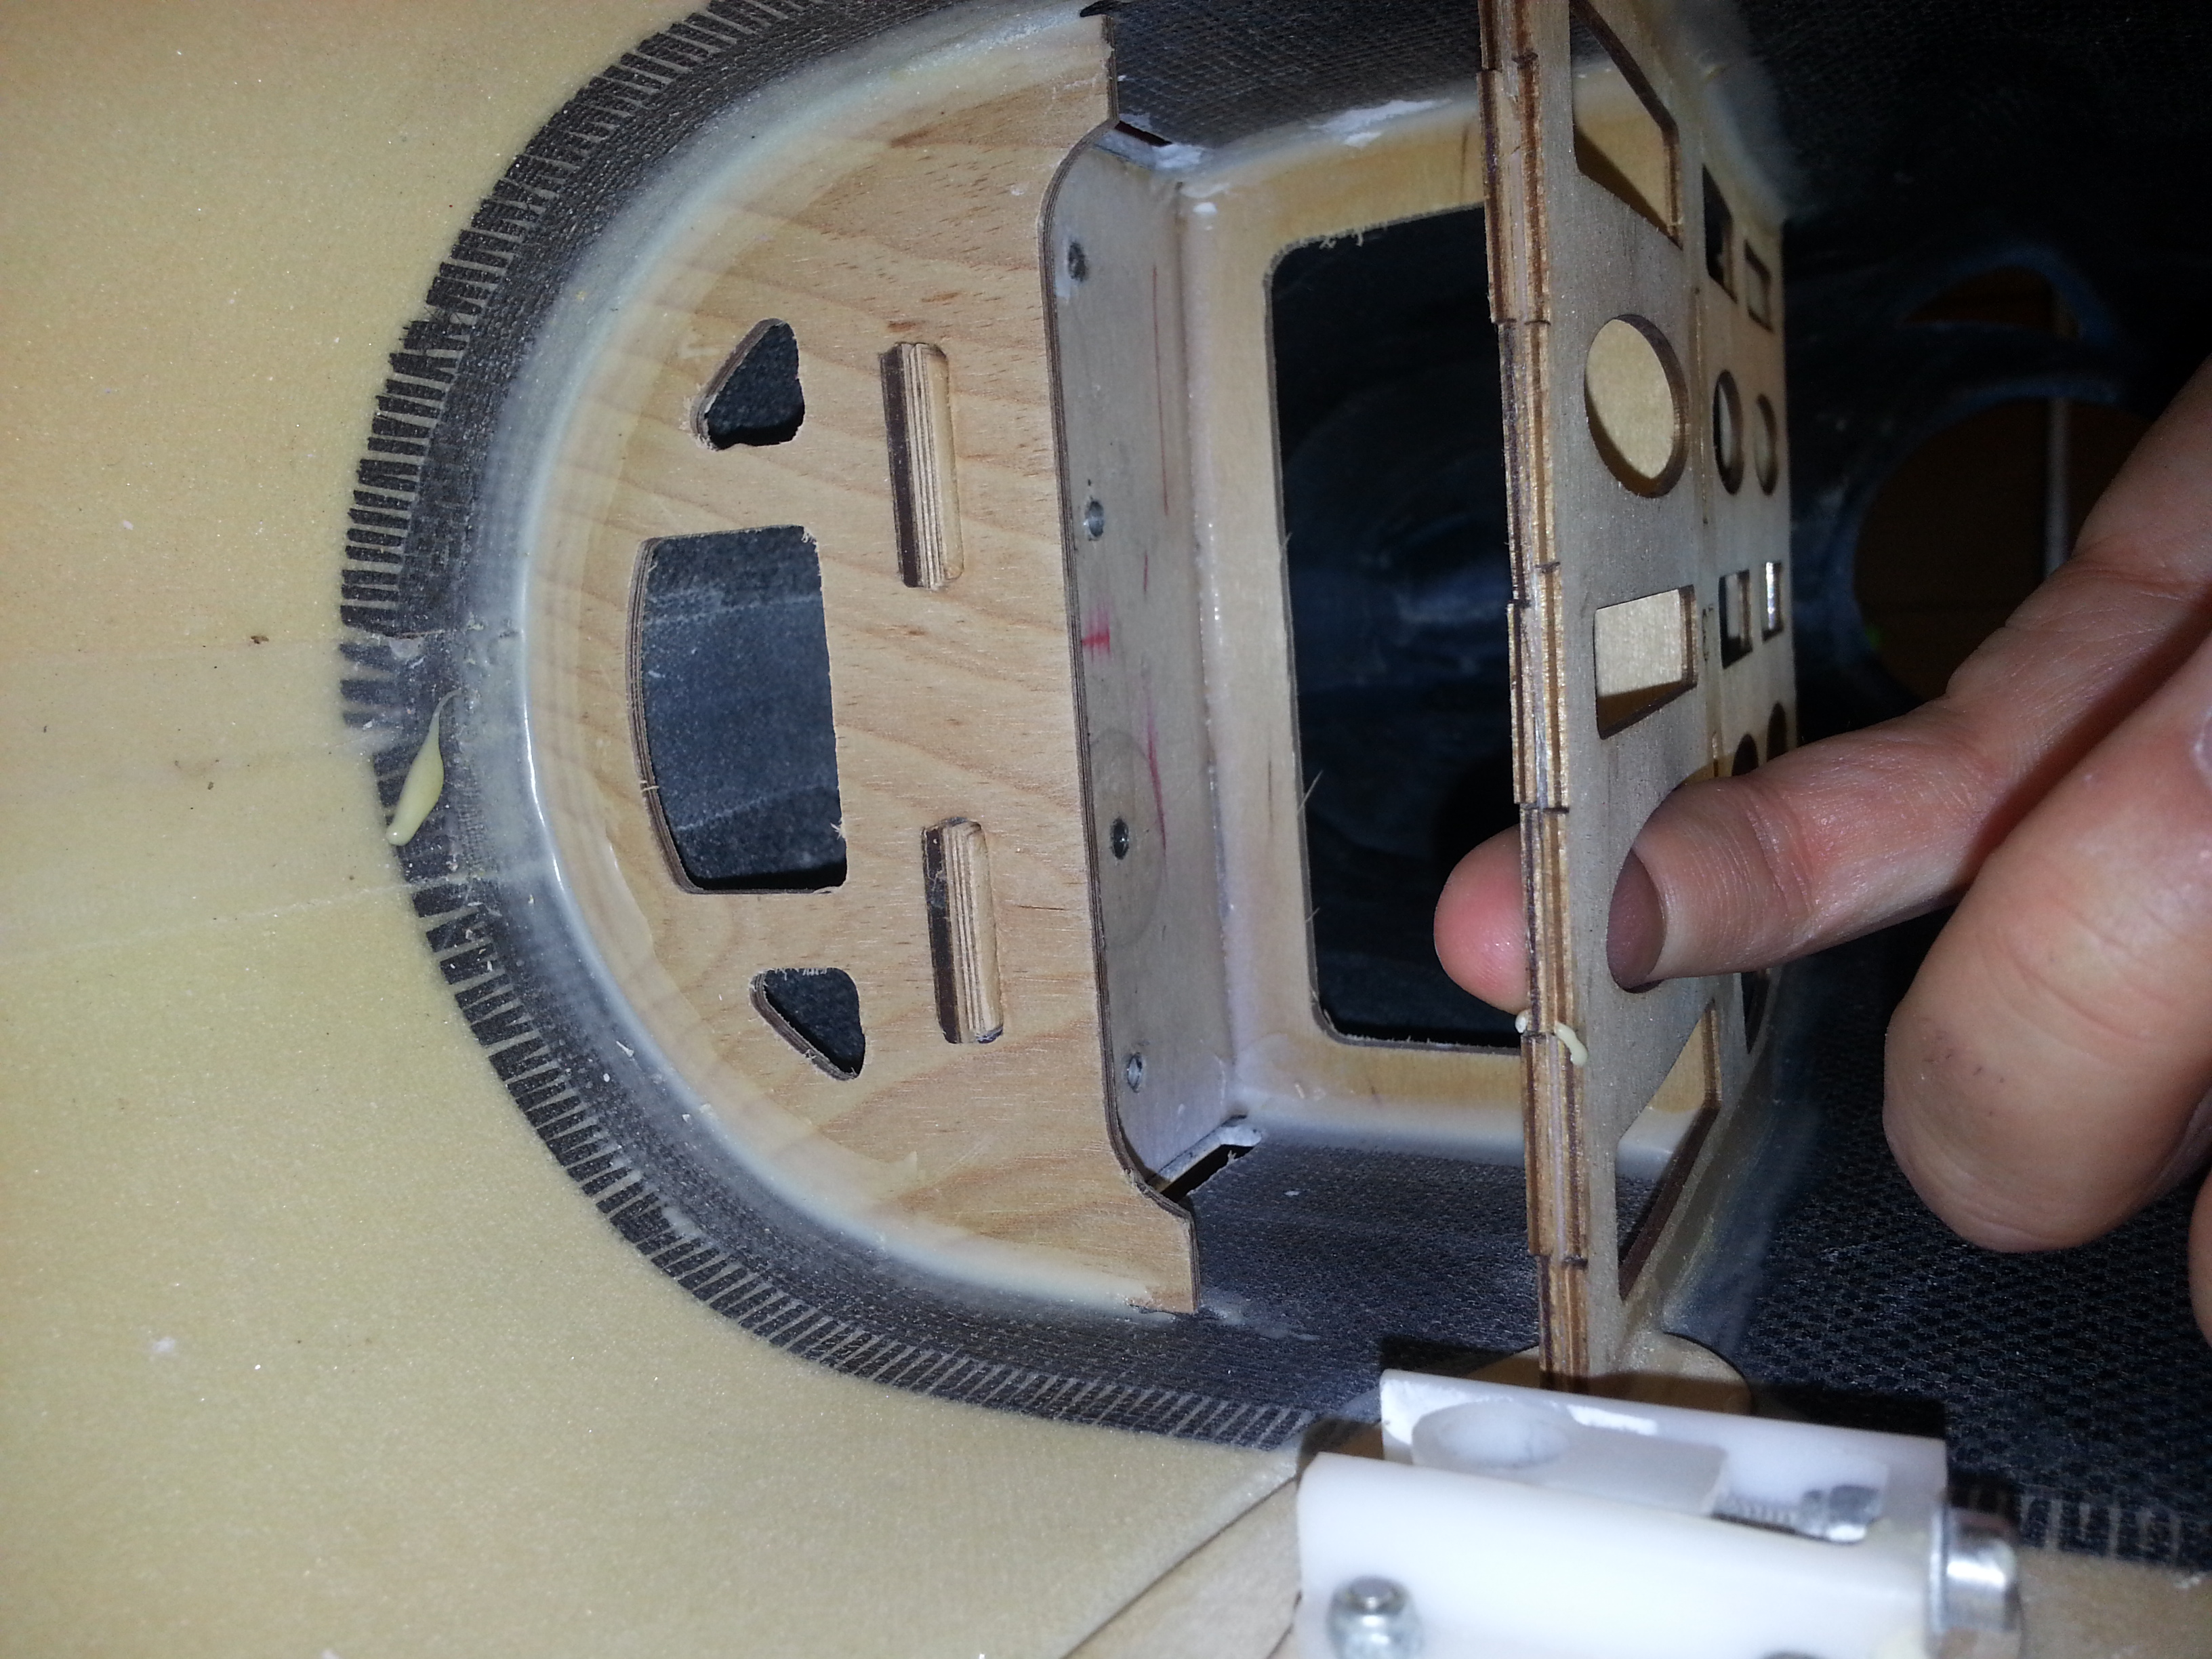
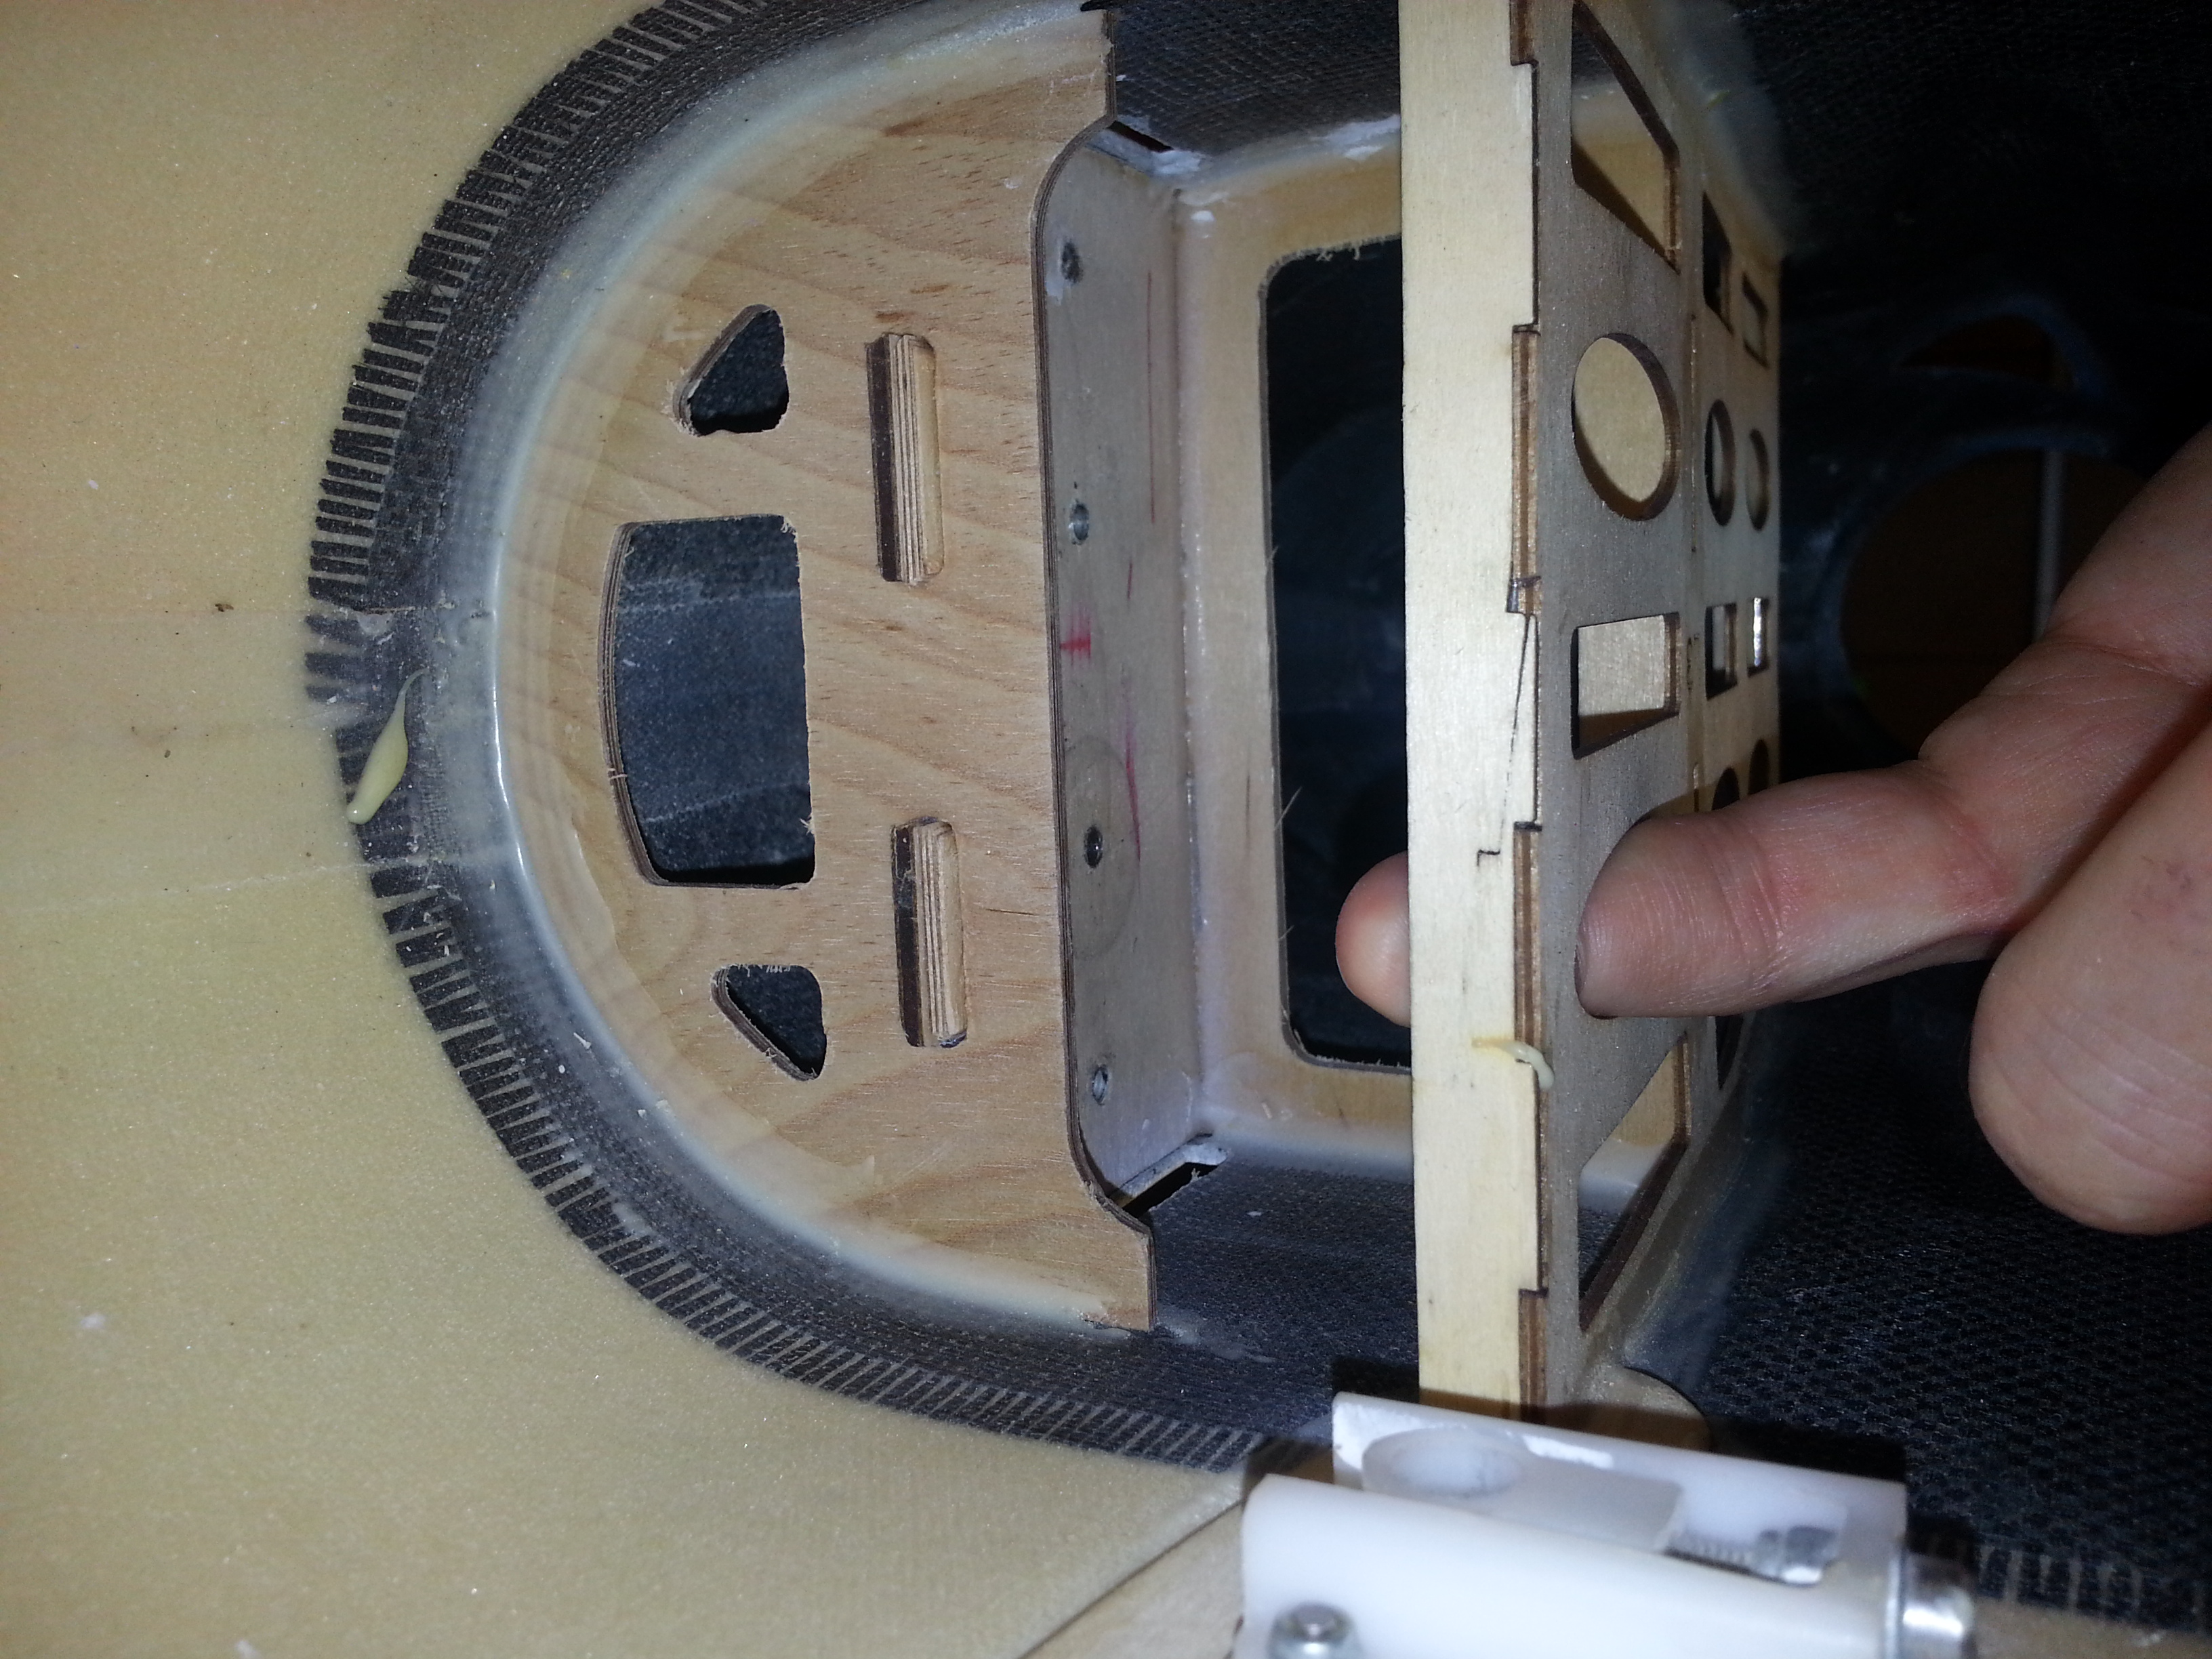
There were a few issues so far that others have also had. The T-can fit is off for sure and in one pic you'll see my temporary solution for first flight to increase the incidence. The front and rear battery tray supports were so poorly glued on that the rear support actually bent up and down like a hinge as you can see in the pictures. I don't know how it managed not to come off as I moved it up and down a couple of times. The front support was glued better and didn't move but it also didn't extent on either side to touch the fuselage side nor did they bother to put whatever kind of glue they used to fill the gap between the front and rear supports and the fuse side. So that's what I did front and back. I used Hysol and glued the back support on permanently and filled the gaps front and back between the supports and the fuse sides. It's stiff as hell now and the tug test says very secure. I was going to use carbon fiber strips to beef it but now I don't think it's necessary. One of the two landing gear halves did not match the predrilled holes so I had to work that out. Hopefully it's fine now. All the hinges are overkill big when you compare what Sebart uses but not worth replacing since the holes are drilled already. However, on the rudder, the predrilled hole in the vertical stab for the middle hinge was drilled so poorly it barely went into the wooden block that was there for it. Instead of being drilled in level it was drilled in at a big angle upwards so that when you looked at the hinge from the inside through the hole in the fuse bottom for the stab adjuster you saw almost the entire hinge out in the open glued to nothing. It was barely touching the block. Those hinges are also a lot longer than necessary and stick out quite a ways through the block. I didn't figure this out until after the epoxy dried so all I could do was cut off the excess from just one of them through the stab adjustment opening. What I did figure out was that the hinge knuckle is too big for the holes drilled so that it prevented the rudder from getting close to the vertical stab and left quite a gap so I carefully opened up the holes at the surface just enough for the rudder to fit better and had to also file away material on either side of the holes so the rudder could be free again to move far enough either way. Much better fit after that. I haven't flown it yet but actually am very happy so far so don't take the above as anything other than just something to keep an eye out for yourself.