I started out by painting an exposed, easily visible area of the cockpit with some interior latex paint I had on hand.
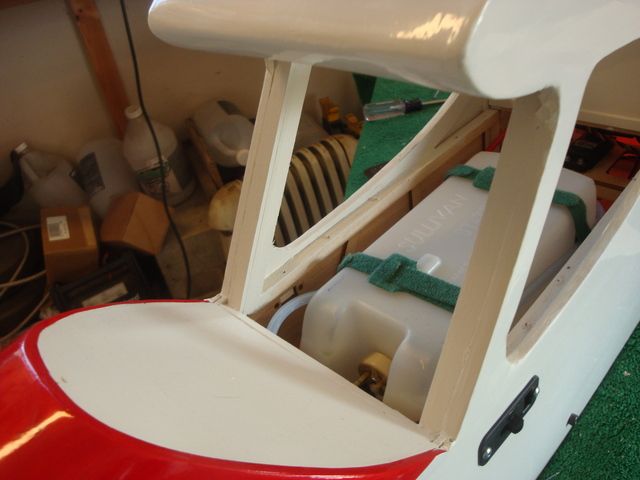
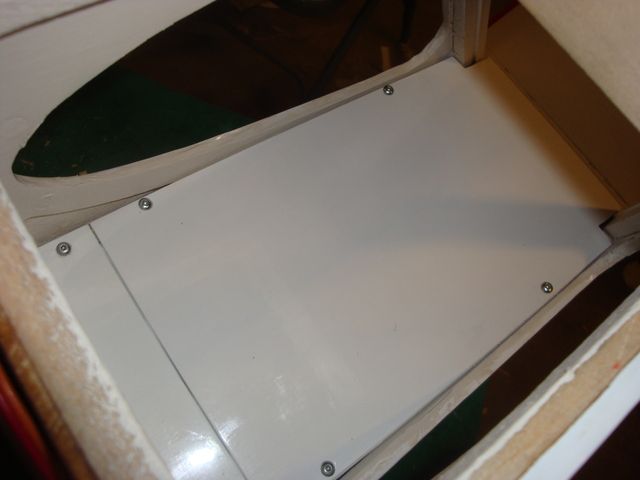
I then covered the 2 piece cockpit deck with white Ultracote.
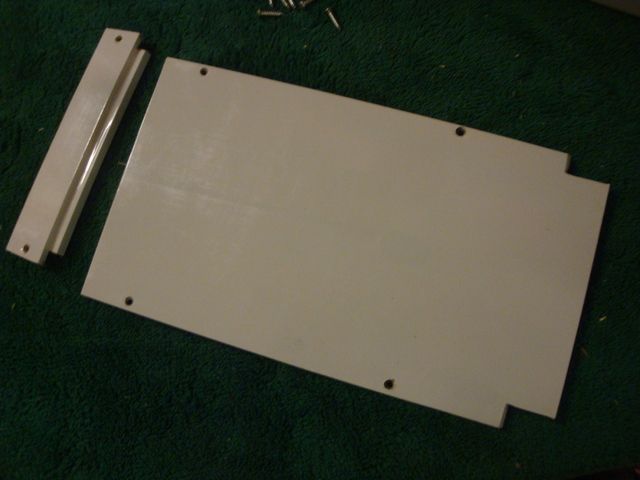
I installed the rear deck portion fist.
Followed by the main deck portion.
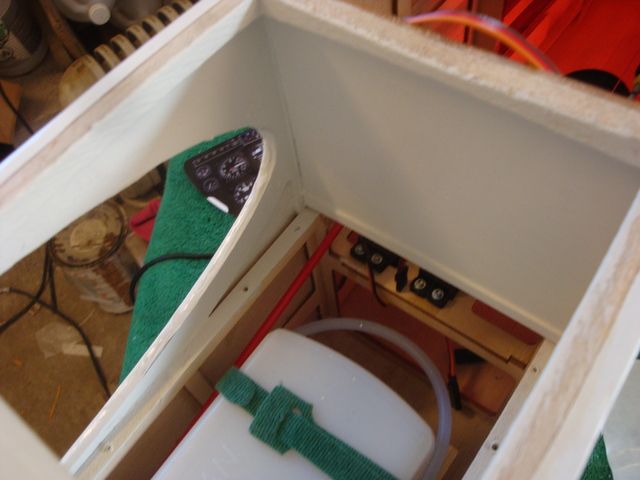
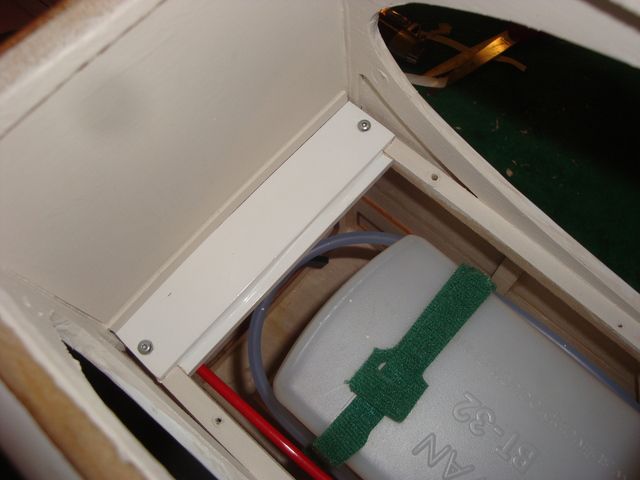
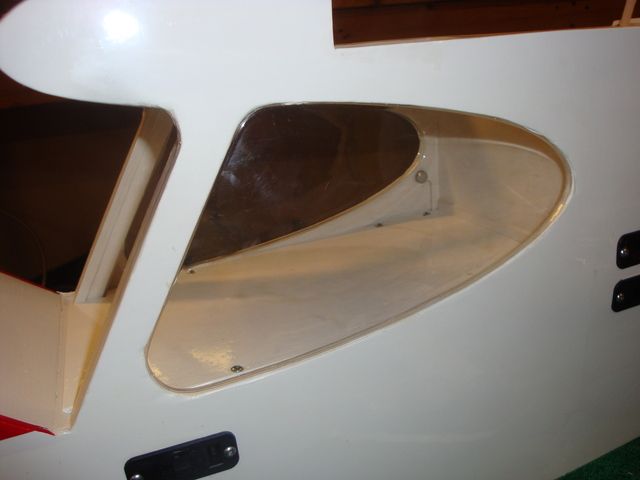
I opted to keep the side windows removable to allow easier removal of the deck for access to the fuel tank, plumbing & ignition switch. I trimmed some of the lip from the bottom of the window as well as the lower front corner. This allowed me to slip the flange behind the sides of the deck. The front bottom corners needed trimmed to allow manipulating the window into the slots cut into the windshield "A" pillar in the now tight confines.
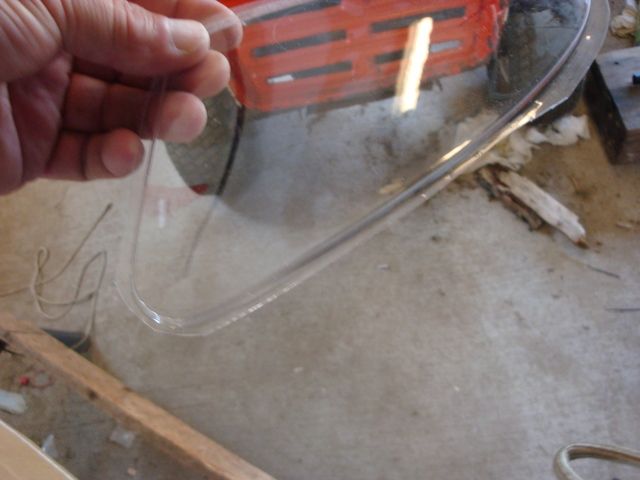
After some fiddling, the windows were coaxed into place.
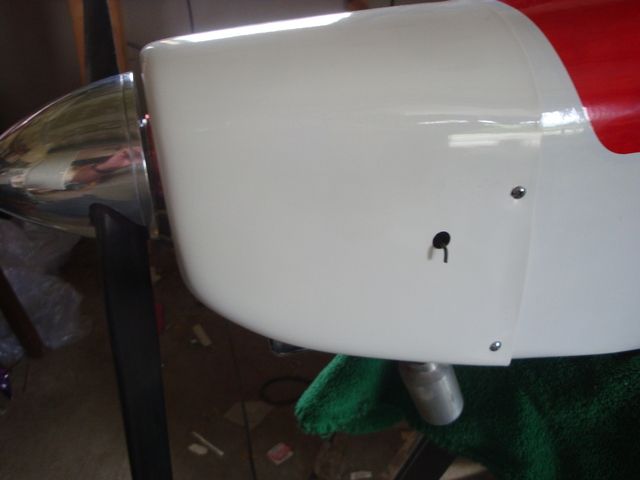
Next, I started work on some cowl details.
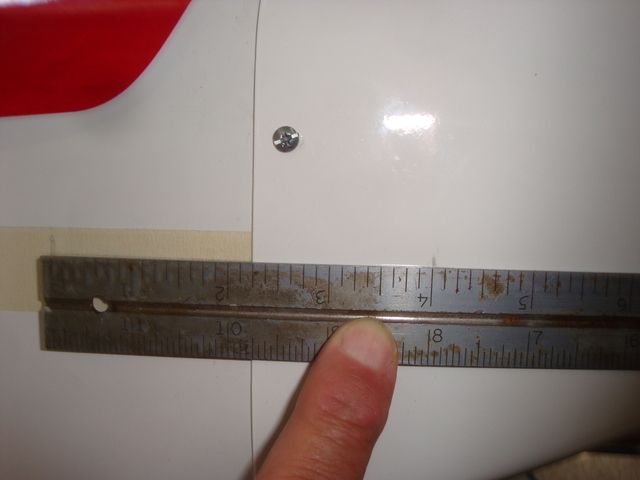
First, I placed some masking tape on both sides of the fuselage in the general line of where the high speed needle extension &low peed needle access hole would be located. I drew a line & marked a spot 4" from the center of the carburetor barrel.
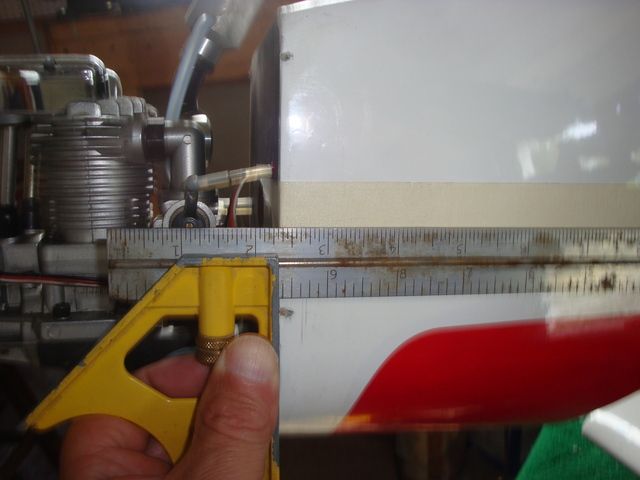
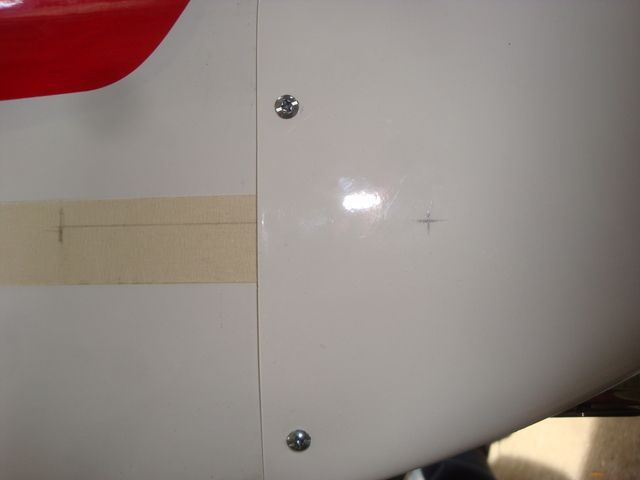
After installing the cowl, I used that line & mark to transpose the location of the barrel C/L on both sides of the cowl.
\
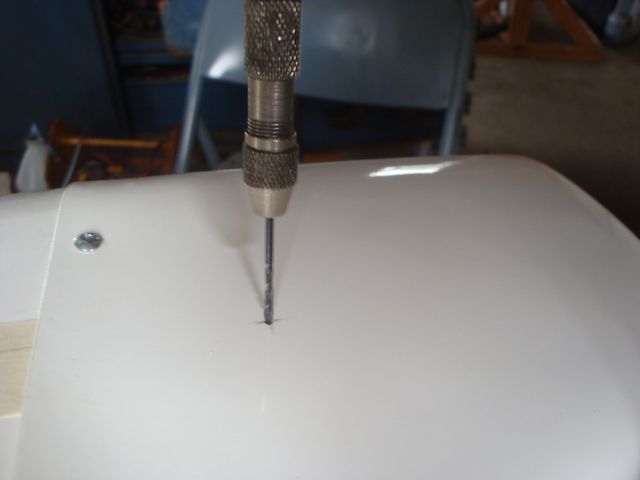
I then used a 1/16" drill in a pin vise to drill a pilot hole.
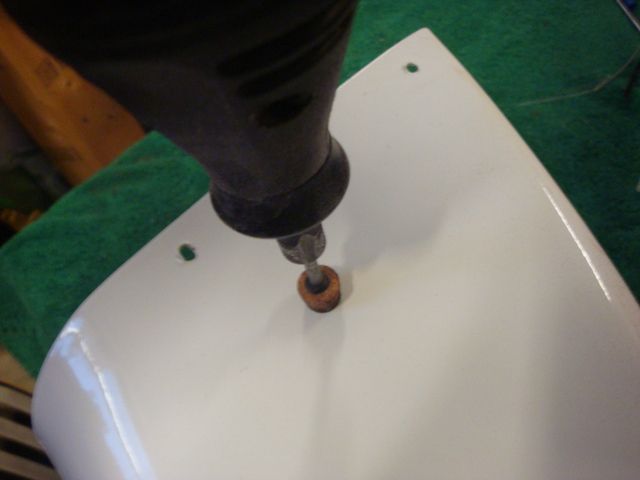
The holes where enlarged with a tapered stone in a Dremel tool.
Here is the HSN extension nearly perfectly centered in the hole.
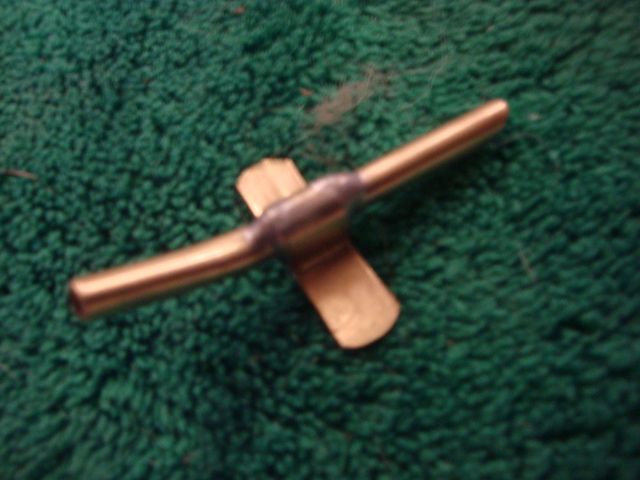
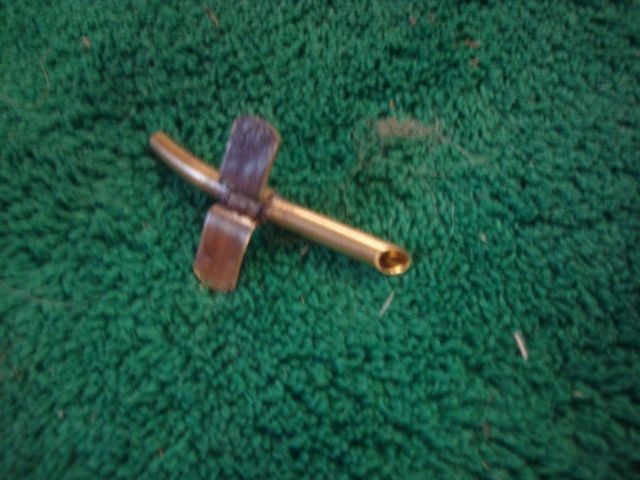
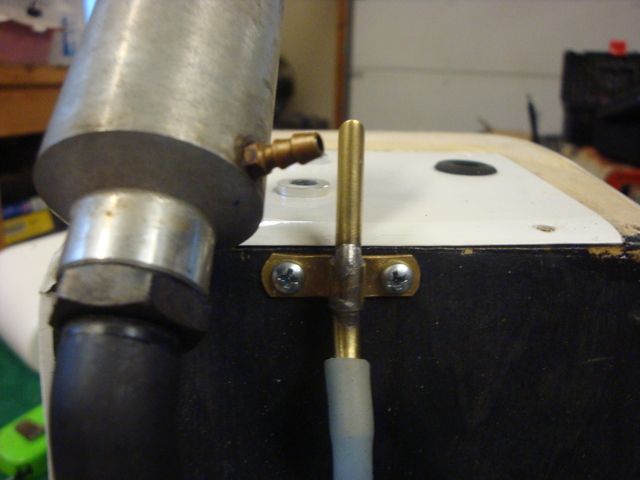
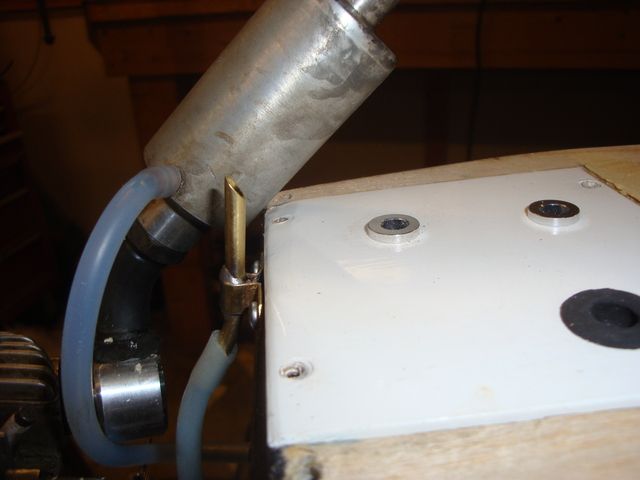
Even though the leaned burn of the CDI results in less mess, I wanted to provide a hard mounted breather tube to prevent the silicone breather tube from whipping around in the prop wash & spraying gunk all over the bottom of the fuselage. I flattened out some 3/16" brass tube, wrapped it around some 1/8" brass tube & soldered it together. After bending & filing I ended up with a serviceable breather tube. Note the slight bend to allow easy insertion into the silicone tube & the rear facing "bologna" cut to help scavenge the blow-by oil out of the tube.
I mounted it just off center tucked in beside the muffler.
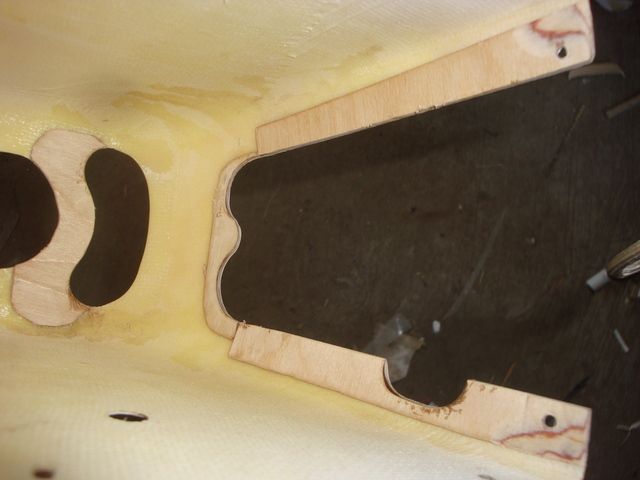
To prevent splitting I used thin CA to glue some 1/32 birch ply along the edges of the openings to reinforce some of the weak spots. I left the ply lap over the edges & ground it to shape with a coarse grit sanding drum in my Dremel tool.
In the next post I will go over gluing on the paper instrument panel, windshield installation & other finishing touches.