I wrapped up some details on the fuselage. It is now complete & I can start on the wings.
1st off, I made a revision to the 32 oz/16 oz overflow tubes. The cheap Hobby King fuel dots didn't really work & were prone to pulling out of the fuel line leaving it stranded inside the fuselage. My 1st & last purchase from Hobby King. Yeah they were less than $3, but junk isn't a bargain no matter what the price.
I found these
HERE for $5.99 ea (4 for $20)
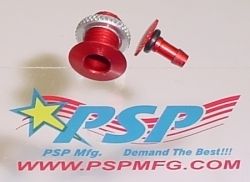
They securely grip the fuel line, they securely snap into place and more importantly, they have enough reach to place them in the side of the fuselage where I originally intended.
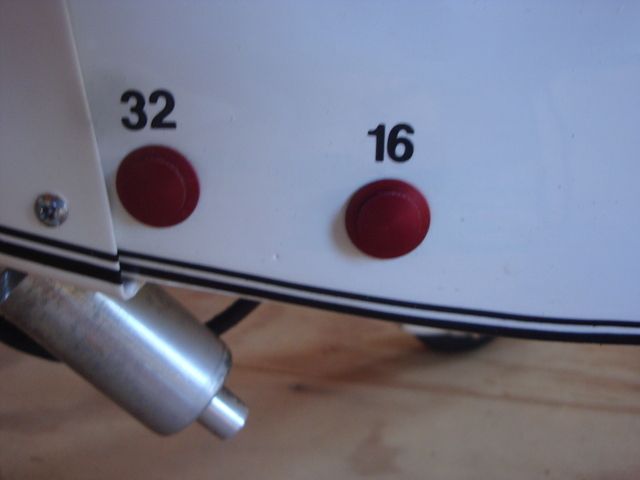
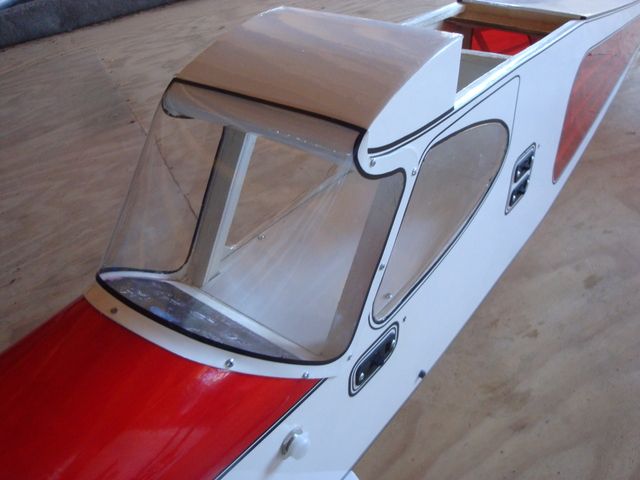
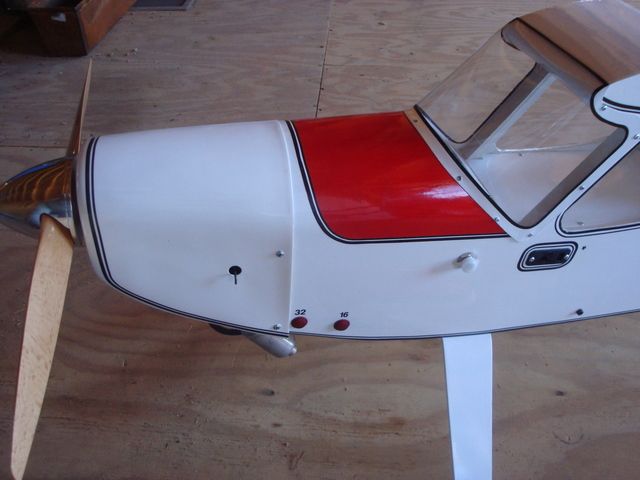
I used some Coverite 1/4" numbers to label the appropriate overflow line for the fuel level @ overflow.
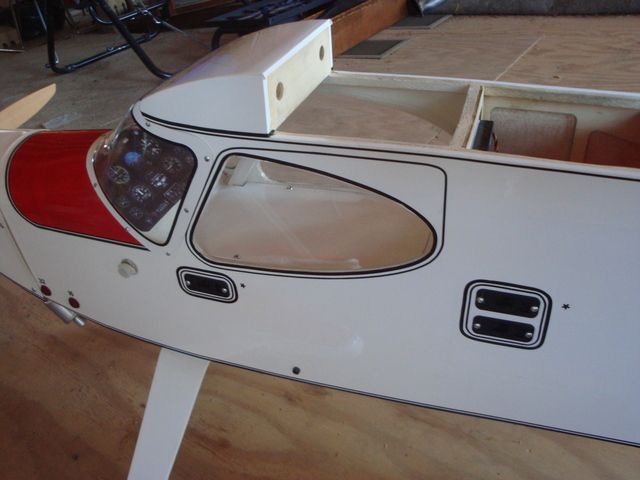
I also did some pin striping around the switch/charge ports & used a black asterisk to designate the negative lead at the top. I am getting some red graphics to further identify the positive lead at the bottom with a red asterisk.
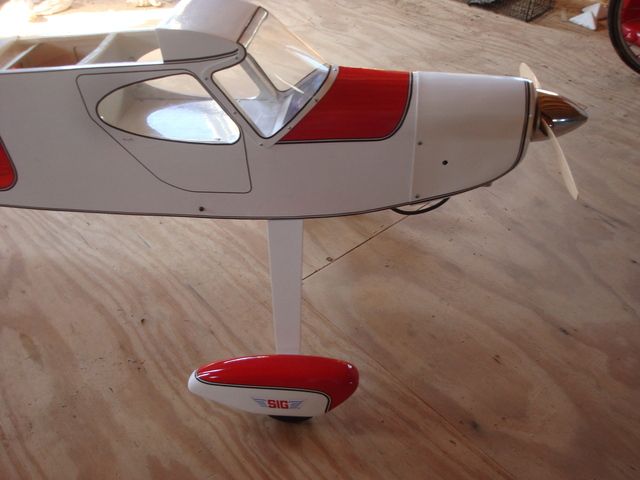
I gave the cowl a coat of white Lustercote & continued the pin stripe along the bottom edge of the fuselage onto & around the top of the cowl.
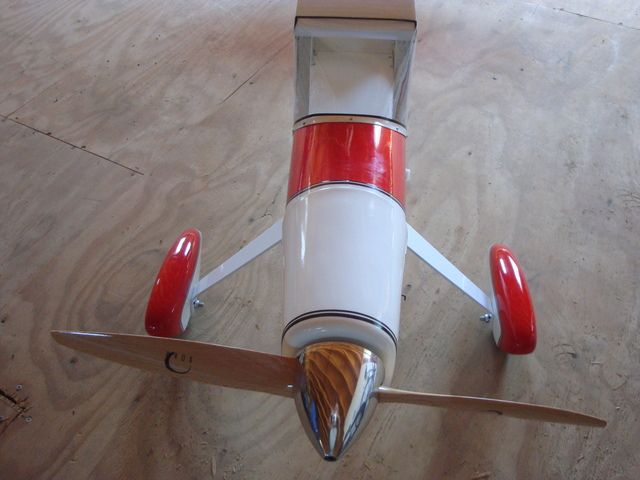
Now, for the most challenging detail!
I was not at all satisfied with the way that the thin plastic windshield buckled at the rear edges when the screws securing it where snugged down.
I cut some pieces of 1/32" ply & CA'ed them to the edges.
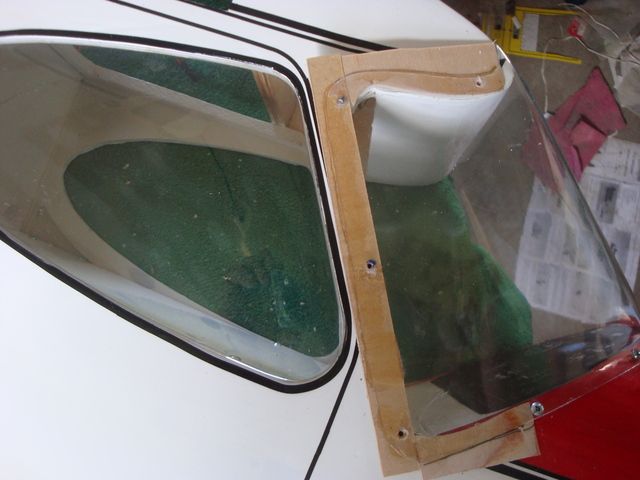
The small portion extending from the bottom corner forward to the 1st screw was tapered to allow a smooth transition
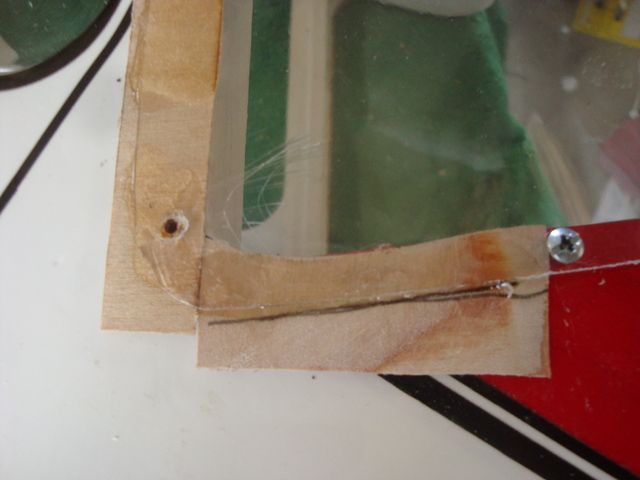
I left ample material hanging over the edges to allow ease in handling & gluing. I then trimmed the excess material with a pair of scissors & sanded the edges flush with the plastic.
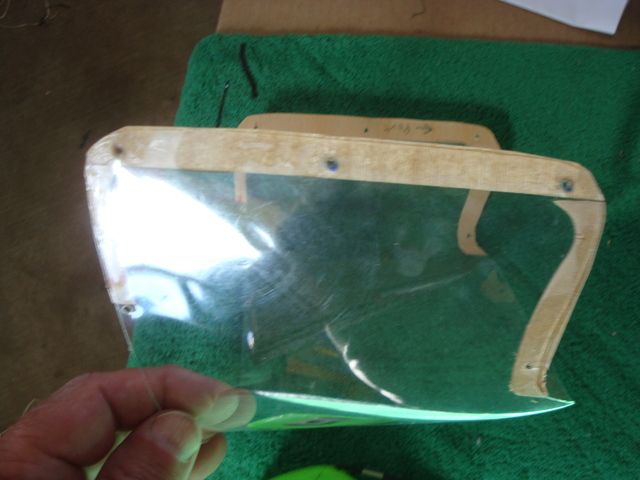
After masking off the windshield to paint the perimeter "frame" & some 1/8" pinstripe tape to dress up the edge of the paint line, I think it came out quite well. No more buckling.
Time to clean up the mess in the shop. The floor is covered with masking tape, pinstripe tape backing, paper towels, etc.
The wings will not take so long as I only have 2 revisions in mind.
One is a modification to the servo trays to accommodate the low profile servos, the other is a Kraft paper tubes to conceal the servo leads in the transparent wing bays.