One wing is close to done. I still need to do the ailerons.
You can ask 100 painters how they cut and buff and you will get 150 different answers. There really is no right or wrong way, but what ever works for you. In fact, this time around I used a totally different sanding pattern and a brand new compound. I usually sand in a crosshatch method with about ten passes with the paper one direction and then ten or so passes 90 degrees to the first passes.
This time I tried a different method I think I like even better, What I did was start with 600 wet in one direction until level and all the orange peel was gone. Then I moved up to 1,000 and sanded it wet at 90 degrees to the 600. I then moved to 1,500, again at 90 degree to the 1,000 and finished with 2,000, 90 degree to the 1,500. The reason for doing it this way is you can tell when the prior 90 degree cut is gone. If you still see sanding marks, just keep sanding.
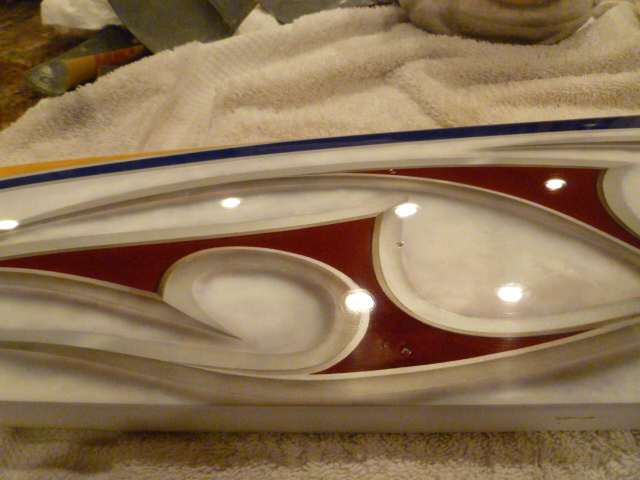
This picture was the clear before cutting. If you look at the edges of the glare spots you can see orange peel.

Here you can see I am just starting to cut the surface of the orange peel.

If you see any gloss, just keep sanding until it's gone.

The surface is now level with 600 and no gloss is showing.

I then moved up to 1,000, 1,500 and 2,000. I am trying a new compound and it is exceptional. It has only been out a short while, but the reviews have been positive. It's called System 51 and is water based with zero smell. It has three levels of grit, but the first two do about 99 percent of the work. With the first level of grit I was able to get a better finish than I have ever been able to with 3M in half the time.
http://www.coastairbrush.com/products.asp?cat=5
Coast Airbrush needs to start paying me a commission!

Here is the gloss with the first level of grit. Exceptional.

These are pictures after using all three levels of grit.


The biggest challenge we have when doing a cut and buff finish is the chance of cutting past the clear. What I do is just stay away from all the edges as much as possible. I sand very carefully up to the trailing edge and just stay totally away from the tips and leading edge. These areas will have a slight different look, but virtually know one will ever see it, and it will save you a massive amount of time and hassle. I don't sand those small areas, but hit them with rubbing compound to help them blend in.