INTERIOR COCKPIT
When I was down at Joe Nall this year I got to see this very Spitfire with a multitude of engines in it. All had detailed cockpits, but for the most, Unless the Pilot was removed 90% of the details were obscured.
I therefore opted to spend just a modest amount of the money on the interior detail parts and spend MORE money on the Pilot which is clearly visible to all.
I got my Interior Cockpit parts form Tyspplanes.com. He shipped very quickly and the parts all arrived in a timely manner. He even threw in some extra parts.
You can watch two U-Tube videos on how to assemble the kit.
https://www.youtube.com/watch?v=o89f-0uqdwk
https://www.youtube.com/watch?v=no3iuOCZZ8U
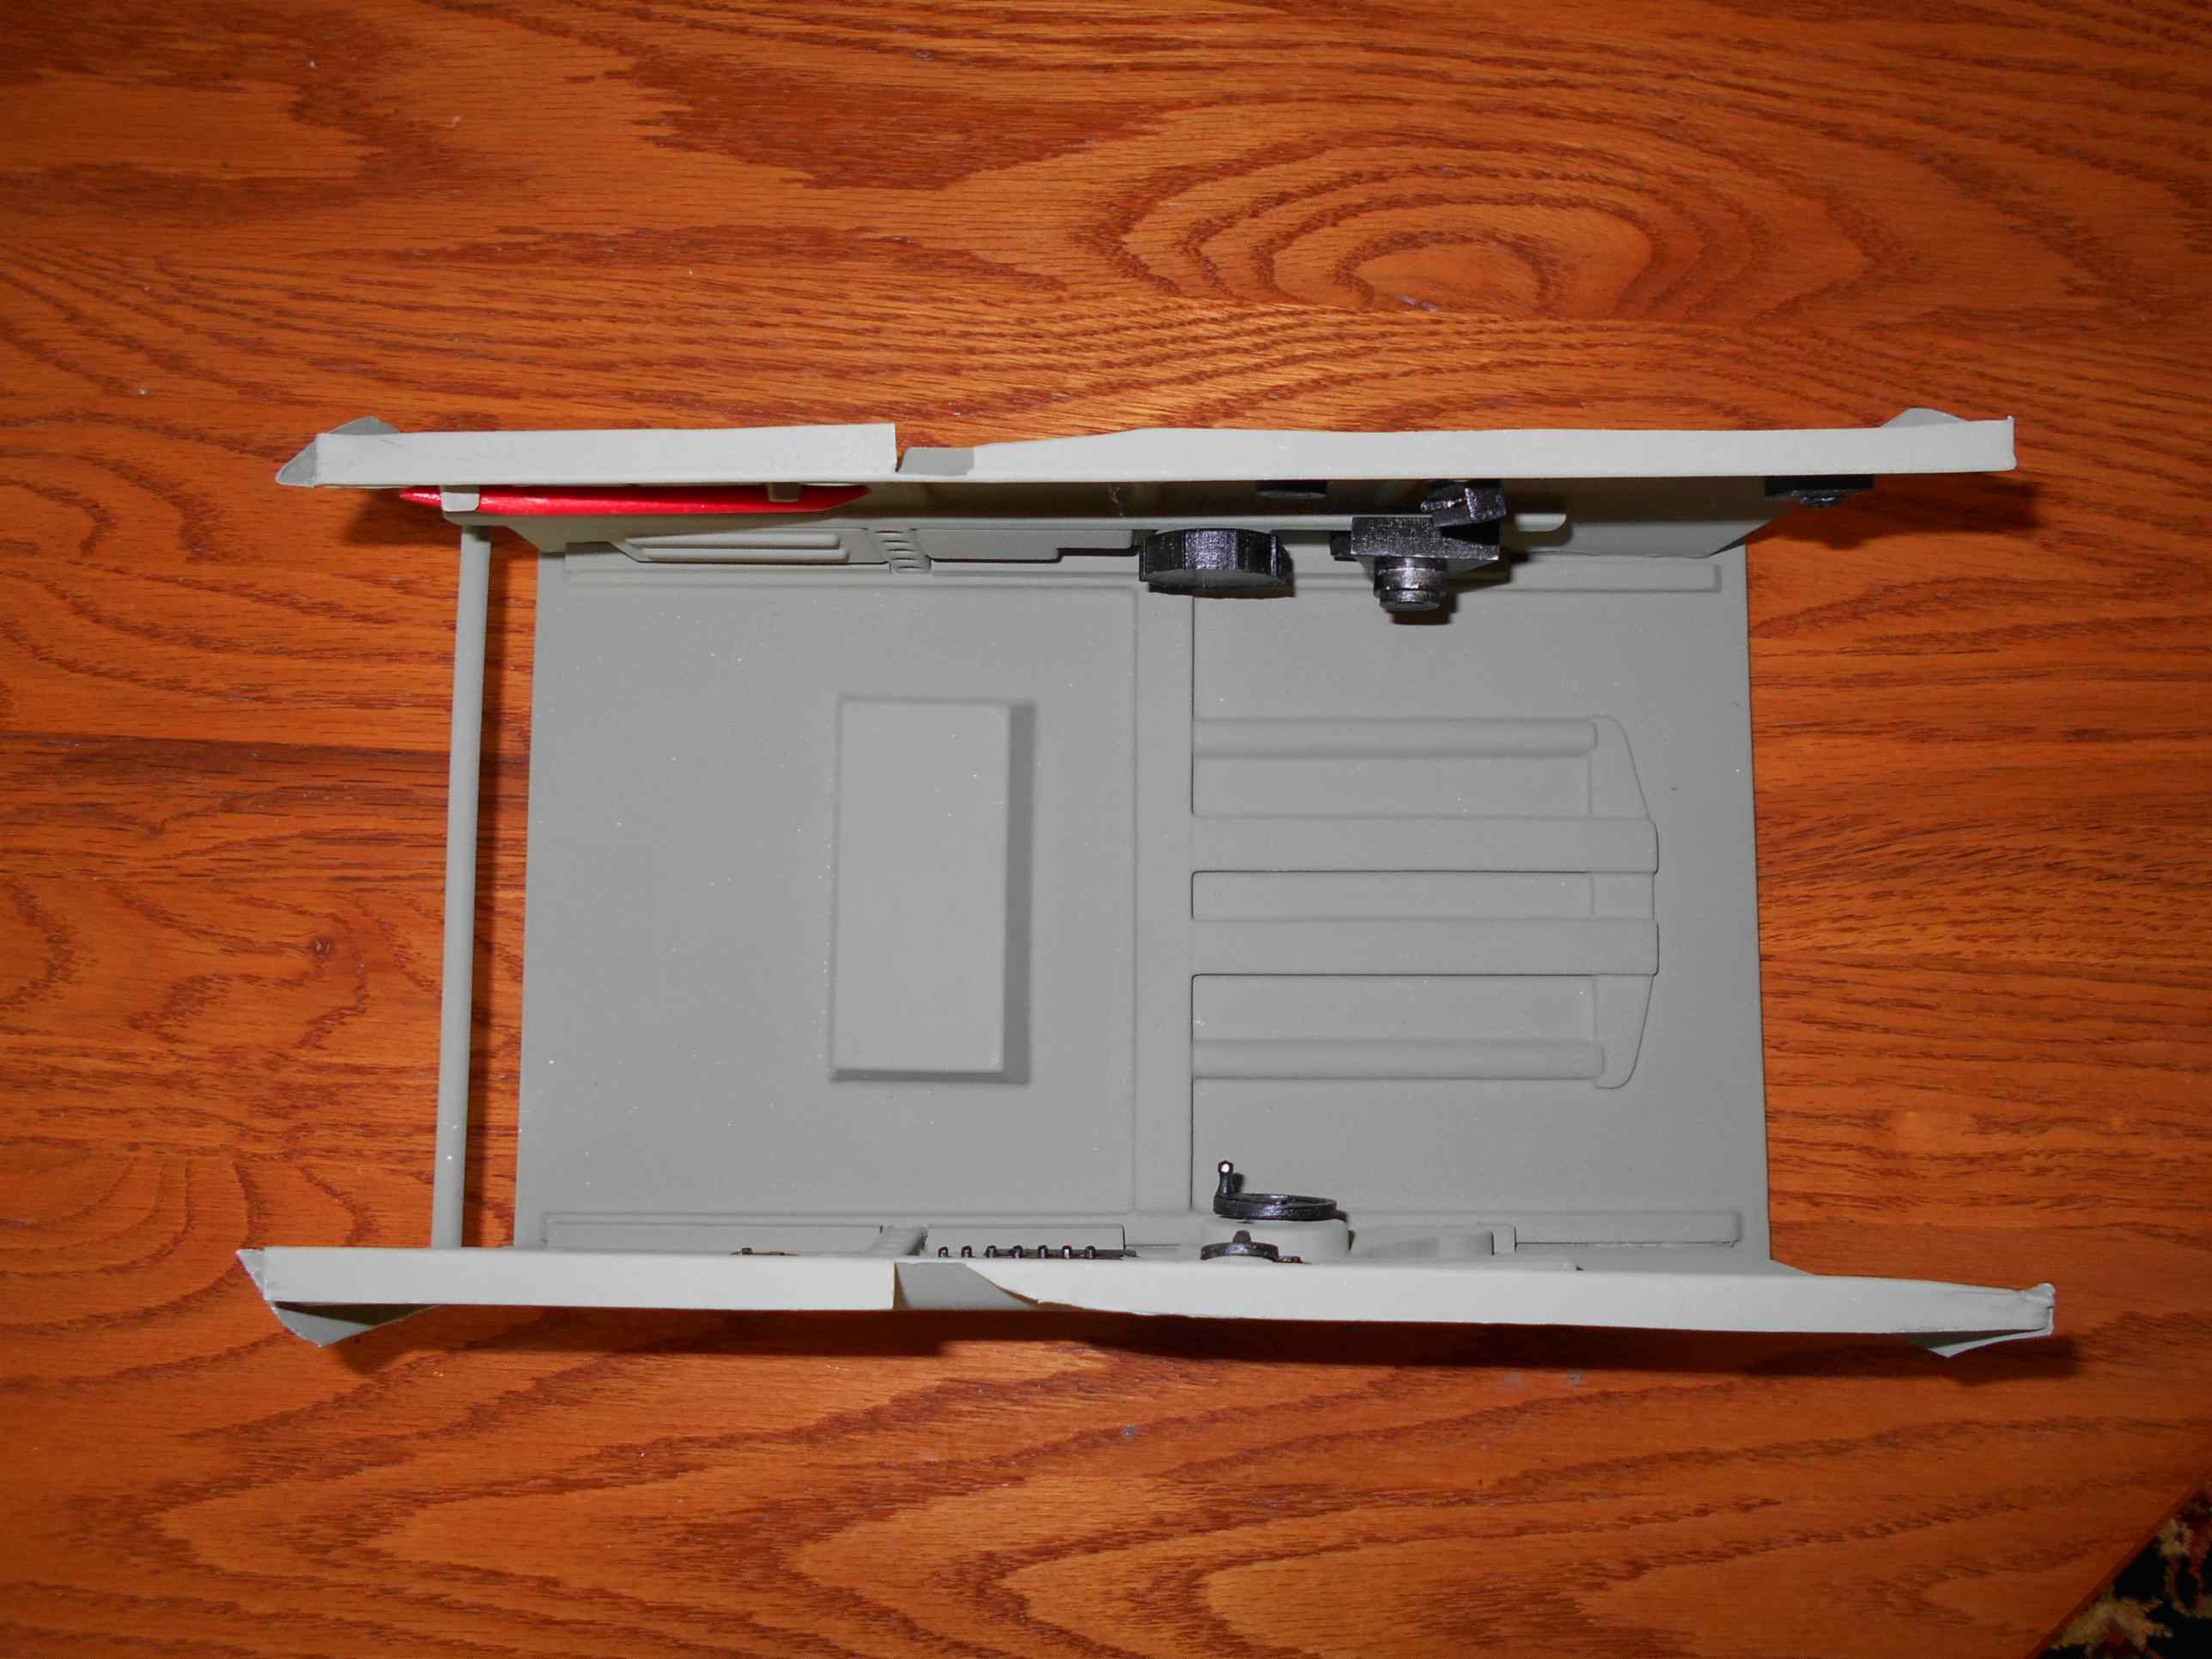
The kit divides into four main subsection, The Rear Headrest Bullet proof section. The Floor and Side Walls, The Chair and finally the Instrument Panel.
I will discuss the Rear Headrest and the Floor and Head Walls in this section.
The Rear Headrest is a simple triangular shaped styrene part that you add a small piece of balsa to give it strength. I painted the Headrest first with matt black before proceeding to give the rest of the part the green cameo paint. I forgot to weight it but the weight is very small.
When I joined the two side walls to the floor, I just was not sure that the joints would be strong enough to take any long term flexing without cracking.
I added some 1/4" by 1/4' styrene square tubing to the bottom inside of the frame and it DRAMACTICALLY improved the rigidity. I also added a small styrene horizontal dowel to again reduce the movement.
Adding the "interior Components" is a bit of a hit and miss operation, the videos (2) give a few hints and on the various books out there they do show many more controls. But again I did not go overboard as once the pilot is in you can't see many of them. But the Red Crowbar is a "MUST".
Adding the cockpit interior cannot be left too late to do or it will become very difficult later on. I can now slide mine up right, thru the bottom front of the plane , turn it and it lays right in place. Once the top is glued in, I will then support the underside with some balsa triangular stock for even more rigidity.
The weight of this subsection is 191 grams.
This interior canopy DOES NOT lend itself to having an OPEN cockpit door for the Pilot to get in. I plan to "Simulate a Cockpit door with a hinge and a more defined space between the door and fuselage but mine will not actually open. This is something to ponder if you want a real door opening and you might have to look at an alternate interior kit.