Now that our design is complete we have to make the templates for parts to cut out.
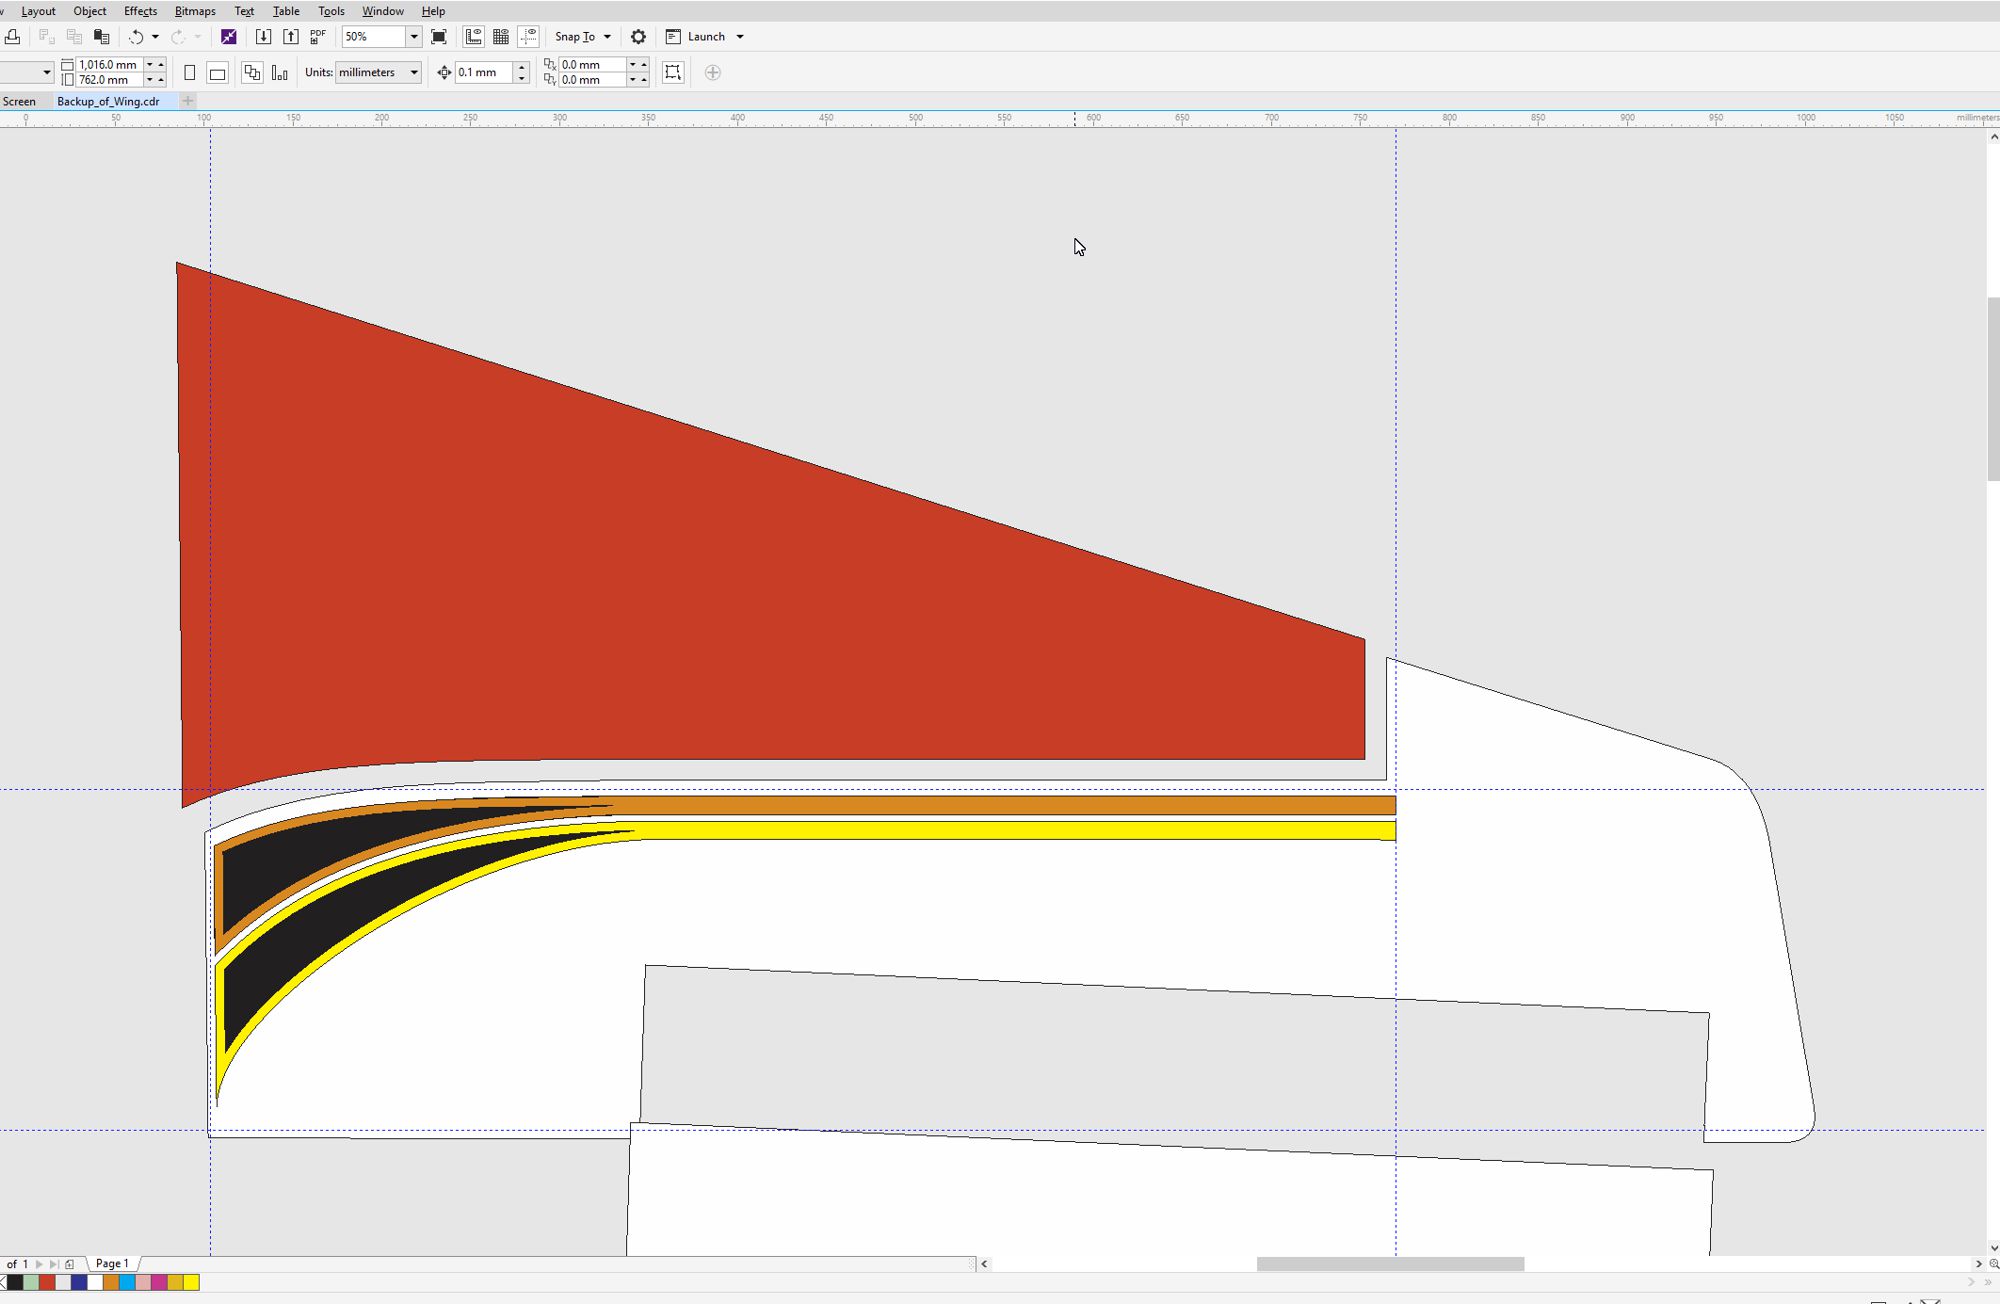
Currently we have these pieces drawn.

The red has to be extended over the leading edge and wing root. The yellow and orange need extensions over the wing root and the white base needs to be trimmed so that the other pieces overlap by 5 mm and have extensions added where it overlaps the wing edges. I add the most at the wing tip and leading edge as I like to heat and stretch the film over curved surfaces. At the trailing edge and root you are just folding the covering over so less added material is needed. I usually add about 3" to the wing tip as this takes the most heating and stretching and I try not to burn my hands too much.
Lets handle the white first. With the trim in place back minus front using red and white (after duplicating the red) cuts away the white under the red.
Here the white has been trimmed and the red moved a way a bit to show the new cut edge.

Next I want to expand the white by 5 mm. Doing this all around will be fine as the wing tip, root and trailing edge will need to be extended even further. Corel has a feature called "contour" which will do this for us. I will add a 1 step contour to the outside of the white 5 mm.
When first performed it looks like this the black line being 5 mm wide on the outside of the original white piece. The guidelines are where the edges of the red will go.

To finish this step in Corel you select the contour area right click and select break contour group apart then select the center area and delete it and change the remaining black area to white which is now the original white area just 5 mm bigger around all of its border.

Still have to cut out under the wider sections of the orange and yellow. As the thin stripe portion of the trim is 10 mm wide there will be no cut out under that area. Using the same contour tool we can contour the inside of the orange and yellow and then again break the contour groups apart.
Once again back minus front using the white base and black inside contours will open up bare wood under the yellow and orange trim pieces.
Here the yellow and orange have been removed to show the white piece underneath.

At this point I put all the pieces together shown here in wireframe mode to show the overlaps.

I will also print out the pattern on tracing paper using the vinyl cutter . This is my template for part locations on the wing.

