Let construction begin!
First up is to glue together the three fuselage side pieces

Then laminate the forward doubler to the inside of the left and right sides. These are huge, and take a lot of glue.
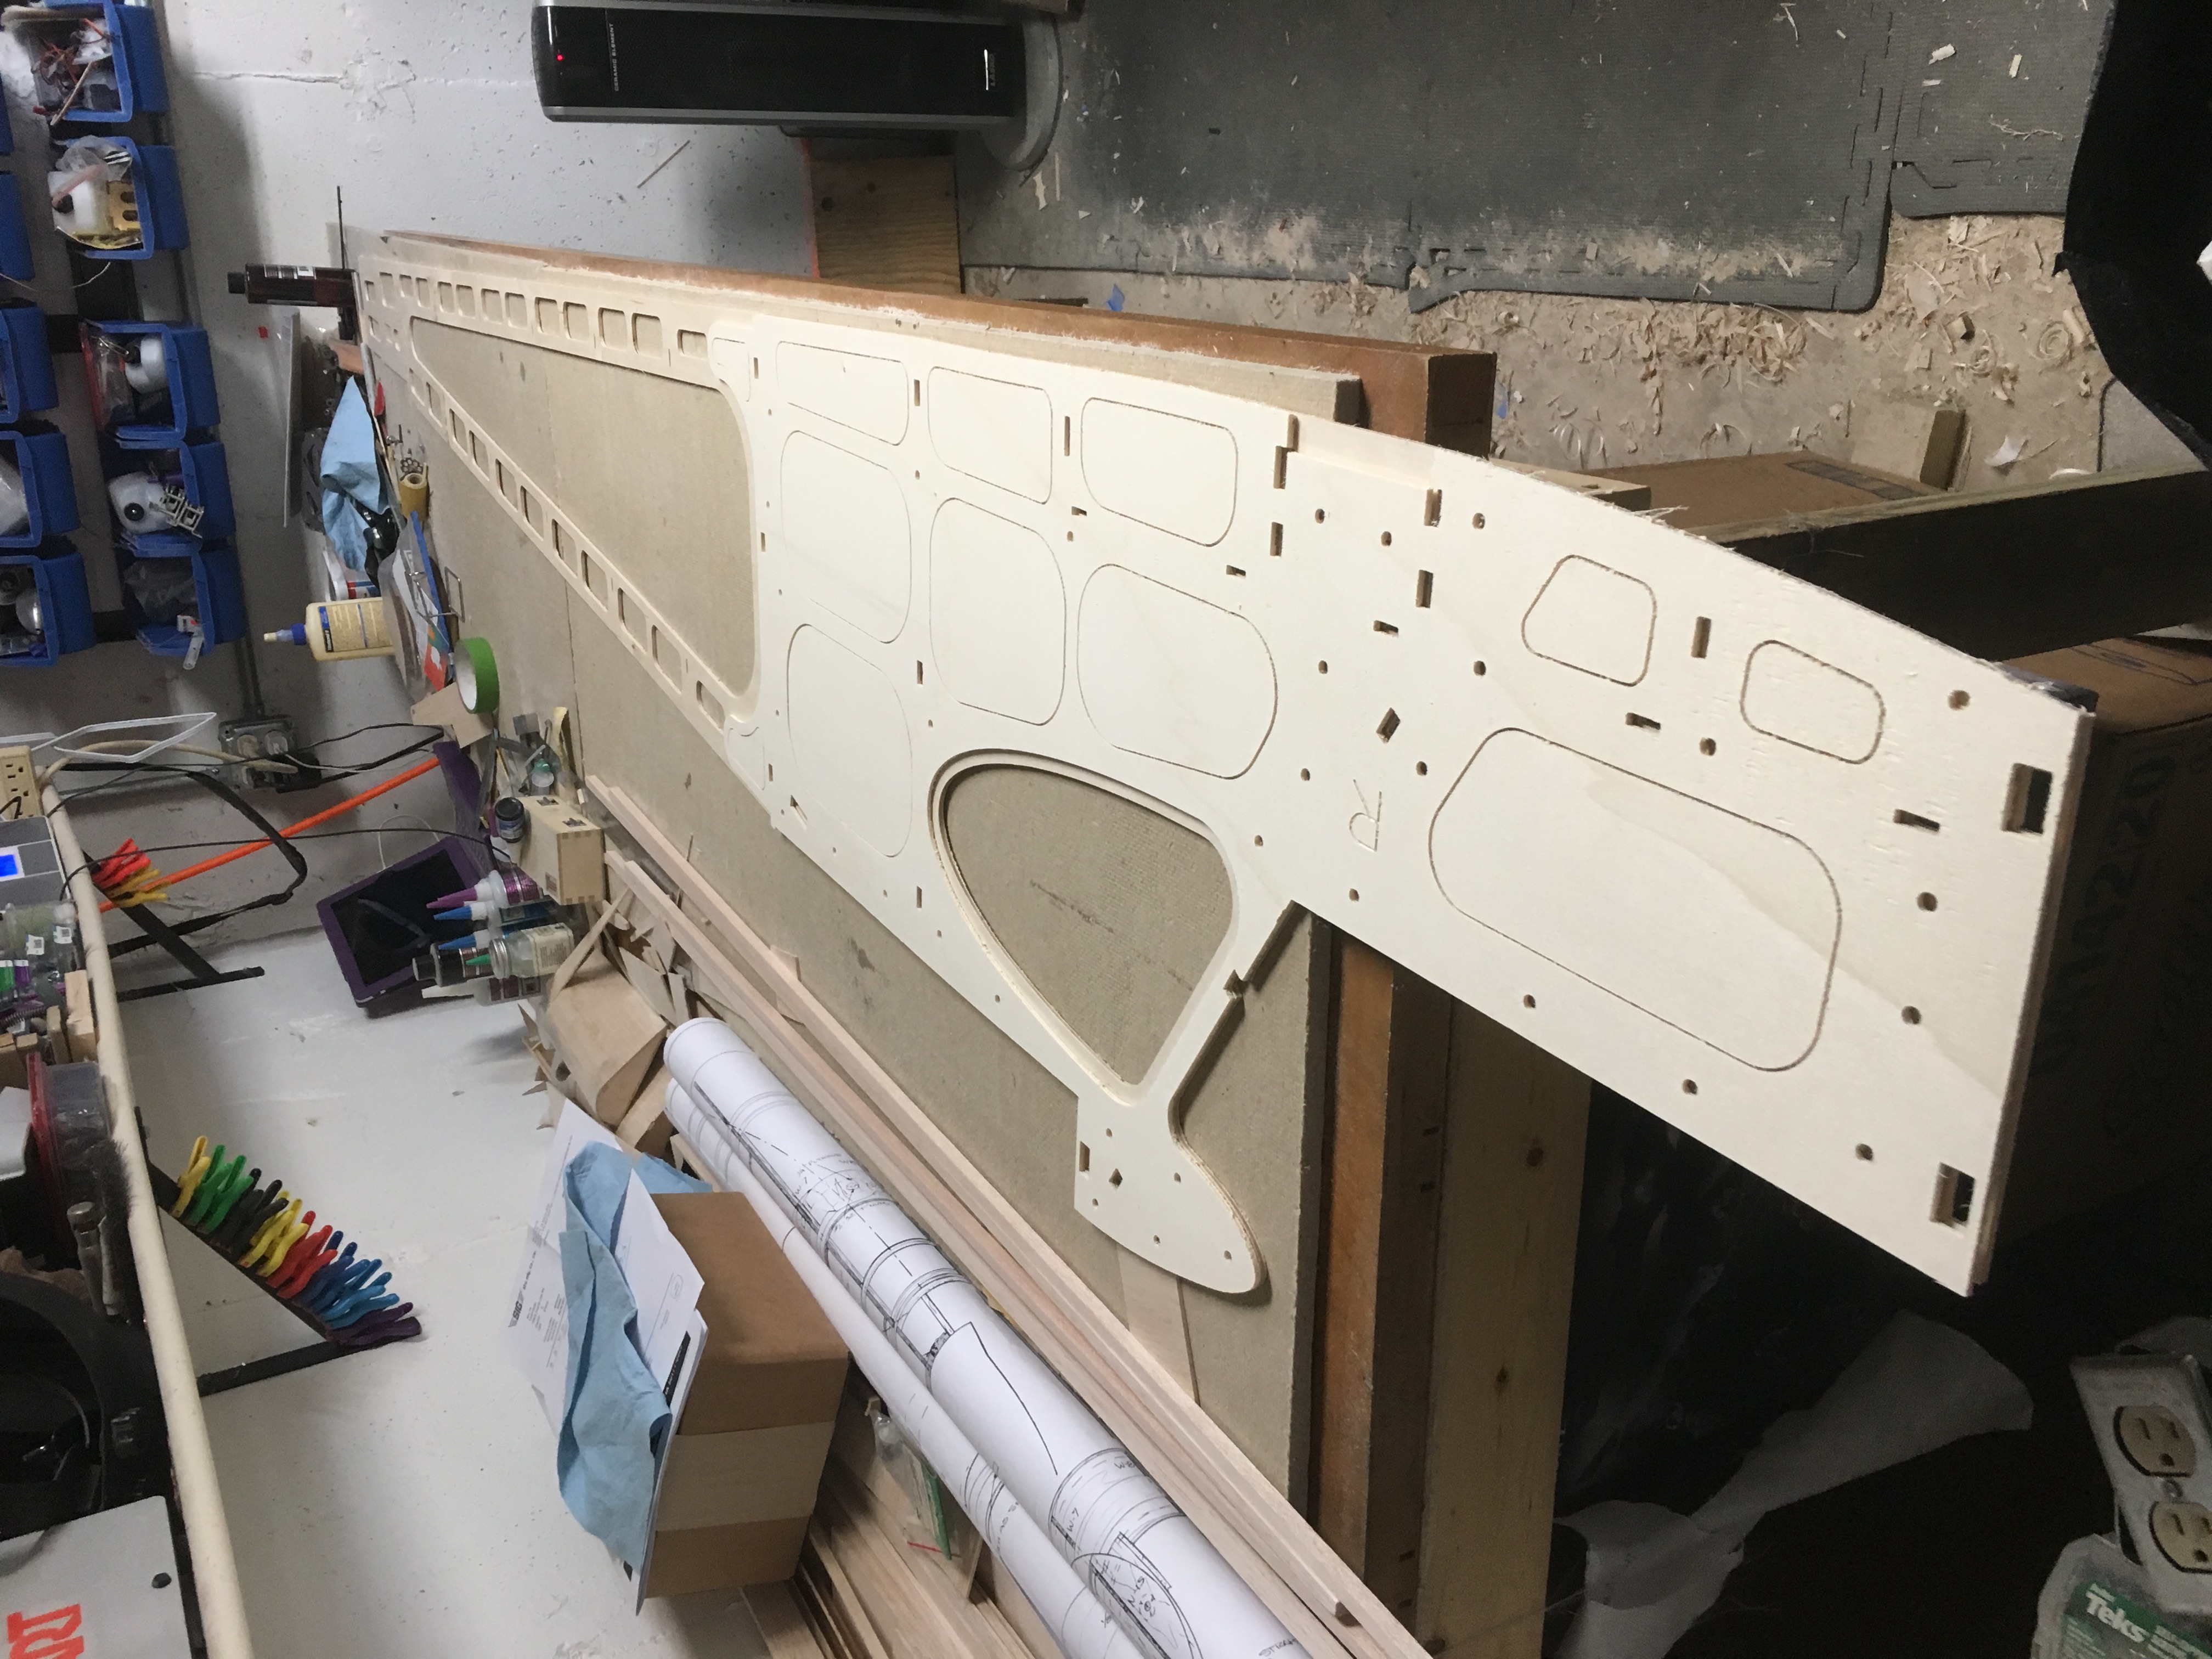
Once I got the glue spread all over I then put it in place, line it up and there are holes provided to place a bit of medium CA to lock in on place. To make sure it stays tight and flat I weight it down with battery packs.

Picked up about 6 of these cases with 10 batteries each, along with a few singles. They work great for large flat surfaces.
The next step is to glue 3/8" square balsa to the rest of the fuse from the doubler back top and bottom, but waiting on the glue to dry first so I can spin it around and lay it flat on the bench, so I jumped ahead a step and started on the laminations.
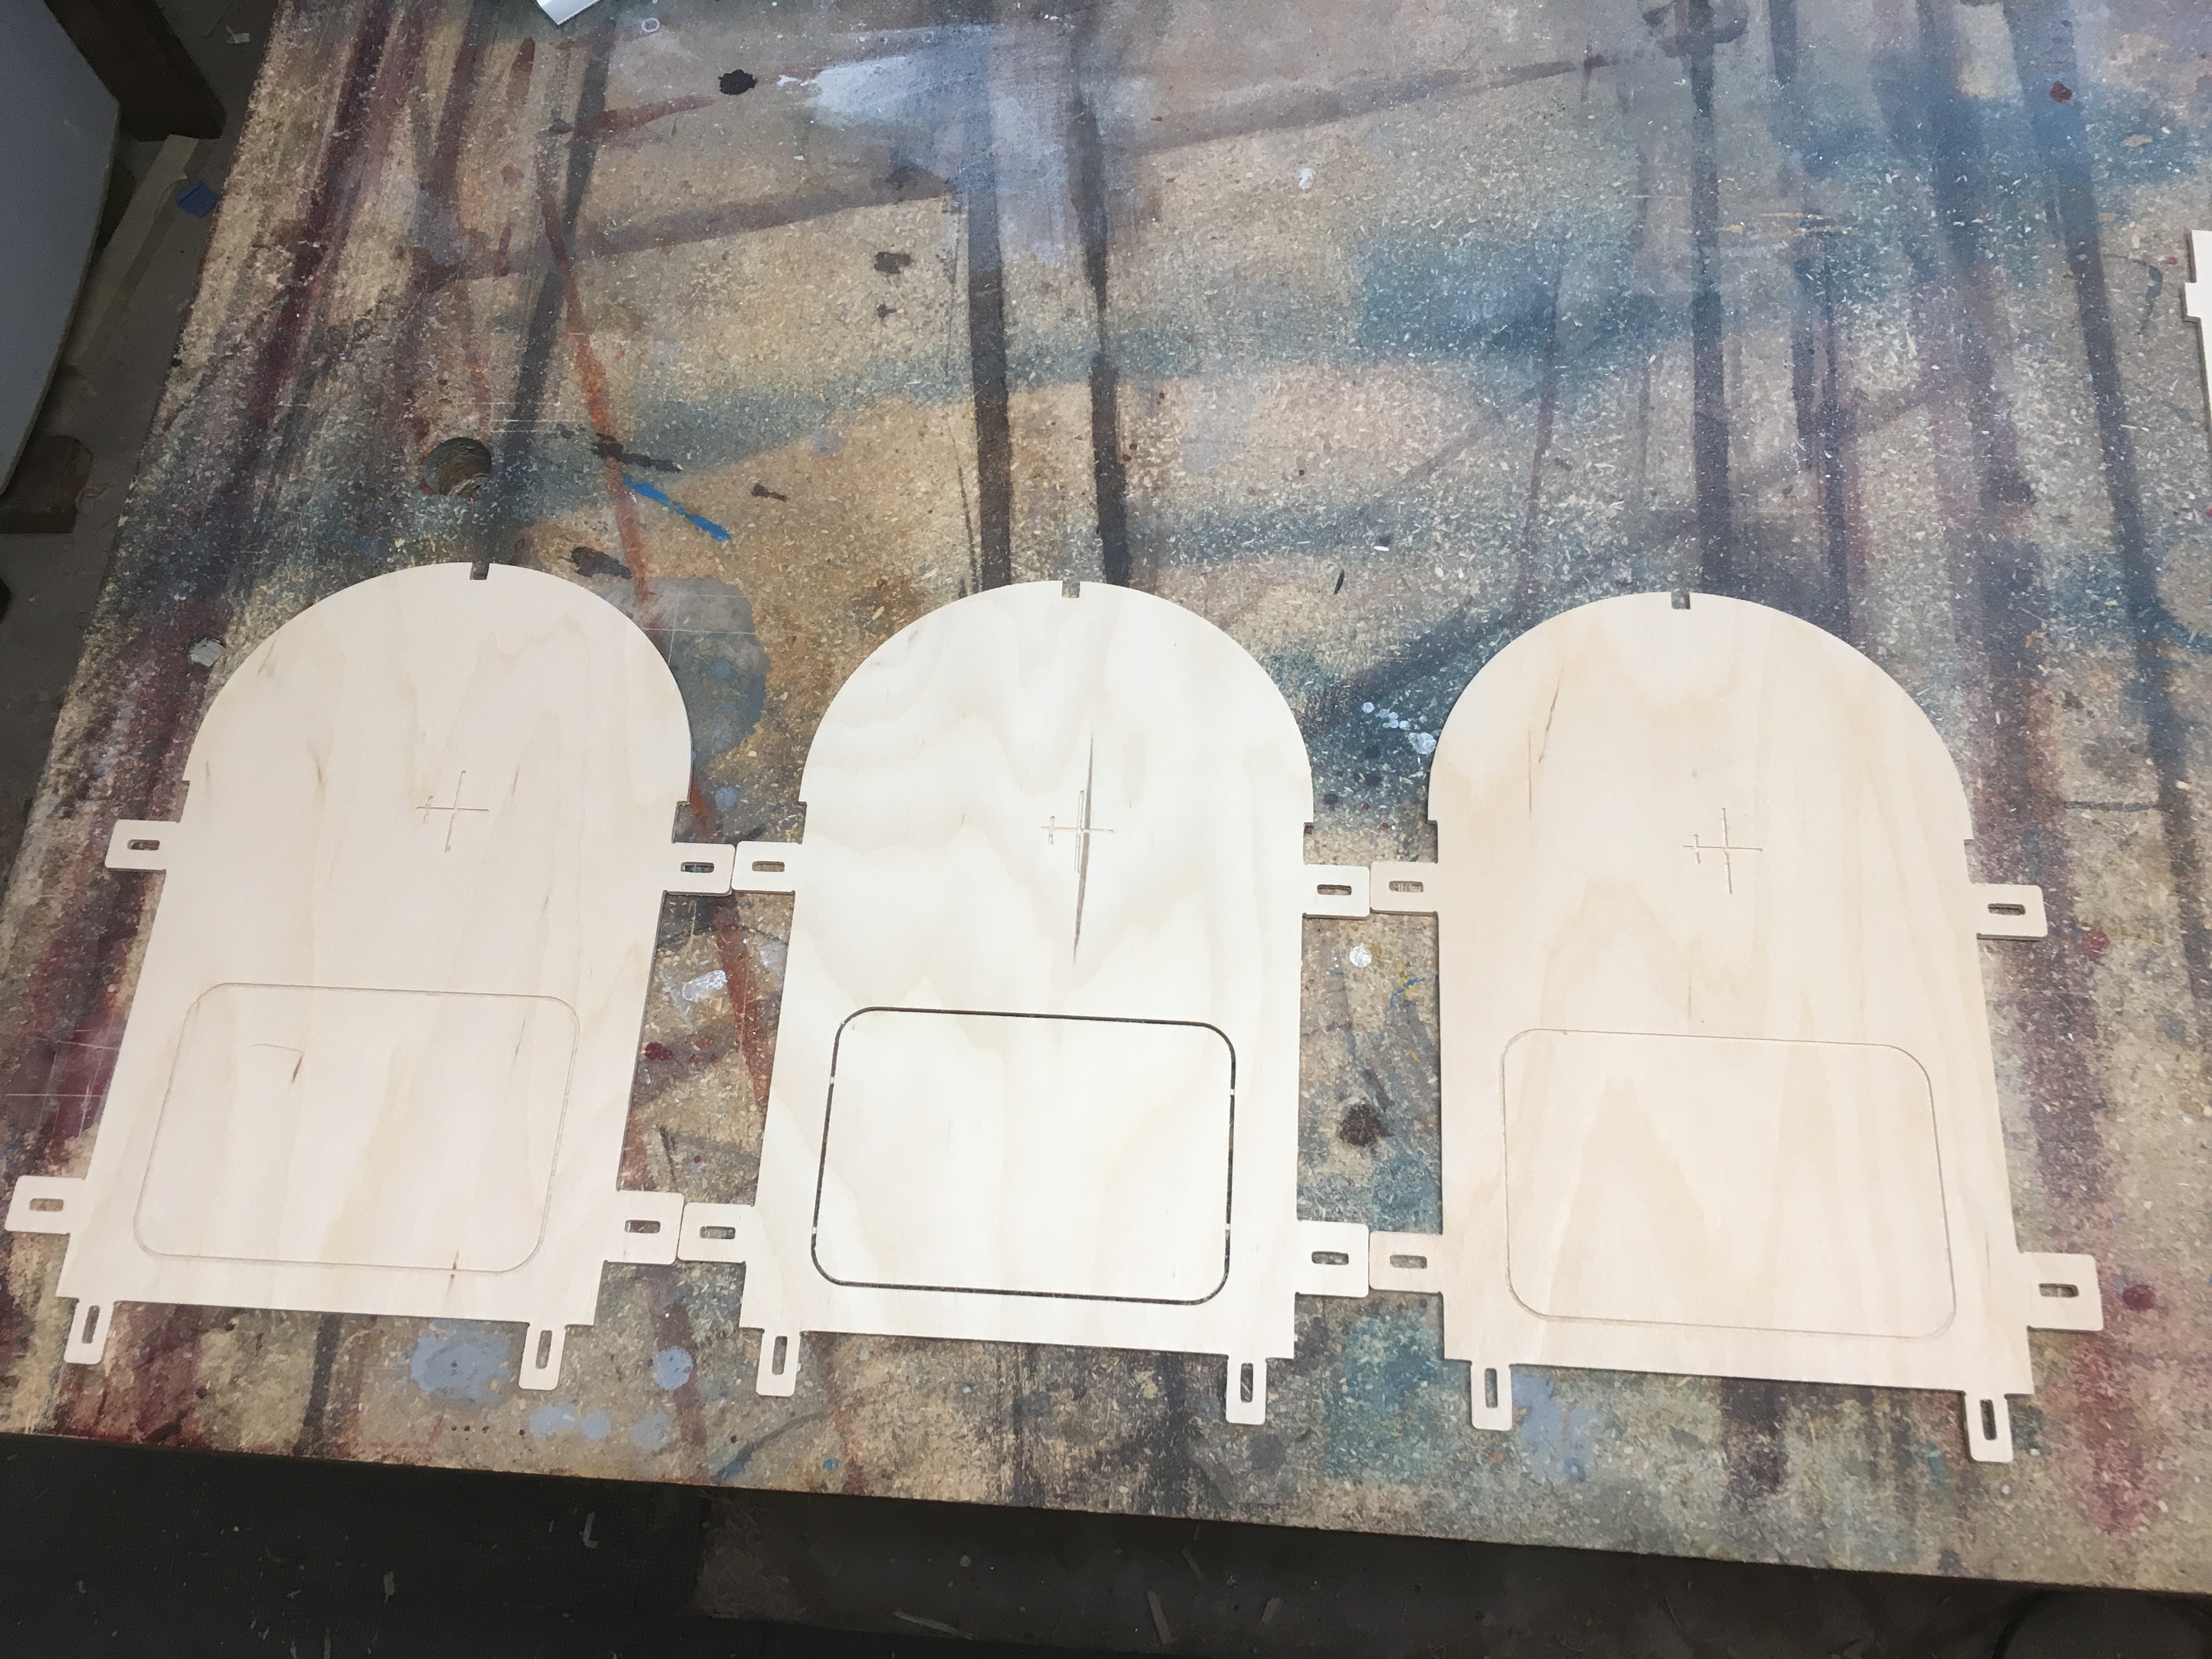
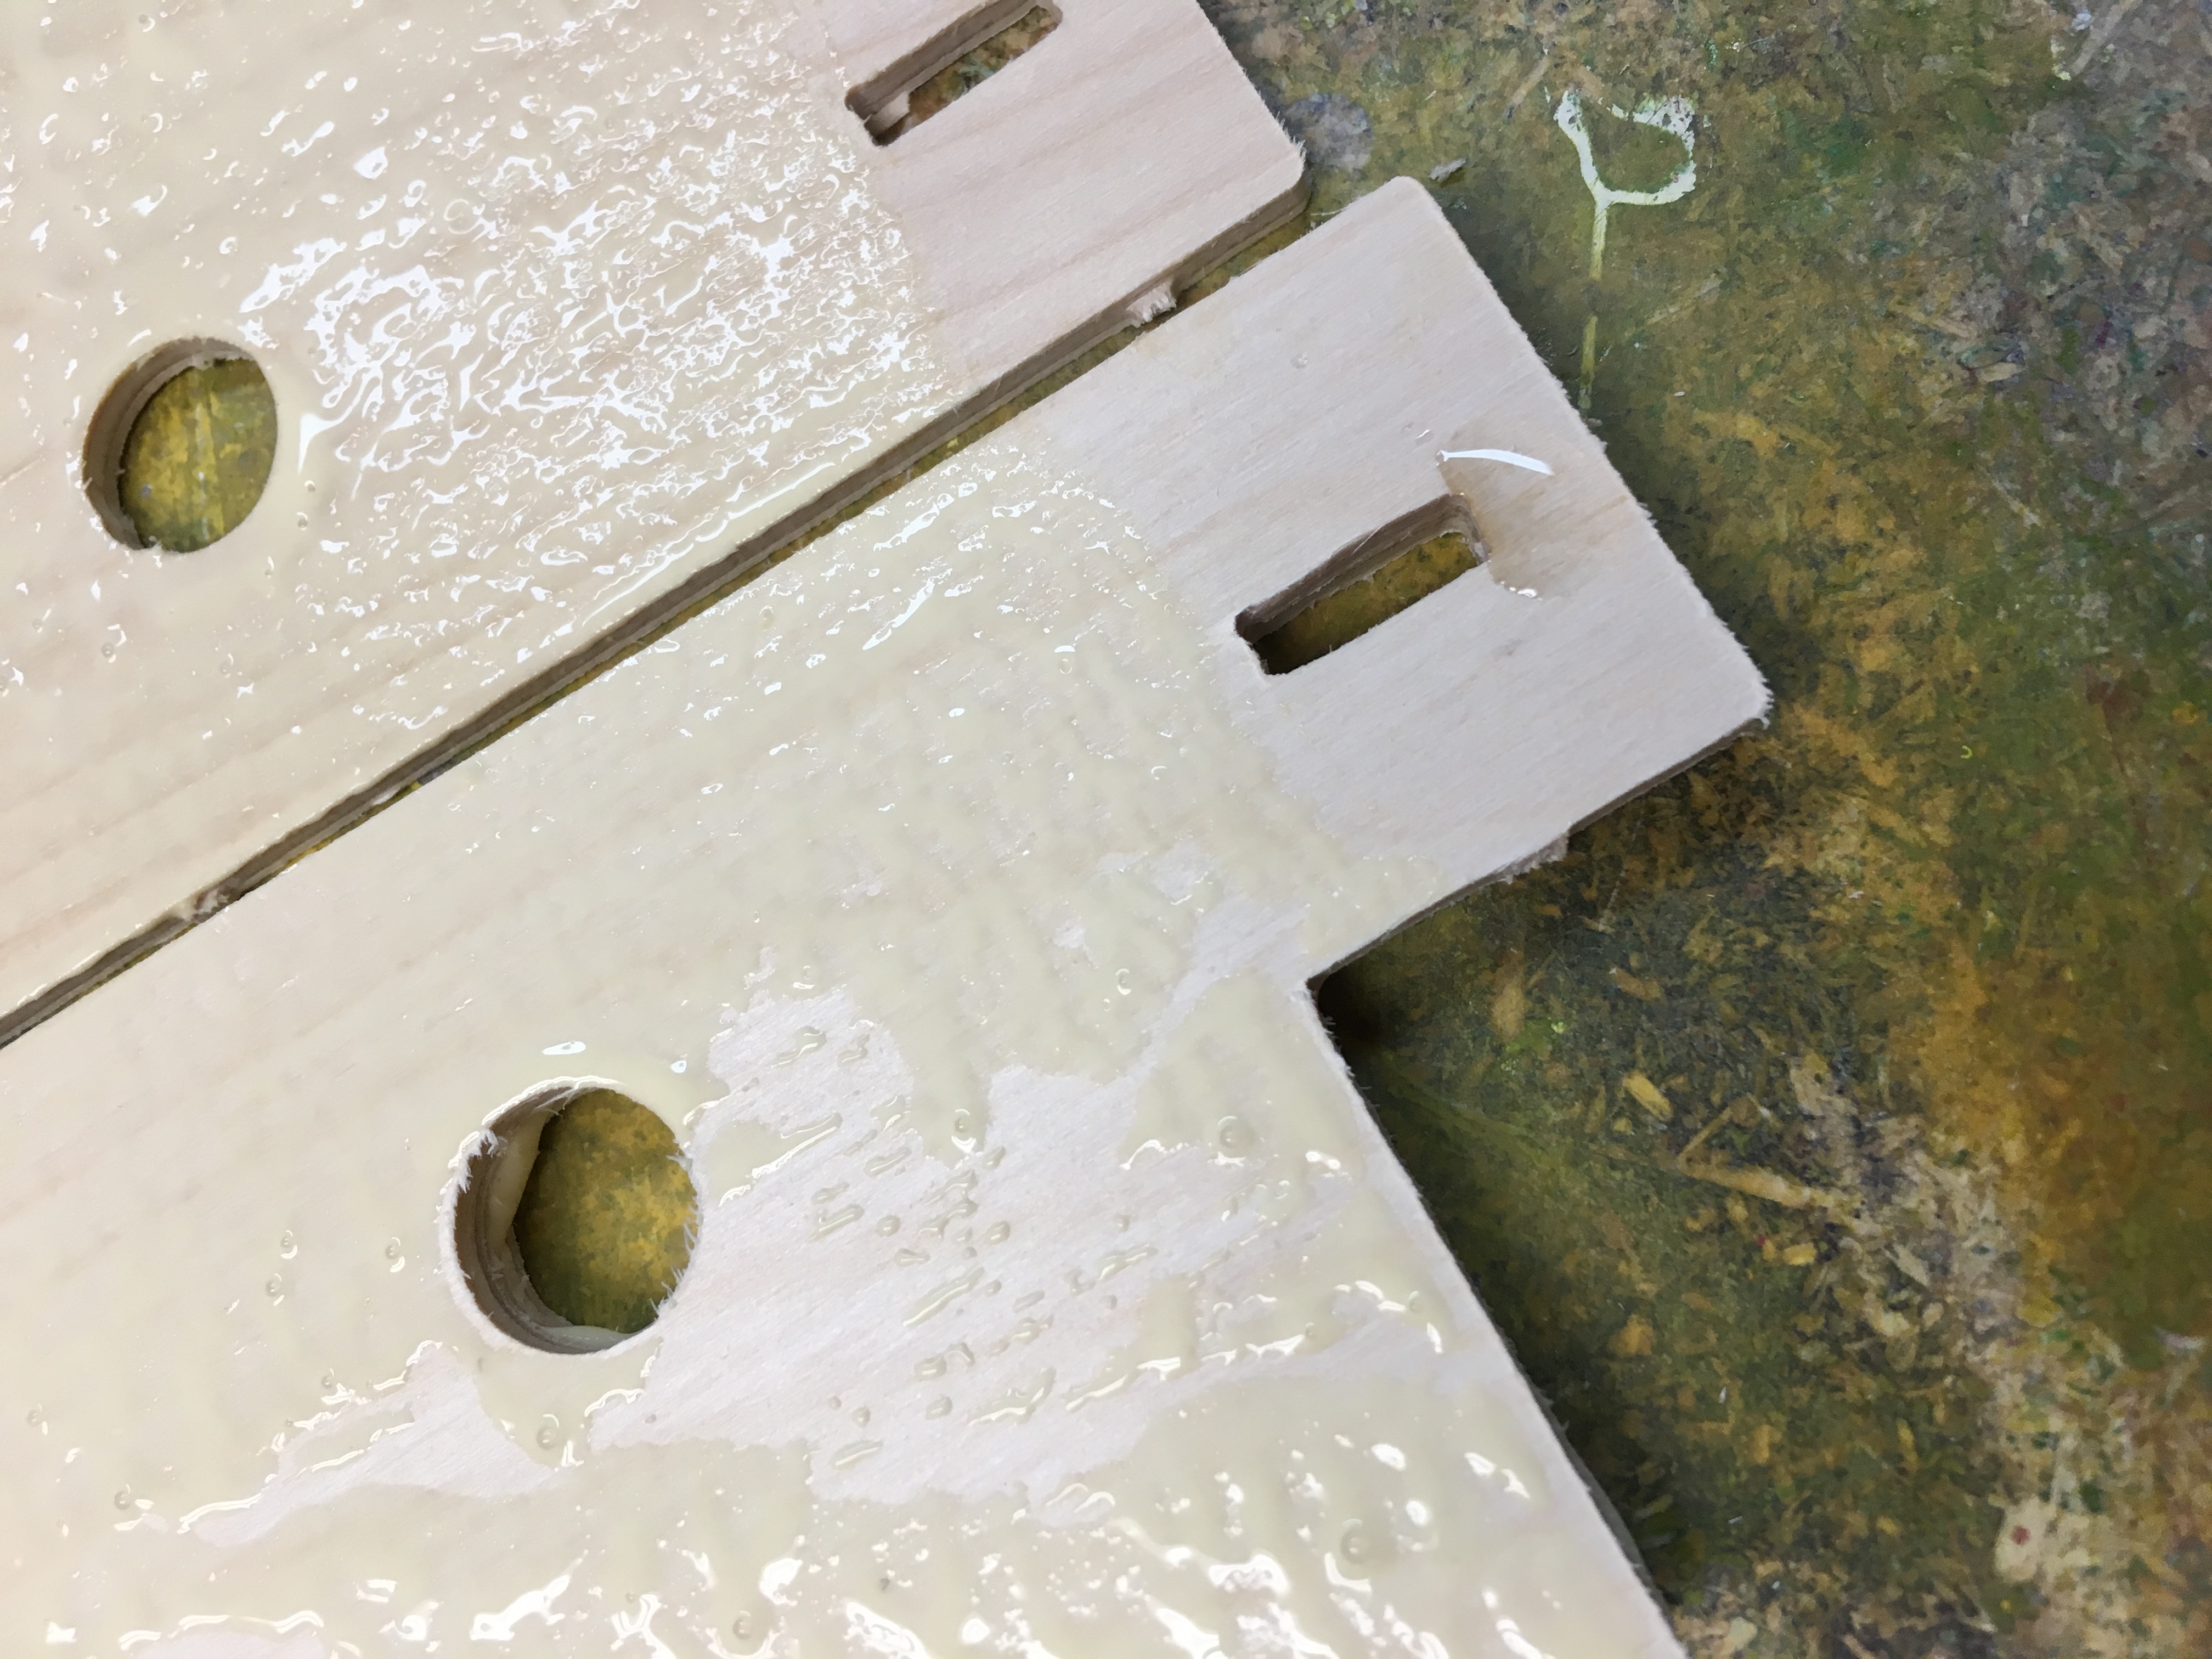
There are 5 of those and the firewall. I did the firewall first since that is epoxied. it is three pieces, two of them are scored, the third is cut all the way through with just 4 tabs holding it on, it is for a cooling hole if you use electric, since I will be using a DA-100 I left it in place and put the cut through piece in the middle of the lamination. I pinned it with small brads to make sure it stays square and put the 10 pack on it to weigh it down.
The other laminations are for the landing gear box and the front and rear wing hold downs. Those are 2 and 3 piece laminations and for those I used Titebond.
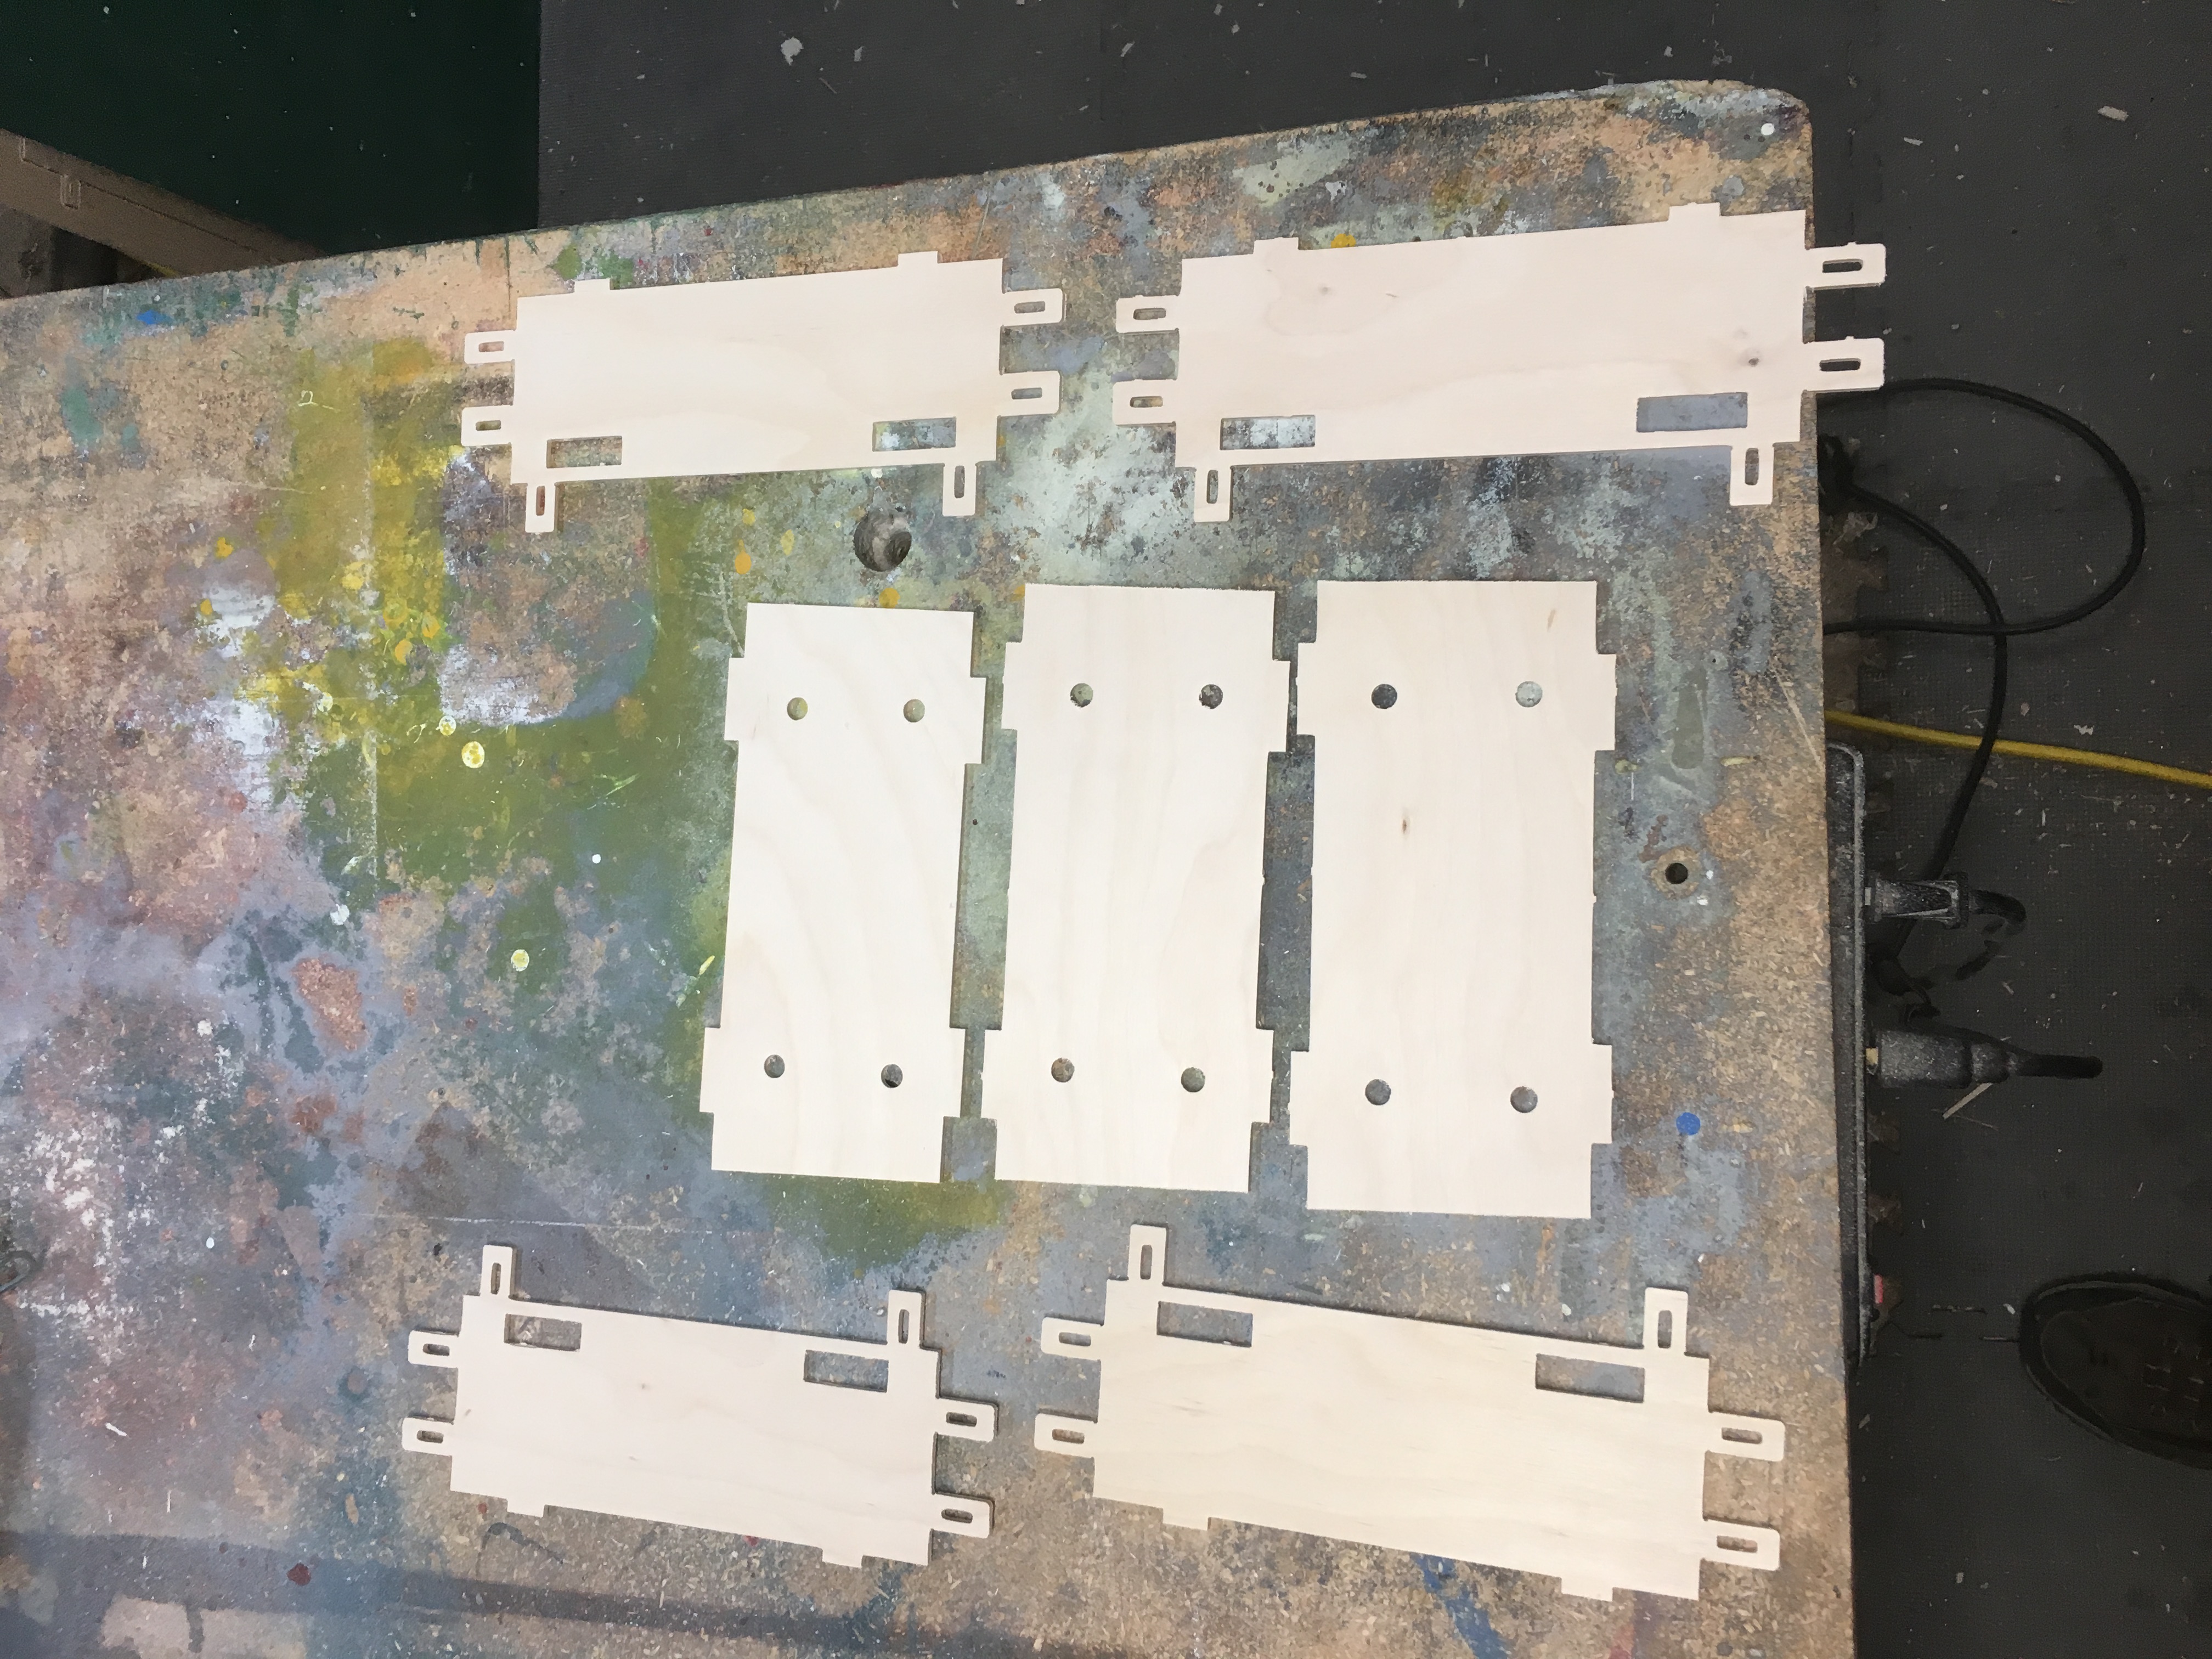
A little tip for these, since the tabs are cut off, don't waste titebond on them, but glue to the edge. When assembling, place a drop of medium CA on the tabs, and when you have the parts aligned, press the tabs to secure them Also don't waste time sanding the edges smooth until after the parts are fully laminated, otherwise they may not fit right. Face sand them all smooth, knock down any strings from cutting, but leave the stubs from cutting until ready to install.
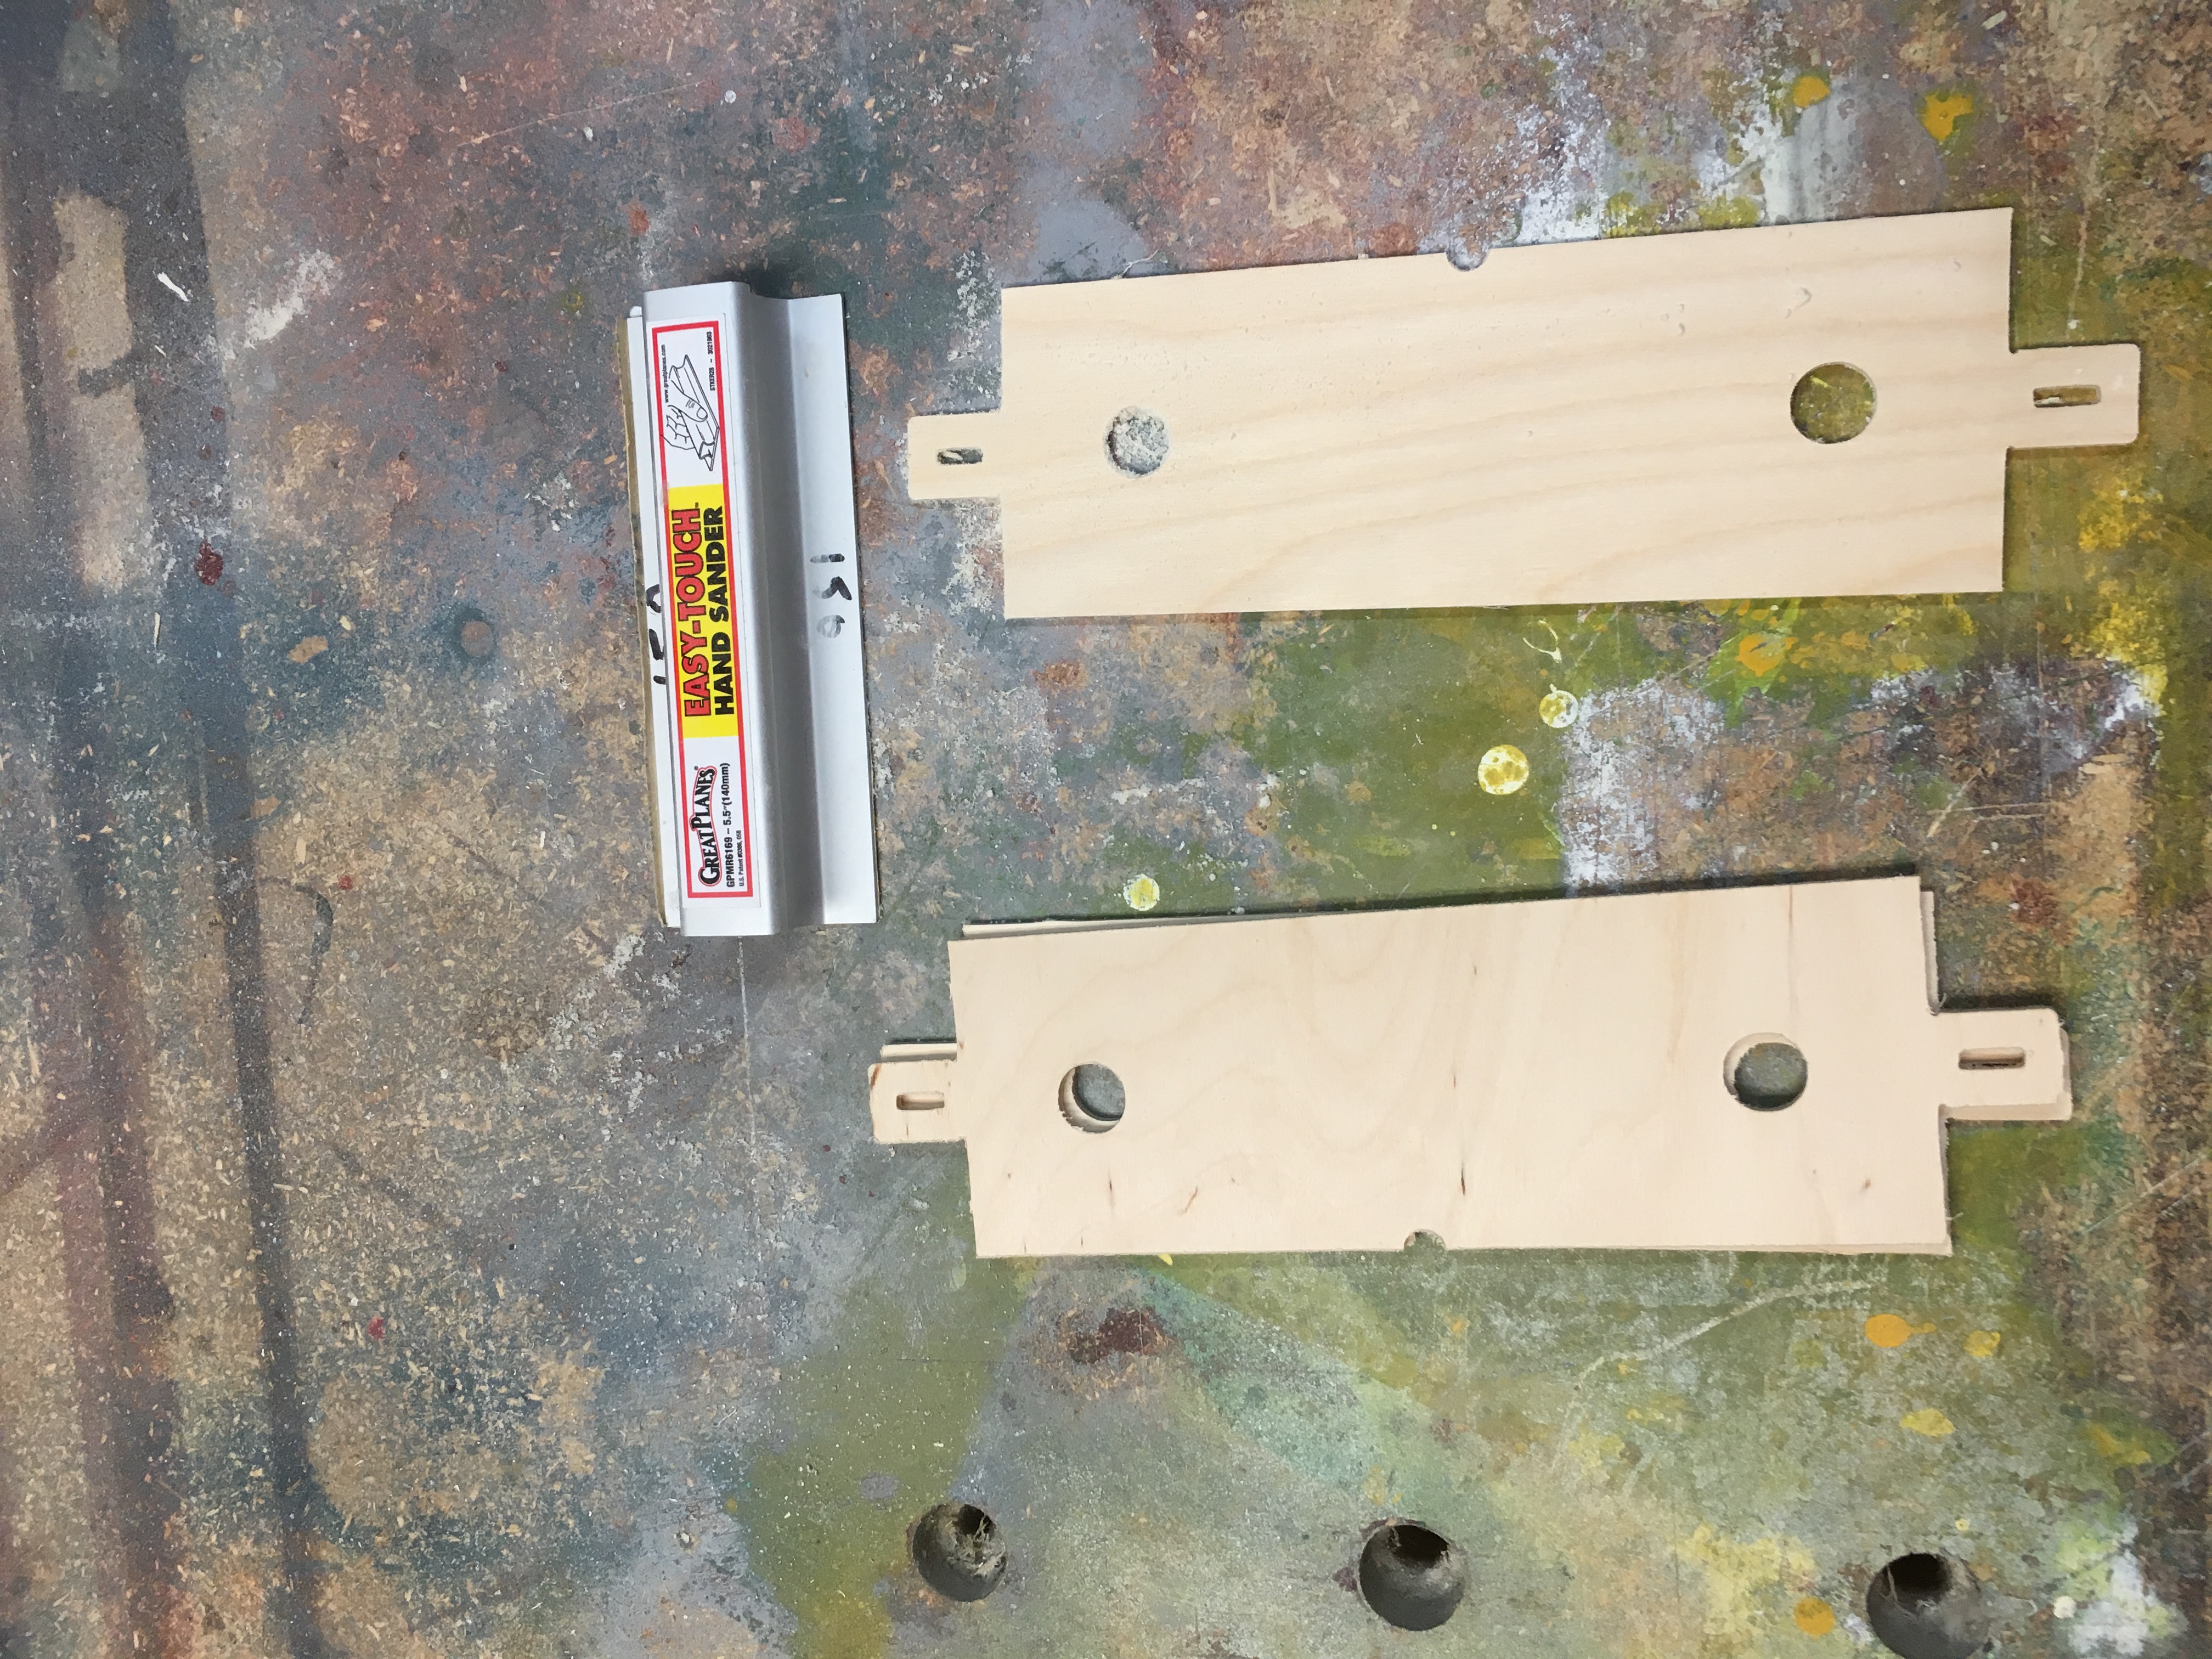
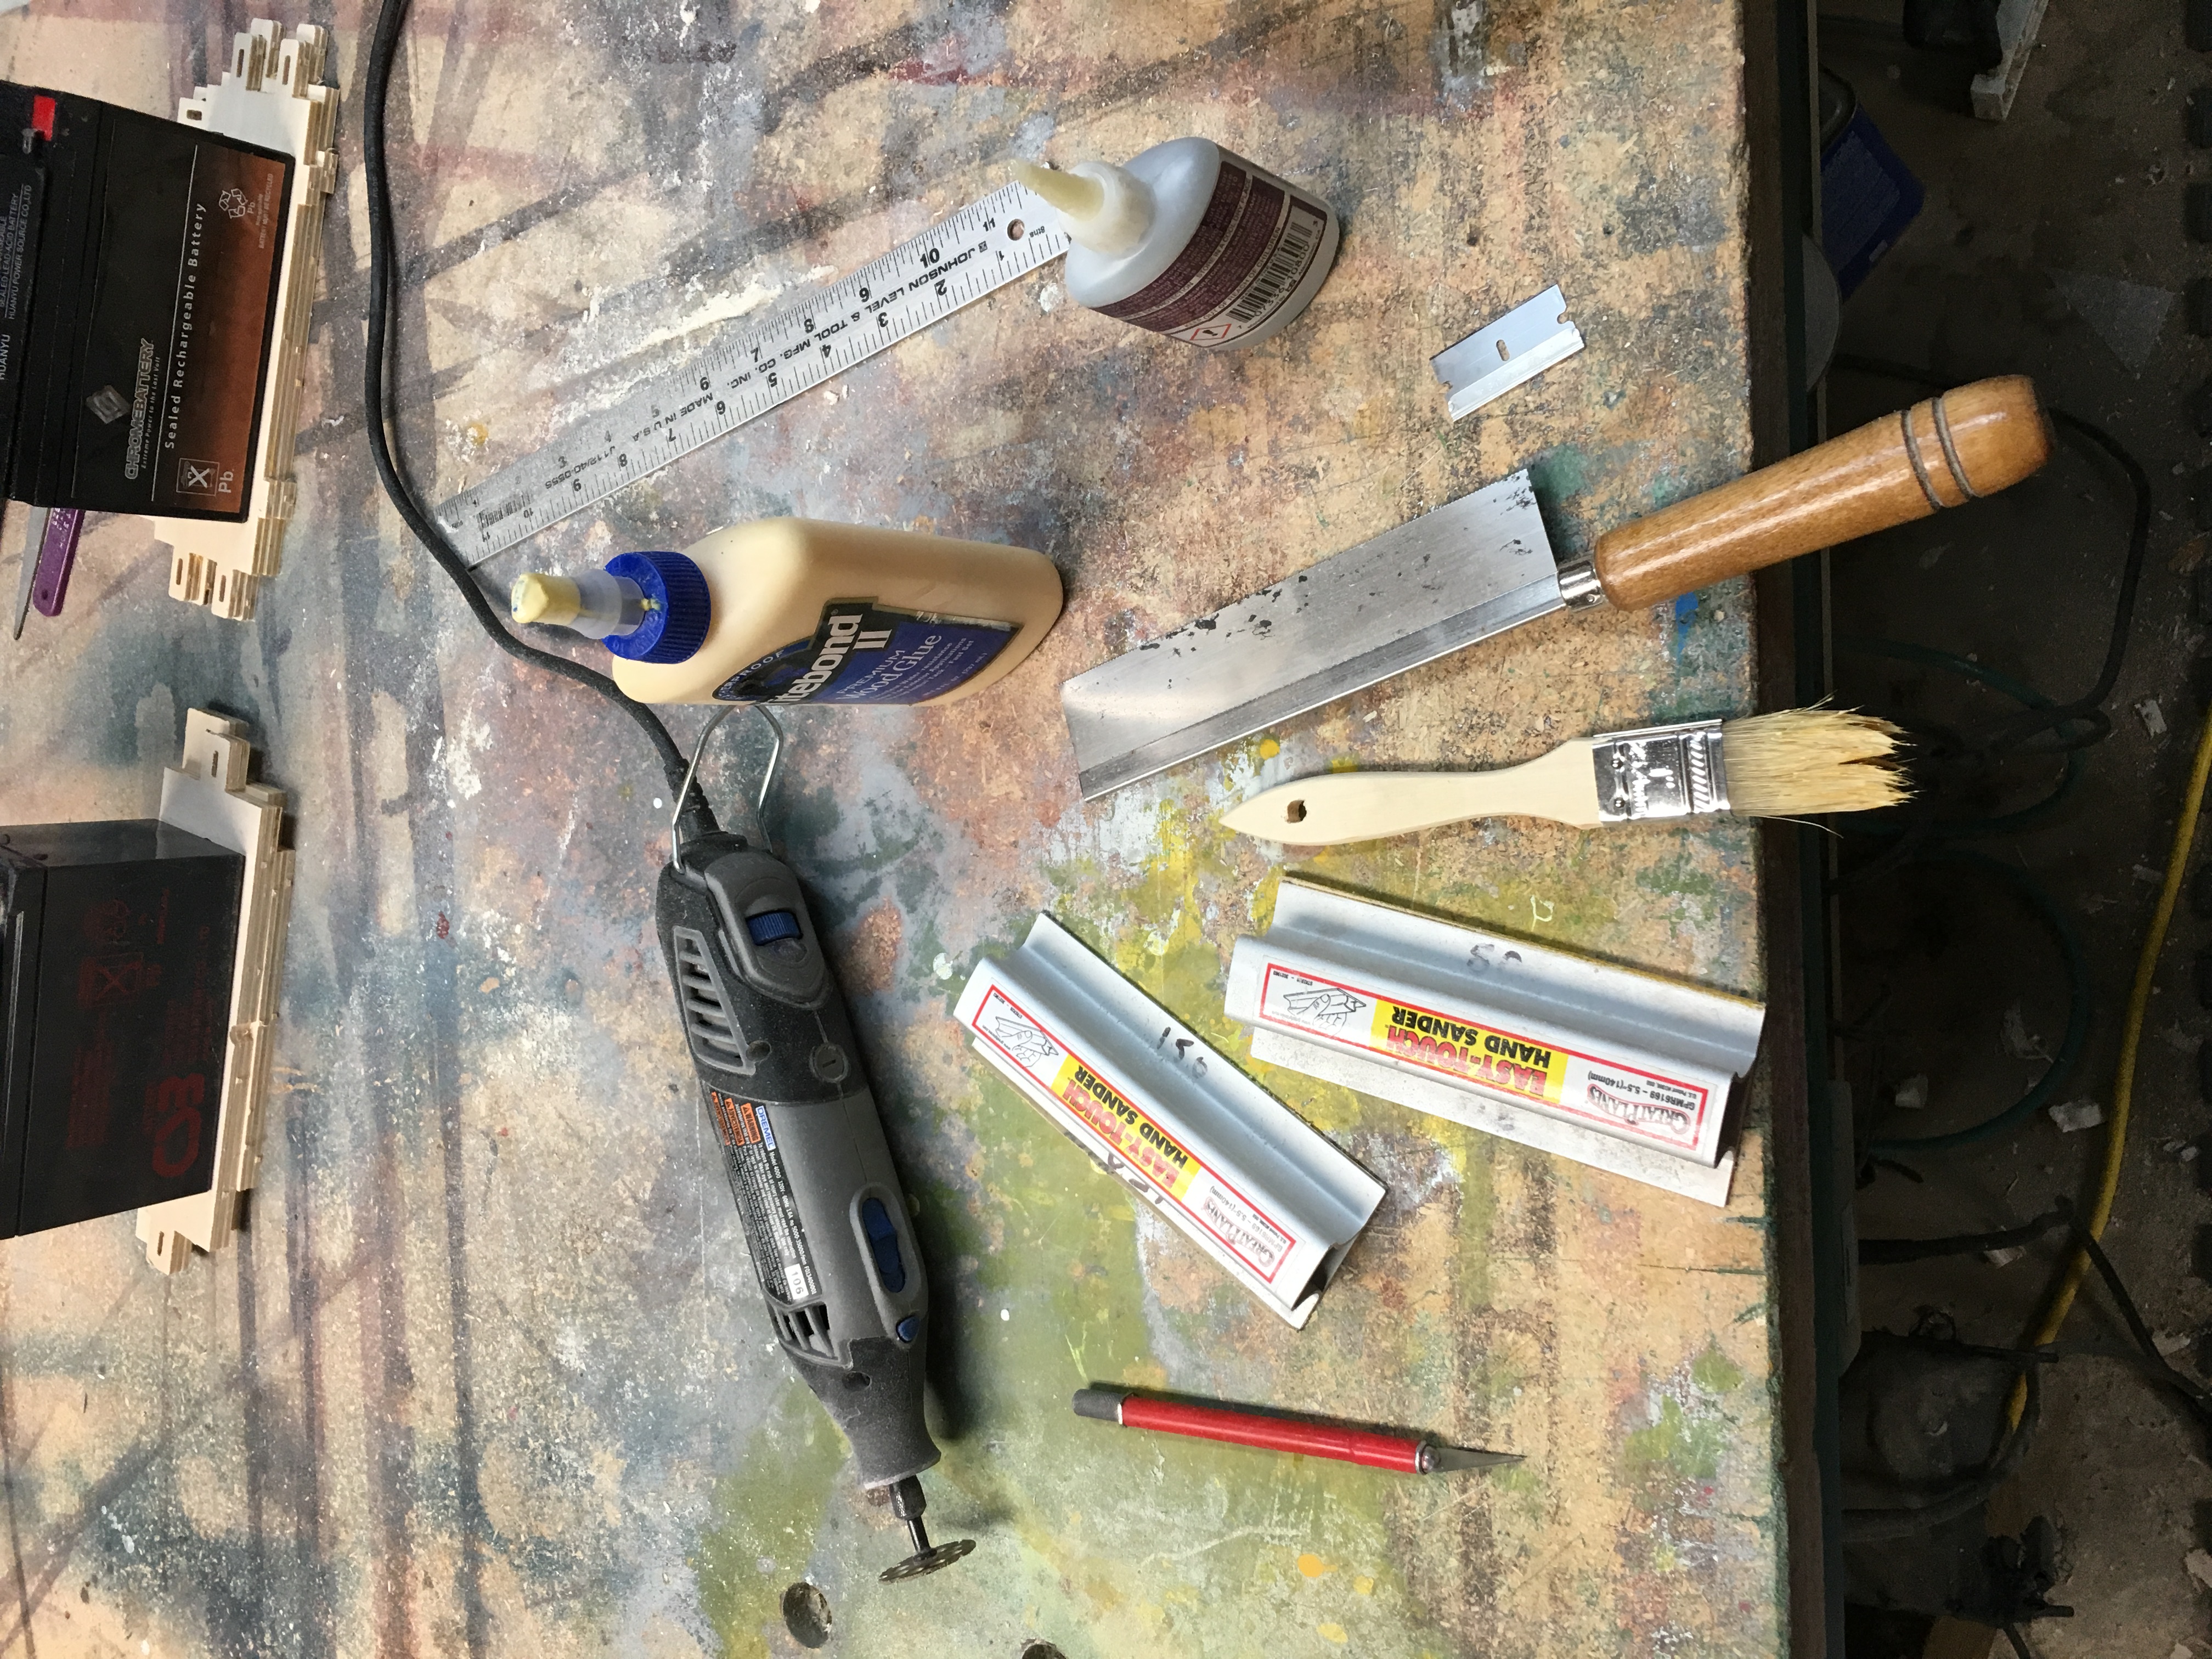
So far these are the only tools I have used.
I took one look at the key sheet and said ohhellno. Fired up the bandsaw and made short work of those.
