When I talked to Mike last year about this kit, his idea is for an easy to assemble kit that didn't need a lot of tooling, or experience for that matter, and yet have a nice flying giant scale plane. A huge workbench is nice, but not really needed for this plane given its size. Where it does come in handy is gluing the 3/8" spars on the rear fuse, but other than that, I pretty much built it on a 50" wide table.
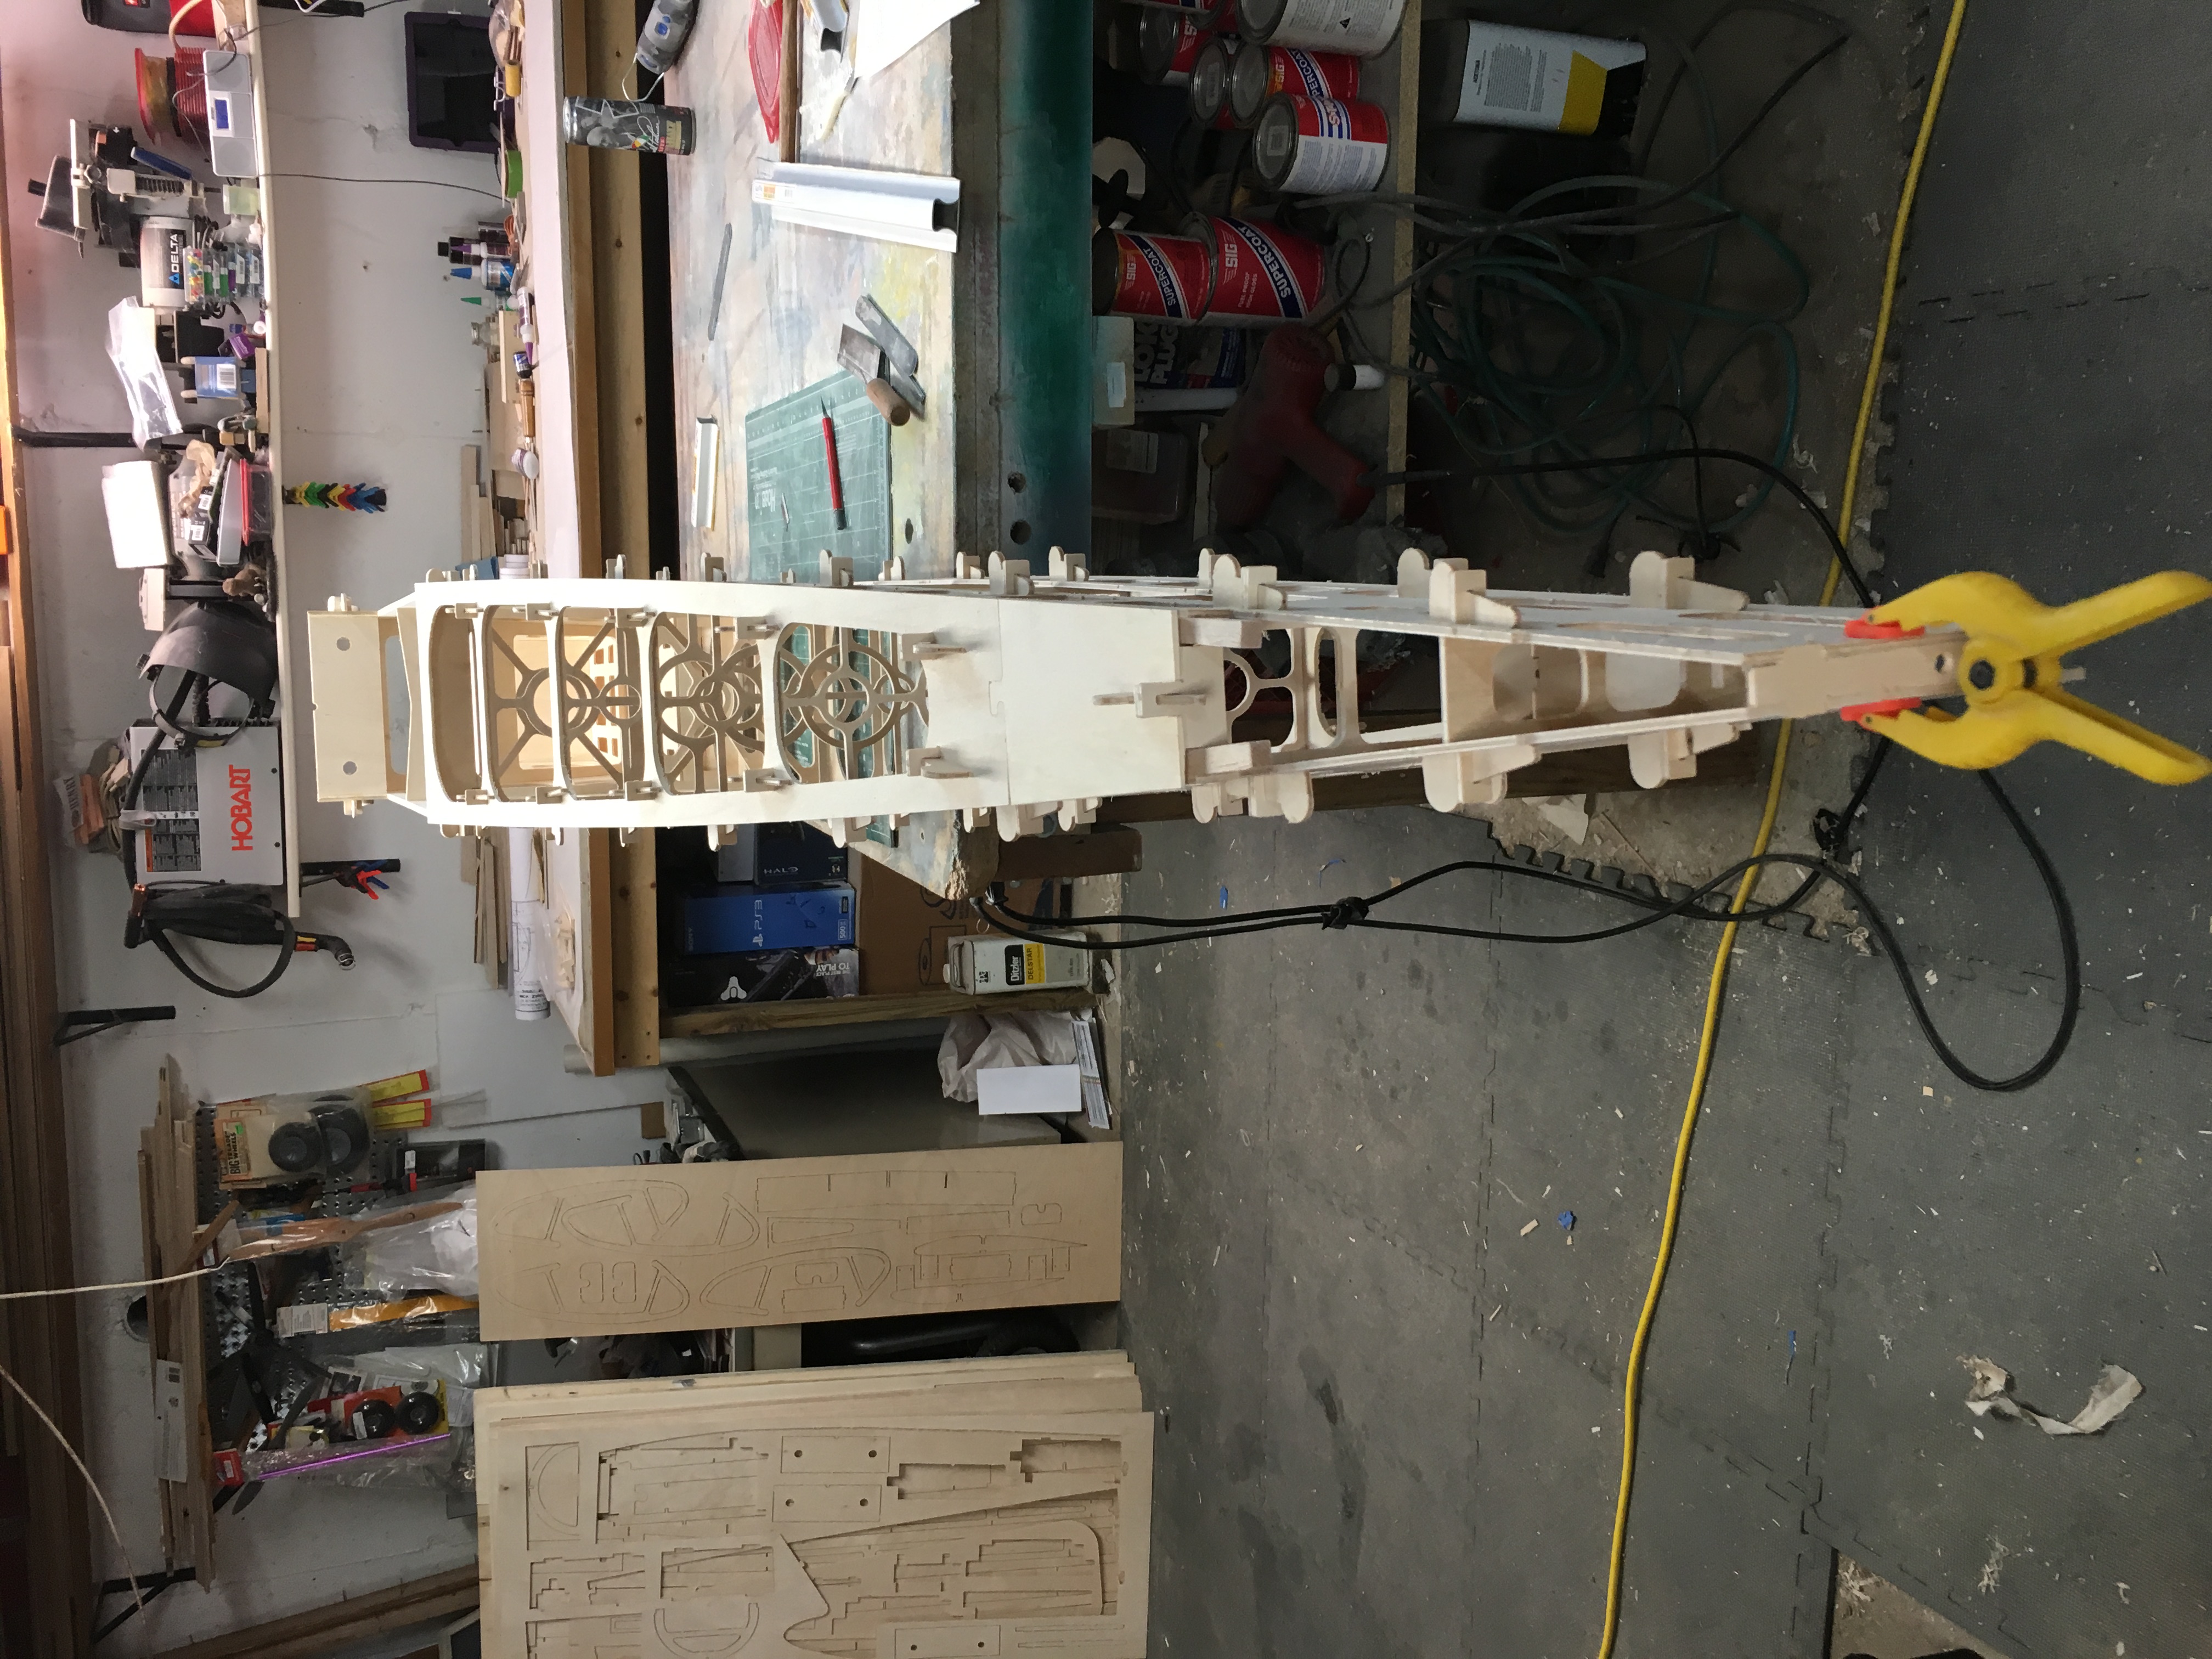
I finished the assembly of the fuse today, so far I would say I have maybe 14 hours into it, at least 3 of those were doing inventory and fixing some of the broken parts. In addition to the above mentioned things to be watchful off, there are a few more to watch for. First is that the filler plates for the landing gear are larger than the notched piece, so those need to be trimmed. The second, there are two different parts that look like they fit at the very rear, so match them up. I have no idea where the other one is supposed to go yet, may be a mis-cut and not used. The other thing to watch for, the bottom sheeting goes on one way to match the angle of the firewall. Offset is built in at the firewall, so start there when assembling to verify fit. The manual says to start in the middle, but if you put it on upside down, you will wind up taking it off. Also the slots for the center 1/4" former need to be widened same as the sides. I also found that the two pieces in front of the horizontal stab are cut a bit higher than the 3/8" balsa, so some notching of the balsa is needed, and no, they aren't upside down. According to the manual the slot is on the bottom of the formers, and that's where they are. Aside from those little issues, it went together fast. Now that is is all assembled, time to take it all apart, sand everything so they look nice, put it all back together and glue it all up, starting with the landing gear block.
EDIT: A note her on this next picture. When I assembled this I missed something in a picture that was not mentioned in the writing. There are two pieces that go inside the very tail section, and as you can see they are not there. Further on in the thread I have more detail on this. If you are following this during your build, and the manual has not een updated, be watchful for these pieces and make sure everything lines up before glue up.