After more than two years of no flying I pulled out the old GP Dazzler to go flying with the guys. Sadly I only got in one flight which ended with a dead stick.
Odd because this thing flew problem free before. So after much tuning and it was finally suggested to bench the thing.
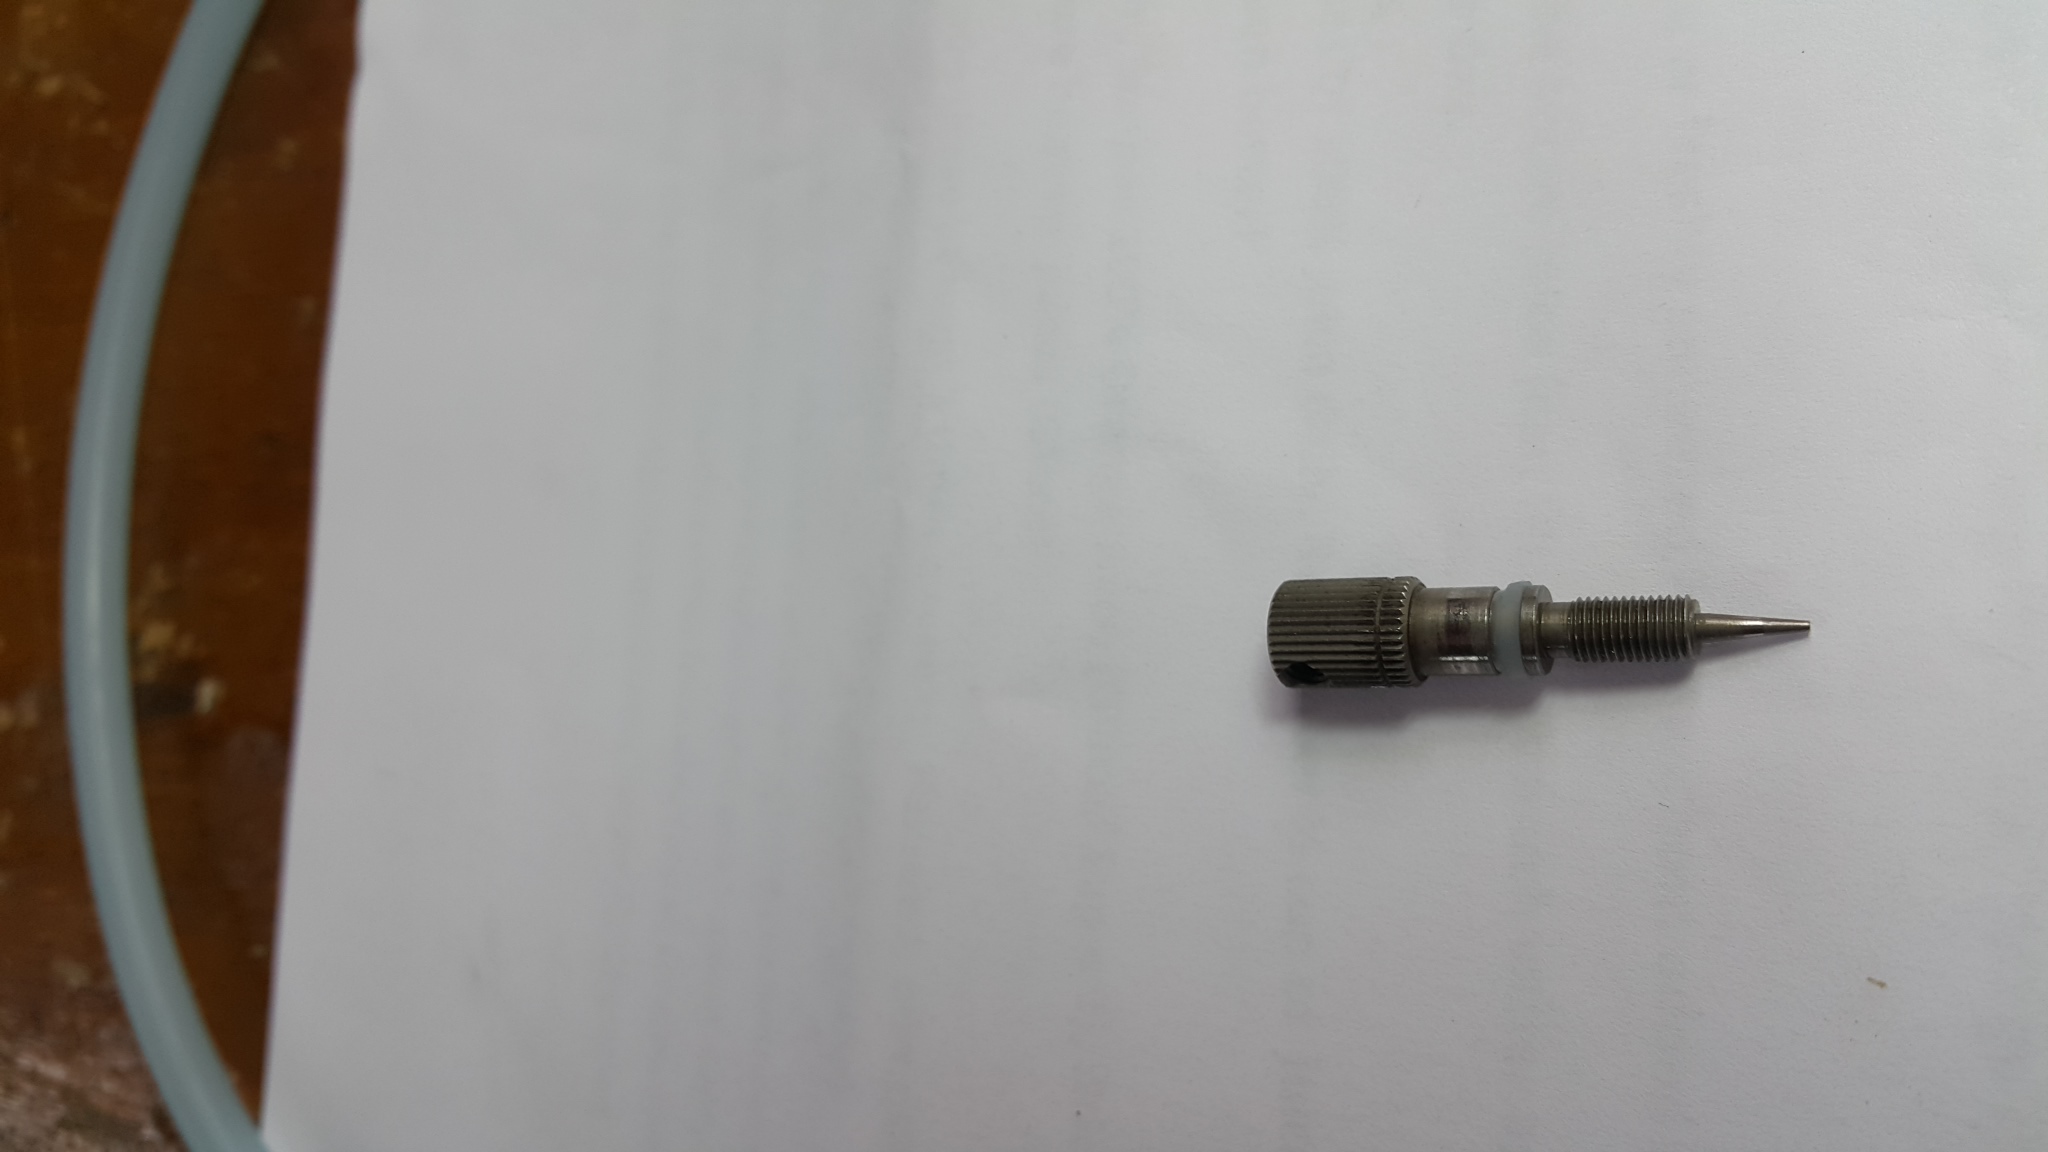
After checking every thing I realized my high speed O ring was a bit cracked.
http://www3.towerhobbies.com/cgi-bin...S06&P=PU#mults
At $5.50 each plus a week or two waiting and $10 shipping to my location maybe customs errrr..ya I'll build my own.
I don't doubt someone else has already done this but I've not looked and I'd like to know what other people thought about this. Anyway here goes.
parts list
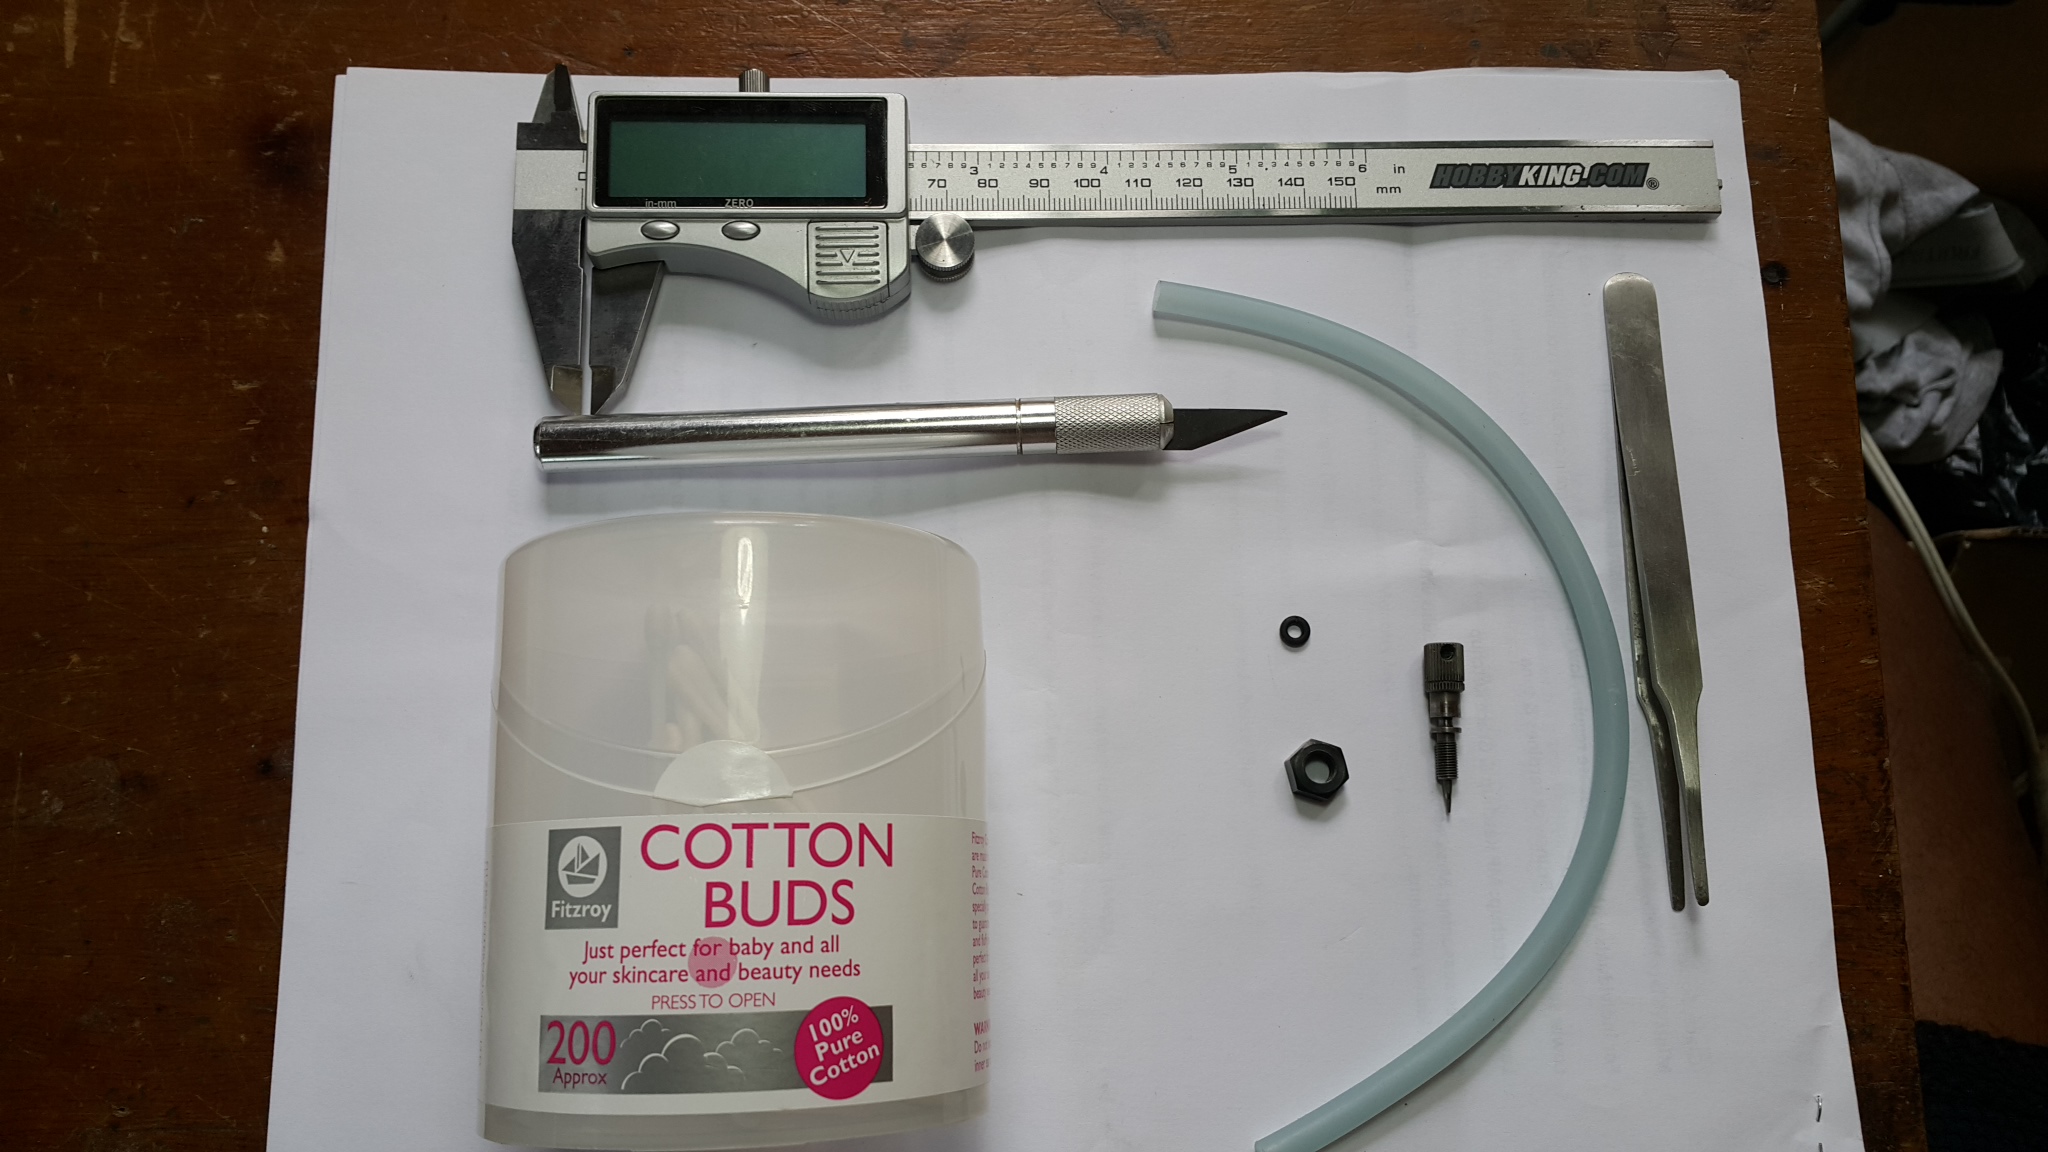
Pretty self explanatory: cotton buds, caliper, regular fuel tubing, fresh knife, tweezers, old o ring, and a 10mm prop nut that comes with any .46 engine.
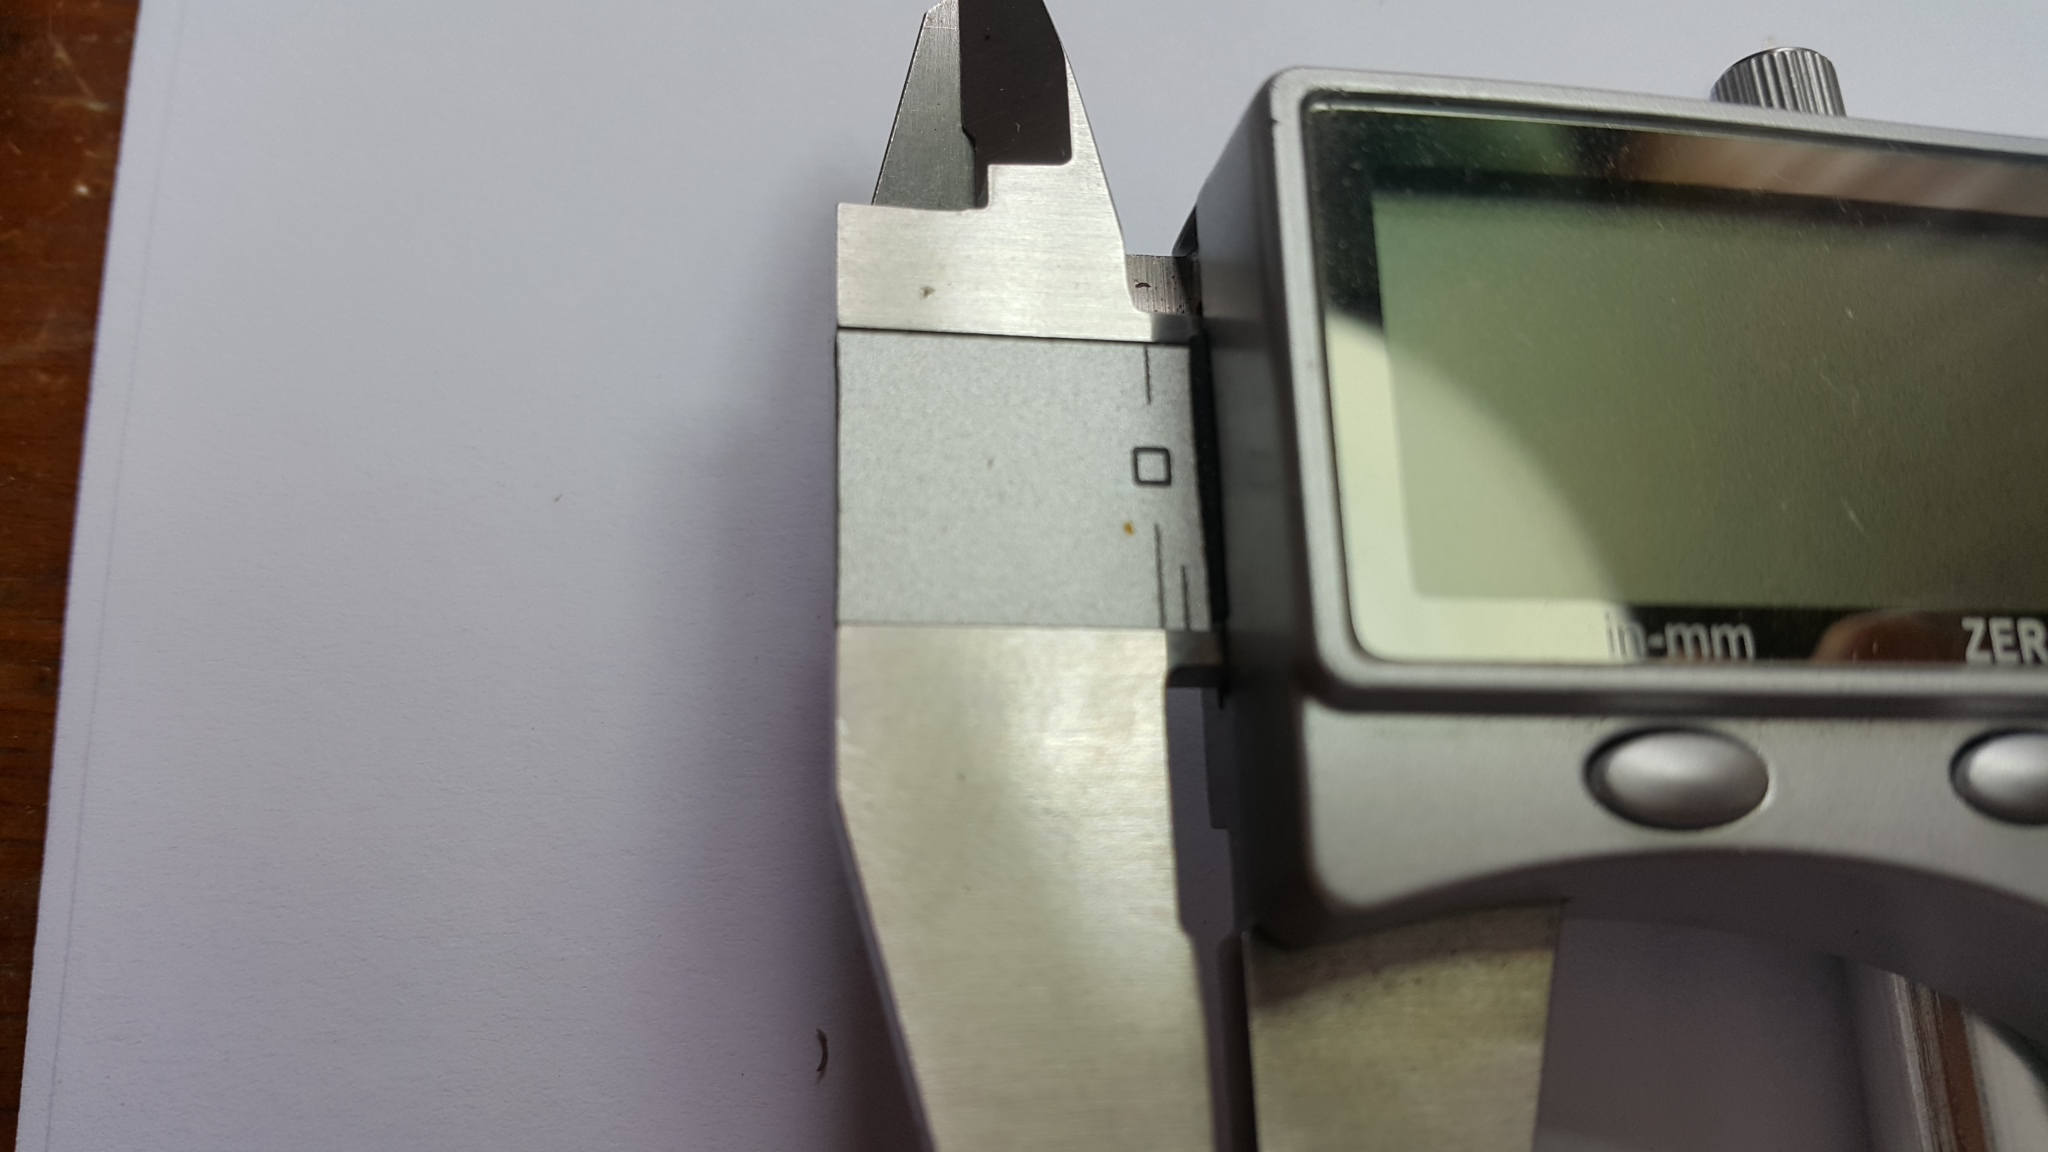
Right so lets crack on with it. Removing the old o ring and measured, the sucker comes in right under 2mm.

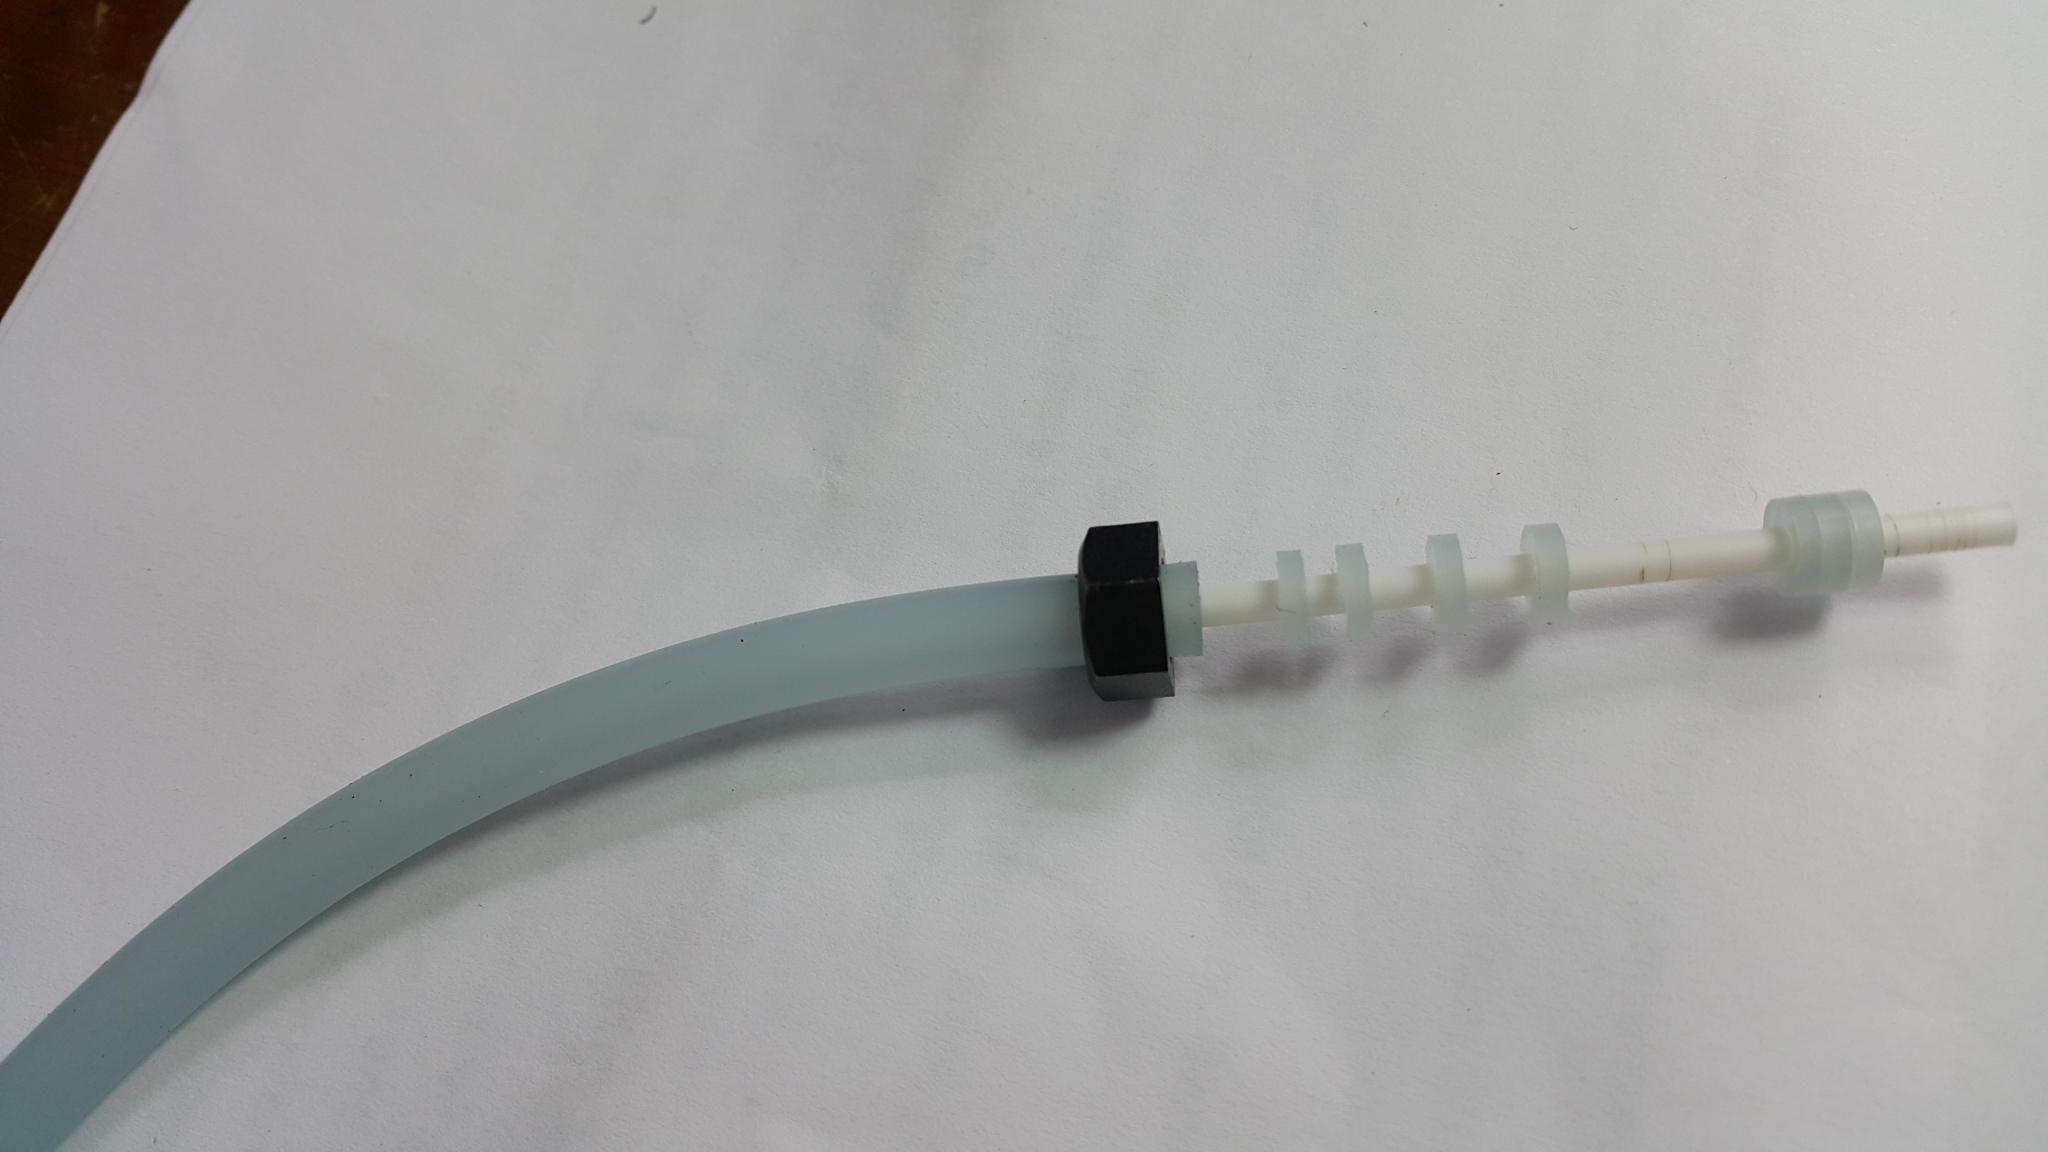
From here, stick the fuel tubing into the nut, it wont slip through nicely so I had to twist clock wise.
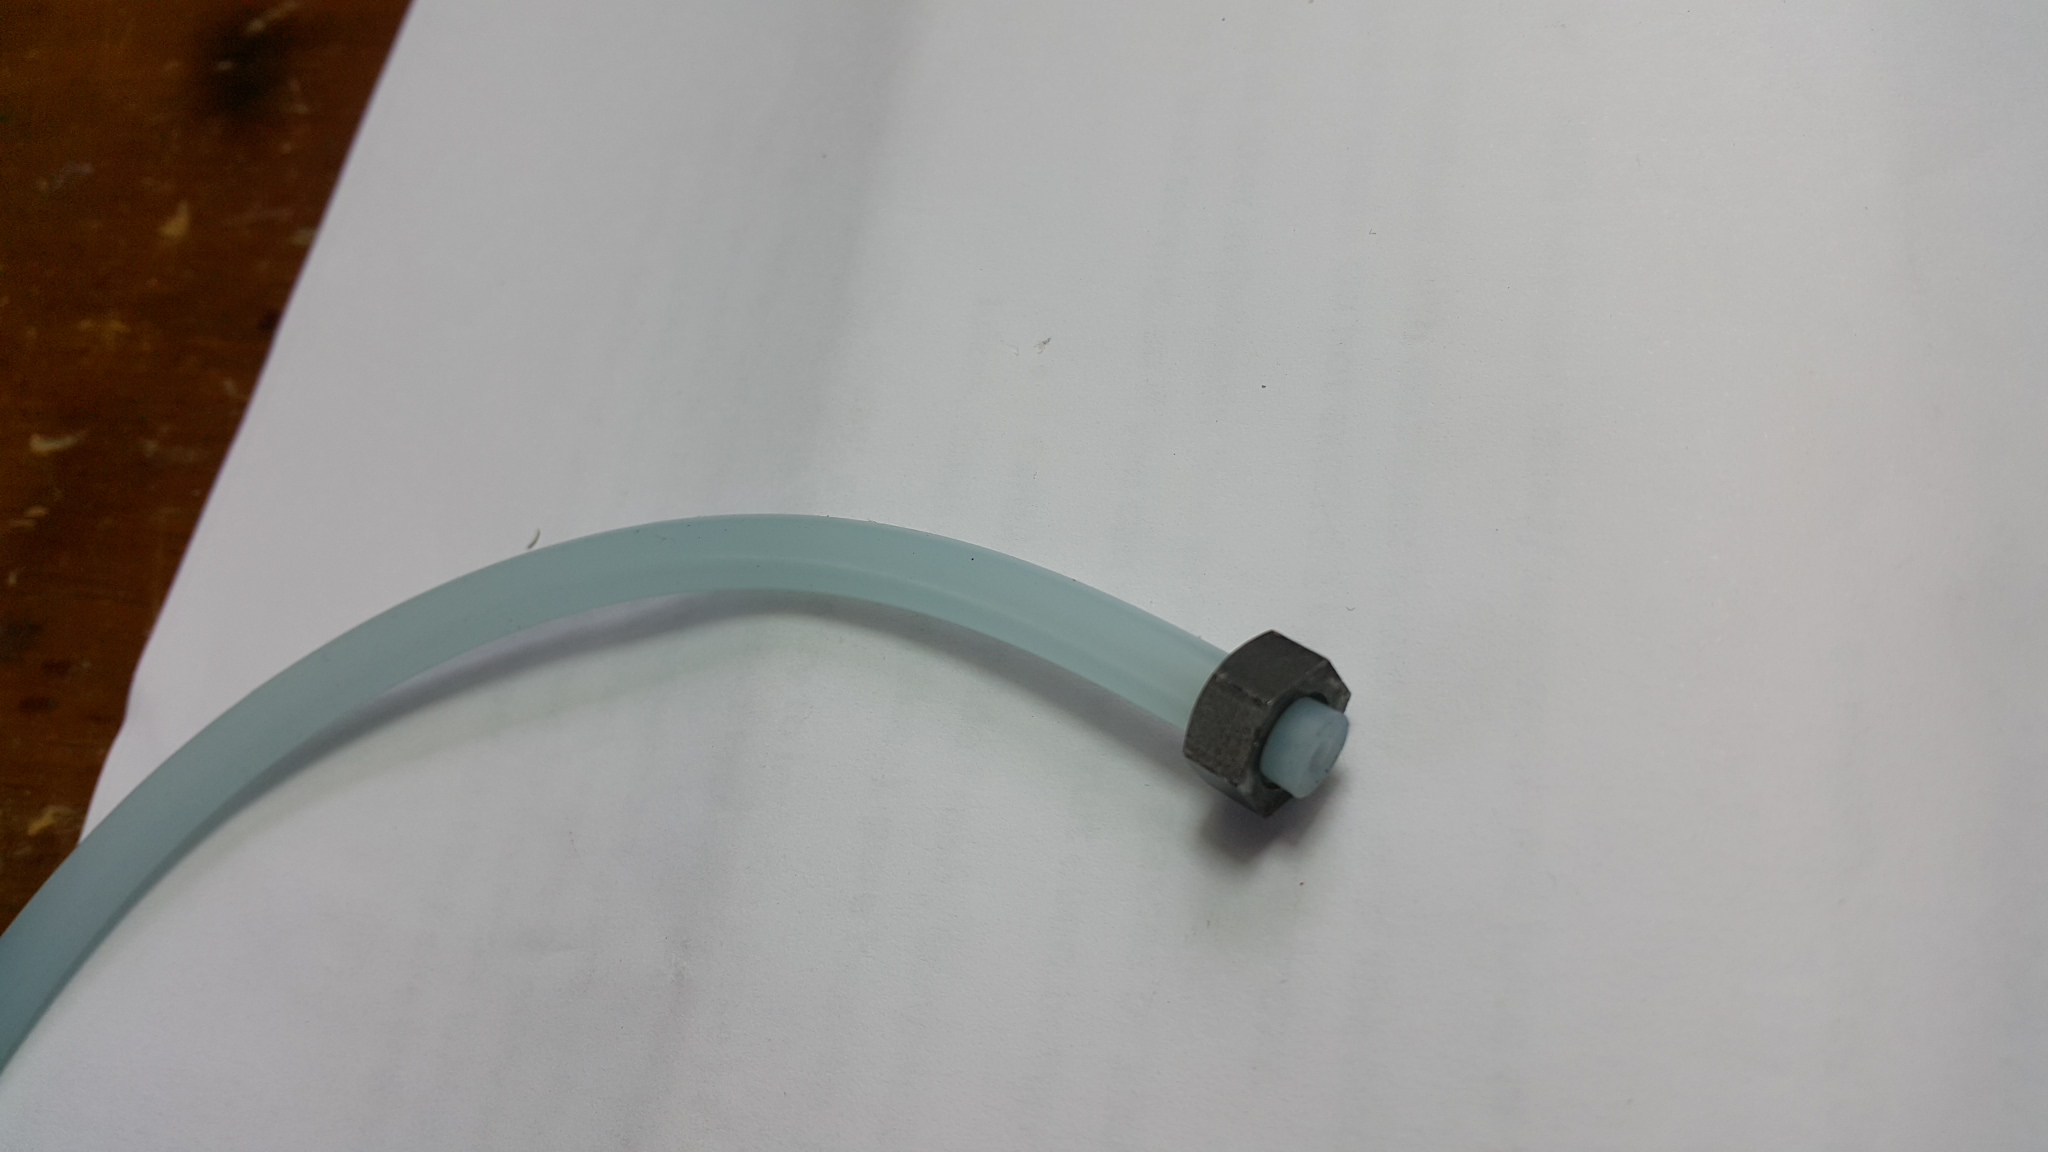
Next cut off the ends off of a cotton bud and stick it into the the fuel tubing. don't try to put the plastic stick from the cotton bud into the tubing before
sending the tubing through the prop nut. It's much easier to get the tubing through the nut BEFORE you stick the cotton bud stick in there.
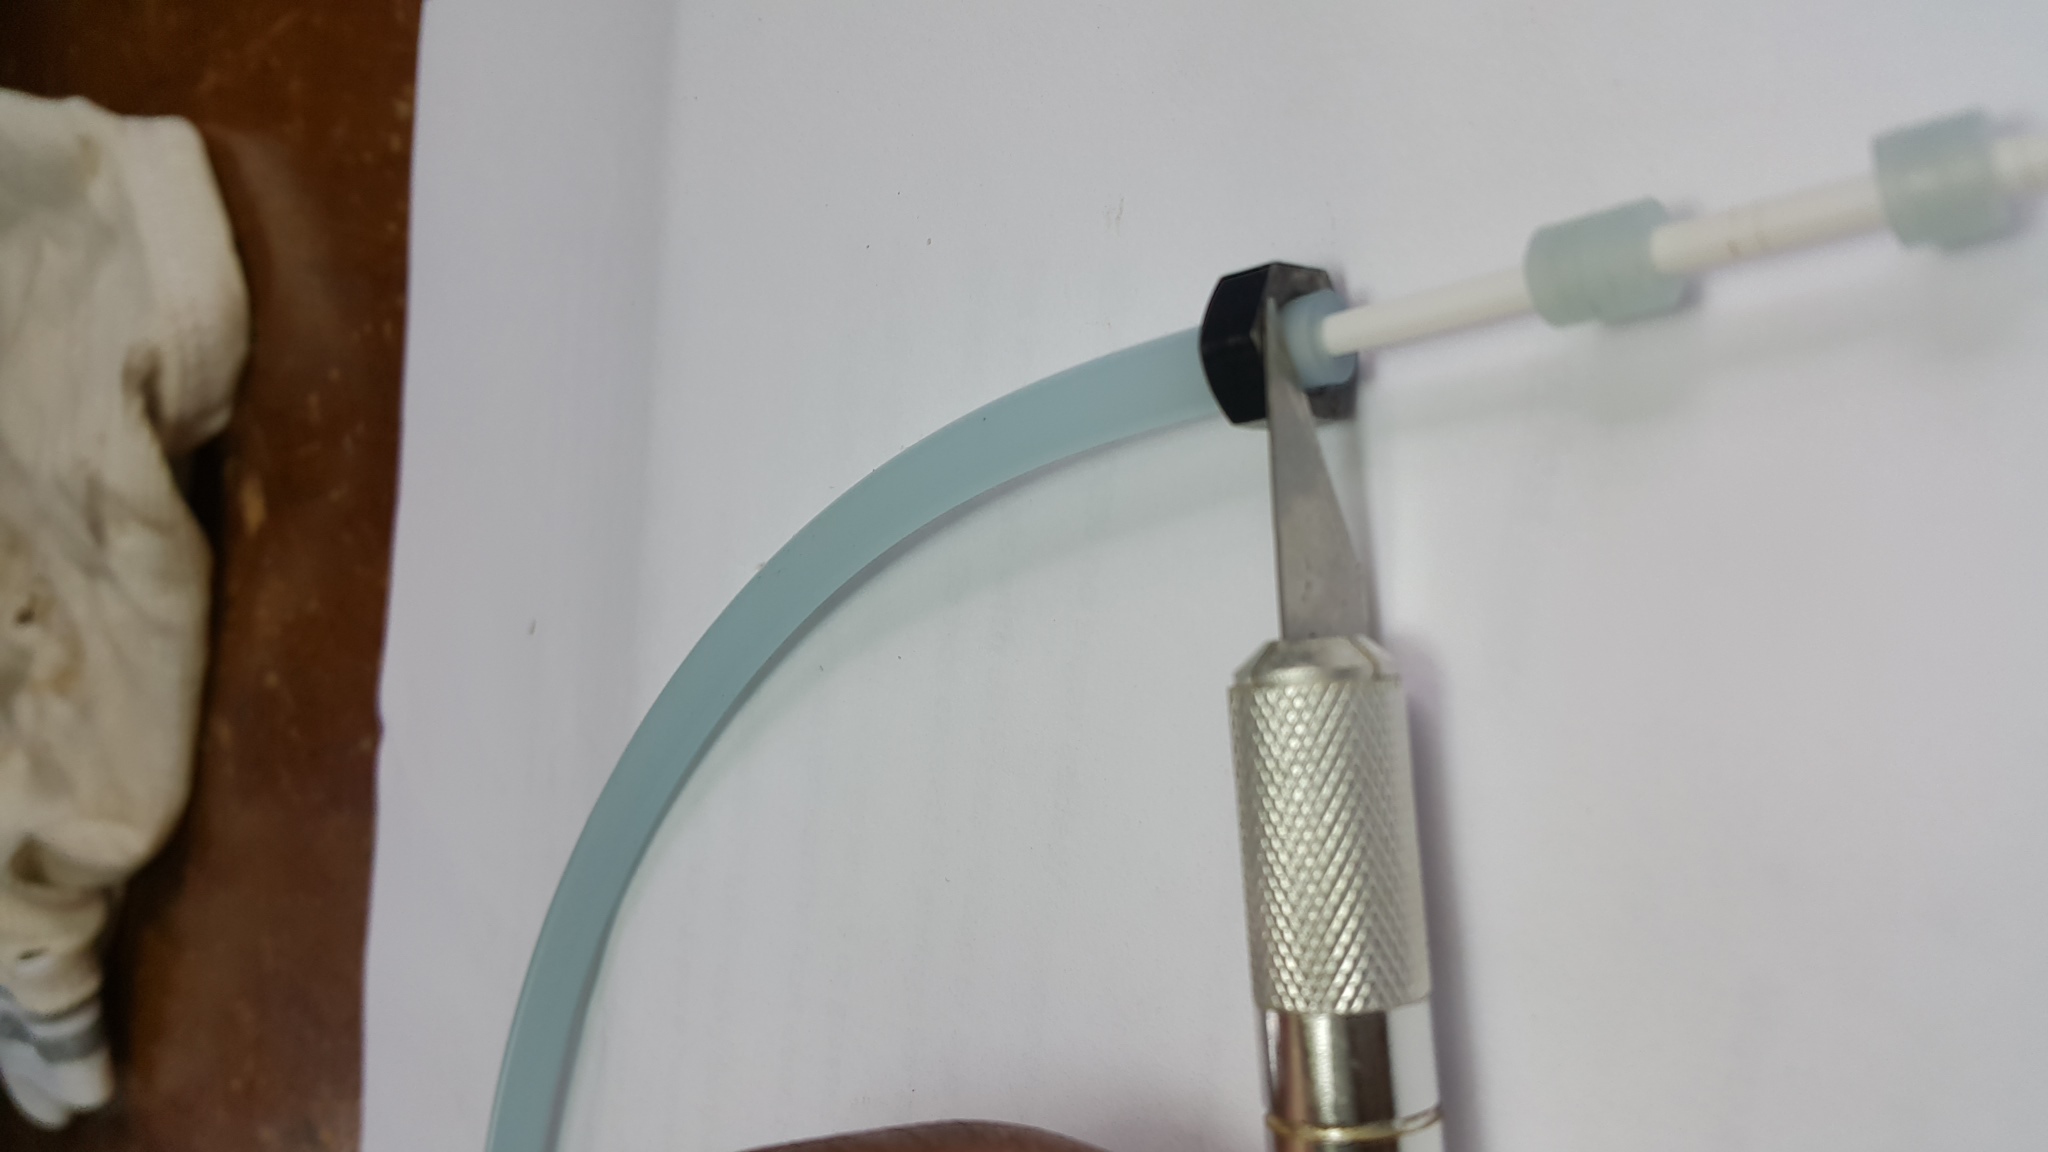
Tubing is hardly ever cleanly cut or squared off so using the side of the nut as a guide (I used the flattest side) apply slight down pressure onto the tube
with a fresh knife and roll the nut along the table keeping that knife flat against the nut. Do not apply hard down force to the knife as it will only squish and warp the tubing making a bad cut. Instead let the knife do the cutting. Just roll it away from you over and over till you reach the plastic cotton bud's stick.
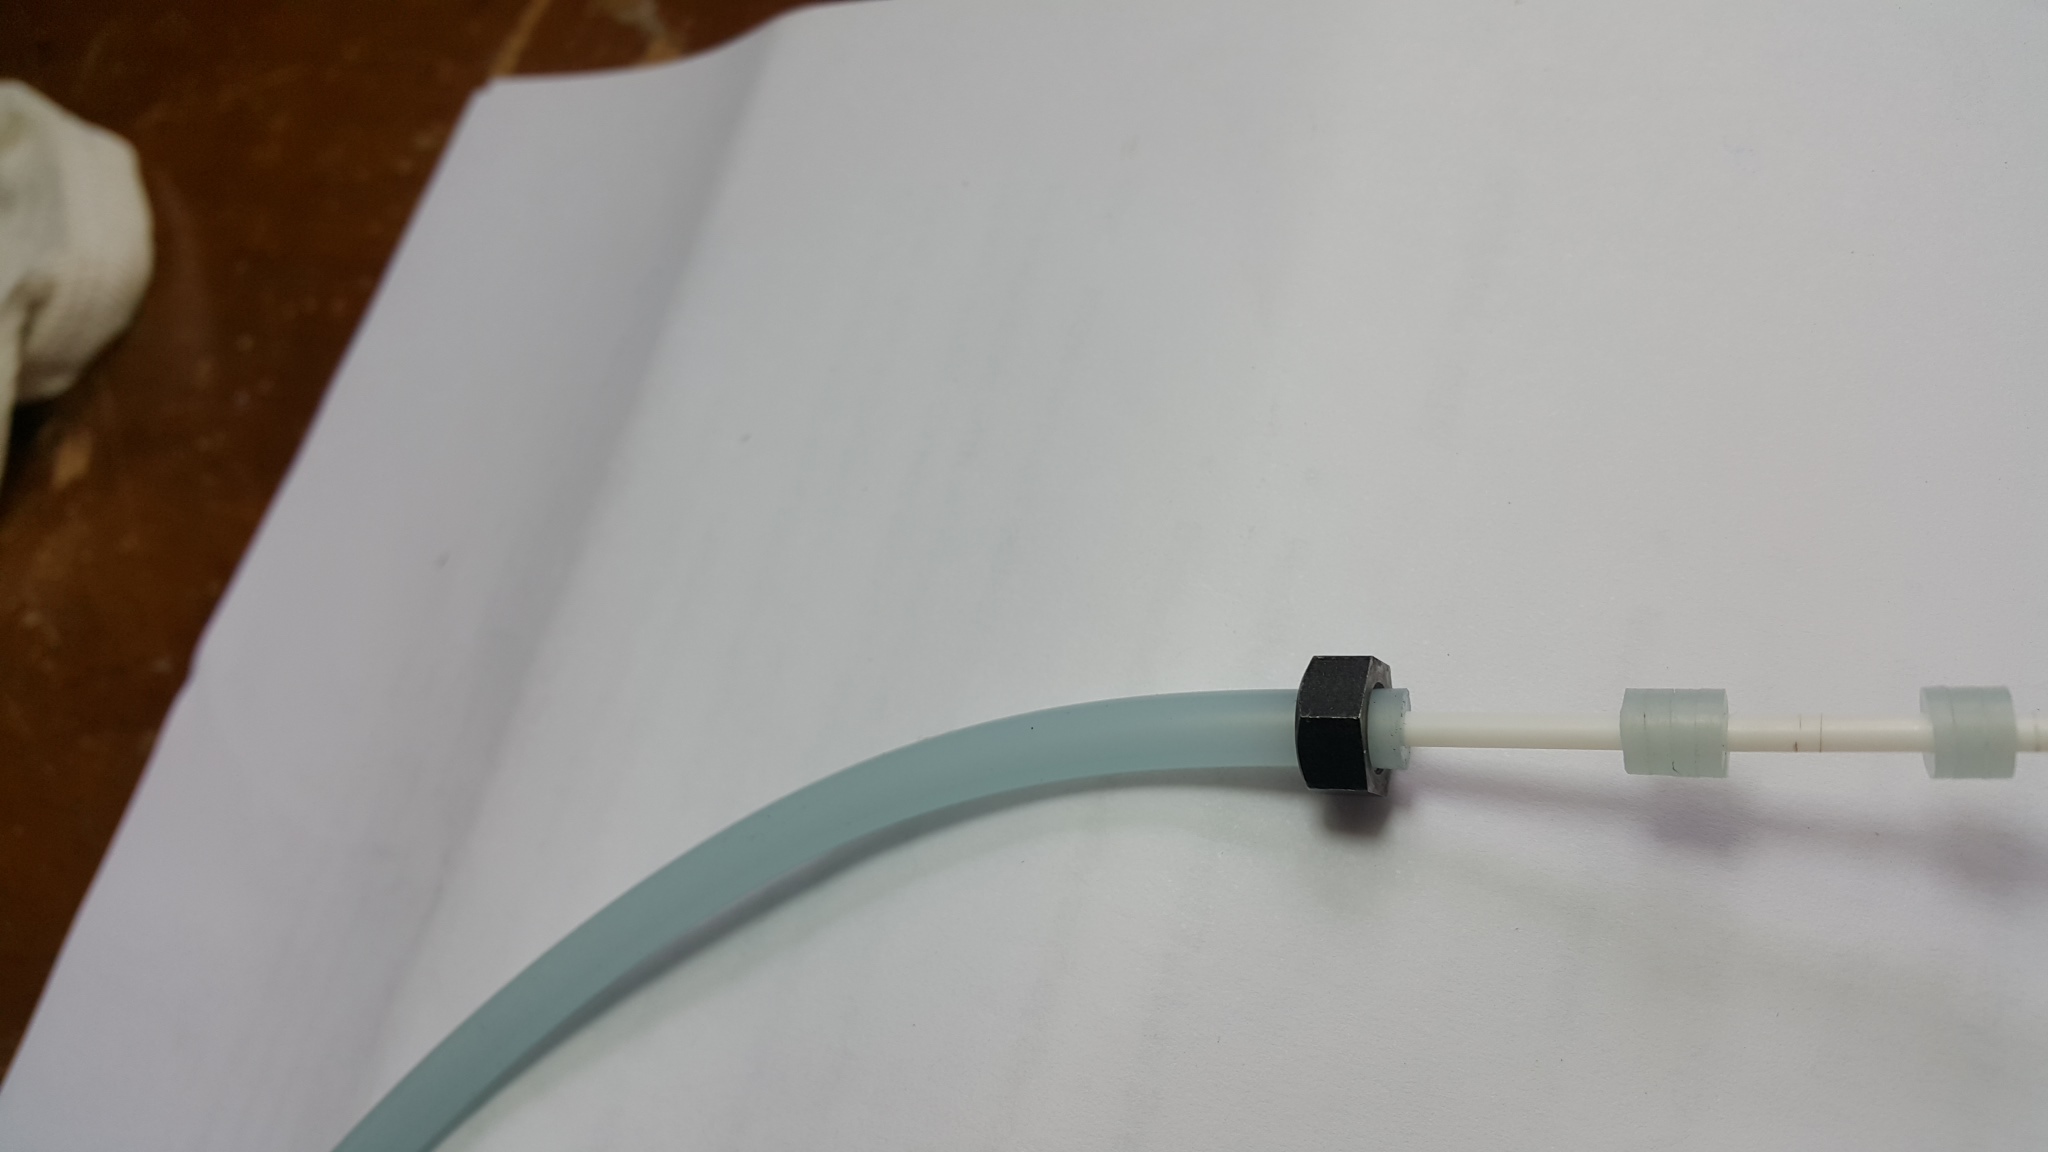
Discard the first cut as it's only to square off the tubing then use your caliper to get the correct amount of tubing past the nut and make your rings.
I just eyeballed it against the caliper, I wasn't shooting for perfection here.
Make several (always great to have spares) as your initial ones may not be that great.
Finally use the flat tweezers to get the tubing into its groove on the high speed needle valve.
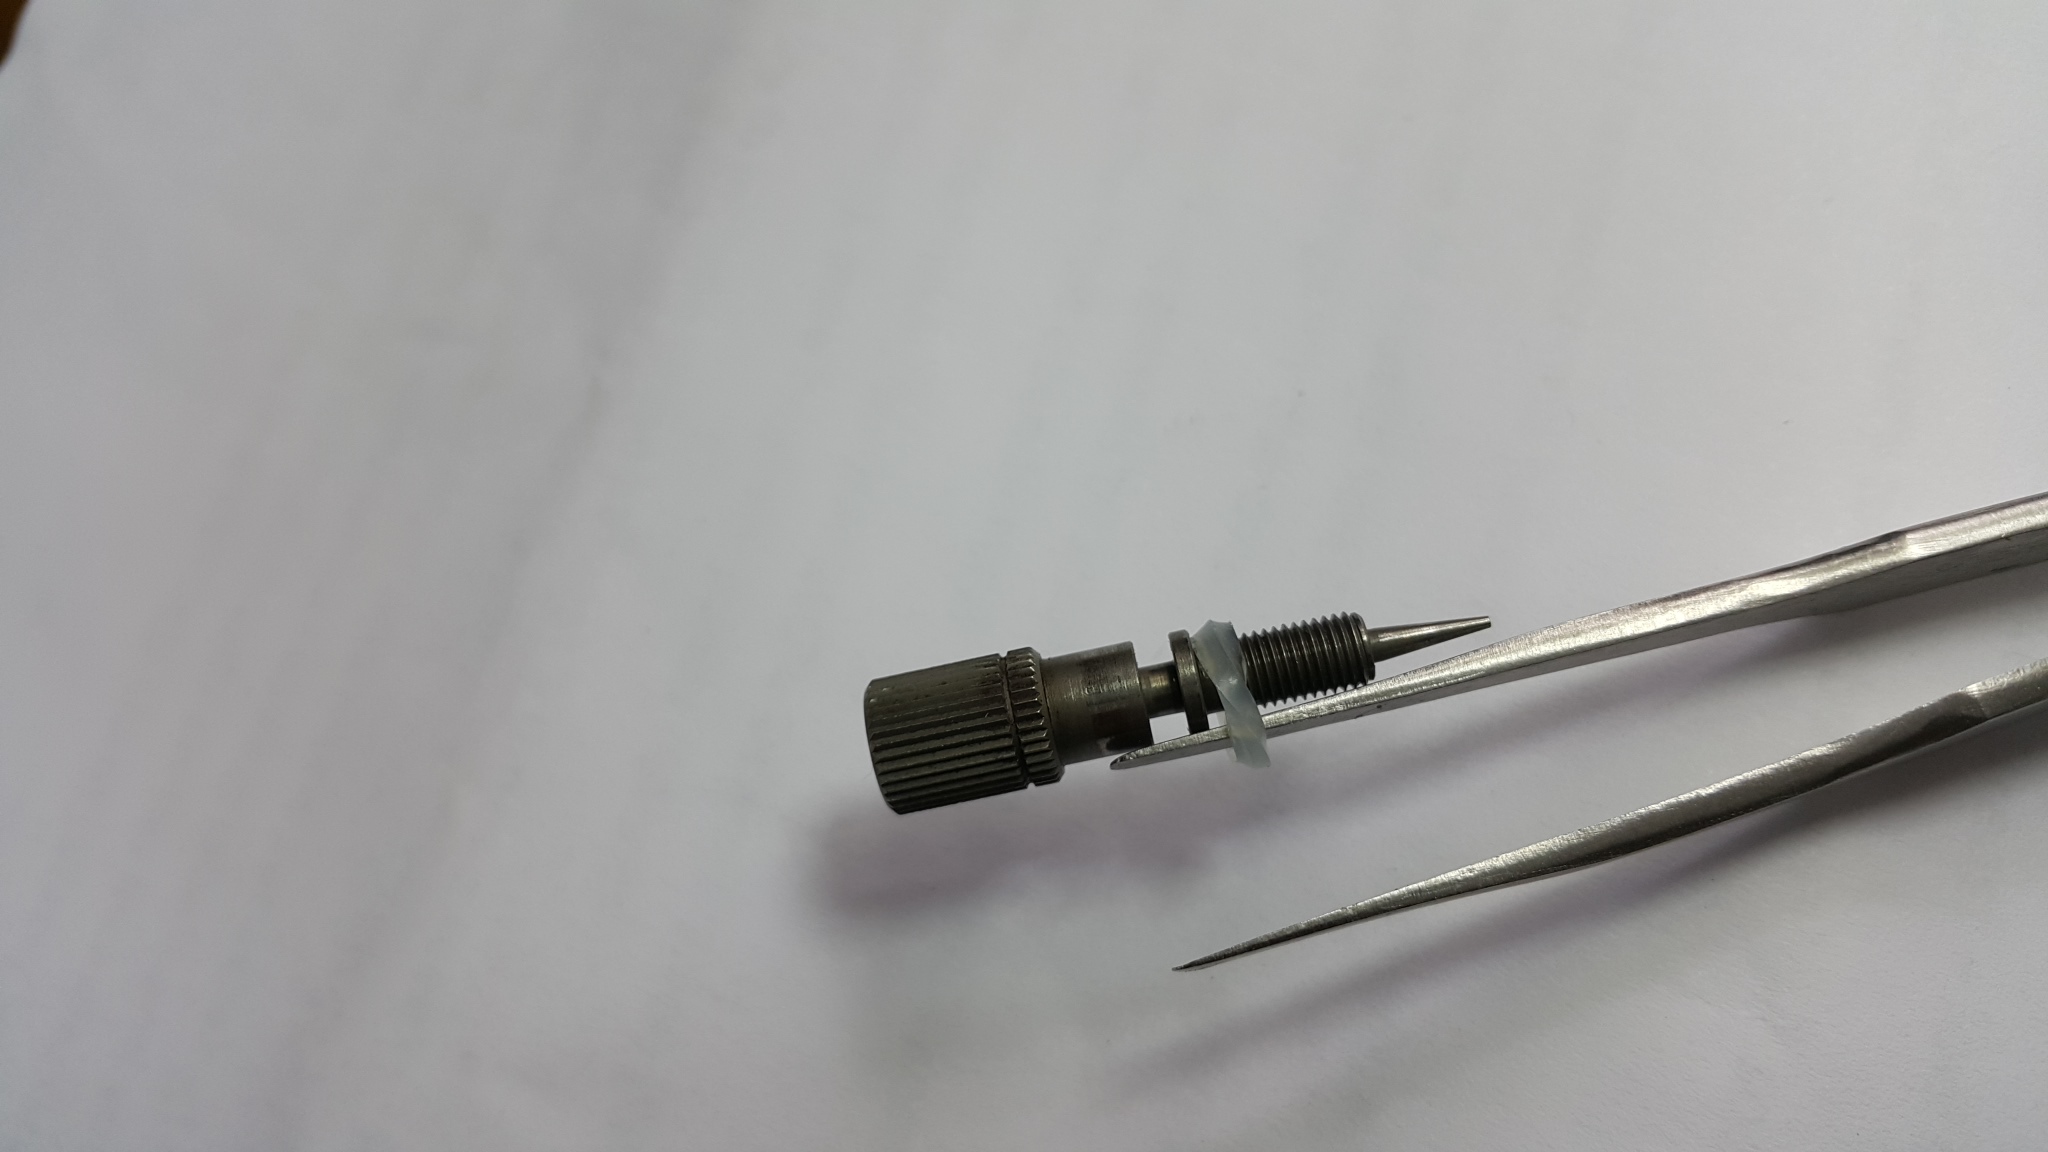
Okay so job done!
My initial ones were a tad large as I initially measured the gap on the needle valve rather than the o ring, and the thing wouldn't screw down very far at all.
If you make it only just a little over sized and screw down you will get some resistance and it will eventually cut off the excess it's self. I never tested
so see if that kind of o ring would still work and opting to just make smaller ones the size of the original o ring instead.
After this I can confirm that my engine does run fine where previously it wouldn't remain at high speed for long before dying and no amount of enriching or leaning would have an effect.
This might be a good option for anyone who needs a working solution for right now if they are in a pinch.
As for me, I'm going to keep testing this and if it holds up I'm going to keep using this method.
Hope this helps someone.
Let me know what you all think.
Cheers guys.