Ok it took all I had to let this cure and not mess with it until it had set for 24hr
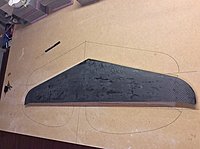
The results are in!
once I had it all laid up I decided to cover it with plastic so I could place magazines on it to weigh it down. I also placed tow aluminium strait edges on the LE edges, The magazines were for the TE.
The plastic leaves a wrinkled finish but that gets sanded out.
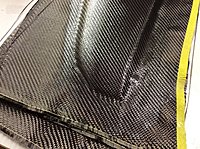
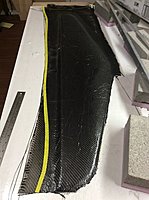
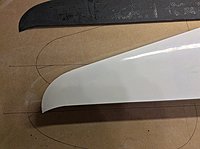
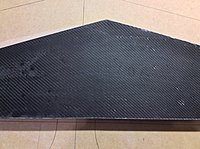
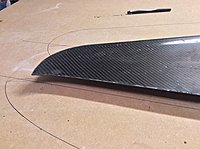
Here is pre plastic and strait edge.
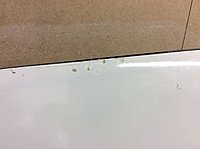
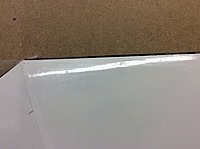
After the strait edge and plastic.
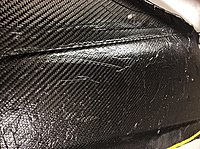
You can see all the wrinkles but the LE is nice and strait, tight to the plug.
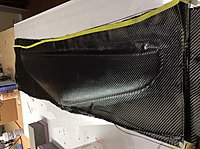
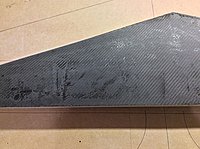
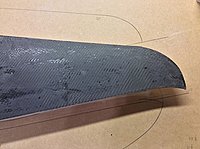
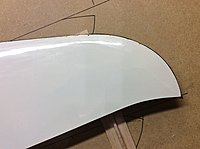
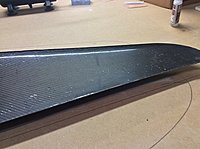
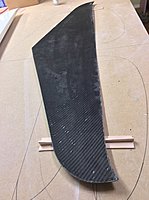
Fully cured.
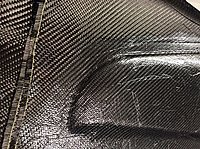
I Rough sanded the top skin before I broke it loos to get all the high spots and wrinkles knocked down.
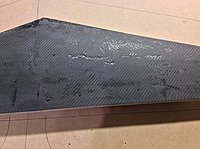
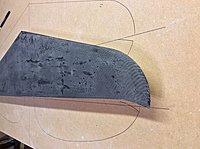
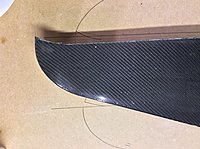
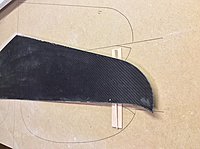
Getting it off the parting plate was easy, the plug came out with it.
With a little pulling and prying it peeled right off the plug. The release agent worked great.
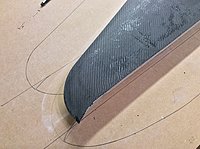
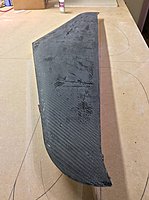
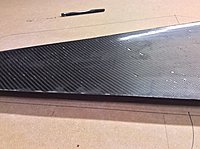
I trimmed it with a fiber cut of wheel on a dremel.
Once the two halves are joined I will do final sanding.
The plug survived with no damage, I was worried as it is delicate.
Final trimming will have to wait for the bottom skin.
The inside looks good.

The TE former and hinge blocks along with the center ribs will be all that will be glued in before the two skins are glued together.

I think this is going to work just fine and will save a lot of time if I would have made a mold and went that rout.
Next I will get the bottom skin ready to layup. I wont do the elevators until I have the stab done.
TB