Ugh, no idea why the first picture came out vertical, they are all landscape on my pc and how I took them...
Ok so I have finally started building my kit now that I am back on track with the daily grind.
I have the manual although its the foreign language one, so I just have pictures to go from.
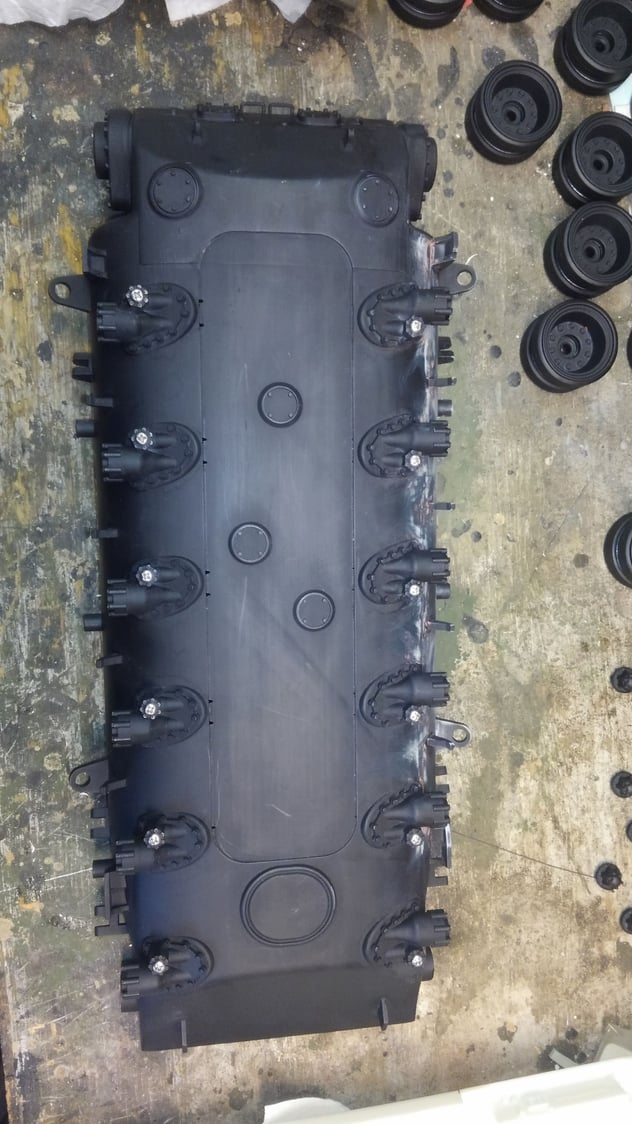
As seen below the short screws go in the bottom to hold the torsion bar locks in place.
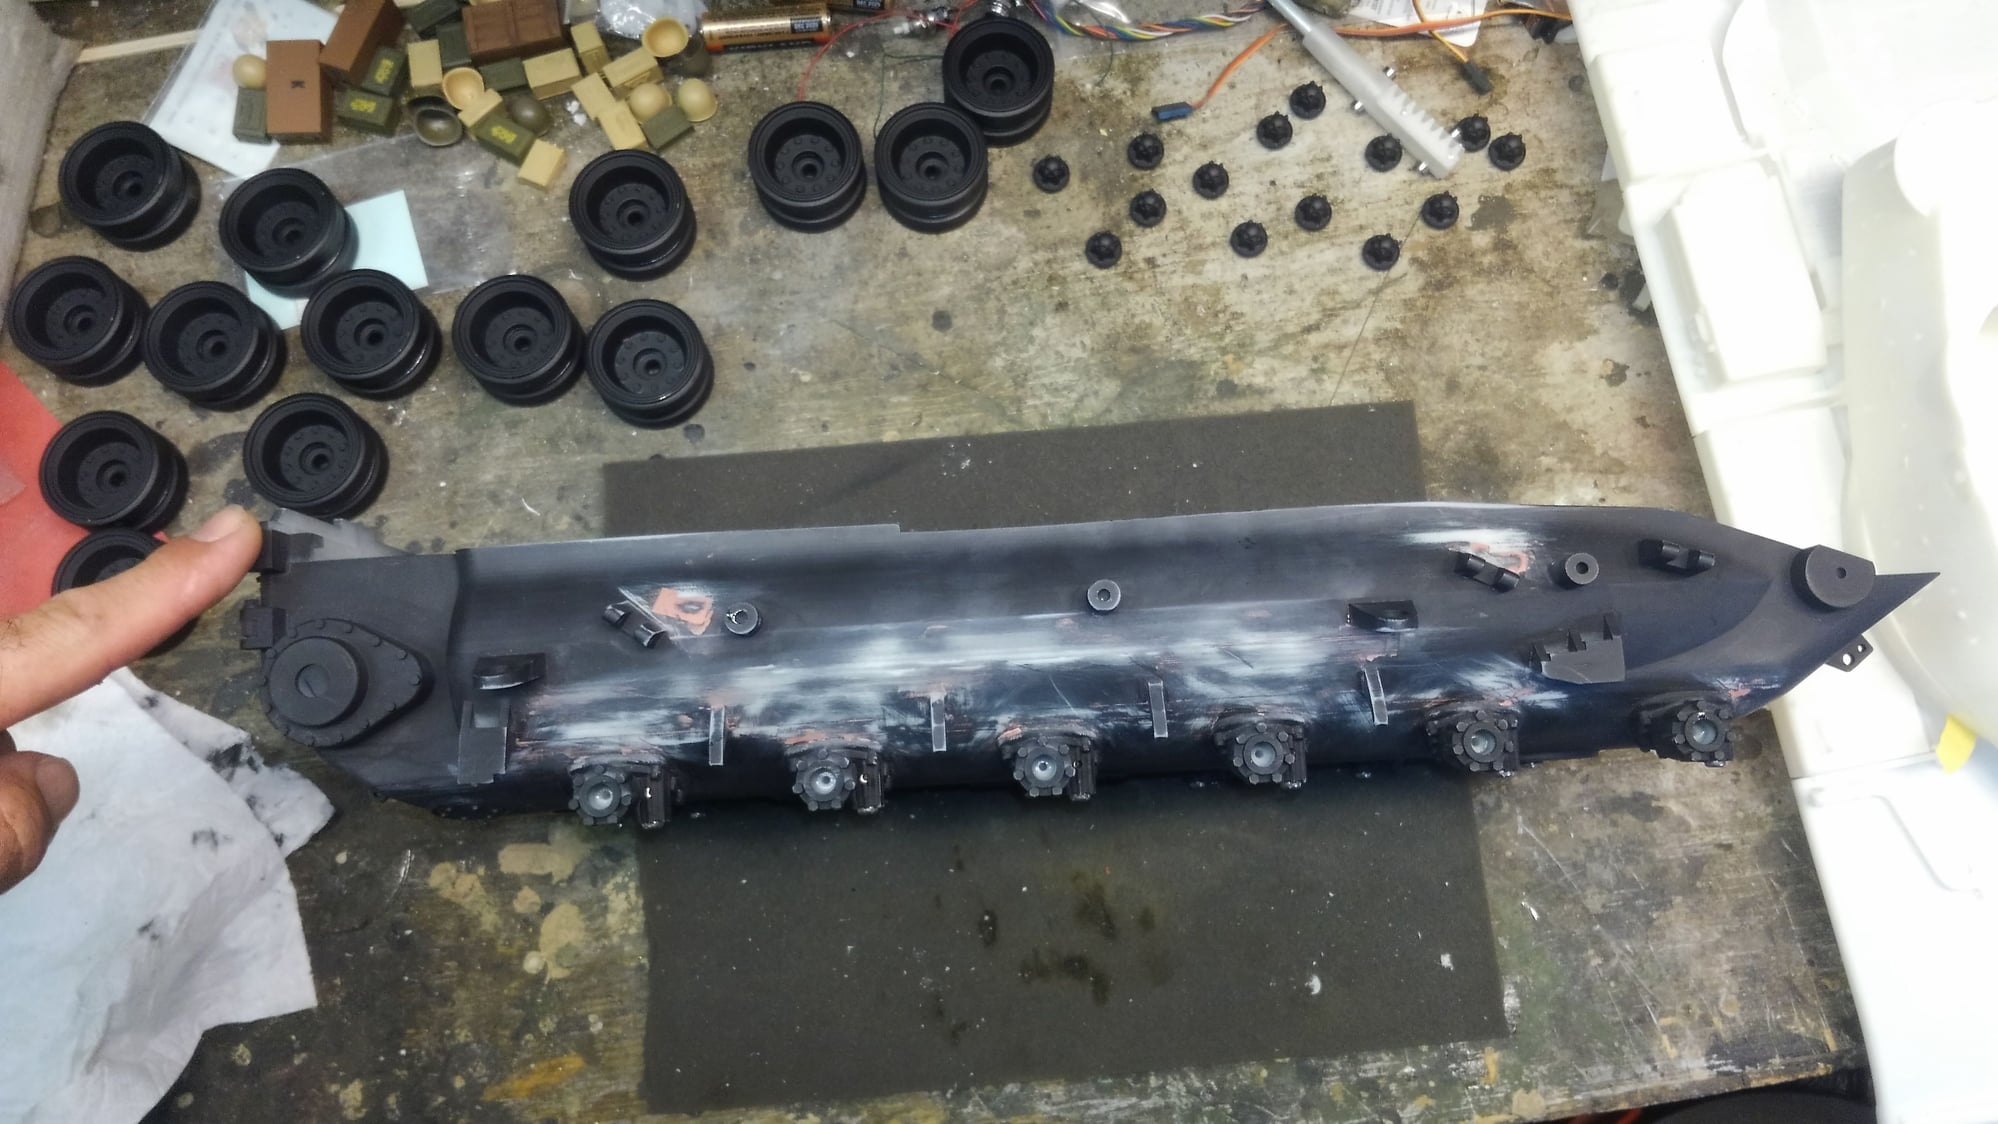
The hull print job is really good. Not quite as nice as the turret and upper hull though. There were some grooves in the upper concave area on one side that I felt I just had to fill in with putty and there was print texture along the bottom curve on the opposite side around the trailing arm mounts and all the stops etc. That was a lot more work to sand with sticks and sheet paper and then go back and fill in. It wasn't really too bad, nothing like shapeways, but for the quality of this kit and the effort and cost, I am a perfectionist so to make myself happy I went for all the work.
Inside, I did not receive screws for the gear boxes to screw them into the hull, or the proper screws to lock down the torsion bars. I did receive two sets of long screws and washers for the wheels which are the same size and I was going to use them, but sitting in my screw cup on the bench was all the screws from tearing apart a Tamiya Sherman speaker. The metric M3(I think) machine screws fit the bill for the torsion bar locks and the plastic course thread screws were perfect for the gear box mounting. Although a tad long so I just drilled the holes about 1-2mm deeper.

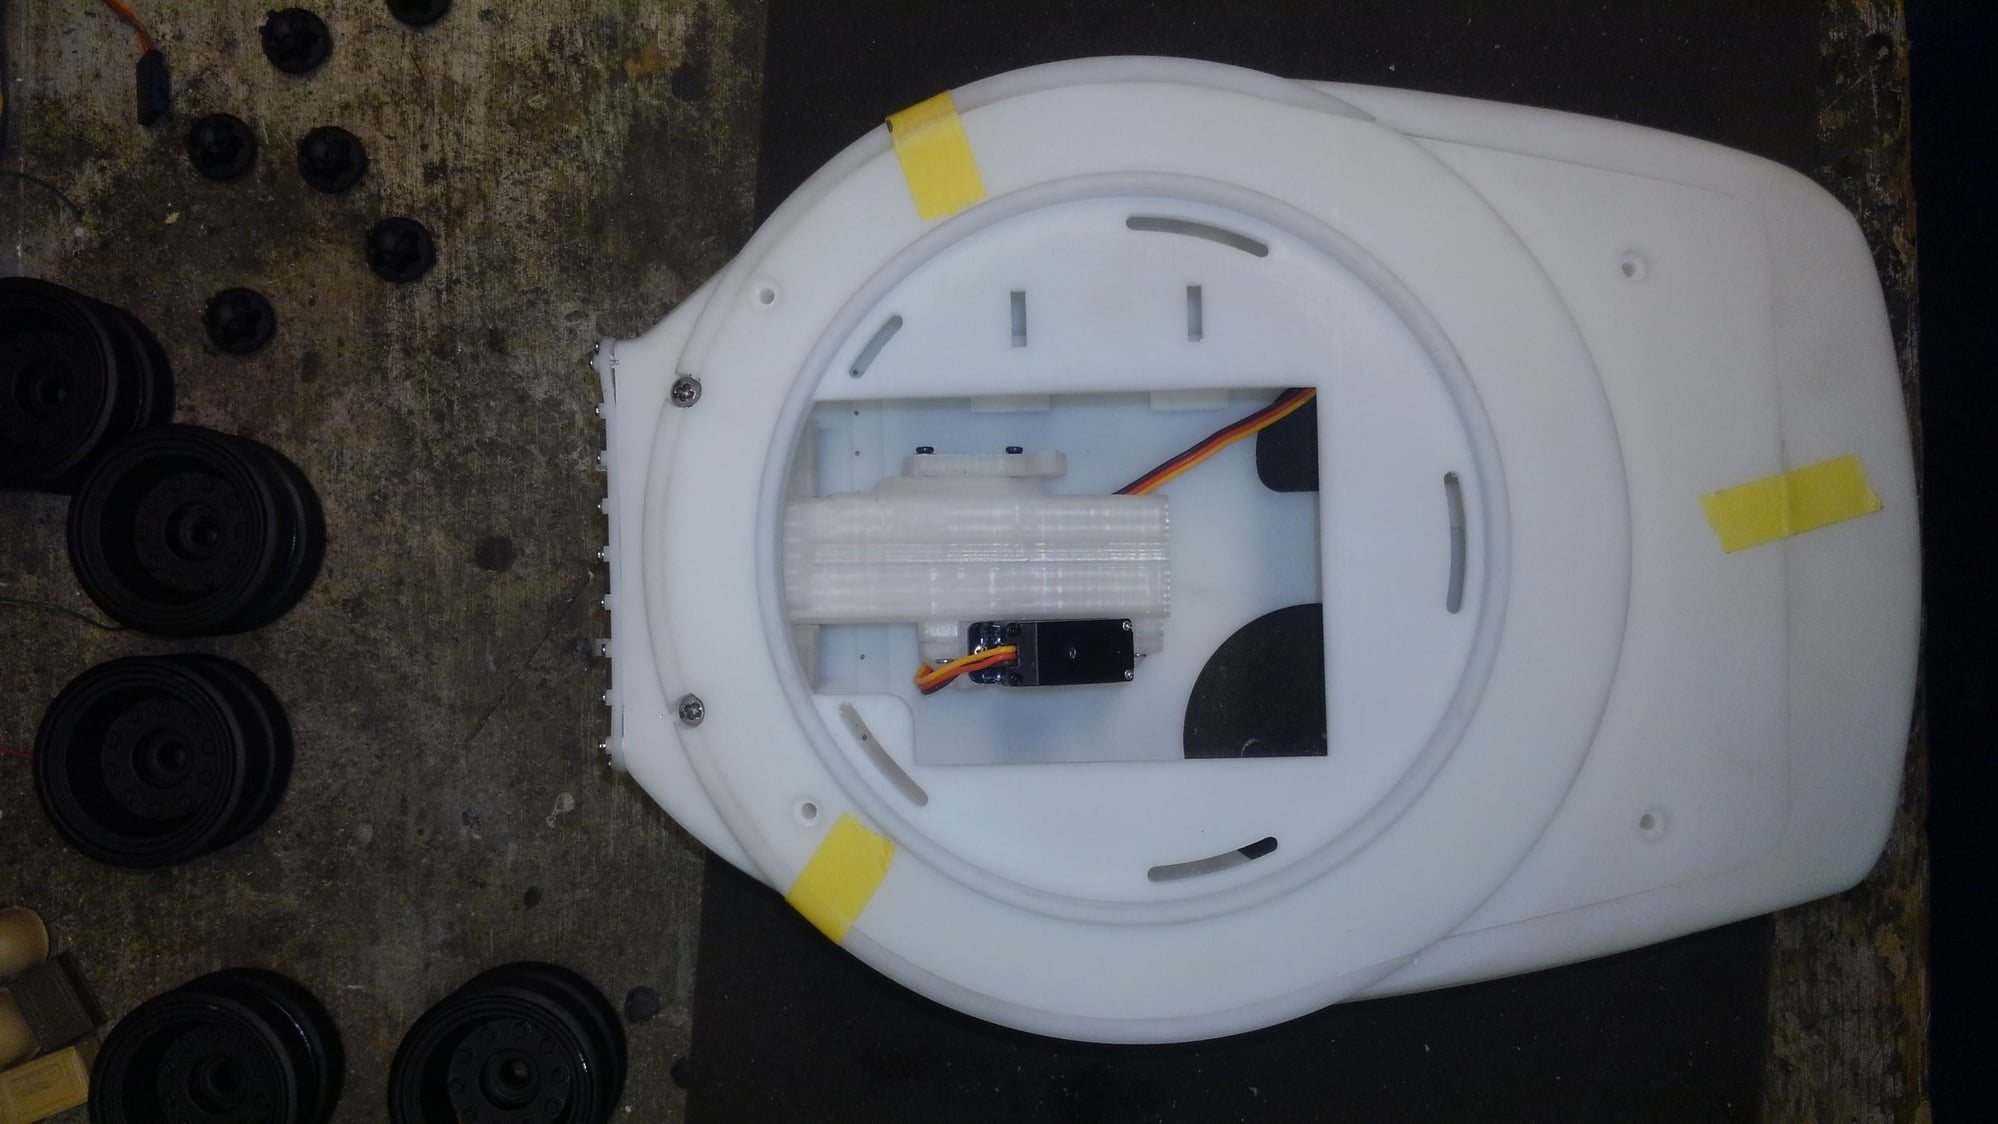
I started on the turret. These two screws are long and they go vertically into the rear mantlet area to retain the rotor shield in the turret from the front. They are nasty tight and I nearly have one stripped now getting it in. The holes should be tapped with I think a 3mm tap. I may still go back and do that. Also, you must cut a notch out of the turret floor to fit around each of the two retainer screw heads as seen in my photo.
This is all stuff I figured out so far from this build. I hope I am not missing anything else in the kit.
I upgraded and went and found metal pershing wheels with bearings and tires along with metal sprockets, metal high speed rotation box and metal track.
I started priming the wheels and all the trailing arms and shocks etc today as well.