Servo geometry and throws.
As is the case with most ARTFs the setup is easy for them to fit at the factory but not an ideal setup for the end user.
As it comes from the factory to get the required control surface movement you will have to restrict the servo travel "a lot"
On the elevator to get the correct control surface movement the de-rate setting will be between 45-50%
this means the rather nice servos are running at half there advantage ie half power and half the available resolution.
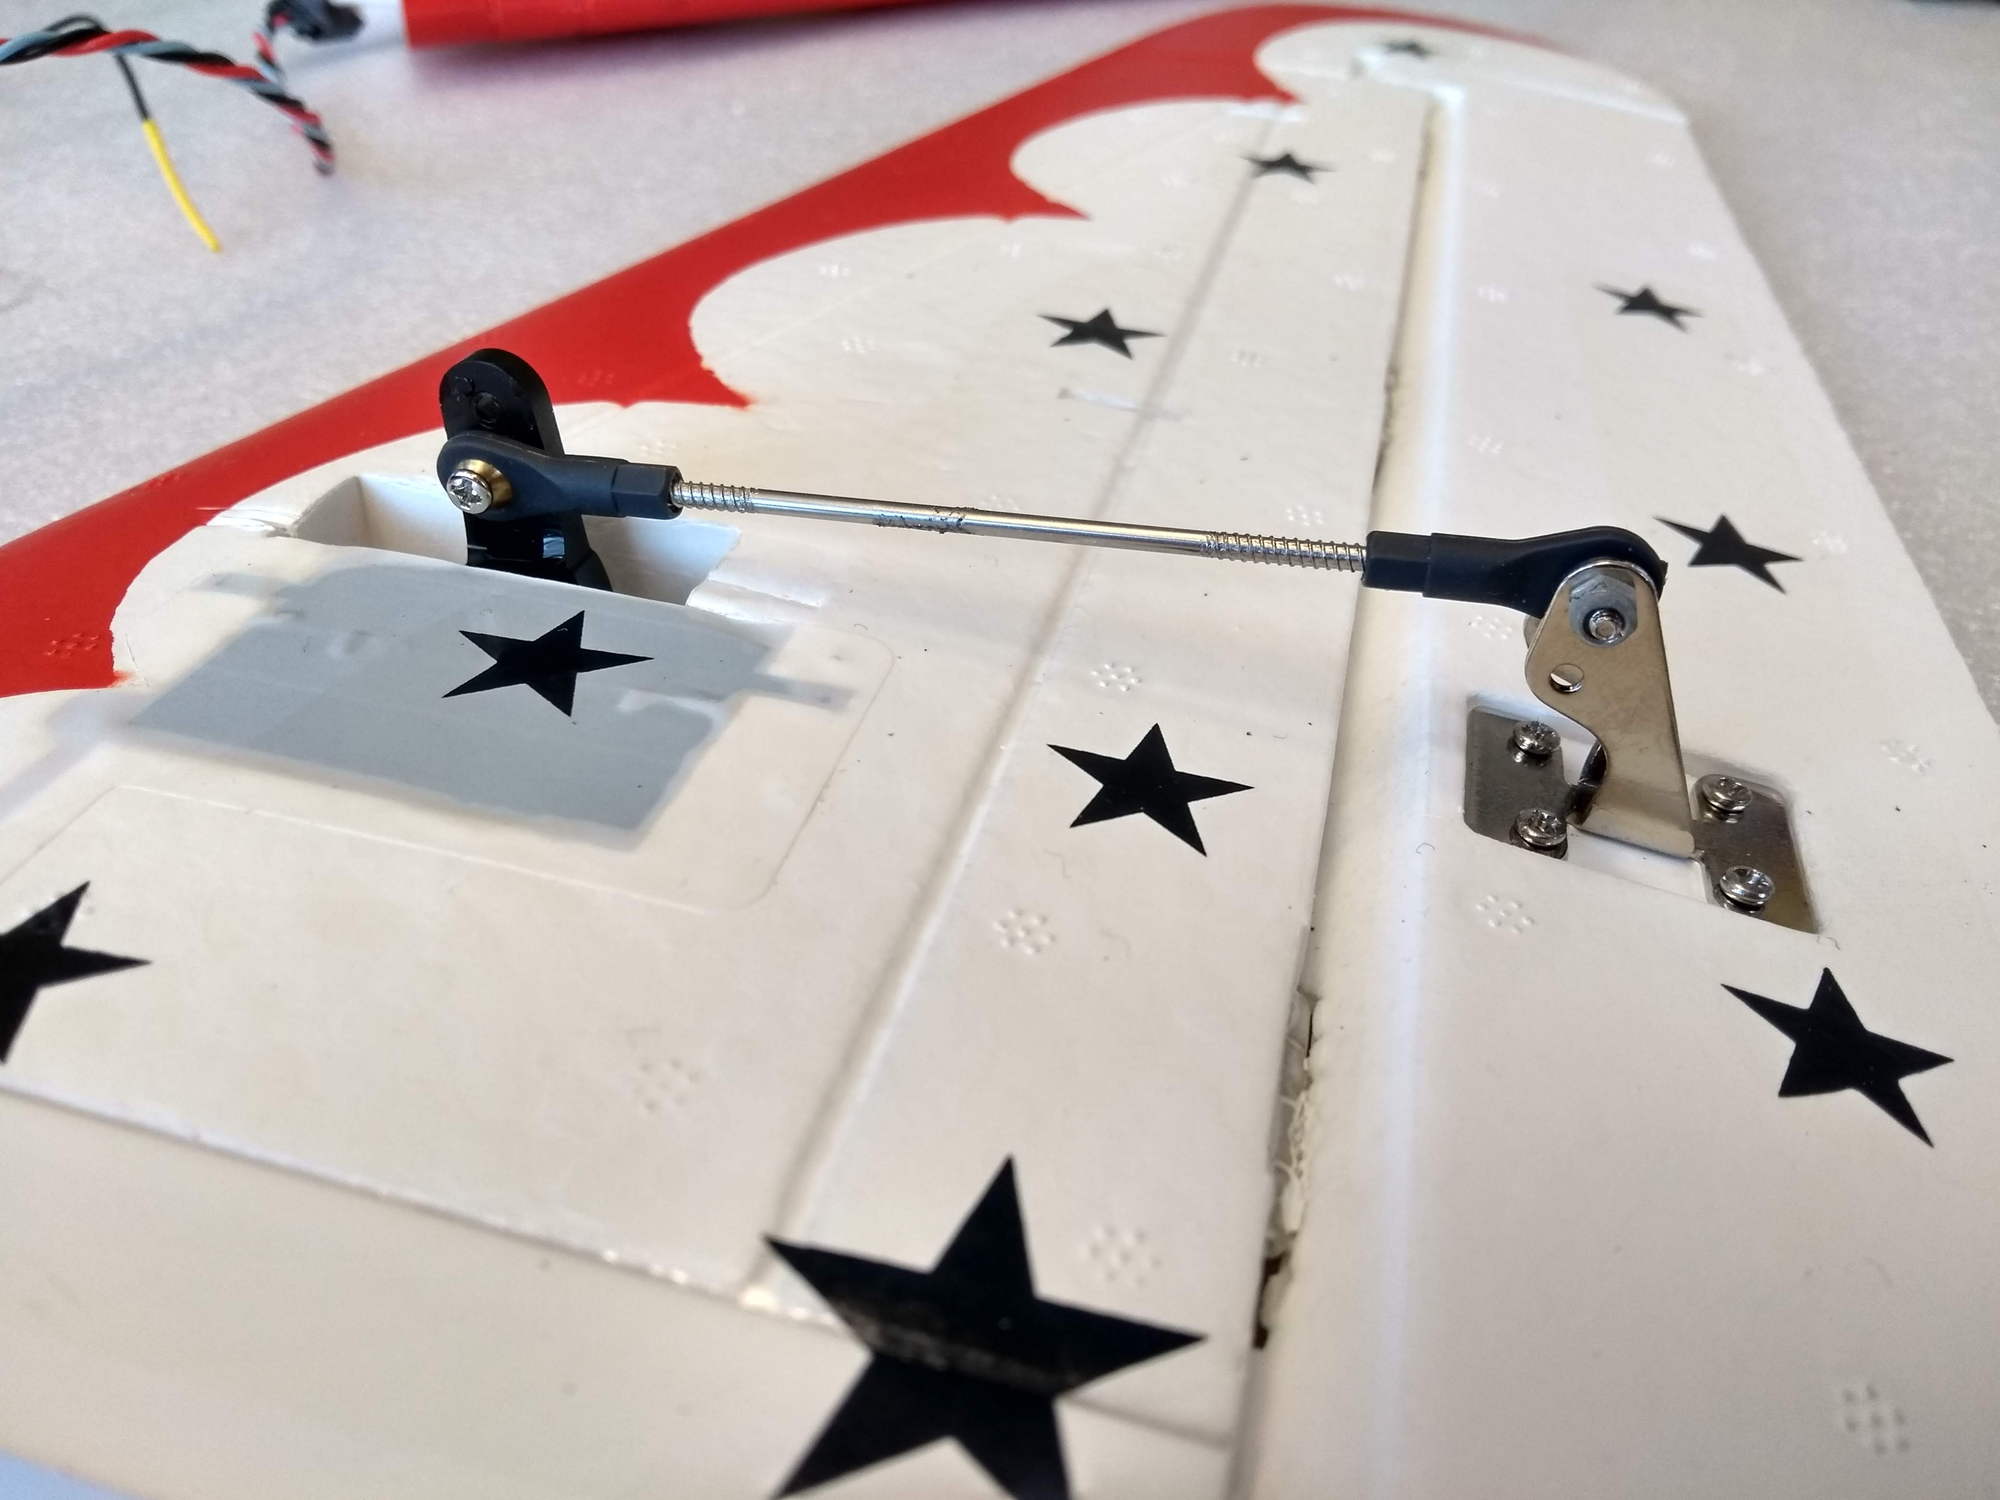
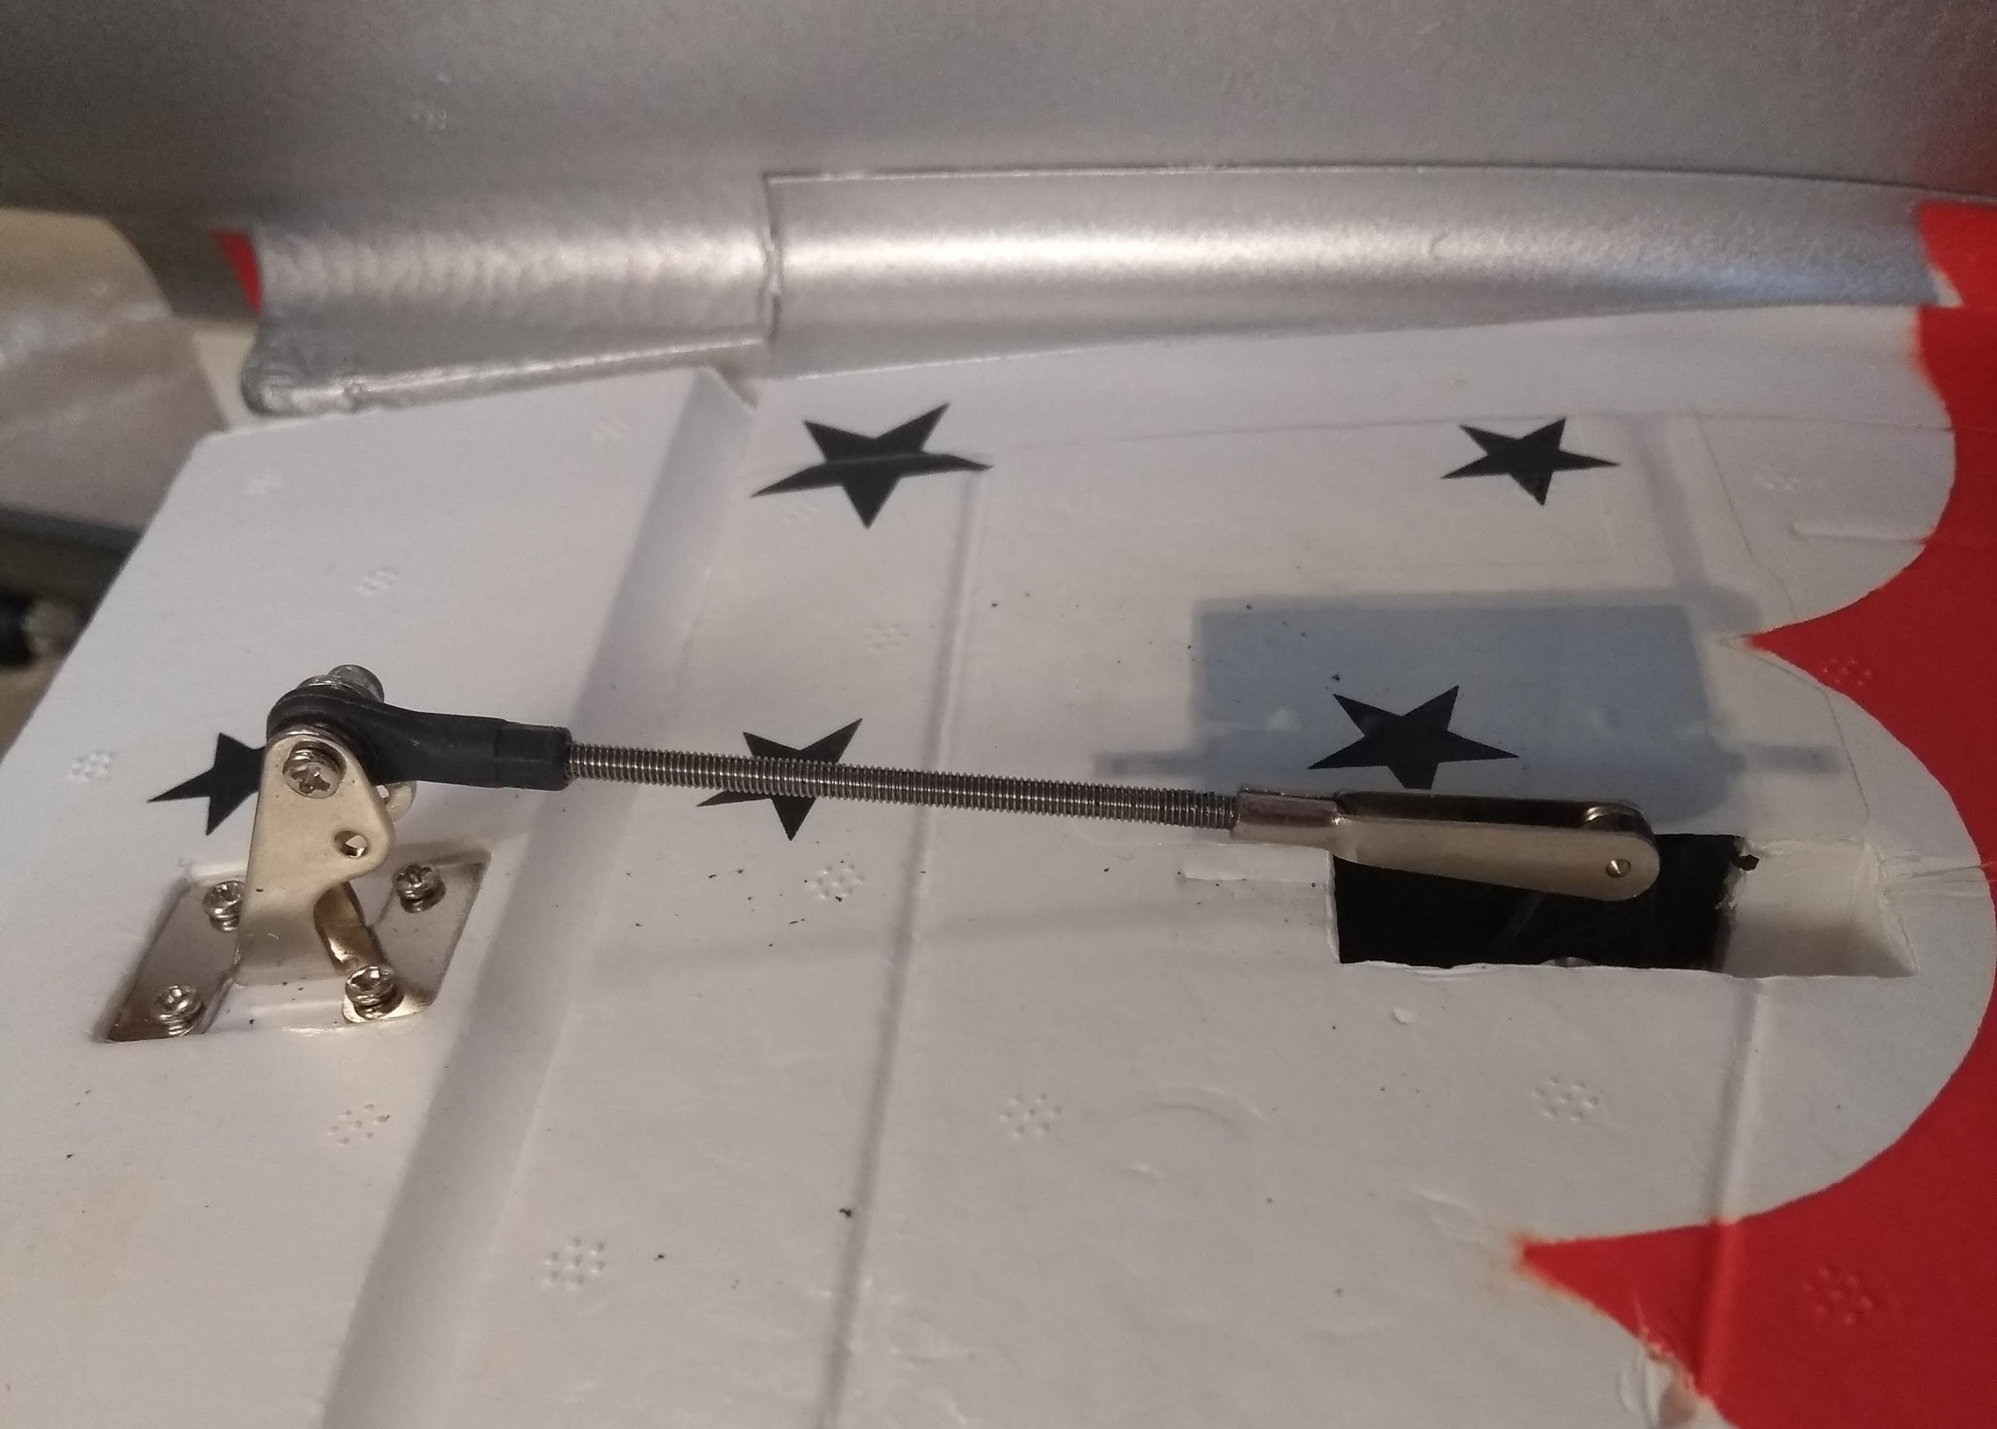
An easy fix is to simply move the ball link on the servo arm one hole inward, this works on every control surface and gives full surface movement but now with 60-70% de-rate.
That is a huge improvement on stock install that costs nothing and is easy to do in very little time.
"But" I am a sucker for improvement and getting the best out of a given setup so on mine I went one further ;-)
I decided I would change all the servo arms (Futarba spline) for some smaller "shorter" ones and use a clevis instead of a ball link at the servo end.
This will help two fold, first to head towards a 100% servo movement.
Secondly, most of the servos are badly centered and arguably on the wrong spline requiring excessive sub trim, wile changing the output arms it gives me to opportunity to correct this
To remove the old servo arms you need to poke a 2.5mm hex driver through the foam about 45mm away from the servo head to engage the servo screw.
This only leaves a small hole which is underneath so no big deal, would have been easy with servo boxes and hatches but not having those saves HSD a few dollars?
I then used 2.5mm clevises and 2.5mm threaded rod to make up new push rods, result is a neater looking linkage with 90-100% servo travel on everything but the flap that now needs 110%.