Hello Folks,
Well, Its been 14 years since I started this thread with the initial build!
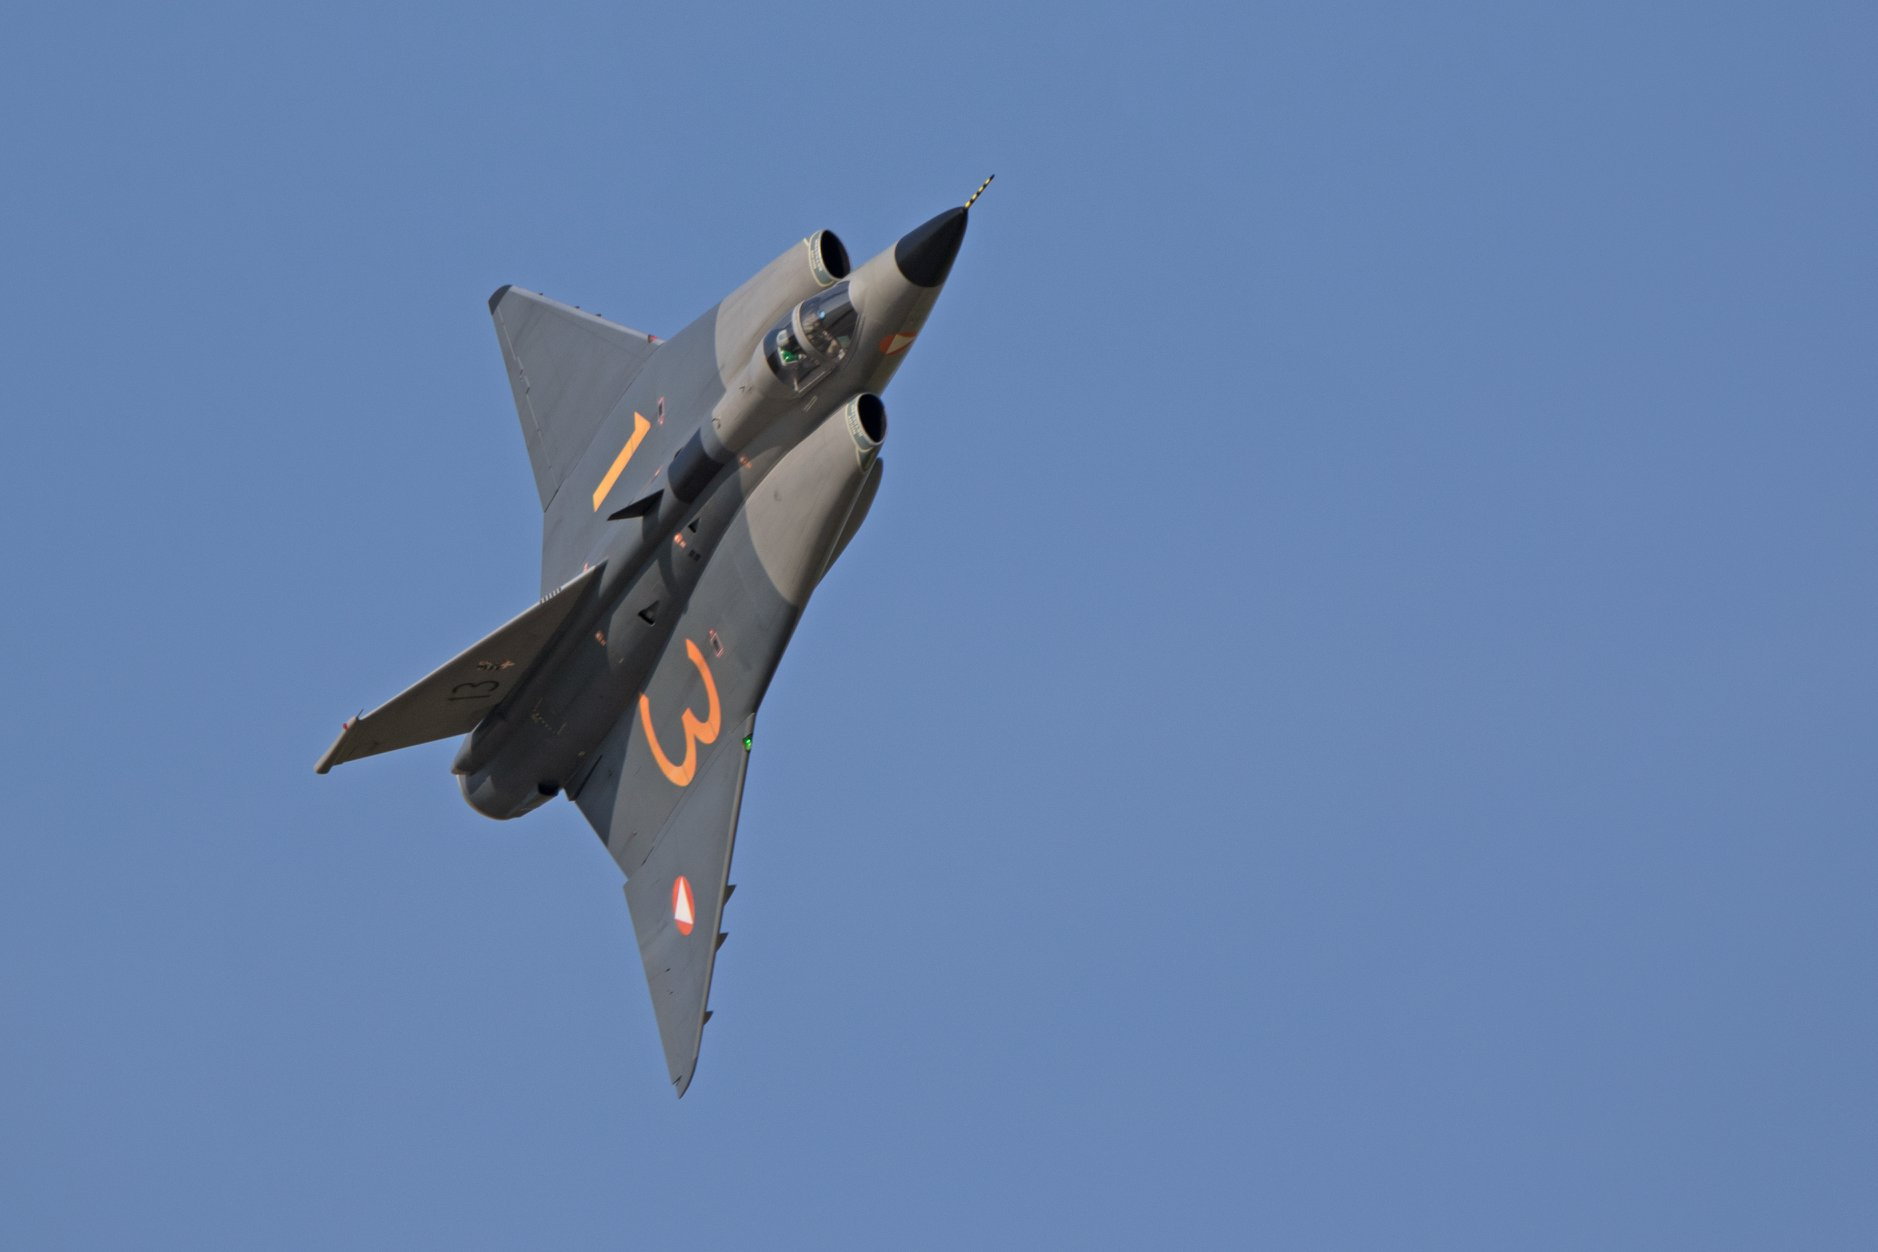
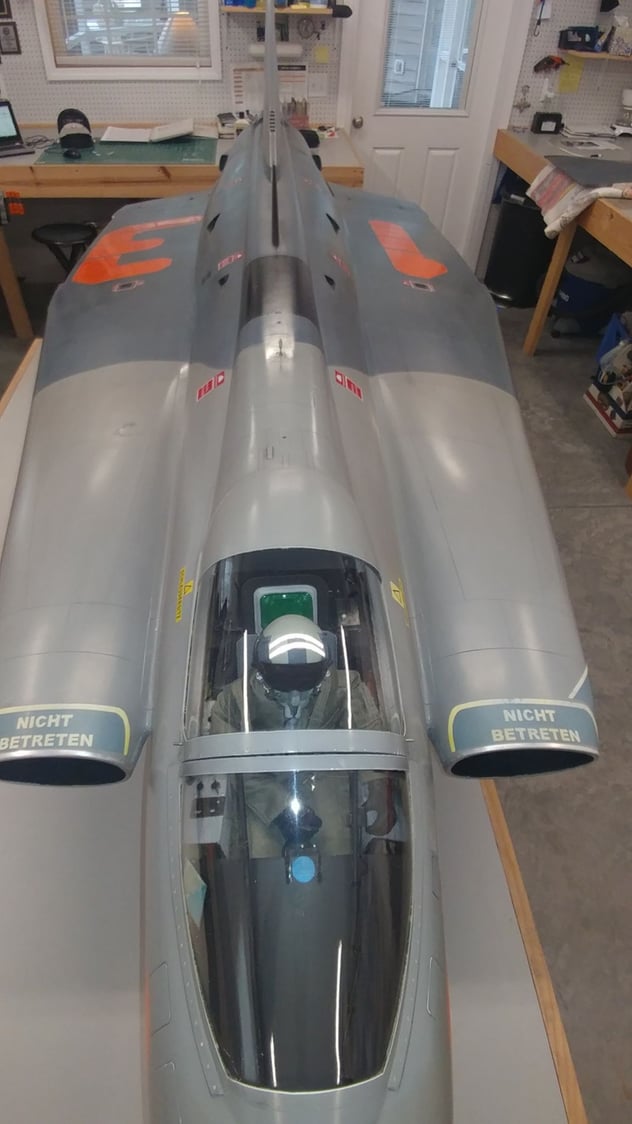
I am delighted to say that the jet has been a real joy to showcase.

While I have had my share of the routine maintenance hurdles, we have managed to keep the aircraft in the fight season after season.
I am now on my third complete turbine overhaul, and second complete fuel system overhaul, and pleased that all is well in that regard.
While recovering from a recent medical procedure, my Neurosurgeons strongly recommended walking, subtle flexing around the mid-section, and no lifting over 10lbs for now.
So, it would seem that standing around and tinkering in my shop would adhere to these exact medical orders!
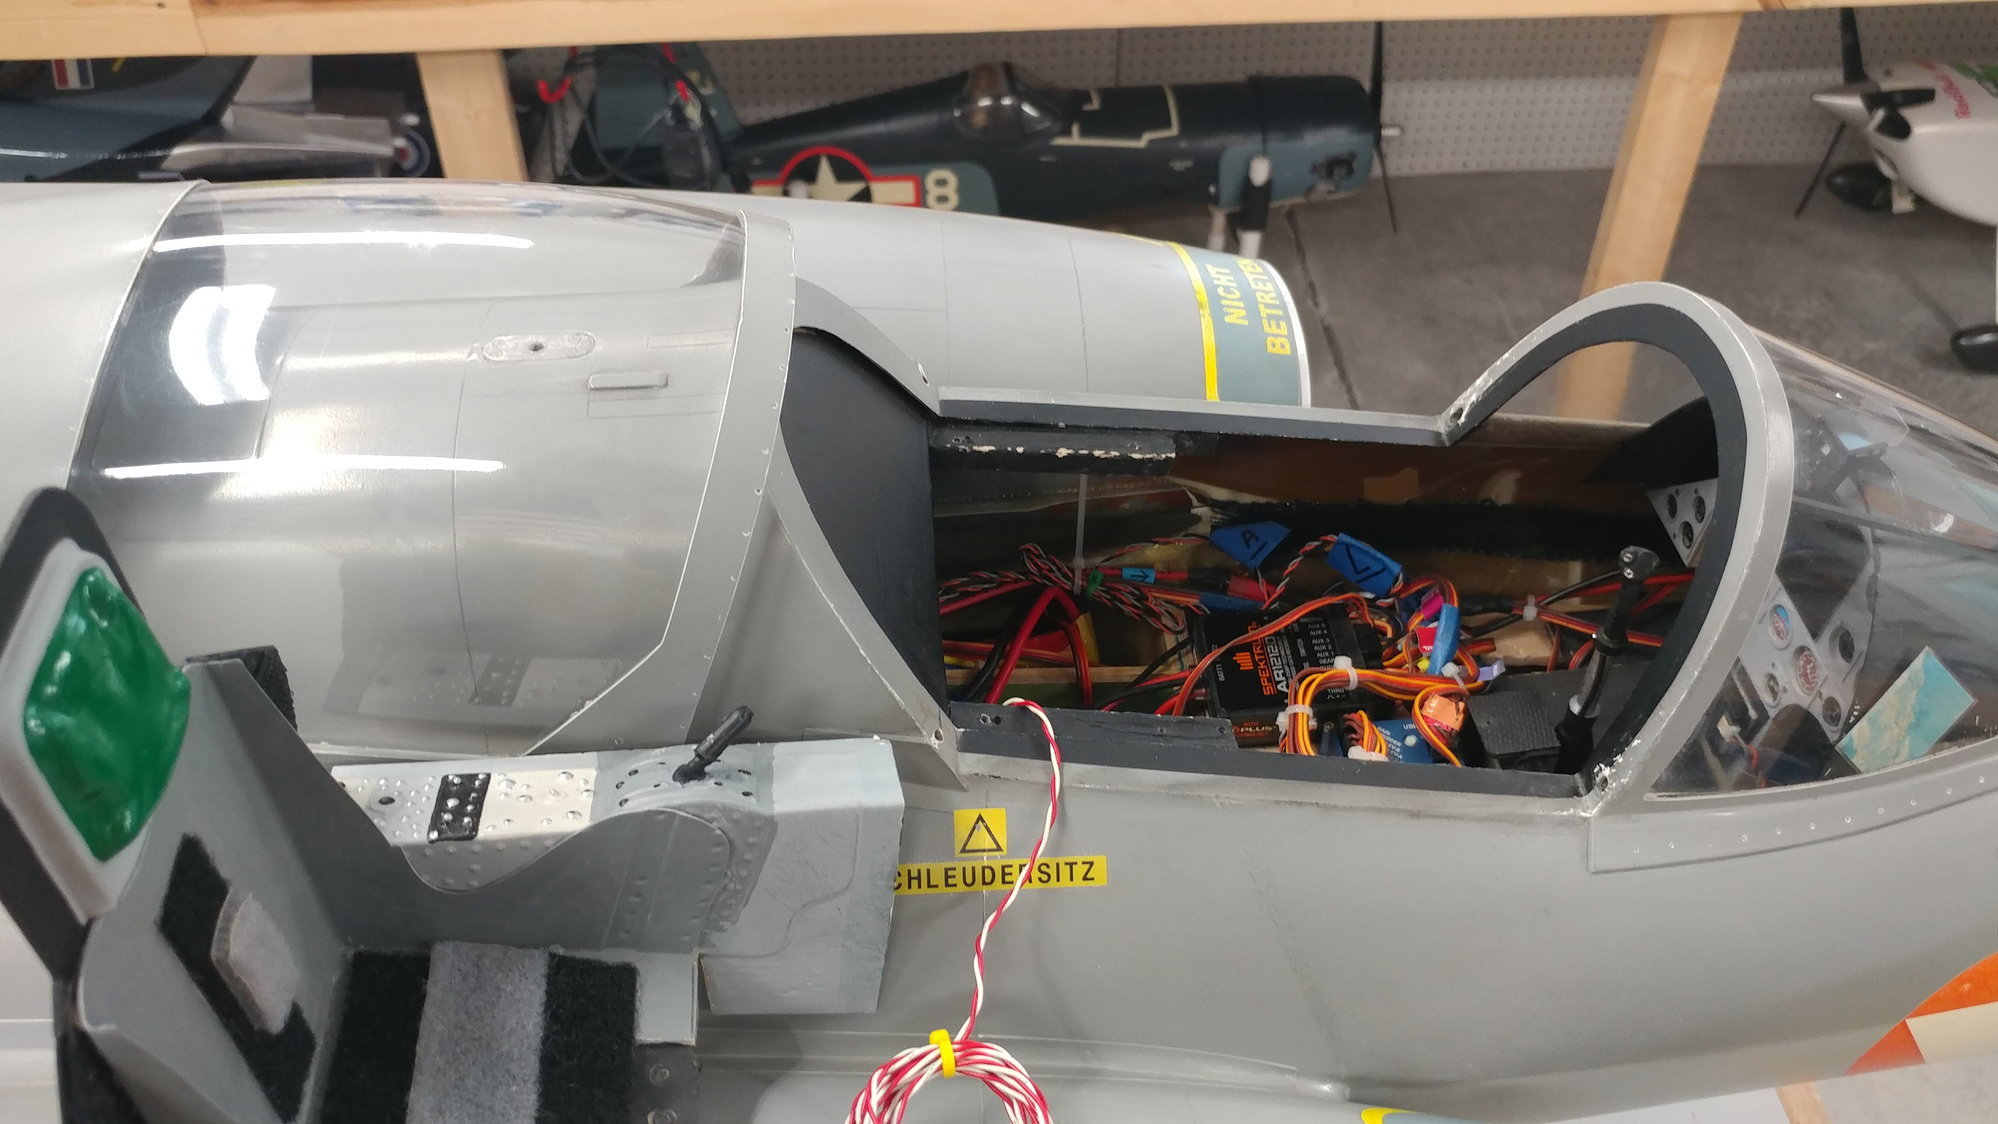
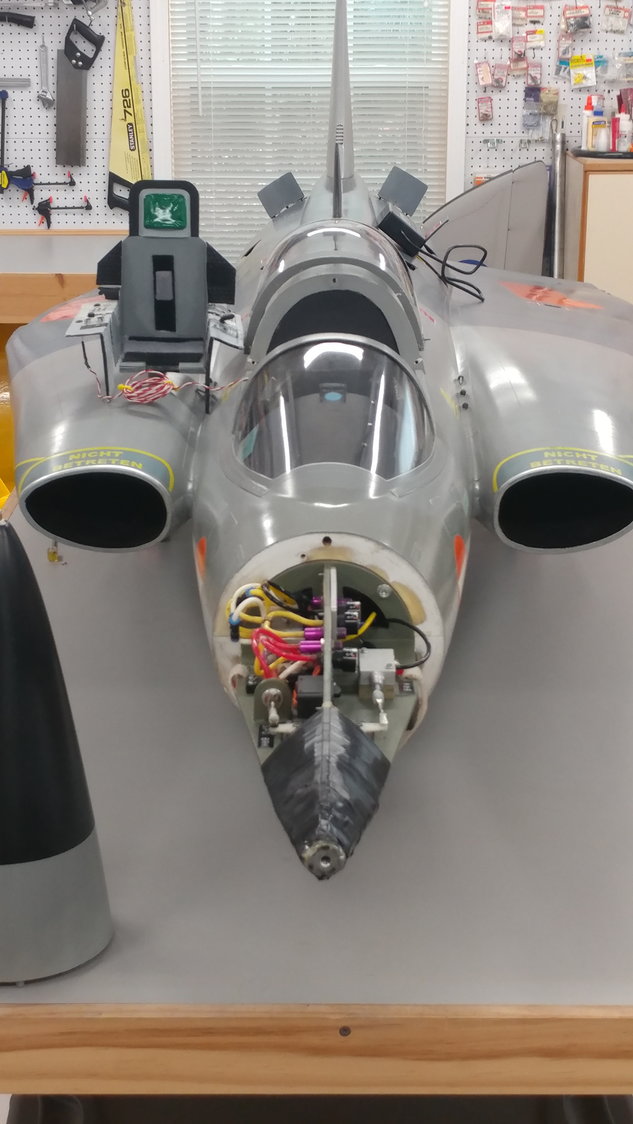
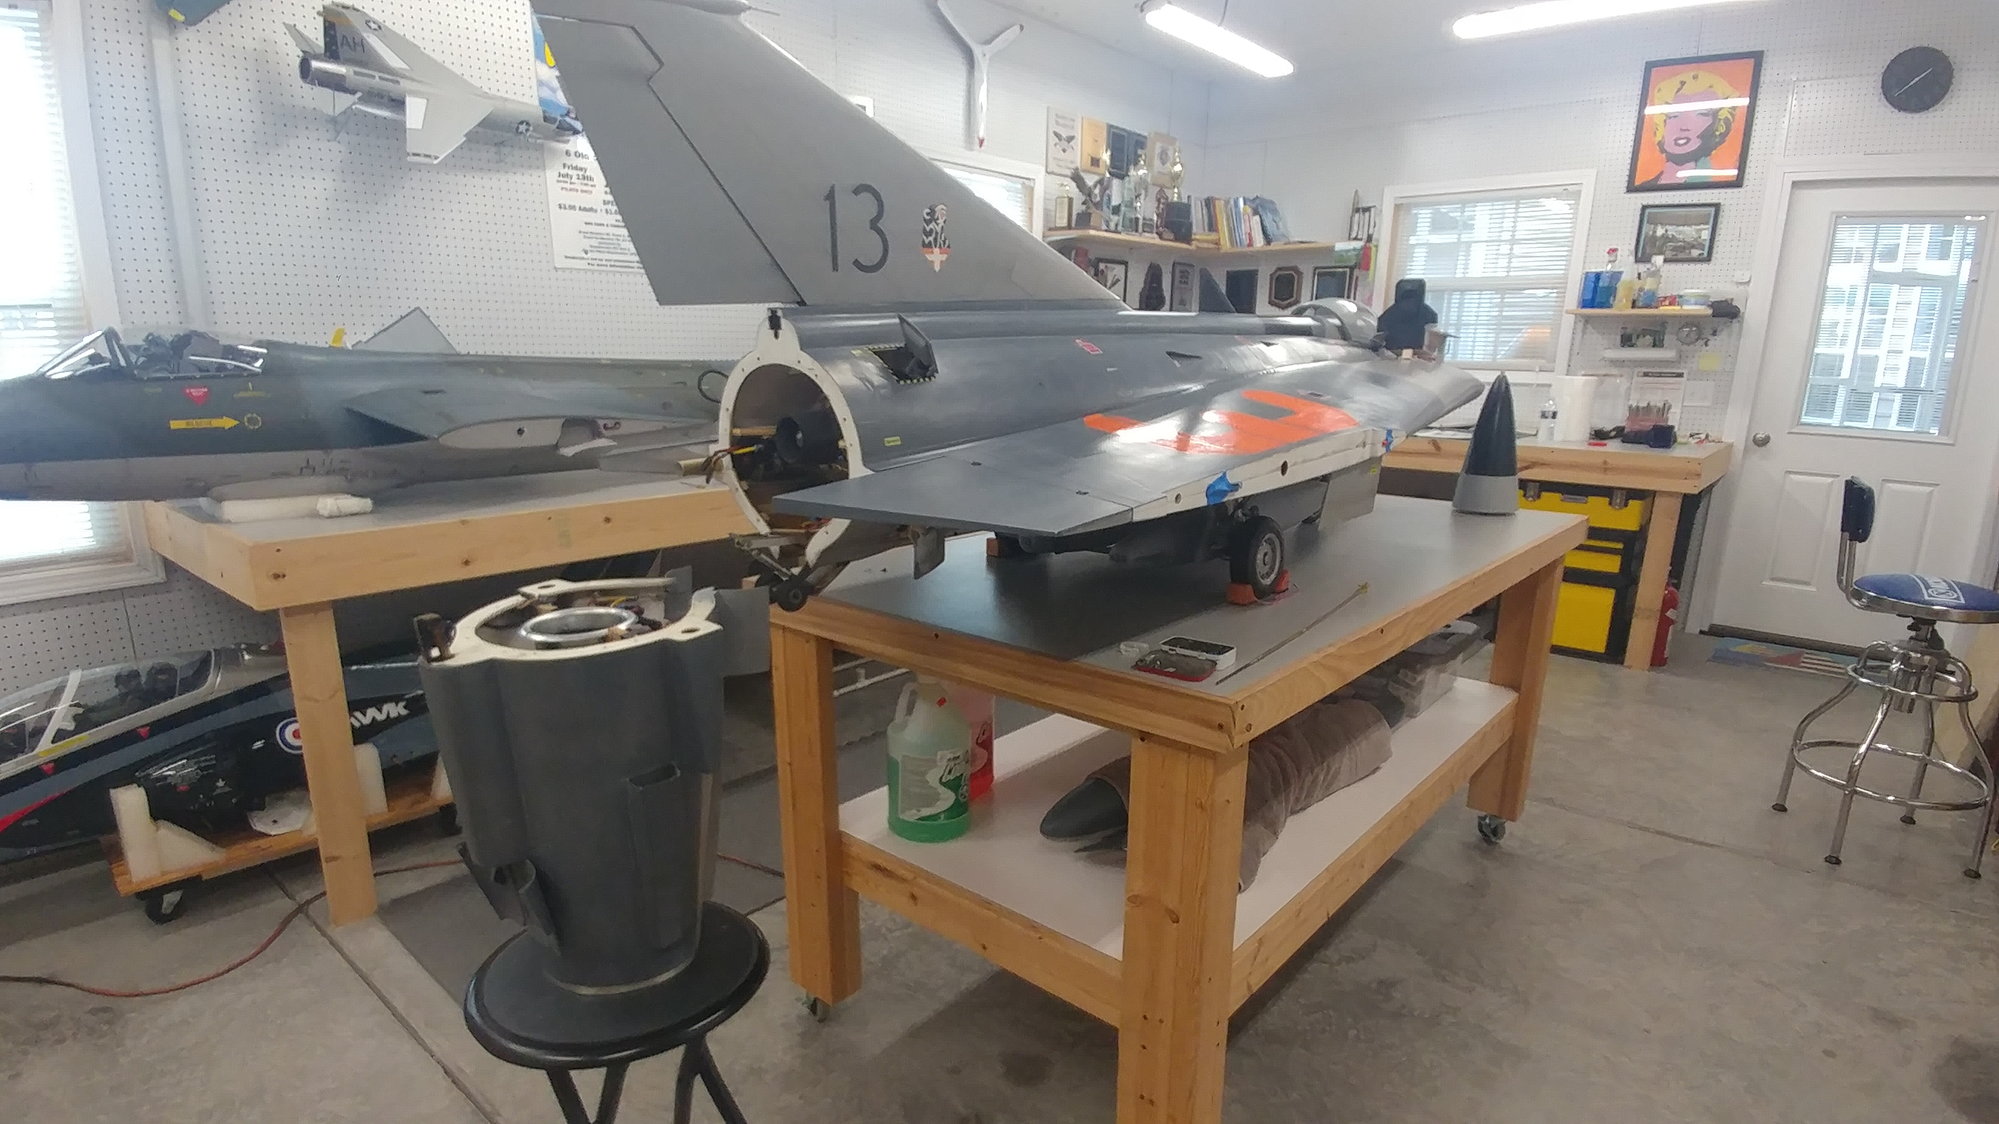
The "D" check began with removing many zip-ties containing bundles of wires under the cockpit floor, and the nose electronics, and checking for chaffing...None found!
The aft-fuselage was separated so as to reveal the speed brake pneumatic manifold and to service with thin-lube type O-ring rejuvenator.
Turbine mount, and all peripherals checked and in order.
Airframe tail-wheel and door cylinders thin-lubed and inspected.
The turbine solenoids were swapped as I have done every two years. The gas solenoid swapped for the fuel and vice versa. So far it as kept everything lubed and performing well with this practice.
I have alternated between two exhaust pipes every two years, and discovered the installed one to be missing a mounting/bell mouth tab screw, and one side of the actual plywood pipe mount to have broken free. The thing was being held on by '1' screw...Whew, glad to have caught that!
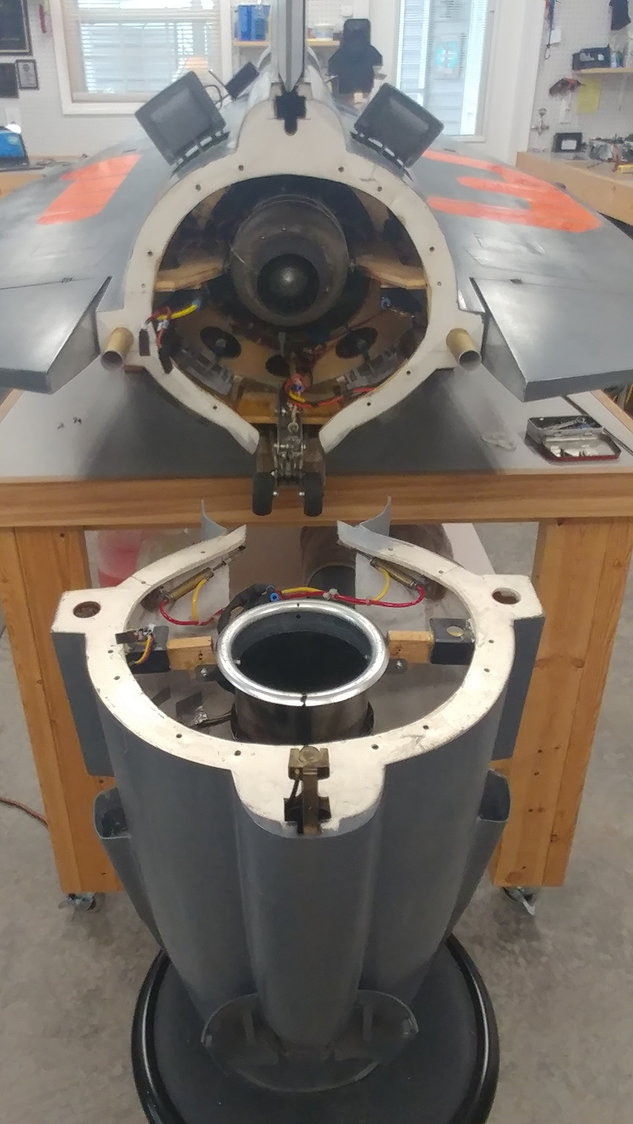
There was evidence of time/heat damage to airlines, and replaced. Secured, and heat shielded once again prior to re-assembly.
The original "Dan Gill" 'Auto-chute' system was zeroed out, and re-configured so as to begin fresh. Wheel hall-effect sensor may have to be replaced, There is evidence of tire side-wall rub on the sensor face, further testing to follow.
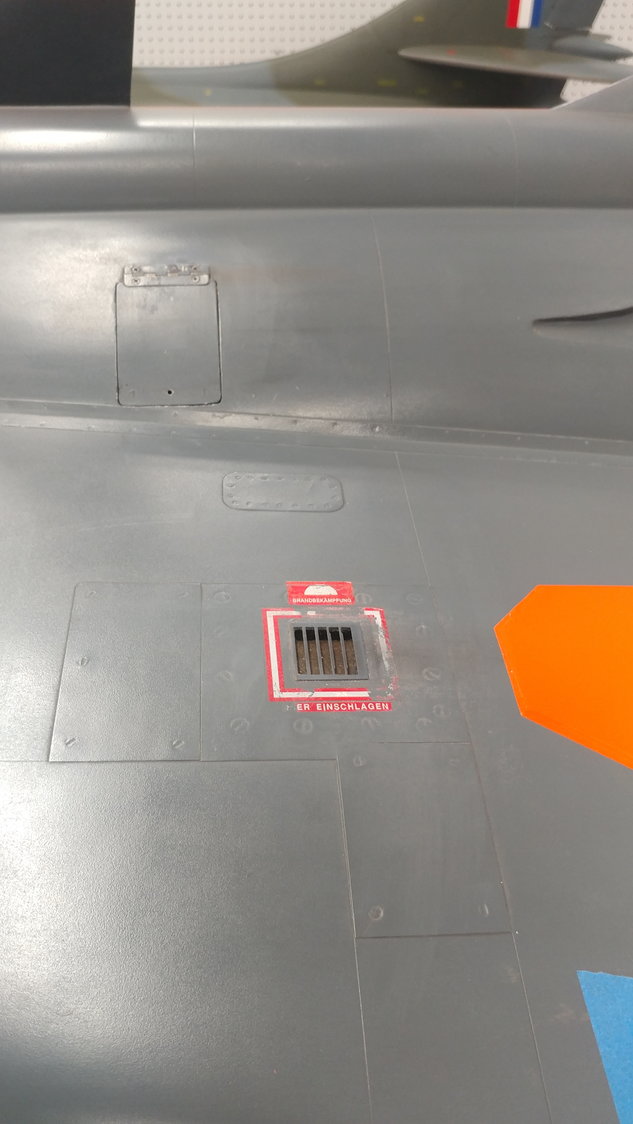
14 years of outdoor exposure, the occasional caught in a rain moments, and the combination of transport, and hangar rash had taken its toll. The paint, and nomenclature had seen better days.
I actually had what looked like oxidized paint blemishes throughout the fuselage, so It was given a complete rubbing-compound rejuvenation. In the end many decals were replaced with the assist from the guys at Tailormade, Germany.
The most notable face-lift is the dead accurate paint-mask provided by Tailormade for the upper # 13. I finally have the correct Austrian numeric outline for my jet! These were then rubbed down with 1500 wet sanding to flatten the gloss down a few notches.
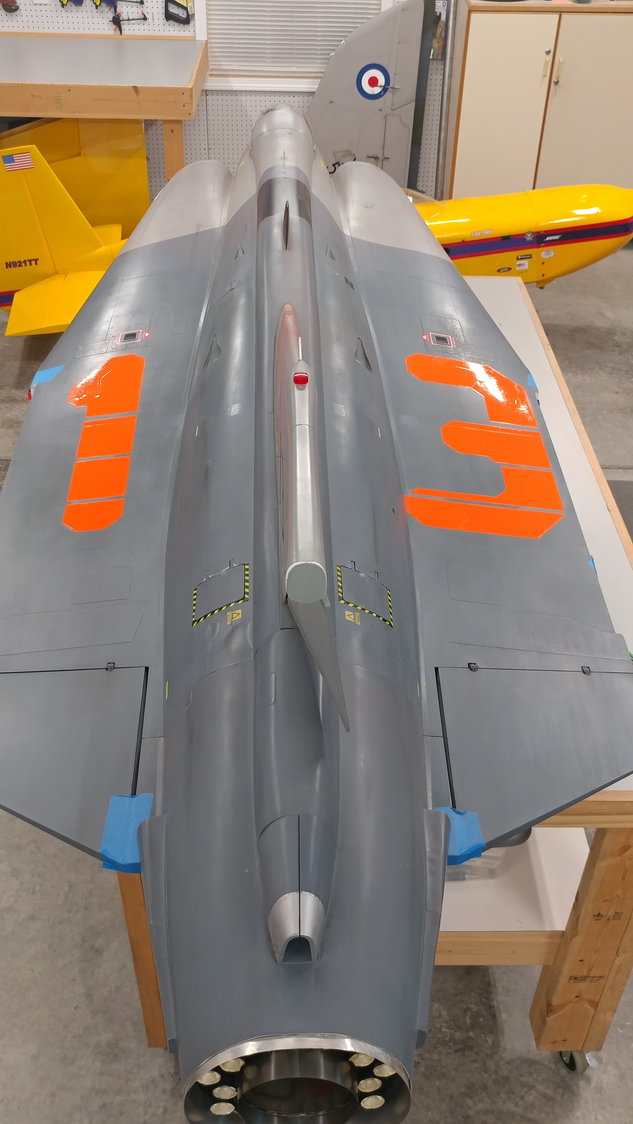
The numbers 13 with a flatter finish, and the assorted new/restored nomenclature.
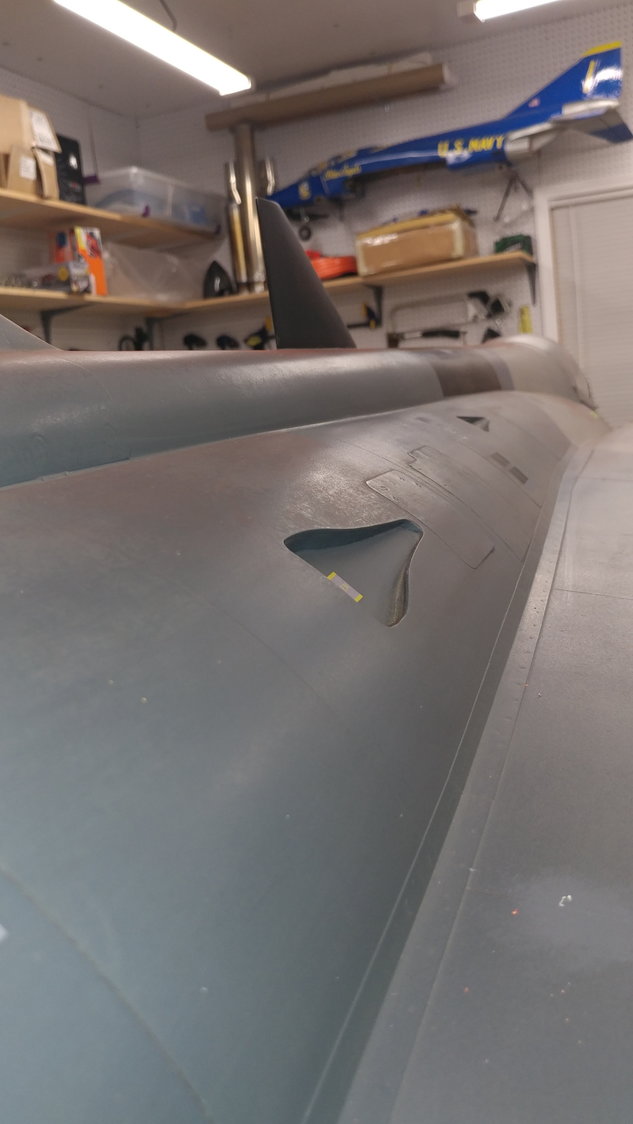
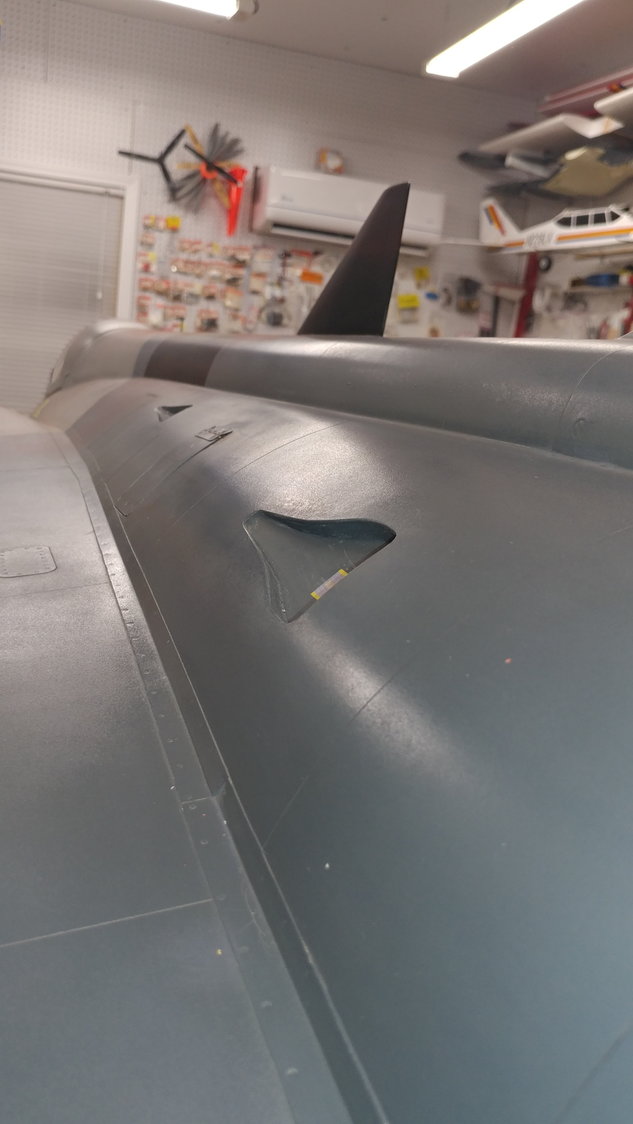
The following two photo's display the surface paint blemishes that had developed over the years, and corrective results.
You can see it around the NACA duct on the right side.
Here is the before:
A
nd after paint compound application:
Example of the nomenclature wear. All have now been replaced, or restored and looking great. More pic's to come soon of the completed restoration.
In the coming weeks as my health improves post-surgery, I should be able to turn the jet over in its cradle to have a good look at the landing gear, steering cables, and associated components on the belly of the jet.
This jet with its complex pneumatics (14 air cylinders) has survived many seasons of aggressive flying. To say it requires a heavy maintenance discipline would be an understatement! Man, I am always on it after a few days of flying work-ups!
Admittingly, every minute has been worth it.
Talk to you guys in a few weeks with more overhauling of the Draken.
Take care,
Franko