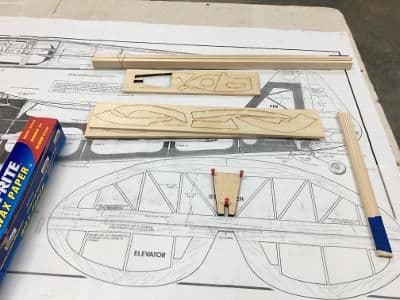
The plans were flattened (mostly) and the kit unpacked and inventoried (completely), so it was time to start putting things together. The instructions recommended starting at the back, so I did.
There’s not much new and different to report about constructing the tail surfaces. I did scuff the burnt areas to eliminate the micro tabs that laser-cutting produce and to improve glue adhesion. Speaking of adhesion, I like to use a Top Flite Woodpecker on wood surfaces to promote glue penetration in joints.
For glue, I relied on Bob Smith Industries medium CA. A sheet of wax paper protected the plans. A preliminary block sanding took care of the slight difference in thickness of the various pieces.
I’m going to save rounding and beveling until I decide on the type of control system I’ll use.
 Piece #1 pinned in place.
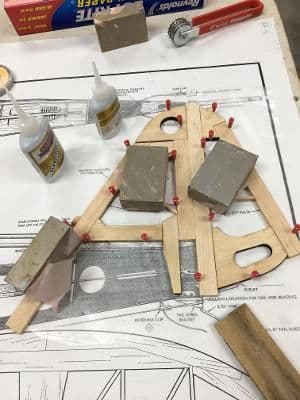
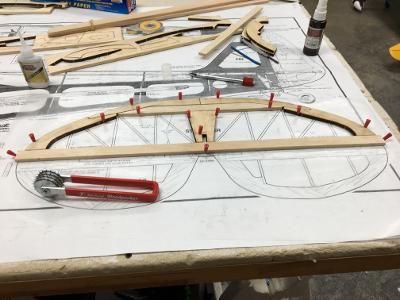 Horizontal stabilizer perimeter pinned and glued.
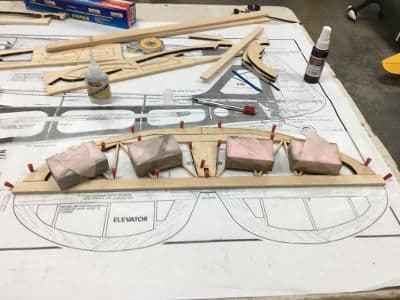 Horizontal stabilizer filled in and weighted down while glue cures.
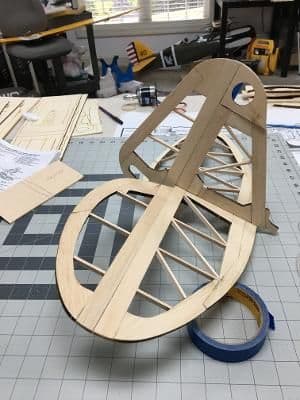
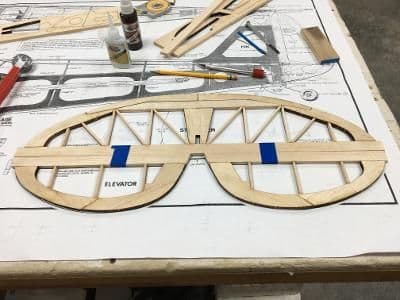 Stab and elevator finished.
 Same for the fin and rudder.
 Tail feathers ready for rounding and beveling.