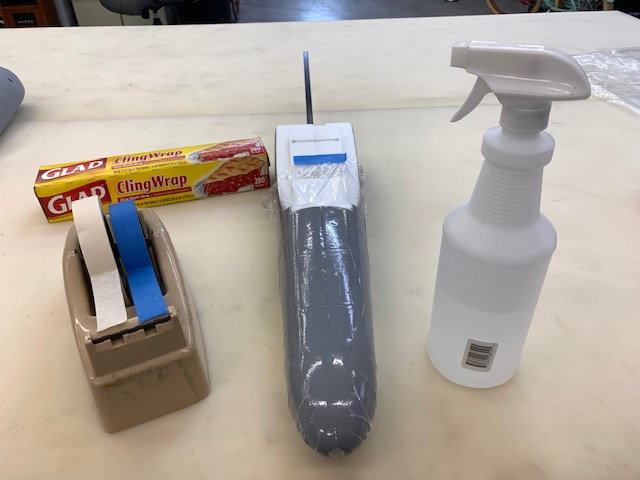
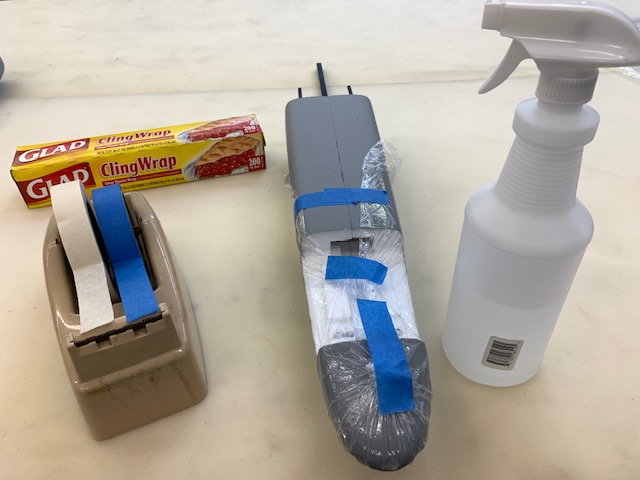
The first step was to make a fiberglass tail cone that I could later cut to fit around the pipe to make a smooth exit hole from the fuse. I used Paul A's technique of using the foam fuse part as a mold and wrap as a release. Water is sprayed on the fuse and plastic wrap stretched over the part and taped in place.
I found that the plastic would not stretch around compound curves very well but it did not affect the final part since it was cut mostly above the wrinkles.
Plastic wrap pulled and taped on bottom. A light coat of wax was rubbed over the plastic wrap
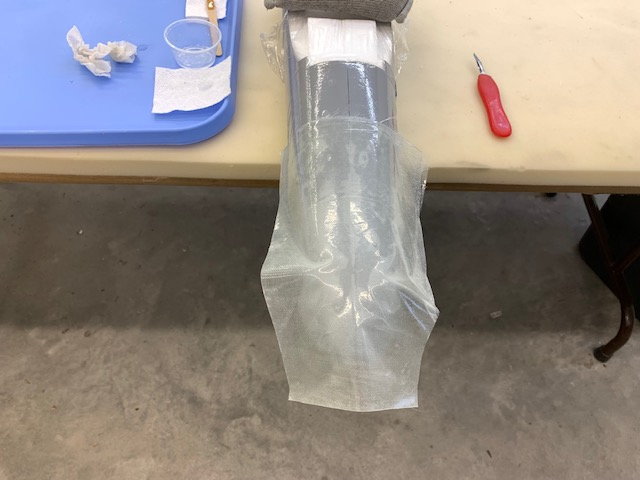
I used Paul A's technique of using two layers of 3 oz. cloth on 45 degree bias wetted out between plastic sheets. Then the pattern was cut out and bottom layer of plastic removed. The glass with top layer of plastic still on is transferred to the the fuse mold.
Top layer of plastic removed and glass stretched around the fuse mold
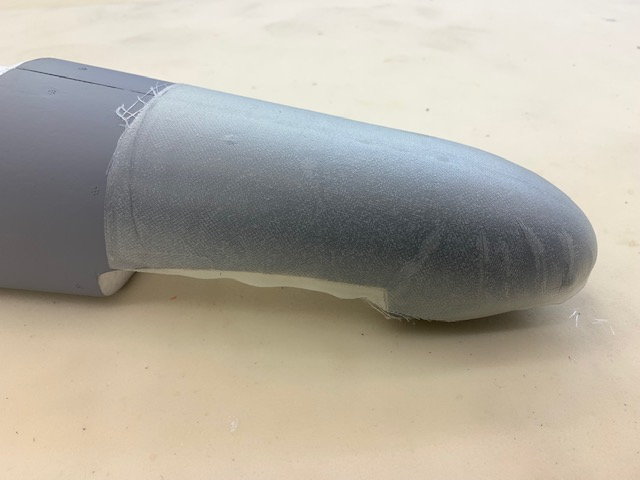
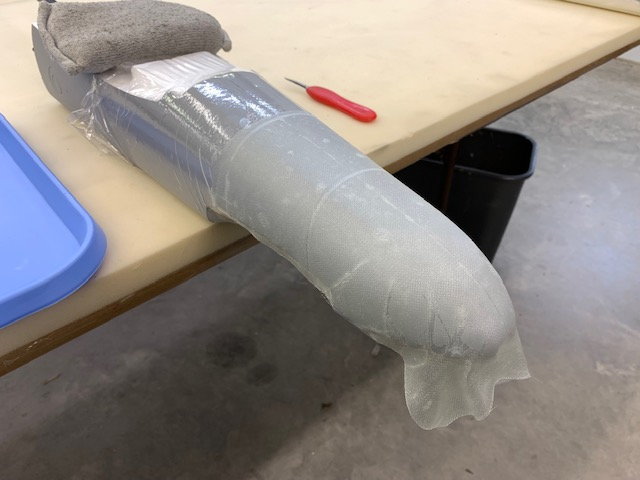
Epoxy cured and glass trimmed
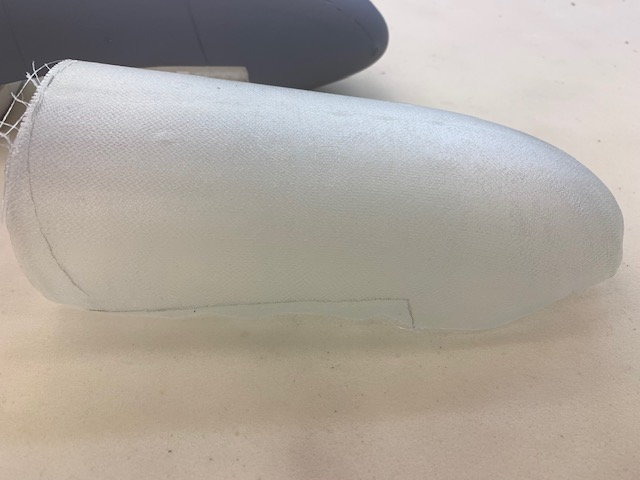
Fuse lines traced and glass part pulled off mold. Not bad for my first try. Later most of the wrinkle parts were cut away and or easily filled.
The gross error I made here was forgetting to turn the fuse over and make a part for the bottom of the rear fuse. I got in a hurry to start cutting foam and I had to make it later after I had already cut out the foam for the pipe exit and it was much difficult. Also if I were to try it again I would probably use silicon or vinyl tape instead of plastic wrap for the compound curve areas. The plastic wrap just did not work well on the compound curves.