I am happy to report that the EPDM bands are working great on concrete. They are low cost and are easy to install. The grip level is just what I was looking for.
I had noticed the motor getting very hot when I was testing the carpet tire I created. So I bought some 30X30X10 12vdc fans and designed a mount for it that holds it just above the motor.
I used one of these fans on a G scale Christmas train because the motor was getting very hot. It made a huge difference in motor temp on the train motor so I thought I would try one on the car.
I have a few things I need to update on the chassis side frames but I want to do some testing to be sure there are no other changes I need to make.
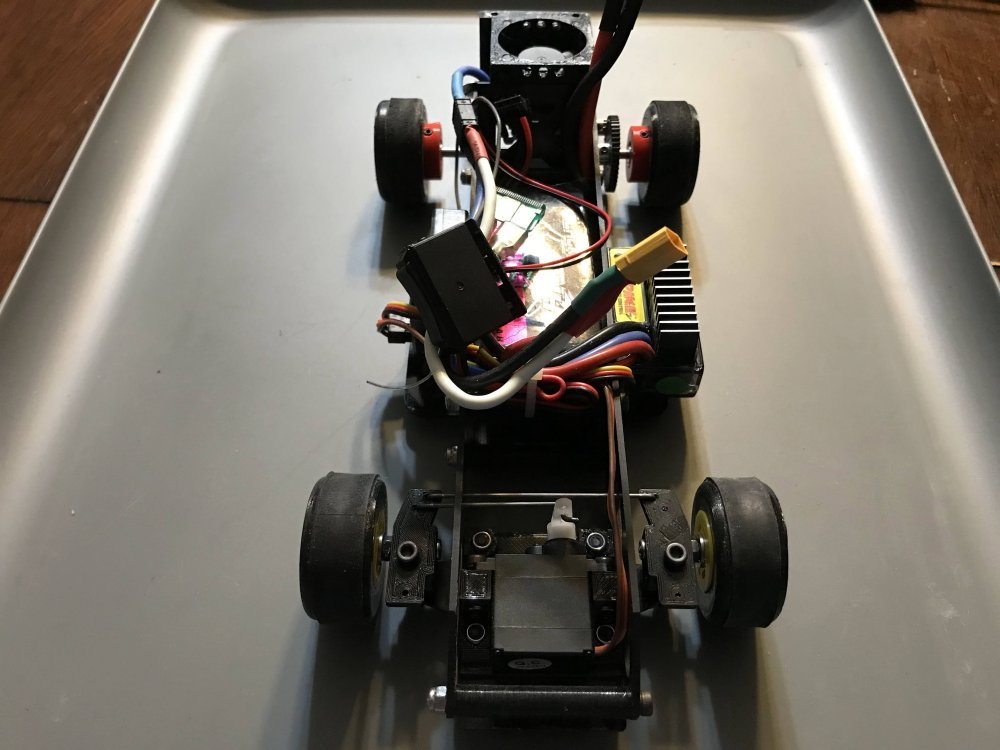
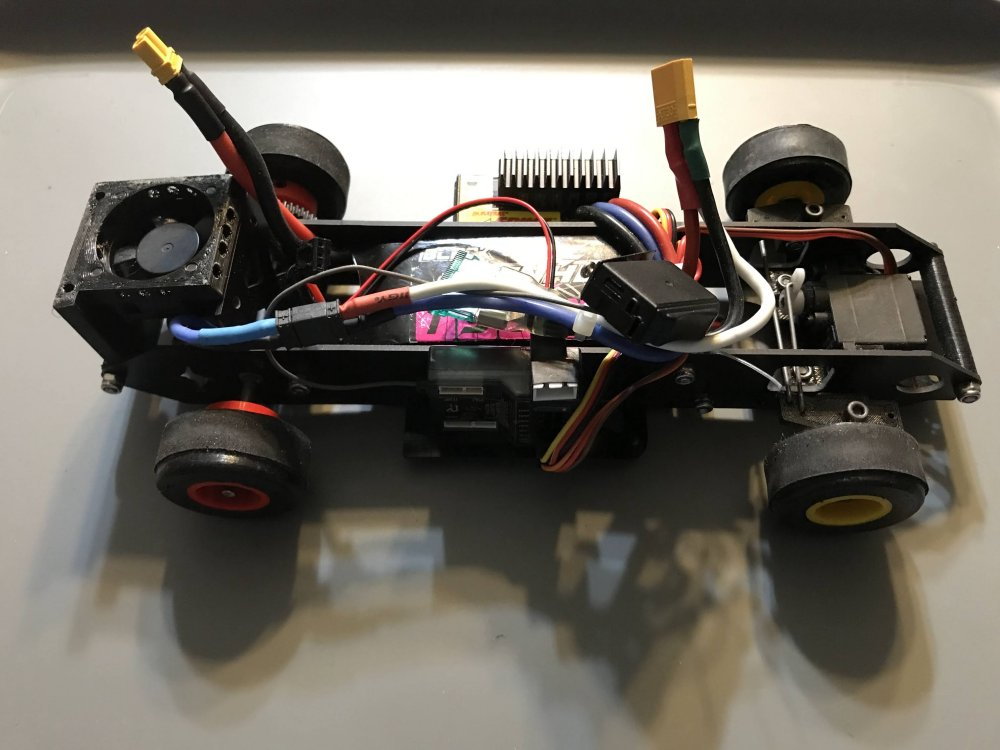
Below are pictures that show the tires after testing traction today as well as the cooling fan and how it was mounted.

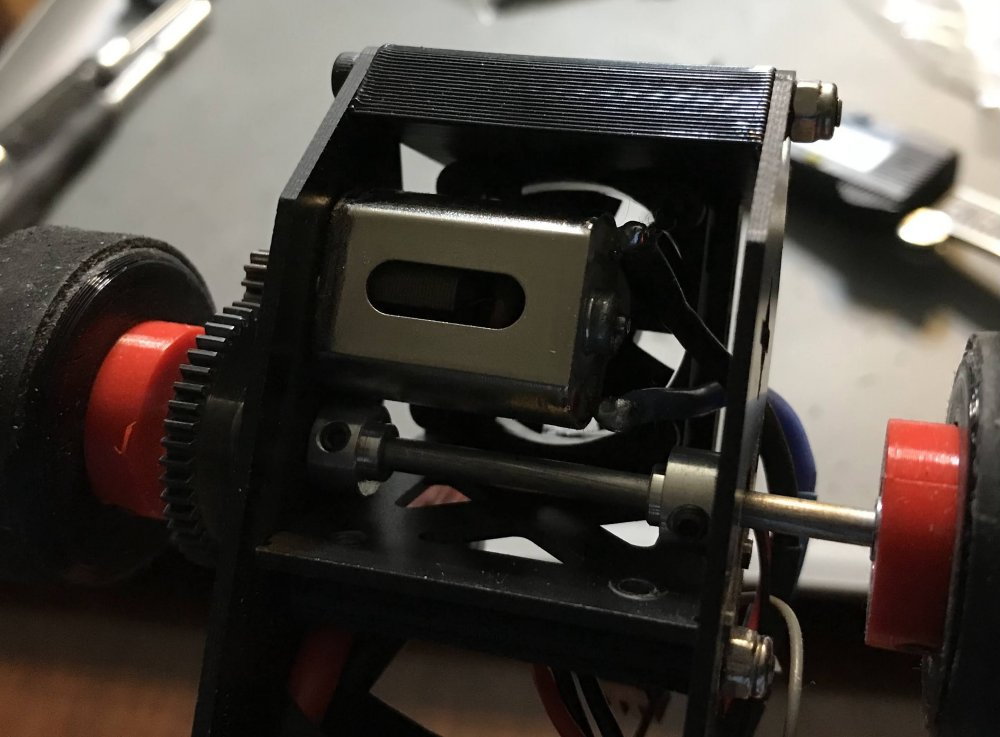
The cooling fan was mounted after the tire test. I will report back if it helps to keep the motor temp down.
Note how clean the steering linkage is. This offers much better steering control. (more on this later)
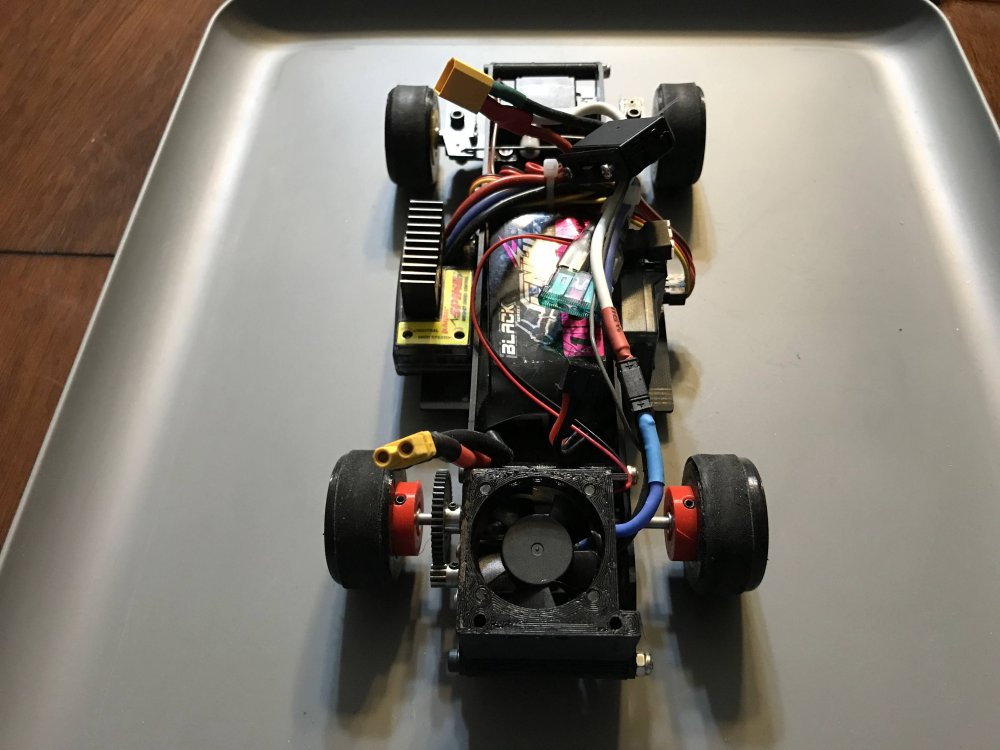
The top of the fan mount is going to be close to the body hints why I have the holes in the side of the mount. That should help with air flow.
The tires look good after testing, Note the different width bands. I could not tell any difference.
Here is a quick video of the car as I try to keep it in the frame. It had rained so the concrete was not fully dry. It was also getting dark and I was not setup to take any video.
But I did get a little to post here. Also the throttle was cut back to 47%. This is a good way to learn to drive. As the driver gets better just keep turning the throttle up.
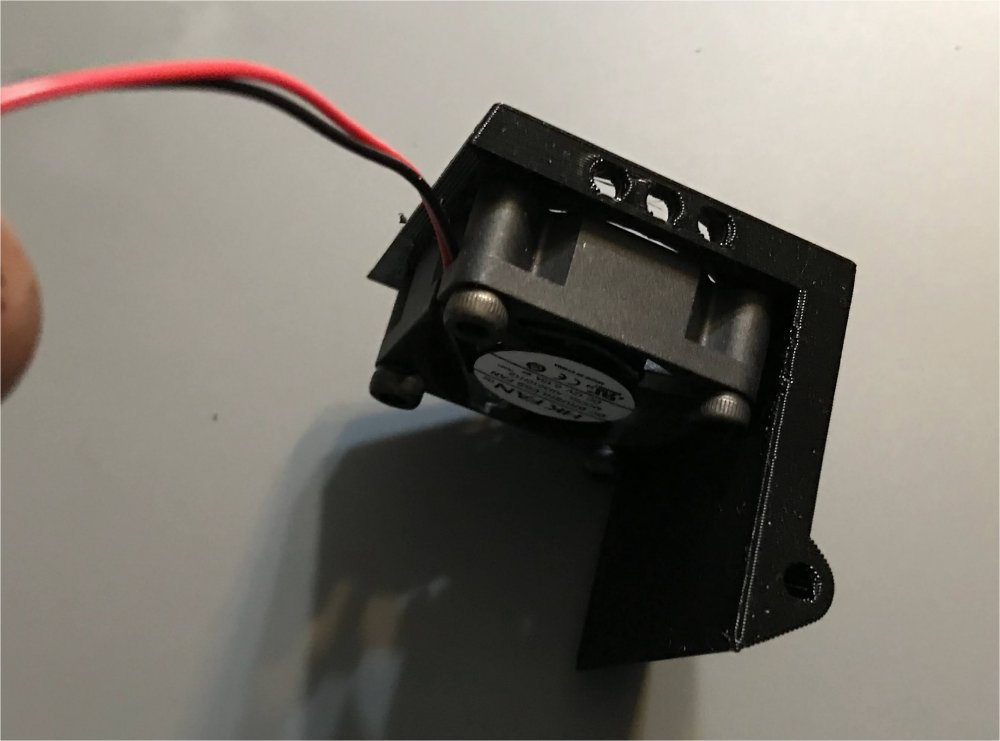
Fan mounted to the mount.
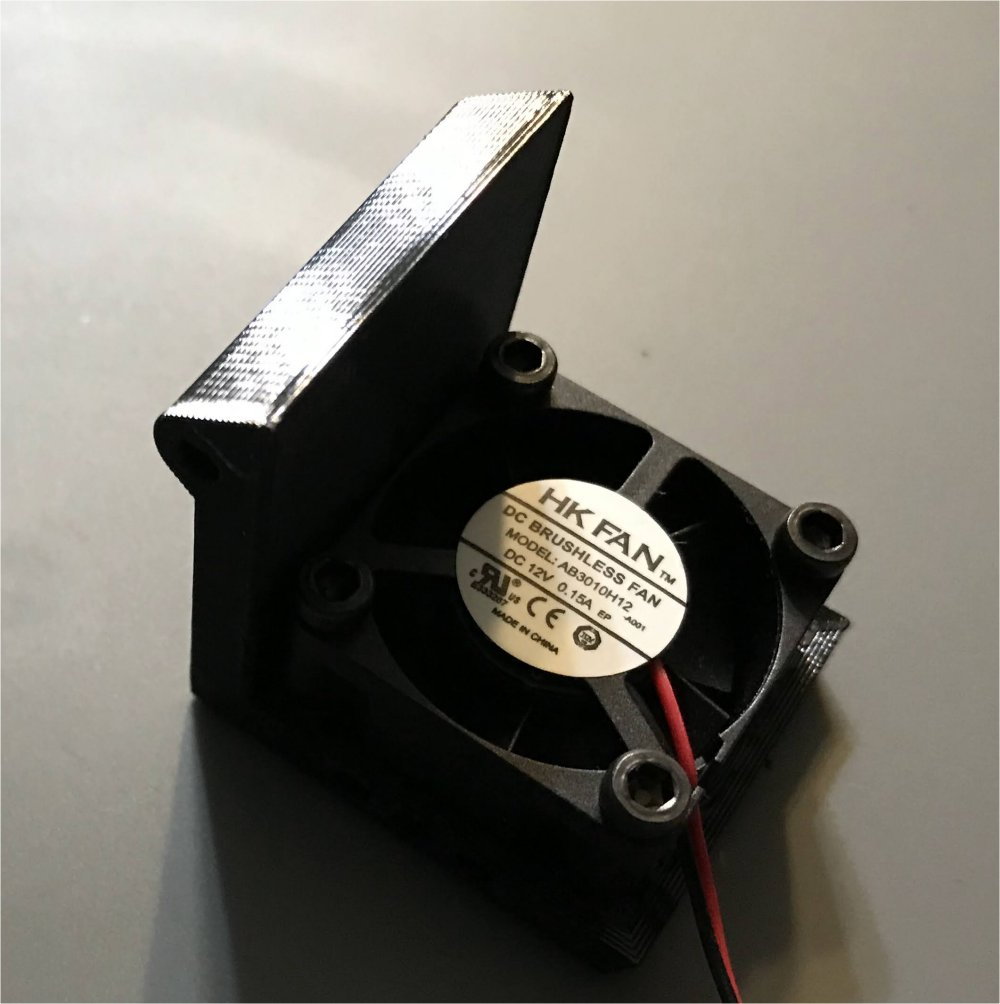
Simple to install.

The cooling fan rest just above the motor. Note the cooling fan mount replaces the rear chassis spacer.
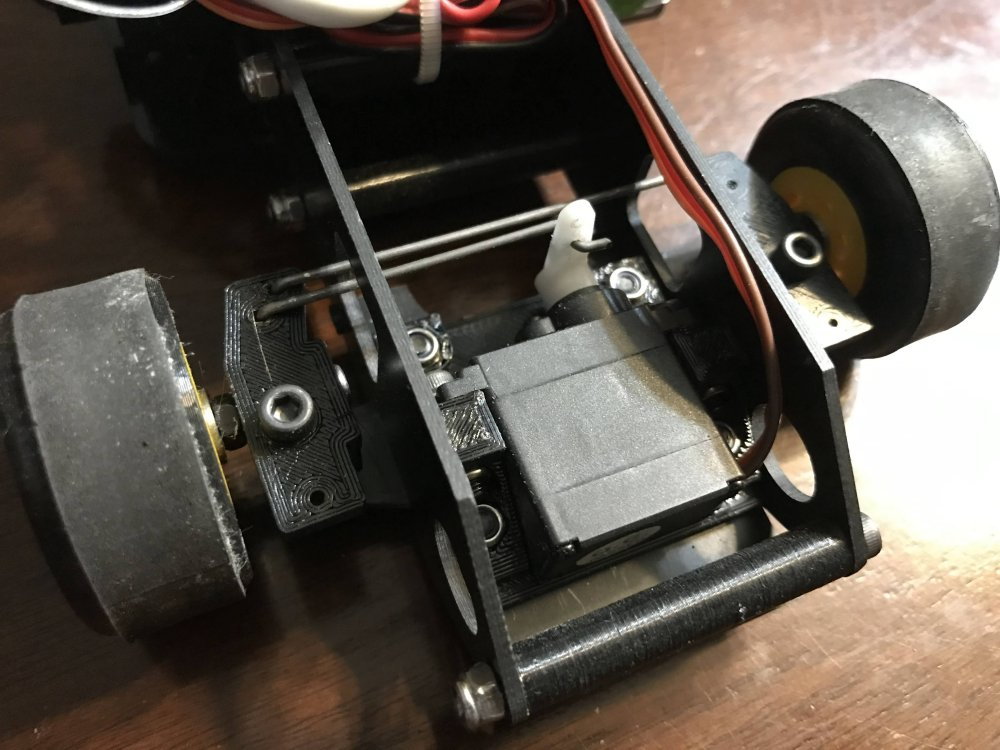
Bottom view with the cooling fan mounted.
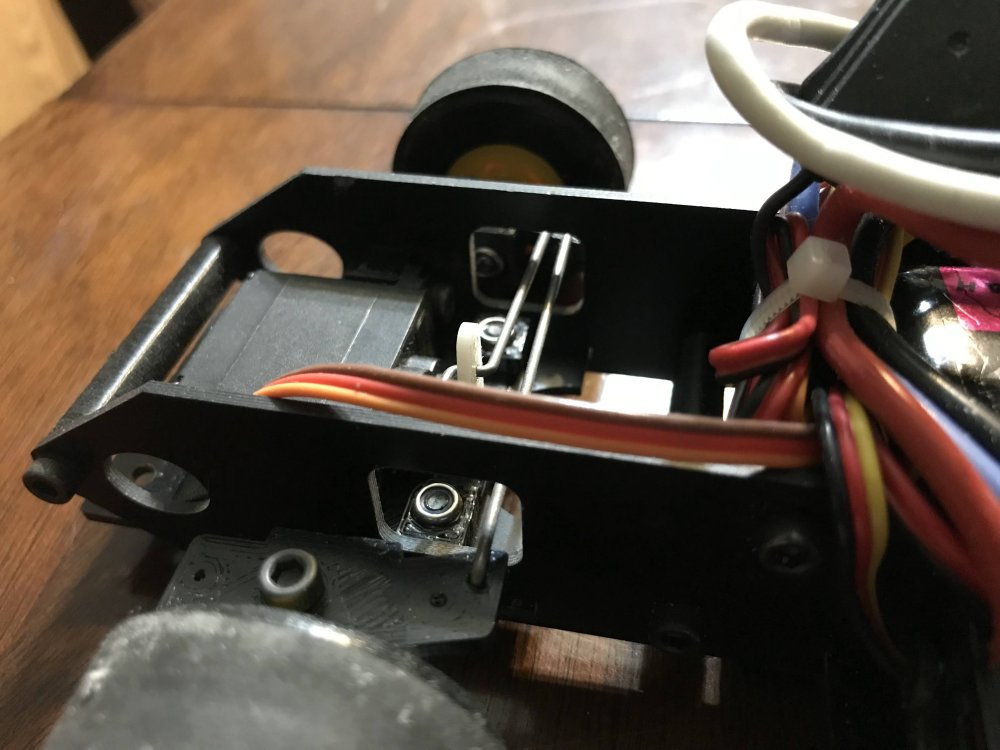
Here are a few more pictures of the steering linkage and how it is setup.
The linkage is almost straight across which offers much better steering control.
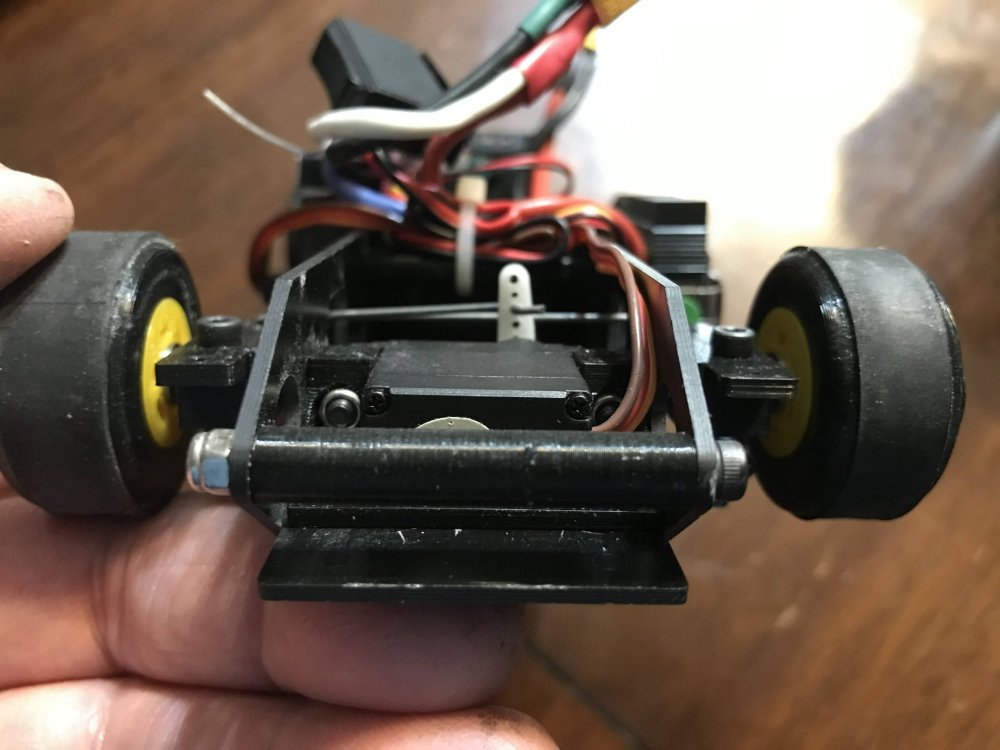
Steering linkage from the front looking back.
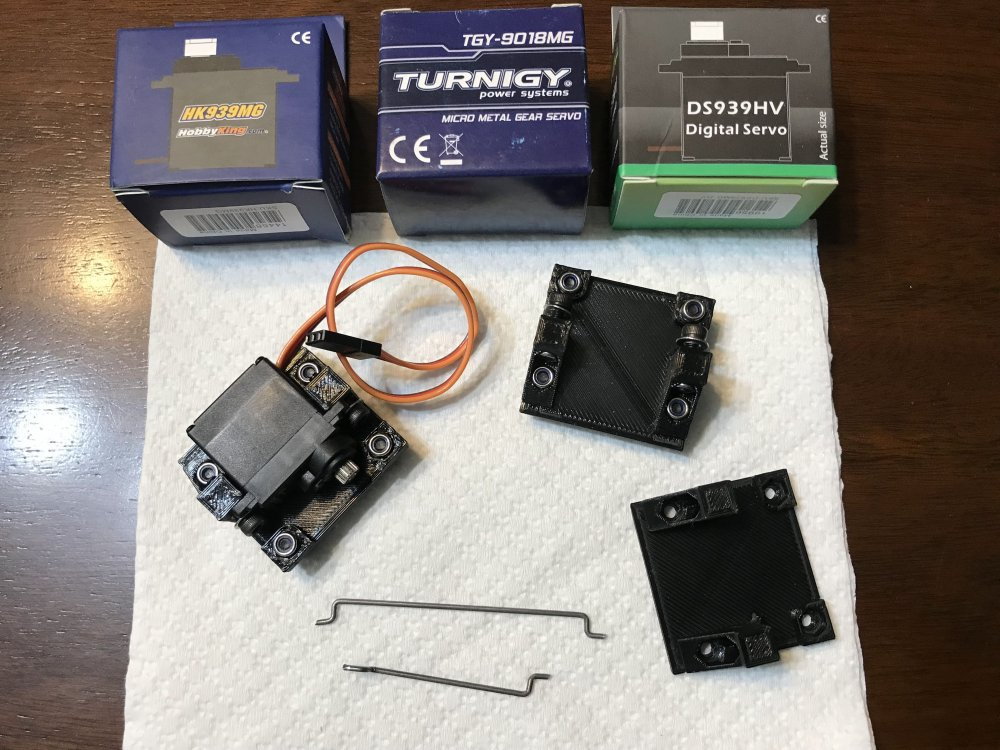
I designed the steering servo mount so that it was easy to mount the servo to it and then drop the servo mount in the chassis and bolt it it place.I have also pre-bent the steering linkage
so setting the linkage up is as simple as putting everything together and bolting it in place. Note the mount fits those three servos as well as many others I am sure.
BTW if you have input or know of a motor/ESC I should run on this model, by all means let me know as I am open to suggestions. I have designed and built many types of RC models but never a car this small.
I am guessing by now it is pretty clear a lot of effort has been put into this little project.
It is a project I have wanted to do for many years. I have thought through many of the details before I even started the project. Which is why it is coming along pretty fast.
My only real concern was the rims and tires. But clearly I have that issue taken care of at least when it comes to running on the concrete I have in my front yard.
That is all for now.
More updates coming soon.
HAPPY NEW YEAR