Now a little information about making your own RC bodies. (Here is how I do it)
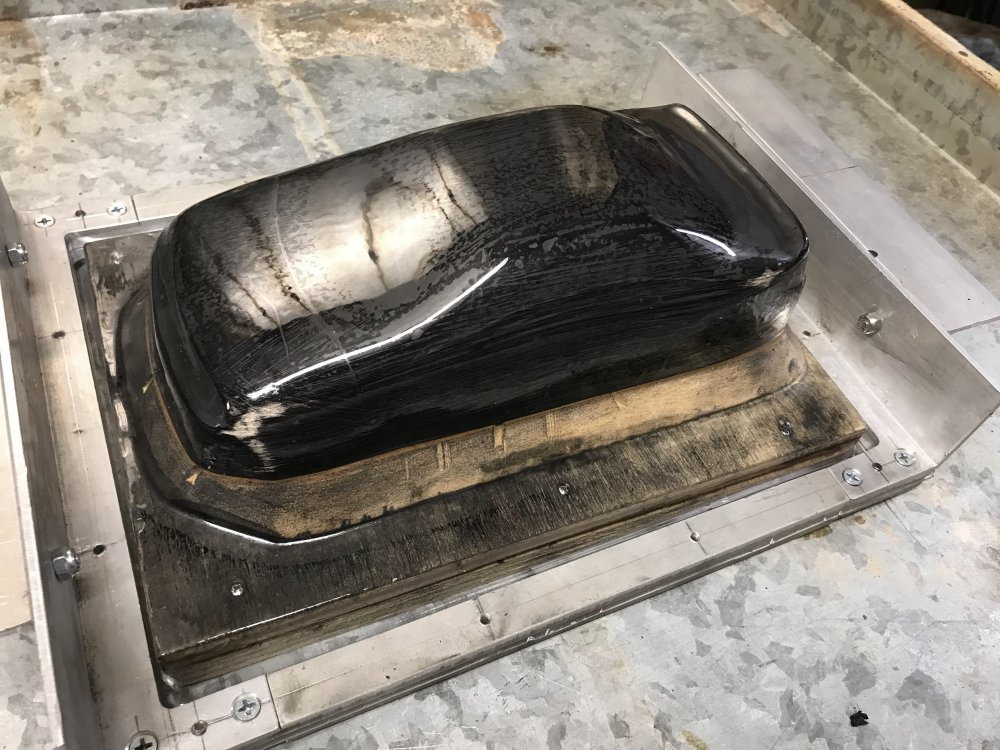
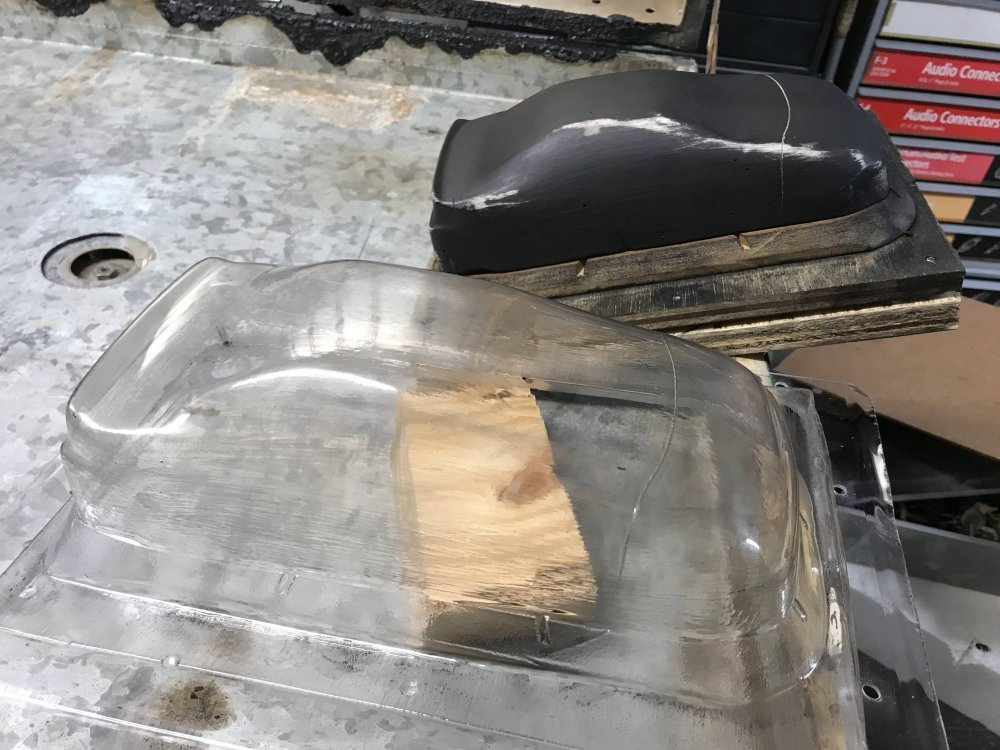 Here you can see that the plug failed across the hood. It Happens!
After you have your plug made then you make the body from it. (I will be making a wood plug for this project. More on this later.
For now I will show the steps I take to form the body.
It helps to have the proper tools. But you can use what you have. One tip though. As you will see you do not need a bunch of holes in your vacuum top. One large hole is more than enough if you use a BUCK
under your plug and elevate it. If you want more information on this just ask and I will cover it. Trust me it is not as hard as you might think.
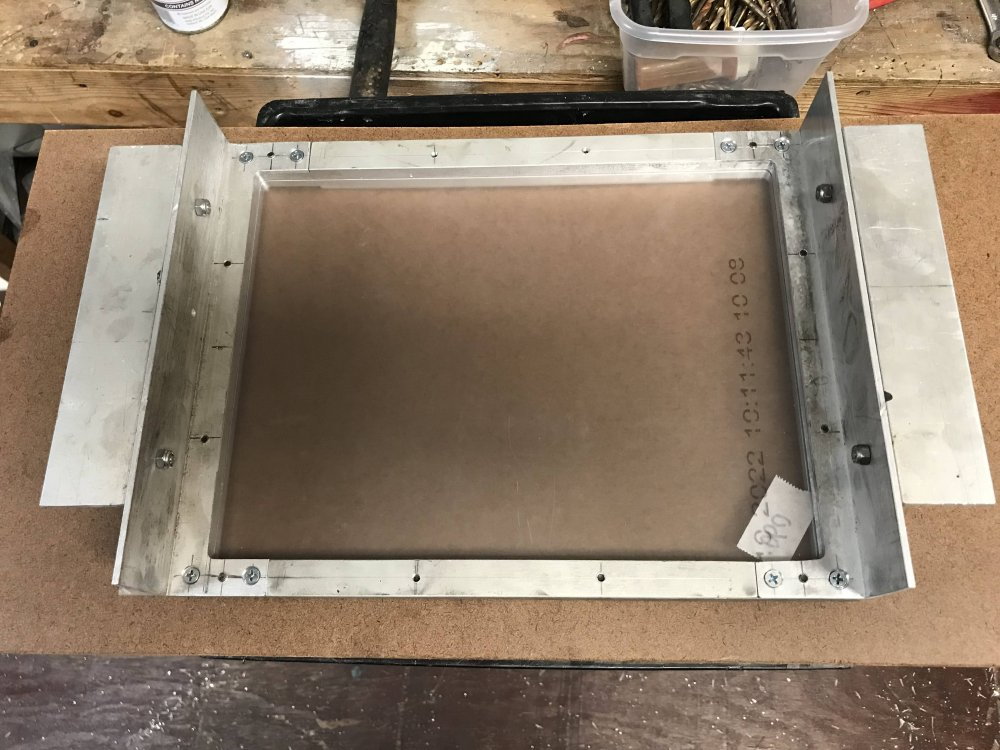
I made a fixture to hold the PETG while it is being formed.
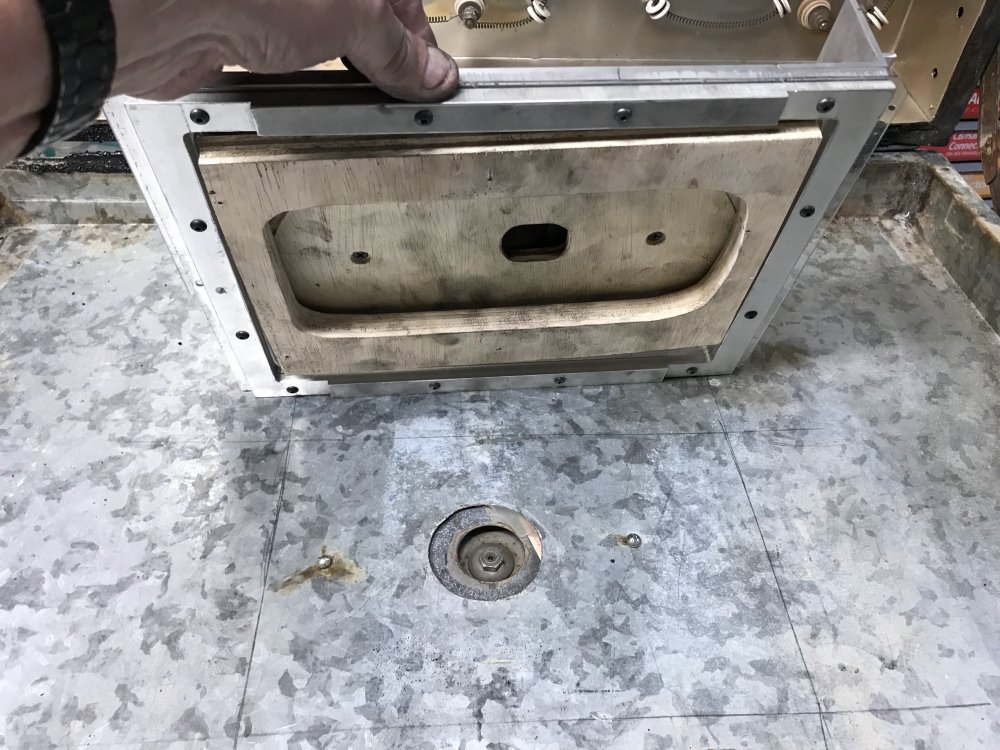
Notice there is only one hole in my vacuum forming machine.
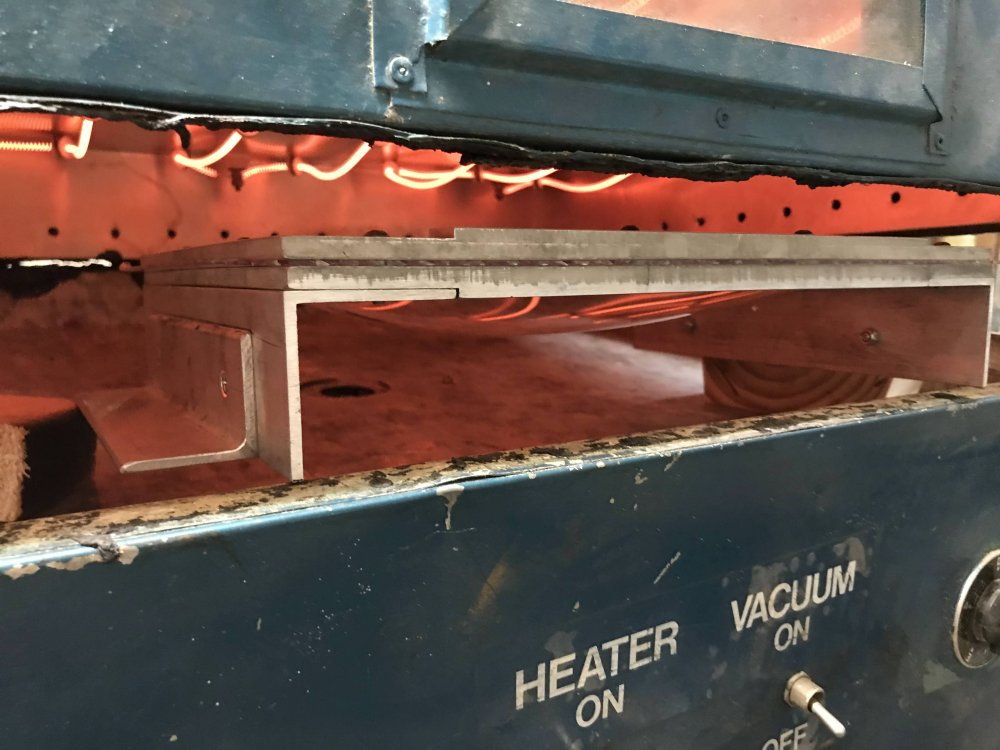
Here is a look as the PETG is heating up.
When the material is ready I place the plug over the hole, hit the vacuum switch, flip the fixture and place it over the plug and push it down. Notice how the single hole does
a great job of pulling the material to the plug. I should note that I coat the plug with cooking spray before I pull the part. That is what you are seeing under the PETG. A good
washing before painting removes the spray.
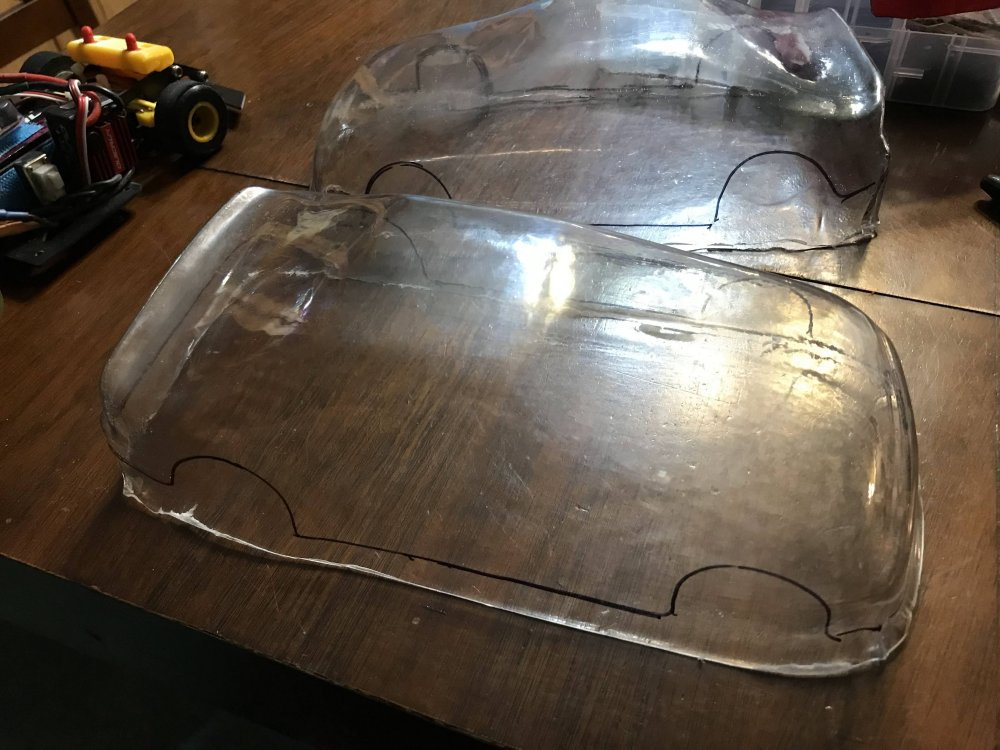
The body is cut from the sheet and given a quick wash with soap and water. Then it is marked for cutting.
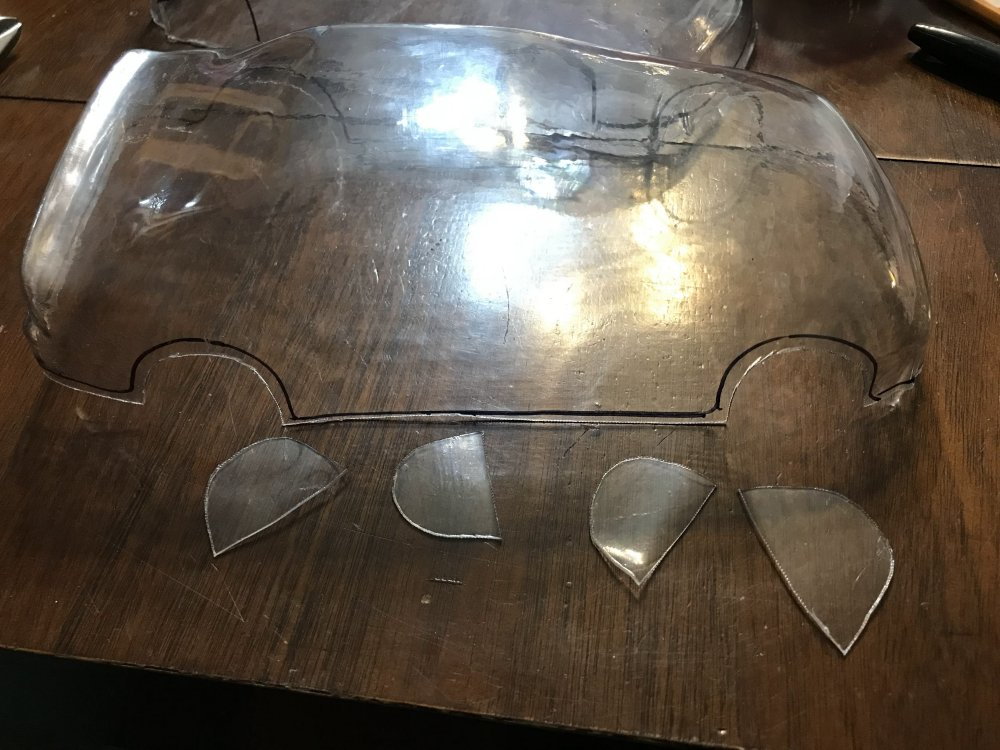
I do a rough cut then finish with a Dremel tool using a sanding drum.
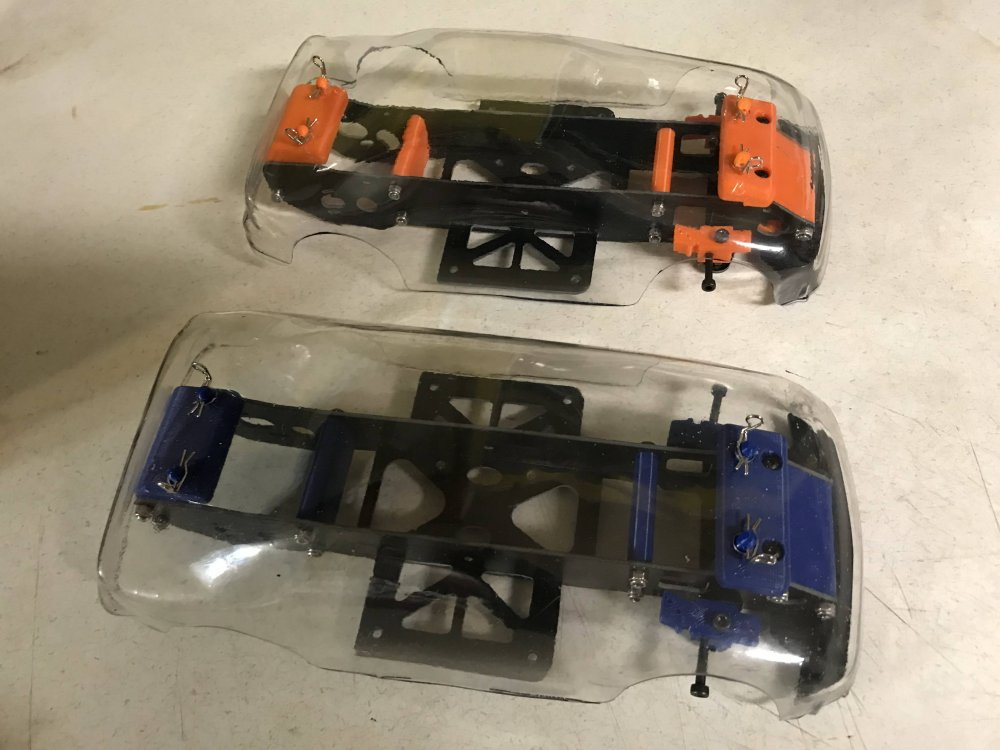
Then I fit the body to the Chassis.
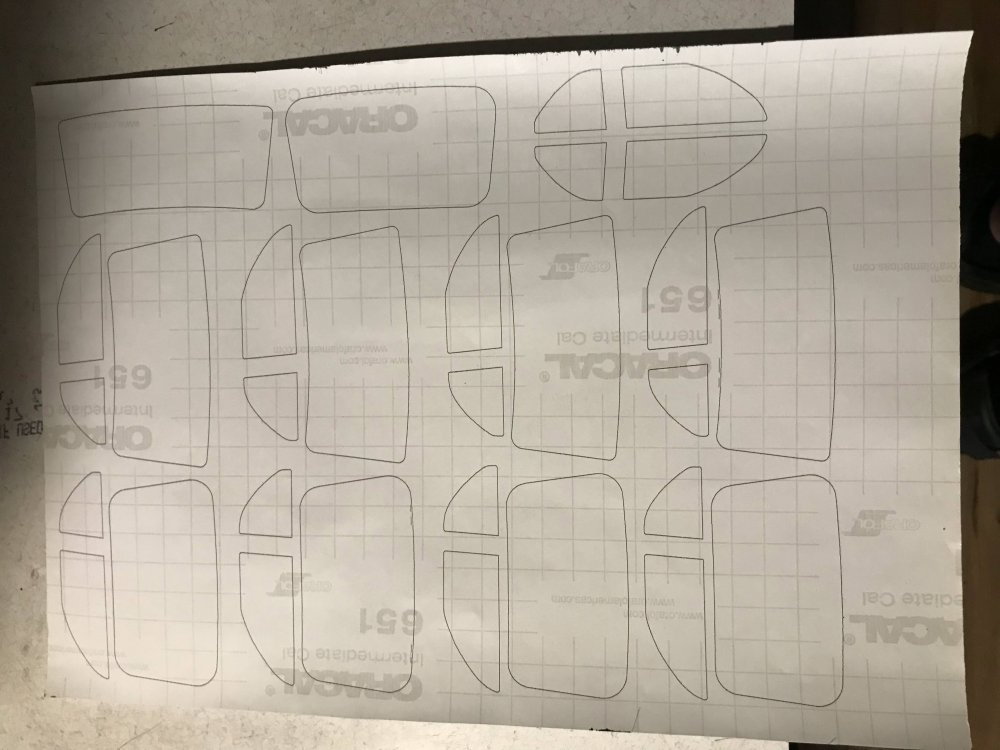
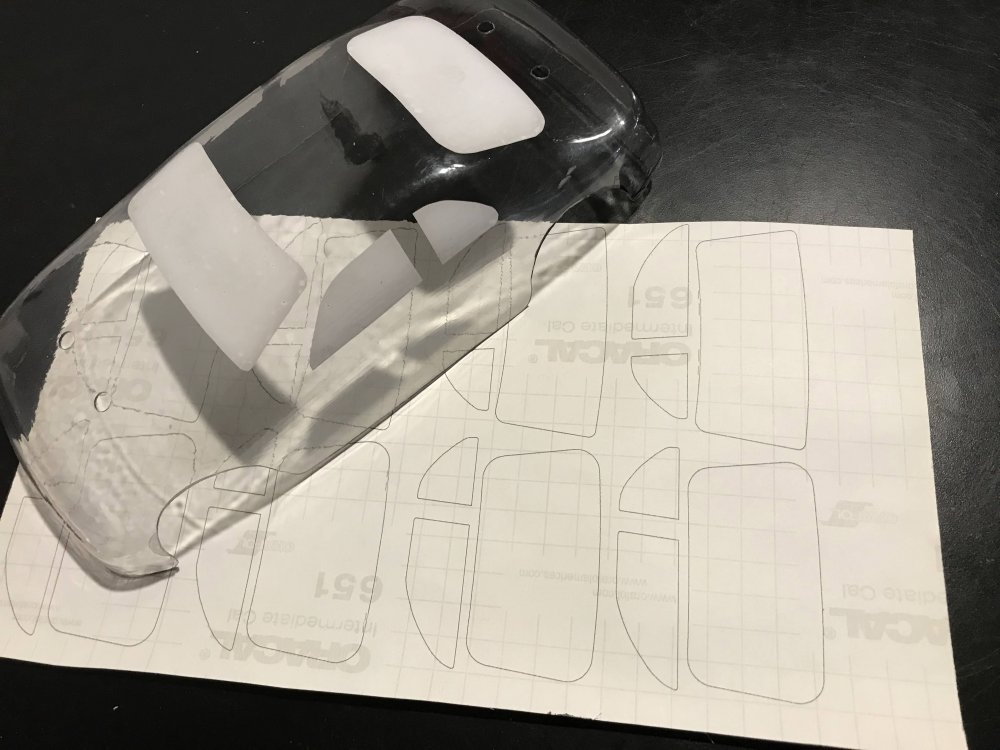
Here is a look at how I covered the windows while painting the body. I created all the windows in CAD and then ran a sheet of vinyl upside down through my printer and printed the window
layouts on the back side.
I marked the window locations and then added the vinyl cutouts on the inside of the body.
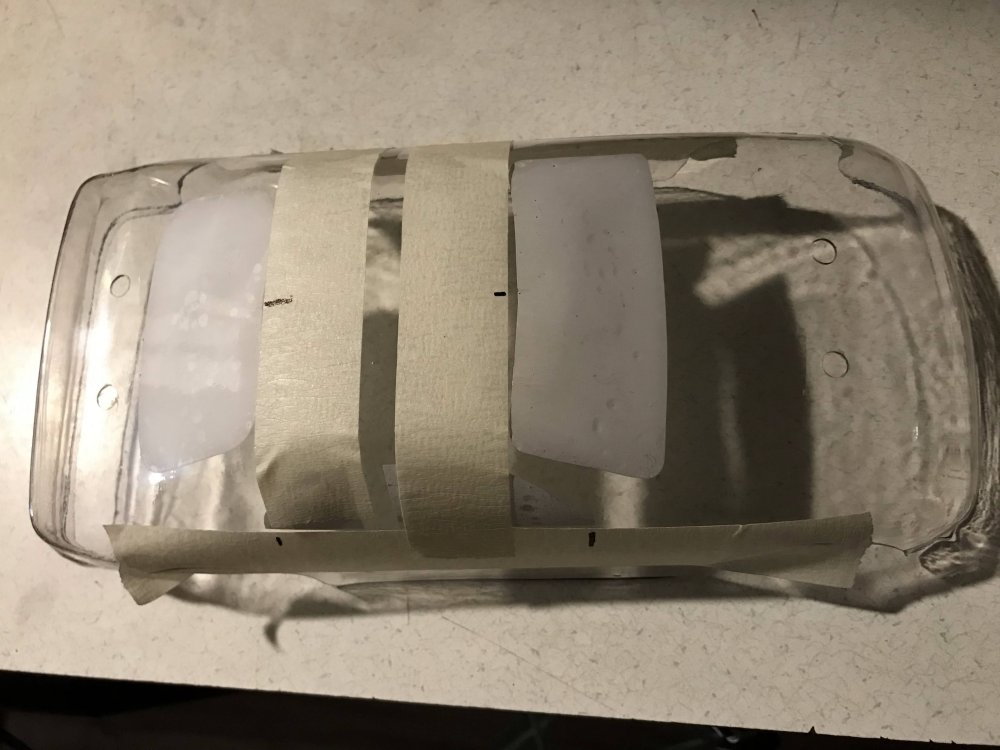
Then I removed the layout tape and covered the body post holes with tape.
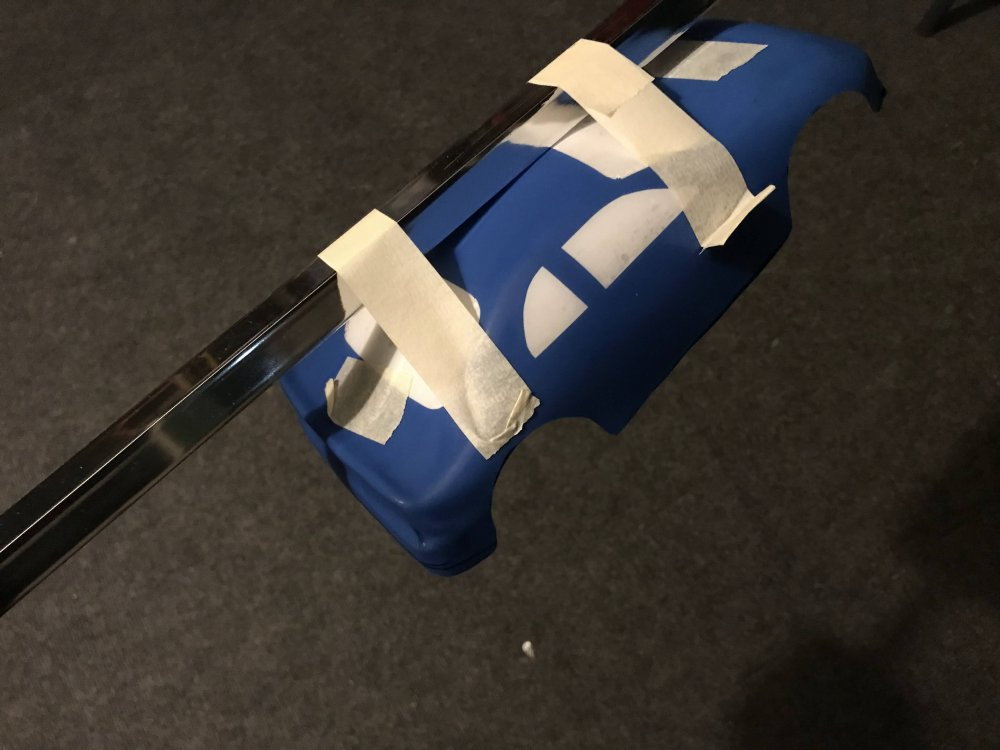
With the body taped so I can hold it the paint is sprayed on.
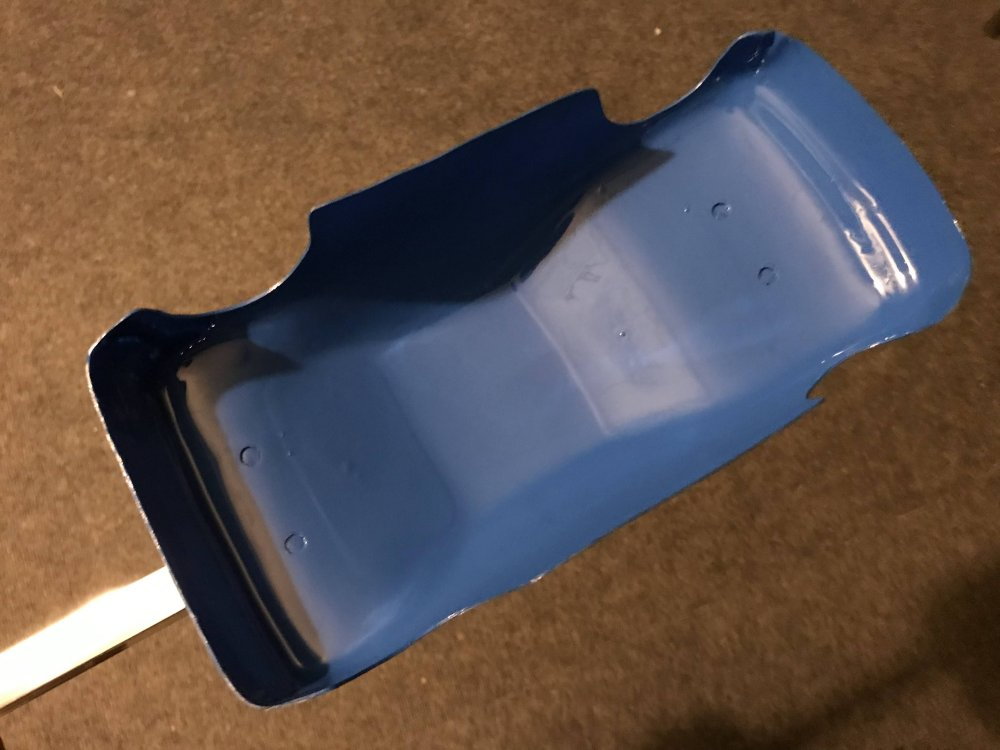
I spray a few light coats and check for any areas I missed.
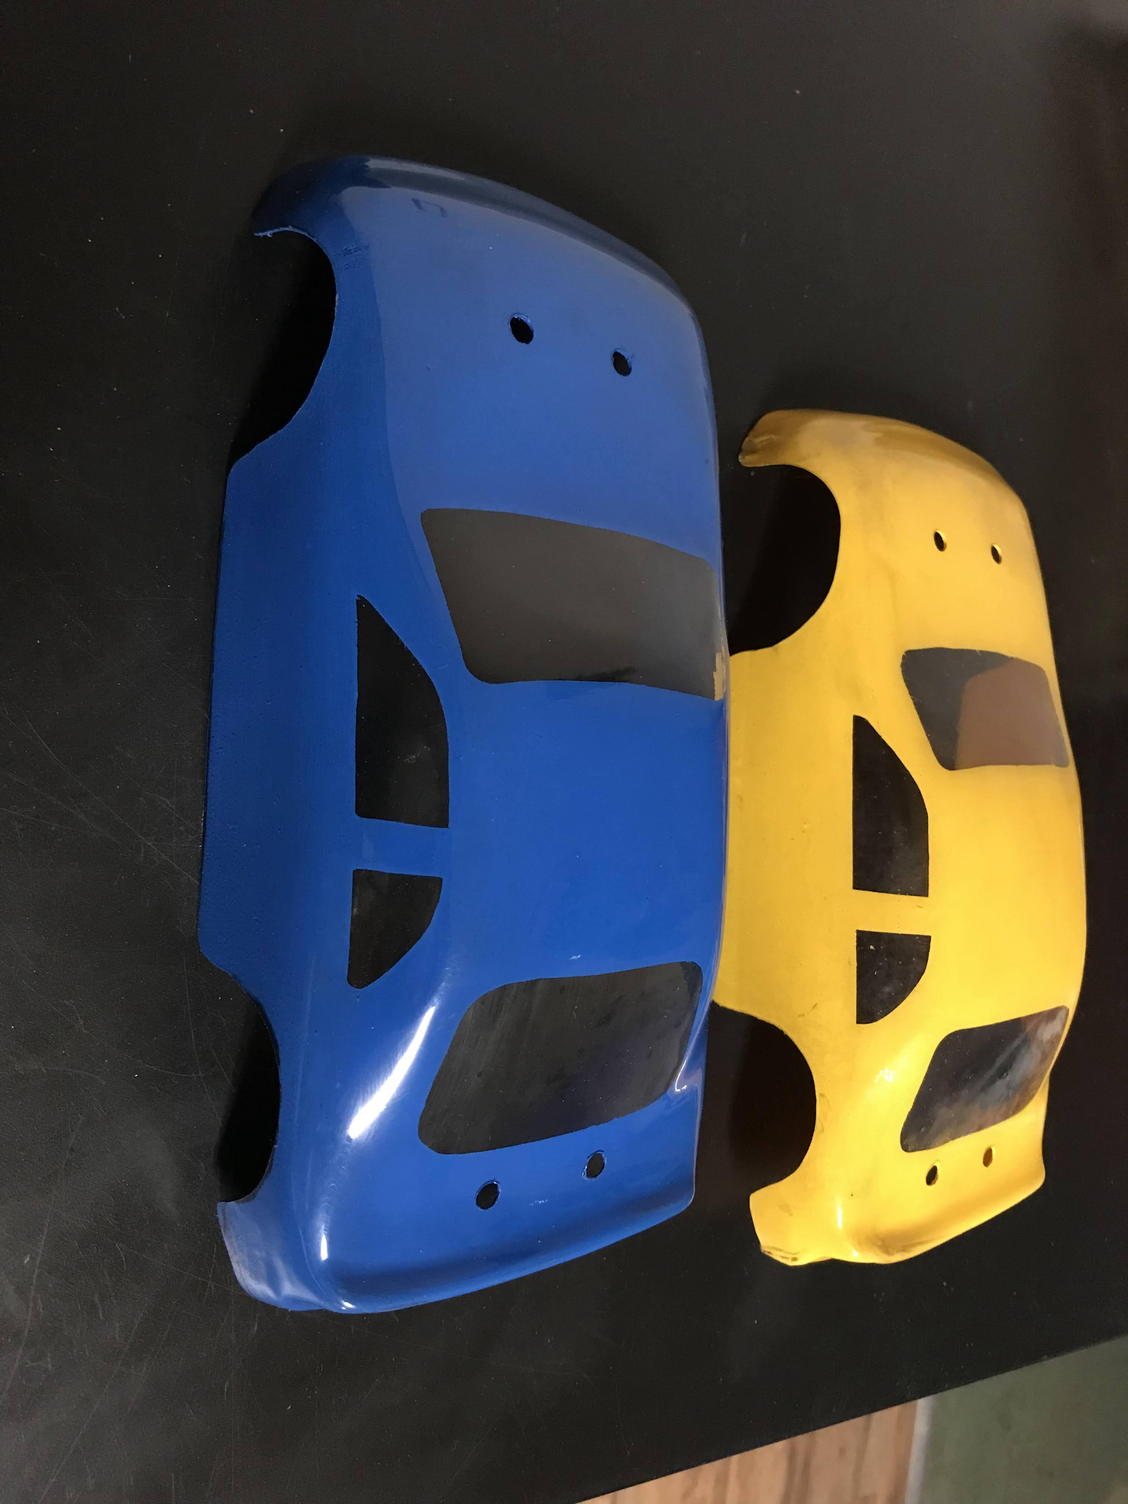
Before the paint dries I remove the tape and the window vinyl and here is a look at the results.
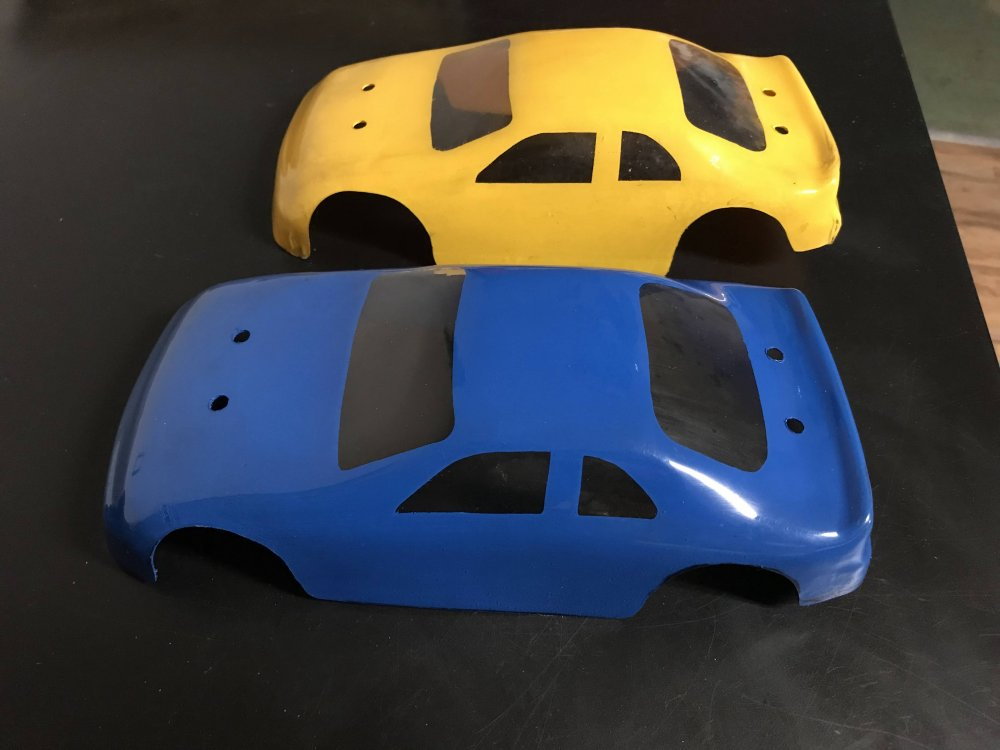
I let the paint dry over night and then I clean up any over spray with acetone.
It may not be the right way, but that is how I do it and the results are worth the effort for sure.
If you have any questions or want more information on any part of this project just ask. I am always willing to help when I can.