Here are some images as I finished the wood plug.
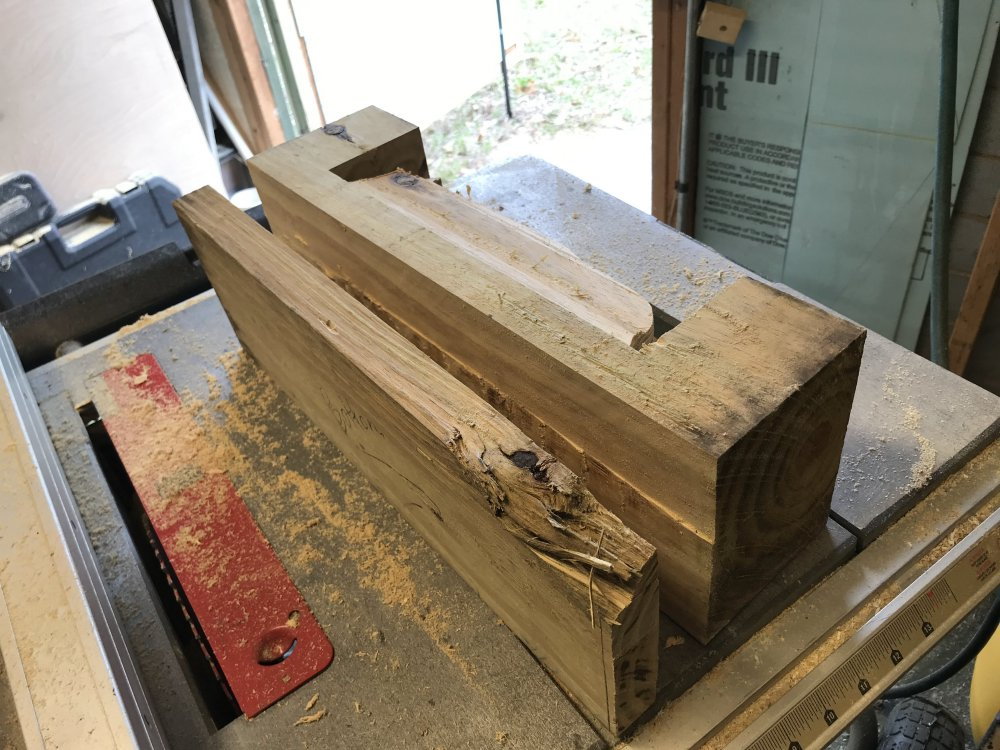
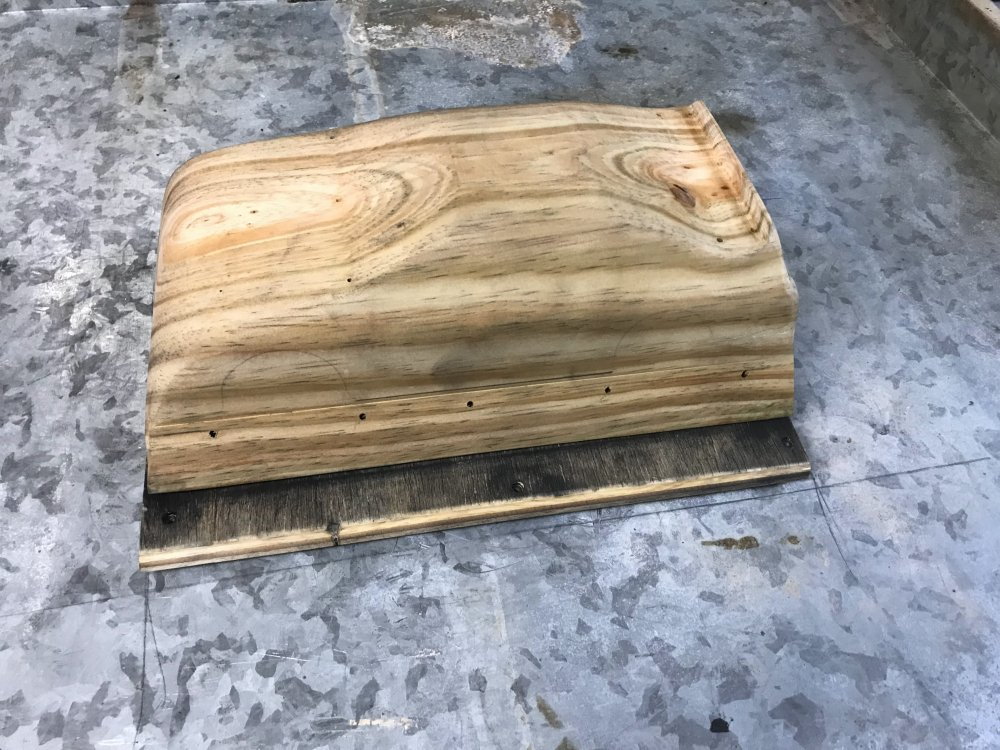
Here I used the table saw to remove about an inch off the buck.

Then I cut the bottom of the buck flat.
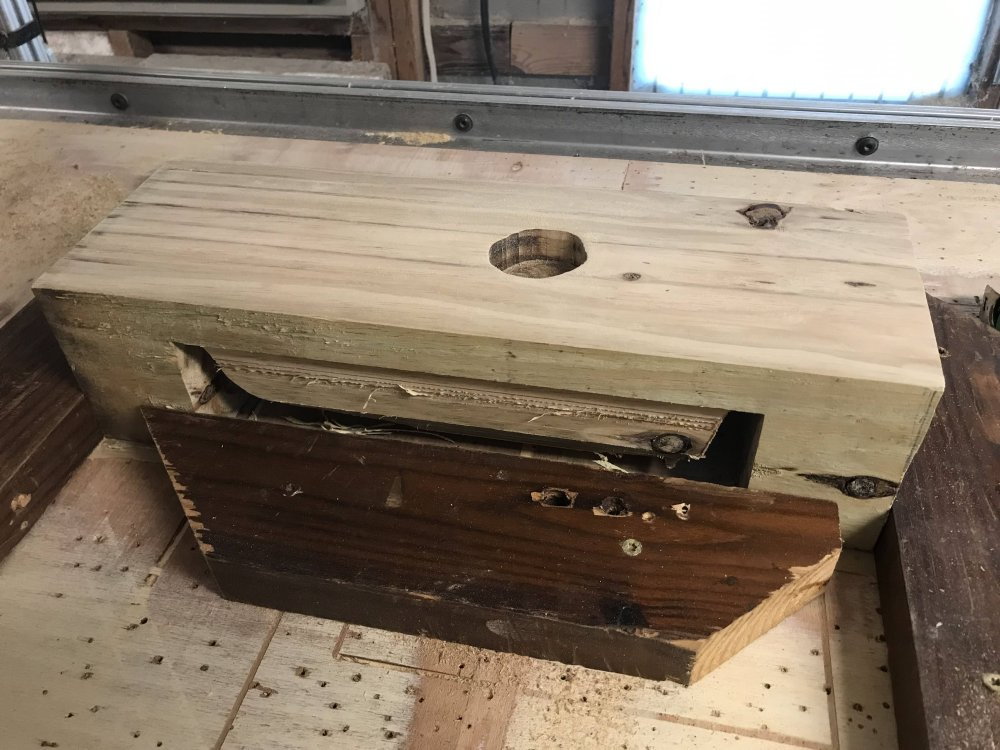
Then I cut off the ends so I can get to sanding.

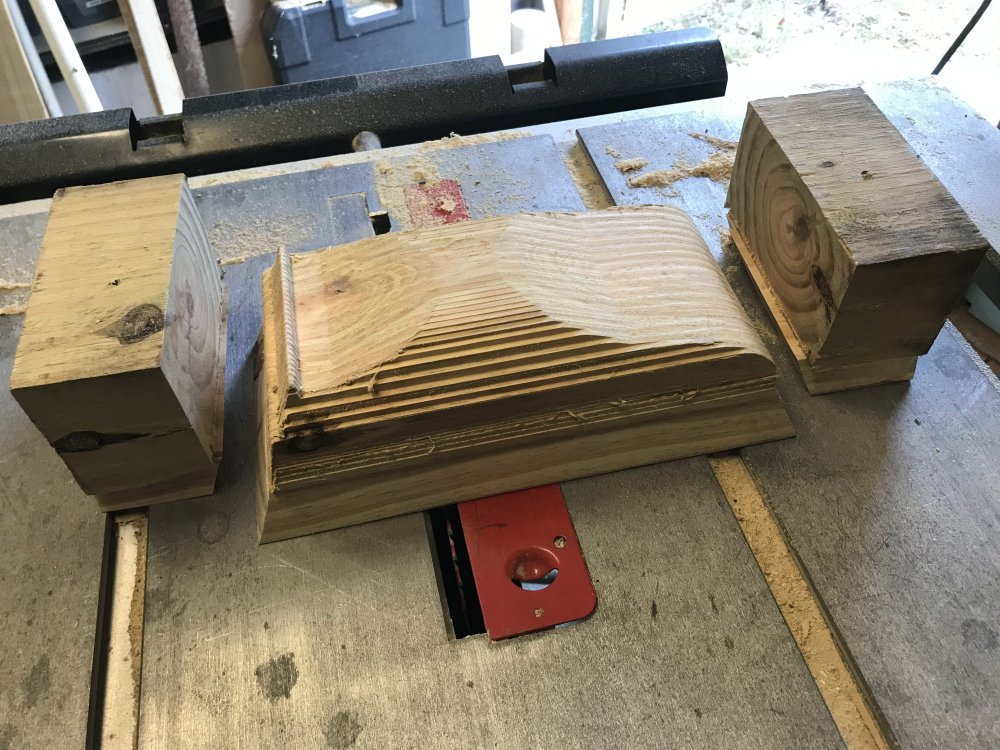
The belt sander makes sanding a lot faster. Just be sure and not lose the body lines.
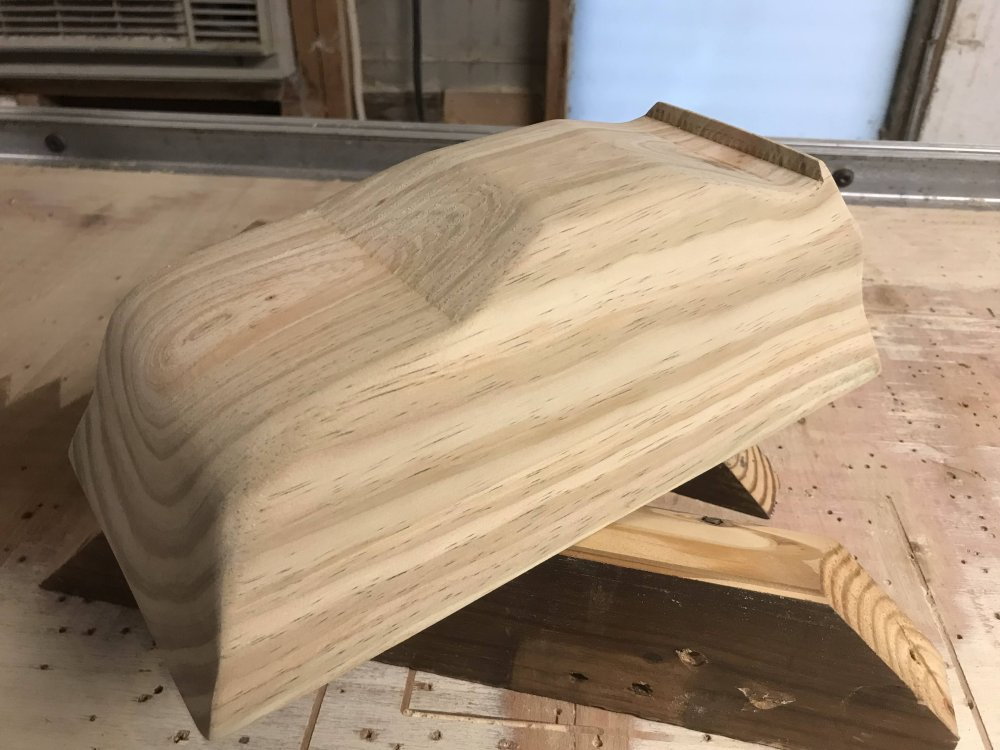
And now it is ready for the holes.
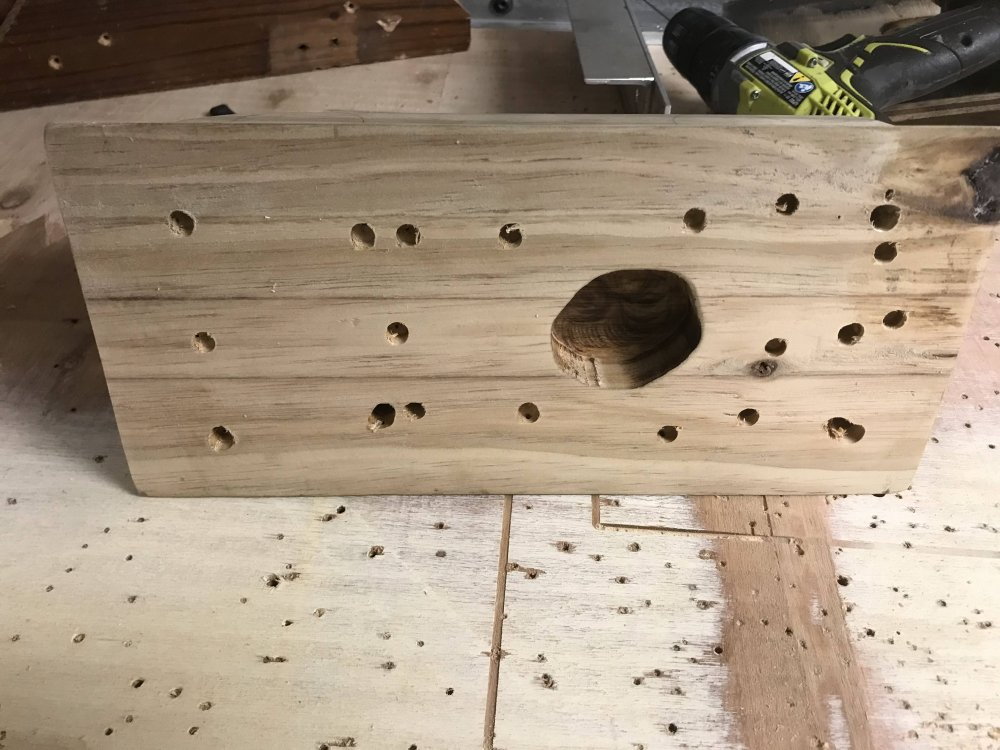
Holes are drilled to help pull the material to the plug during forming.

Drill small holes (1/16") where there are inside corners or curves.
Notice I have 3 holes at the base of the windshield.
And 6 holes at the trunk lid.

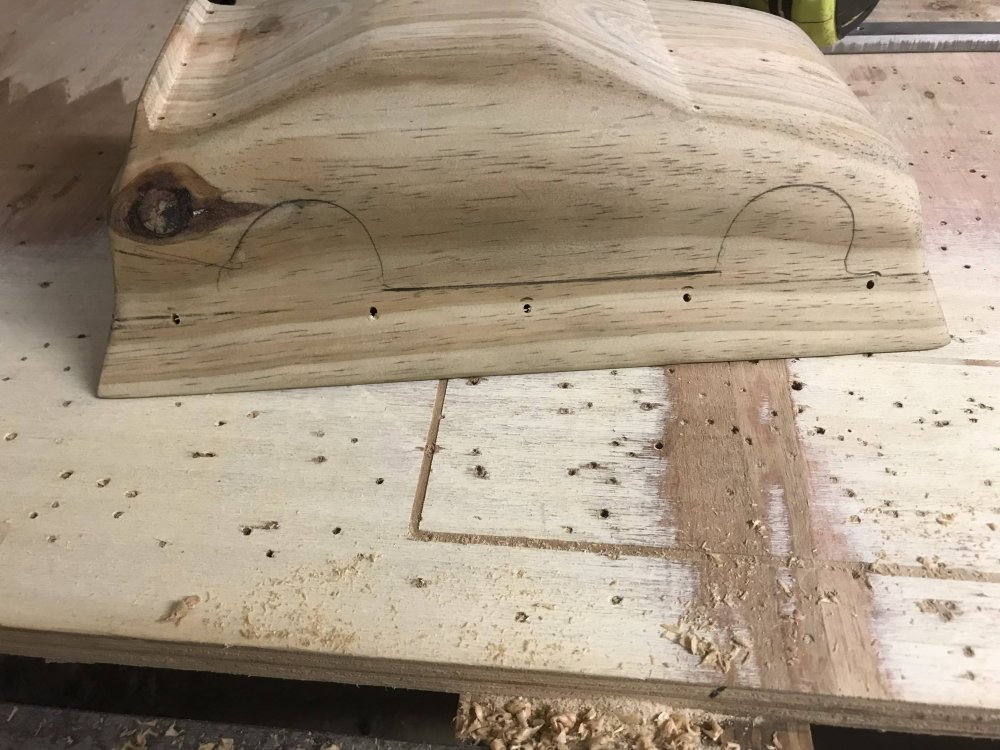
Then drill the holes out the bottom of the plug. (I use a small wire with a flat end for this and push it through as it spins.
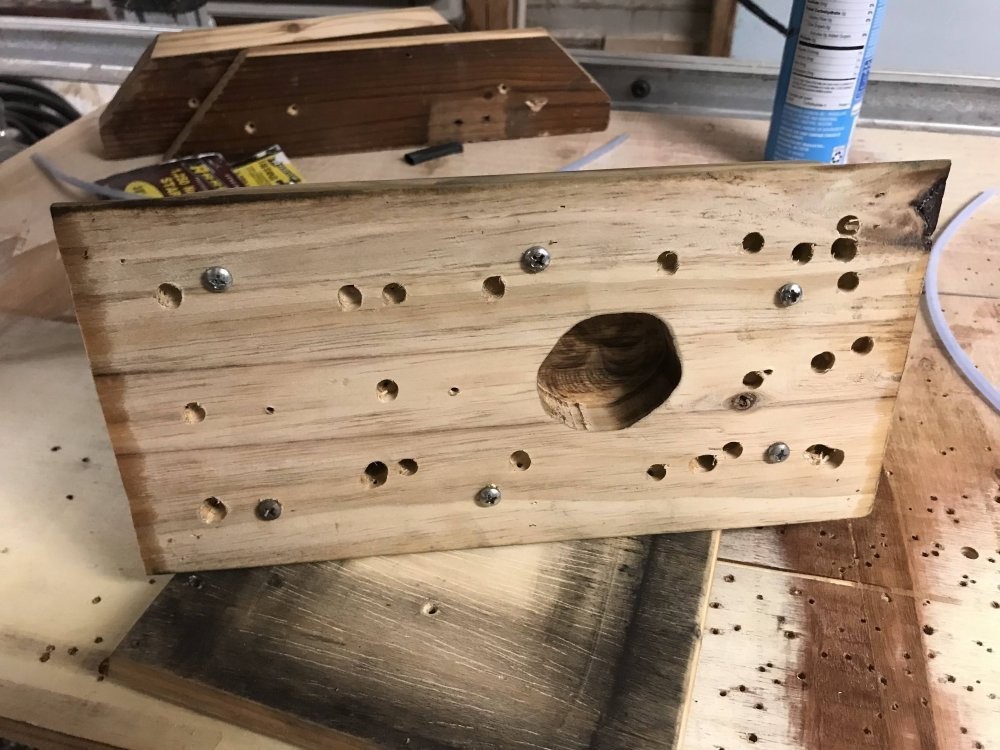
I then open the holes up at the exit point with a 1/4" bit. I also add screws that are used to elevate the buck off the buck base board.
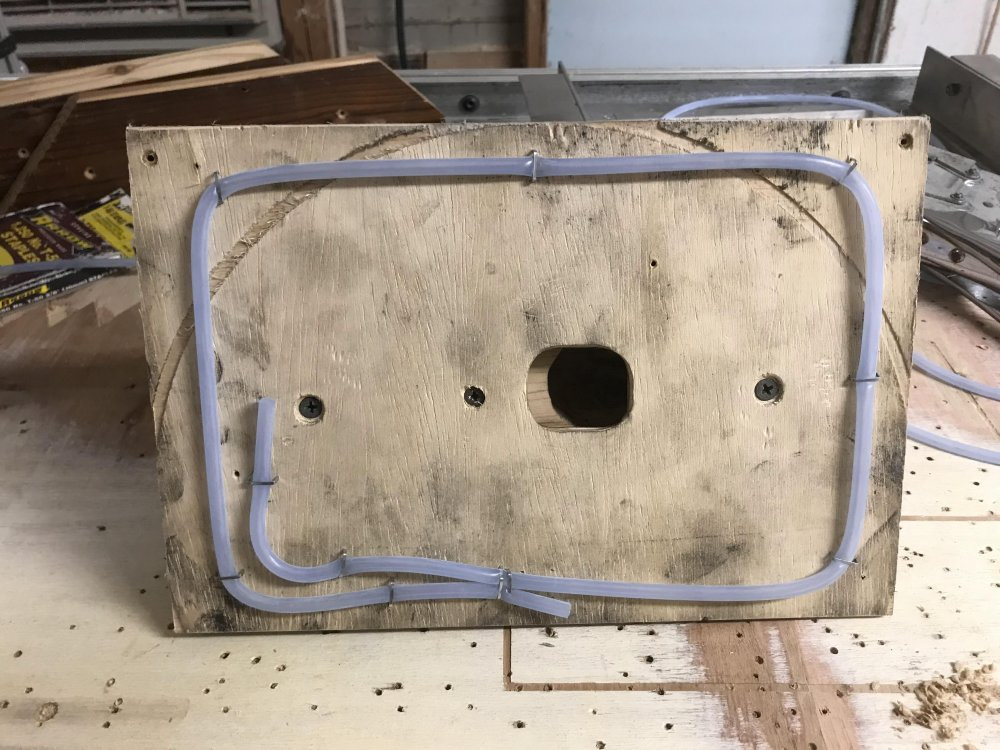
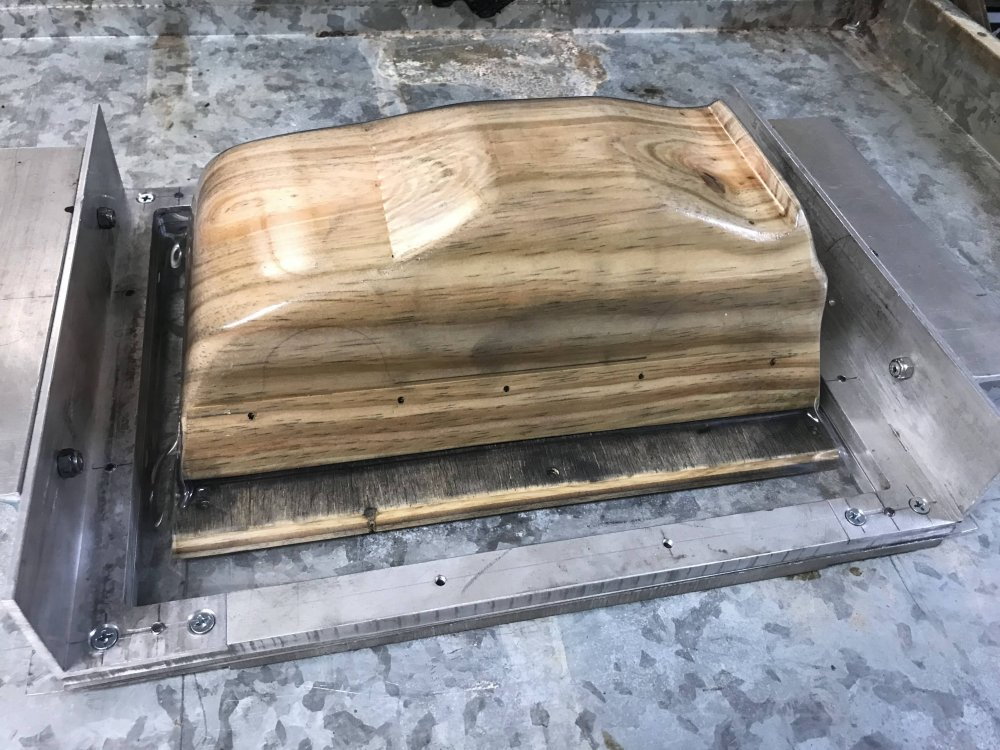
Then I add the base board and run a seal (fuel tubing) around the edge to support the base and to seal it to the vacuum source.
Here the plug and base have been coated with cooking spray and are ready for the first pull.
Here is a look at the first pull. Look close as there is a PETG body that has just been formed to the plug.
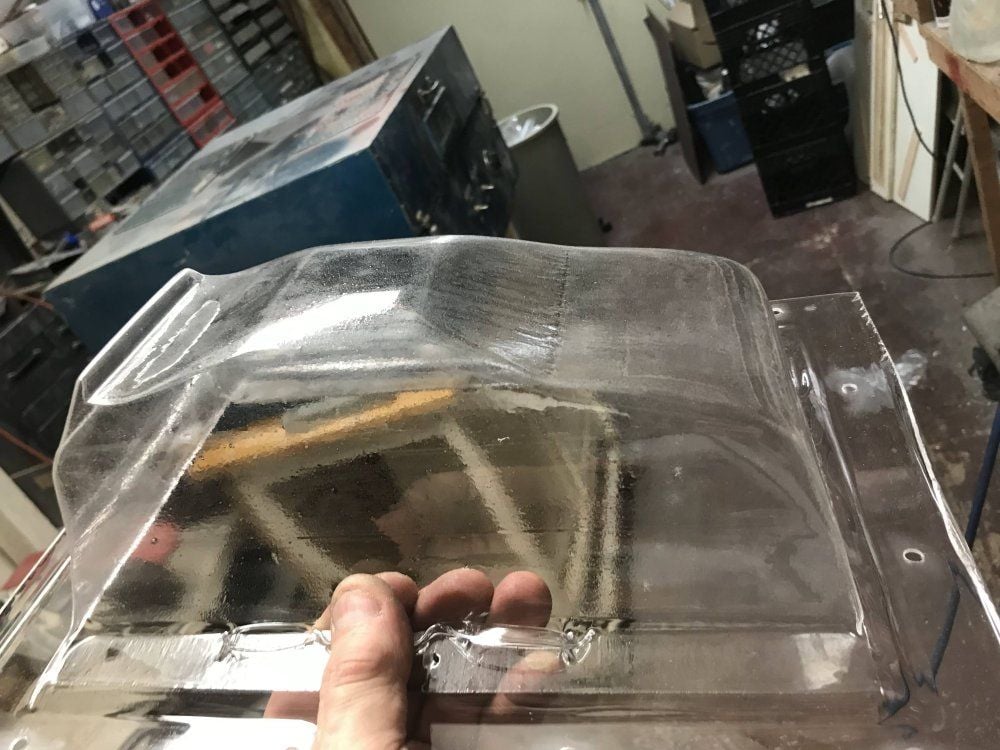
Not to bad for what was a 6X6 hunk of wood yesterday and today it is a working body plug.
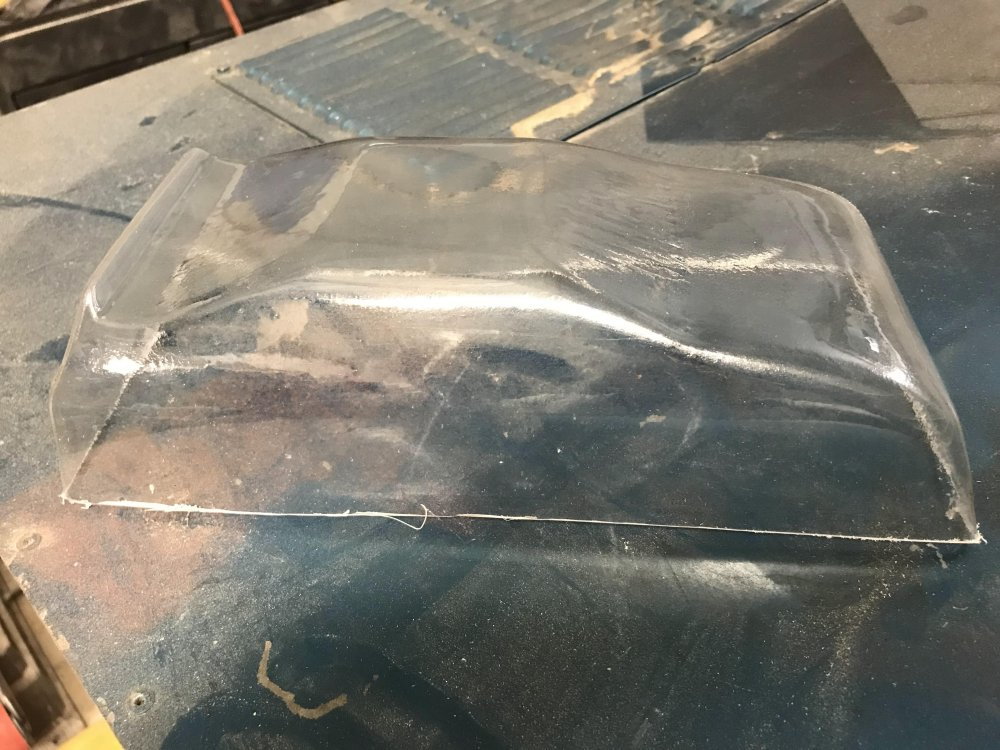
After removing the extra material this is what I get.
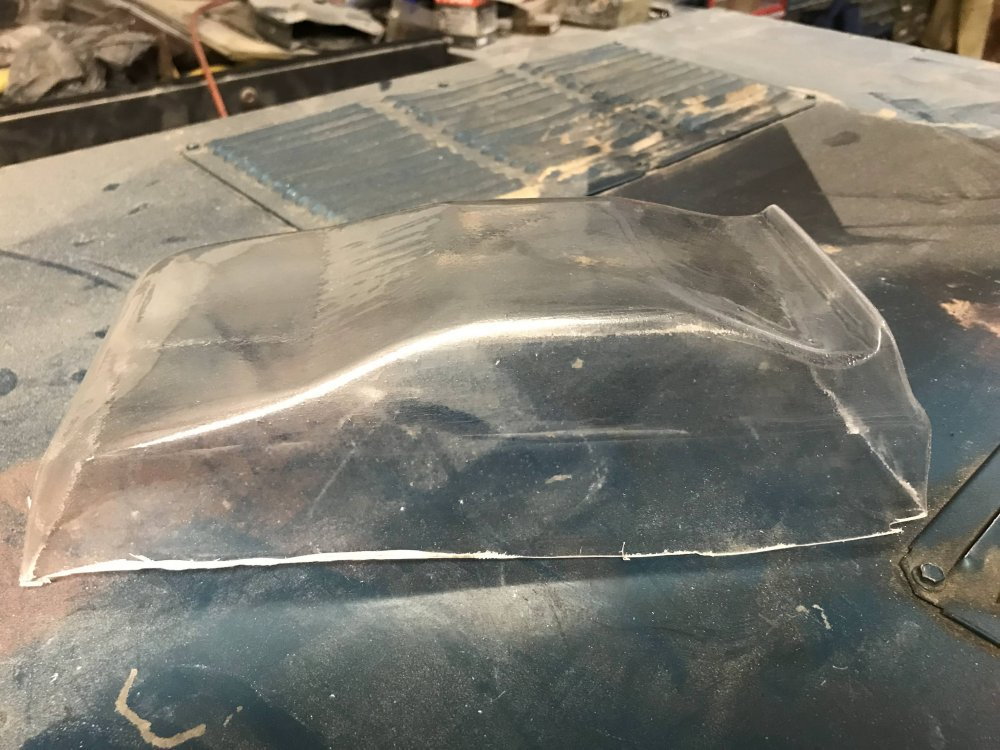
And the other side looks good as well.
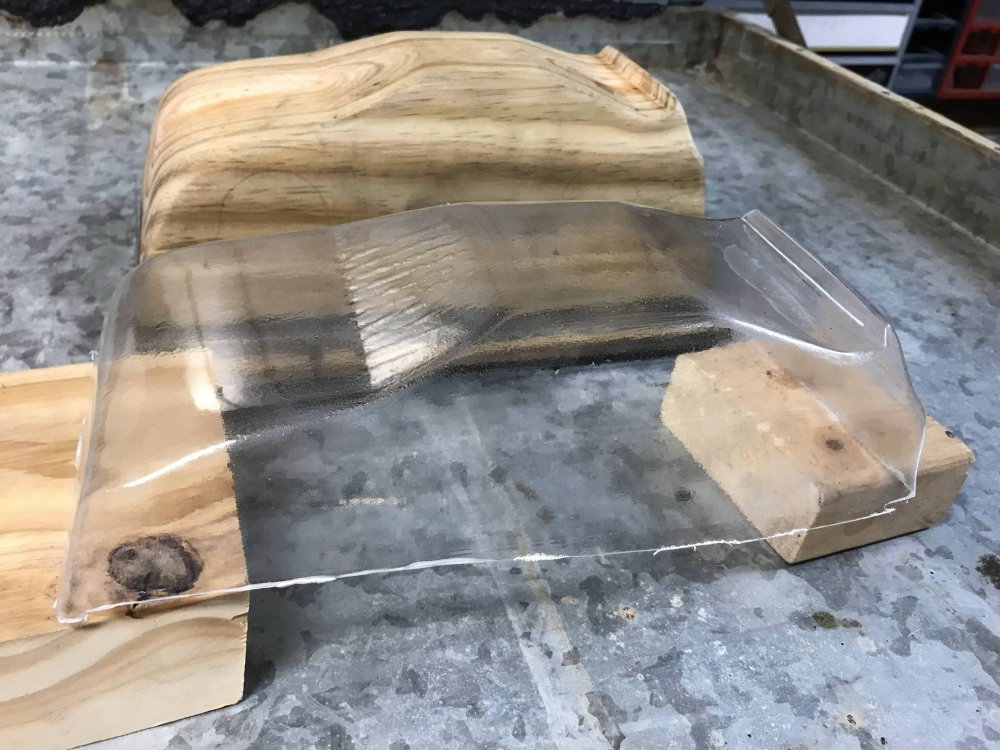
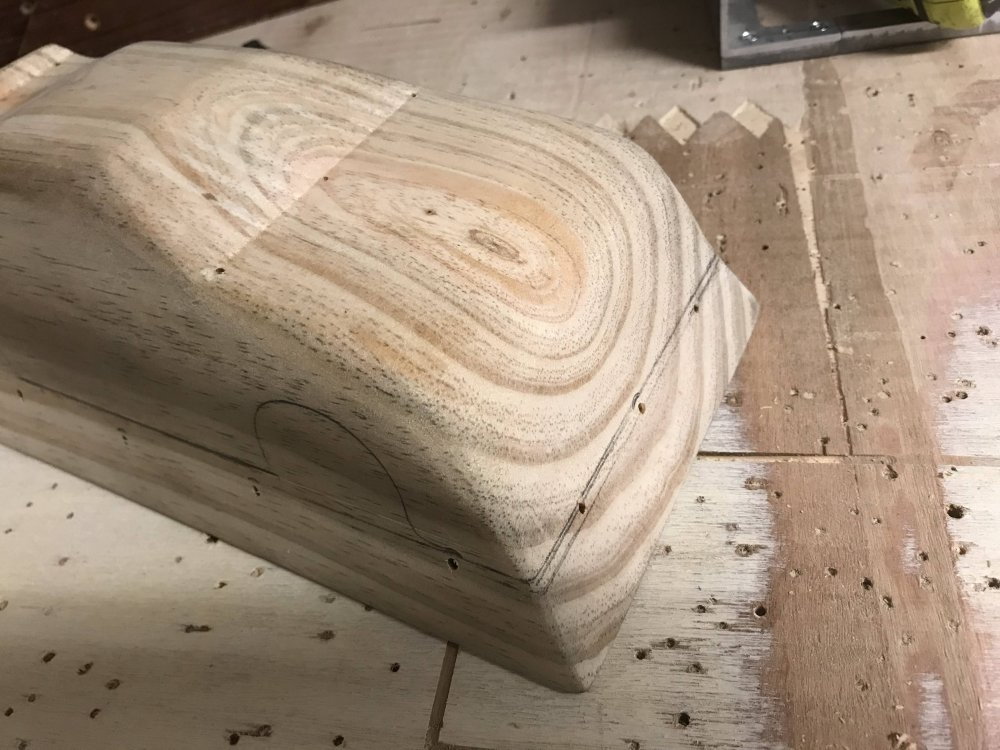
I will sand out the windshield to remove the lines in the plug. I didn't see them until I pulled the first body.
I am also going to shorten the front bumper area on the plug. I can see I have room in the front I want to get rid of. I thought this might be the case because I made the plug larger as it is easier to remove material then it is to add it.
I hope you have enjoyed the information I have provided on how I create my own custom plugs for vacuum forming.
It is not hard to do even if you do not have a cnc machine. It just takes more time to get it roughed out. The finish side of the project is the same.
If you have questions or if there is something I did not cover in this project just ask and I am always glad to help if I can.
And to think this project started because I wanted to design and build a simple small car I could run on a concrete pad I have in my front yard.
I now have about 10,000 laps on my test car and everything is holding up just fine. This car is a lot of fun to drive when the lap times are being called out.
I am running Trackmate ver 7.3 from a tablet and it has run flawless so far. (lap times can be heard is a few of the video clips I have posted in this thread)
Let me know if I missed anything.