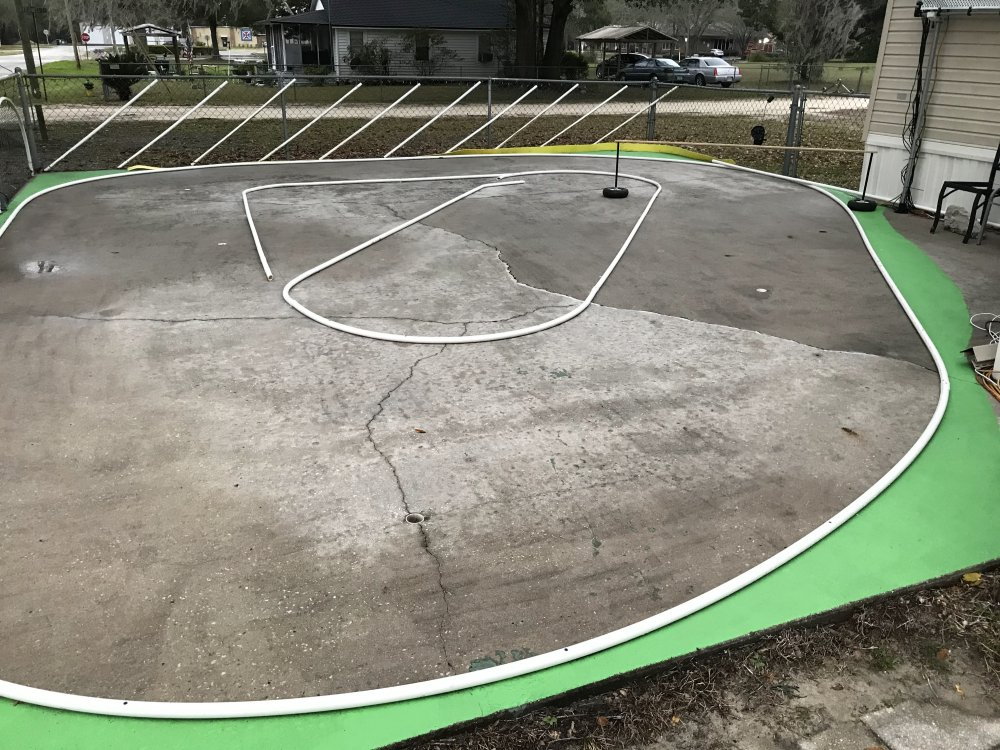
The track layout is just what I was looking for. It is fast and the flow is nice.
So I wanted to design a wall system that was safer for the cars during a impact with the inside wall.

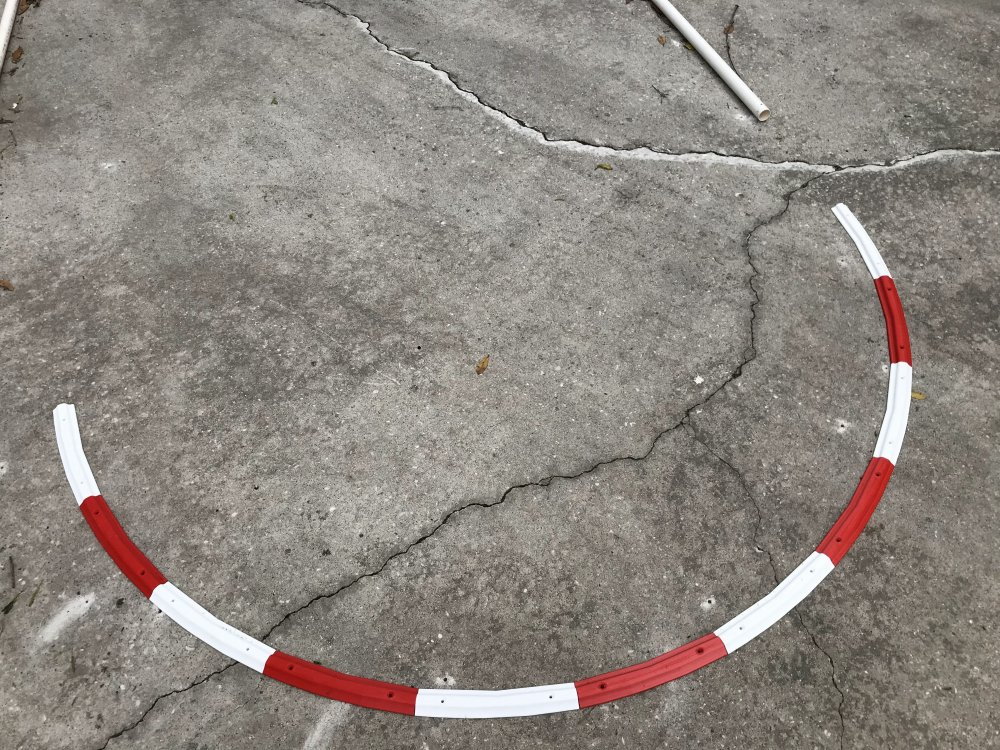
Here is a look at what I have come up with. The idea is the car will go over the wall rather then bounce off it. I have removed the inside PVC walls and will be replacing them with the 3D printed design.
The sections are 9". The curve radius is 36" as that is what my layout design uses for the inner walls.
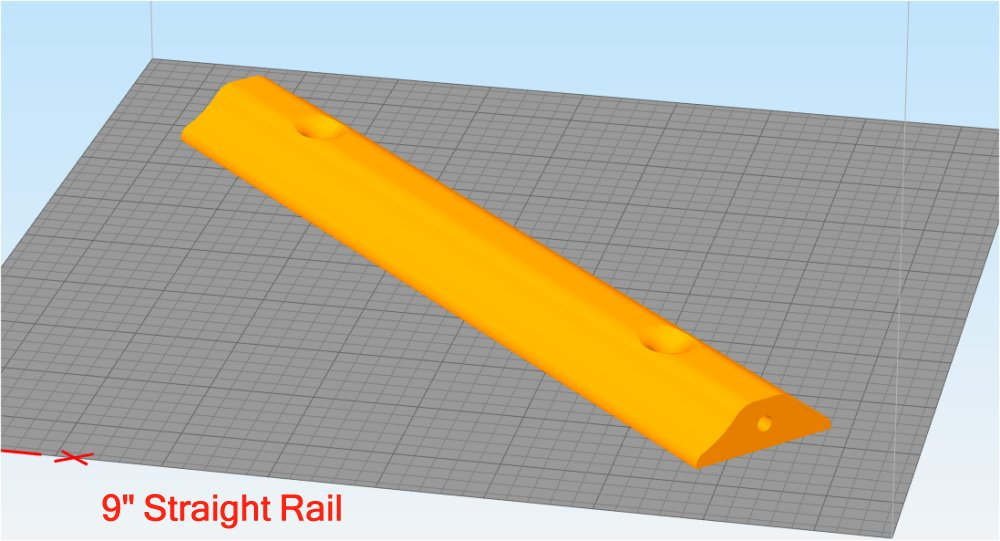
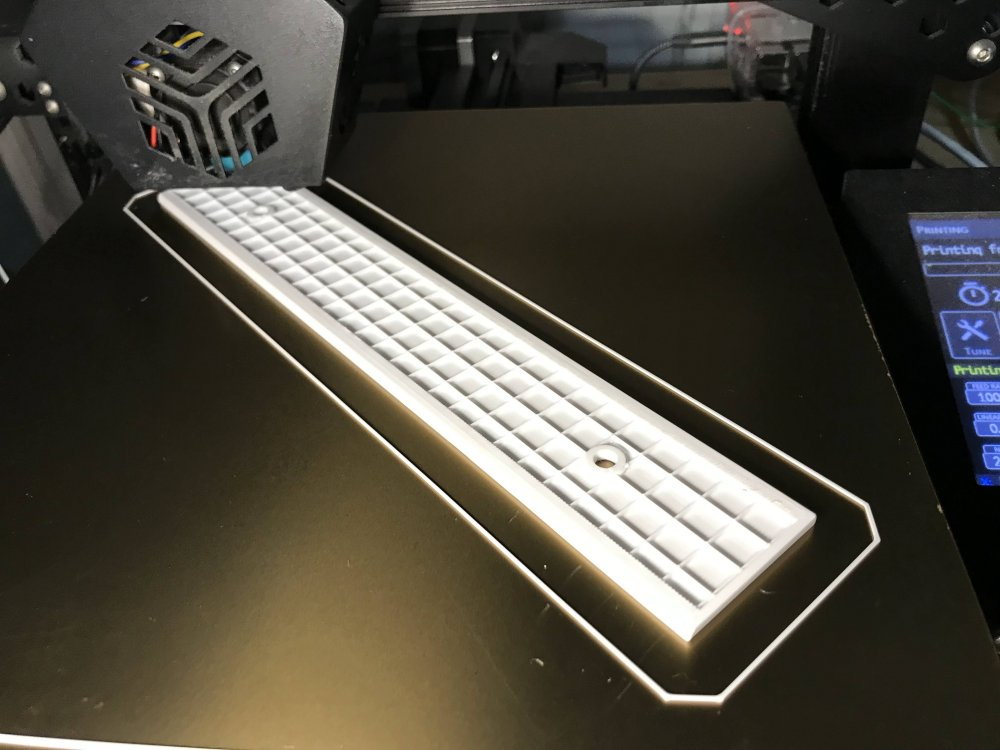
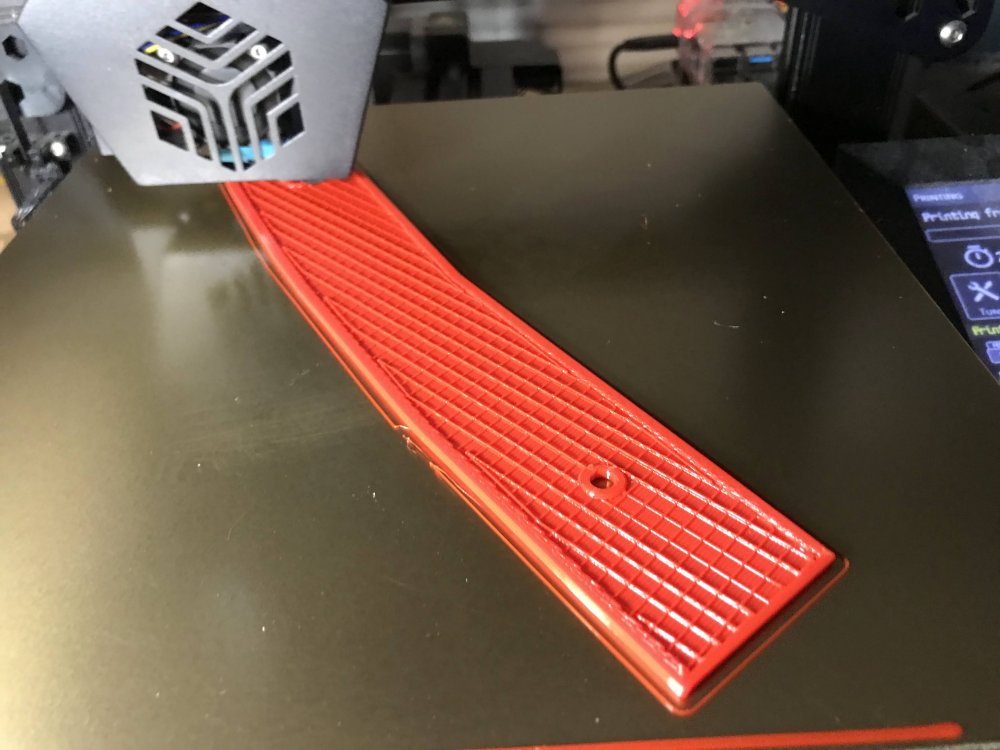
Here is the straight rail as it is being printed.
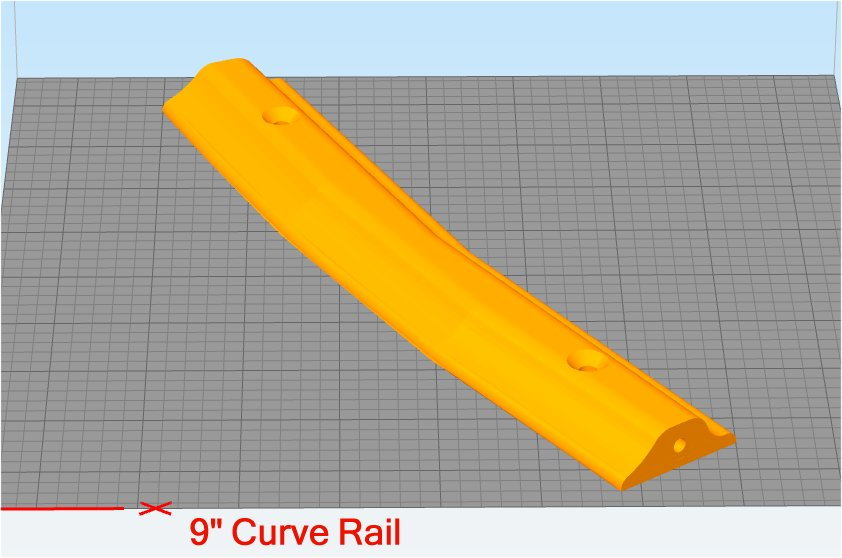
Here is the curved rail as it is being printed.
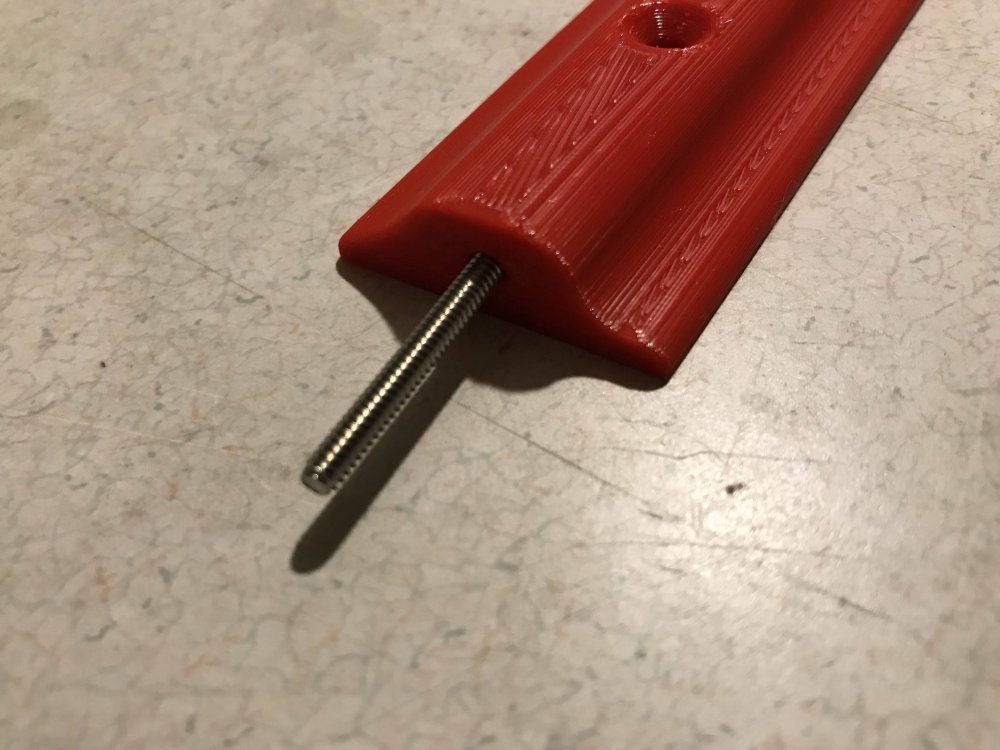
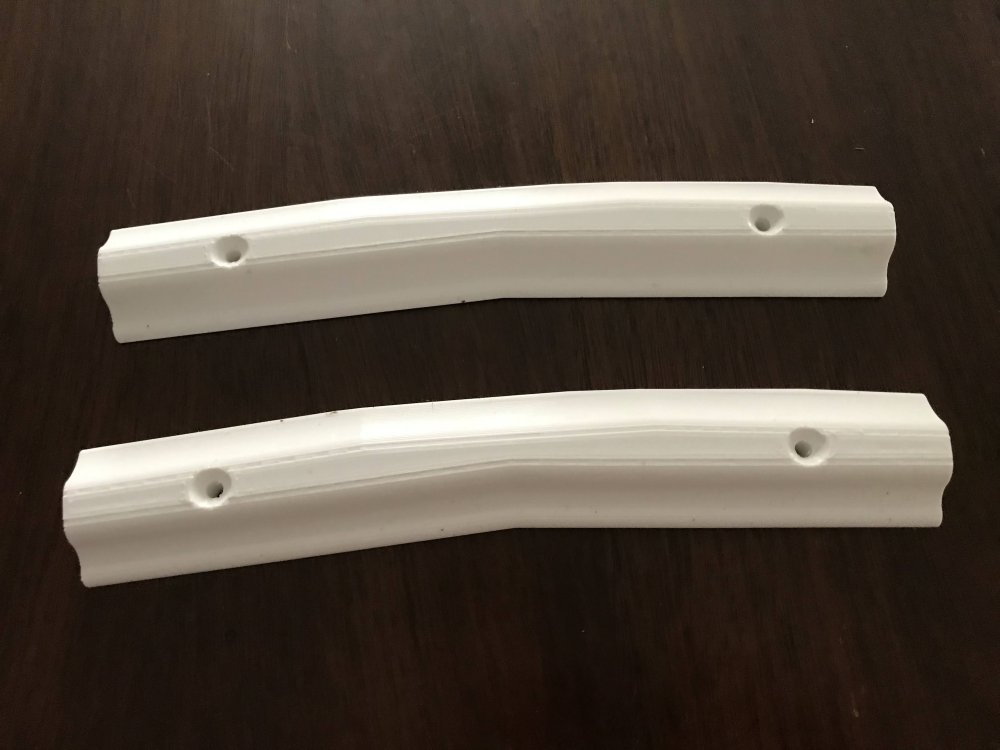
The ends of each section are designed to fit either a straight or curved section. The hole is sized for a slip fit of a 2" long 6/32 stainless steel screw. I cut the head off of the screw
so it can be used as a connecting guide. Using a stainless steel screw means there is no rust stains later.
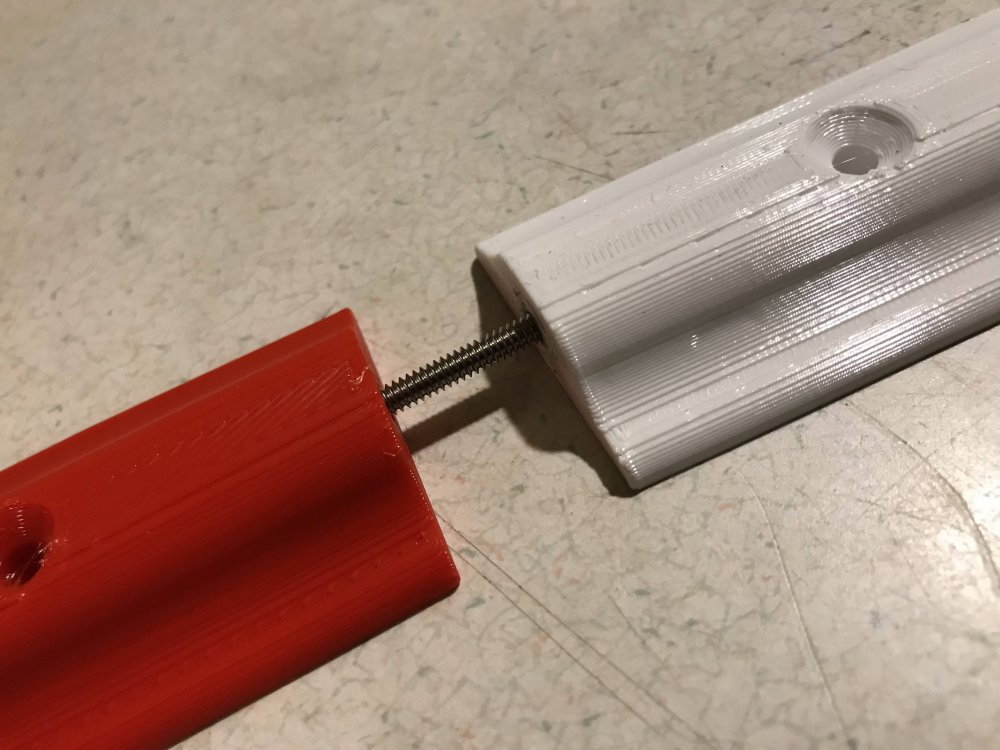
Here you can see how the sections are forced to align by the screw as they are put together.
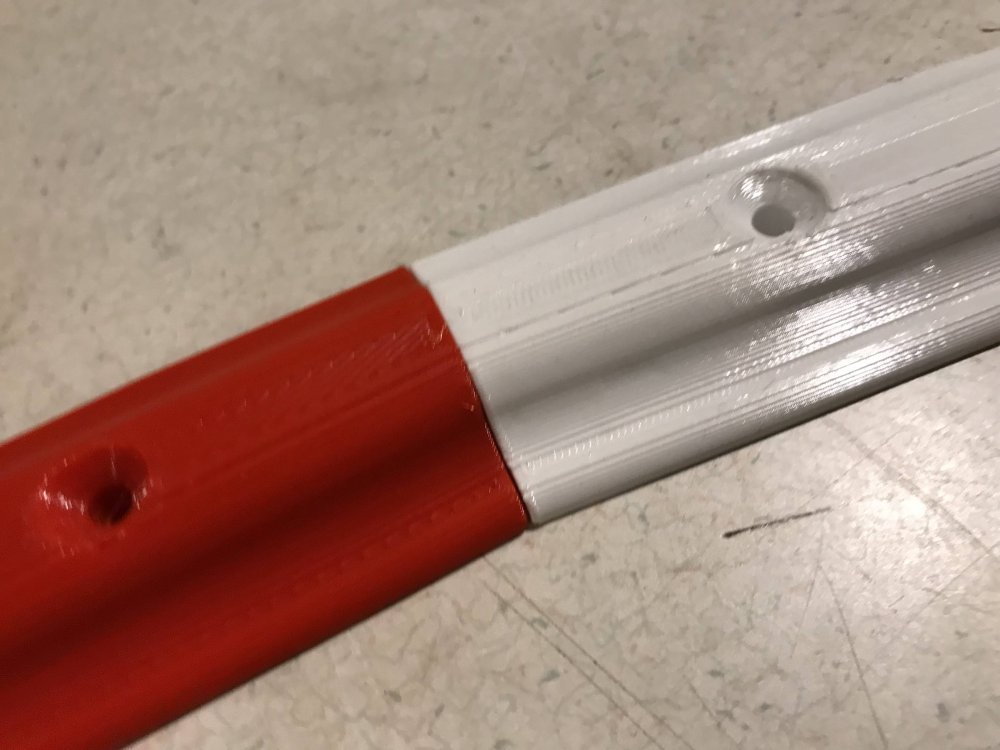
I will leave a 1/16" gap at each section to allow room for expansion and contraction.
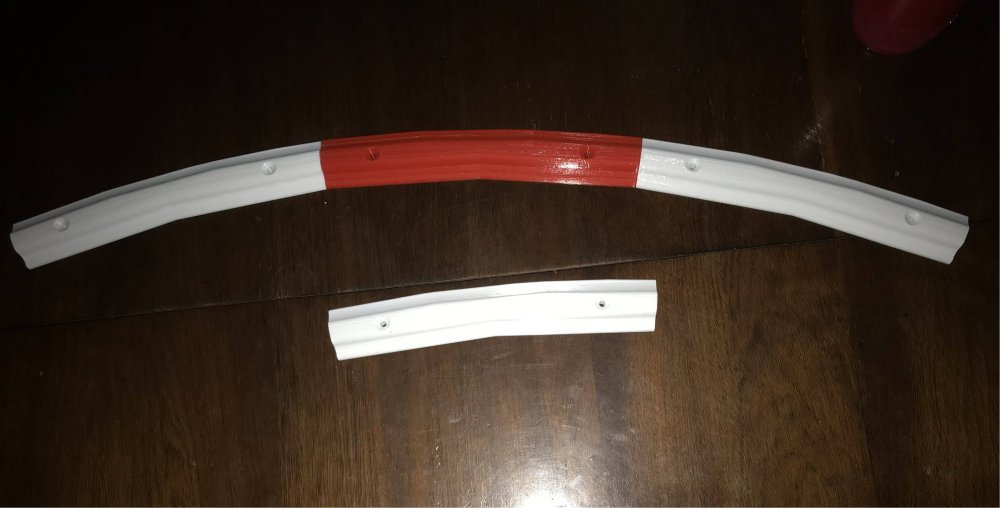
I am printing the sections in white and red so no painting will be needed.

Here is a look at one of the corners as it is being test fit.
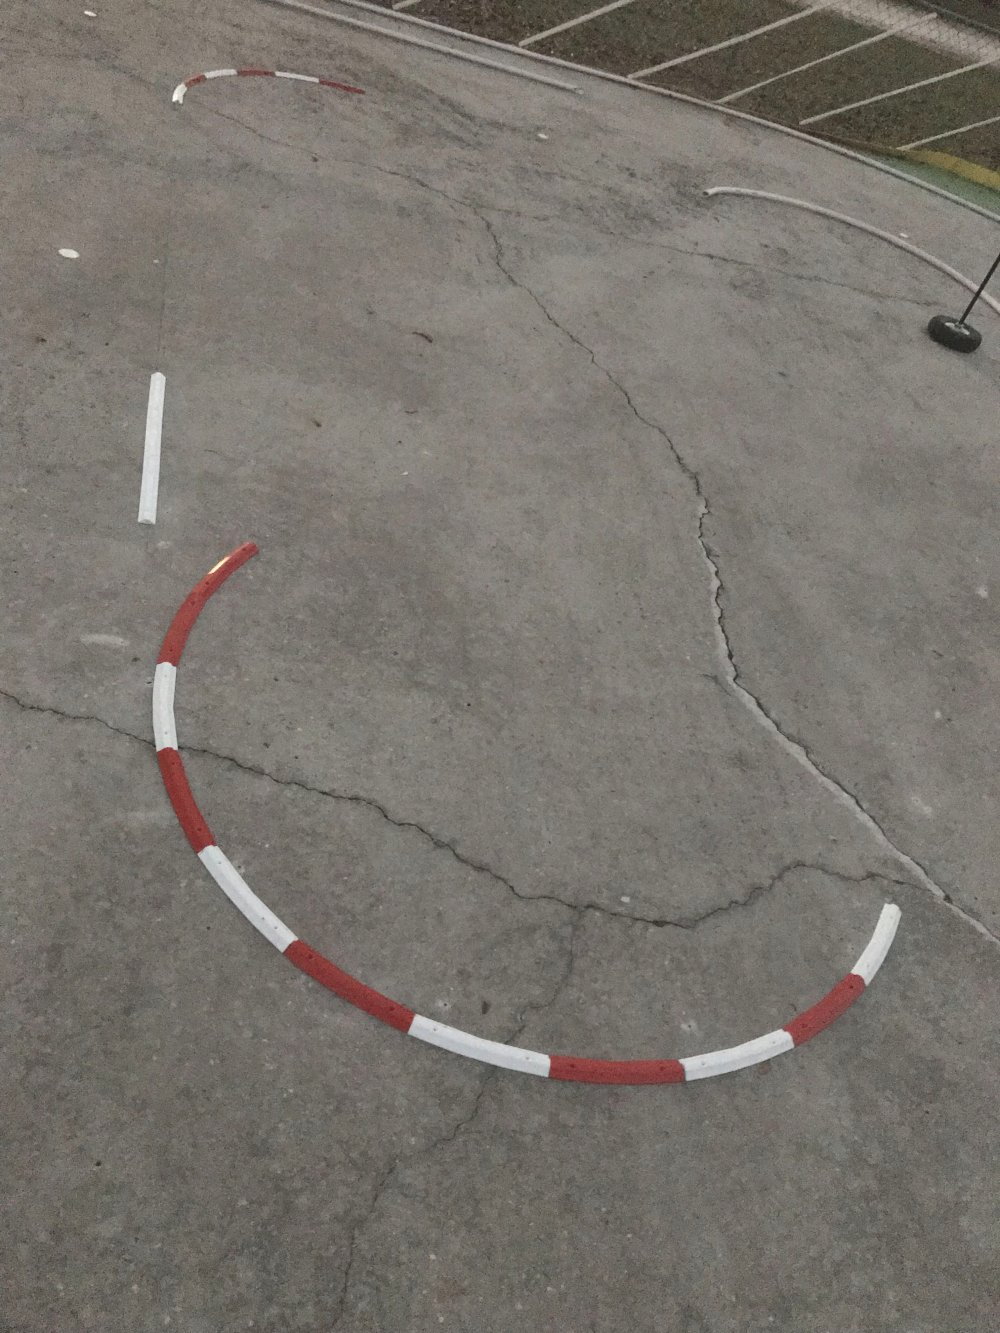
The new custom inside wall is going to look great when it is done. I do not want to use this wall design on the outside walls because of the chain link fence. So for now the
outside wall will remain PVC pipe.
I have my 3D printers printing red and white wall sections 24 hrs a day at the moment. I should have the inside walls printed and installed in 2 to 3 days.