Belly pan panel lines and details from NS Modelers completed.
This was my first time creating panel lines. I used 1/32" ChartPak Graphic black tape. I also have 1/64" which might be more to scale. However, as this was my first attempt and I had read that 1/32" is easier to work with, I though starting with this on the belly pan would be good practice. Will I use 1/64" elsewhere? Maybe, if only for gaining additional experience.
I started with regular gray primer, as I had used this to avoid too much build up on the fabric covered control surfaces to avoid washing out the rib stitching and pinking tape edges. This worked very well on these surfaces, but not so well for the panel lines as the buildup was so minimal. I switched back to gray filler primer and that worked well.
I tried sanding the top of the tape before peeling it off, but was taking lots of time with little progress. As the belly pan was my first attempt at panel lines and probably the easiest part to repair if I made a mistake, I decided to just peel the tape off. I did this carefully, peeling the tape back over itself at almost 180 degrees. This worked perfect with no damage to any of the panel lines. I then lightly wet sanded the entire surface with 600 grit 3M sand paper to easy any sharp edges and to give the pan a uniform finish.
Hmm... Just had an idea. I think I'll make a cover for the fuel tank drop mech. for use when the drop tank is not installed. It will look less like a gaping hole once the drop servo is installed, but would look better, I think, with a cover. It could attach using a fitting similar to that used by the drop tank.
I'll probably move onto the wing center section, next and then the outer wing panels. These bits are smaller, less unwieldy, and all butt joints - easier to complete and will provide more practice before attacking the fuse and tail feathers. The fuse has many overlapping joints - I know how to create these, just not quickly. Maybe have the fuse all taped, spray the forward most section, remove the tape there after drying, spray the next section, remove the tape and so on until reaching the back of the fuse... Perhaps I could get 3 coats on at each panel overlap and finish the process in a day?
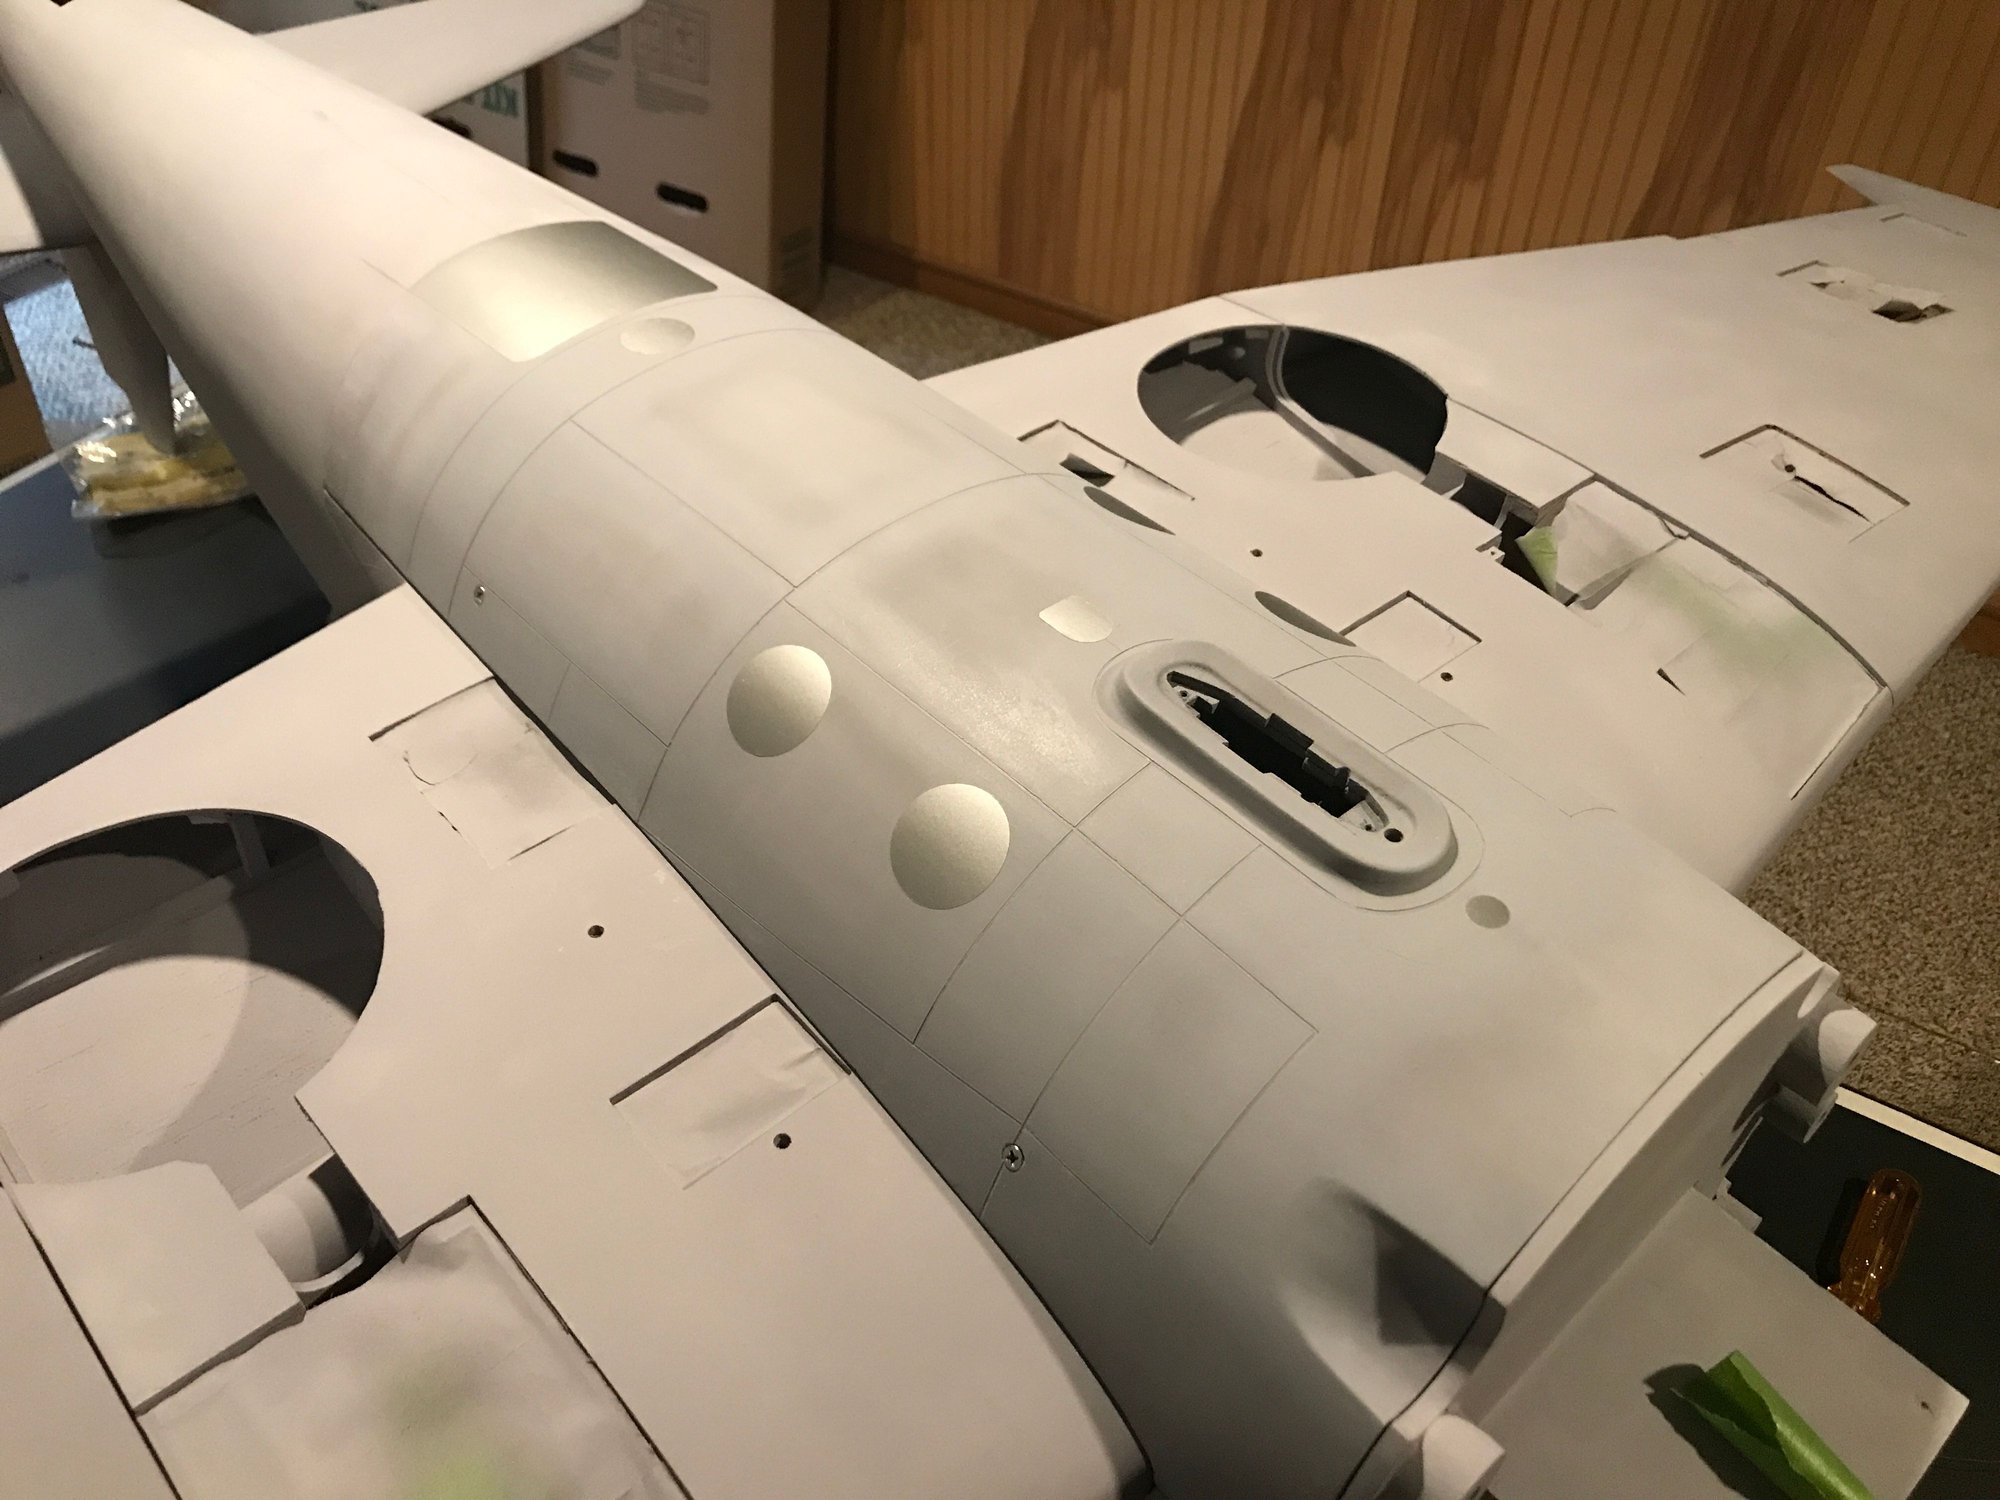 Belly pan panel lines and details