All panel lines drawn. Except that after reviewing various pictures of full-scale Hellcats, my own and those from the internet, I was confident that I didn't have the full details - the drawings and pictures I had were incomplete and the online pictures either didn't include sections I needed, or the resolutions were not adequate to see details. So, I picked up a 1/48 scale Eduards kit. I'll be using this to confirm what I have drawn, add some bits and remove a couple lines which aren't supported by pictures or the kit. Not going for museum quality, but if there is something not documented, I don't want to waste effort putting it in, and I'd rather spend my time adding any bits which I think add more interest. Will I build the plastic kit? Perhaps AFTER I get the big bird done!
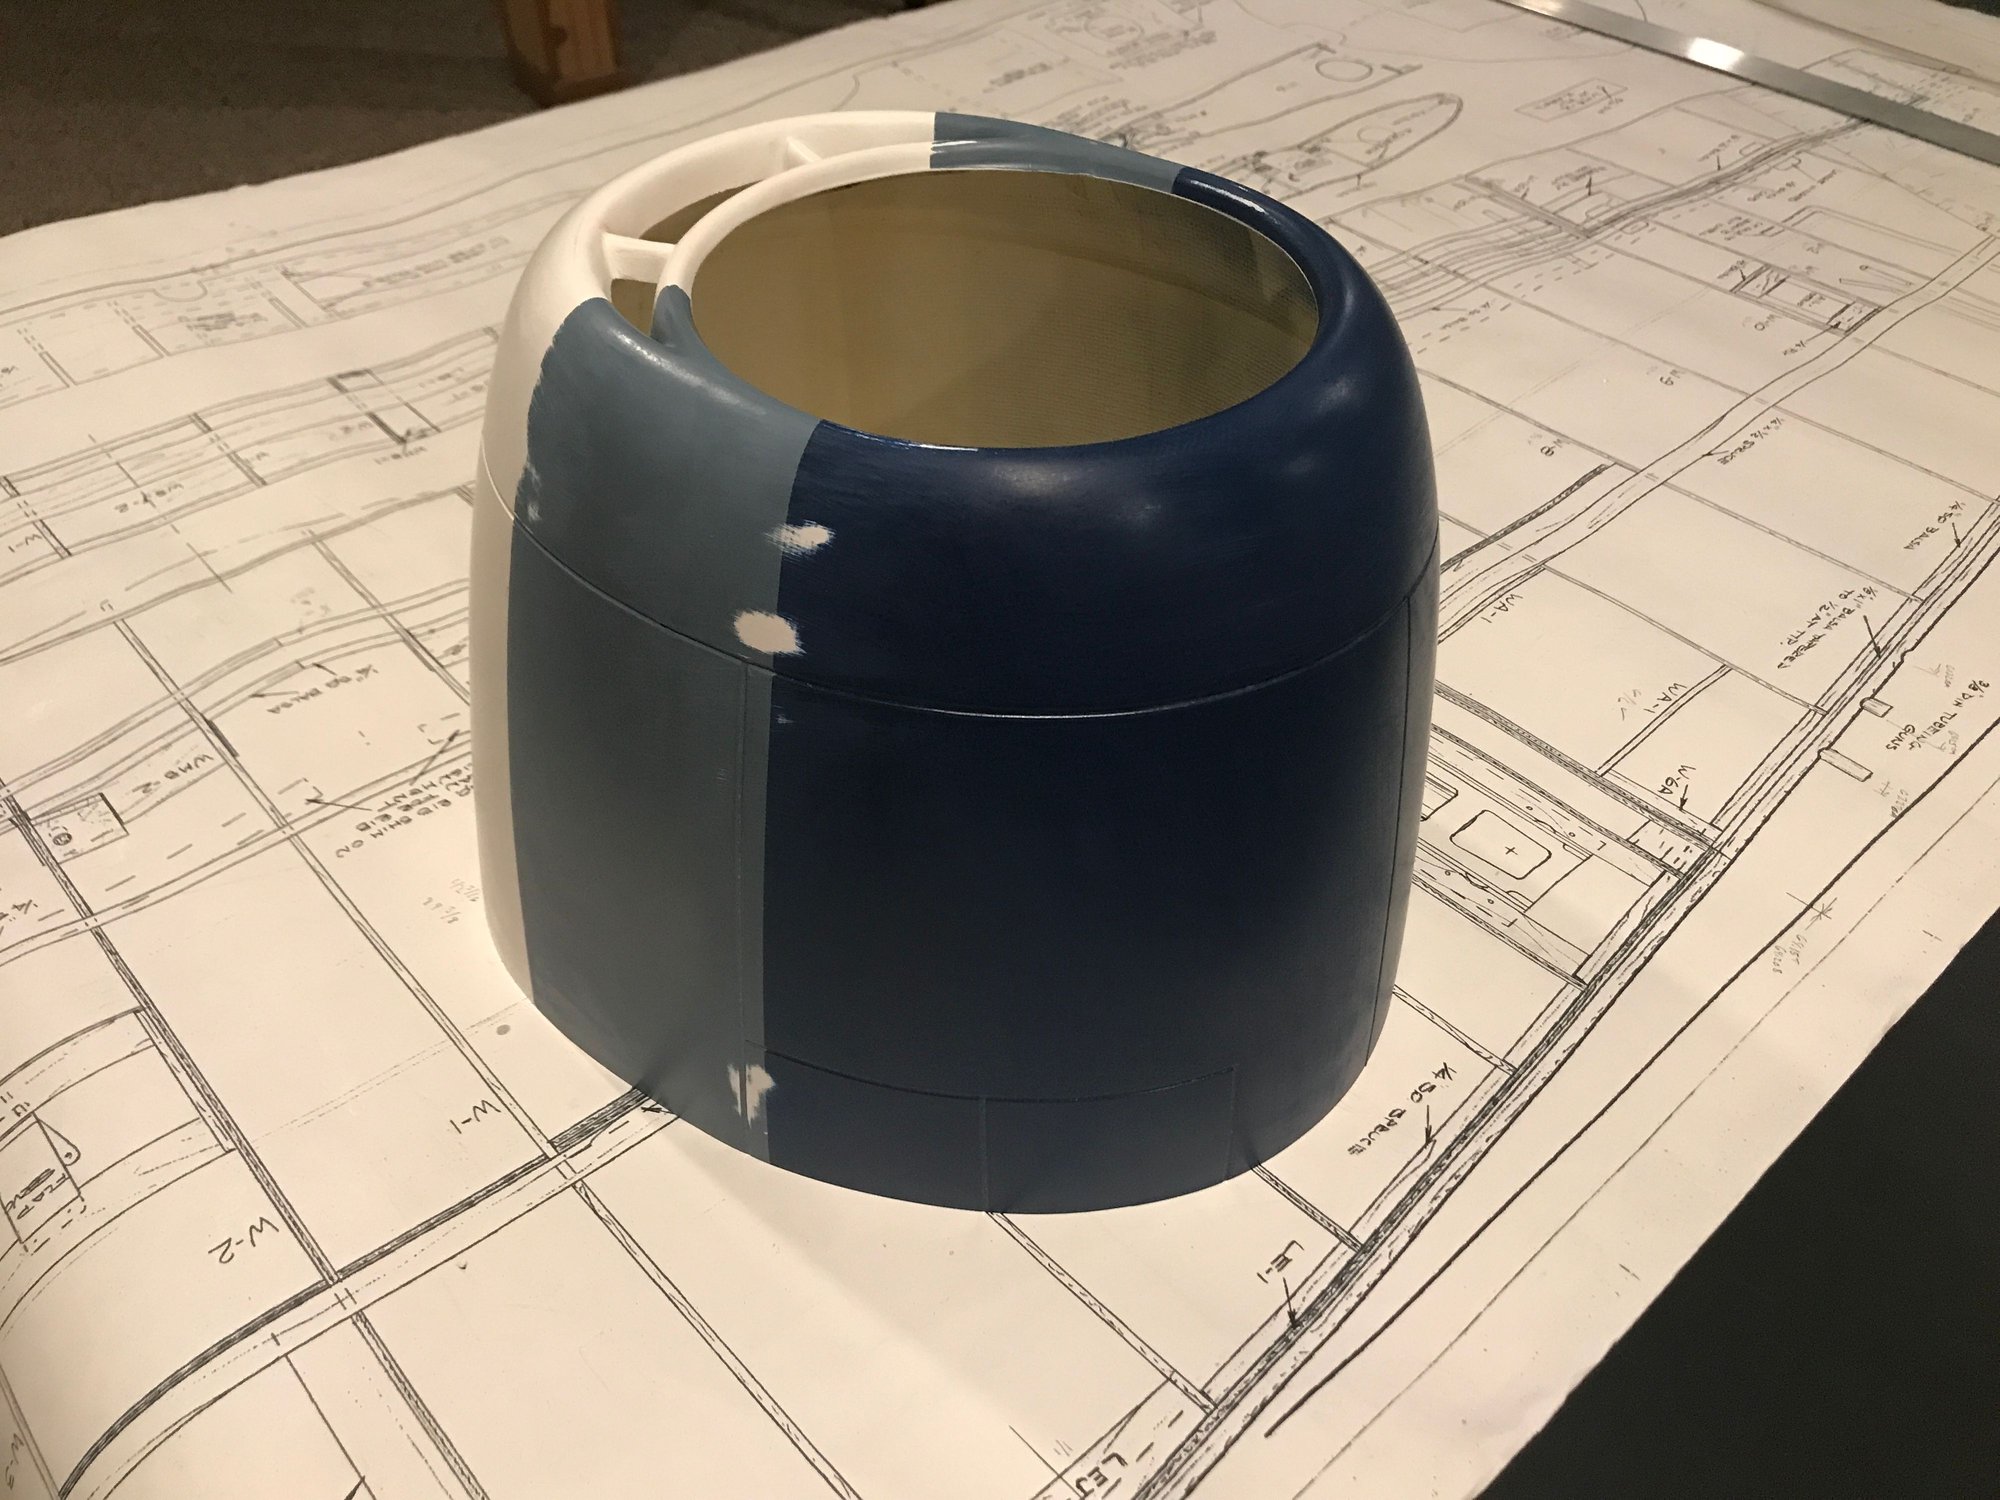
While waiting for the Eduards kit, I sanded off the raised paint lines on the cowling, created by the tri-color paint scheme applied by Top-Flite. When going through the prime/sand process, I added a well documented panel line to the top of the cowling. Then, added the dummy screw head details from NSModelers. The Hellcat detail kit came with 5 different types of dummy screws - 3 different diameters of which 2 had different center to center spacing. The cowling appeared to need the most amount of dummy screws, so I measured the total linear distance to be covered and then used the center to center spacings of the 5 types to determine that I'd need about 260 or more dummy screws to complete the cowling. The 3.3mm diameter dummy screws came in a group of 294, so I chose these for the cowling. The other screw groups all had 194 or fewer and should be more than enough to finish the rest of the plane.
Why go into this? Well, I made a mistake not noticing the different center to center spacing. I put over 30 dummy screws on the cowling before noticing the spacing differences and determining that I would not have enough of the selected type to complete the cowling with a uniform set of dummy screws. Could I have made this still work? Perhaps with manually spacing pieces from other types. Would I run out of the other types on other sections of the plane, cascading the problem? Perhaps. Did the cowling use different size/spacing screws in real life? I don't know, couldn't find info and wasn't driving back to Kalamazoo to find out. I decided to test using scotch tape to remove the dummy screws that I had applied and see if I could save them for later use. As this went much easier than anticipated, I decided to complete the removal and start the process over. The picture below shows the results using the 3.3mm dummy screws. I'm happy.
A few more dummy screws to apply to the cowling and it will be done, except for adding a dummy cooler in the chin. I think I'll do the panel lines and rivet/screw/panel details on the wing center section, next. All butt panel joints and not many of them - easy-peasy.
That's all for today.
 Original tri-color scheme, sanded, ready for primer.
 Primed, wet-sanded and dummy screw details going on.