Originally Posted by
adreliable661
Further progress on the fuse. Got the sides attached.
Just a note on the build. This is a bit challenging for me. I have built a lot of kits primarily Top Flite etc where you get step by step clear instructions. This is a little more vague and needs a lot more forethought. Foreseeing that, I built the 1/6 scale version first to get an idea on the challenges. Didn't come out a well as I would like. So any suggestions, critiquing, etc. would be welcome.
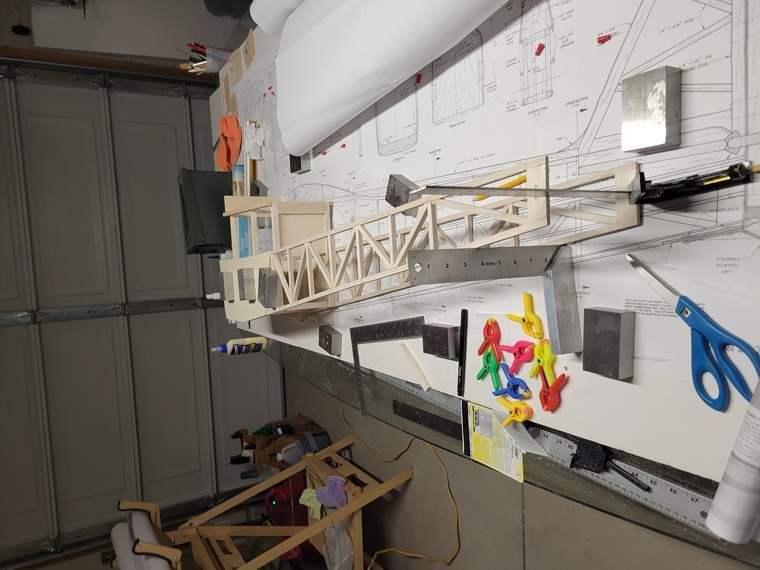
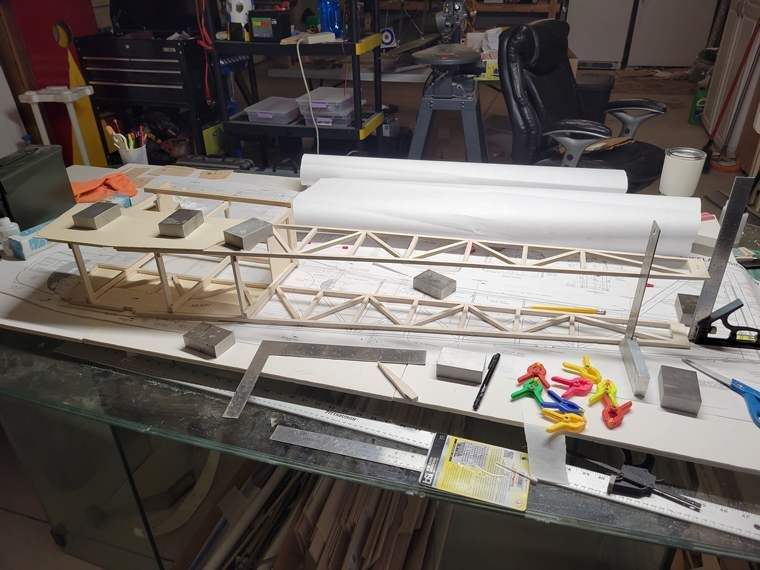
Looking at your progress, my guess is the next step will be the cross braces at the top and bottom of the two "girder" sides, and pulling the rear end of those girders together. The BUSA J3 is somewhat similar. and what I did was cut those pieces to length according to the plans and lay them out below where they go along the length of the tail section. Pin the cross braces at the second or third station back from the aft cabin former on one of the girder sections, then pull the tail together and clip it as you keep those pinned braces in position. That will give you the rough tapered shape of the tail. Now, place the cross braces at the first, then second station, pushing them in place against the natural spring of the girder. Then start at the fourth station and work your way to the rear, pinning each crass brace in position until everything is pinned in place, but not glued. Set the fuselage upright and check the alignment, making sure the taper is identical on each side and the cross braces are in their correct position by doing it over the plans. Once everything is in place and in perfect alignment and still pinned together, you can hit each joint with fast CA and as soon as it has set you can remove the pins and you'll have the cross braces all glued and the shape done. Then carefully cut and fit the diagonal braces, gluing them as you go, or pinning them and gluing them all at once. Then you'll have a solid and aligned fuselage lower portion to put the deck formers on as well as the base for the horizontal and vertical stabilizers.
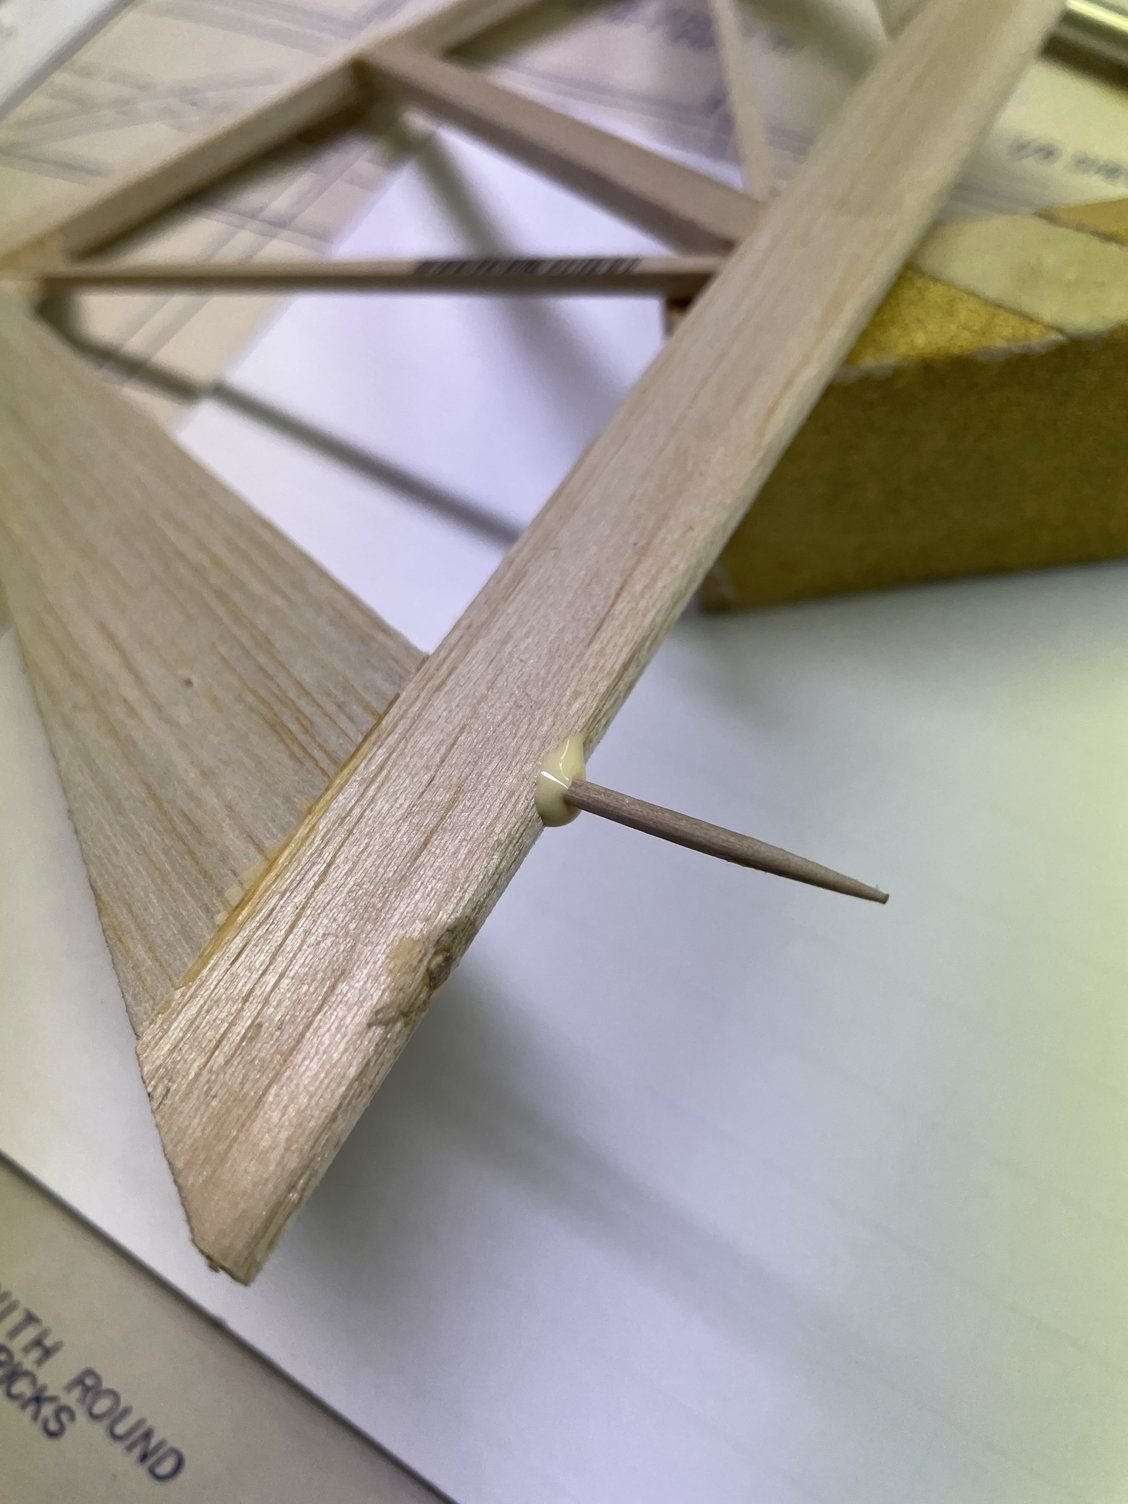
Anytime you want additional strength in a joint but can't put gussets or bracing, you can pin the joint after gluing it by drilling through the joint and using a piece of round toothpick glued in the drilled hole. It's surprising how much strength it adds without adding significant weight. The picture below shows pinning part of the rudder, but it works anywhere. You only need enough to go about 3/16" to 1/4" into either side of the joint: