greyfoxx, thanks for the kind words. It looks like it might be just you and I that are interested enough to comment on this bird..

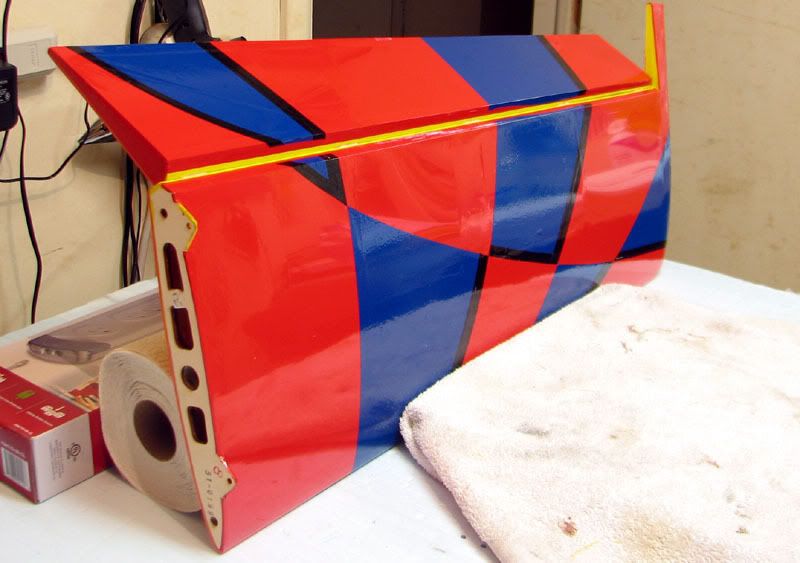
Tonight I started the actual assembly. The first step was to hinge the ailerons. The Reactor does not include conventional CA hinges. Instead, a sheet of hinge material is supplied and the builder is instructed to cut the sheet into hinges.
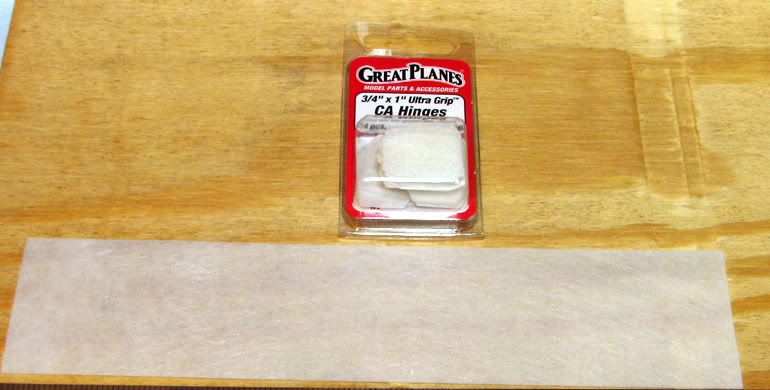
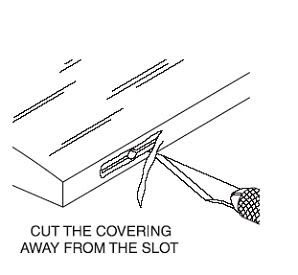
However, as I happened to have a package of CA hinges on hand, I added the full sheet to my stash of RC goodies and used the precut ones. The slots themselves are pre-cut, so opening them up was really a pretty simple affair. The slots were easy to find because the trailing edge of the wing and the leading edge of the aileron are covered with transparent yellow covering. I opened up the slots with a single slit of the blade and was just about to trim the covering from around the slot as described in the manual as in this picture.
.
This step always gives me fits because there is usually at least two layers of covering on the hinge line and it’s always sealed with lots of heat because it’s almost always near a seam. I usually end up making too many passes with the knife and the balsa gets all hacked up. This time, I tried something different. I propped up the surface on the opposing edge and held the blade perpendicular to the hinged edge. I was able to shave off just enough of the covering to leave the balsa in tact.
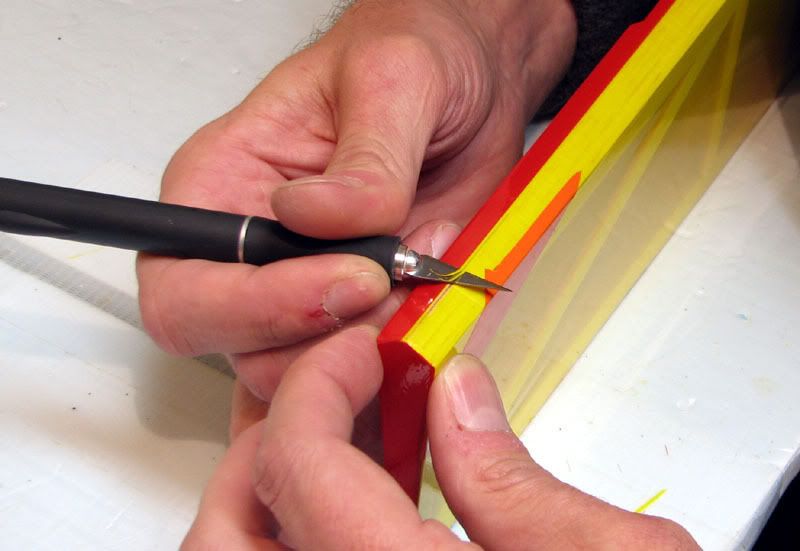
Obviously, this wouldn’t work with a flat surface like the one depicted in the manual, but it worked very well on the tapered leading and trailing edges of this plane. The next step was to insert the hinges half way, using a pin to prevent them from going too far into either surface. I made a small mark with a felt tipped marker at each pin to aid in the next step, which was to drill a 3/32” hole in the center of each hinge slot.
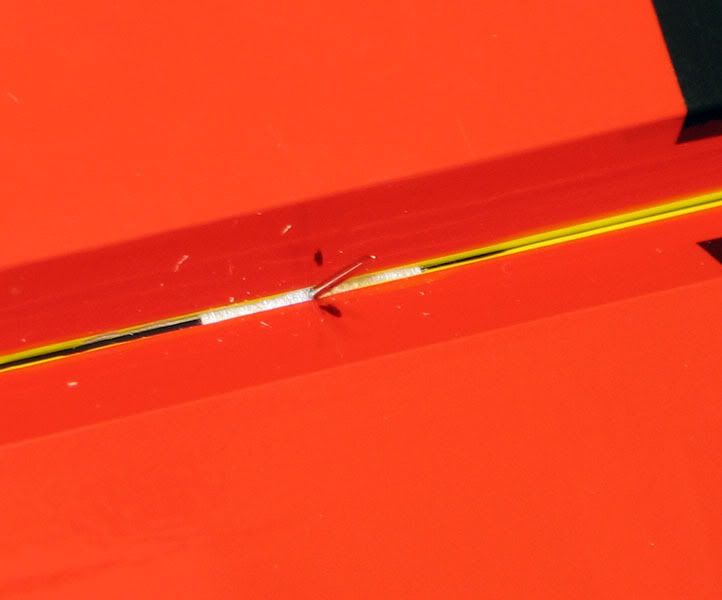
After doing so, the ailerons were reattached to the wing and several drops of CA applied to each hinge. Although the manual didn’t mention it, the next thing I did was to seal the hinge gaps. This is a tedious process for me and if anyone has a better way of doing it, I’m all ears. The first thing I did was prop the wing up on the leading edge and tape the aileron in full up position, thereby opening the bottom hinge area fully.
Next I cut a piece of 3M Blenderm tape the length of the hinge gap plus about one inch to ease the handling near each end. I try to lay one edge of the tape exactly on the edge of the beveled aileron.
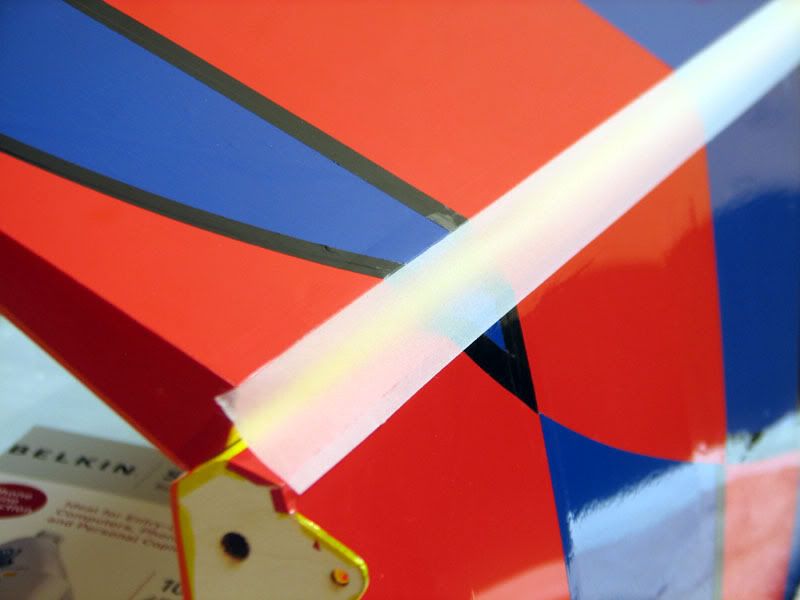
This is where the fun begins. The tape has to be pushed all the way into the gap and then back up the taper on the trailing edge of the wing. The thing that makes Blenderm so good for this is also what makes it somewhat frustrating; it sticks like CRAZY.
It would be easier with a couple extra hands, but what I do is use the straight edge of a ruler to work the tape into the gap while at the same time trying not to let it stick to itself or the other beveled surface. After a few choice words and elevated blood pressure, the job is finally done.
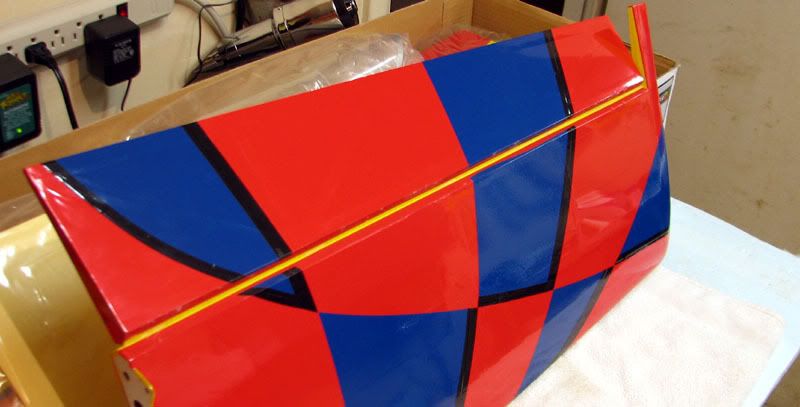
You can tell the tape is there from the bottom, but it is invisible from the top. The next step on the agenda is to install the aileron servos and corresponding linkage. I had hoped this would go as well as the hinging, but it just wasn’t meant to be. First I cut slits in the covering over the servo bays.

Then, I ironed the covering into the edges of the opening.
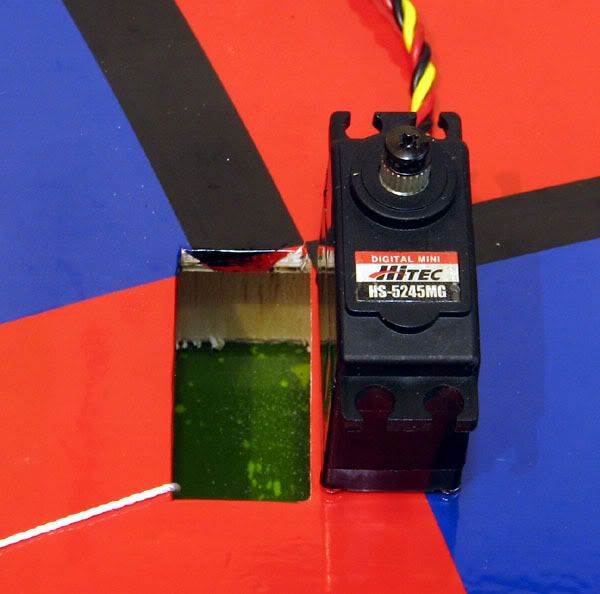
All was fine until I test fit the servo in the opening. The servo is wider by about 2 mm and at the same time it is shorter by about 4 mm. This means I have to open up the bay in one dimension and come up with a filler of some sort in the other dimension.
My first thought was a simple strip of ply across the opening.
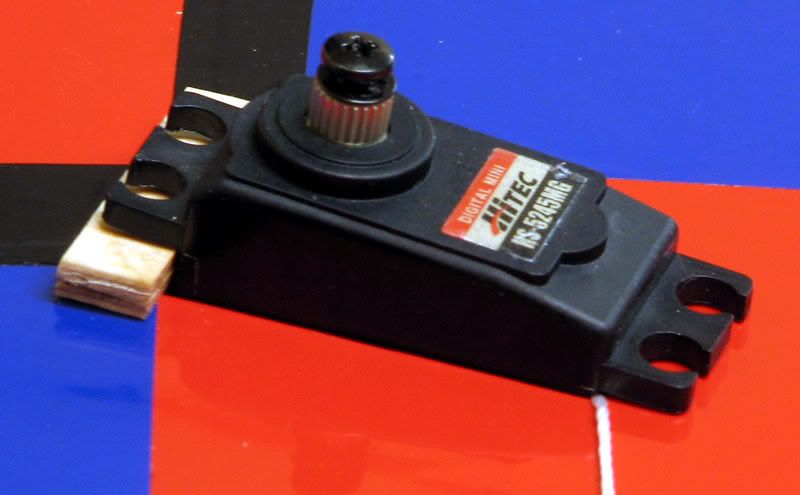
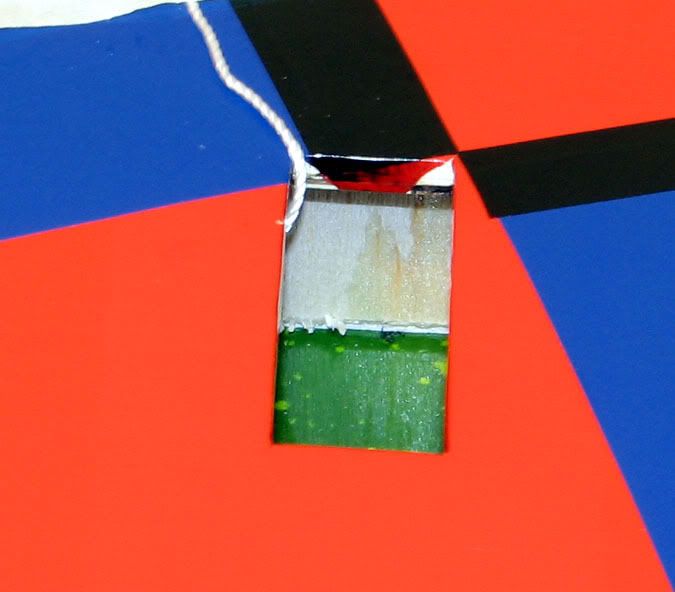
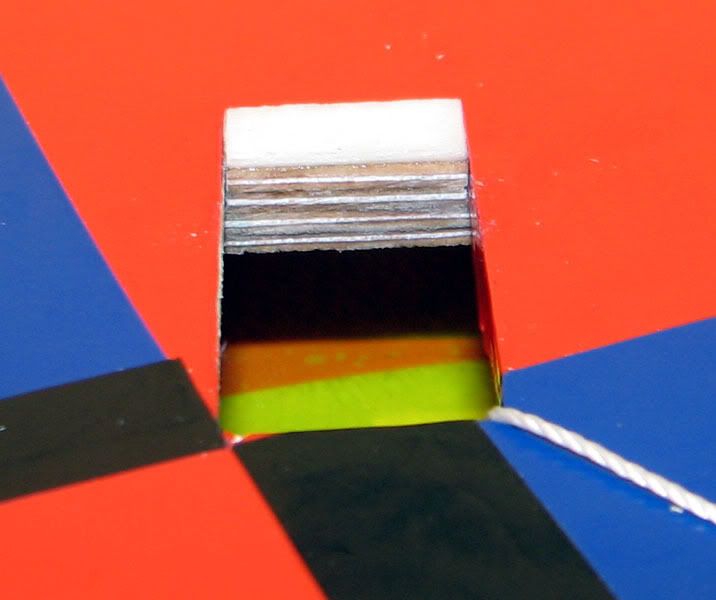
However, I rejected that idea because it left the servo sitting at an angle relative to the surface of the wing. I also didn’t like the big hunk of wood sitting out there on the wing surface. I toyed around with the idea of blocking up both ends of the opening so the servo would sit level, but that would have looked even worse. I finally decided to build a recessed filler block that will glue to the under side of the existing plywood mount. Here is a test fitting of the block.
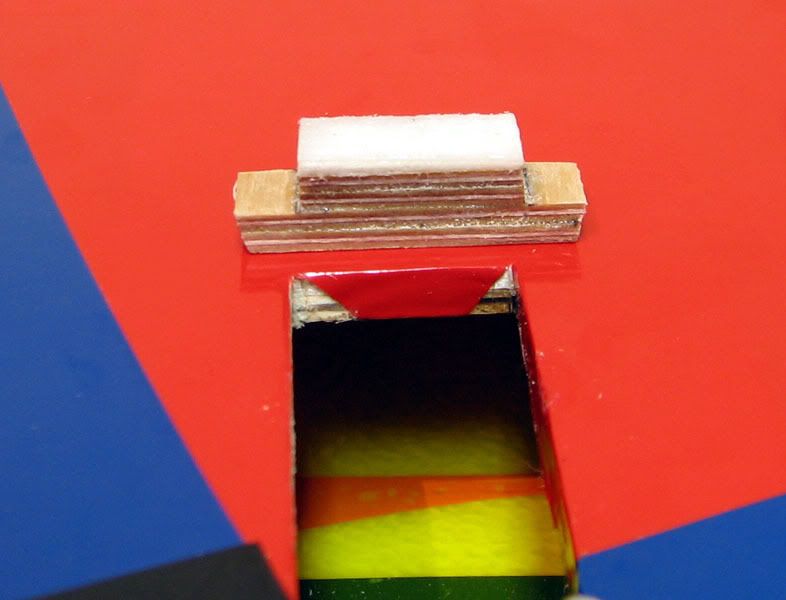
And here is what it looks like before being glued into place. Incidentally, the white surface on top is two layers of CA hinge material that I cut from the large sheet supplied for use as hinges. The surface of the block was slightly below the surface of the wing so I just built it up a little. The mounting surface is very solid and should make an excellent hard point for the servo.
It probably doesn’t seem like I accomplished much, but sealing those hinge gaps and customizing the aileron servo openings took a lot more time than I intended. Hopefully, my next session won’t be as problematic.
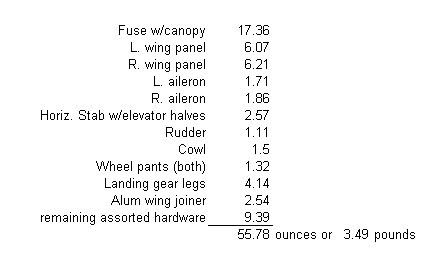
Just in case anyone is interested, I took a few minutes to weigh all the components. The total weight of everything except the engine, radio components and prop is about 3.5 pounds.
I guess that’s about it for tonight.