ok now to finsih off the fuselage assembly procedure there is two more things needed to do ,depending on what mechanics you intend to run in the Apache ,First off is the forward servo rails for teh tail pitch servo and the tail plane servo depending on if you are going to have it working with the collective ie as you increase the pitch angle the tail plane comes up so that in fuorward flight the tail plane is level , for a simpler set up you can just let it free wheel so to speak as i have seen on some others and the air going over it in forward flight will lift it up , i am running the extra servo as i want the extra scale effects ,there are servo rails included in teh kit for this and the way i achieved the corect placement was to screw teh servos on to teh rails and then epoxy them in ,simple , just leave teh servo rails slightly apart when screwing teh servos on so that after you can remove the servos .
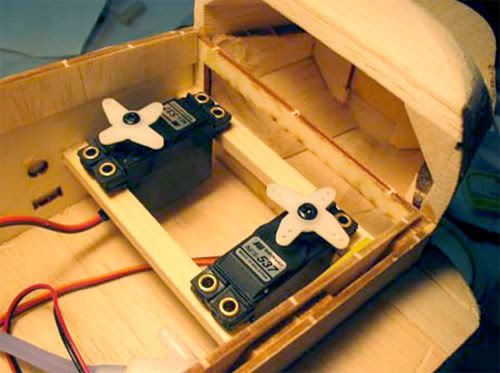
the above phot is from teh manual as i didnt get one of this ,but it will also show you the quality and clarity of teh pics in the manual
Ok and now for the last part of this section , and as i meantioned above this will depend on your choice in mechanics , and that is dependant on you having a heli that has either a shaft or torque tube or a heli that has a tail belt , now dont get worried as both can be used ,the main issue is that the apache has a raised tail so to simplifiy things you run a flex drive system which consists of a flexible inner cable running through a stiffer outer casing ,similar to a speedo drive on a car .The flex drive is included in the kit and all nessesary parts to installit on a shaft driven heli ,but if you have a belt driven tail ,as i do in my jr ergo , then dont fret as James has sorted it all out for you too, i will go into more detail on this at the time of instalation , but suffice to say you need to convert your belt driven helit to a shaft driven and this is achieved by purchasing teh raptor tail adaptor which as it sounds was designed for teh thunder tiger raptor but will suit most belt driven helis
so you need to consider this at the time of purchase , the kit was origanally designed around the century hawk mechanics i believe ,ie being shaft driven ,and while on this subject if you have a belt driven tail then along with teh adaptor you can either request teh conversion details from James for the parts needed to convert a raptor tail to accept teh shaft setup or as i am doing just find a complete shaft driven tail set up ,currently i am going to use a kyosho concept 30 tail setup which i have been told should be good , but failing that i will get a century hawk tail if the concept 30 doesnt work out for me .
Ok so back to teh final stage ,for this part ,of the build , which is if you have a shaft driven tail then you will need to place hte rquired part with the flexdrive hole in it into the start of the tail section at the end of teh triangle stock that you glued in before and you will need to run your shaft drive through this so that it supports it comming up to the rear of the mechs ,and thats it
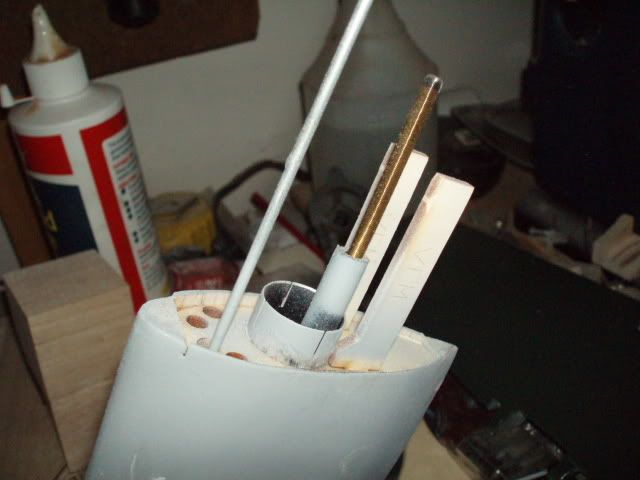
the pic below shows the end of teh flex drive comming out of the tail tube