ok i have spent the last couple of hours adding a lot more detail to the fuse ,the tads system is almosy=t ready to mount ,and will work in sync with teh m239 30mm chain gun, i am also closer to working out my lighting setup , also , over the last week i have aquired a helitronics light controller , with a heap of luxeon lights and leds ,i have also bought a lighting kit from
http://www.ncweb.com/biz/dan/RCLights.html i the states ,which arrived last night, i had a quick play with it in my quick of japan ep8 cobra ,and it is a ready made easy to use light set up which is great for those amongst us that would like to have a simple no hassles or fuss basic light set up on our model , i am also in contact with ross from
http://www.lightingforaeromodellers.co.uk/ who is sending me his product list and is going to help me get a lighting setup sorted out also , in short i am going to try all three setups and go with the one that best suits th apache , the other two will then end up in the e-cobra from approach engineering and teh 90 size cobra ,,i am favouring teh helitronics for teh 90 size cobra as i want to put a lot of detail into it ,so once i have a bit more time with each setup i will put my thoughts down here .
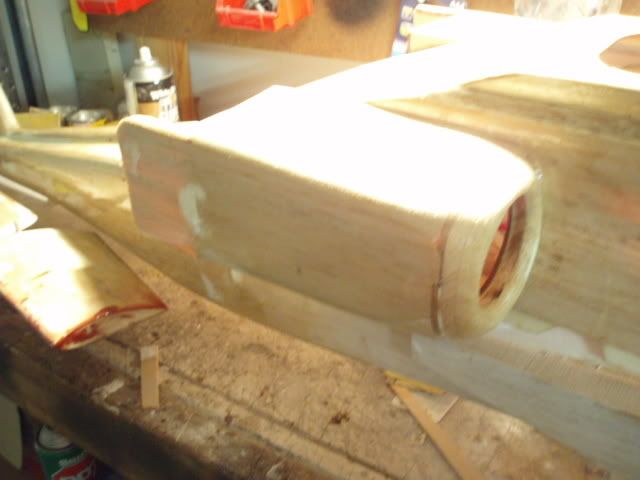
So back to the building there is little to do to finish of the nacelles so this is where i will start.so next on teh list is sheeting teh top of teh nacelle , simple and quick , there is plenty of 3mm sheet so you can overlap a bit then sand back , im the cuastious type so i loke to give a little excess then sand off

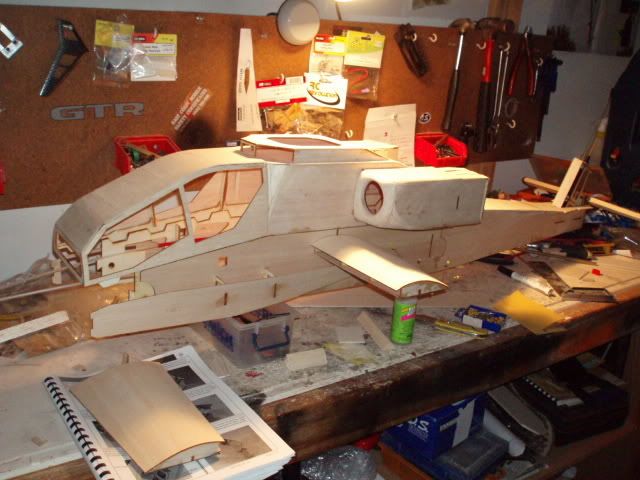
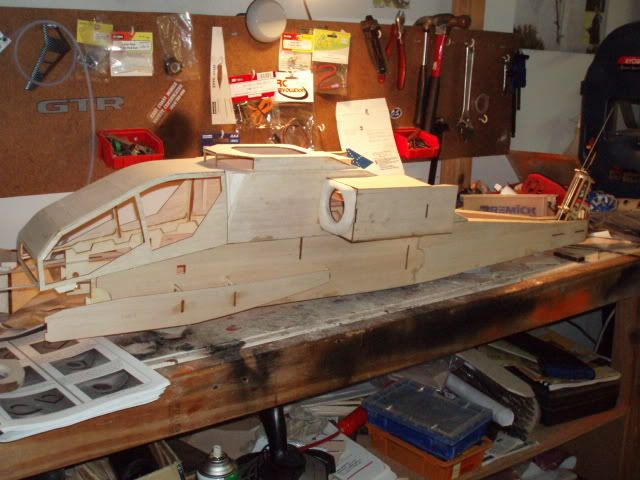
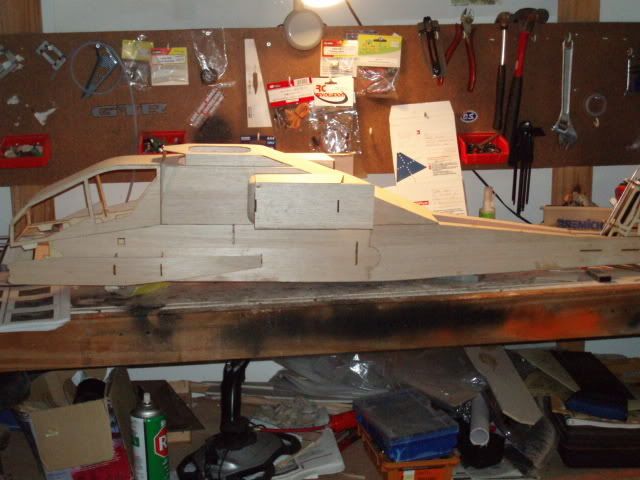
then just to show you how she is taking shape here is what she looks loke with teh canopy ,every step just gets more and more exciting and the shape of teh apache takes form

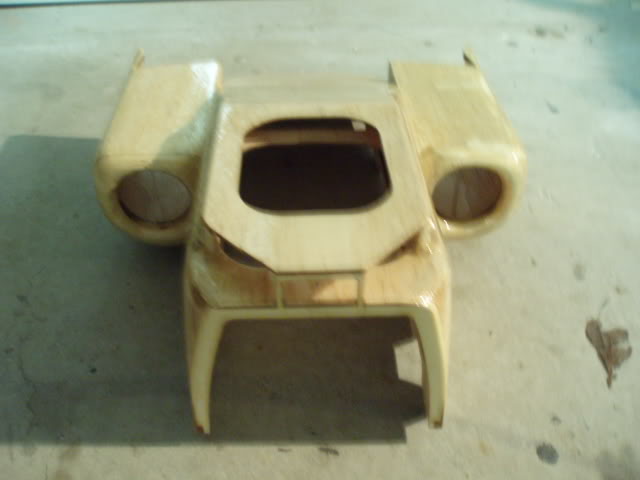
right then , locate the two engine nose blocks ENB for either side ,glue the two parts together for each side , now the important bit make sure you make a right and a left when you start to sand to teh final shape .

i kept refering back teh the cd that james includes in teh kit , there is over 200 pics there of teh apache he flies , and you simply cant find anymore detailed reference when starting to sand and shape for teh correct detail, and especially now as i am adding the final detail ,i have it open on my desk top all the time , im lucky enough to have my computer out in teh gargae so i can refer to it always .
so have a good look through teh pics as it will give you the best perspective on how to have the final shape of teh engine blocks at the front of teh nacell , again i start of with 80 grit to get teh basic shape tehn use 120 ro smooth it up and finally 320 to get it perfect for the resin coats .
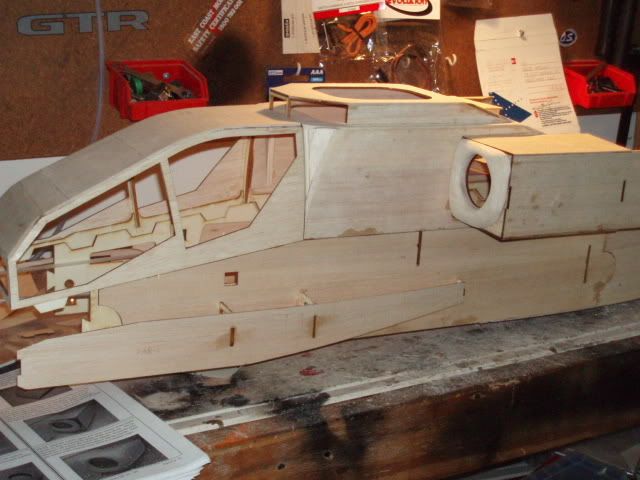
one thing i did change or add as it may be was the top turtle deck sides ,on the full size heli its a smoother and less pronounced step from the side of teh top deck to teh transmission bay sides so i added 5 mm of balsa to teh side of the top deck to bring it out closer to the side of the transmission bay , then i jsut sanded and shaped to get a good curve , so finally we end up here
this is where i have to say that i really got excited and i think i built well past midnight this night as i didnt realize the time
this pic shows the nacelle shape starting to form , i used a razor plane to get a head start here