I’m still working on the MP4/7 body. It hasn’t been an easy cut and mount job. I’m just happy I decided to stick with my plan to cut & fit before paint. Trimming the TRG body on the provided trim lines would have been a disaster. So it’s taking a little more time than I was anticipateing.
Since I didn’t feel like working on the body last night I decided to throw together another chassis, I think I’ll need one for the FW-16 body project down the road.
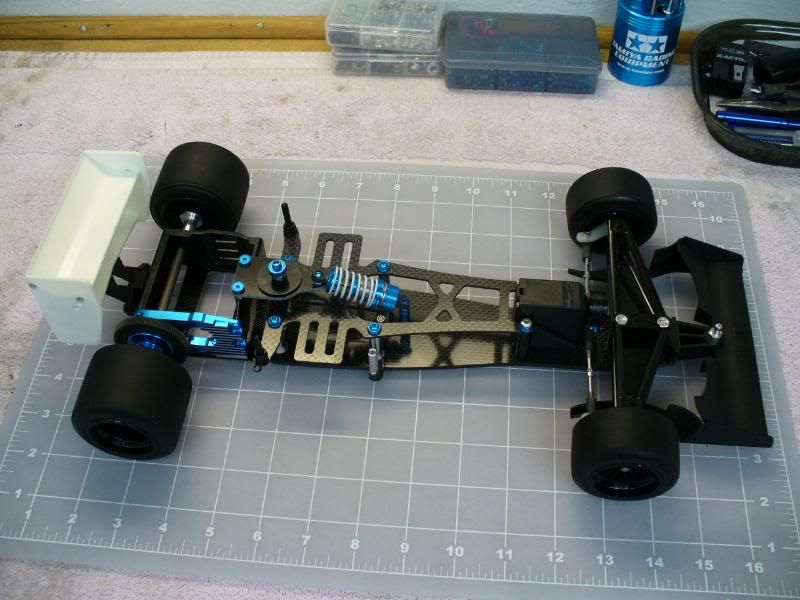
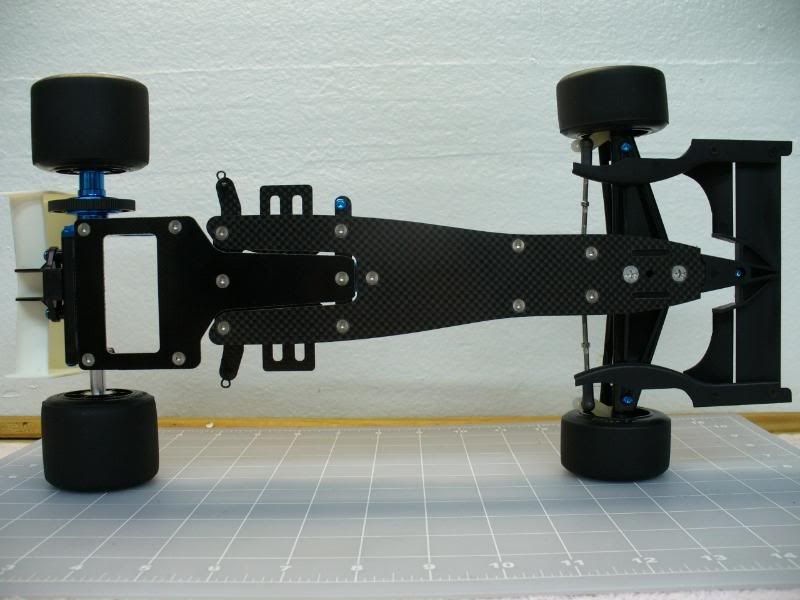
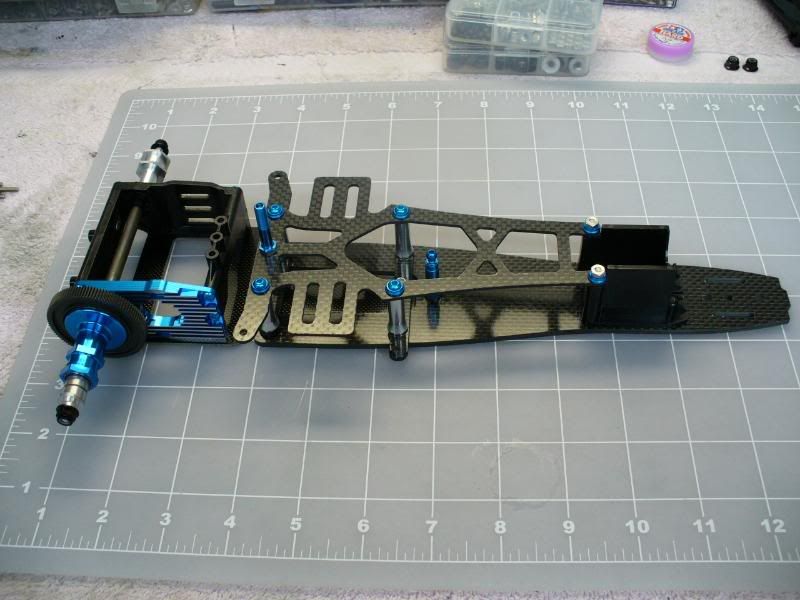
All the chassis I’ve done to date have been from kits and added hop-ups. This time I decided I’d build the car from just spare parts and hop-ups. I also thought I’d try an idea that I’ve had for a while to replace the stock T-plate bulk heads. I figure the car isn’t based on any Tamiya kit and the body is aftermarket, so why not have a little fun with it.
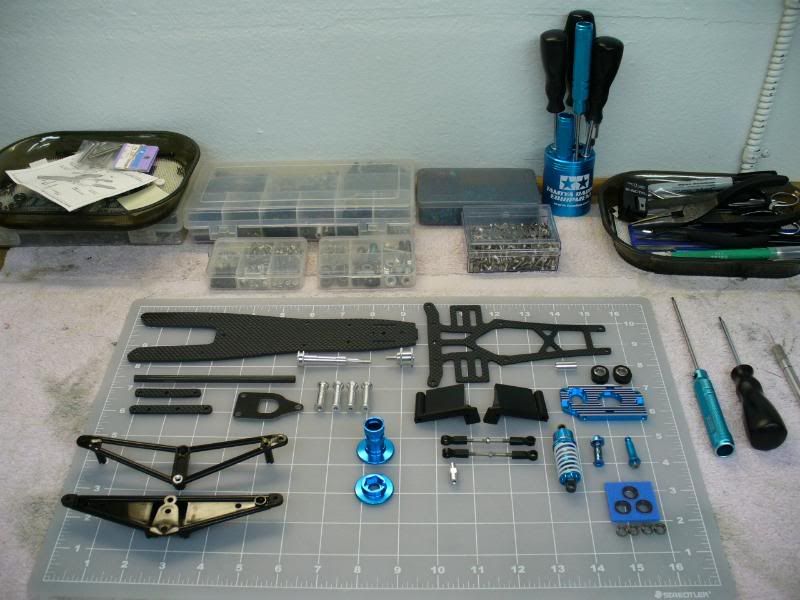
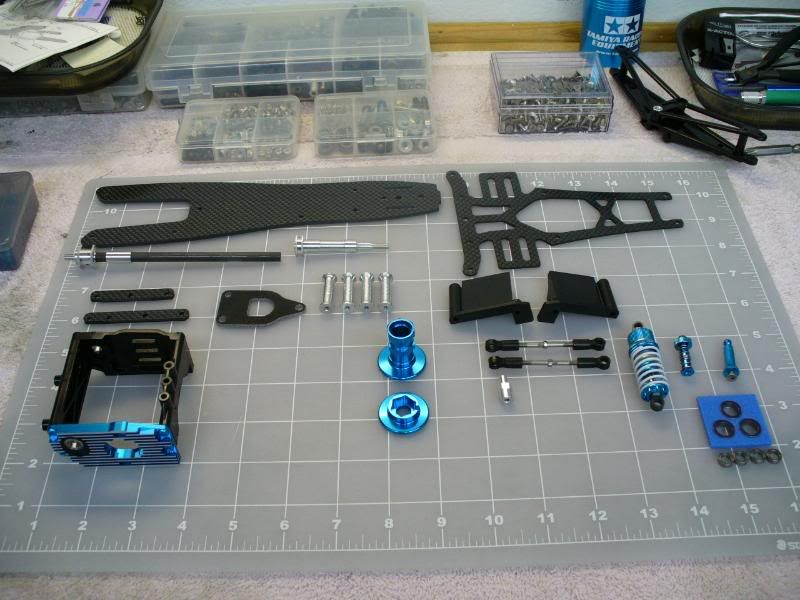
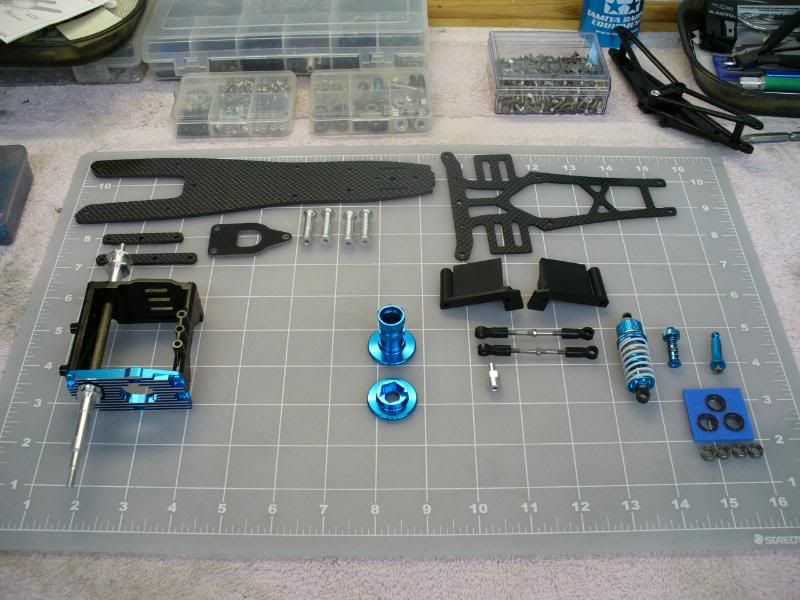
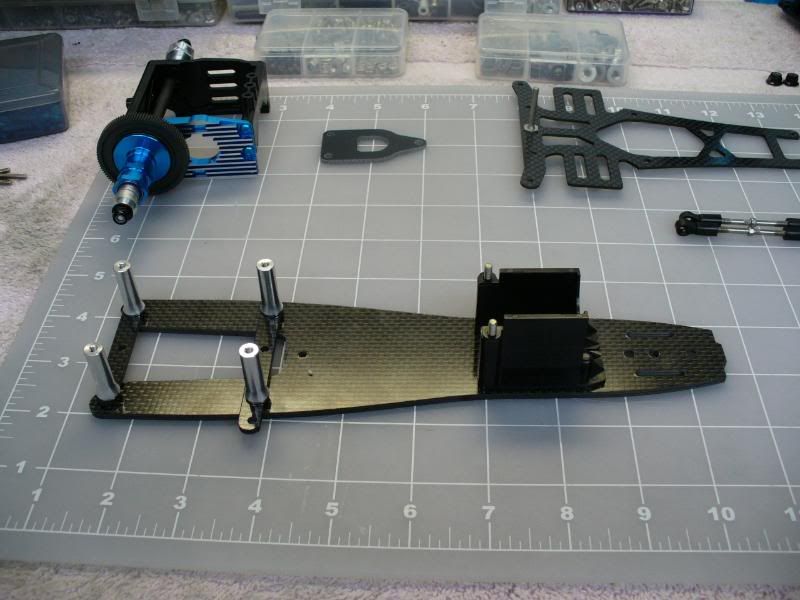
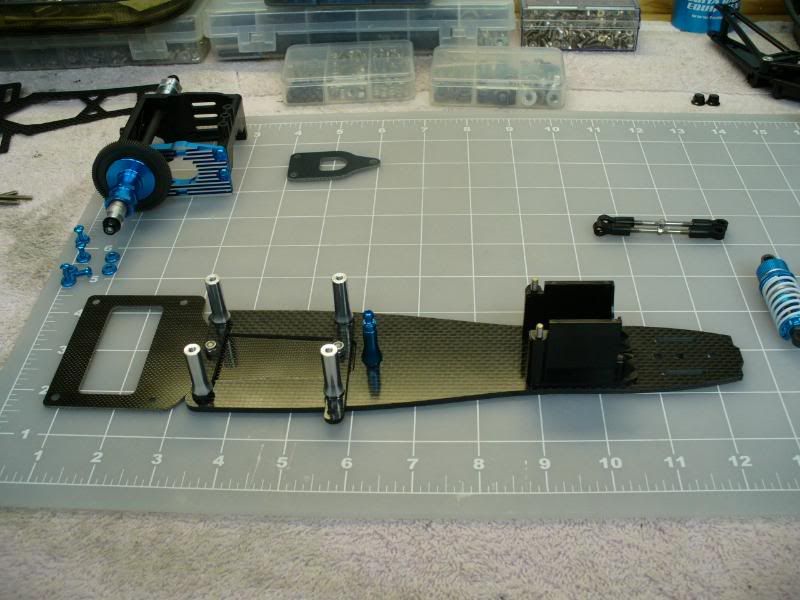
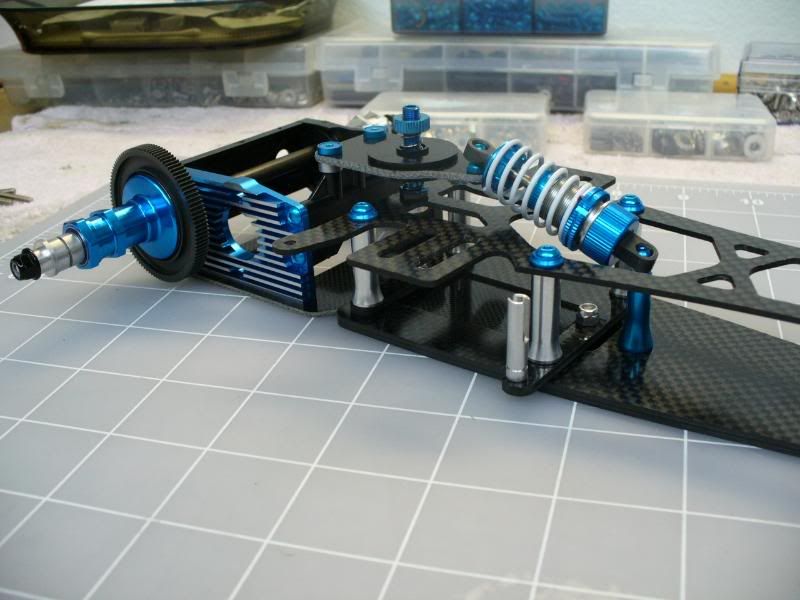
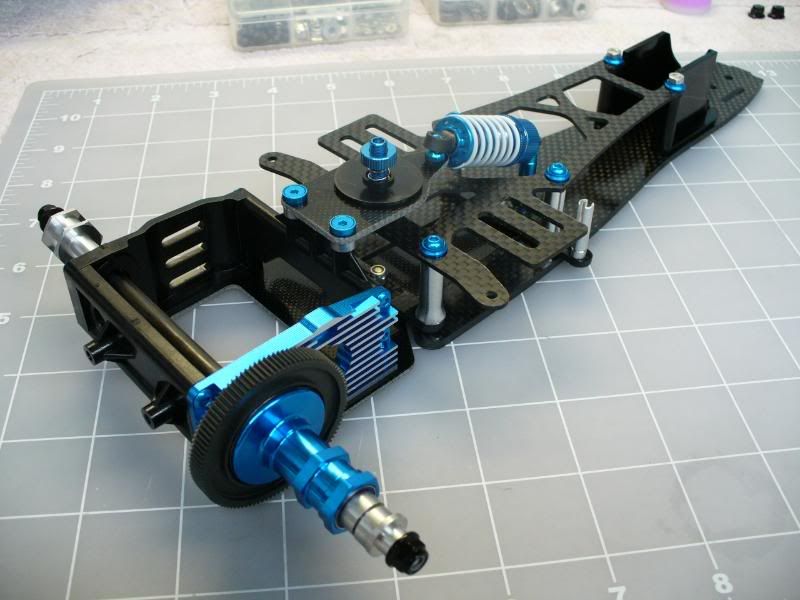
Here are the basic parts I’ve started with. Most of the parts making up the car are hop-ups so I don’t have to scrounge up to many things to get this complete. As you can see I have a carbon chassis, upper deck, aluminum diff joints, TRF Shock, aluminum motor mount, 3-Racing’s adjustable damper post and graphite rear axle, light weight rear hubs and bearings.
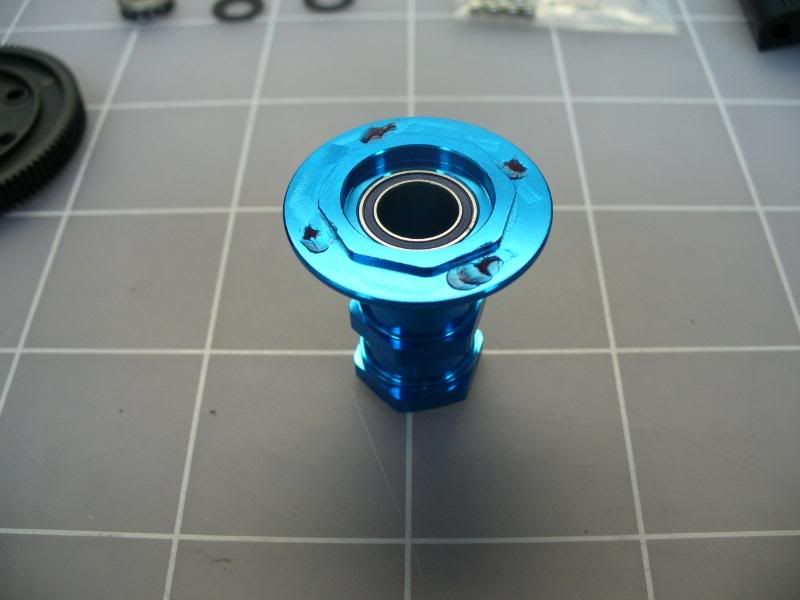
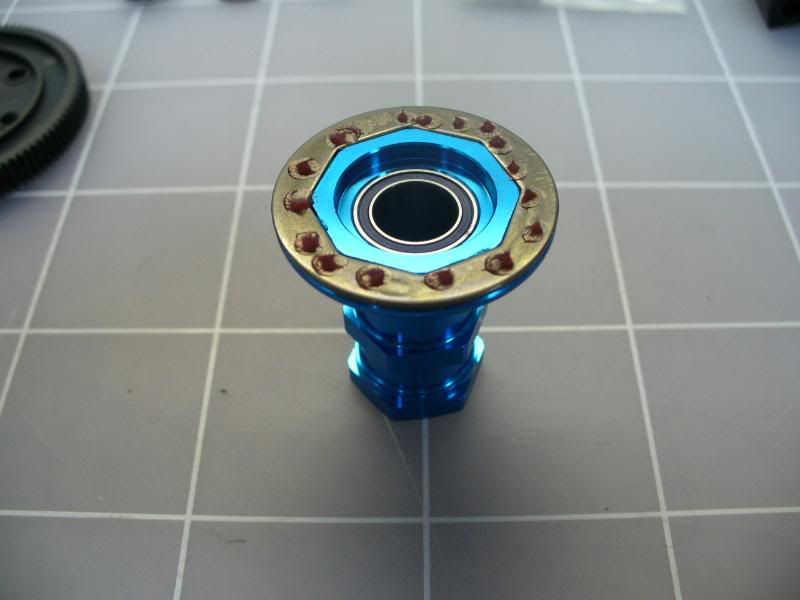
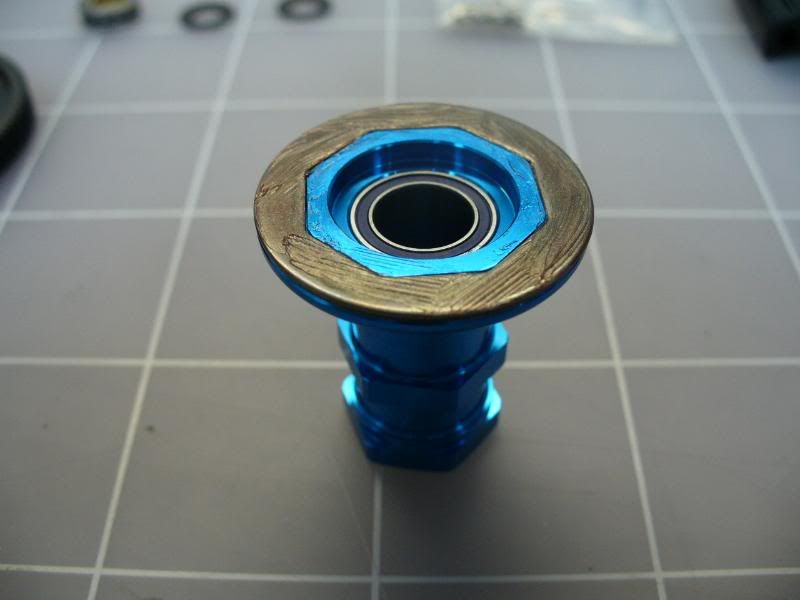
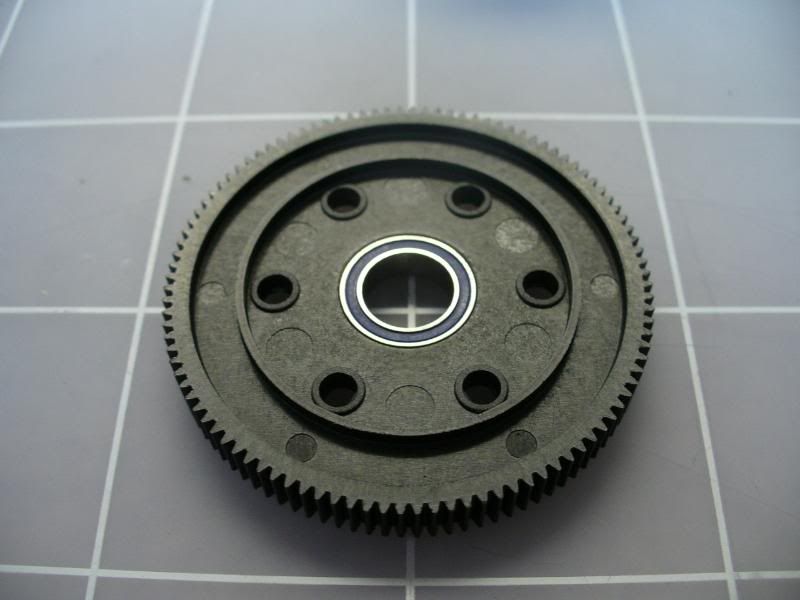
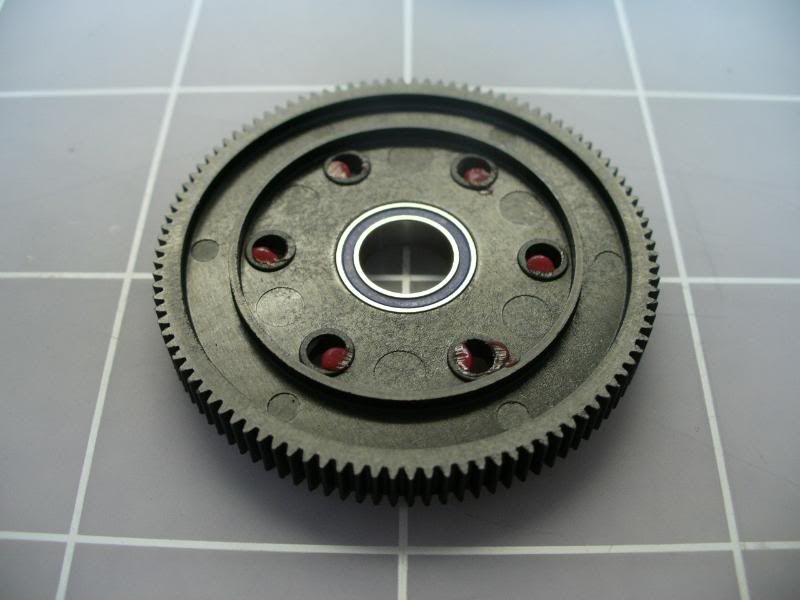
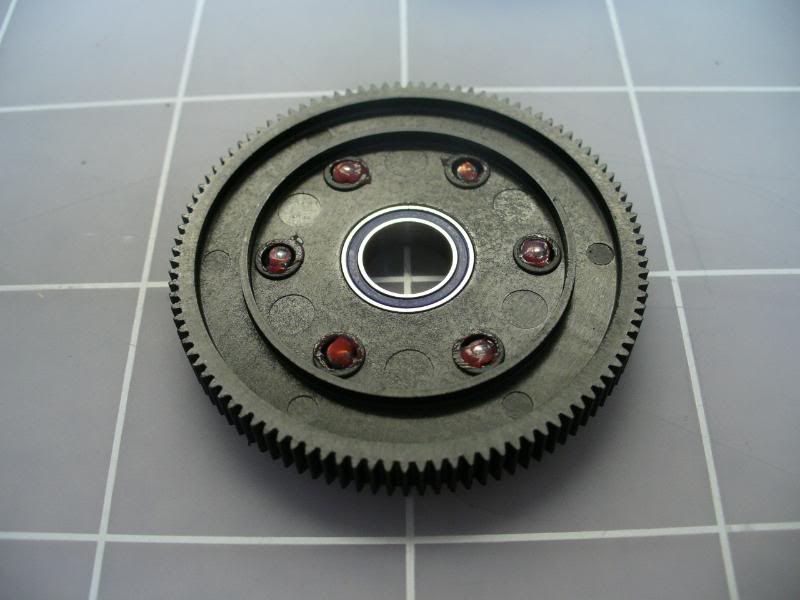
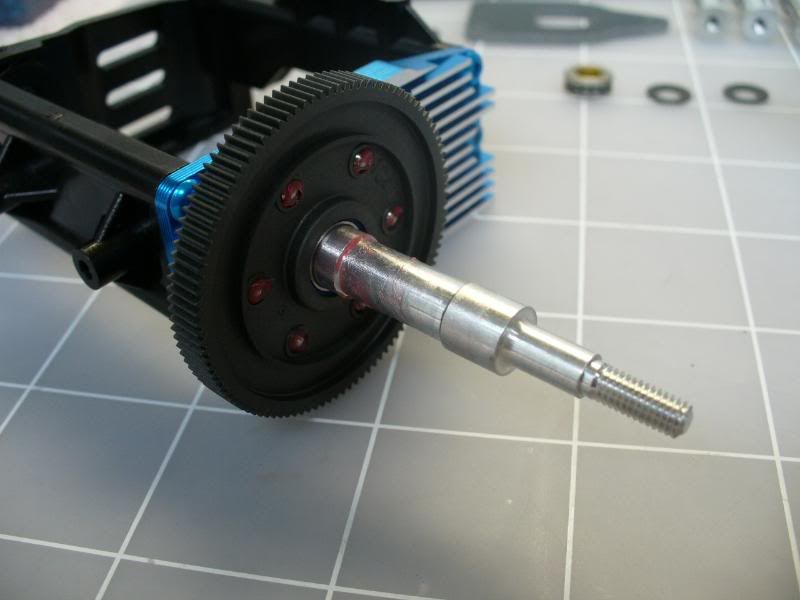
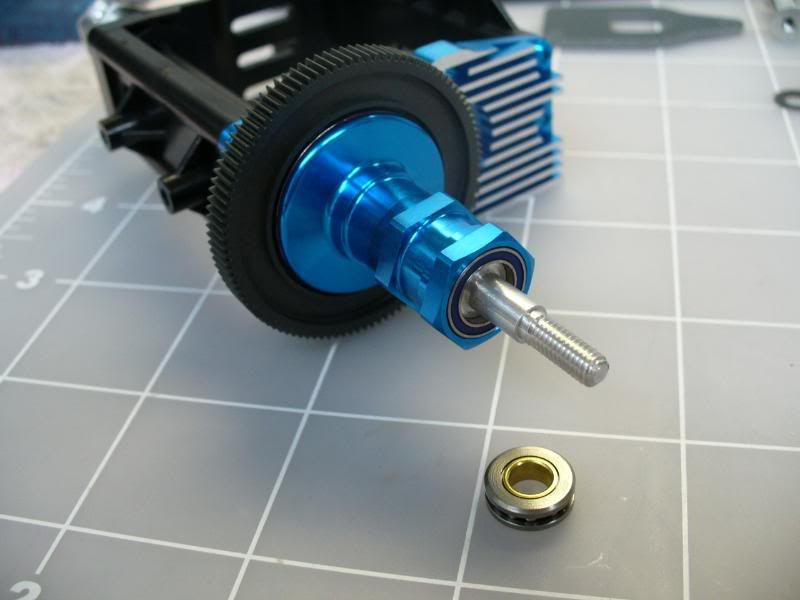
I started off with building the rear pod. Dropped the bearings into place, then slid in the graphite axel in. I secured both rear hubs, remember to use a little lock tight on the setscrews, I’ve had these loosen up at a race and it sucks. Then I put a small amount of diff grease on the face of the diff joint. This will keep the diff ring from falling off during assembly. Next I applied a little grease to the diff ring and rubbed it around to coat the surface. After that I slid on the inside diff joint. You’ll notice from the pics I also added some diff grease to the hub. The reason I do this is I’ve noticed over the years that the hub will show signs of wear. It’s not from the bearings because I check those regularly. So my thought is just add a little grease just incase, what can it hurt. Next was the spur gear. I add a little diff grease to each hole, then I drop the balls in and add a little more grease. Once the spur gear is in place I add more grease to the shoulder of the gear and slide on the remaining diff joint. I prefer to use the thrust assembly pictured instead of the rings and balls supplied in the kit. Tamiya sells this part separately and I think it works a little better. I use a very hard grease for this. Something like Associated’s black grease works well.

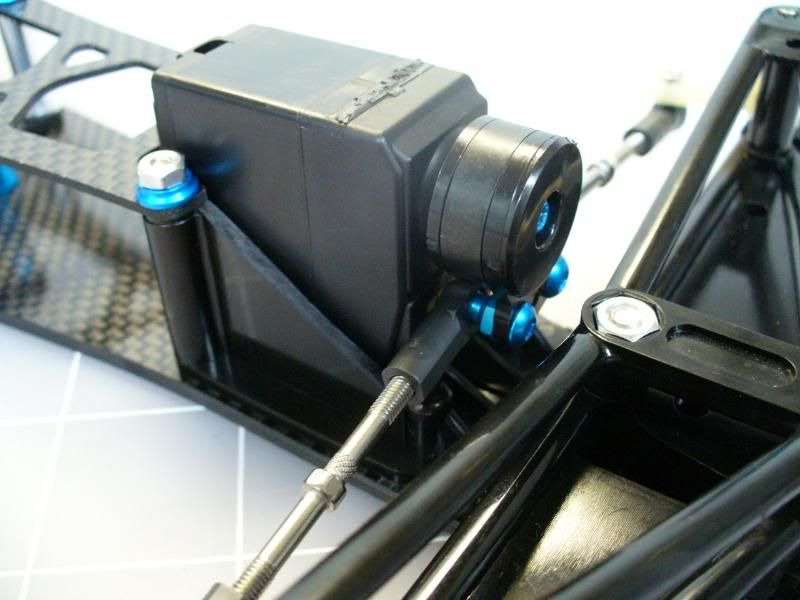
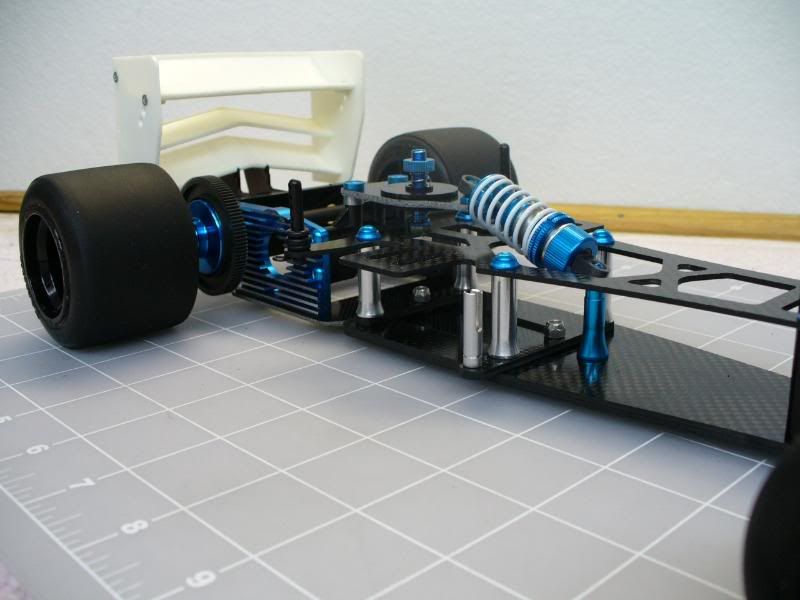
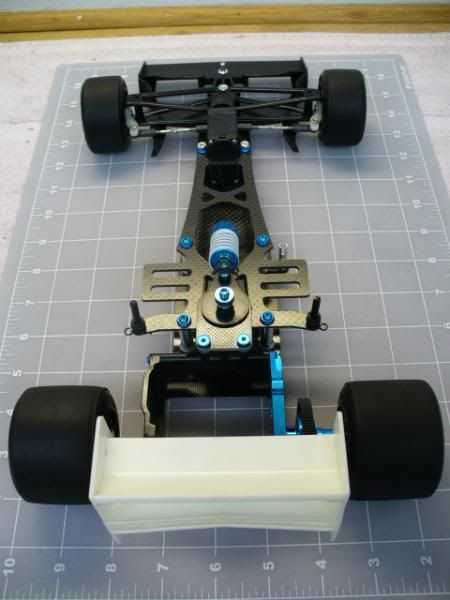
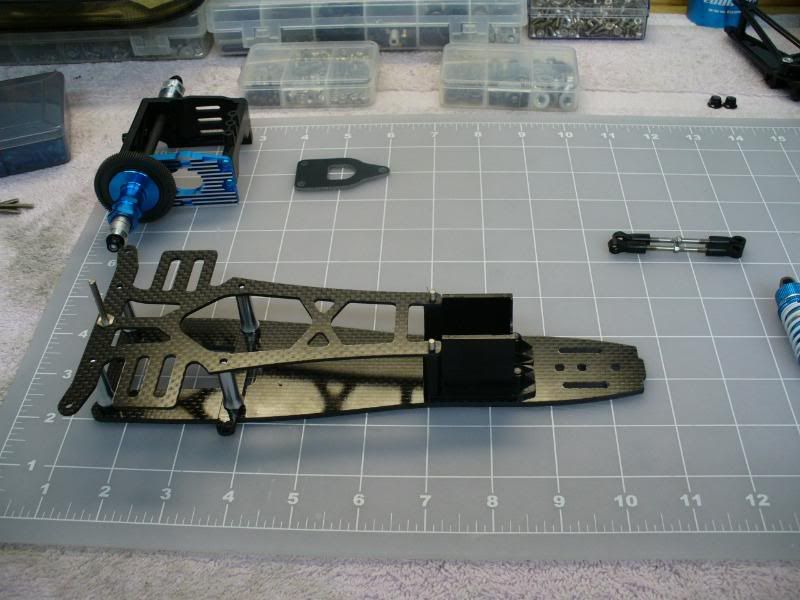
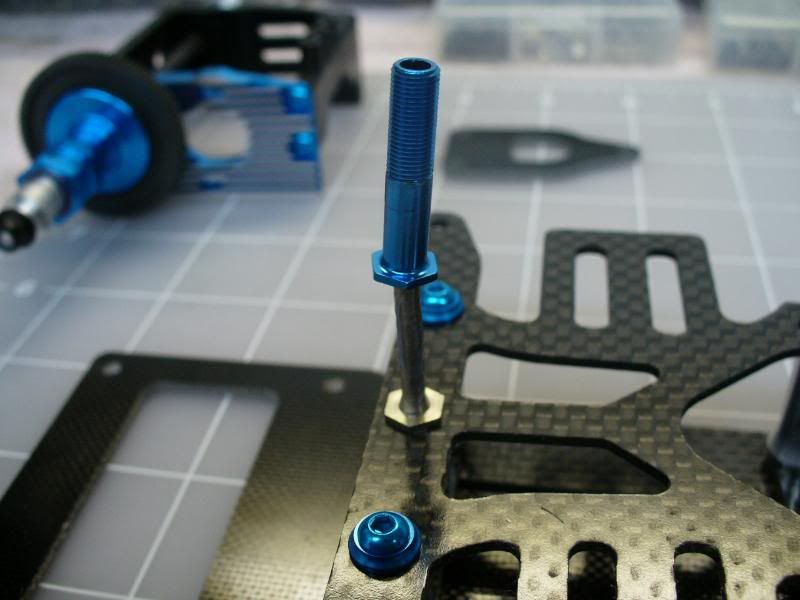
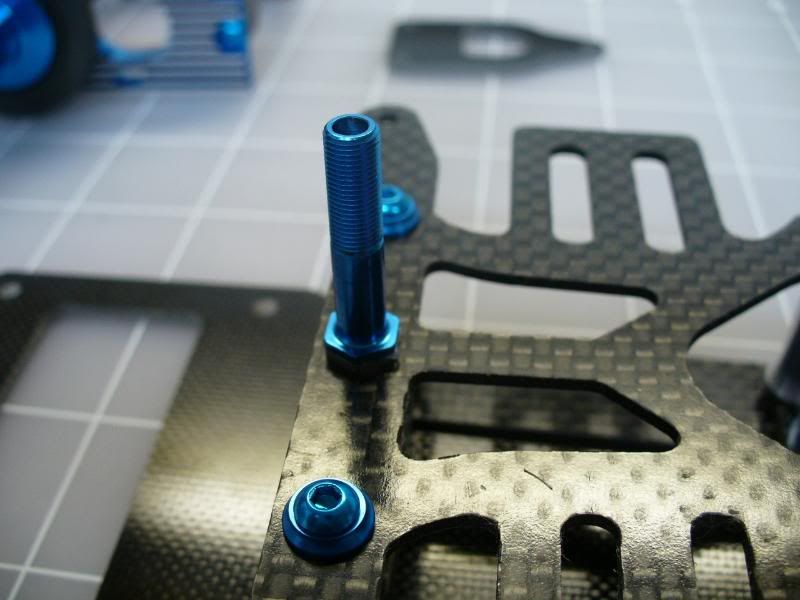
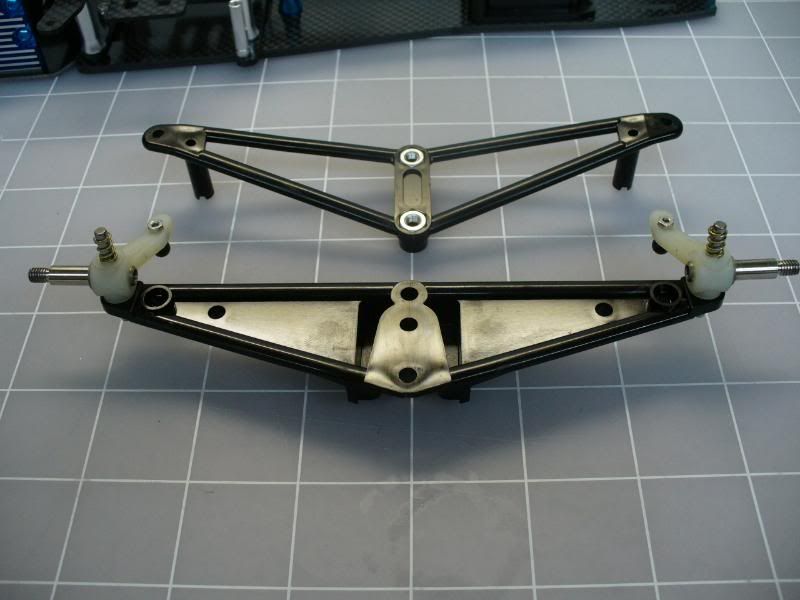
With the pod complete it was onto the chassis. I used Square Racing’s 3x35mm titanium screws up front for the servo holders. At the rear of the chassis I went a different route. I took some old carbon scrap and cut two cross sections to replace the stock T-plate bulk heads. I used four of the Tamiya F1 shock posts to provide support for the upper deck. The shock posts are threaded from both ends so I didn’t have to use the 3x35mm screws like normal. I secured the post from the bottom using four 3x8mm titanium socket head countersunk screws. Then I mounted the T-plate and shock post. Next was the upper deck. I used the four 3x8 aluminum socket head screws and Tamiya damper spacers as a washer on all six upper deck mounting locations.
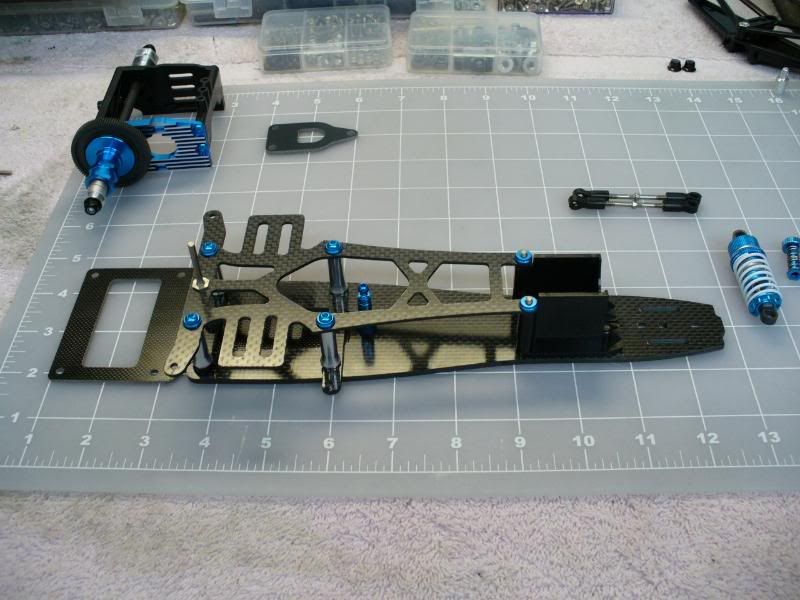
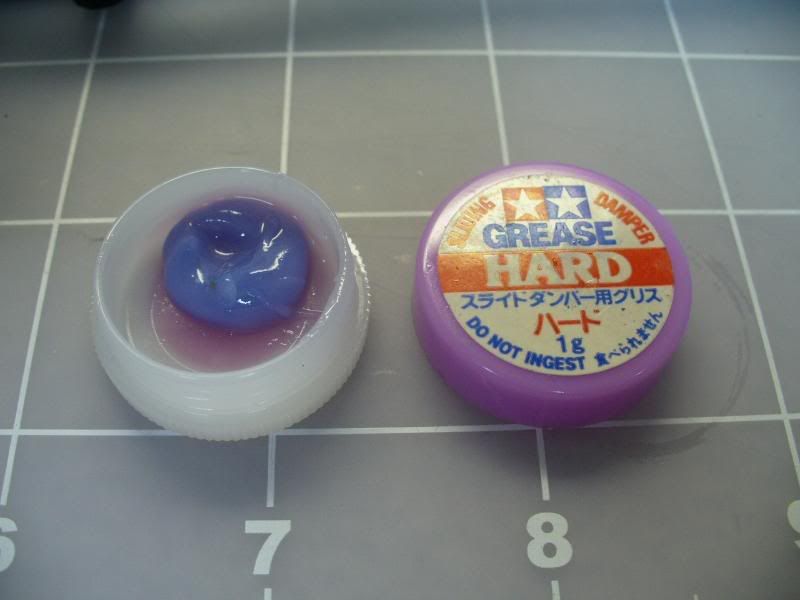
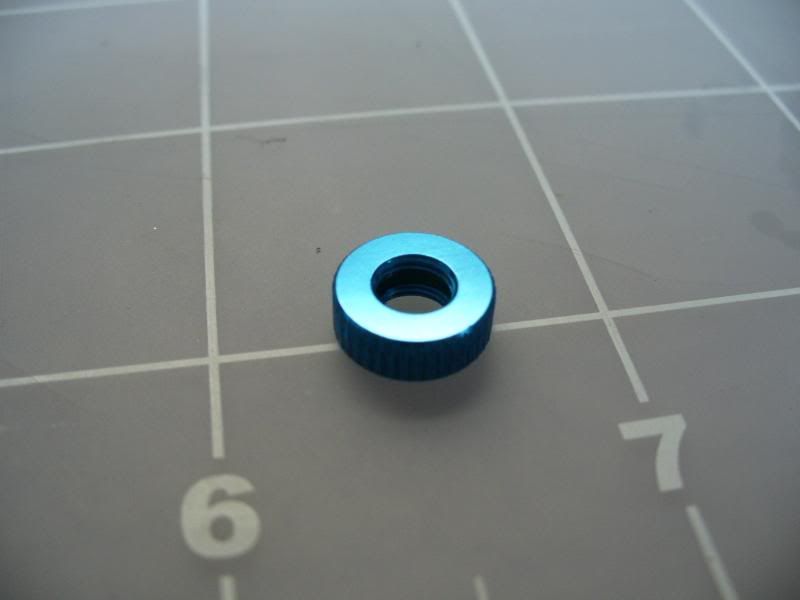
For the rear damper I’ve always used a little of the Hard Grease to provide some of the dampening of the adjustable rear post. I just smear a little on the post and slide the body on. The reason I do this is there’s a little play when this is assembled. I use to wrap plumbers tape around the steal post to take up the gap. It worked well, but this works just as good and it’s allot easier. One thing I’d like to point out. The cap that threads on and holds the upper spring can come loose from vibration. I strongly suggest you add a small amount of lock tight to the threads. If you have to replace this part from wear, I’d suggest looking at 3-Racings adjustable damper post. It’s a little cheaper than the Tamiya part and the cap has an o-ring in the center. This really helps to hold the setting and isn’t as messy as the lock tight.
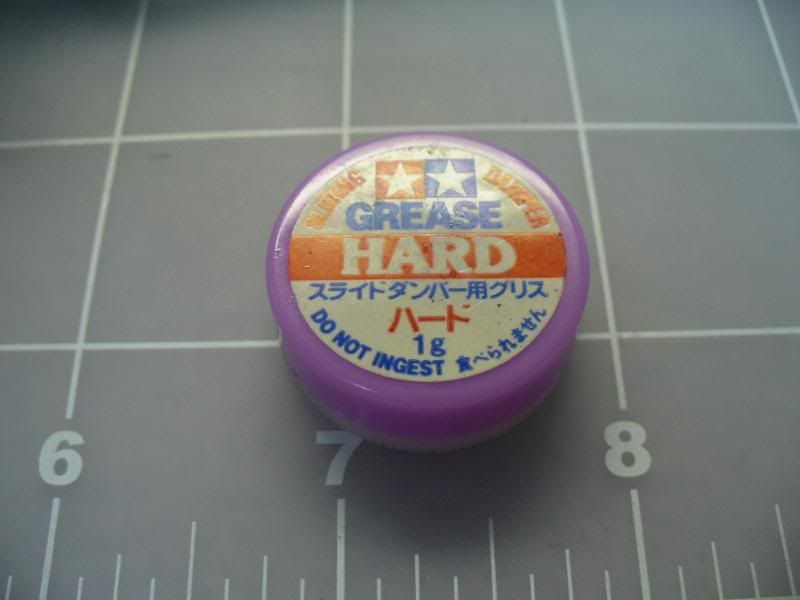
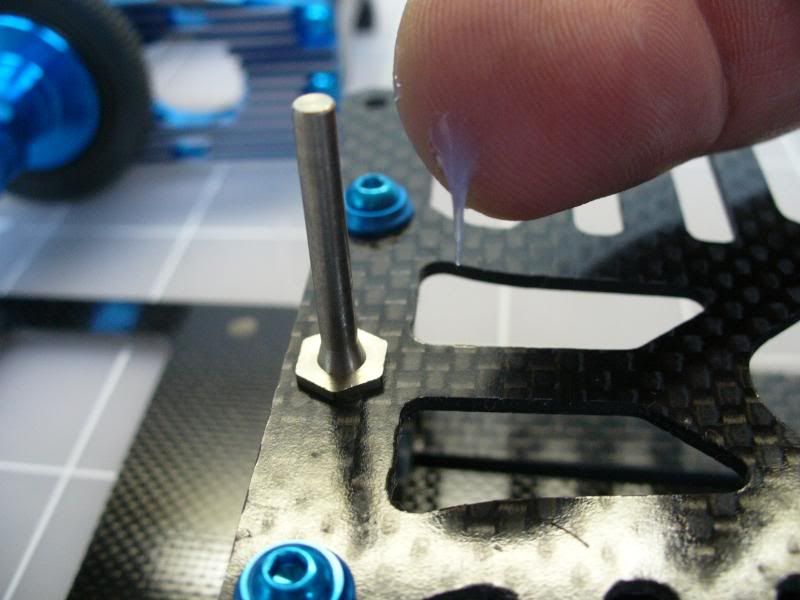
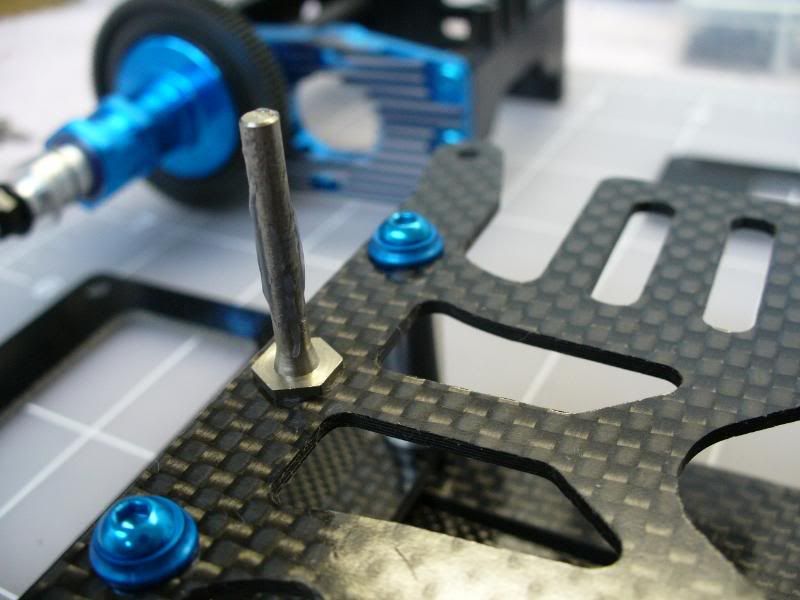
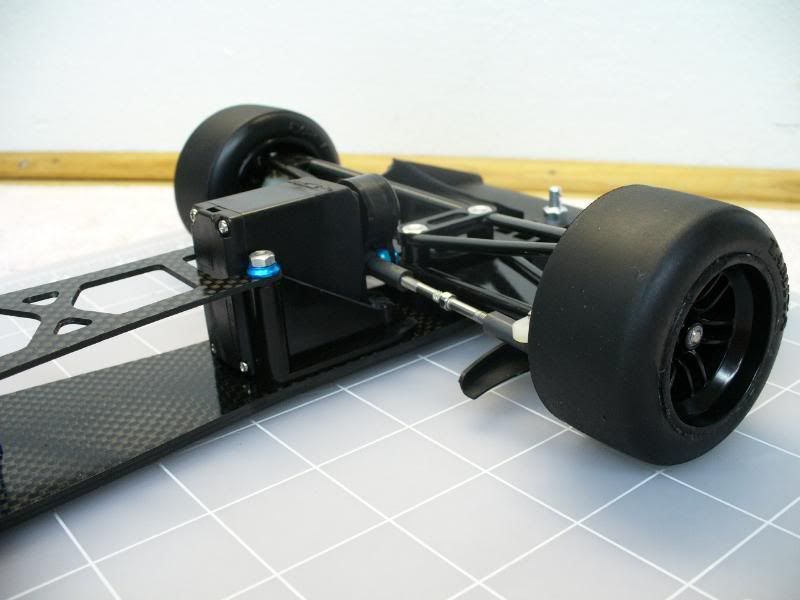
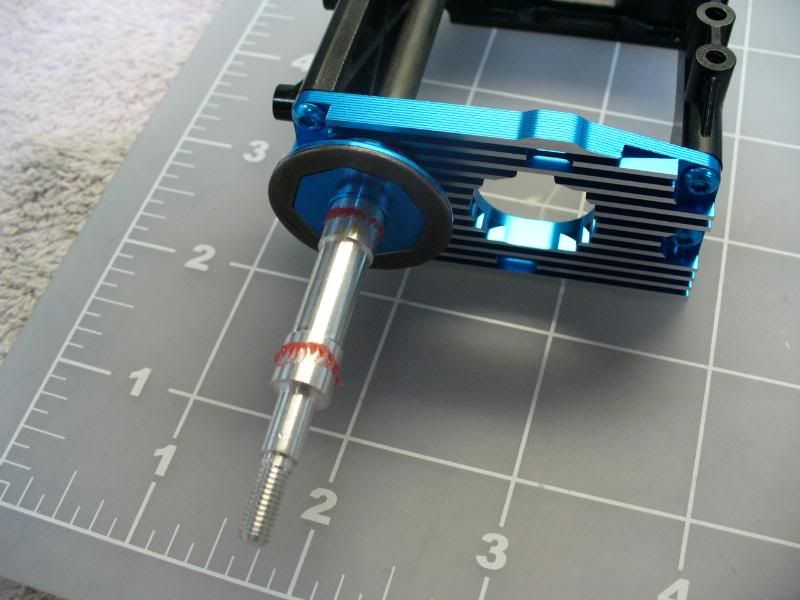
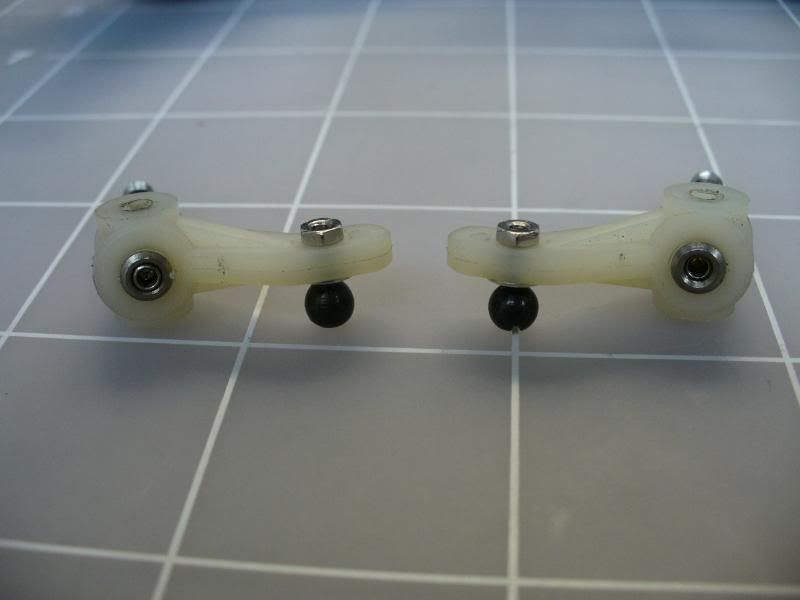
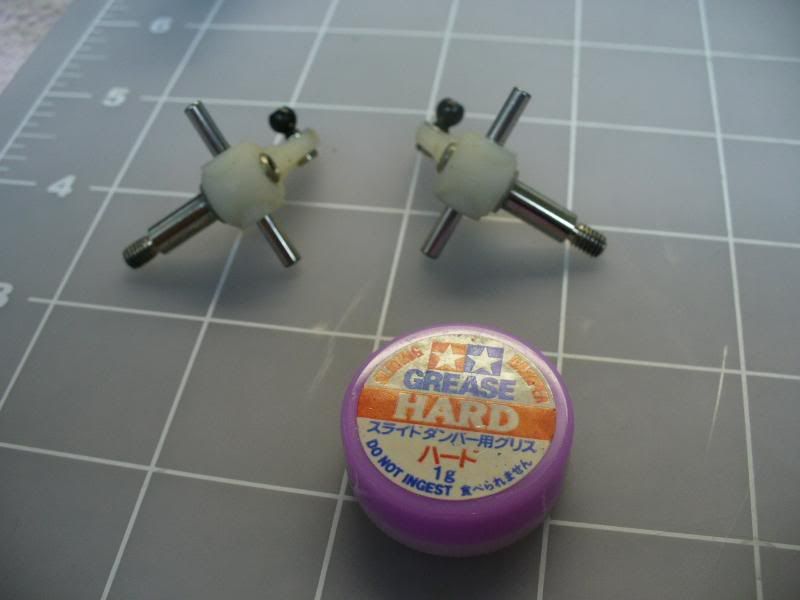
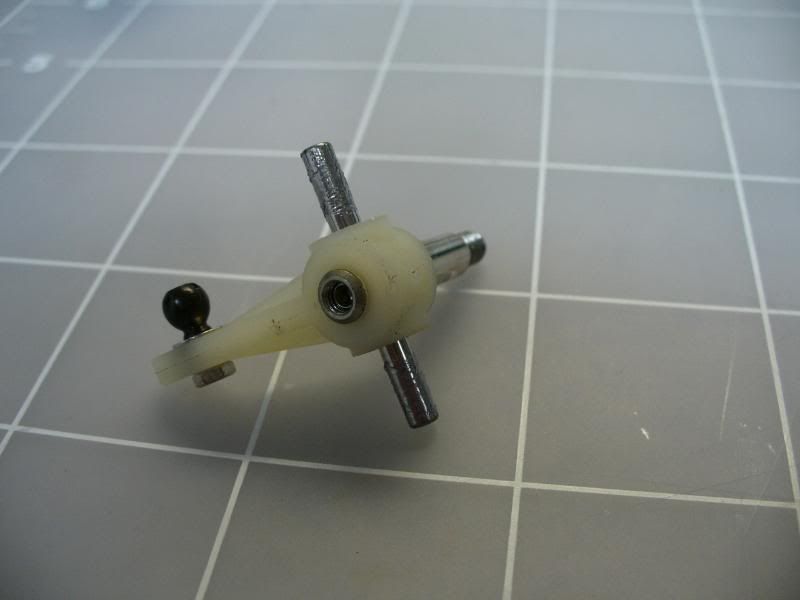
Up at the front end of the car I had to use the old style kingpins to secure the axels. I say old because these are from way back when the F101 was the top dog from Tamiya’s F1 lineup. To use these you have to run a setscrew in the back of the axel, slide the kingpin into place and measure 8.5mm top and bottom, then tighten. I should mention it’s a good idea to use the set screw in the back of the axel even if you’re using the newer kingpins. I do this to remove slop from the front and it means the kingpins are turning when I crank the wheel, not the nylon part. I’ve always thought the nylon could cause some drag. Once the kings pins are in I pull out that hard grease I used on the rear damper and apply it to the kingpins. Again, this will provide some extra dampening in the front end. Remember it’s just a little spring up there. You can use different viscosity greases to find your ideal setup. When those where done I bolted the front end in.
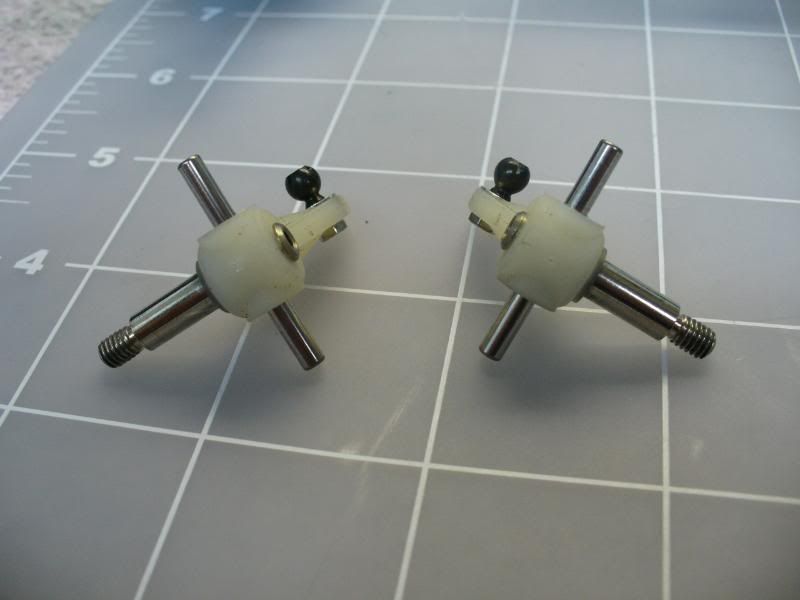
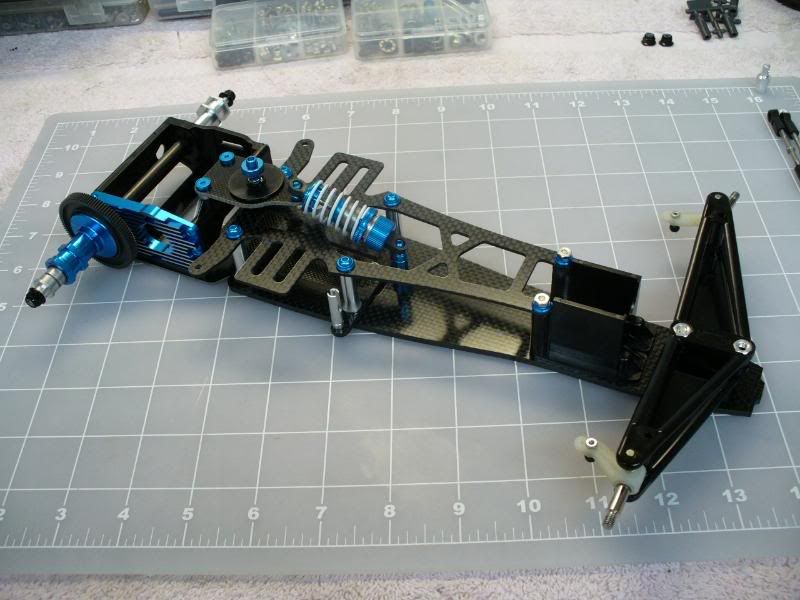
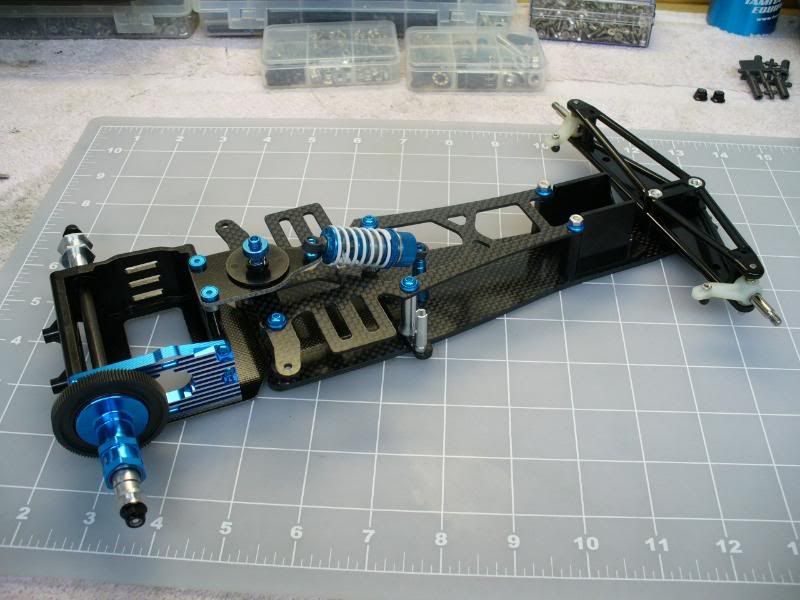
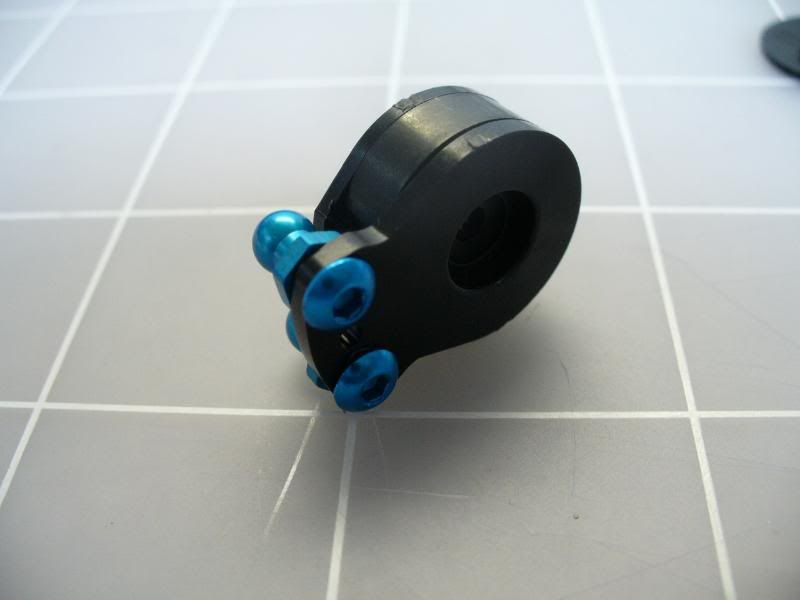
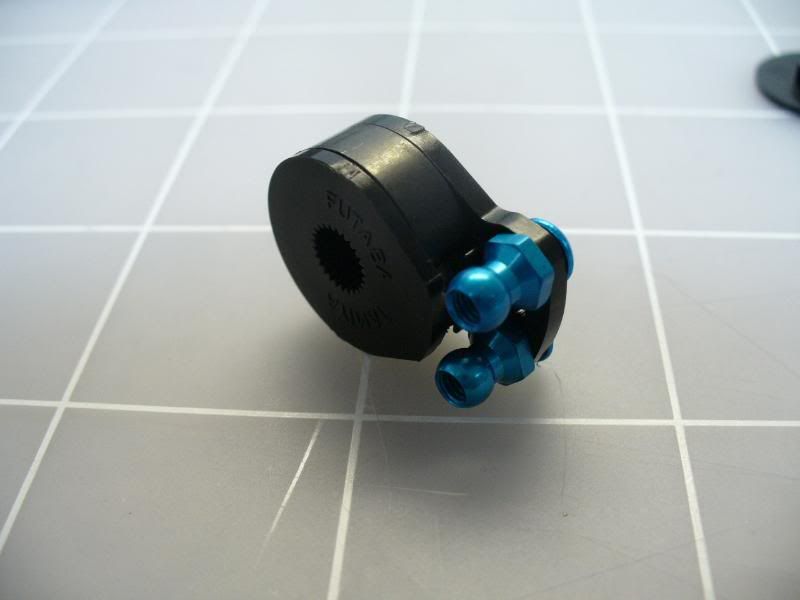
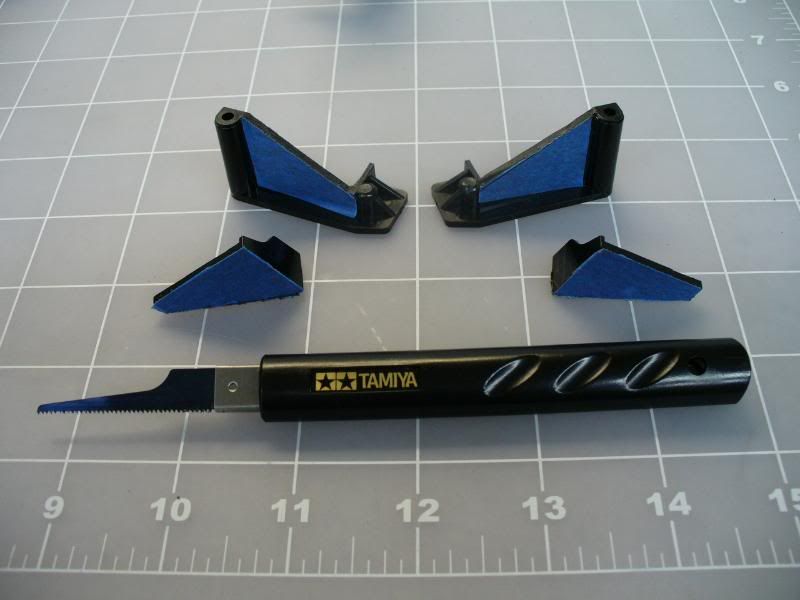
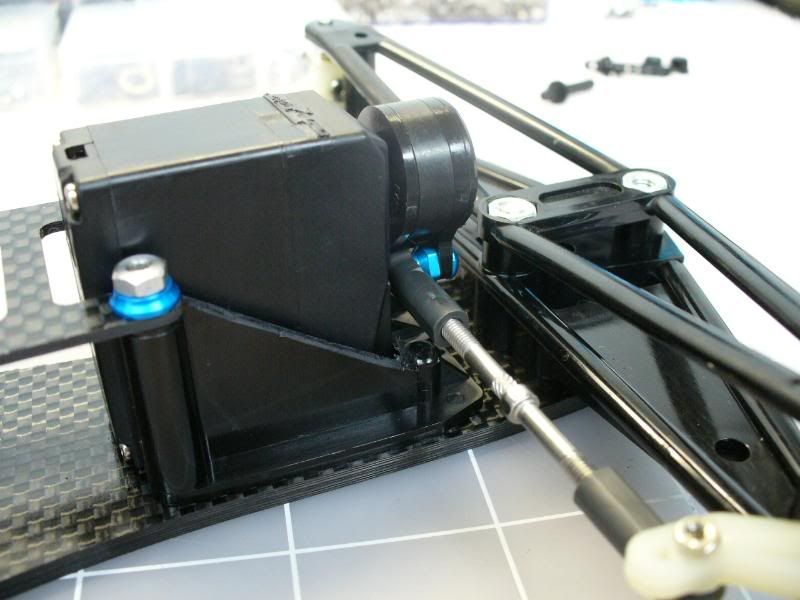
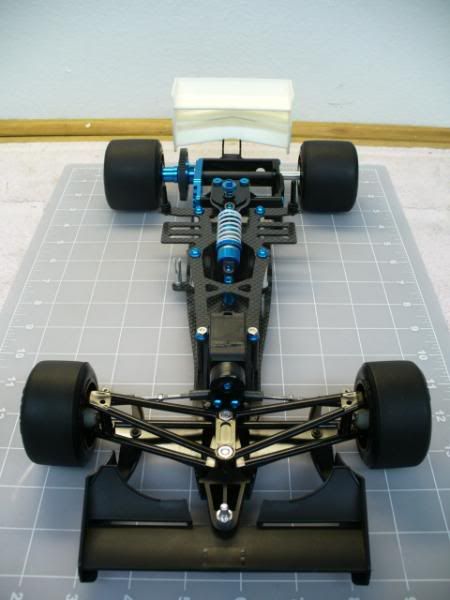
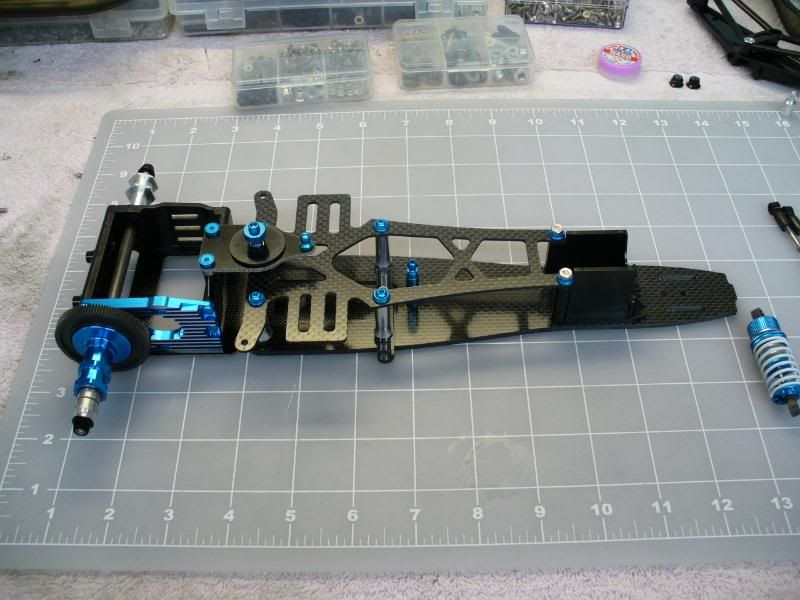
I’m using the Tamiya F103 turnbuckles but I substituted the kit supplied ball ends for the Tamiya Molly ball ends. These are a little more hard then the black plastic ones and shouldn’t stretch as much over time. I’m using the Tamiya black heavy duty servo saver and to this I mounted two 5mm aluminum ball nuts. The problem I ran into the larger ball nuts and molly ball ends rubbed against the servo mount. Because I didn’t want to compromise my original idea I decided I’d trim down the servo mount. I taped it off, dew a diagonal line and cut it using a Tamiya hobby saw (it was sort of late at night and I didn’t want to wake my wife with the Dremel). They came pretty nice and will still secure the servo without any problems. Now the ball ends wont rub against the servo mount and we’re good to go. Chassis complete.