Can I play too???

I’m just finishing mine up. I'm using an OS 120 AX, which is rated at about the same output as the big Saito, 3HP or so, but I’m pretty certain the 180 will swing a bigger prop and make more usable thrust. Because of this, I tried to shave as much weight as reasonably possible. Based on a few estimates, I set my AUW goal at 8 pounds even. In the end, however, the result is 7 pounds 11 ounces. This is 22 ounces, or 15%, less than both Brian's (guinnb) plane, at 9 pounds 1 ounce. With a full load of fuel (10 ounces), my take-off weight will be 8 pounds 5 ounces. Unless I’m mistaken, Brian runs a 20-ounce tank, yielding a take-off weight of 10 pounds 5 ounces, for a difference of exactly 2 pounds. I know 10 ounces won’t buy much flight time, but I’ve got 12 and 16-ounce tanks standing by and ready to go. Again, for the moment, the lowest weight is the priority.
So, how the heck did this thing end up 22 ounces lighter, you ask? Primarily, it’s through choice and placement of components. Here’s the rundown.
ENGINE
The OS is 4 ounces lighter than the big Saito. I mounted it as far back as I could on the rails and still had no problems with CG.
ENGINE RAILS
In addition to the standard oak engine bearers, Brian provided a set of maple bearers. He knew I was going for light weight and volunteered to help.
The oak ones weighed 4.1 ounces and the maple only 2.0, so that’s another 2.1 ounces.
PROP
Brian used the APC 18x6W at 4.6 ounces. I’m using a JXF/Xoar 17x6 at 2.6 ounces, yielding another 2 ounces.
BATTERY
Brian used a 7 ounce lipo/reg setup and I used an 1100 mah A123 pack. Capable of delivering 30 amps, fast recharging between flights with the CellPro and weighing only 3 ounces, it seems like a win/win/win. That’s another 4 ounces saved. Also, it’s mounted in the fuse right above the engine as far forward as possible.
LANDING GEAR
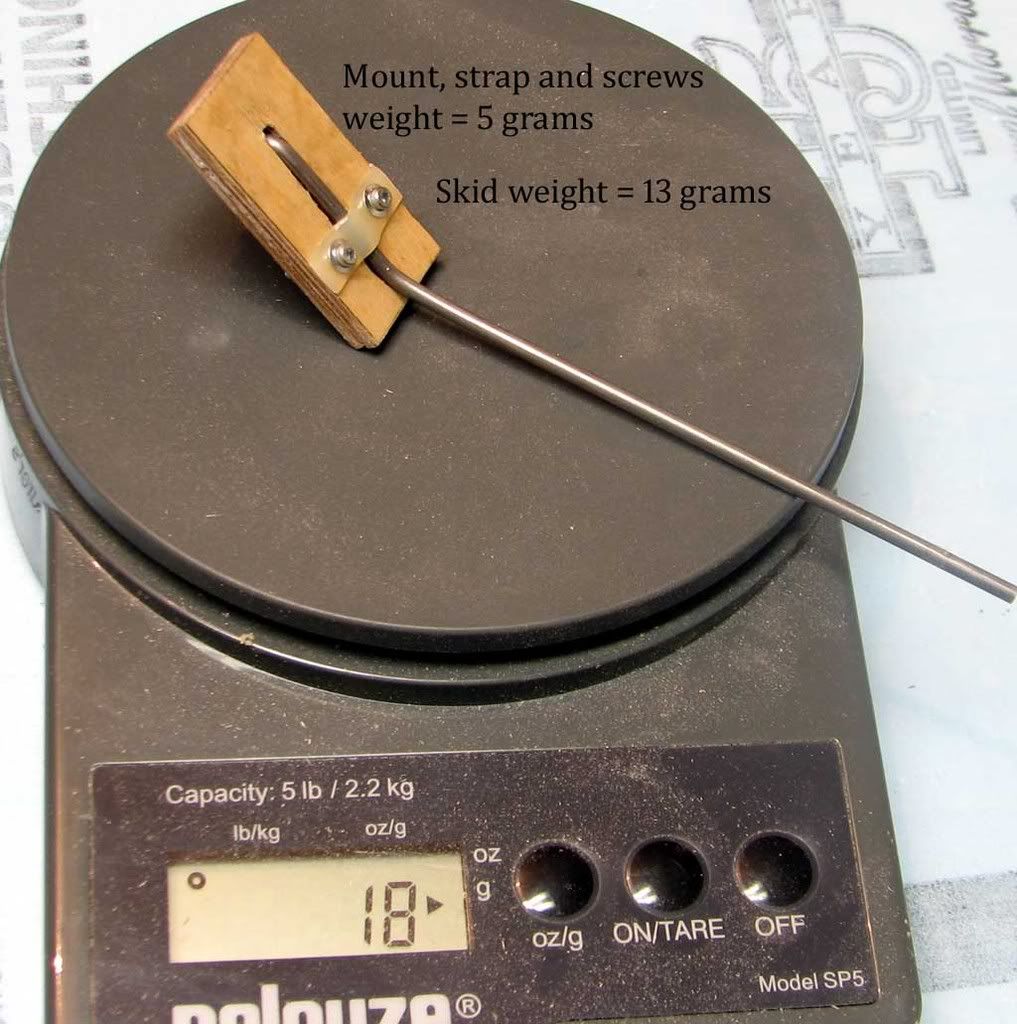
Because I ws shooting for 8 pounds, I decided to try out a pair of 90-size Tetherites. At only 4 ounces, they are 4.5 ounces lighter than the aluminum gear I got from Brian. Also, instead of a conventional tailwheel assembly, I used a music wire skid. While I couldn’t find a weight to use for comparison, a conservative guess on the weight of such an assembly is 1.5 ounces. The skid weighs less than 1/2-ounce, so we’ll call it a savings of 1 ounce.
For those scoring at home, you’ve already figured out the total so far is about 17.6 ounces. You might have also noticed that the majority of the weight came off the nose of the plane. This opens the door to a potentially tail heavy situation. Before I even glued the first stick on this kit, I talked to Brian about removing some extra wood from the tail. Using his suggestions, I took a little over 2 ounces of lite ply out of the tail, bringing the total savings to damn near 20 ounces.
The final weight saving step was to use painted Doculam instead of conventional covering. I bought two 500-foot rolls of this stuff and don’t plan on buying any more covering material for at least a lifetime or two.
For the tail surfaces, I just left the covering clear because I still wasn’t sure I wouldn’t come out a little tail heavy. The plane is now fully covered and awaiting final assembly. The weight of all components is 7 pounds 10 ounces, but I figure there might be some little last minute things that creep in, so I’m calling it 7 – 11.
Since Brian already posted tons of pics, I’ll only show little things I did differently. Some changes were made for weight savings, but some were just personal preferences, even if they added weight instead of saved it. To me, that’s the best part about building; being able to do your own thing.
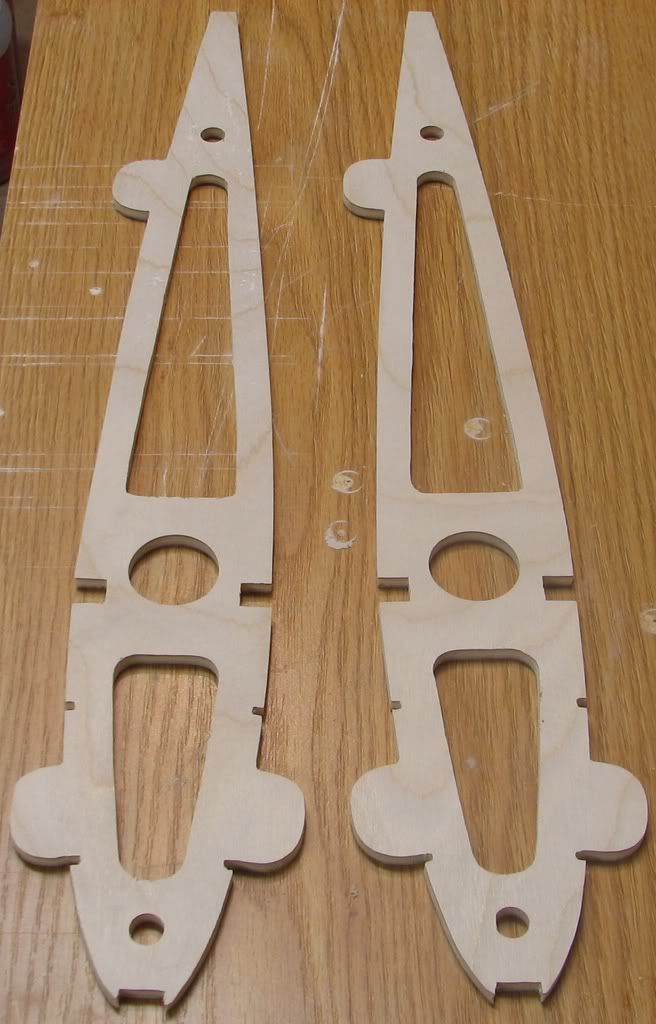
As designed, the root ribs are 1/8-inch lite ply with doublers where the mounting screws go through. For someone who doesn’t crash as much as me, I’m sure this is more than adequate. Based on my experience with the Sabre 56, however, the lite ply won’t last long for me. I put a layer of 1/32-inch aircraft ply on either side of the stock pieces. I picked up an ounce doing this, but they are now VERY stiff and will hopefully be worth the extra weight.
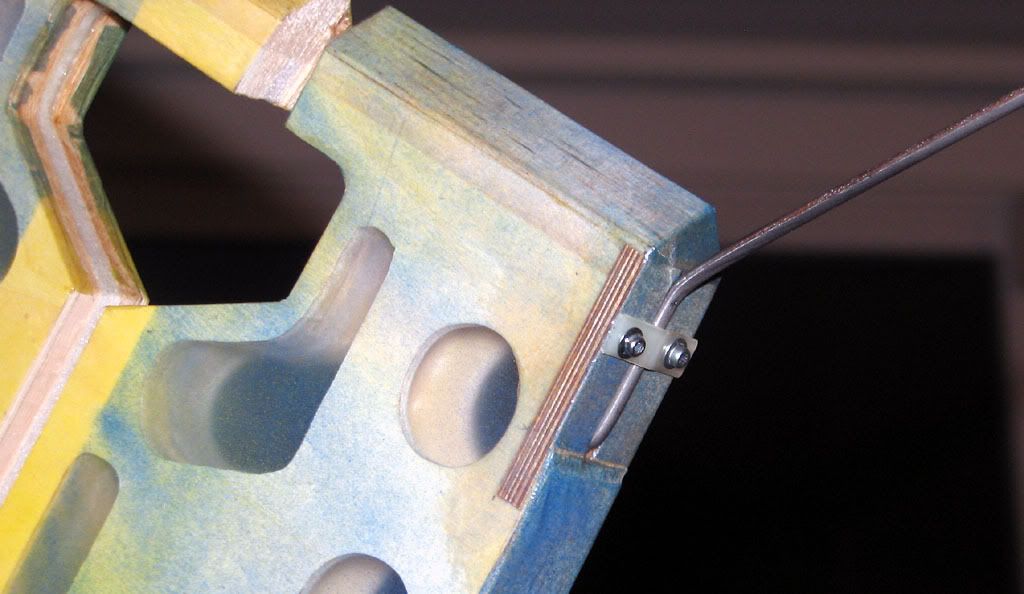
I also changed the way the rudder and elevator control horn mounting points are reinforced. The kit includes some perfectly adequate doublers, but I wanted a little more durability. I used more 1/32-inch aircraft ply along with some “heat-tac” carbon fiber like the kind Pauly supplies with the MoJo kits. These changes, in conjunction with 1/2-inch oak hard points, makes for bullet-proof hard-points.


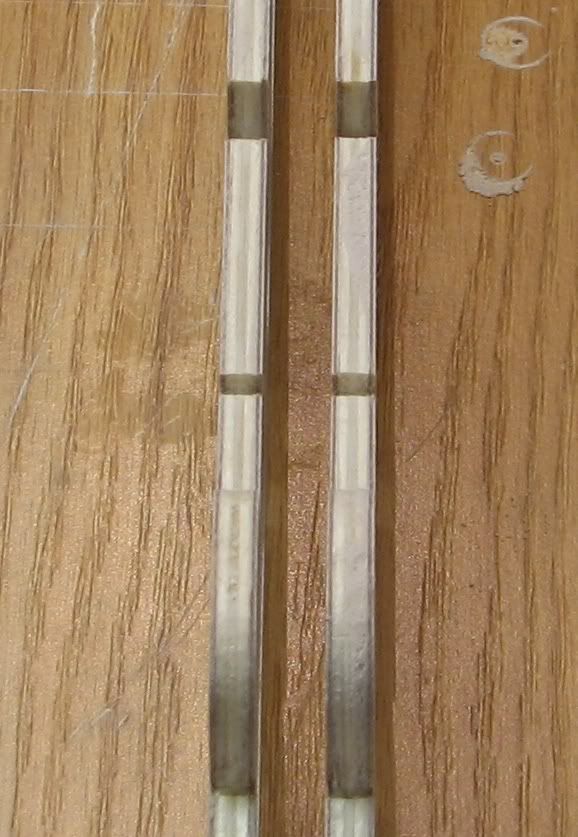
Brian suggested beefing up the stab a bit, so I laid in two 24-inch pieces of carbon fiber rod and more heat-tac CF on the center section. I also used some carbon fiber tow and ca’d it around the perimeter of both the rudder and elevator. If I were doing this again, the tow would go under the ply doublers and I would use epoxy instead of CA.
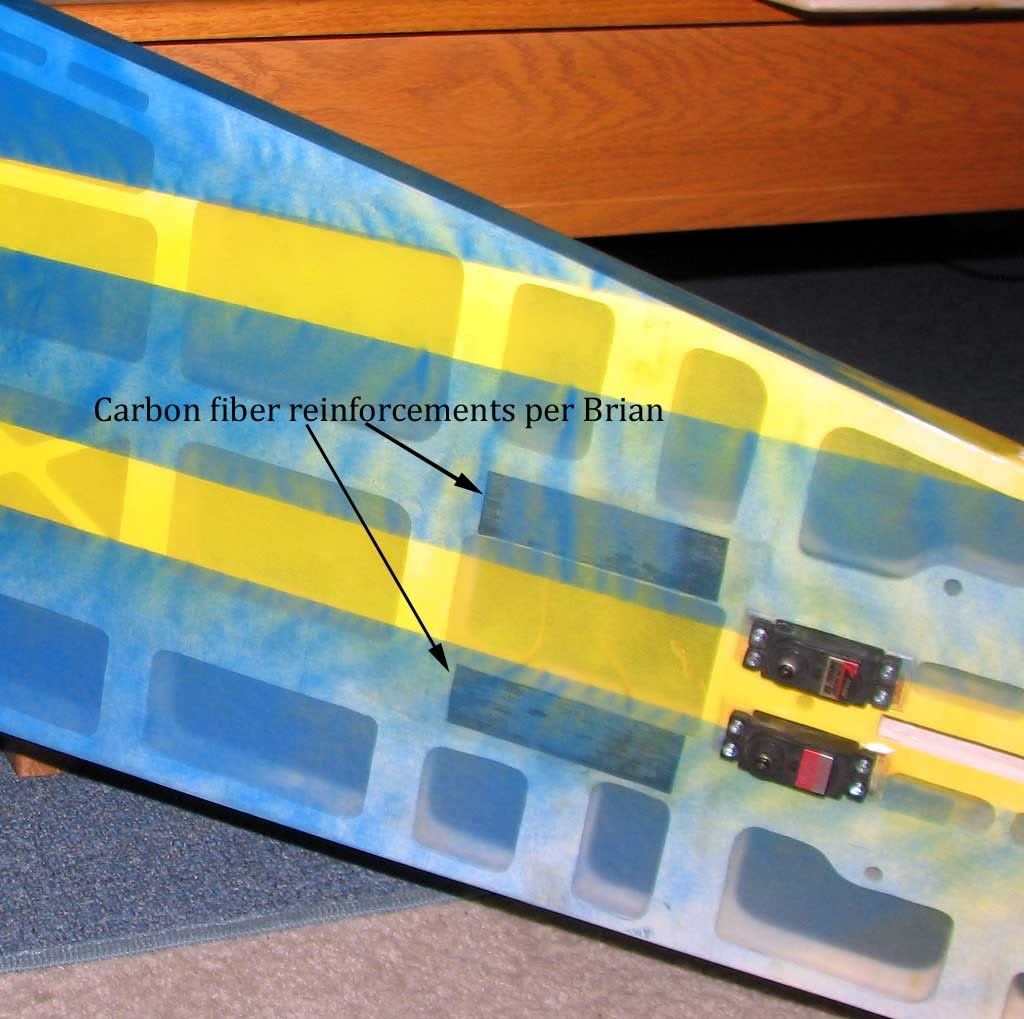
Because of all the wood I removed from the tail, Brian suggested reinforcing the fuse seams just forward of the tail servos. I used epoxy and heat-tac CF in this area as well.
Here is a pic of the tail-skid assembly I came up with. As noted above, the weight of the skid is only 13 grams and I think it will last far longer than the plane.
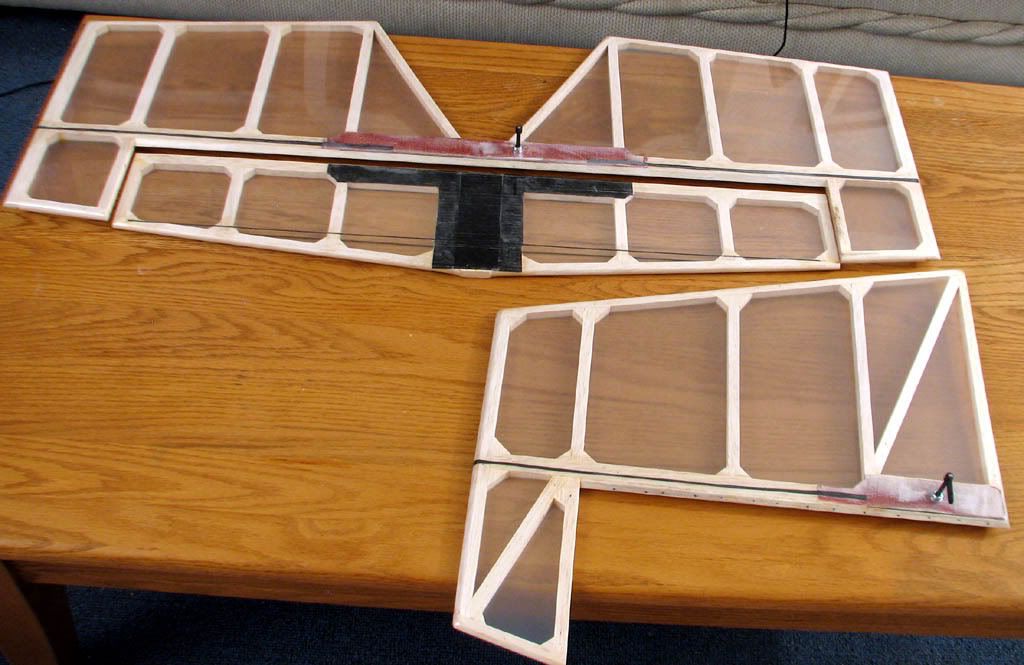
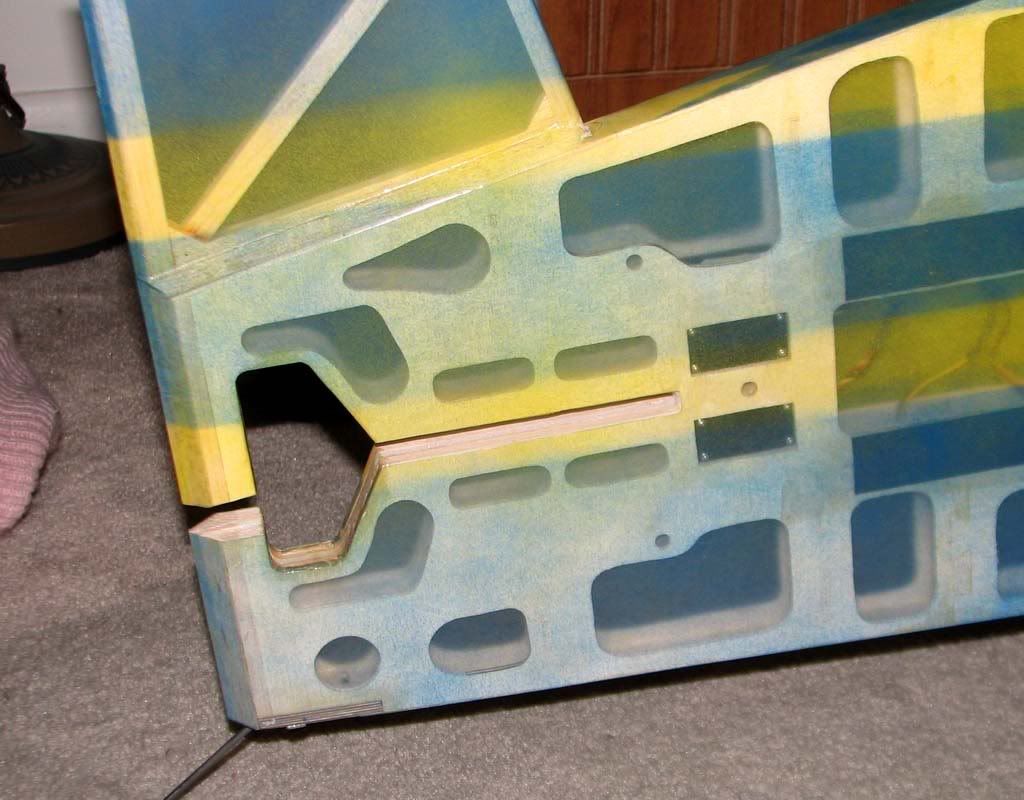
Here is a shot showing the extent of the lightening I did in the tal. If you compare this to some of the pics above, you can see exactly how much I took out. It’s also obvious that I went as light as possible with the paint in the tail.
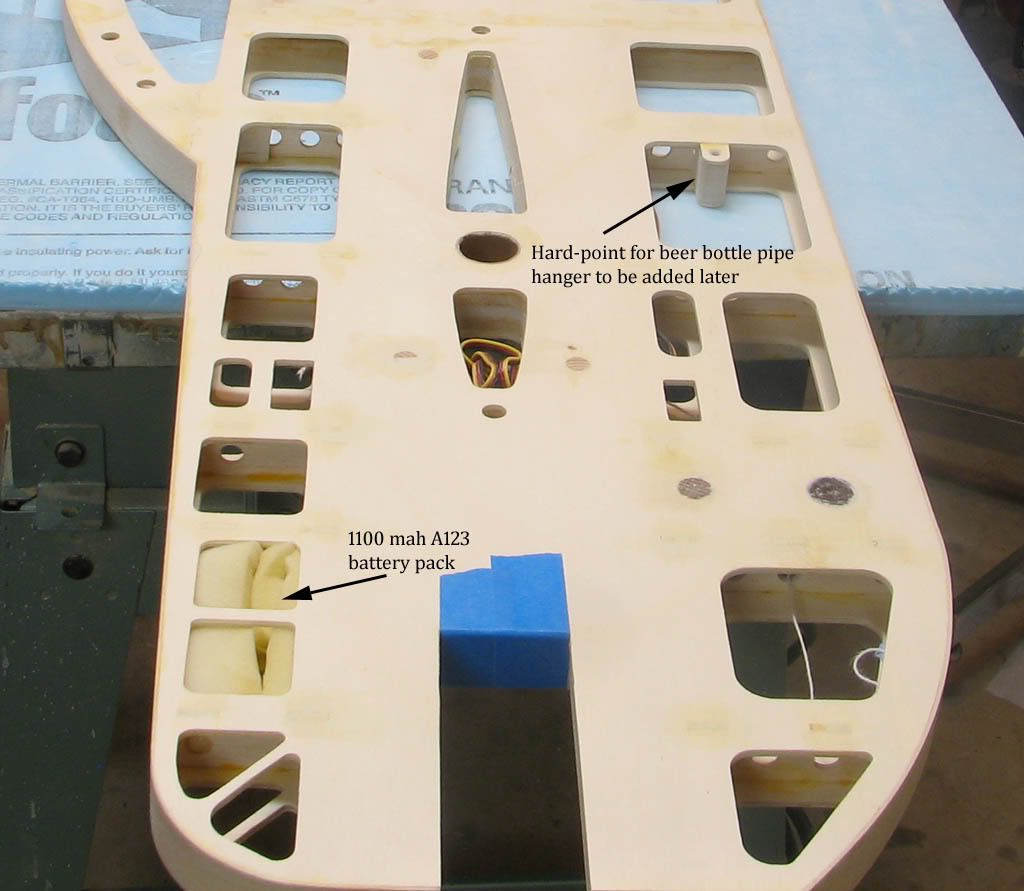
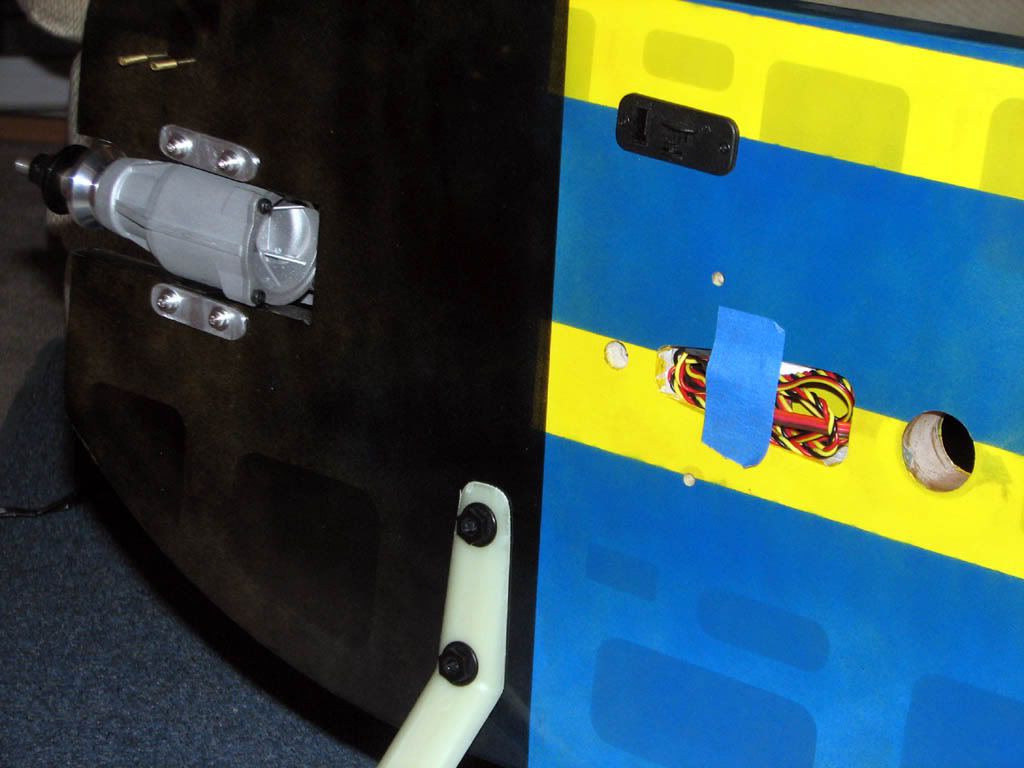
This one shows the location of the battery and the hard point I made for future use with the beer bottle pipe.
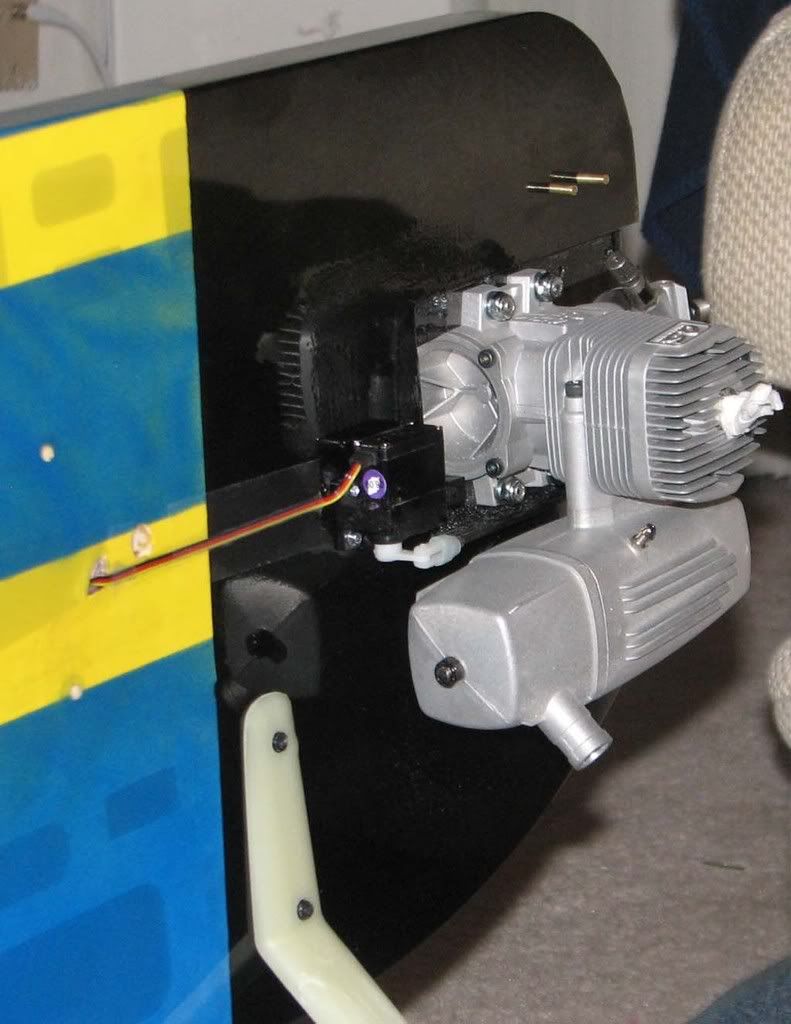
Finally, here are just a few general shots showing some of the details. On the nose, I moved the throttle servo forward to maximize its effect on the CG. Also note that the right LG leg has been drilled and tapped for 1/4-20 nylon bolts, thereby negating the need for nuts. If the Tetherite material gets stripped, I can always use new bolts and throw a couple of nuts on there. I didn’t spare the paint up here and I think the opacity of the covering turned out pretty good.
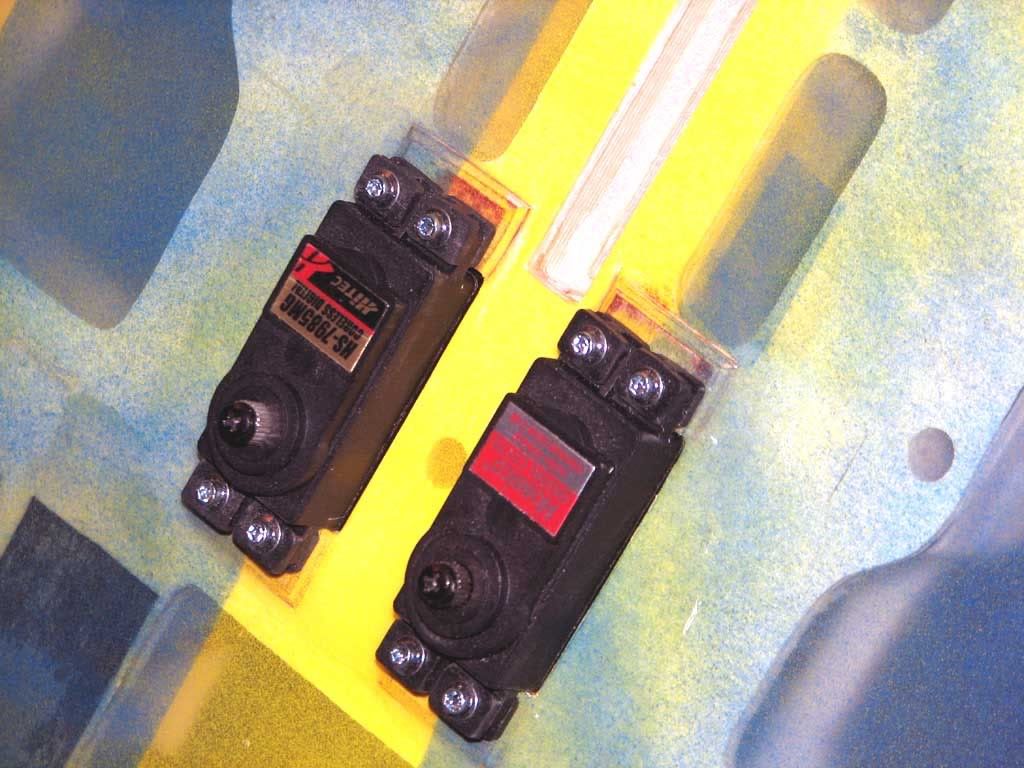
This is just a shot of the tail servos. I cut little rectangles of 1/16-inch aircraft ply for mounting tabs and sanded bevels on the edges to aid in covering.
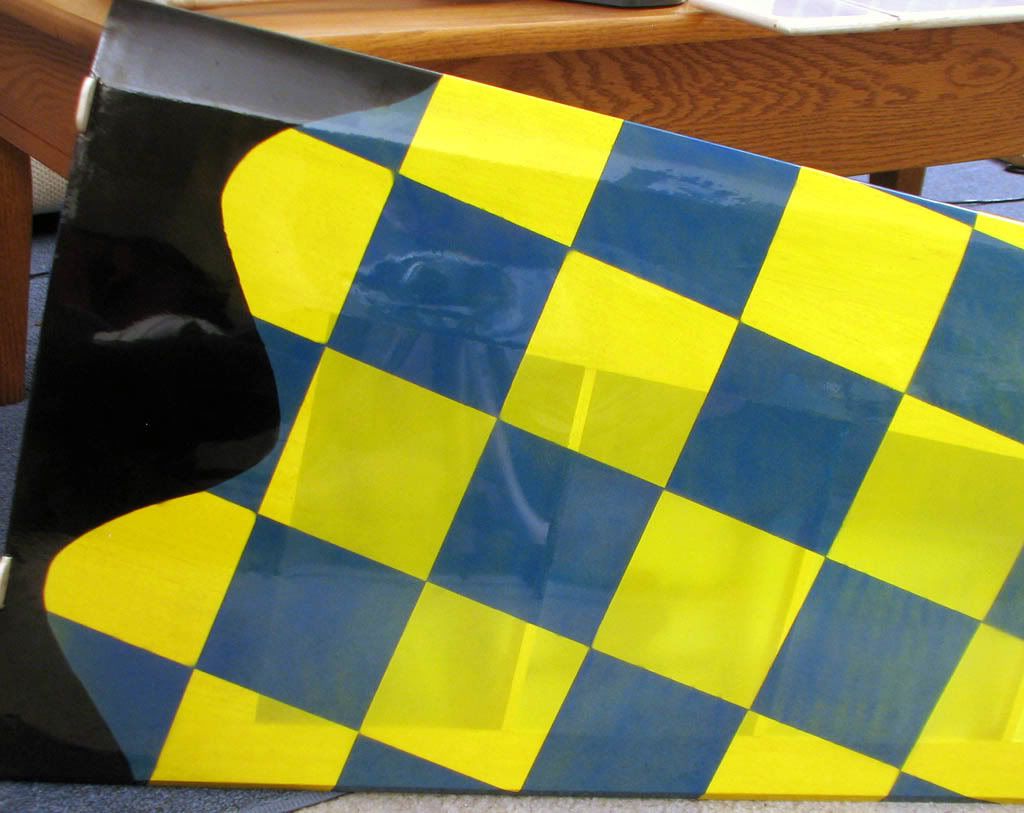
Here is a shot of one of the wings. I’m still trying to get the hang of painting the Doculam with clean edges. You can see some overspray around some of the edges. Overall, however, it looks pretty good from 10 feet away.
I’ll post a completed pic after I get the thing totally put together. The bottom of the wings are totally clear at this point, but I have a set Pro Bro letters cut by Gator that will be going on soon. This kit has been a joy to build. As with any new design, there were a few kinks to work out, but anyone considering one of these shouldn’t hesitate to take the plunge. Brian is more than willing to offer guidance and personal service. You couldn’t ask for better.