


How to remove Engine from Mount?
 11-17-2013 | 09:31 AM
#1
Thread Starter
Senior Member
Joined: Jun 2013
Posts: 118
Likes: 0
Received 0 Likes
on
0 Posts
From: Seattle, WA
Just received a Hangar 9 Alpha 40 RTF and wanted to fuel proof the firewall area, but I cannot see how to remove the engine (Evolution Trainer .455).
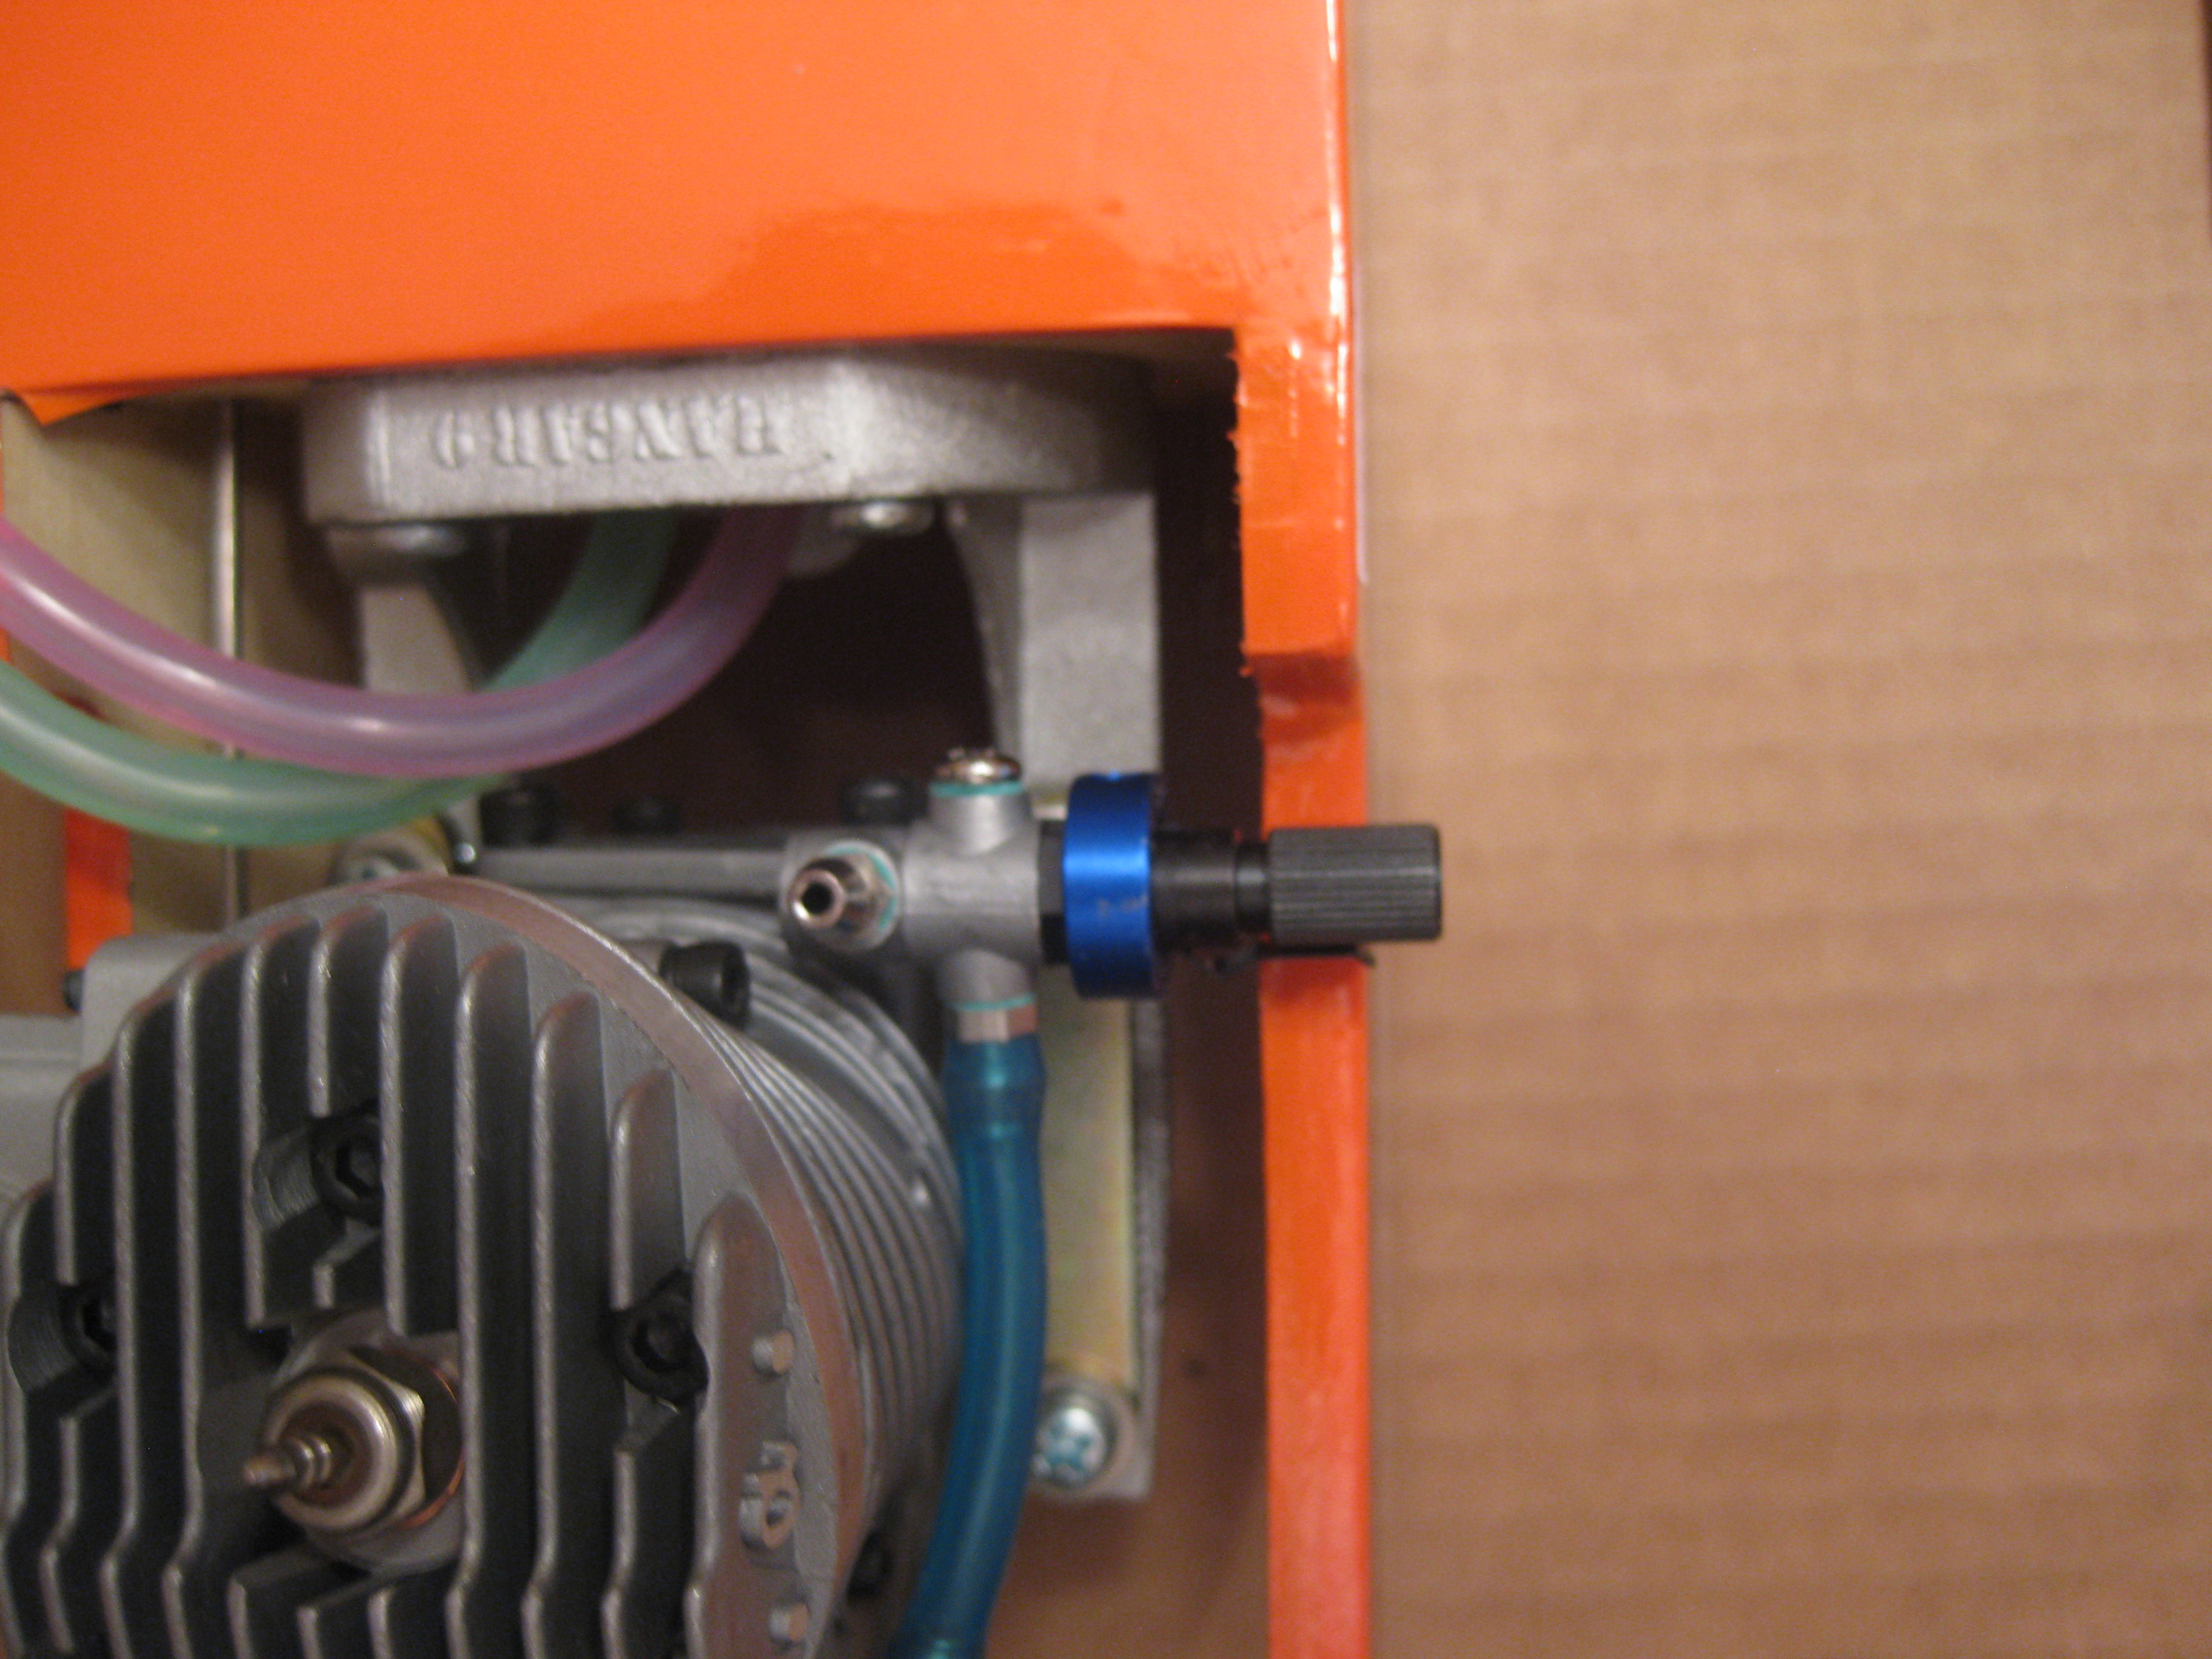
I know I have to remove the muffler to access a couple of the mounting screws, but the screw directly under the high rpm adjustment screw is blocked. Looked underneath and there are some nylock bolts on the other side, but they do not have enough exposure to get a hold of them.
Anyone figured this one out yet? I tried to remove the high rpm adjuster screw attachment, but you cannot fit a allen wrench in there to loosen it.
Thanks for any ideas.
 11-17-2013 | 11:17 AM
#3
Thread Starter
Senior Member
Joined: Jun 2013
Posts: 118
Likes: 0
Received 0 Likes
on
0 Posts
From: Seattle, WA
It is possible that I missed something obviuos though.
11-17-2013 | 11:44 AM
#4

My Feedback: (6)
Joined: Oct 2002
Posts: 2,684
Likes: 0
Received 0 Likes
on
0 Posts
From: Mountain Home,
AR
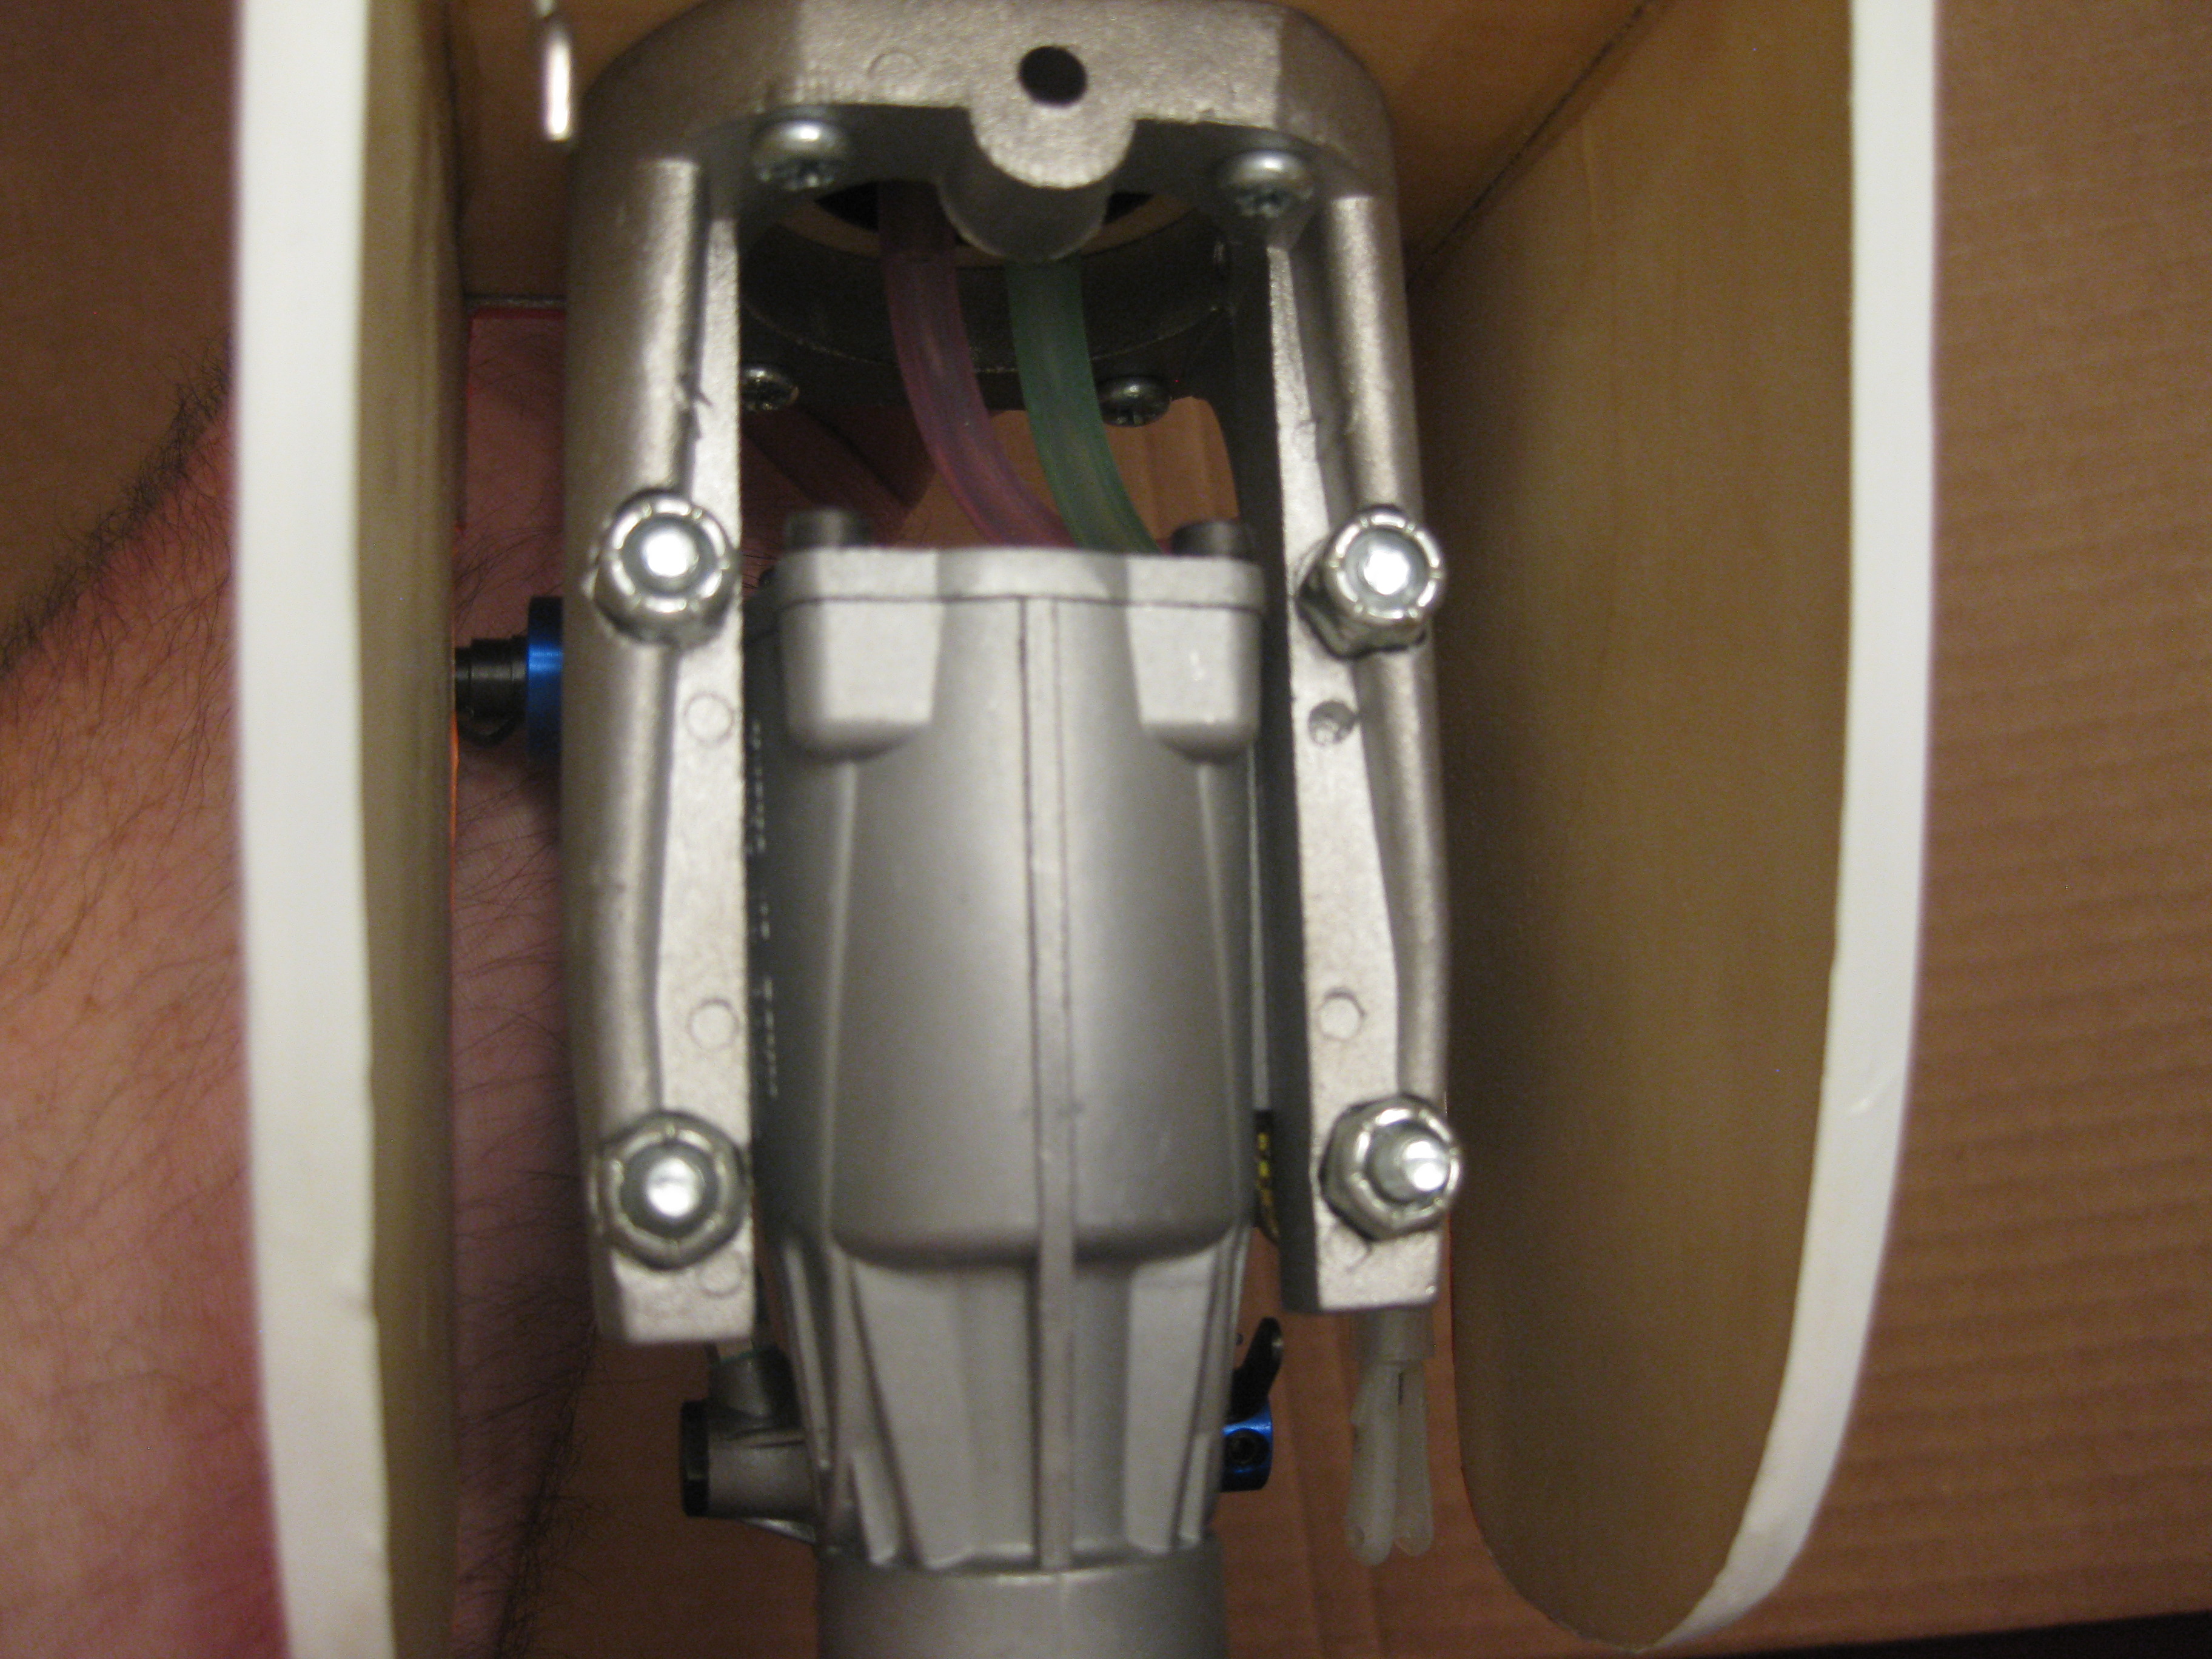
Remove the engine and engine mount as an assembly from the firewall. You will want the engine mount removed to fuel proof the firewall anyway. You might have to remove the muffler first in order to get to the engine mount to firewall screws on that side. After you have the engine and engine mount in your hand, you can remove the needle valve assembly from the back plate and then all four of your engine mount screws will have access to all four engine mount bolts.
11-17-2013 | 11:49 AM
#5
Thread Starter
Senior Member
Joined: Jun 2013
Posts: 118
Likes: 0
Received 0 Likes
on
0 Posts
From: Seattle, WA
Remove the engine and engine mount as an assembly from the firewall. You will want the engine mount removed to fuel proof the firewall anyway. You might have to remove the muffler first in order to get to the engine mount to firewall screws on that side. After you have the engine and engine mount in your hand, you can remove the needle valve assembly from the back plate and then all four of your engine mount screws will have access to all four engine mount bolts.
11-17-2013 | 01:28 PM
#6
Senior Member
My Feedback: (5)
Joined: Oct 2002
Posts: 113
Likes: 0
Received 0 Likes
on
0 Posts
From: Fort Smith,
AR
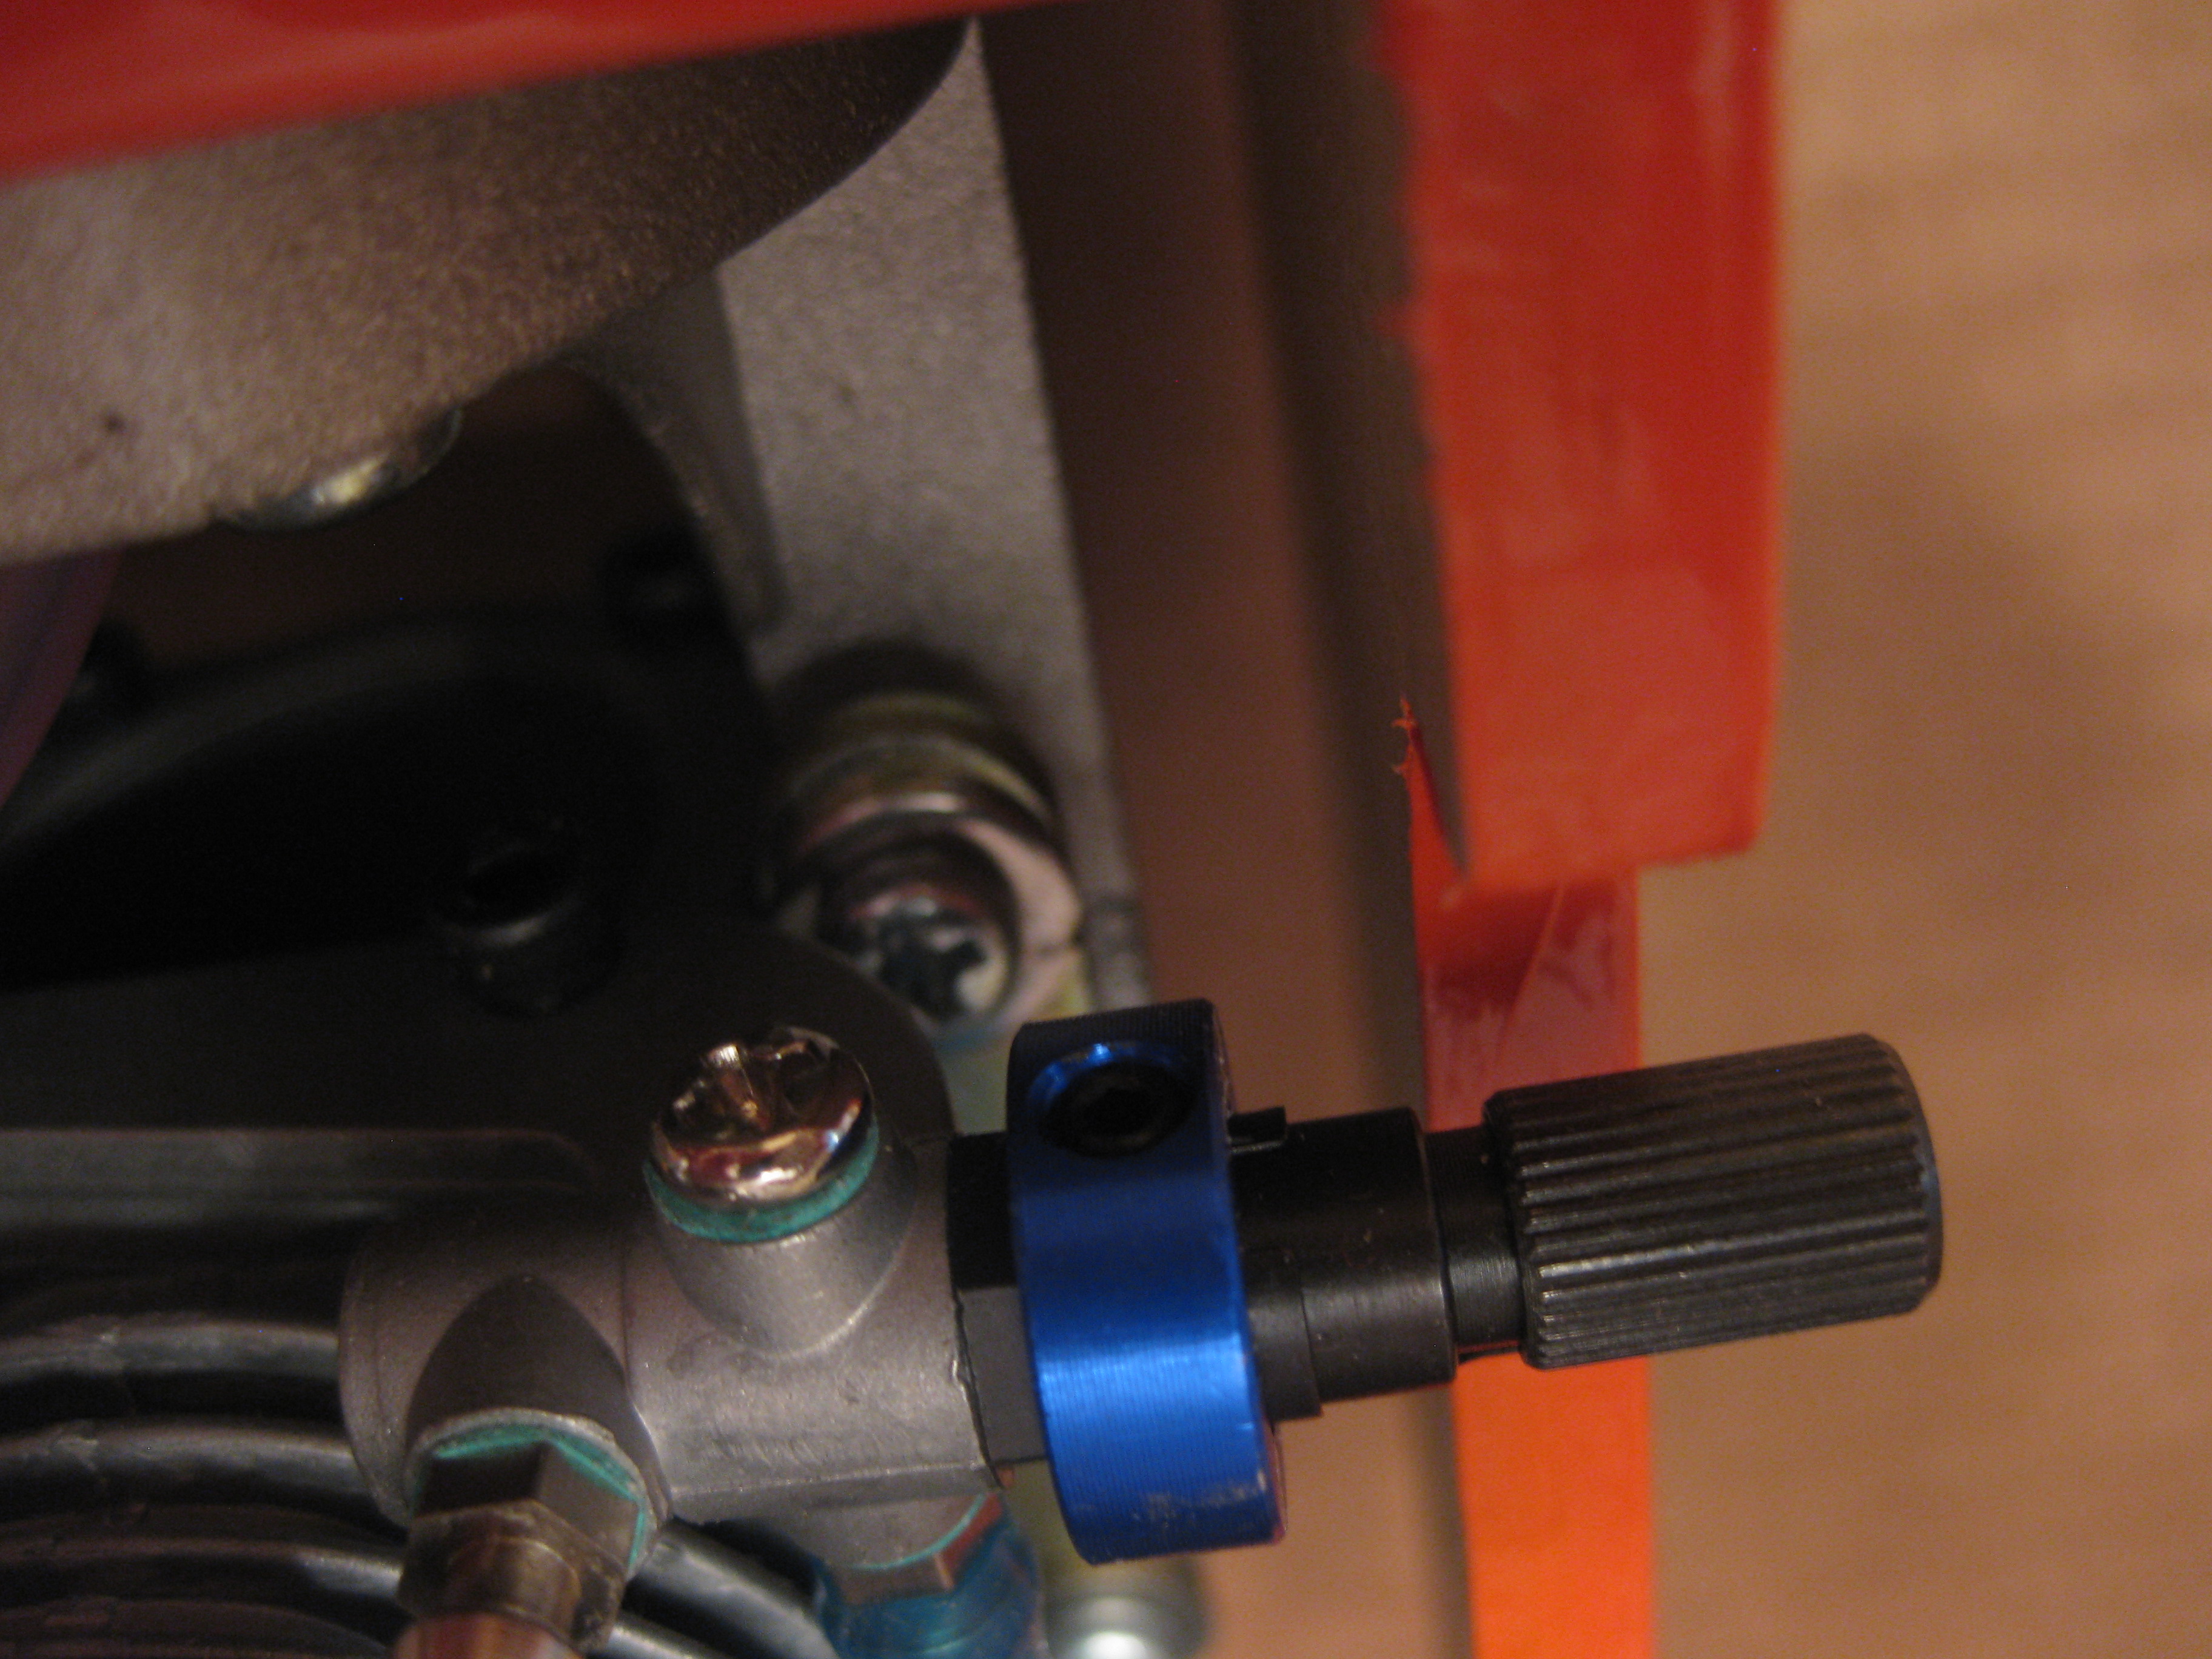
First remove muffler, second take the screws loos at the front of engine, take them all the way out. The engine will be loose after that. The screws do not go thru the engine but they do hold bars over the edges of the engine to hold it in place. You can see it pretty clearly from the picture showing the bottom of the engine.
11-17-2013 | 03:40 PM
#8

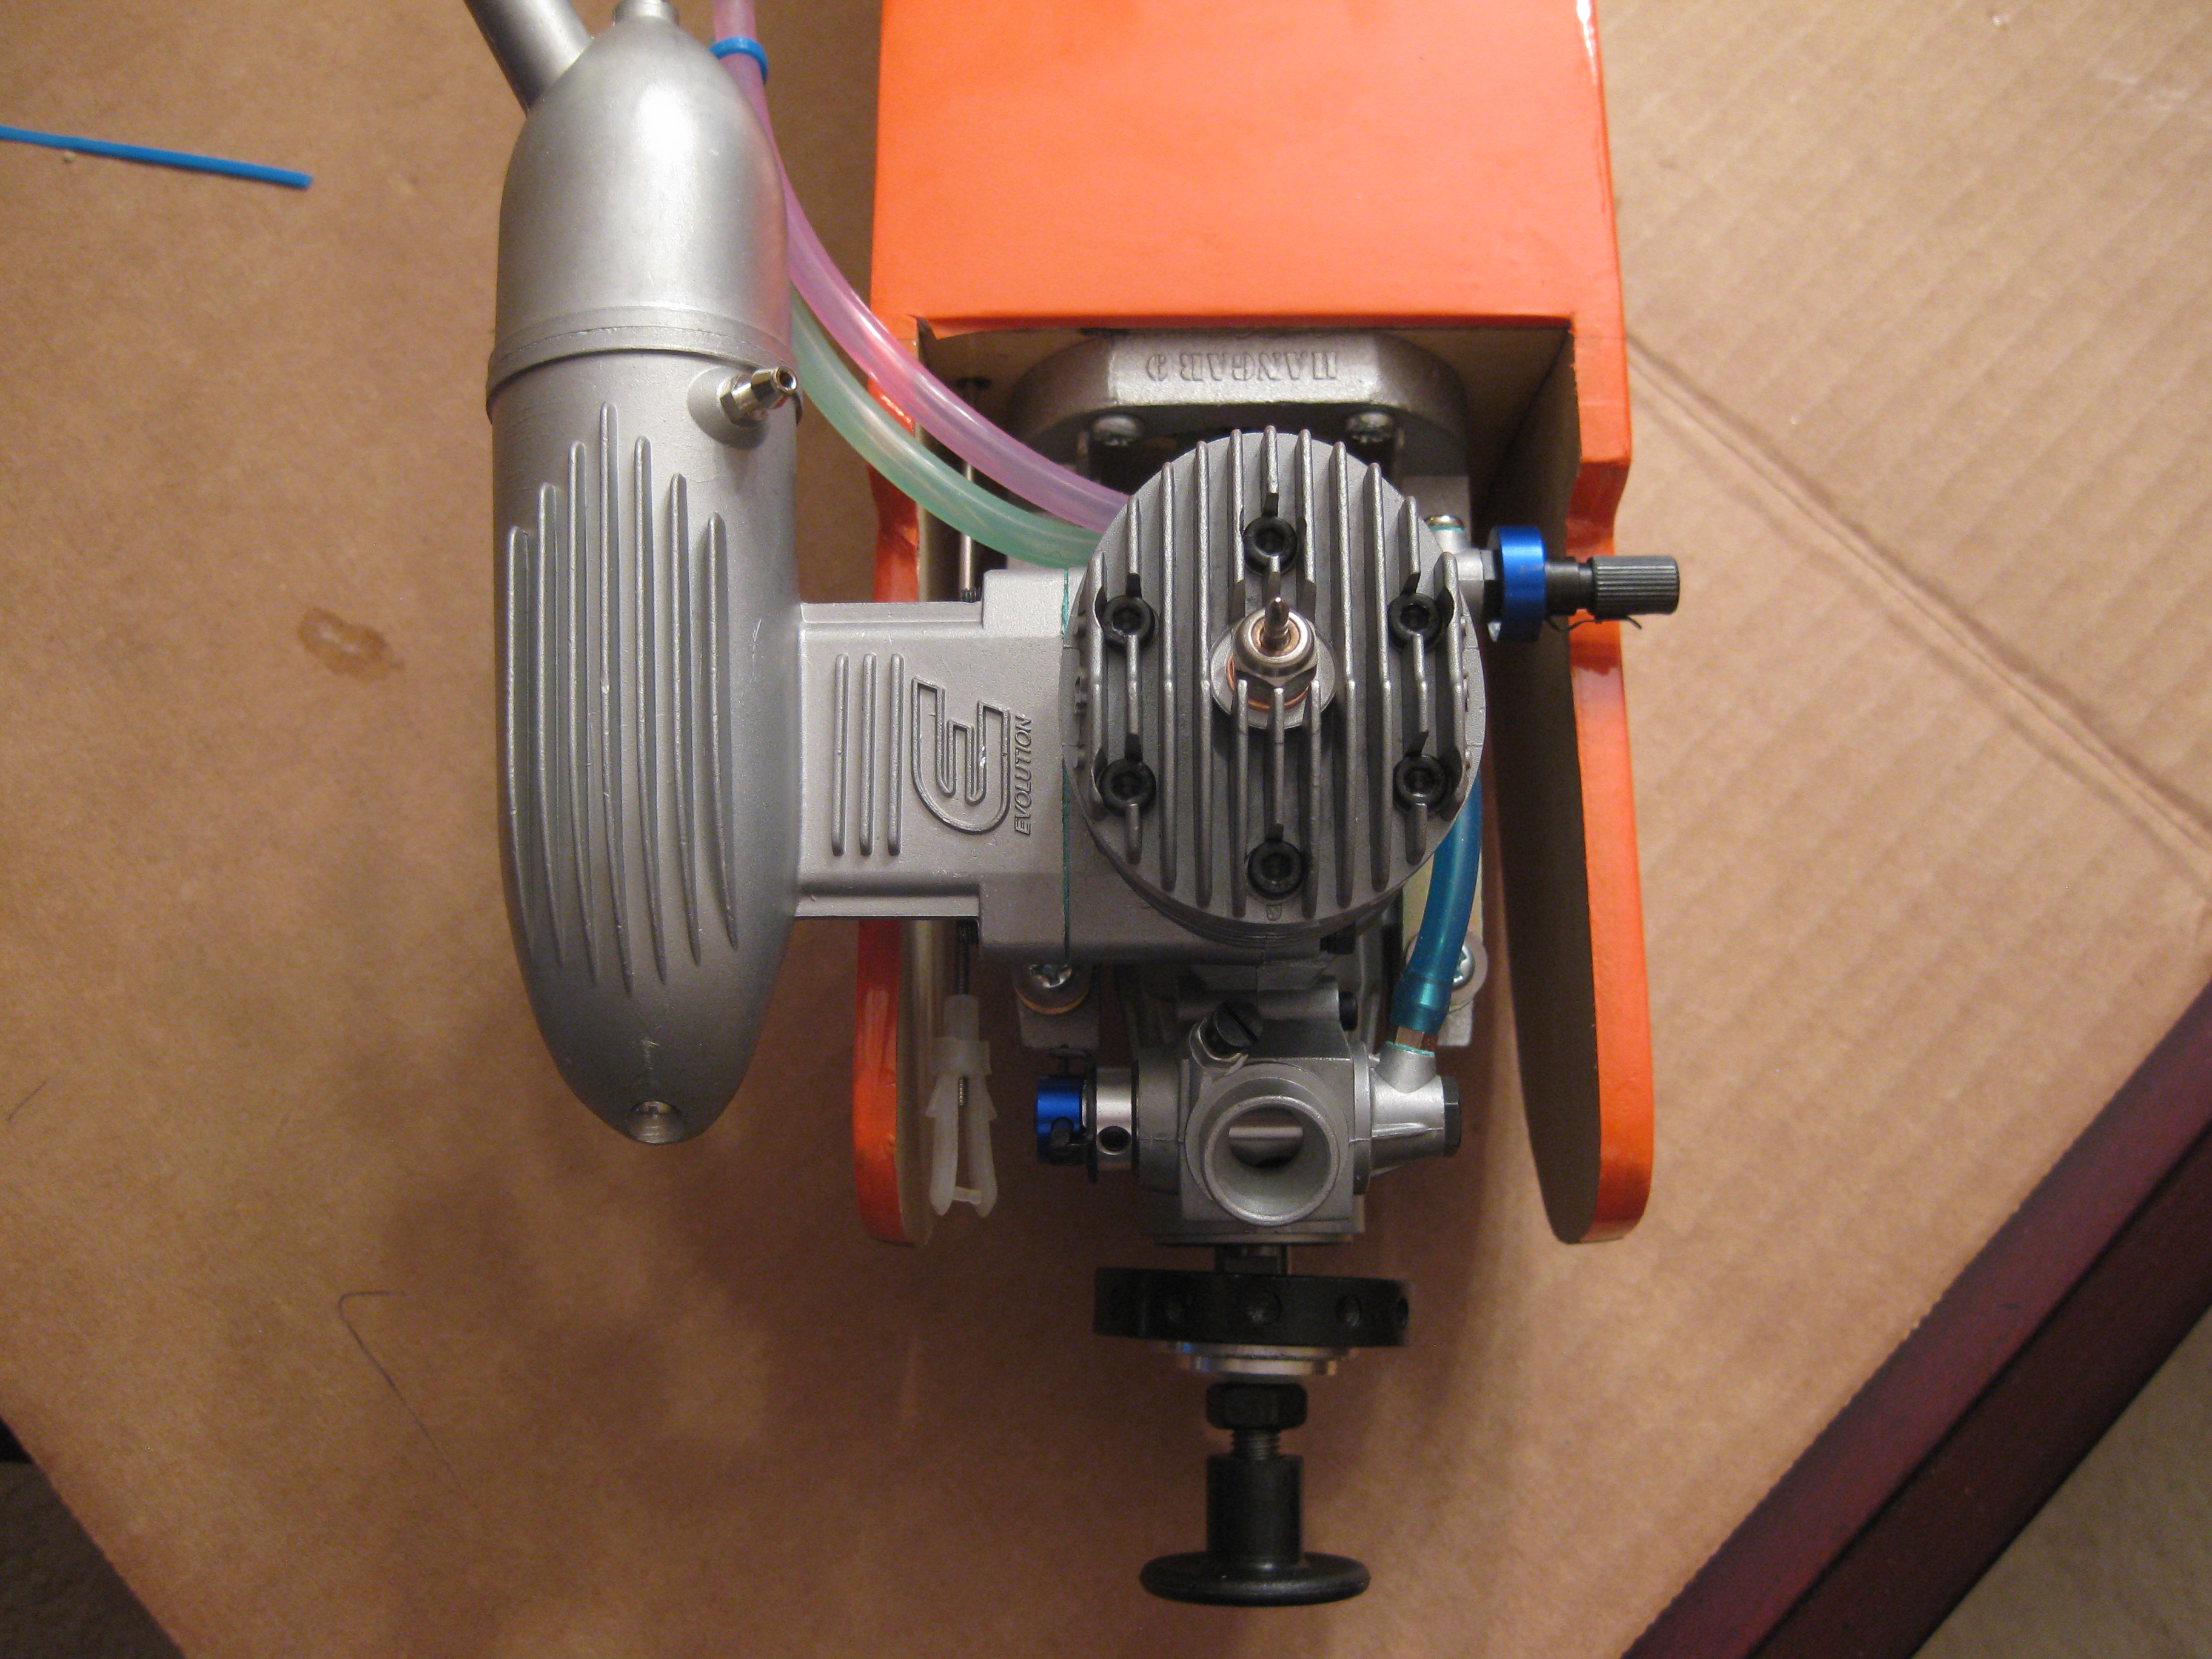
Just what they said, the engine is held to the mount with a strap. Removing the front 2 screws should allow the motor to slide out. Before you put it all back together, I would file down the ridge on either side of the nylon lock nut so the next time you can get a socket driver on it.


