


All Composite 1/7th P-40E Mould Build


 07-07-2011, 04:11 PM
#377
Senior Member
Thread Starter

Join Date: Apr 2007
Location: Toronto,
ON, CANADA
Posts: 757
Likes: 0
Received 0 Likes
on
0 Posts
...while I wait for an epoxy shipment....I've been having some fun!
This project now has an official bumper sticker!
http://www.zazzle.com/two_bulldog_br...58242949723849
I can't wait to get one on the truck

This project now has an official bumper sticker!
http://www.zazzle.com/two_bulldog_br...58242949723849
I can't wait to get one on the truck
07-25-2011, 05:21 PM
#379
Senior Member
Thread Starter
Join Date: Apr 2007
Location: Toronto,
ON, CANADA
Posts: 757
Likes: 0
Received 0 Likes
on
0 Posts
yes we have lol
...still waiting on epoxy - I ordered a hardener with a 40 minute working time - it wasn't very popular - it was cheap - I waited - expected to ship this week
...still waiting on epoxy - I ordered a hardener with a 40 minute working time - it wasn't very popular - it was cheap - I waited - expected to ship this week
07-30-2011, 06:41 PM
#380

Getting cought up again since my yearly pilgramage to Cooperstown NY for my 4th Youth Baseball Hall of Fame Ring.
Follow you up to Post 369, but what is the material that generates the volume in the later posts that supports the form that holds the mold rigid?
I keep rereading, but probably miss it for some unknown reason.
By the way, I drive a GMC Sierra.
Thanks
Leroy
8-2-2011 - Unknown reason found. Post 340 by me. Kid's these days, buy them books and what do they do, pop the cover and put them on the shelf.
Guess I'm getting away from Baseball mode and back into Airplane mode.
Thanks
Leroy
08-02-2011, 12:47 PM
#381
Senior Member
Thread Starter
Join Date: Apr 2007
Location: Toronto,
ON, CANADA
Posts: 757
Likes: 0
Received 0 Likes
on
0 Posts
Well, the trial epoxy from my newest trial source has arrived. Online ordering and shipping from within Canada was just too much to resist. The price reduction helped out too.
Now let's see what this stuff does. It took a month to get here (maybe longer, I don't care to try and recall - I needed a break anyway), but now it's time to get back to work!
I may use this gallon with the slow hardener to make a few fuselages to sell before I get to the next upper section of the wing mould. This is a good way to cover the costs of the project. If I'd known then, what I know now, I'd have made the canopy and cowl moulds first, sold a few, and then I'd have needed less money to put in up front on the Two Bulldog P-40
...well, here's what it looks like...


...and here's where I got it http://www.miapoxy.com/p-26-miapoxy-...tem-clear.aspx
Now let's see what this stuff does. It took a month to get here (maybe longer, I don't care to try and recall - I needed a break anyway), but now it's time to get back to work!
I may use this gallon with the slow hardener to make a few fuselages to sell before I get to the next upper section of the wing mould. This is a good way to cover the costs of the project. If I'd known then, what I know now, I'd have made the canopy and cowl moulds first, sold a few, and then I'd have needed less money to put in up front on the Two Bulldog P-40
...well, here's what it looks like...
...and here's where I got it http://www.miapoxy.com/p-26-miapoxy-...tem-clear.aspx
08-17-2011, 11:03 AM
#382
Senior Member
Thread Starter
Join Date: Apr 2007
Location: Toronto,
ON, CANADA
Posts: 757
Likes: 0
Received 0 Likes
on
0 Posts
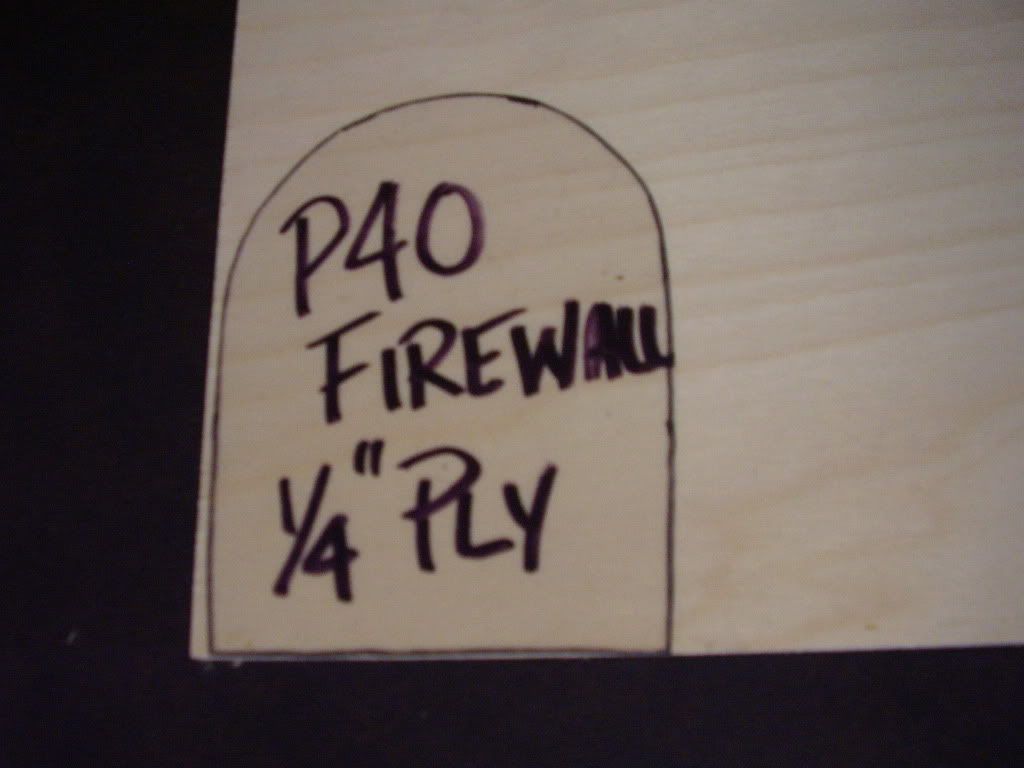
Over the course of the next several days, I hope to layup another P40 fuselage in the mould. This revision will incorporate a 1/4 inch ply firewall, and also a flange on the tail section to ease assembly for whomever should get their grubby little hands on it. lol
I'd like to end up with a sheet metal template for producing future firewalls as well.
I got these two sheets of ply for under $5 each at a local woodworking supply outlet. Oh yes, one sheet is 1/4" and the other is 1/8": both birch.


I'd like to end up with a sheet metal template for producing future firewalls as well.
I got these two sheets of ply for under $5 each at a local woodworking supply outlet. Oh yes, one sheet is 1/4" and the other is 1/8": both birch.
08-17-2011, 04:49 PM
#384
Senior Member
Thread Starter
Join Date: Apr 2007
Location: Toronto,
ON, CANADA
Posts: 757
Likes: 0
Received 0 Likes
on
0 Posts
ORIGINAL: SCALECRAFT
Nice plywood. 5 ply, yes?
Steve
Nice plywood. 5 ply, yes?
Steve
08-18-2011, 07:13 AM
#386
Senior Member
Thread Starter
Join Date: Apr 2007
Location: Toronto,
ON, CANADA
Posts: 757
Likes: 0
Received 0 Likes
on
0 Posts
Oh boy, my old friend is back...you know, this is one of those pictures that is hard for me to believe - yep I'm that guy!! lol 
12-15-2011, 07:03 AM
#387
Junior Member
Join Date: Dec 2011
Location: RichmondVA
Posts: 9
Likes: 0
Received 0 Likes
on
0 Posts
dear slow low,
i have been watching your progress for some time now but have been busy w/ my own build of a midwest product at-6 texan (reno racer) 1/6 scale.watching you has inspired me to create my own moulds of this plane and follow your same process.i will have some questions about what products you"ve used and where you got them (mostly epoxy's) i am at the last few stages of fiberglassing eveything and waiting for it to dry for sanding wings are 83" and i want to make sure its completly cured befor i bondo.talk to you soon ,just subscribed ,and one day might take some pics.
p.s. thanks for the insperation and abillity to find some one out there who has more knowledge than me
02-12-2012, 10:05 PM
#388
Senior Member
Thread Starter
Join Date: Apr 2007
Location: Toronto,
ON, CANADA
Posts: 757
Likes: 0
Received 0 Likes
on
0 Posts
...now let's see...where was I ?? Oh yes, let's build a fuselage !!
It often seems that life has a way of pulling us away from things. This is exceptionally true with a project of sufficient scope to impress. lol
The trick, is to make your way back home....
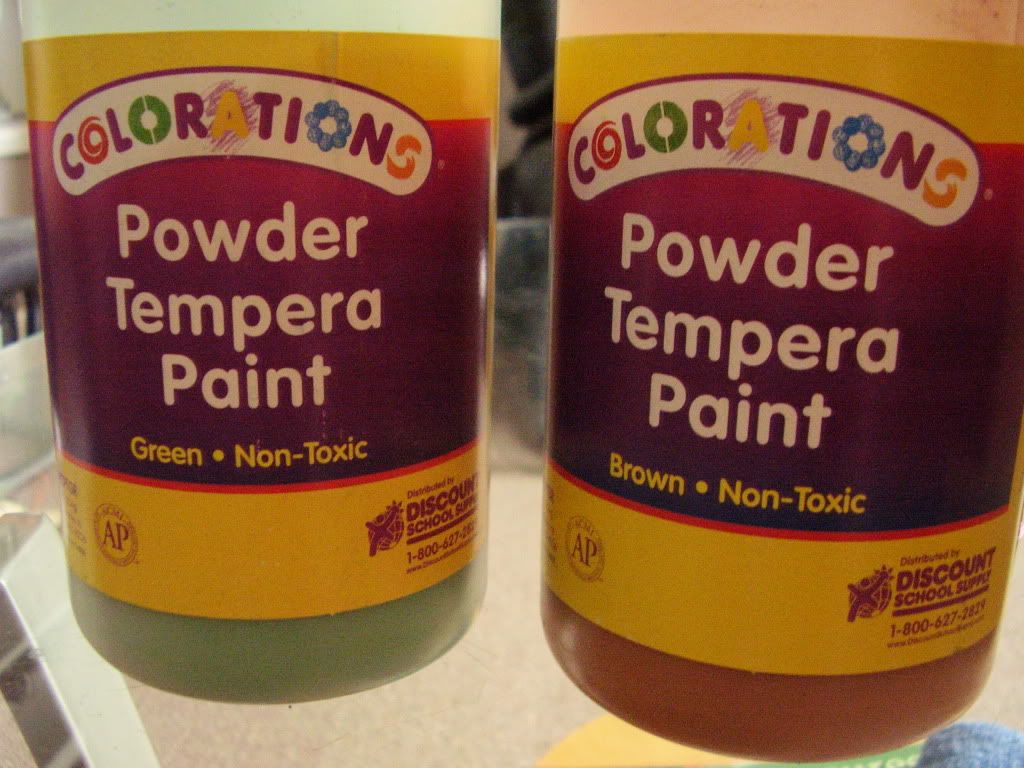
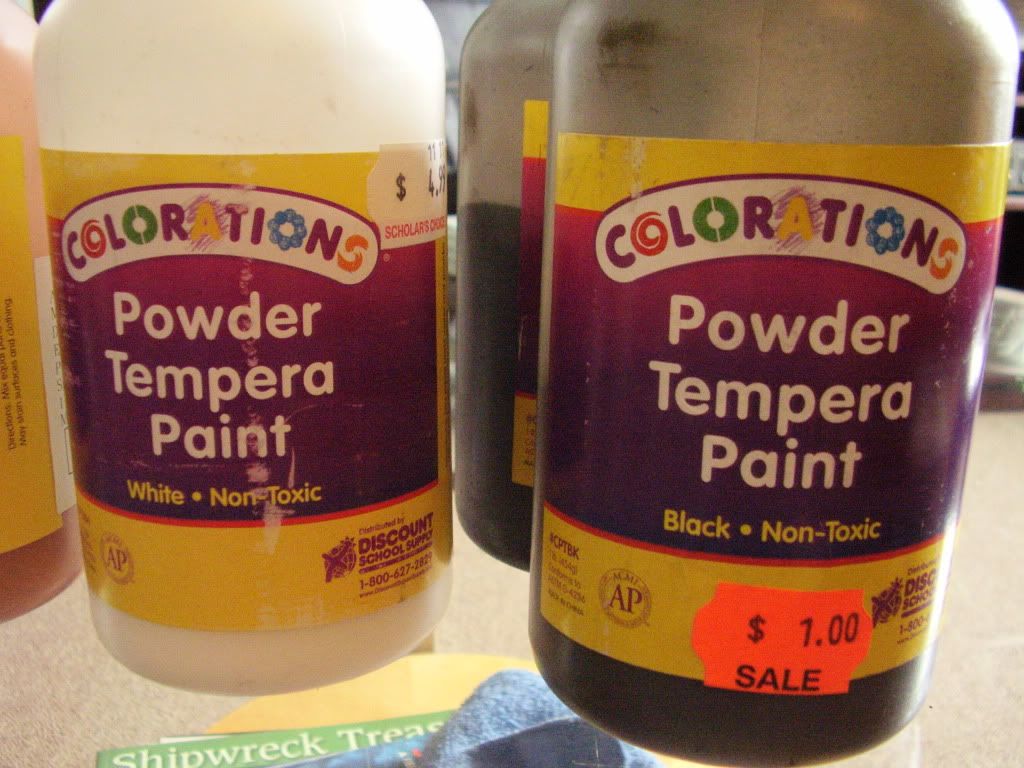
I've been to the local school supply store in my ongoing efforts to stock my shelves with goodies that I can use to itch my constructive itch from time to time. I came away with I think what you will agree is the cheapest method for pigmenting your epoxies.
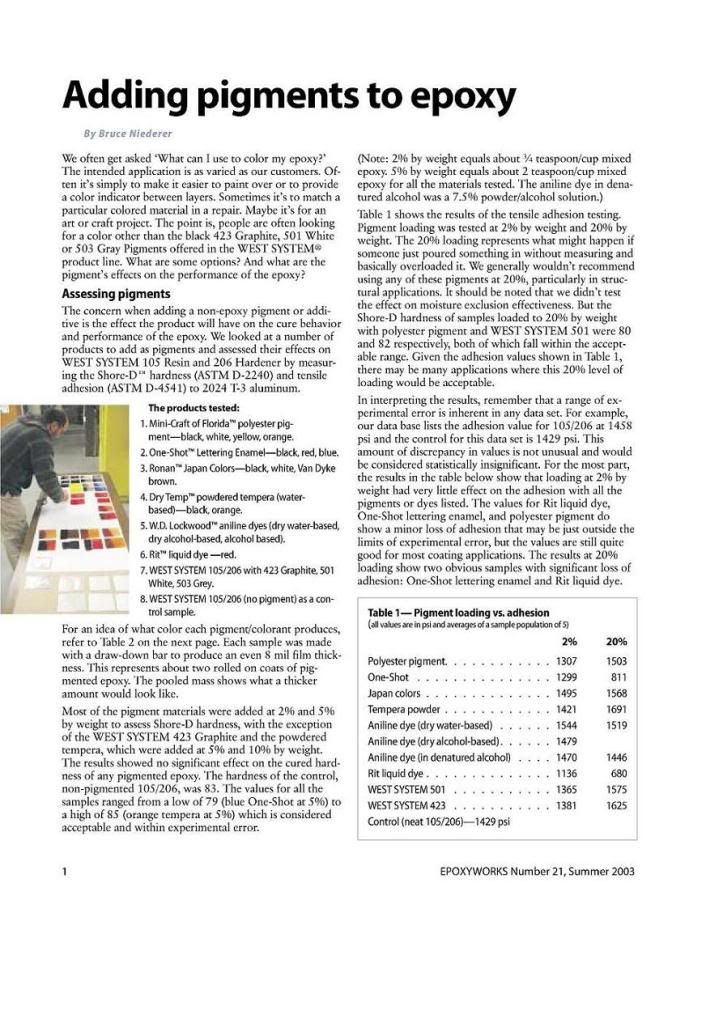
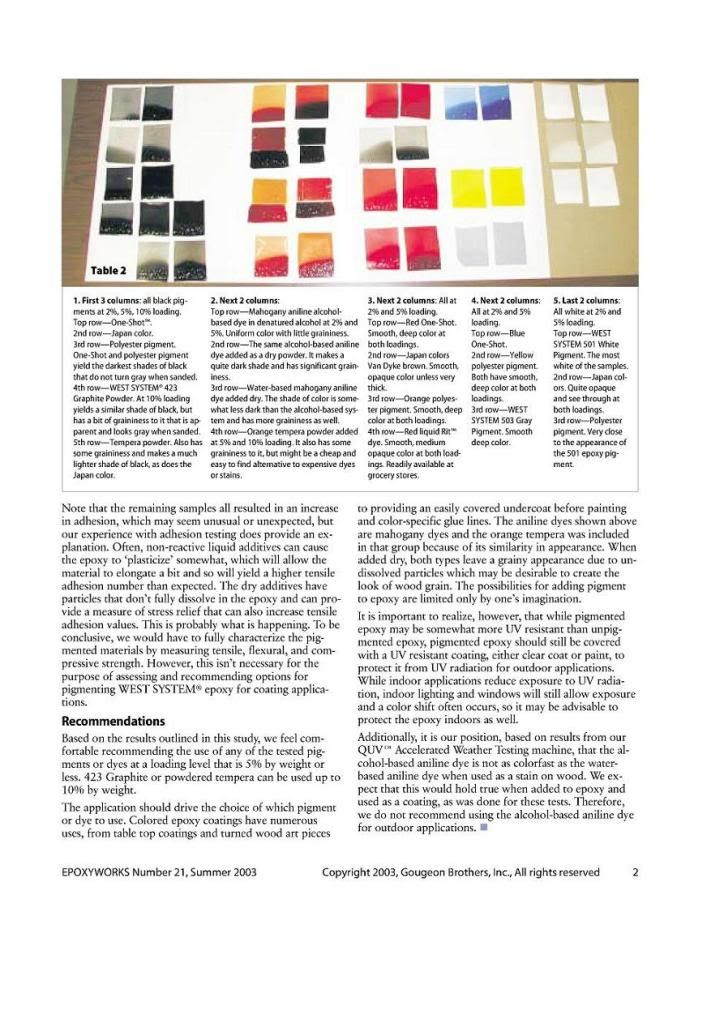
Now, as regards effectiveness, this test will serve to establish a rather subjective pass, or fail grade to the candidate in question. In support of my somewhat educated guess, I will attempt to attach supporting documentation of related adhesion test results for various common pigmenting approaches; one of which I was rather impressed to discover was tempera powder.
If I'm unable to attach the aforementioned article, I will suggest that a google search of the terms "West Systems, tempera, adhesion, results" will also provide a quick link.
For this one, I intend to incorporate a 1/4" 5 ply firewall and I also have what I think you will find to be an interesting idea for applying camouflage in the mould with my new tempera powders.
It often seems that life has a way of pulling us away from things. This is exceptionally true with a project of sufficient scope to impress. lol
The trick, is to make your way back home....
I've been to the local school supply store in my ongoing efforts to stock my shelves with goodies that I can use to itch my constructive itch from time to time. I came away with I think what you will agree is the cheapest method for pigmenting your epoxies.
Now, as regards effectiveness, this test will serve to establish a rather subjective pass, or fail grade to the candidate in question. In support of my somewhat educated guess, I will attempt to attach supporting documentation of related adhesion test results for various common pigmenting approaches; one of which I was rather impressed to discover was tempera powder.
If I'm unable to attach the aforementioned article, I will suggest that a google search of the terms "West Systems, tempera, adhesion, results" will also provide a quick link.
For this one, I intend to incorporate a 1/4" 5 ply firewall and I also have what I think you will find to be an interesting idea for applying camouflage in the mould with my new tempera powders.
02-13-2012, 10:39 AM
#389
Senior Member
Thread Starter
Join Date: Apr 2007
Location: Toronto,
ON, CANADA
Posts: 757
Likes: 0
Received 0 Likes
on
0 Posts
First things first; we're gonna need patterns for our camouflage design. I've taken a few liberties in the name of artistic impression here with regards to symmetry and the like, but hey, it's my fuselage afterall isn't it. (??)
I've used an old pair of pants here to drape and tape. Taped in place with duct tape, and marked with a sharpie.
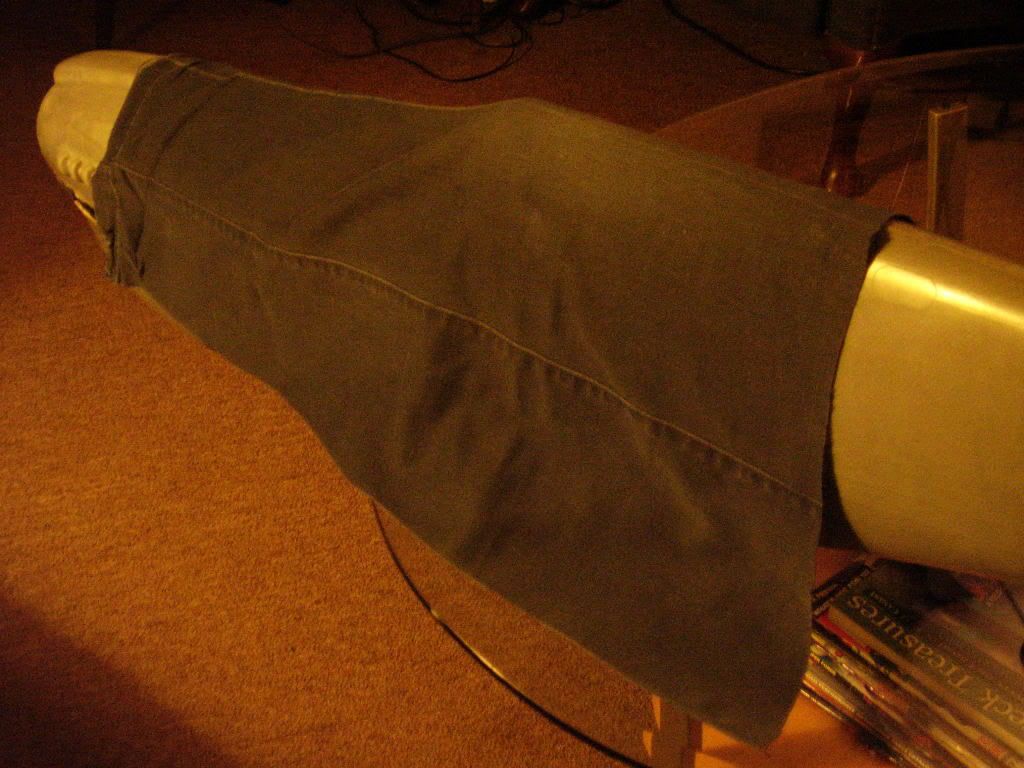
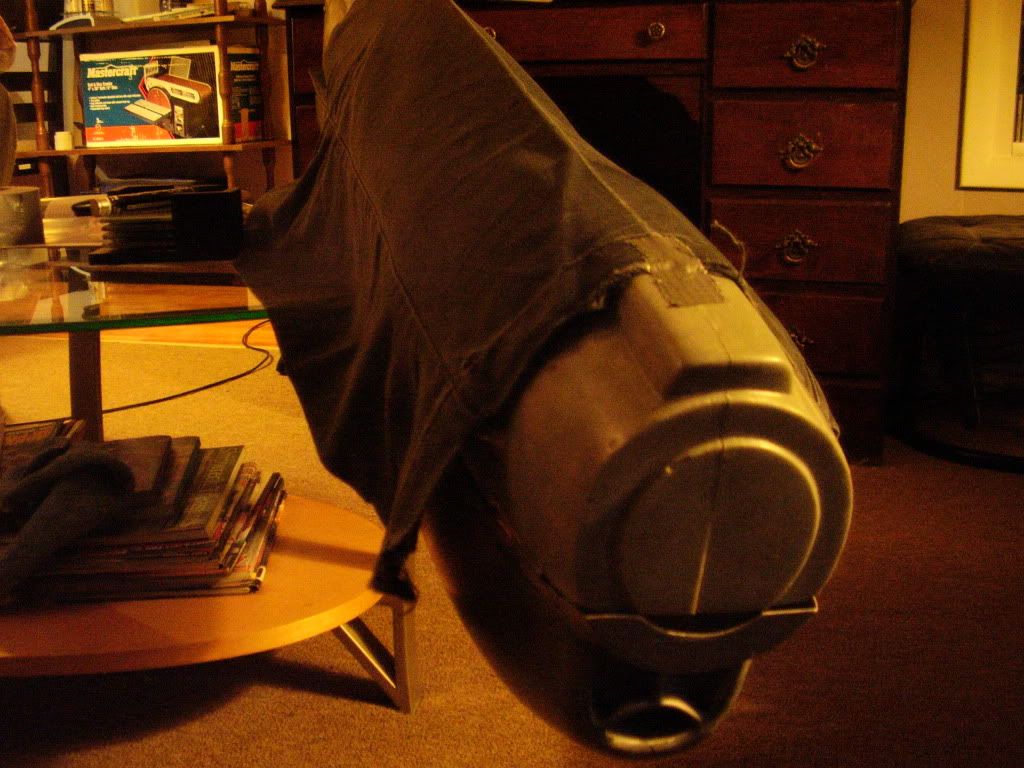
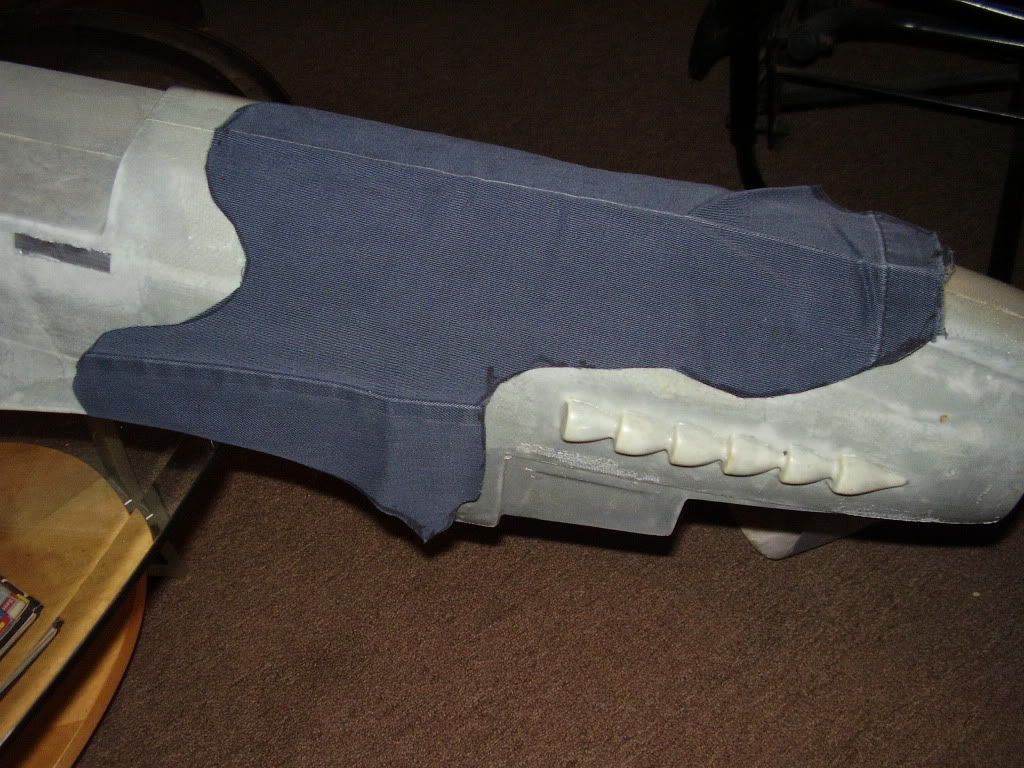
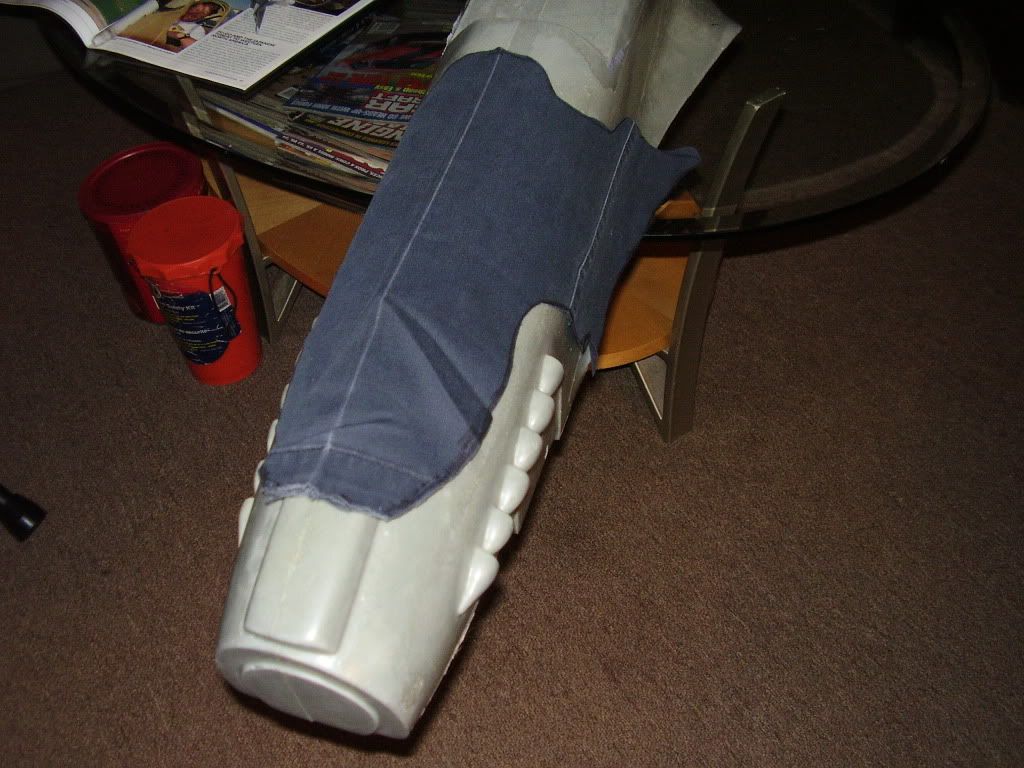
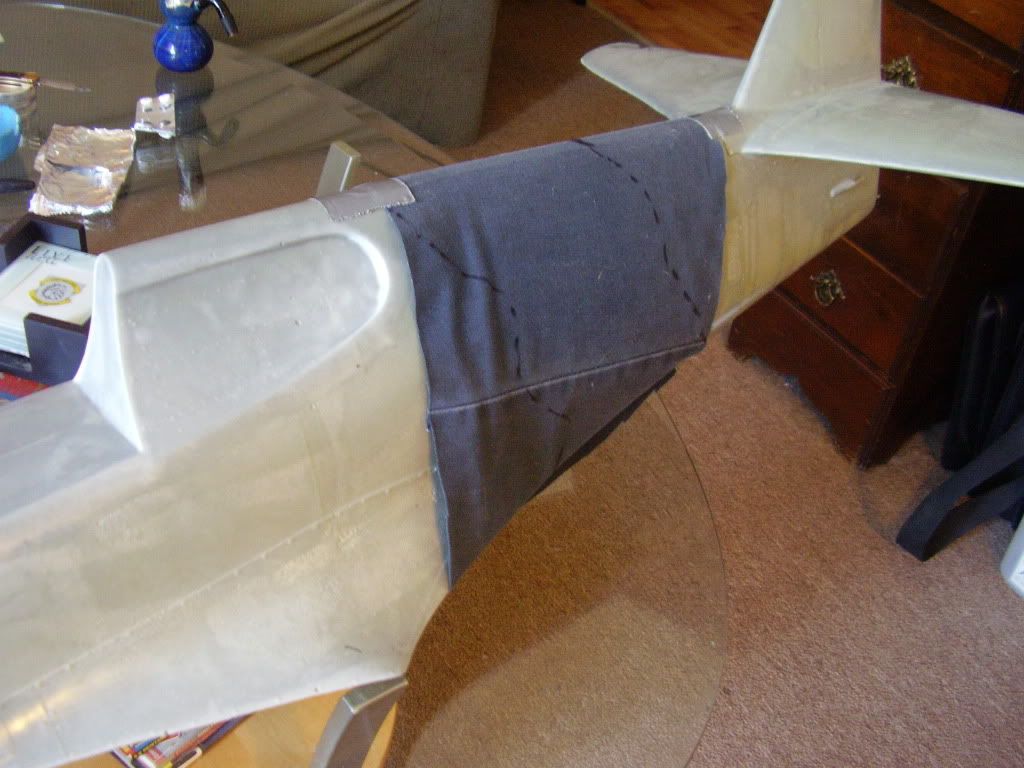
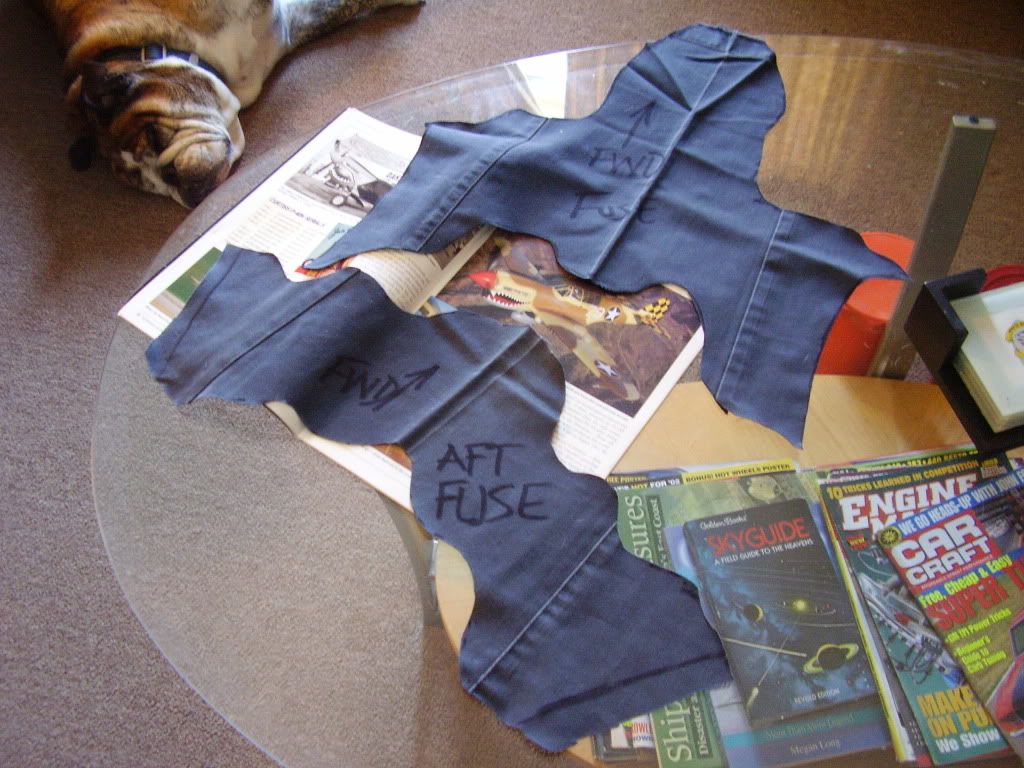
I've used an old pair of pants here to drape and tape. Taped in place with duct tape, and marked with a sharpie.
02-13-2012, 10:55 AM
#390
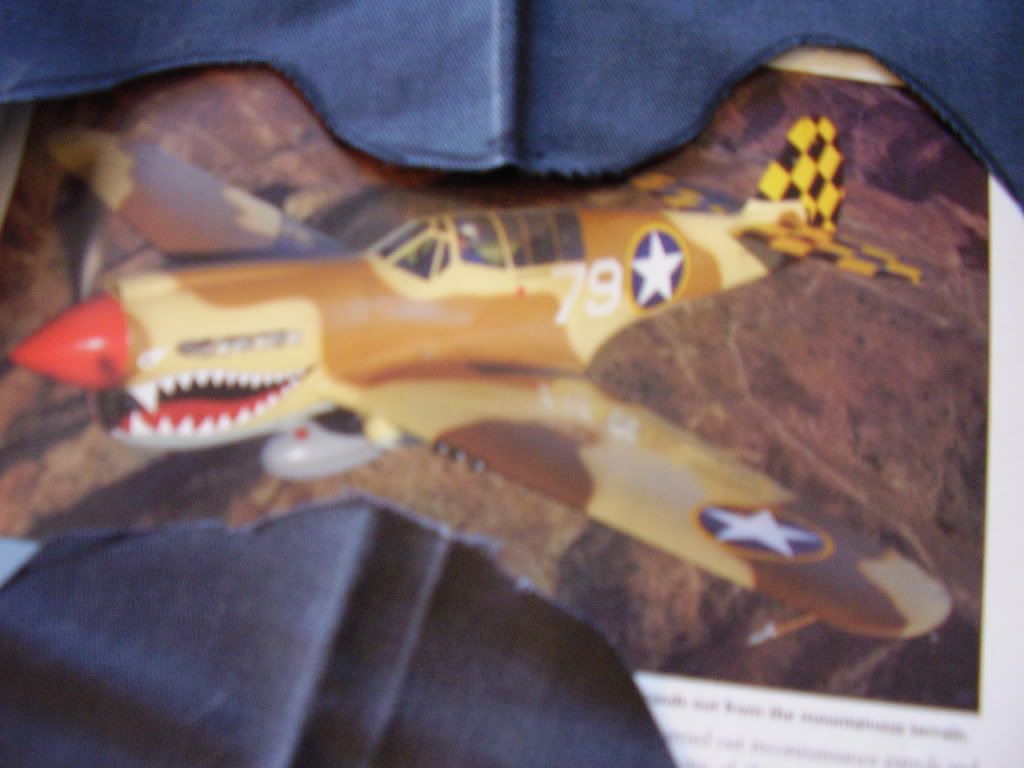
Operation Torch. One of my favorites. I had an old red box P-40 with that. Tail was a bit of a challenge, but turned out ok.
"Lighthouse Loui was the name of the plane. Story has it that he shot at, or liked to shoot lighthouses.
Looks good.
Steve
"Lighthouse Loui was the name of the plane. Story has it that he shot at, or liked to shoot lighthouses.
Looks good.
Steve
02-13-2012, 01:51 PM
#391
Senior Member
Thread Starter
Join Date: Apr 2007
Location: Toronto,
ON, CANADA
Posts: 757
Likes: 0
Received 0 Likes
on
0 Posts
Good to see you Steve.
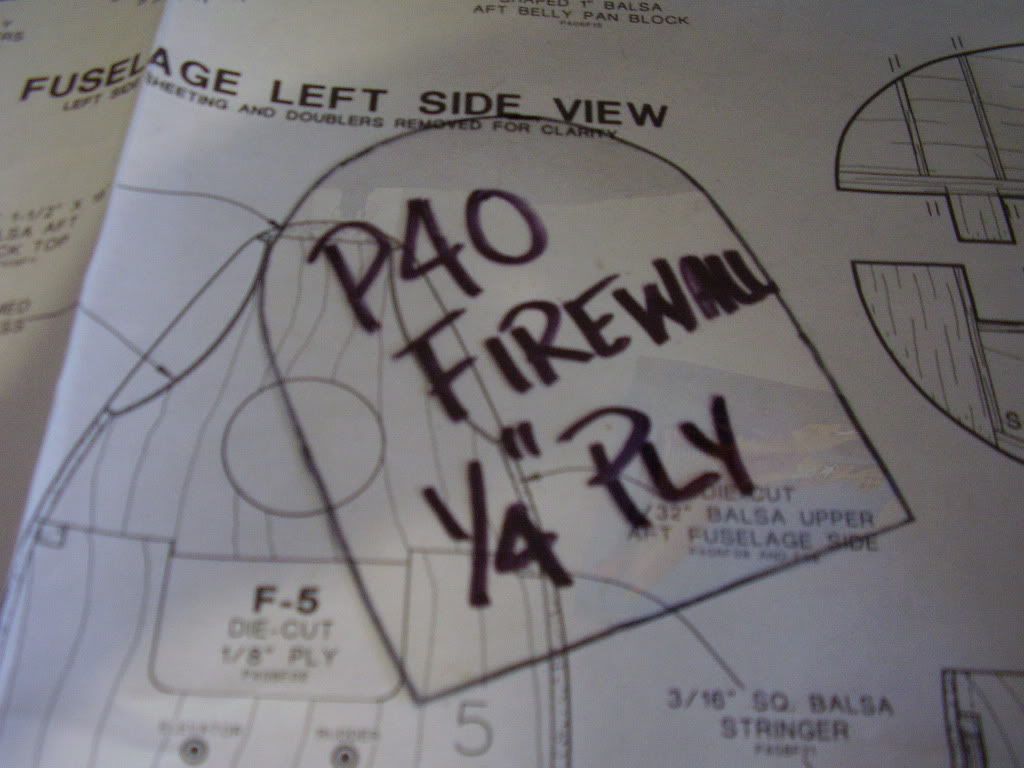
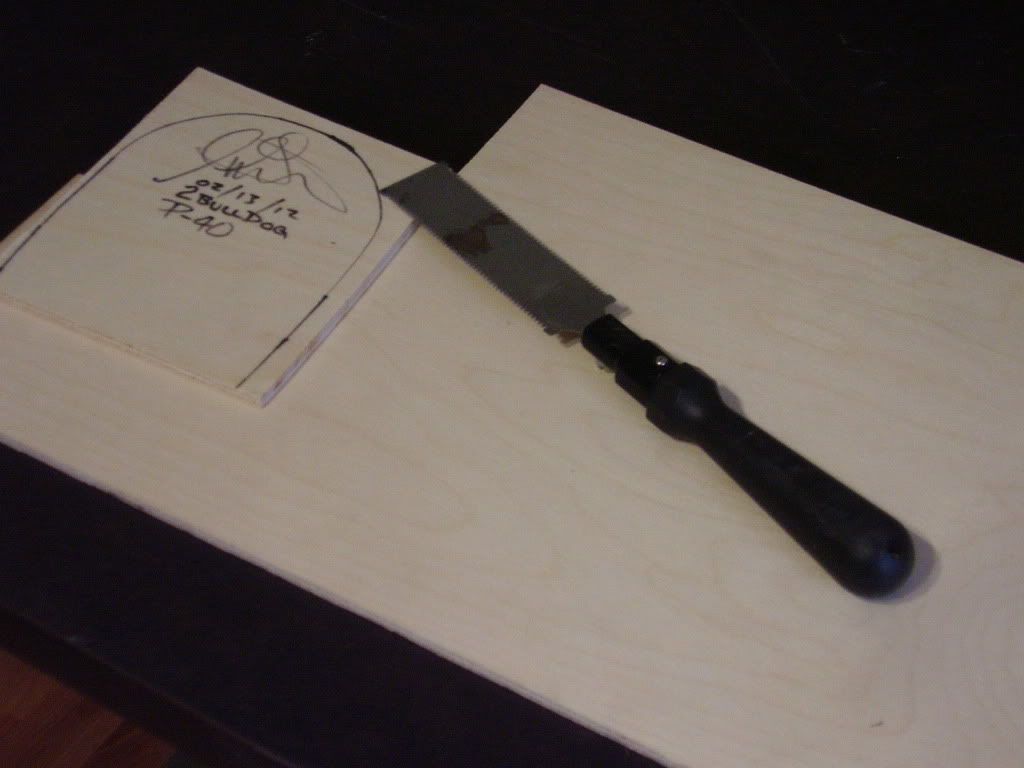
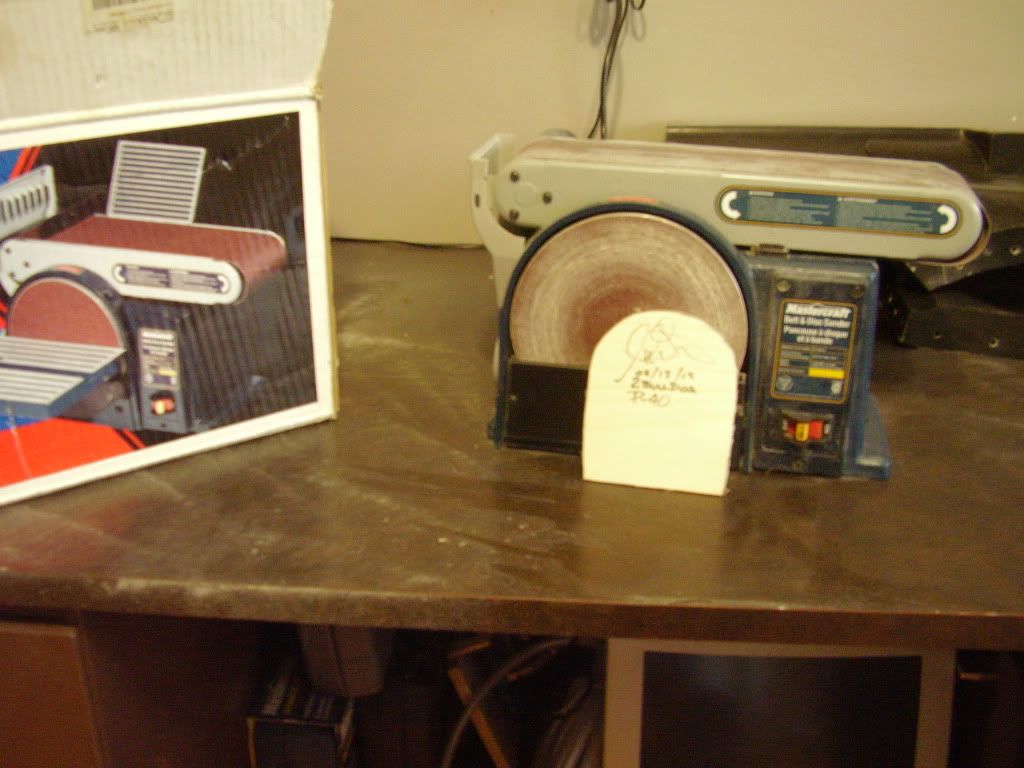
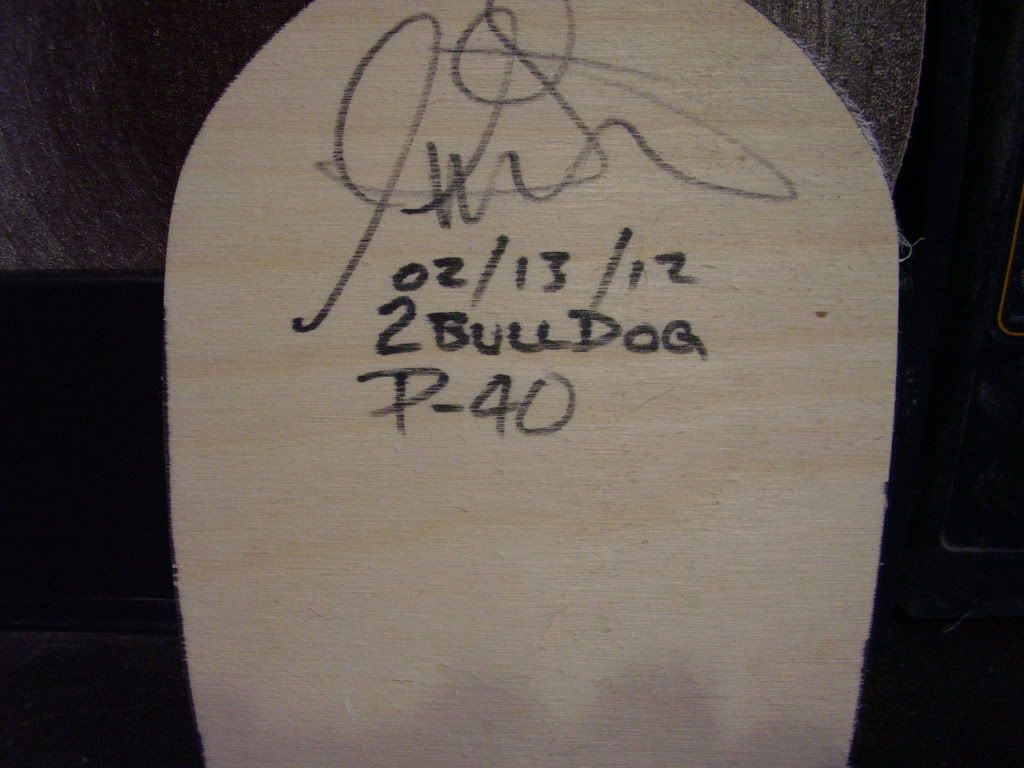
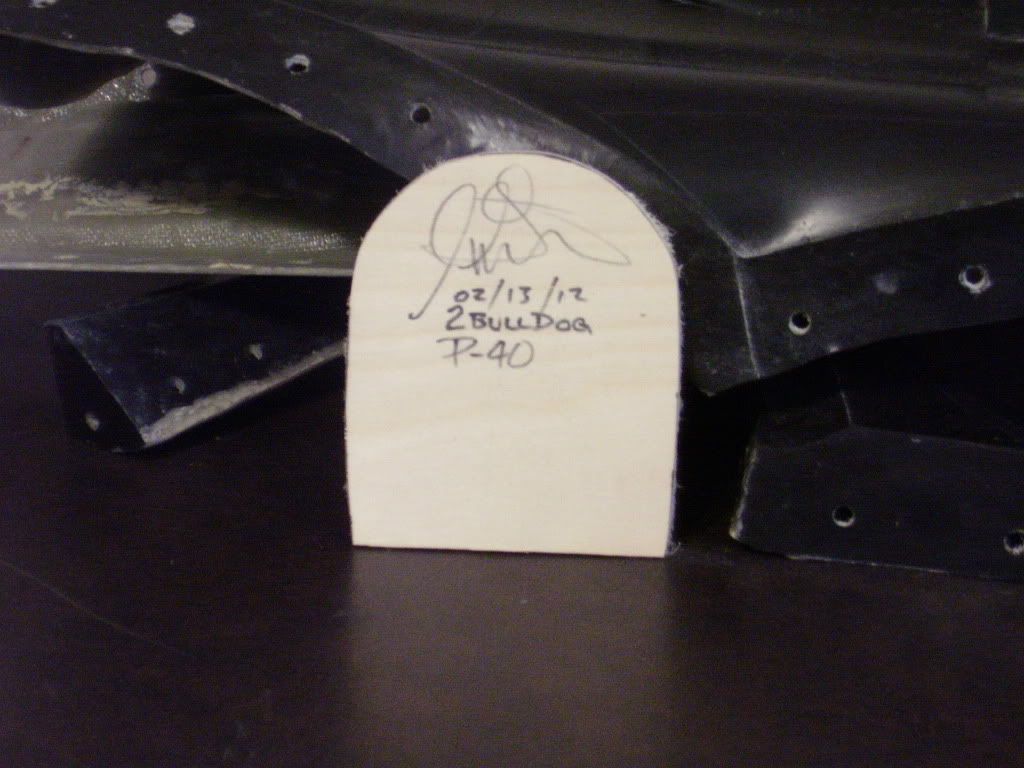
...and we're gonna need a firewall...
- don't forget to take a minute to identify your templates for later when you don't know what the heck it was anymore
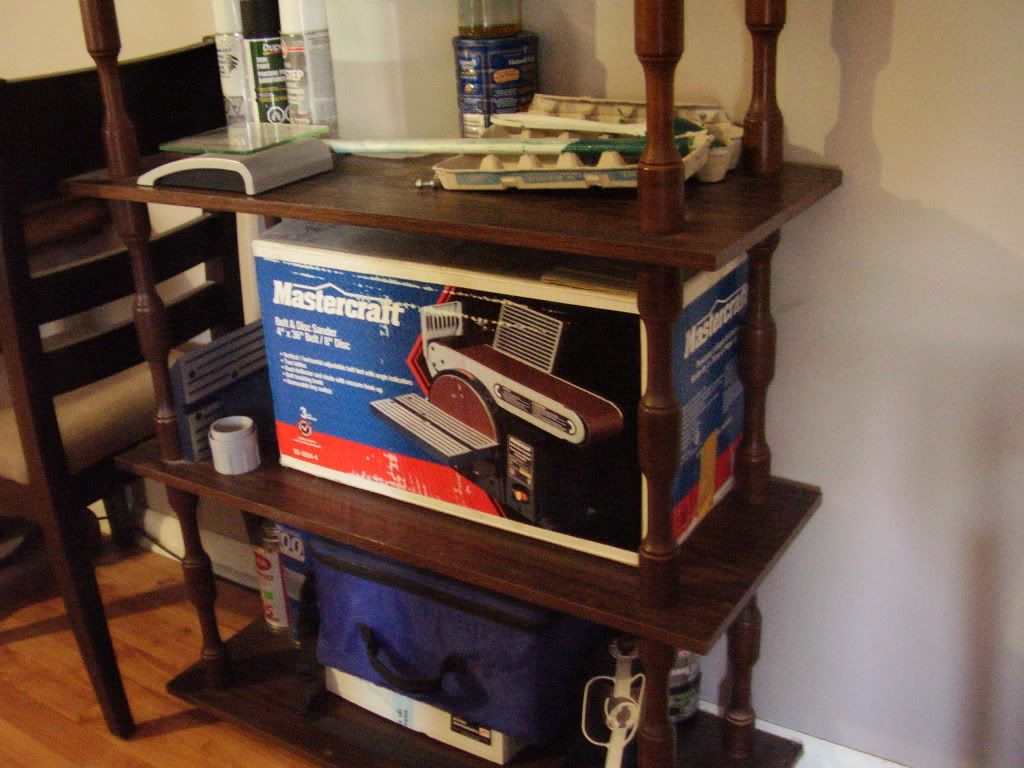
- and don't forget to cleanup and put your tools away as you go (took me a good 40+ years to learn this one, but building in your kitchen helps...)

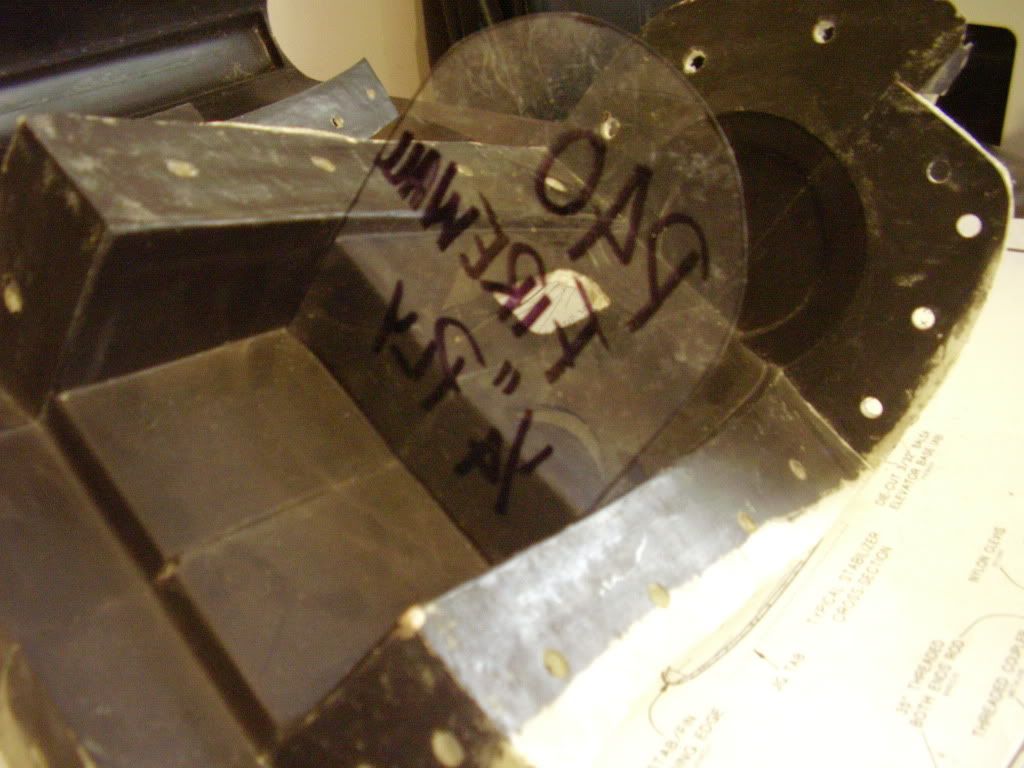
...and we're gonna need a firewall...
- don't forget to take a minute to identify your templates for later when you don't know what the heck it was anymore
- and don't forget to cleanup and put your tools away as you go (took me a good 40+ years to learn this one, but building in your kitchen helps...)
02-14-2012, 04:50 PM
#392
Senior Member
Thread Starter
Join Date: Apr 2007
Location: Toronto,
ON, CANADA
Posts: 757
Likes: 0
Received 0 Likes
on
0 Posts
The engineer in me likes to set productivity benchmarks. The modeler in me prefers to rise above. Main fuselage mould sections are prep'd and gtg. If you're interested in this sort of thing you might find it interesting that each section was fully prep'd individually and as they were assembled, additional thick paste wax was applied to each flange so that as they were bolted together (from the centre, outward..) the fresh paste was extruded from the seams.I then ran a Qtip along the fresh wax and smoothed it into the seam. After it had hazed, I carefully buffed the areas to sheen again. Voila - I hope you can see the results clearly in the pictures. I don't know how I might have got them any better......another day, another day closer...


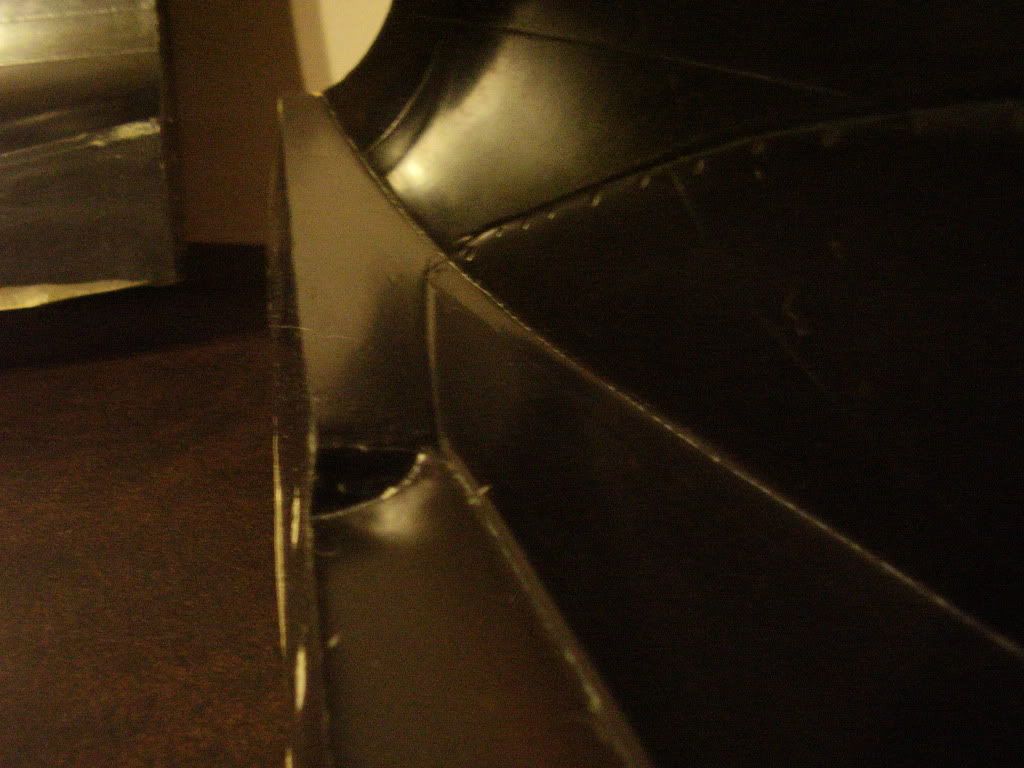
Main fuselage mould sections are prep'd and gtg. If you're interested in this sort of thing you might find it interesting that each section was fully prep'd individually and as they were assembled, additional thick paste wax was applied to each flange so that as they were bolted together (from the centre, outward..) the fresh paste was extruded from the seams.I then ran a Qtip along the fresh wax and smoothed it into the seam. After it had hazed, I carefully buffed the areas to sheen again. Voila - I hope you can see the results clearly in the pictures. I don't know how I might have got them any better......another day, another day closer...
02-14-2012, 07:40 PM
#393
Slow, for the wood your need a Compucarve/carvewright cnc router machine. On sale now for $999.99.
A few years back I paid $1,700 for mine. It's still pretty new since I am slowly learning how to use it.
It does 3D as well, but I'll not learn that very easily.
Steve
A few years back I paid $1,700 for mine. It's still pretty new since I am slowly learning how to use it.
It does 3D as well, but I'll not learn that very easily.
Steve
02-14-2012, 08:27 PM
#394
Senior Member
Thread Starter
Join Date: Apr 2007
Location: Toronto,
ON, CANADA
Posts: 757
Likes: 0
Received 0 Likes
on
0 Posts
When I get things where I want them Steve, I'll probably scan my templates and just email the file to someone to have them laser cut. There's a place in Delhi, Ontario that's not too far away and they will box them up in kits or whatever you need. (might happen - better odds than the cnc router...lol)
02-15-2012, 04:54 PM
#395
Senior Member
Thread Starter
Join Date: Apr 2007
Location: Toronto,
ON, CANADA
Posts: 757
Likes: 0
Received 0 Likes
on
0 Posts
Alright - here's the straight dope - sometimes you win, sometimes you lose, but you always learn... lolThe epoxy was great, although I'm glad I got the slow hardener! Almost the consistency of water initially, it wetted out superbly, but when it kicked, boy did it kick! (cost me a new brush arghhh)I also thought that my patterns were pretty nifty, but I should've paid closer attention and registered them in one place and not two. There's mismatch on this one that there won't be on the next, but it should blend in with an airbrush in about 2 minutes.

 02-15-2012, 07:30 PM
#397
Slow
I could be wrong, but..................
If that is mat glass, my experience has been that mat glass has minimal structural integrity. You'll see what I mean if you drop it.
I know it's cheaper, but. It's kinda like plywood VS OSB chip board. Not much long continuous fibers for support.
steve
I could be wrong, but..................
If that is mat glass, my experience has been that mat glass has minimal structural integrity. You'll see what I mean if you drop it.
I know it's cheaper, but. It's kinda like plywood VS OSB chip board. Not much long continuous fibers for support.
steve
02-15-2012, 07:33 PM
#398
Senior Member
Thread Starter
Join Date: Apr 2007
Location: Toronto,
ON, CANADA
Posts: 757
Likes: 0
Received 0 Likes
on
0 Posts
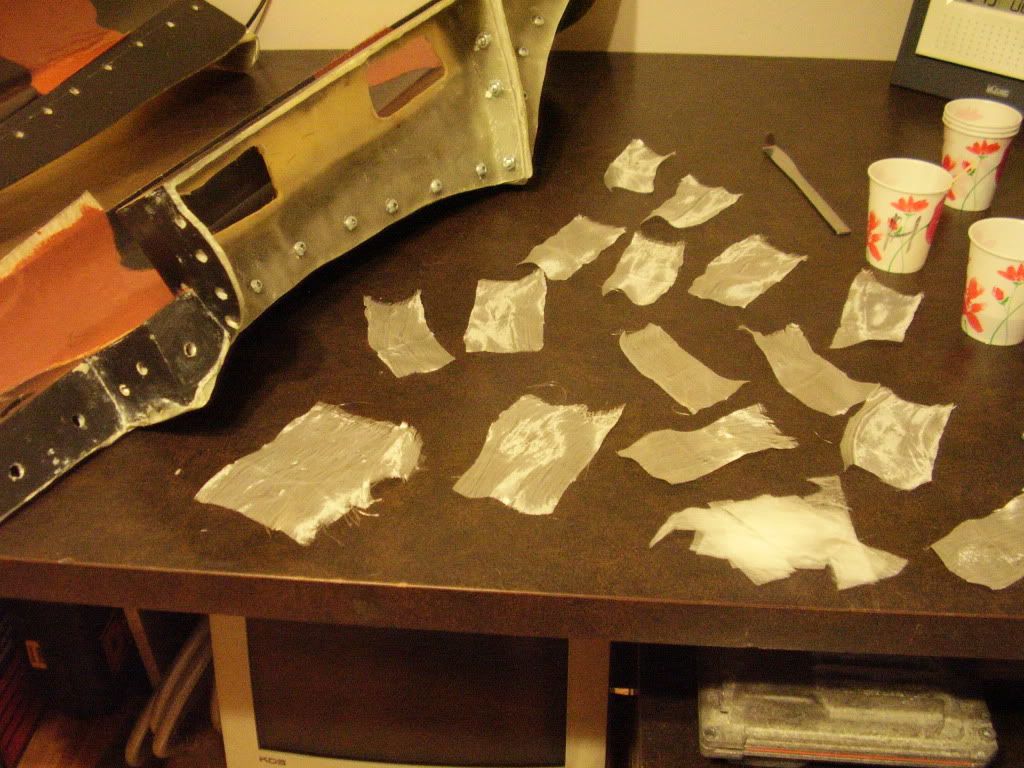
Steve, that is continuous strand surface veil. It is only there to give the epoxy something to cling to on the waxed surface. I will continue to layup ontop of what I've done here, so it will if anything be additional weight and rigidity.
02-15-2012, 08:44 PM
#399
Senior Member
Thread Starter
Join Date: Apr 2007
Location: Toronto,
ON, CANADA
Posts: 757
Likes: 0
Received 0 Likes
on
0 Posts
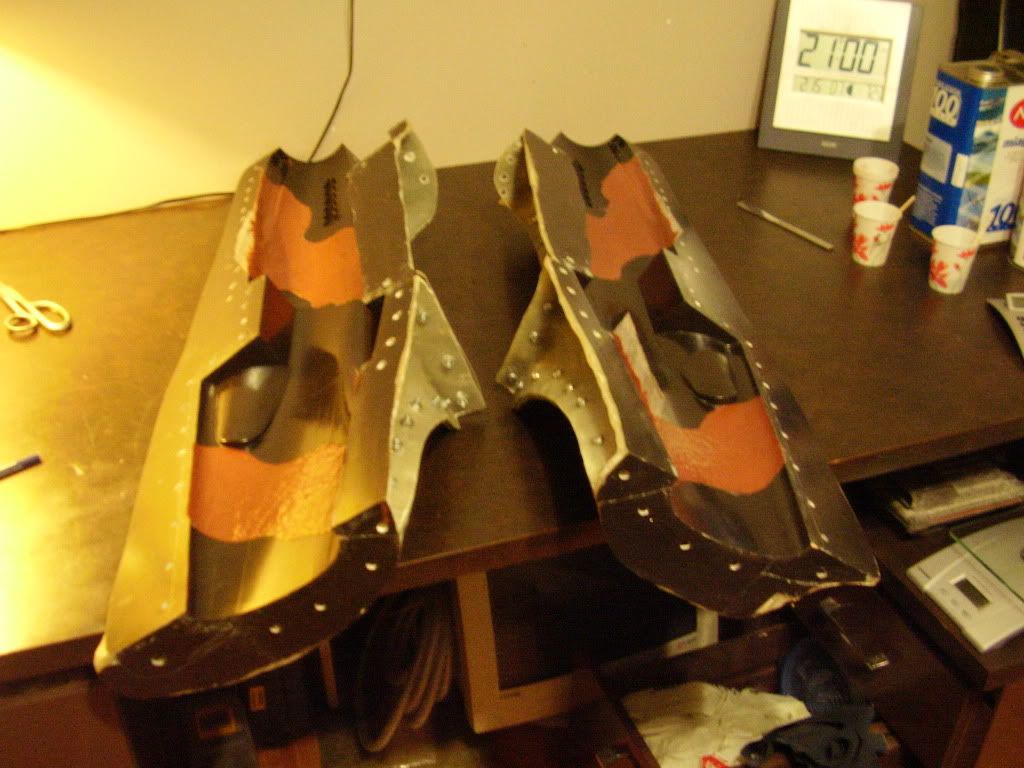
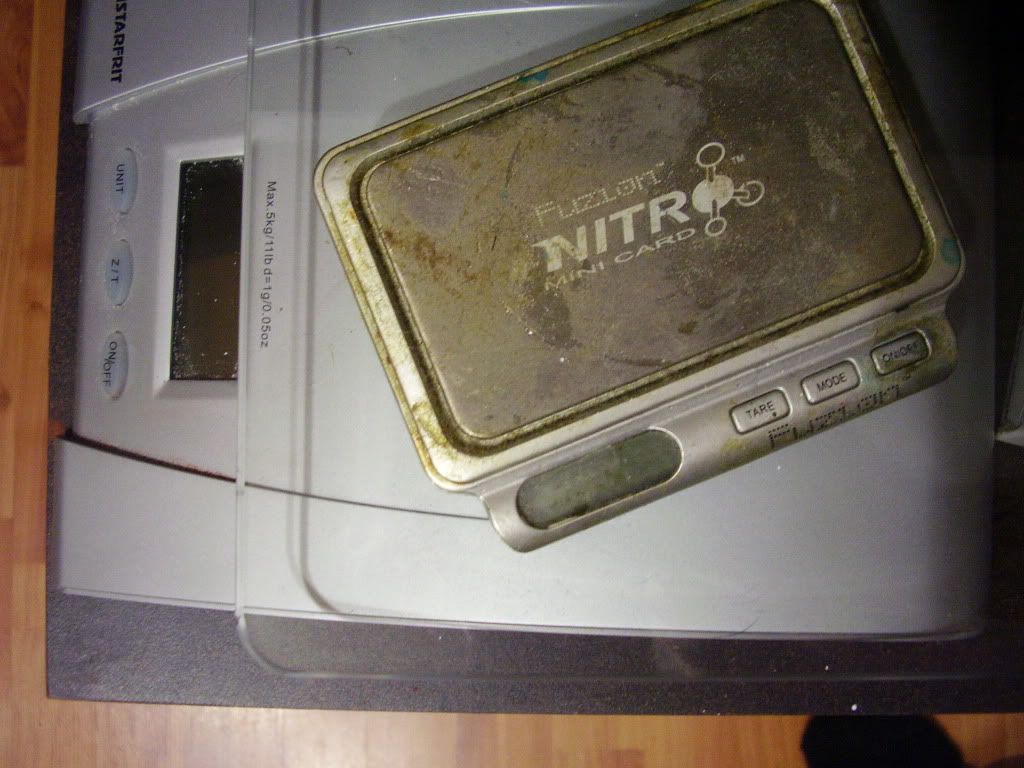
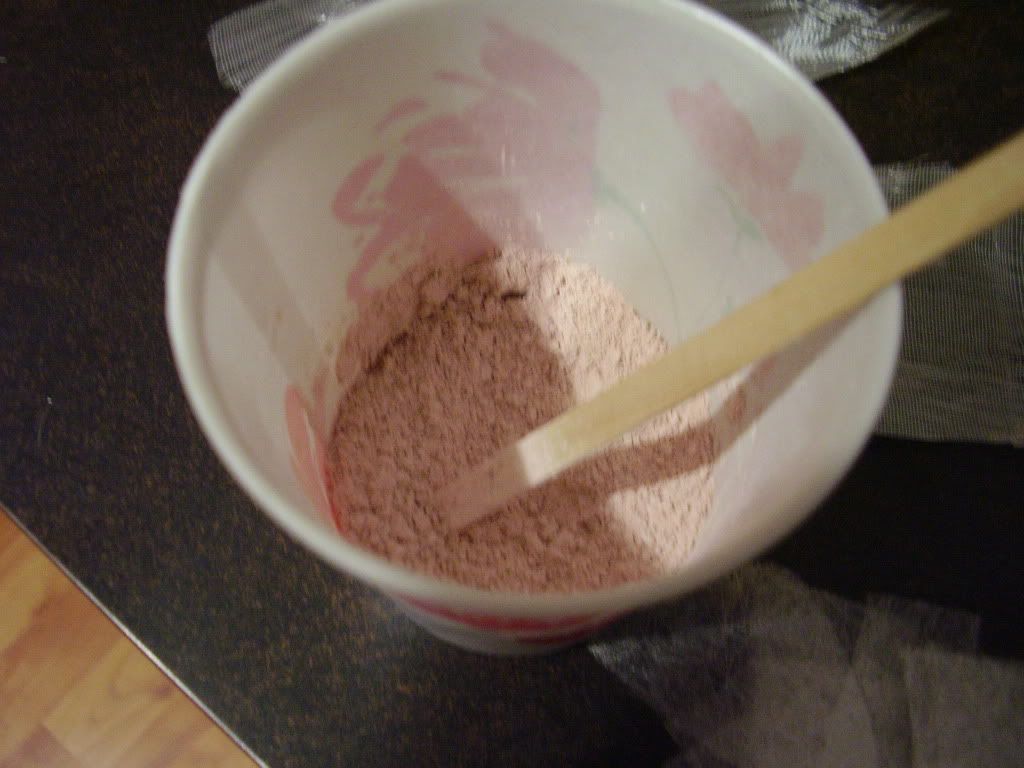
Mixing tempera powder in larger quantities in advance allows easy mixing into resin prior to adding hardener. The larger scale is great for mixing epoxy and hardener with 1 gram precision. The smaller scale I used for mixing powders because of it's 0.1 gram precision.
The dark brown is 33% white into brown.
The light brown is 5% brown into white.
Perhaps this misfit will be best camouflaged for a nudist colony! It's kinda funny in person.)
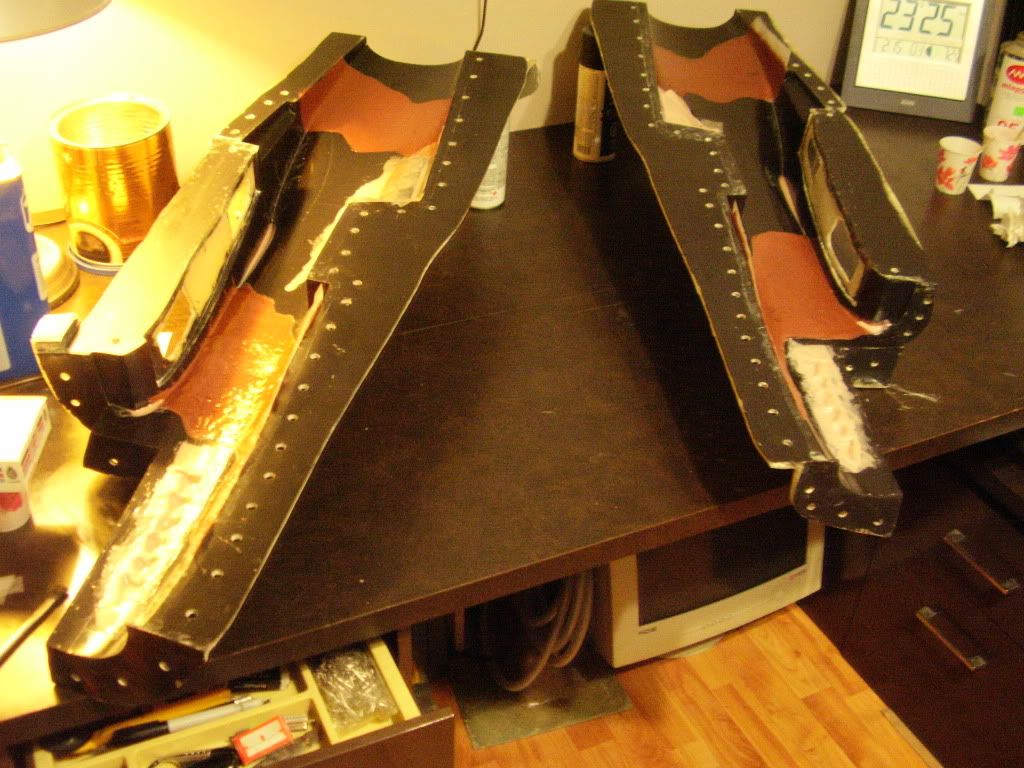
I've used 3/4 Ounce cloth in the sharp corners, and the surface veil again, in the tight spots here.
The dark brown is 33% white into brown.
The light brown is 5% brown into white.
Perhaps this misfit will be best camouflaged for a nudist colony! It's kinda funny in person.
)I've used 3/4 Ounce cloth in the sharp corners, and the surface veil again, in the tight spots here.
02-15-2012, 08:45 PM
#400
Senior Member
Thread Starter
Join Date: Apr 2007
Location: Toronto,
ON, CANADA
Posts: 757
Likes: 0
Received 0 Likes
on
0 Posts
Mixing tempera powder in larger quantities in advance allows easy mixing into resin prior to adding hardener. The larger scale is great for mixing epoxy and hardener with 1 gram precision. The smaller scale I used for mixing powders because of it's 0.1 gram precision.
The dark brown is 33% white into brown.
The light brown is 5% brown into white.
Perhaps this misfit will be best camouflaged for a nudist colony! It's kinda funny in person.)
I've used 3/4 Ounce cloth in the sharp corners, and the surface veil again, in the tight spots here.
The dark brown is 33% white into brown.
The light brown is 5% brown into white.
Perhaps this misfit will be best camouflaged for a nudist colony! It's kinda funny in person.
)I've used 3/4 Ounce cloth in the sharp corners, and the surface veil again, in the tight spots here.