


1/12 scale P-47 Lazerworks Short Kit
 02-18-2018, 09:11 AM
#26

Thread Starter

Thanks, good luck on the A-Ray
 02-25-2018, 09:20 AM
#27
Thread Starter
I haven't installed the ailerons yet but the wings are glassed and ready for the belly pan. I've started glassing the tail surfaces. I have also been attending to some of the fuselage internals. There isn't much on a model as simple as this but but it is easier before buttoning up the top of the fuselage. I have installed the engine mount. I went with a straightforward upright engine. I'm going to use a 4 ounce fuel tank. The engine will set low enough on the firewall and the forward fuselage has enough room that it isn't hard to line up the carburetor and the fuel tank for good fuel flow. I do have a low profile muffler that I could use but I am going to stick with the stock muffler. The upright position results in the least amount of interference with the fuselage. I have added some additional material to the fuselage on the starboard side of the fuselage. This area will be relieved for muffler clearance. The plans show an inverted K&B Sportster .20 but even with the .25 that I am going to use. the cylinder head won't show much. I've added a platform to help support the fuel tank. Even with this inplace there will be room to tuck the battery underneath the fuel tank. I expect that I will be using the battery to help establish balance. The plans just show a general location for the radio equipment and I will be using lighter equipment than is shown. A plane this small doesn't really need standard servos and even those are lighter than they were back in 1993.
02-25-2018, 09:32 AM
#28
Thread Starter
Moving on to closing up the top of the fuselage. Her is a picture of the rig that I used for slicing sheet balsa into the strips that i have used for planking the fuselage. It is quick and easy to use and allows you to have whatever size strip you need for a given job. One note, don't push the wood through the saw too fast. Even with a tight blade, the cut will tend to wander with the grain of the wood. The top of the fuse is covered in 1/16 balsa as per the plans. The last photo shows the fuselage planked and with the beginning of sanding and filling.
02-25-2018, 10:08 AM
#29
My Feedback: (2)
Hi Matt, looks great to me and I see you have a scroll saw I bought one from Eddie a few months back as he had one laying around his shop. Its a little old but it does the job. I finally got the fuseledge covered on my A-ray and this monokote takes alot of heat to seal but its done and I am not the best with this stuff! Going flying in a bit see ya Michael
03-01-2018, 07:57 PM
#30
Thread Starter
Creeping along, I got the tail surfaces glassed. The elevators are hinged and the horizontal tail is glued on. The rudder and fin is just pinned in place for now. I also finished glassing the ailerons.
03-01-2018, 08:07 PM
#31
Thread Starter
Now it's time to hog out a big ol' hole in a perfectly good fuselage. The purpose is to provide clearance for the muffler. I could have used a muffler extension or a small J'Tec muffler but this fairly direct and least likely to impact the engine's performance. The pictures show the progression of building up layers of lightweight fiberglass and Kwik-Poly. I have previously used this method to provide clearance on a Pica 1/12 scale Zero.
03-22-2018, 05:15 PM
#32
Thread Starter
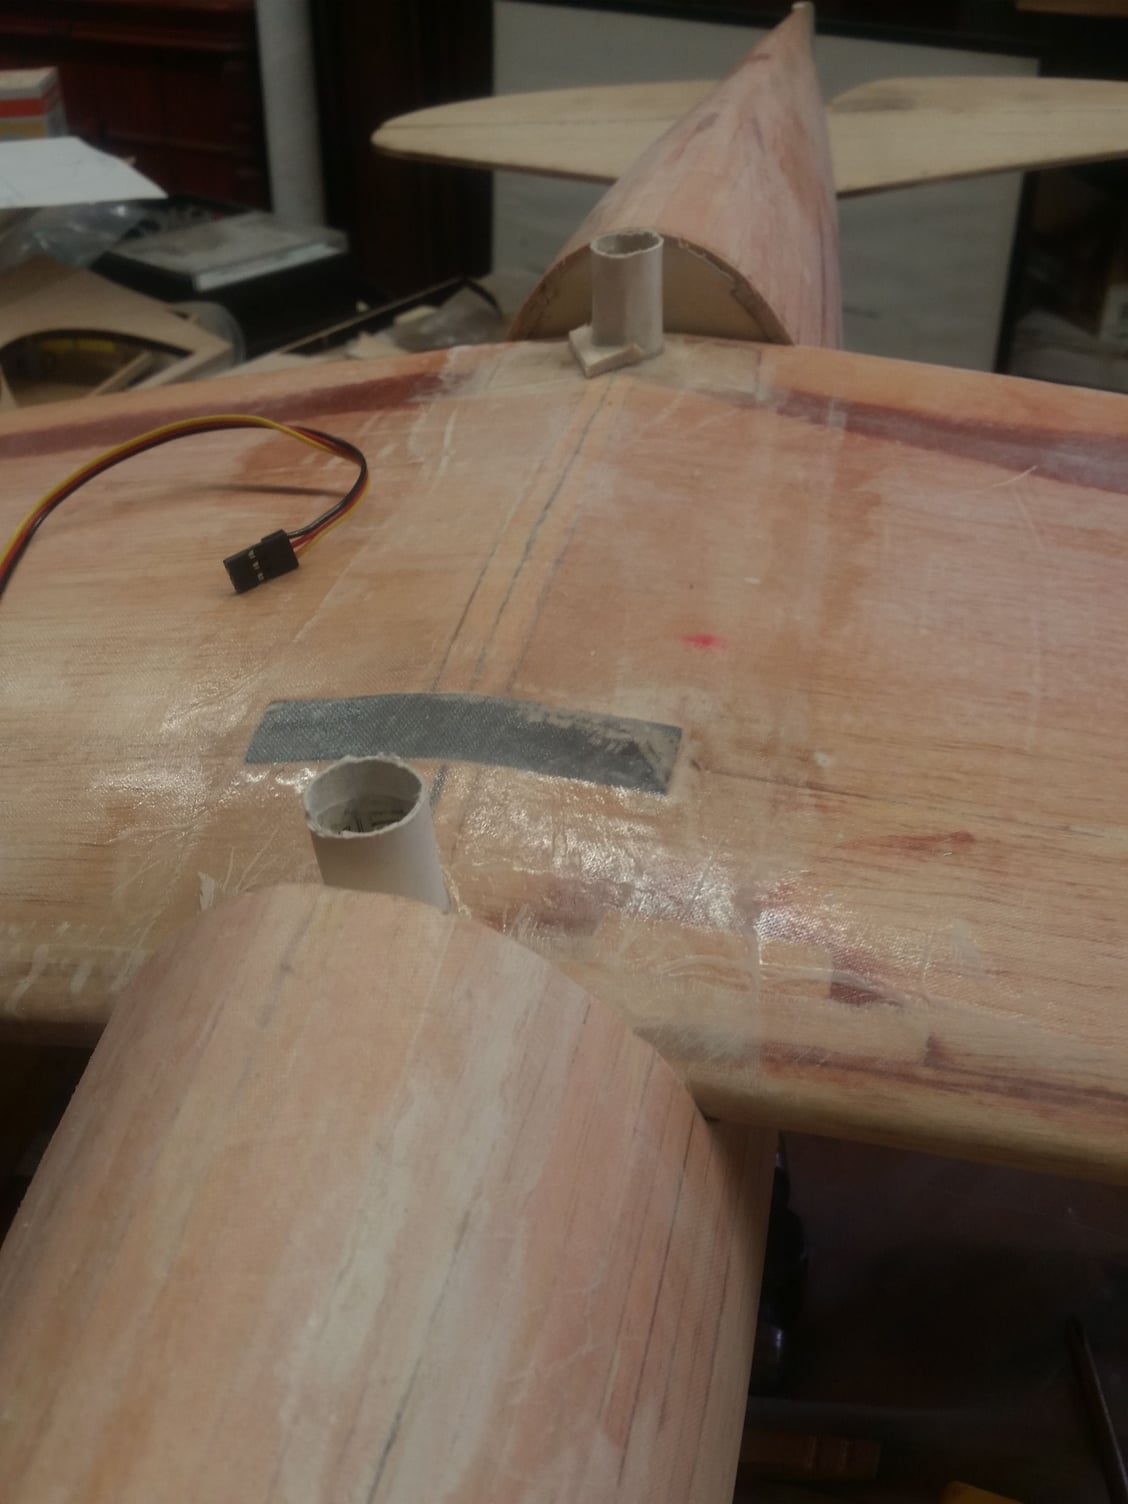
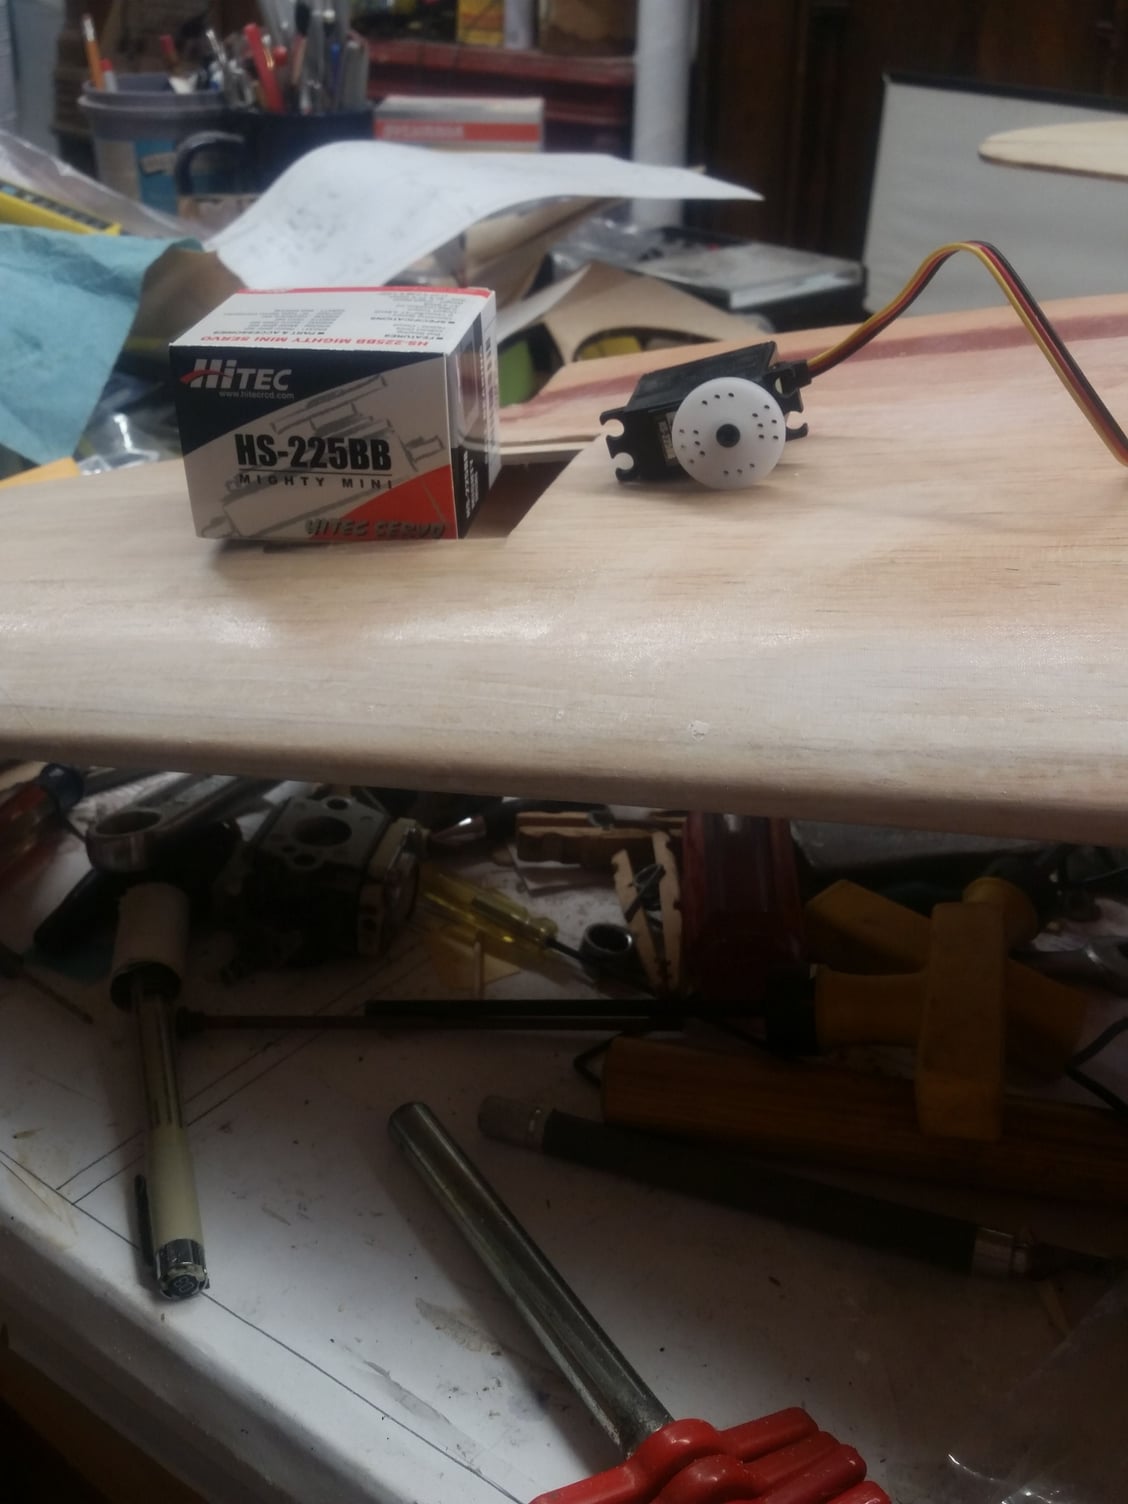
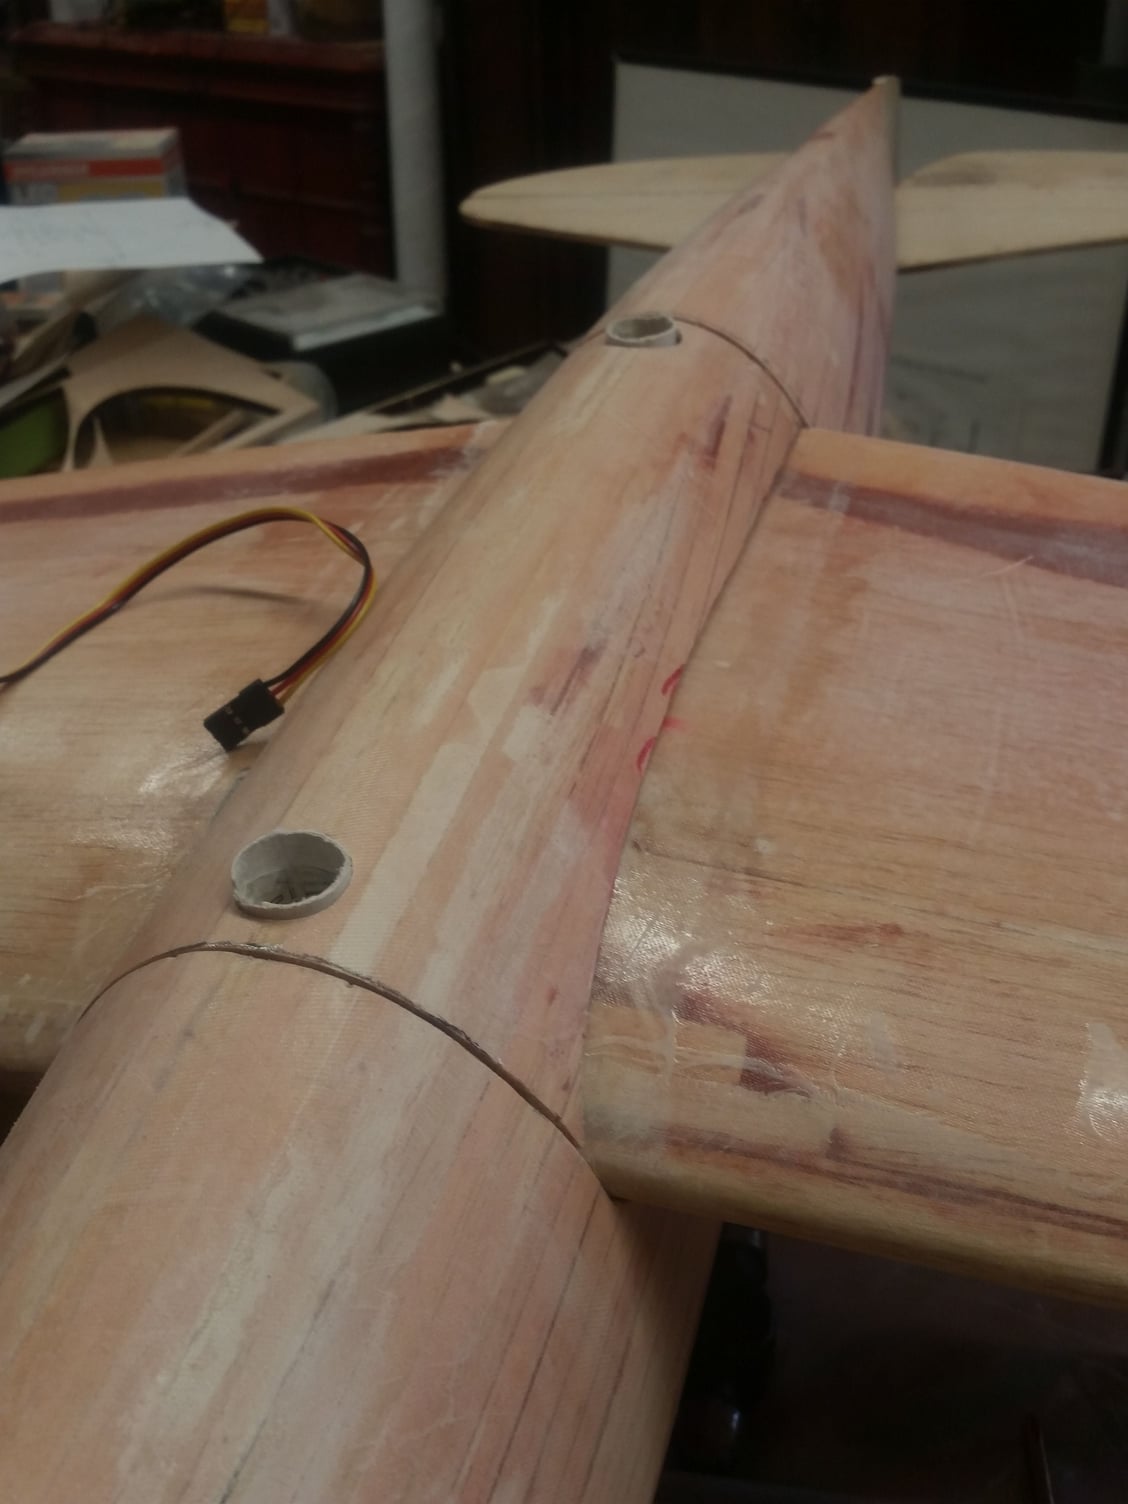
A little more progress on the P-47. I glued the belly pan on and used paper tubes to make guides for the wing bolts. A couple of new mini servos arrived and wil be installed in the wing shortly.
03-23-2018, 05:36 PM
#33
My Feedback: (2)
Hi Matt, Looks pretty good keep up the good work. BTW I like your needle valve extension! Good to see you at the swap meet last weekend. Are you going to be flying sunday? I hope to be ready to go by then if not maybee next week then.
Take Care
Michael Johnston
Take Care
Michael Johnston
04-22-2018, 07:45 AM
#34
Thread Starter
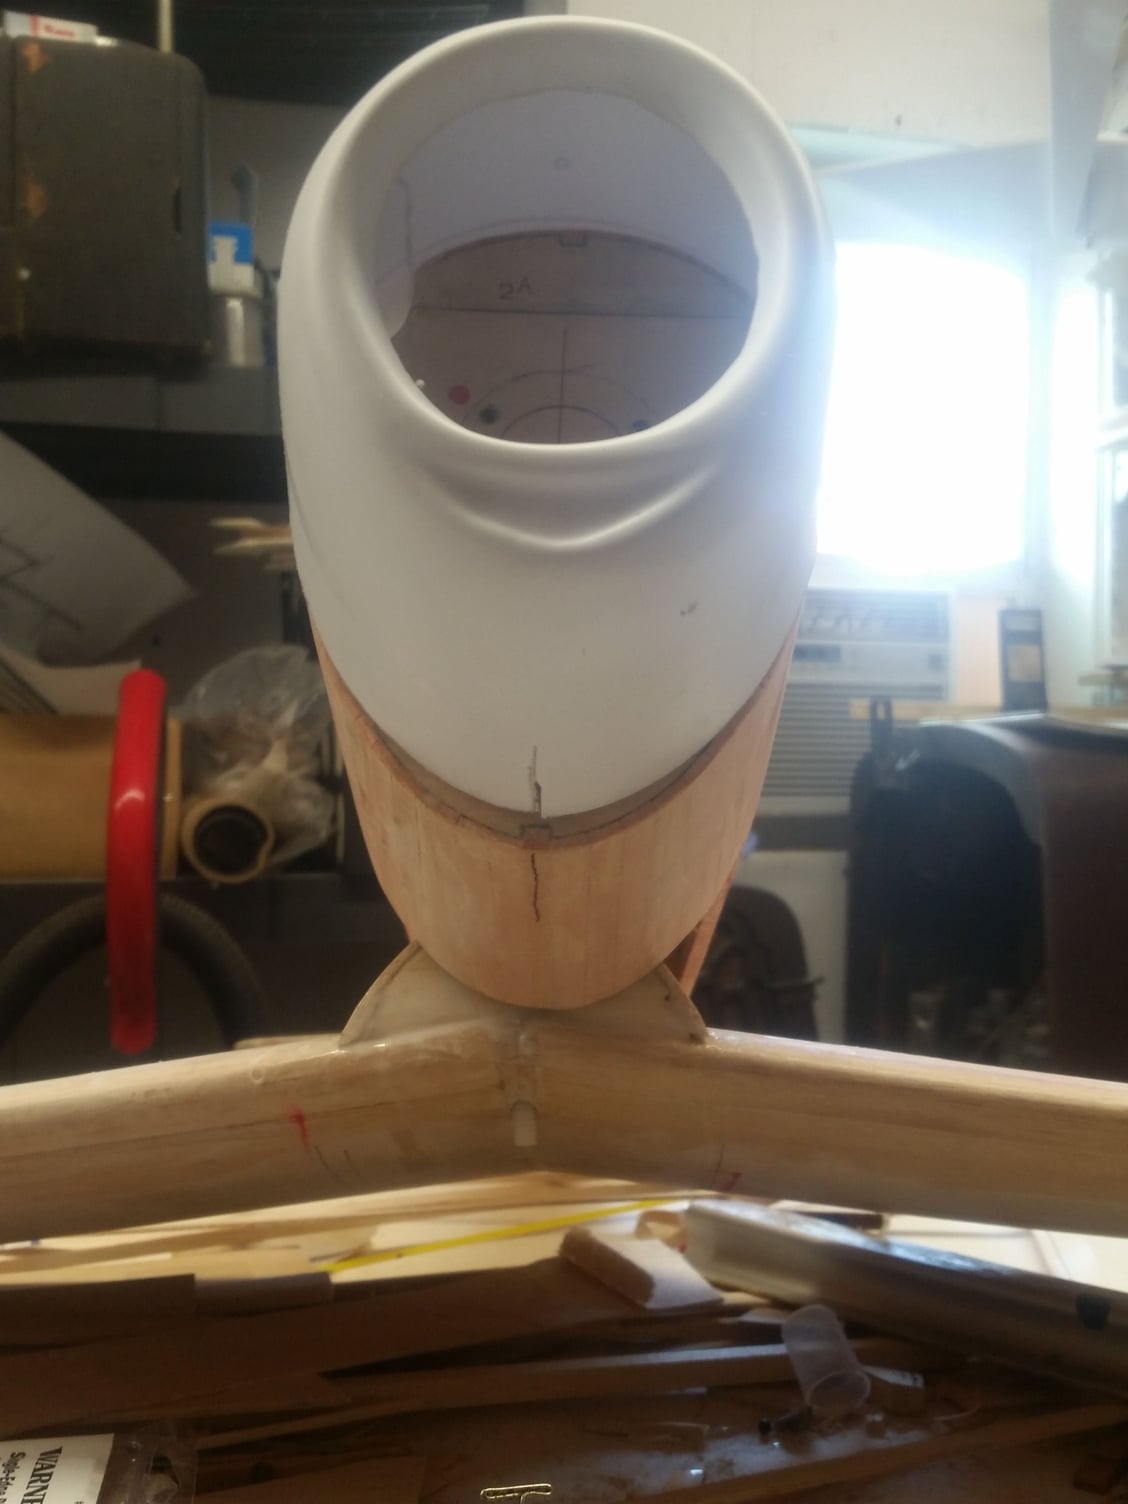
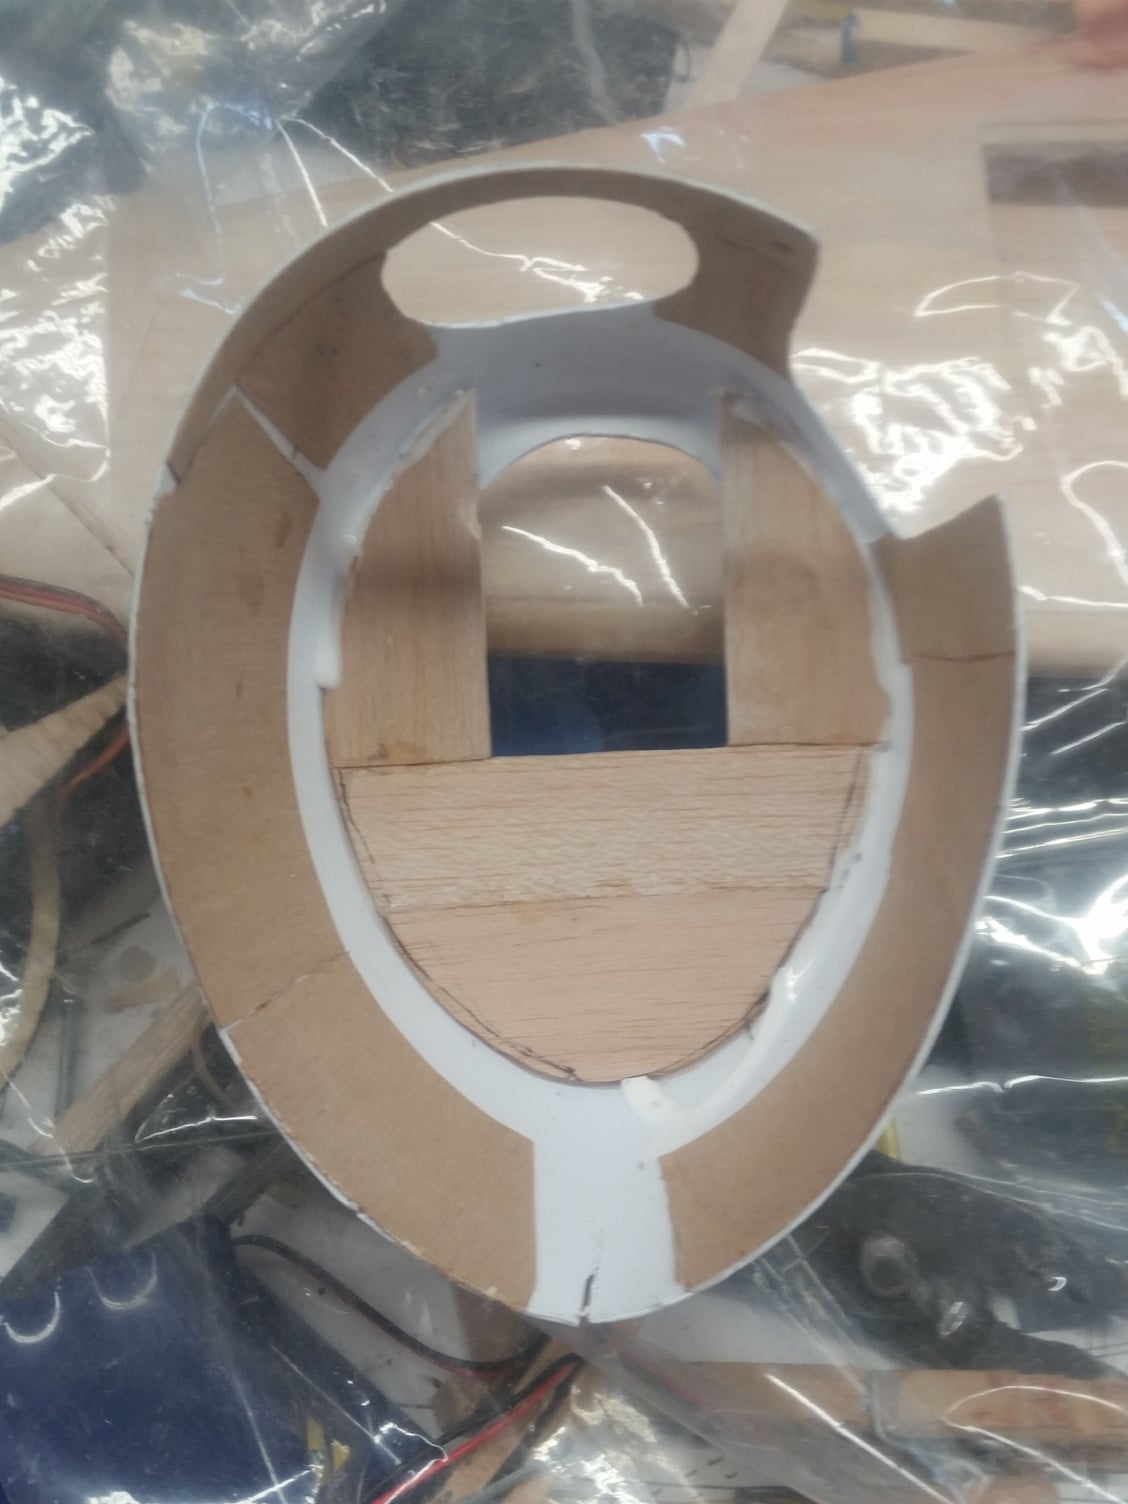
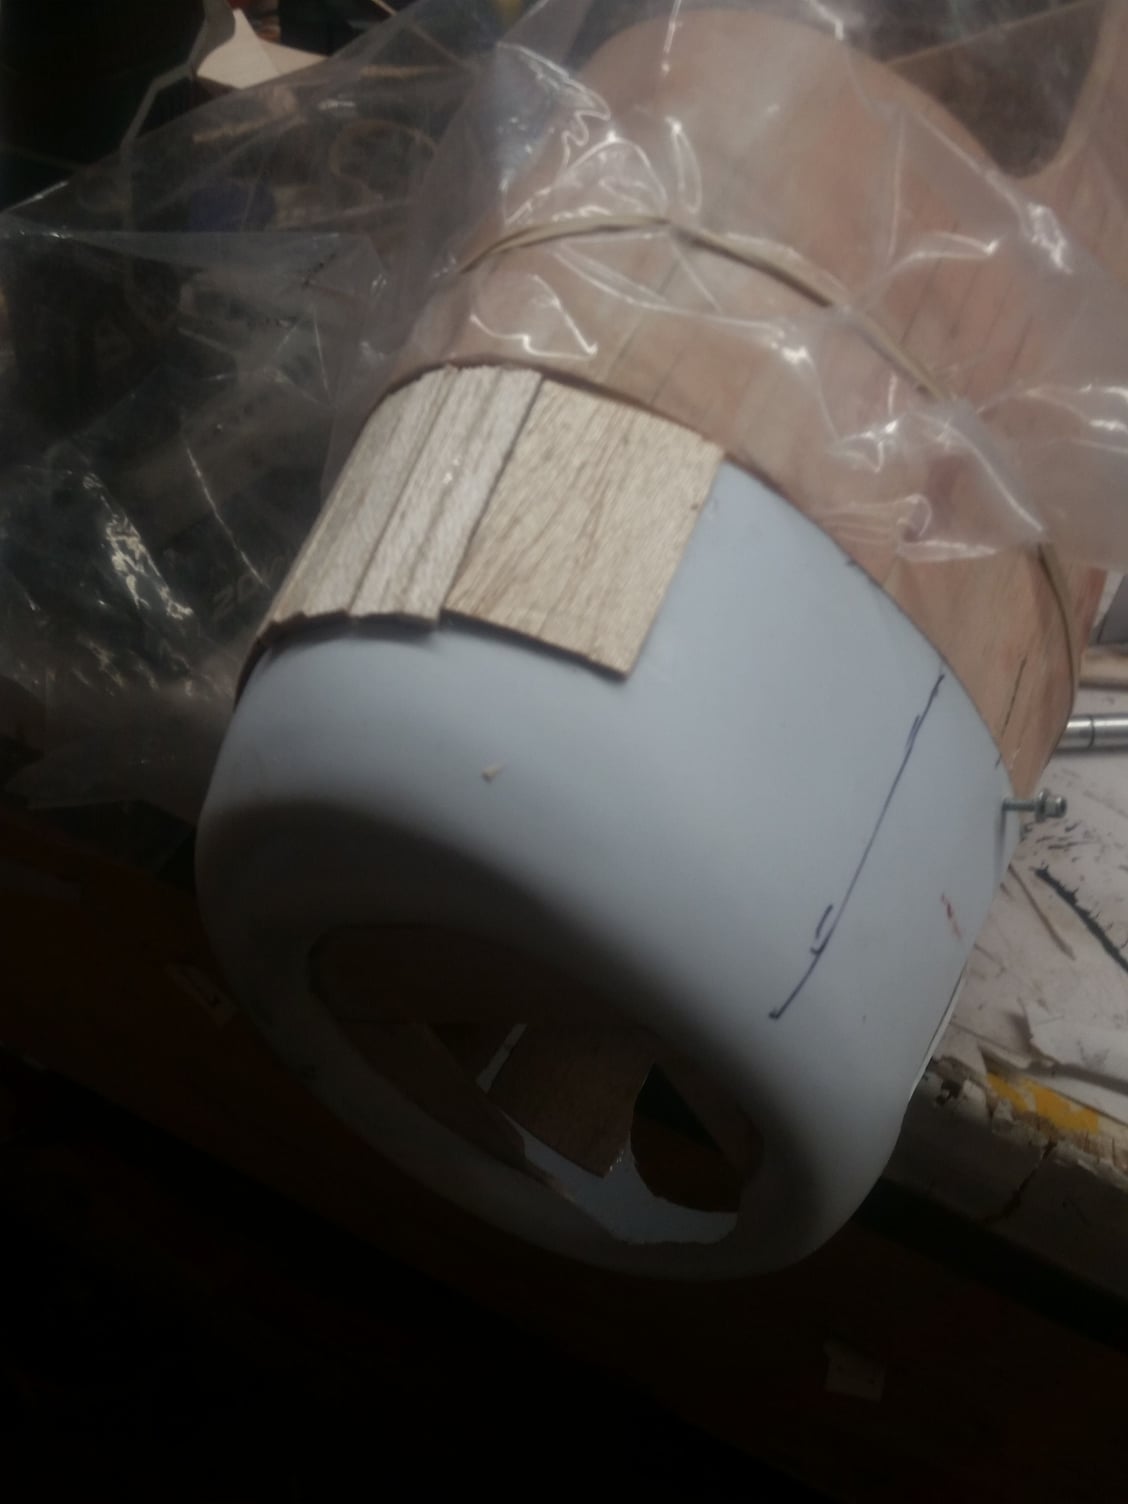
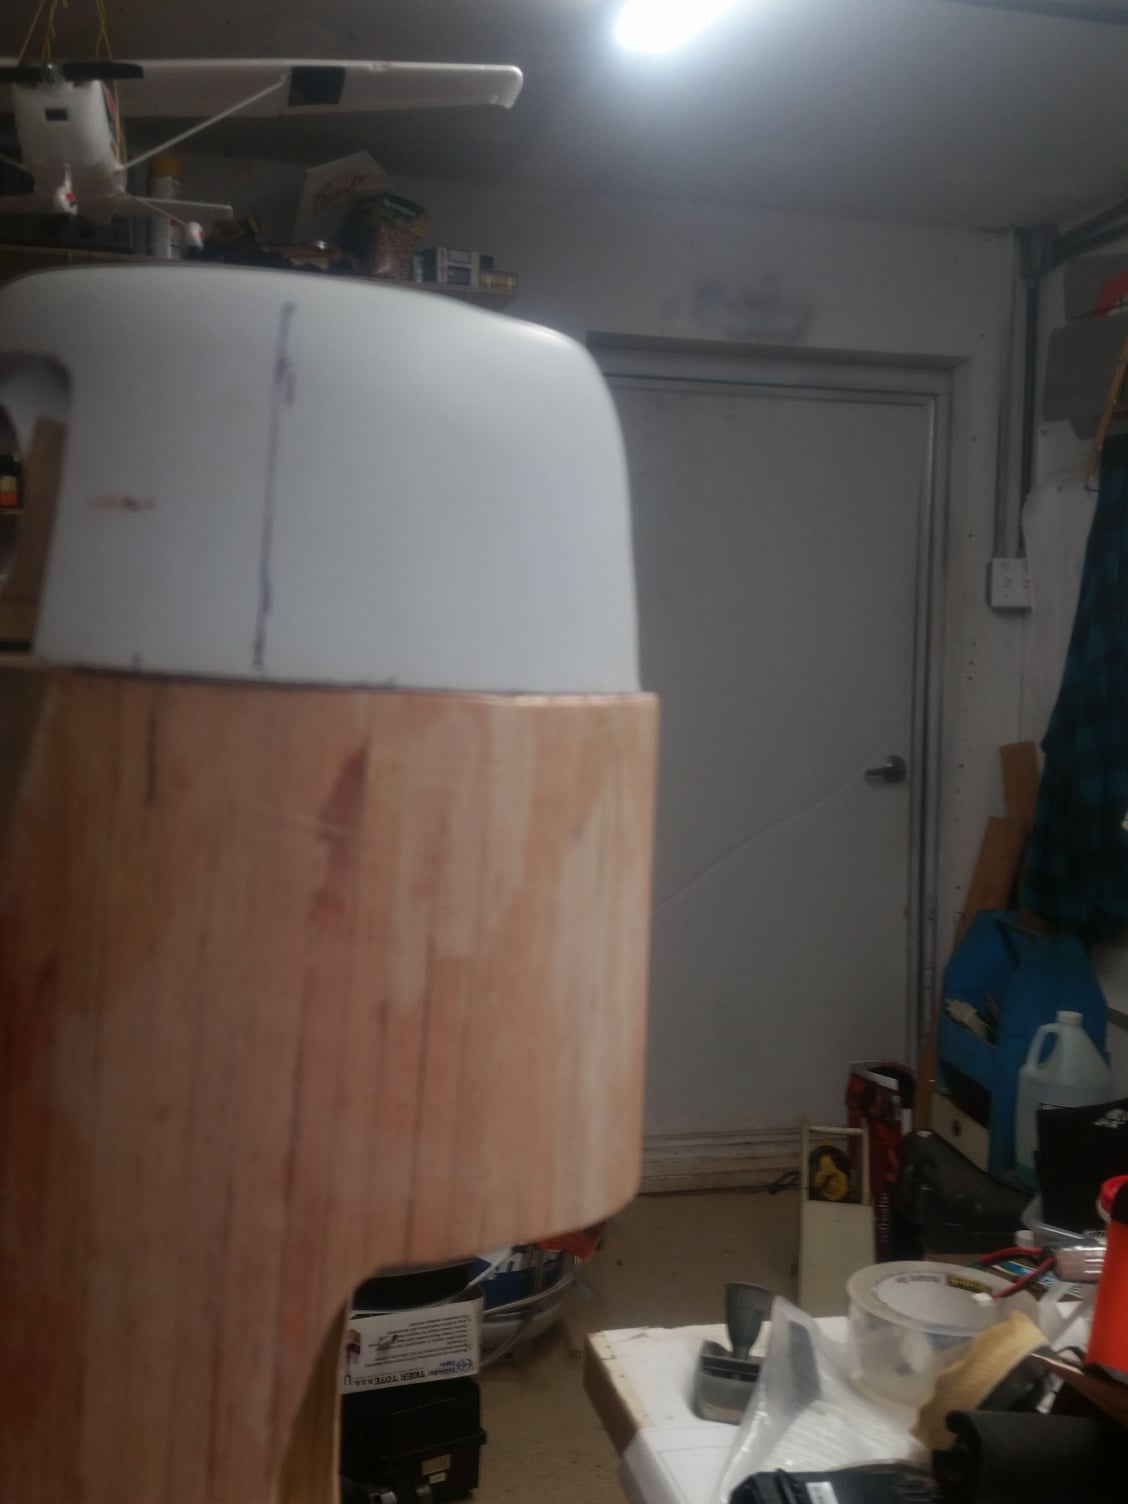
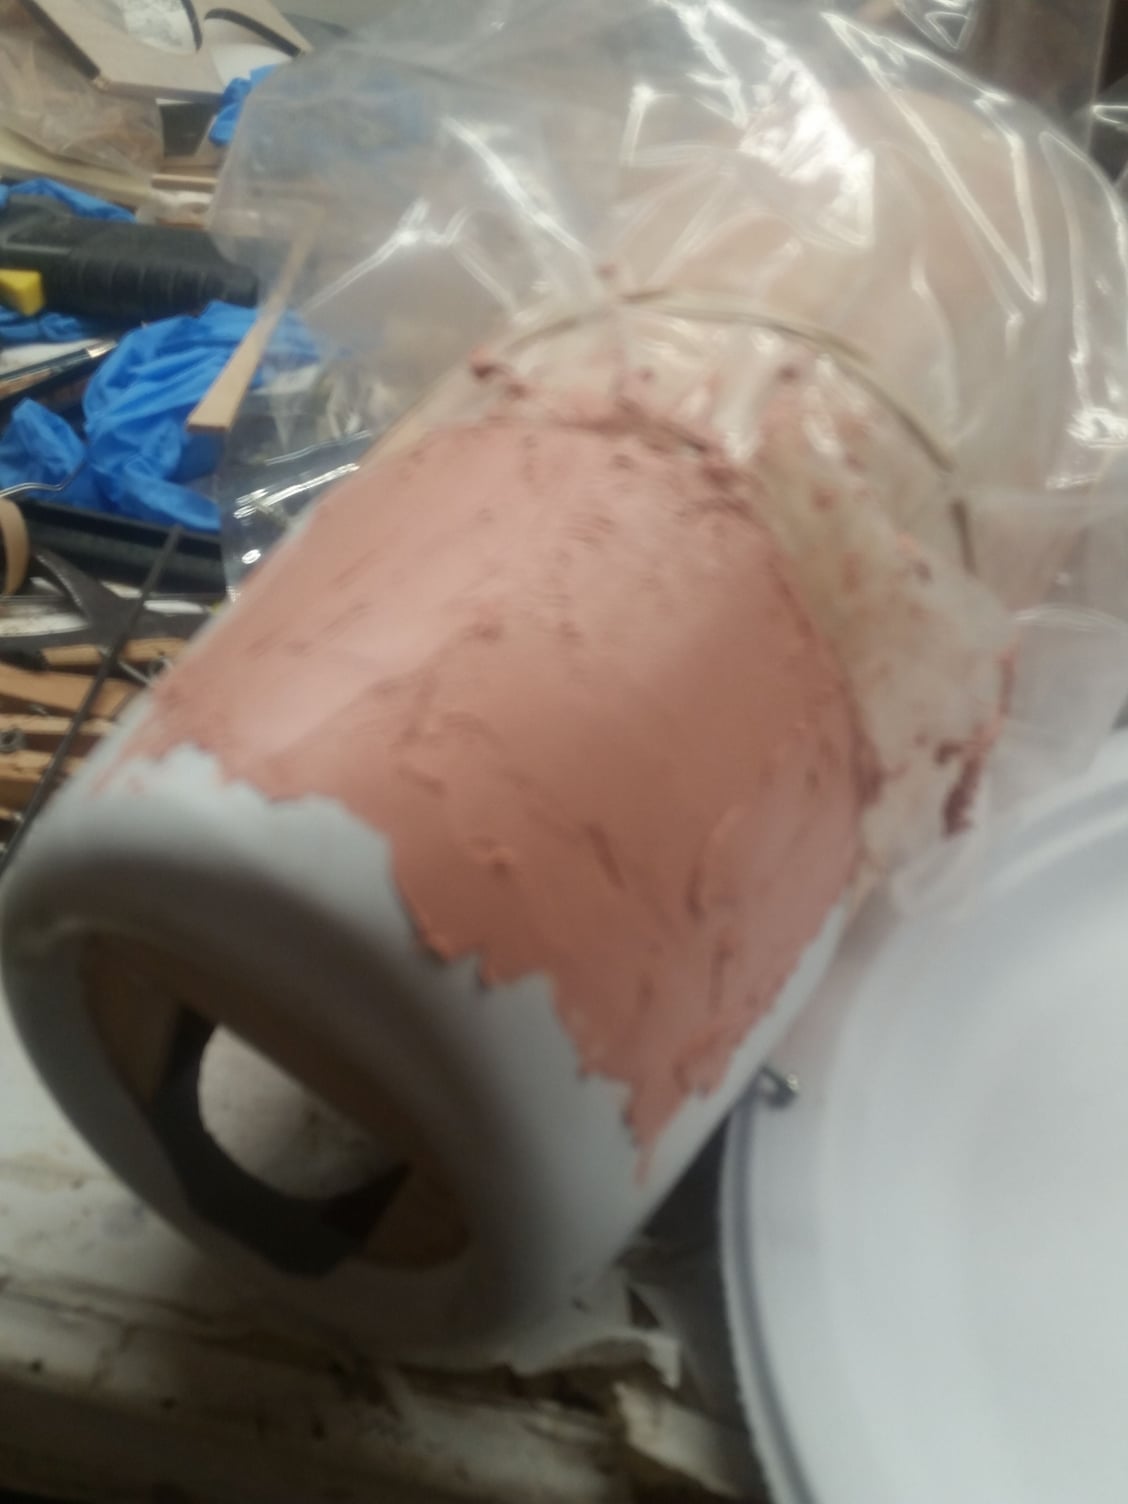
Dang!, It's been nearly a month since the last post. Life gets in the way and in this case the old Ford tractor needed a surprise overhaul. But back to the build. I've been working on the cowling. the Morfis plans show a built up wooden cowl but Eddie at Lazerworks had an off the shelf, vacu-formed cowl. Lazerworks does some vacu-forming btw. At any rate it doesn't quite mate up but it is awfully close. What follows is trimming, stiffening with 1/64th ply and building up the bottom of the cowl with balsa and a little filler. The next step will be sanding to shape.
Last edited by mgnostic; 04-22-2018 at 07:52 AM.
04-22-2018, 07:55 AM
#35
Thread Starter
I know times change and it is a constant battle keeping up with Windows updates and web browser standards but I really preferred the functionality of earlier versions of this website.
