


TF Beechcraft Bonanza F33A Build
 07-12-2020, 12:07 PM
#1201

Thread Starter
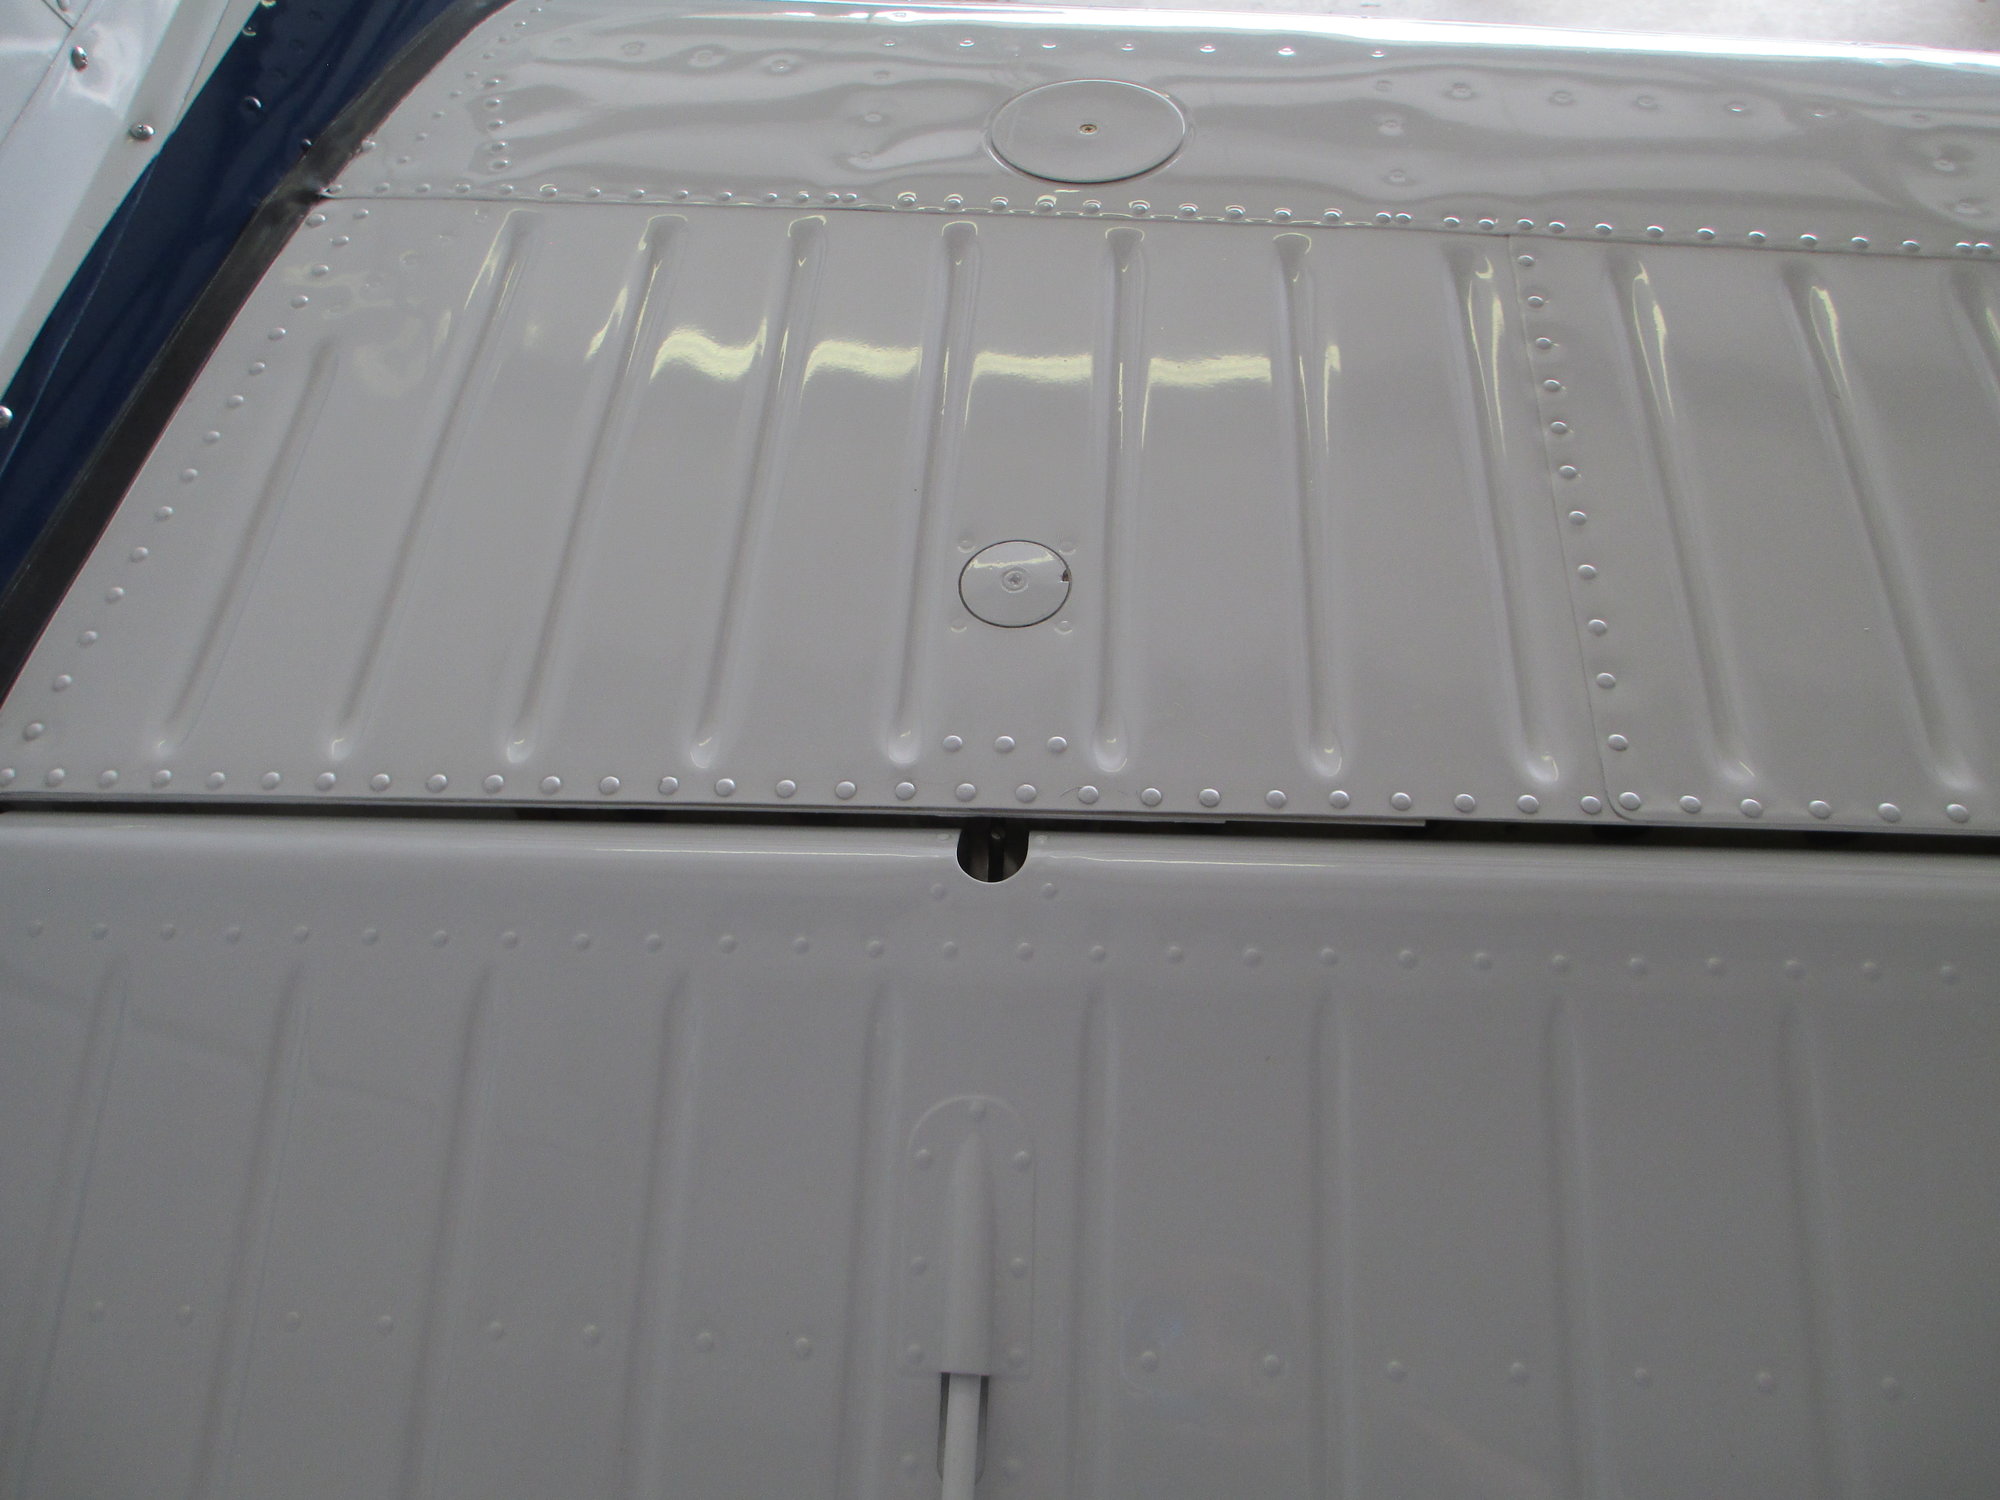
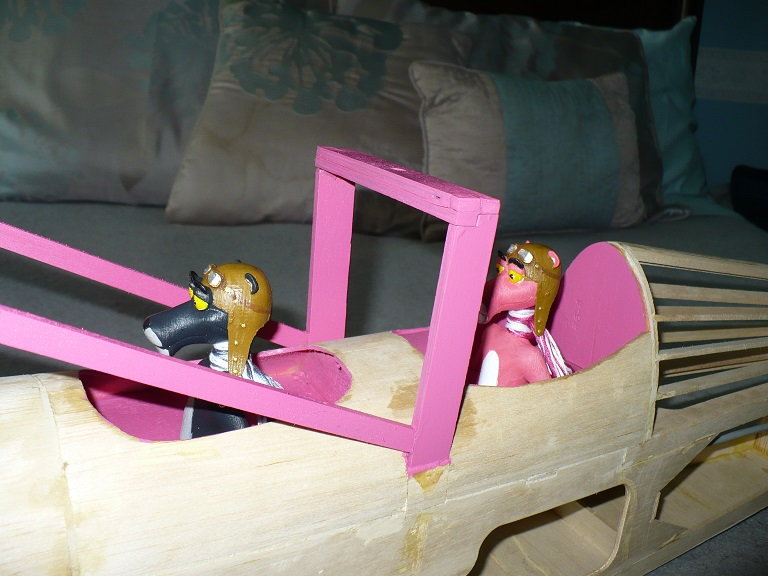
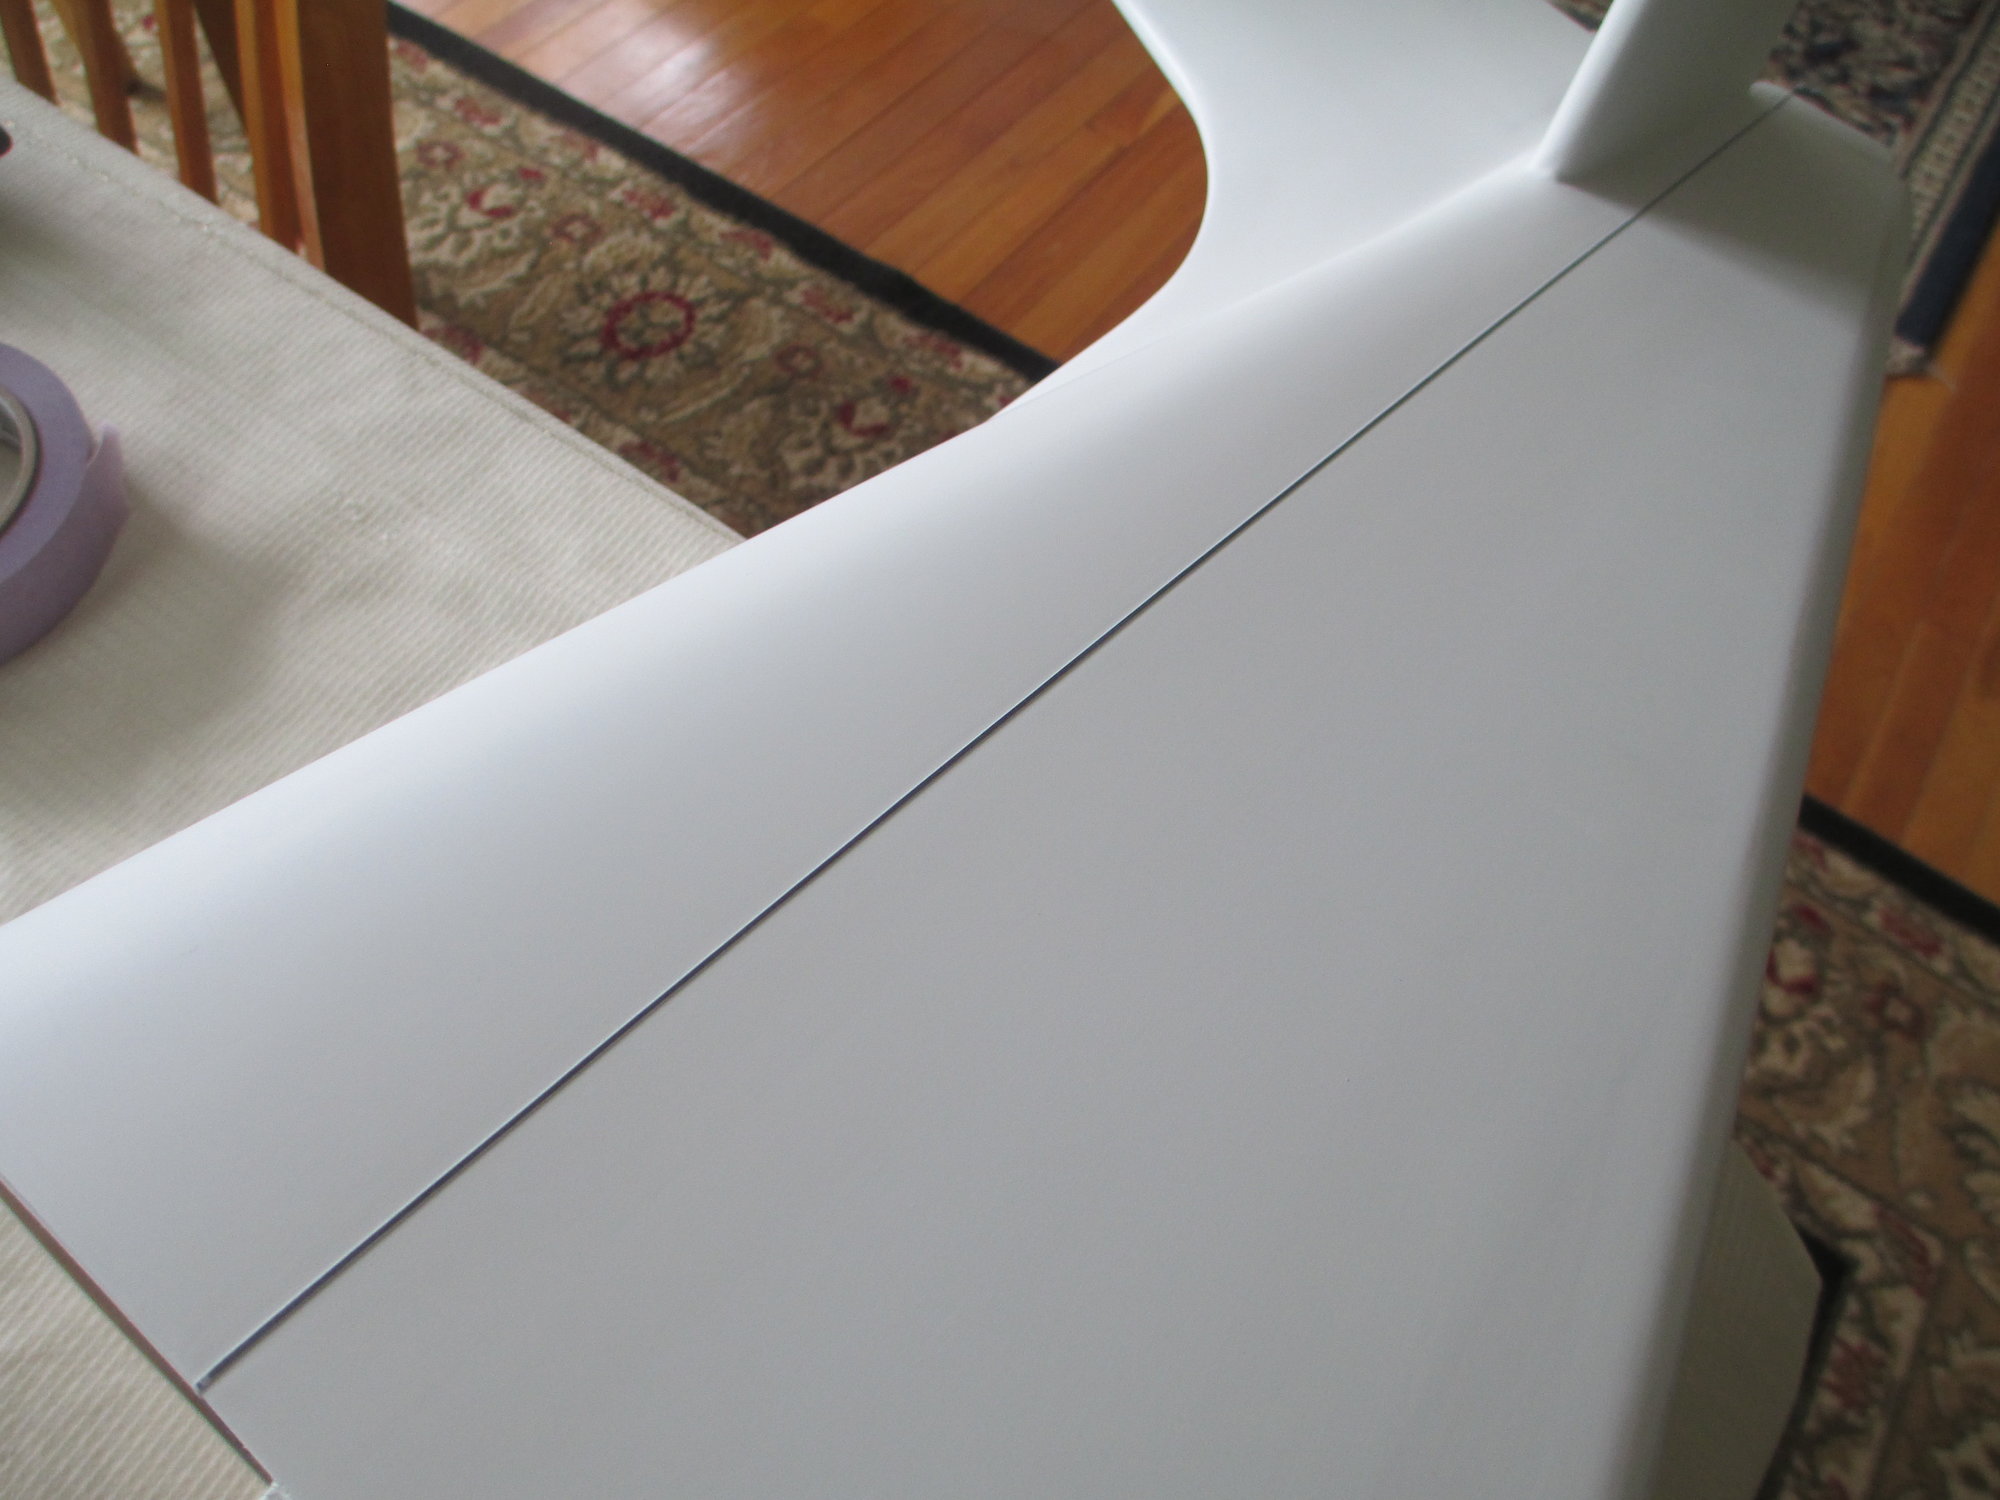
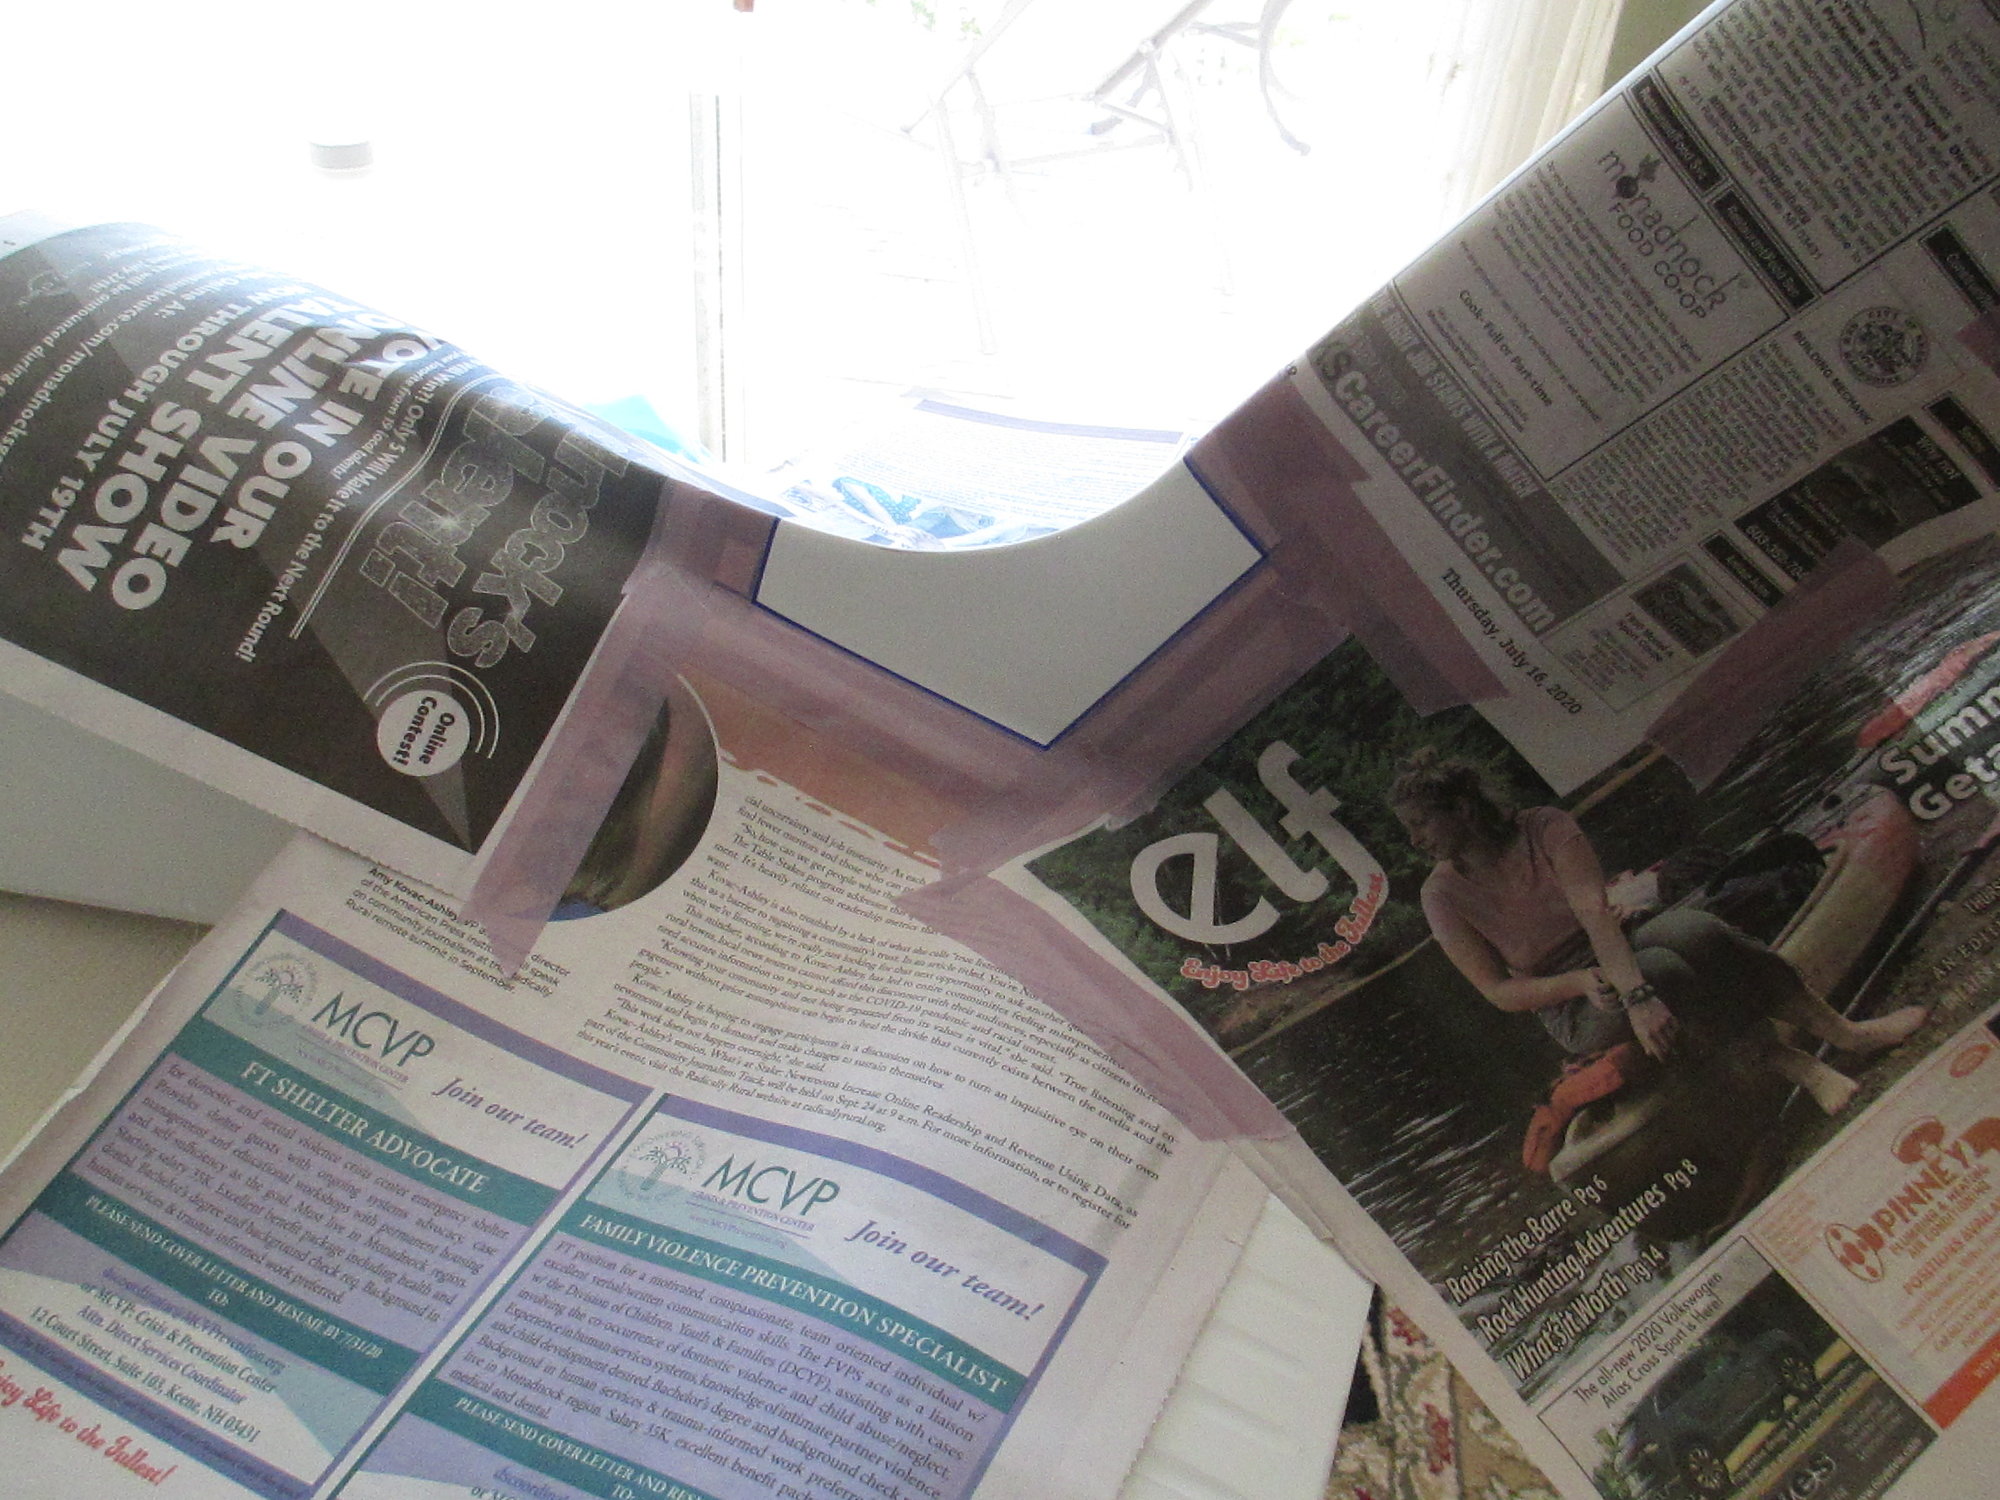
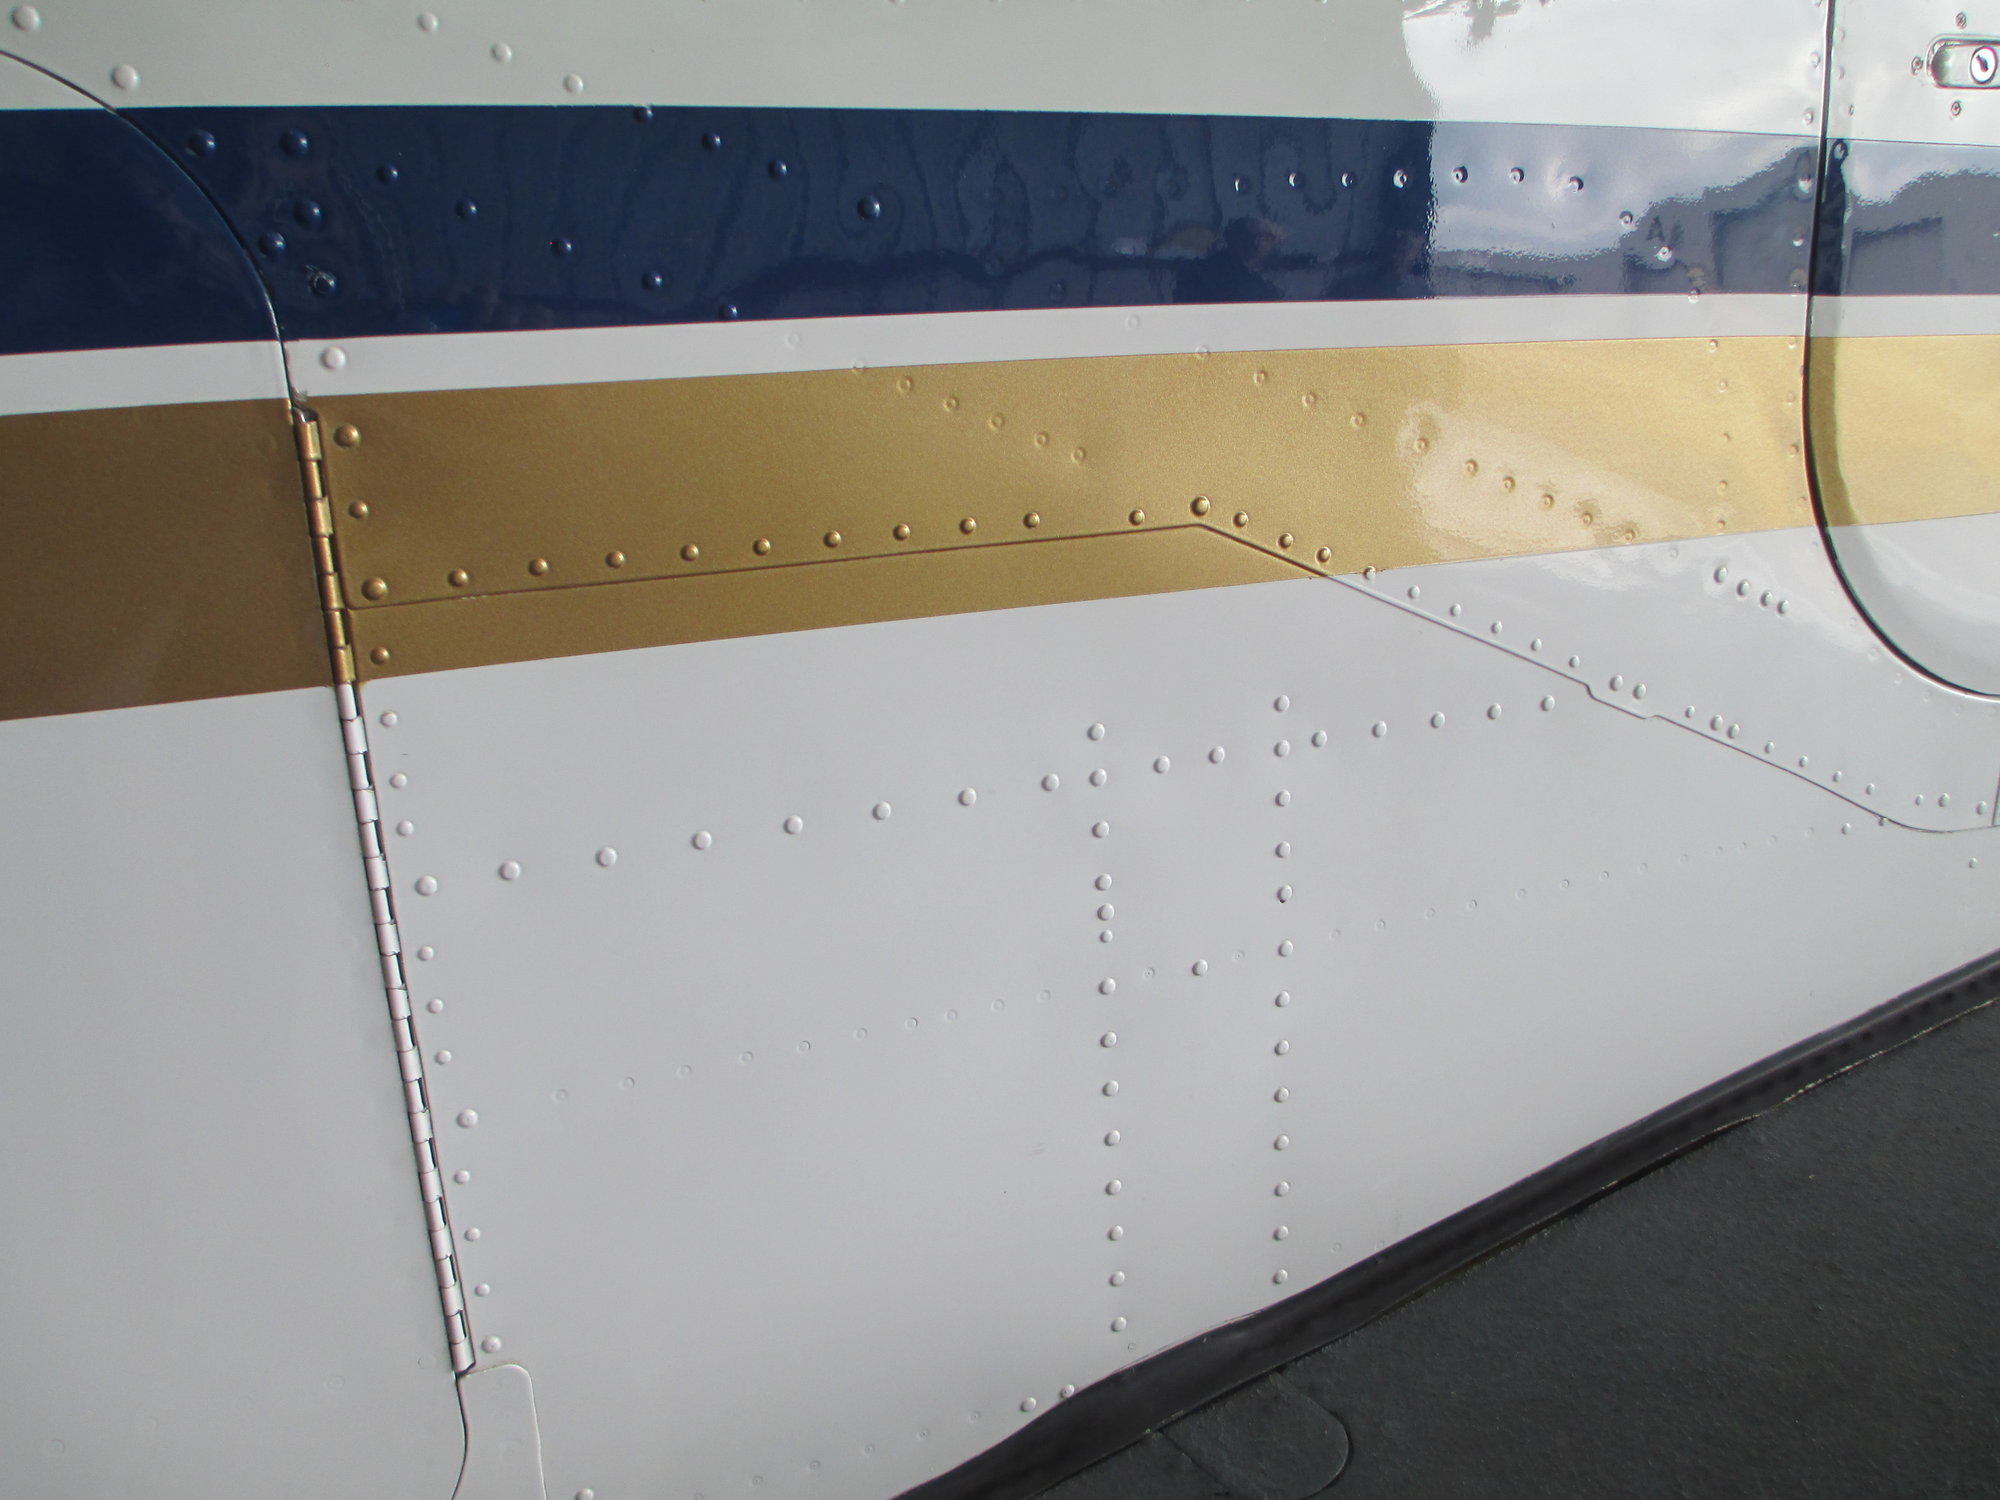
This is a full scale picture which I'm replicating. When I study this picture, I can clearly see where the overlaps are and in which direction they lay. This pic also tells me in which order each overlap has to be done. Good documentation is so helpful when modeling your plane against it's bigger brother (or sister).
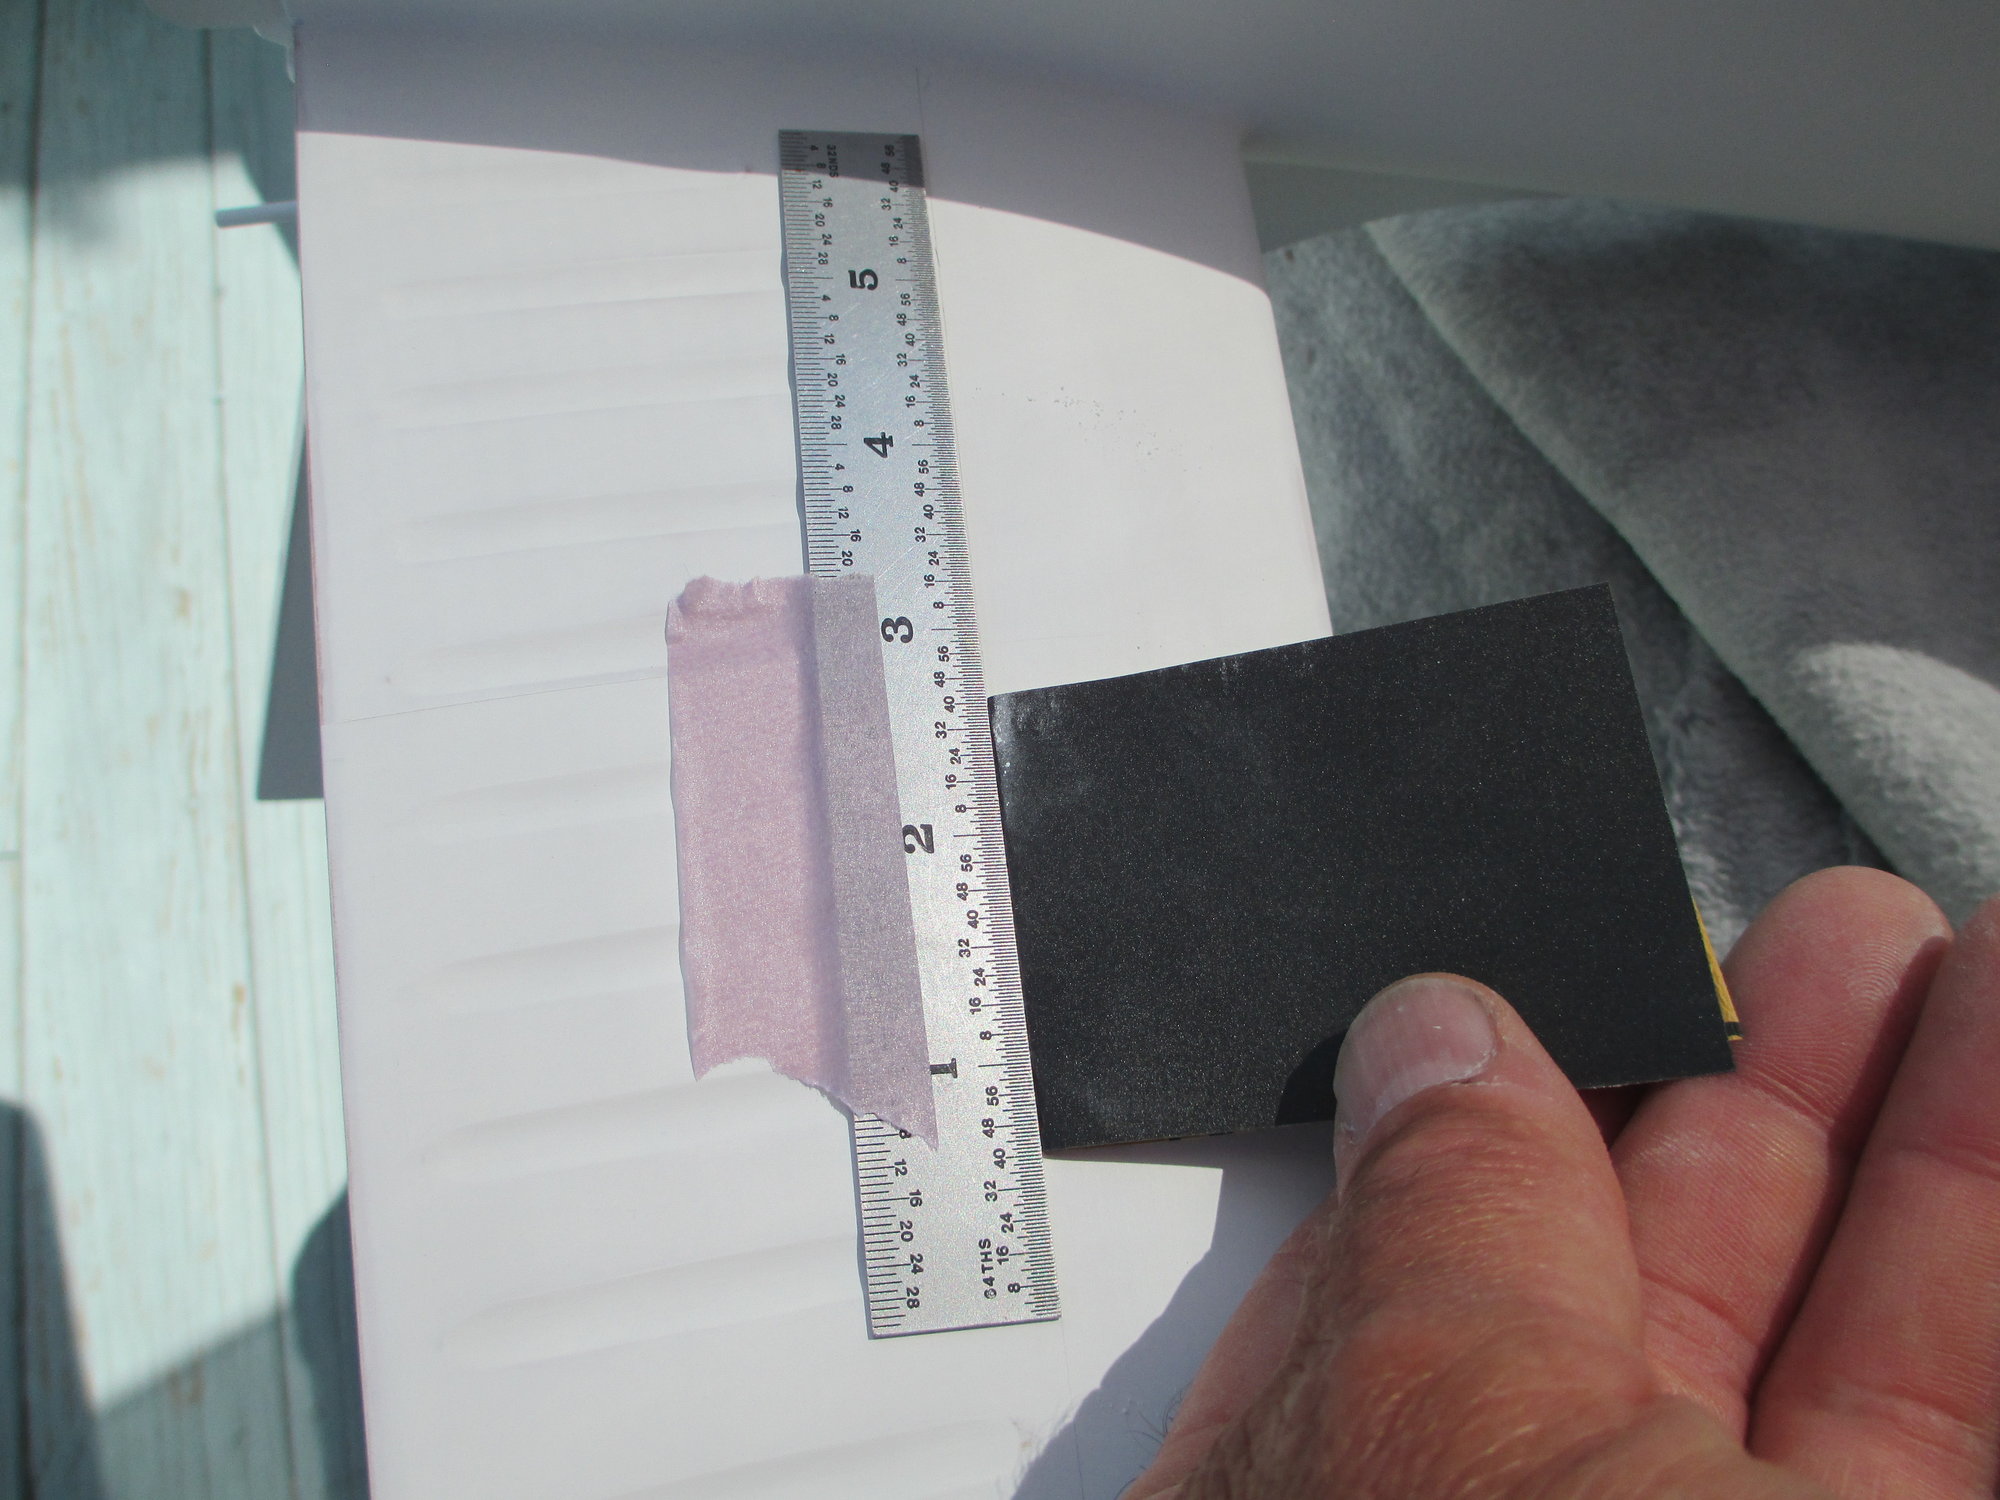
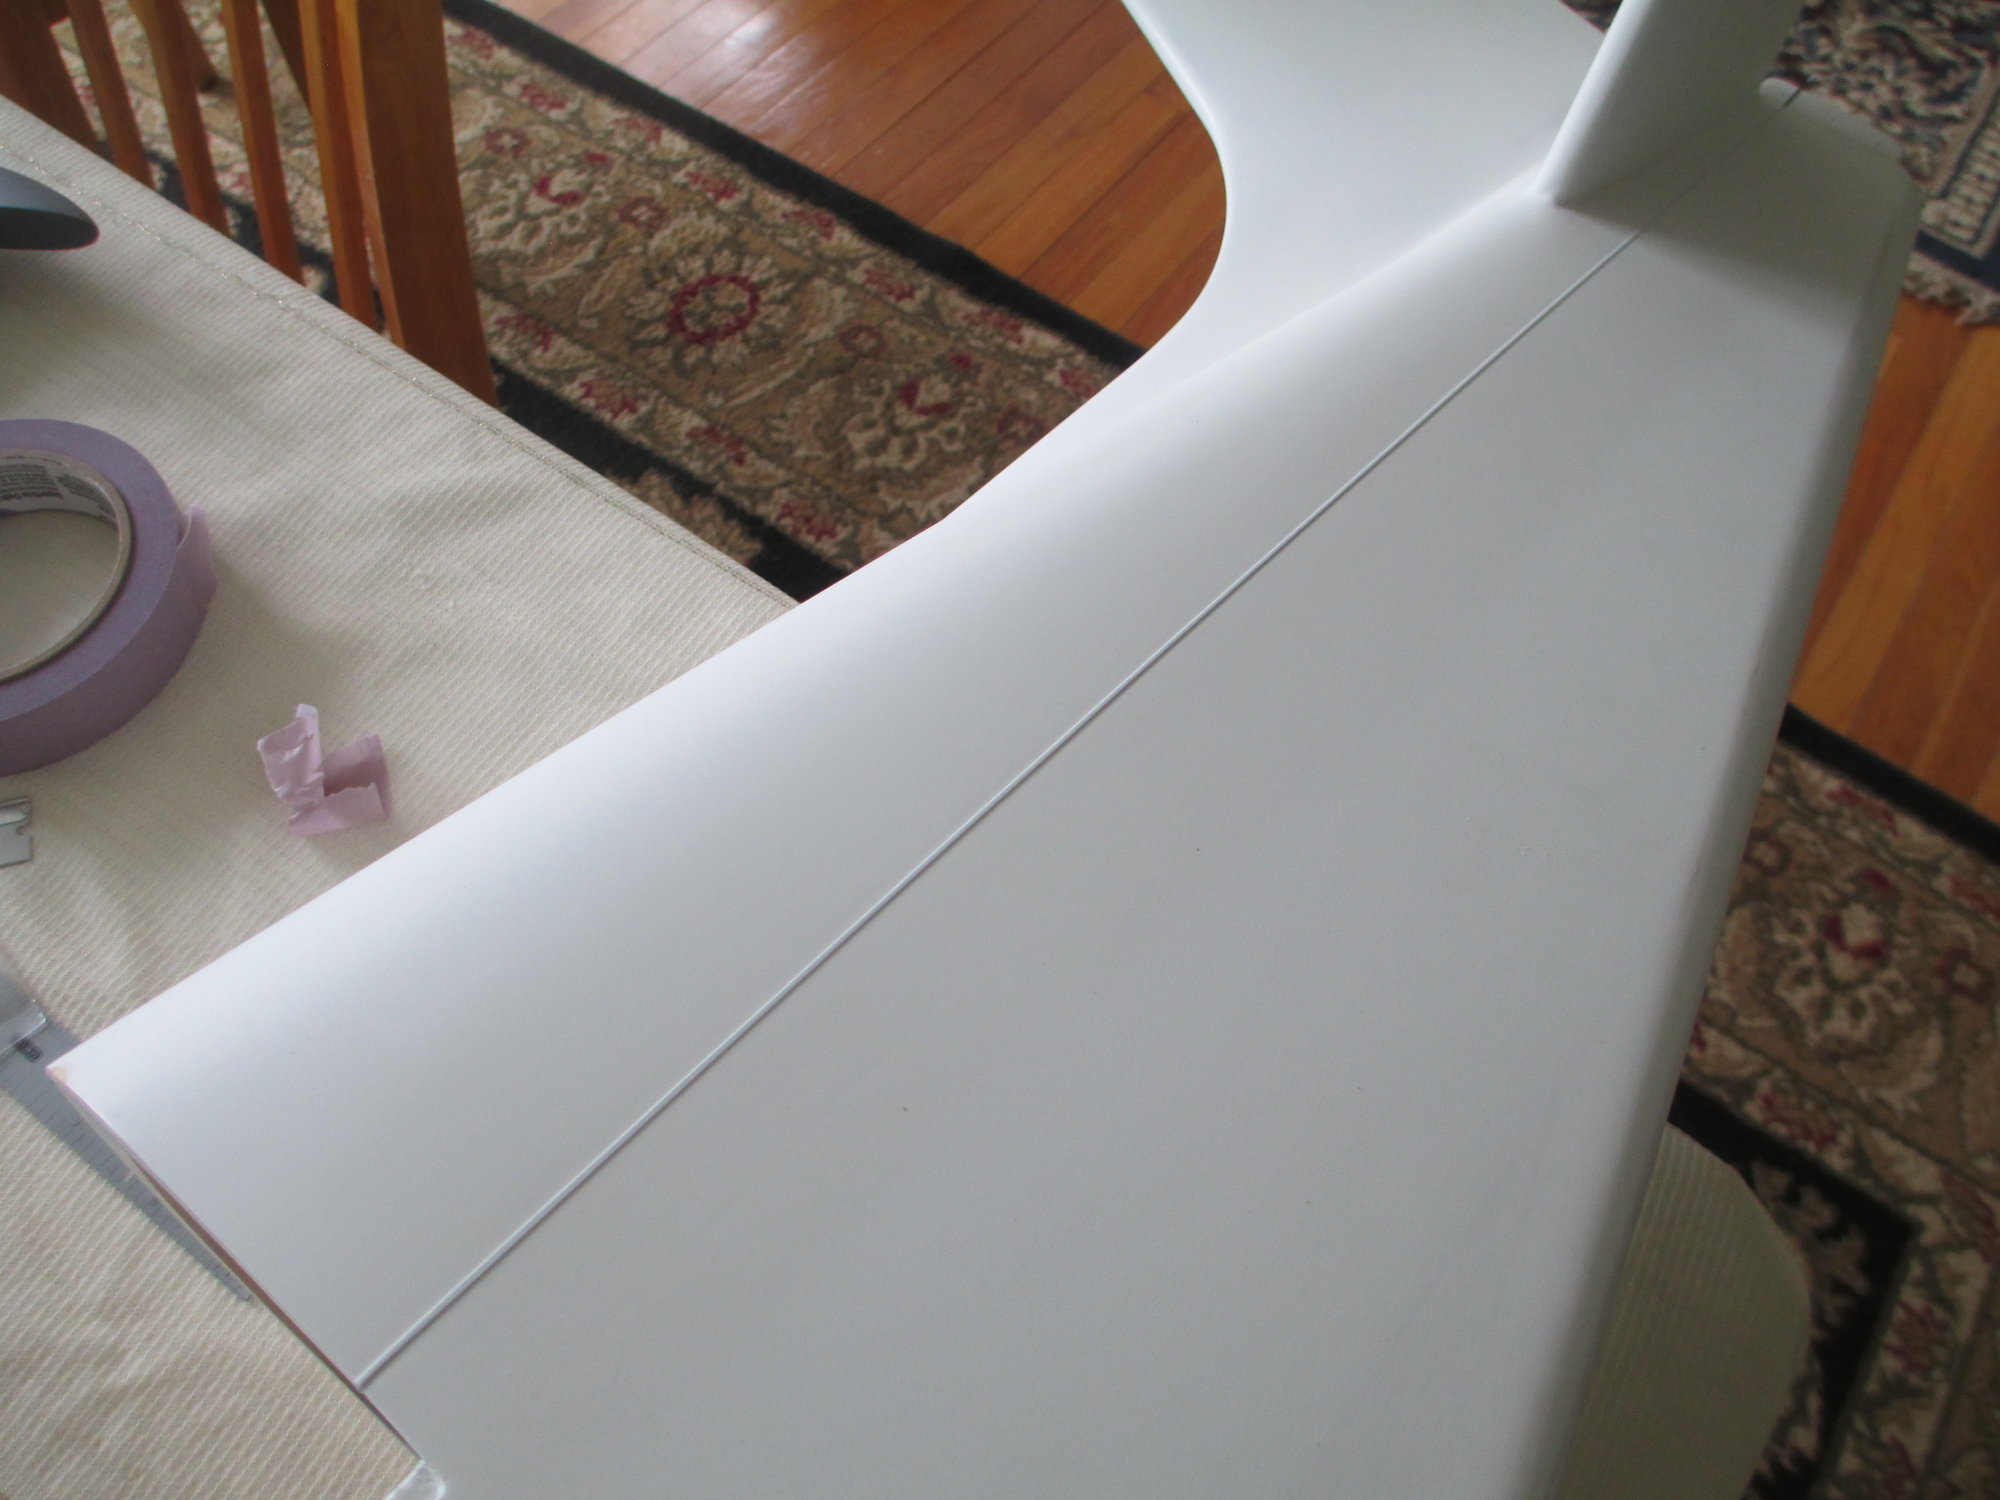
In creating the first overlap I purposefully made it longer than it need be. Now after laying out where the second overlap goes I can adjust the first overlap to the correct length. This is how I accomplish that. The steel scale is laying right over the top of where I want the first overlap to end. A few passes with 600 grit paper is like a magic eraser and the scale protects the end of the overlap!
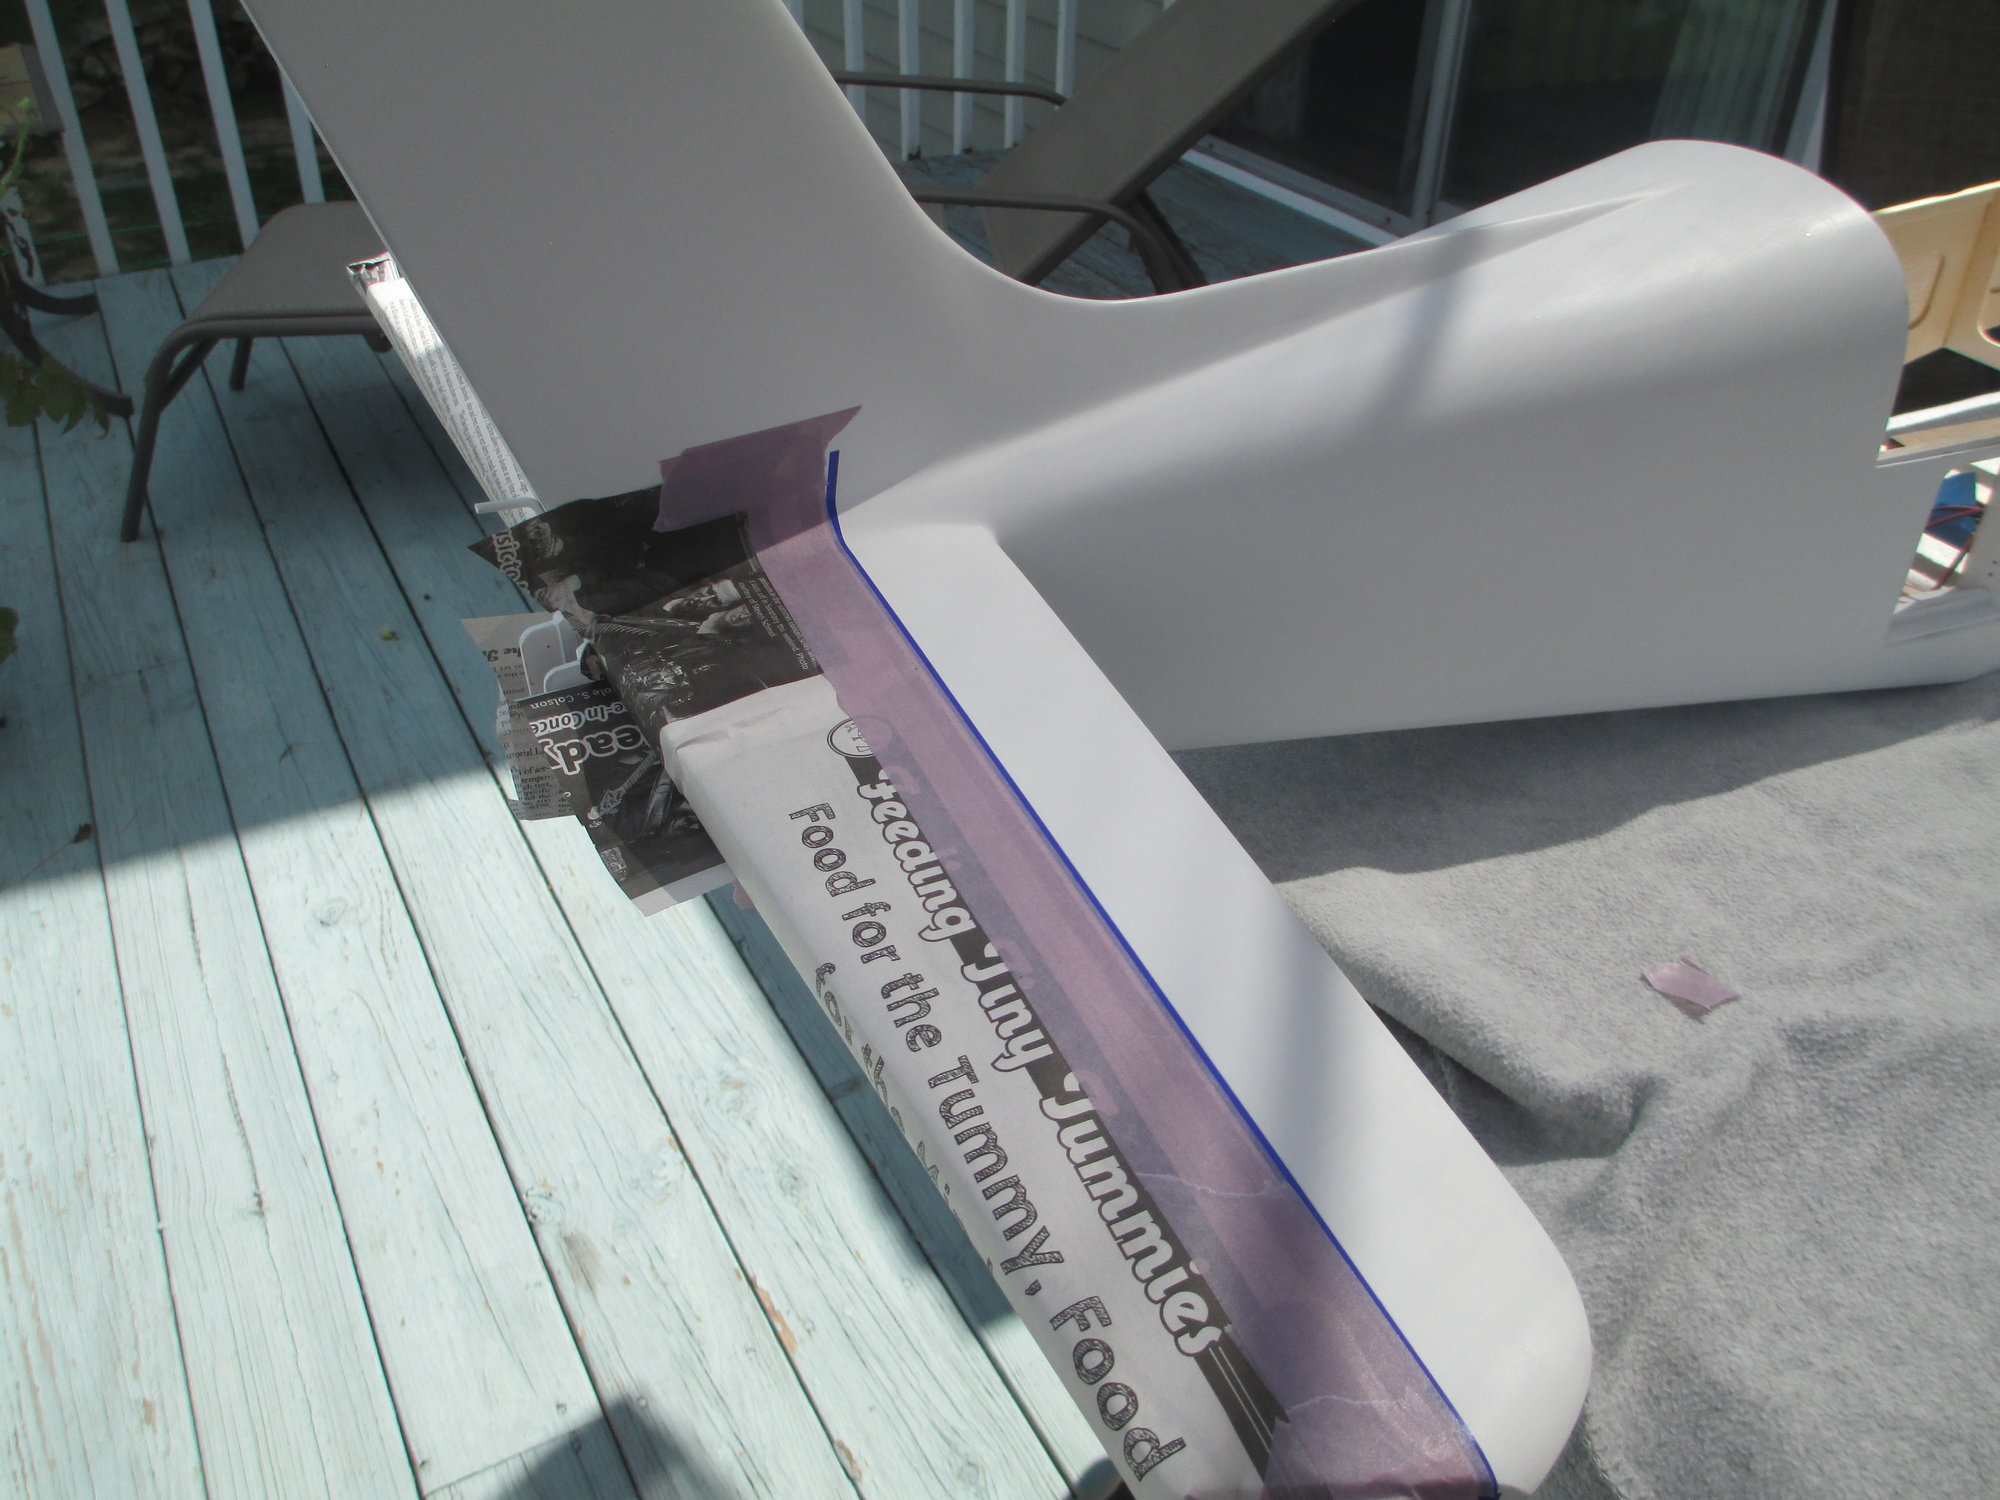
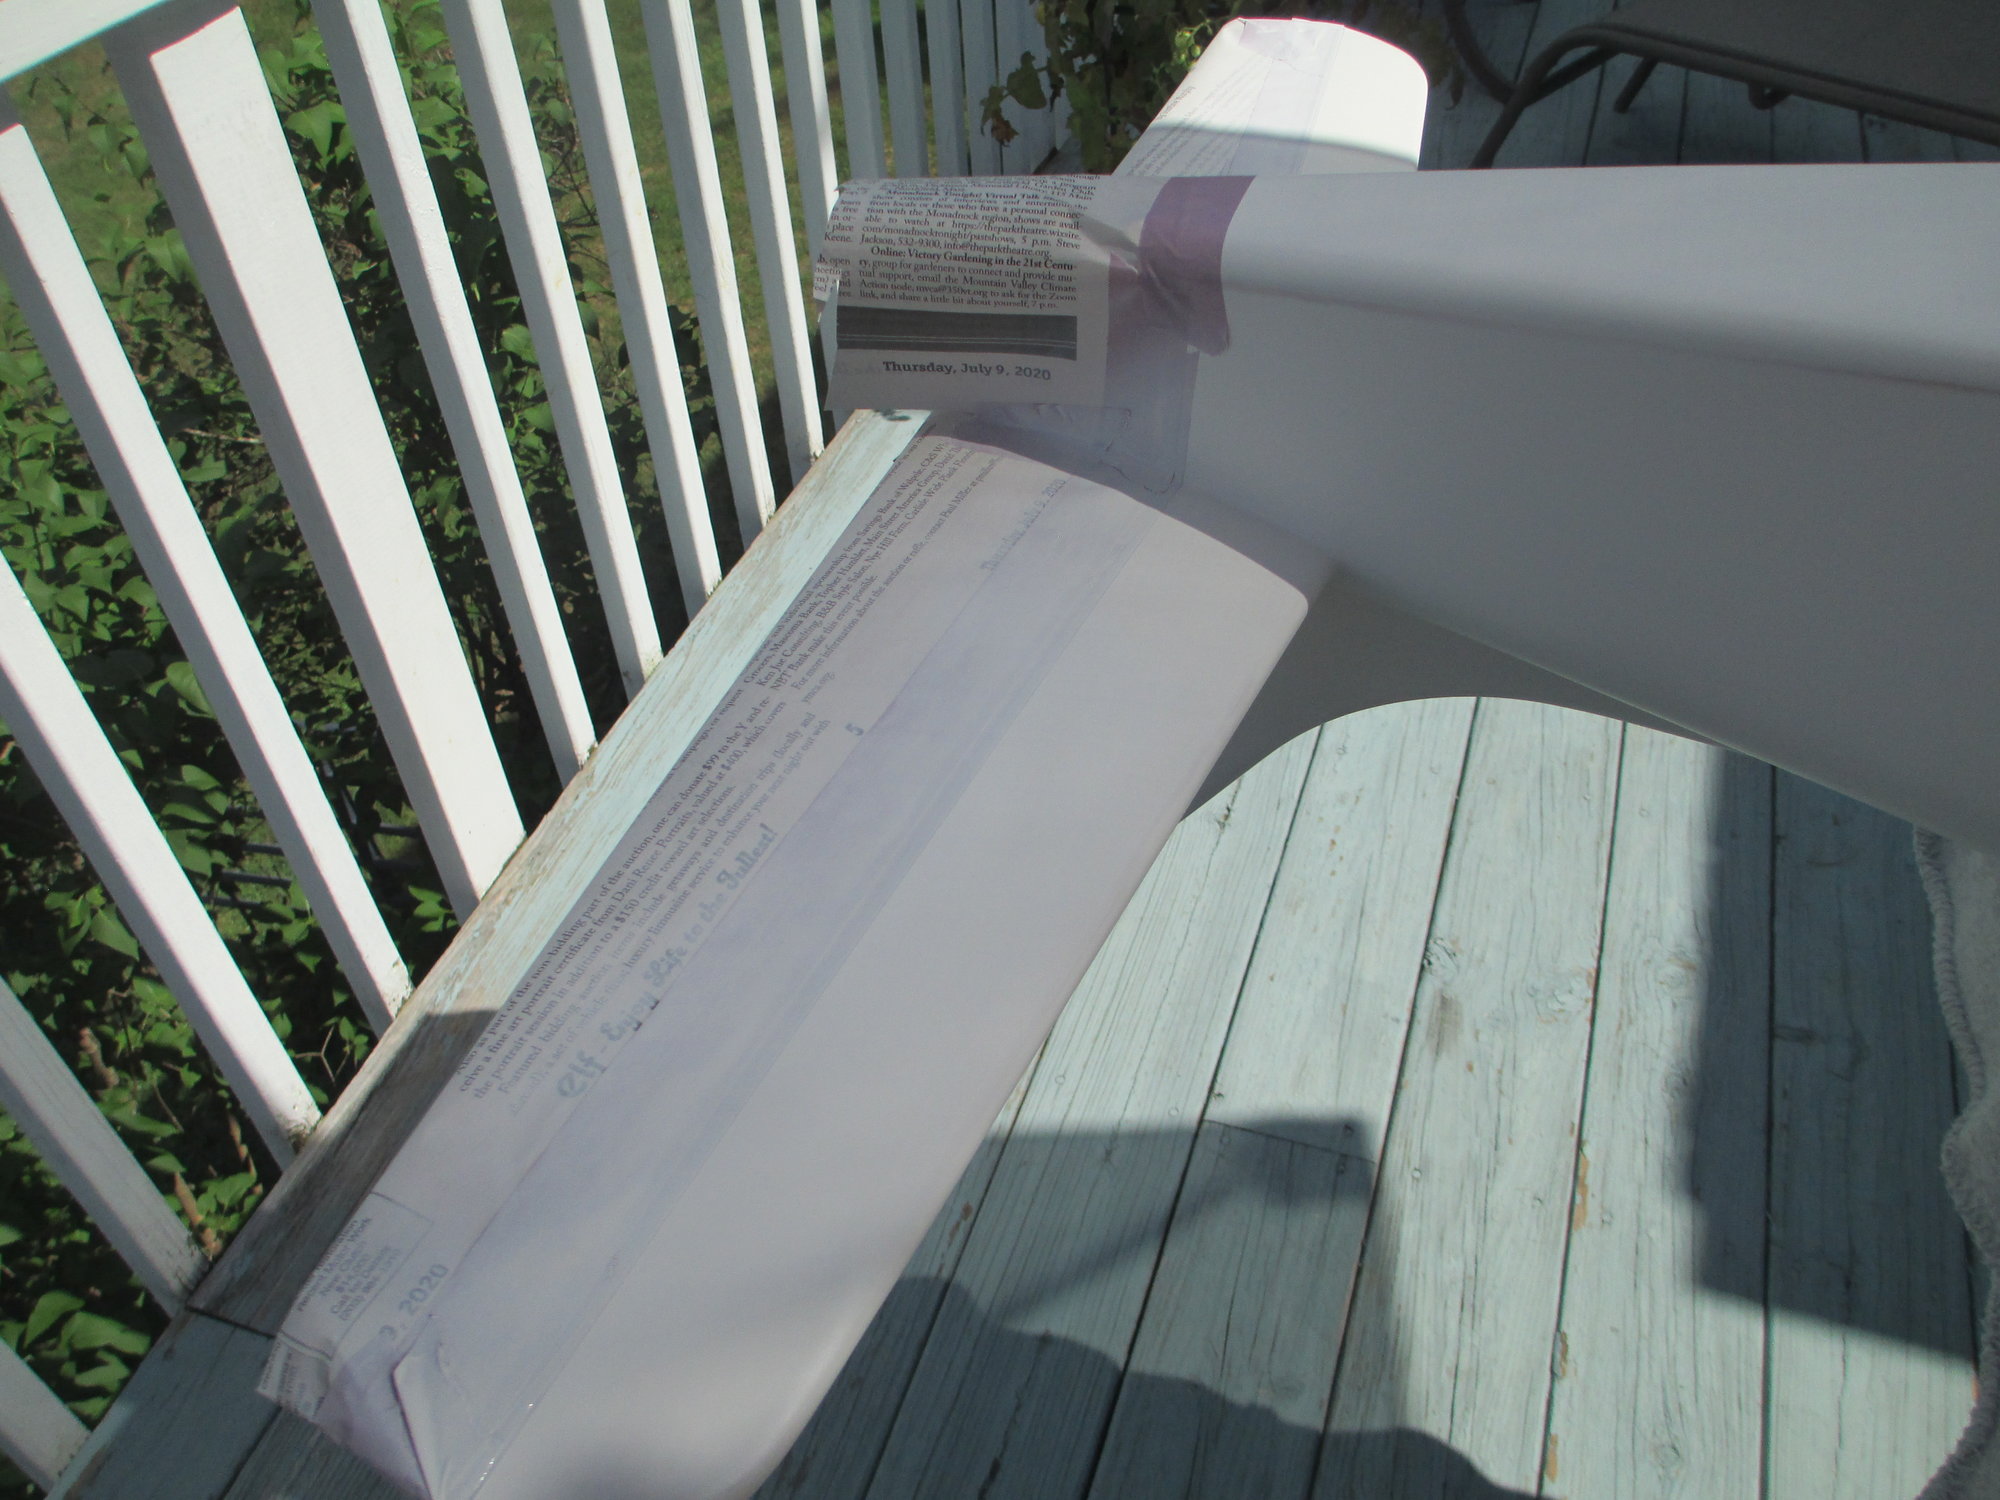
The second overlap is positioned, taped and ready for spraying.
 07-12-2020, 12:09 PM
#1202
Thread Starter

 07-13-2020, 06:19 AM
#1204
My Feedback: (2)
Thank you Mike and good luck on your Ultra Sport project. What size is your US? Regardless of the size, they are all great flying planes! I have not one, but two unopened GP Ultra Sport 1000 kits in my collection awaiting their turn on my build table. They are quite hard to find these days...
Thank You
Michael
07-16-2020, 01:36 PM
#1205
Thread Starter
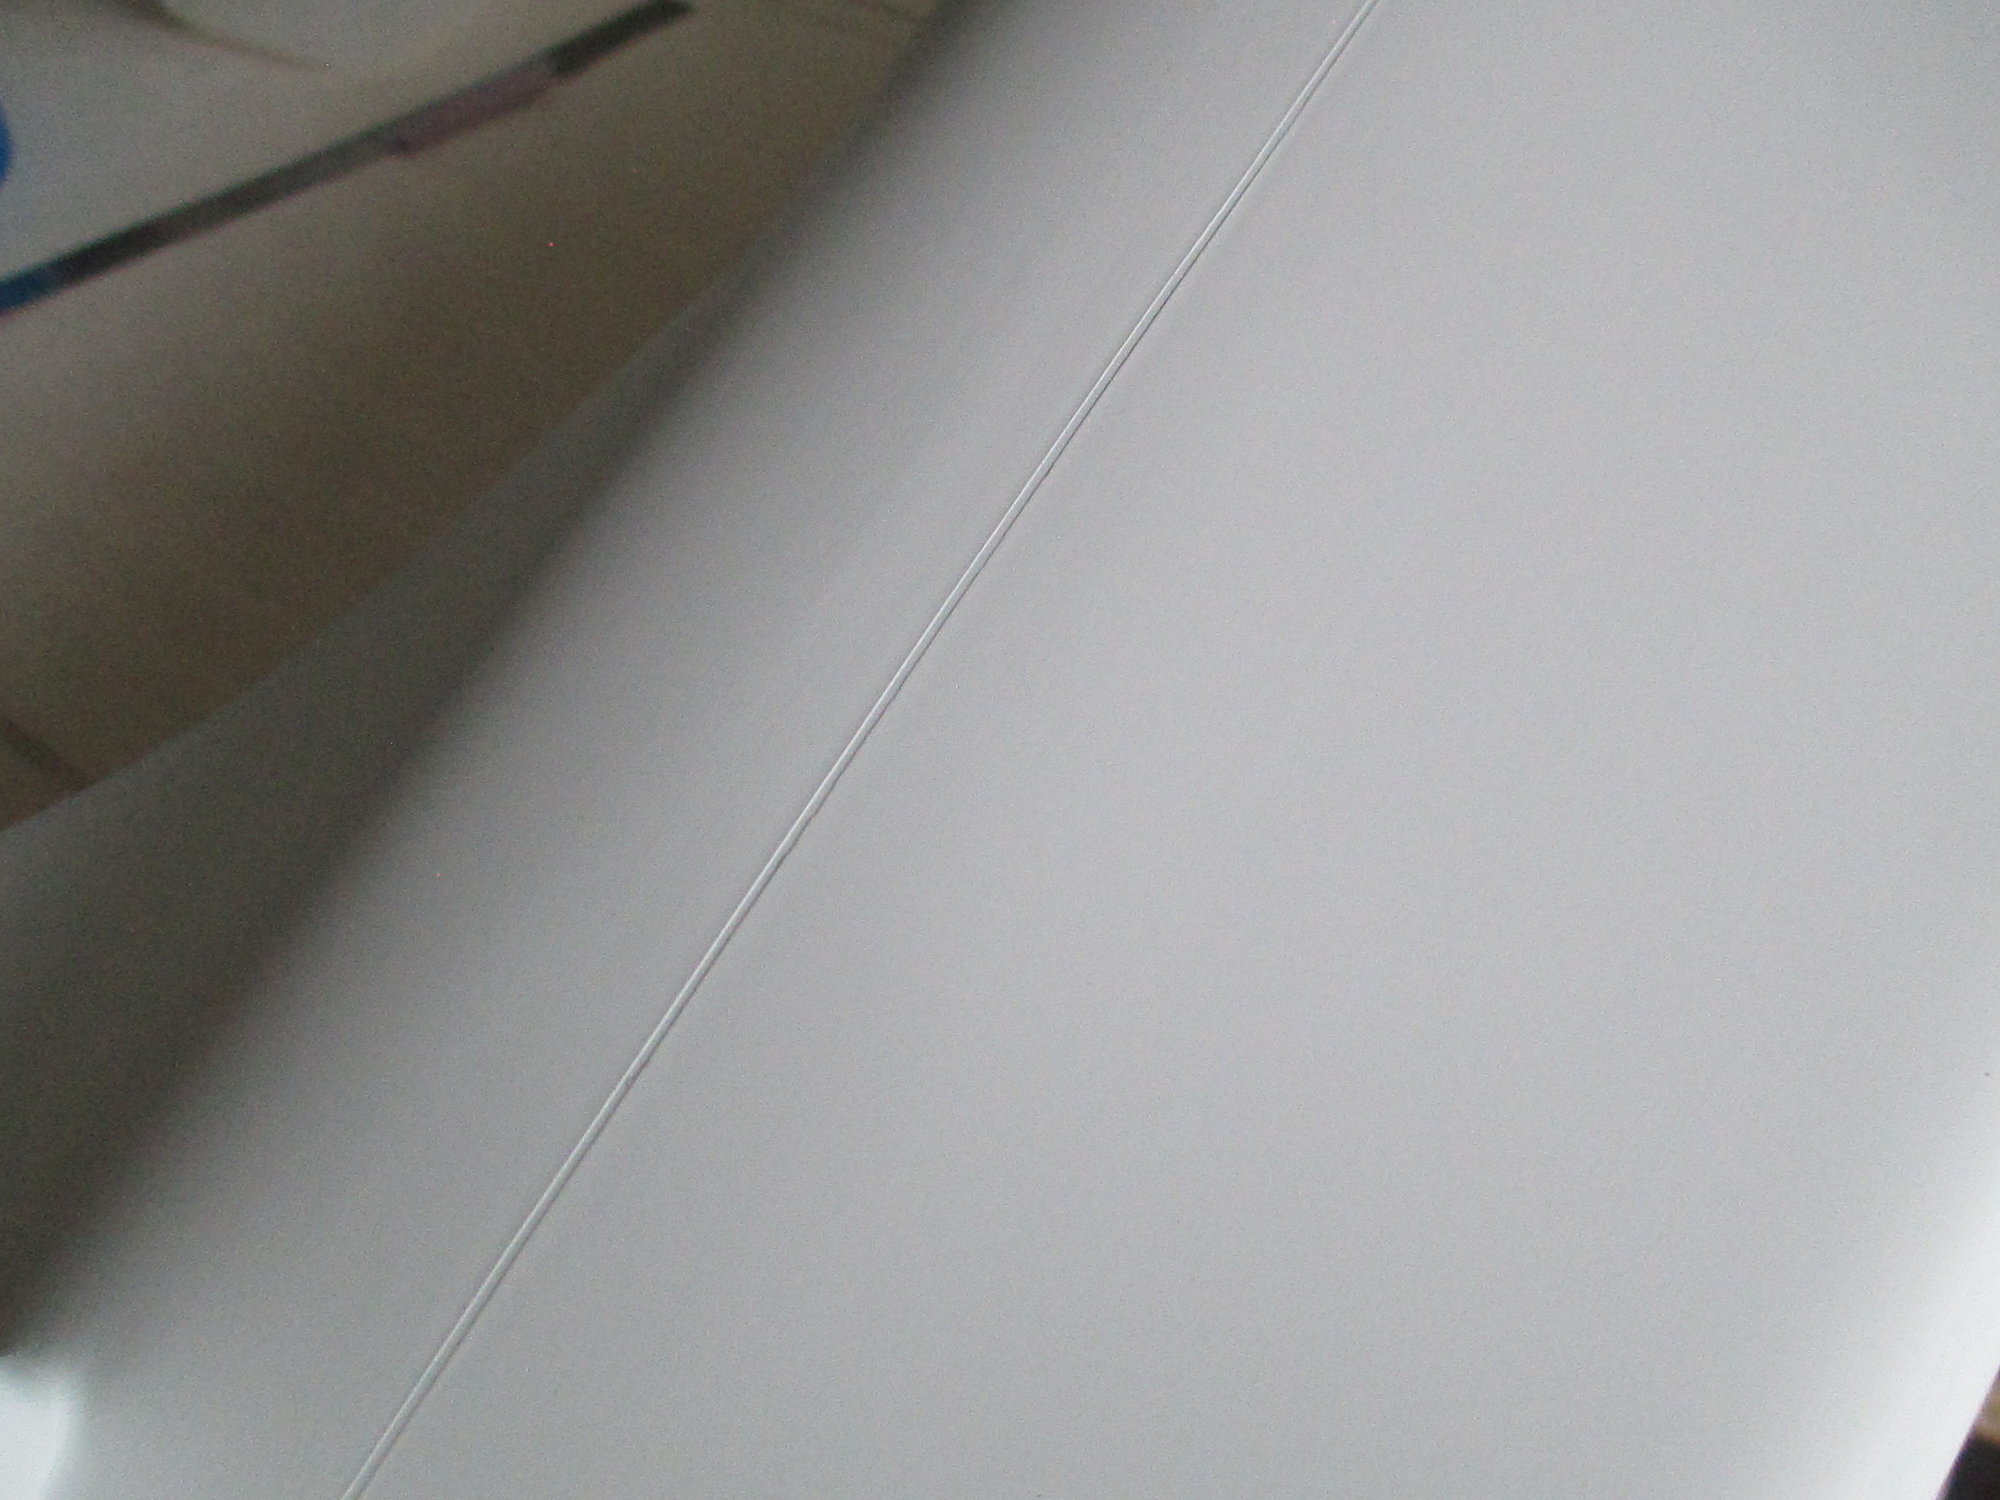
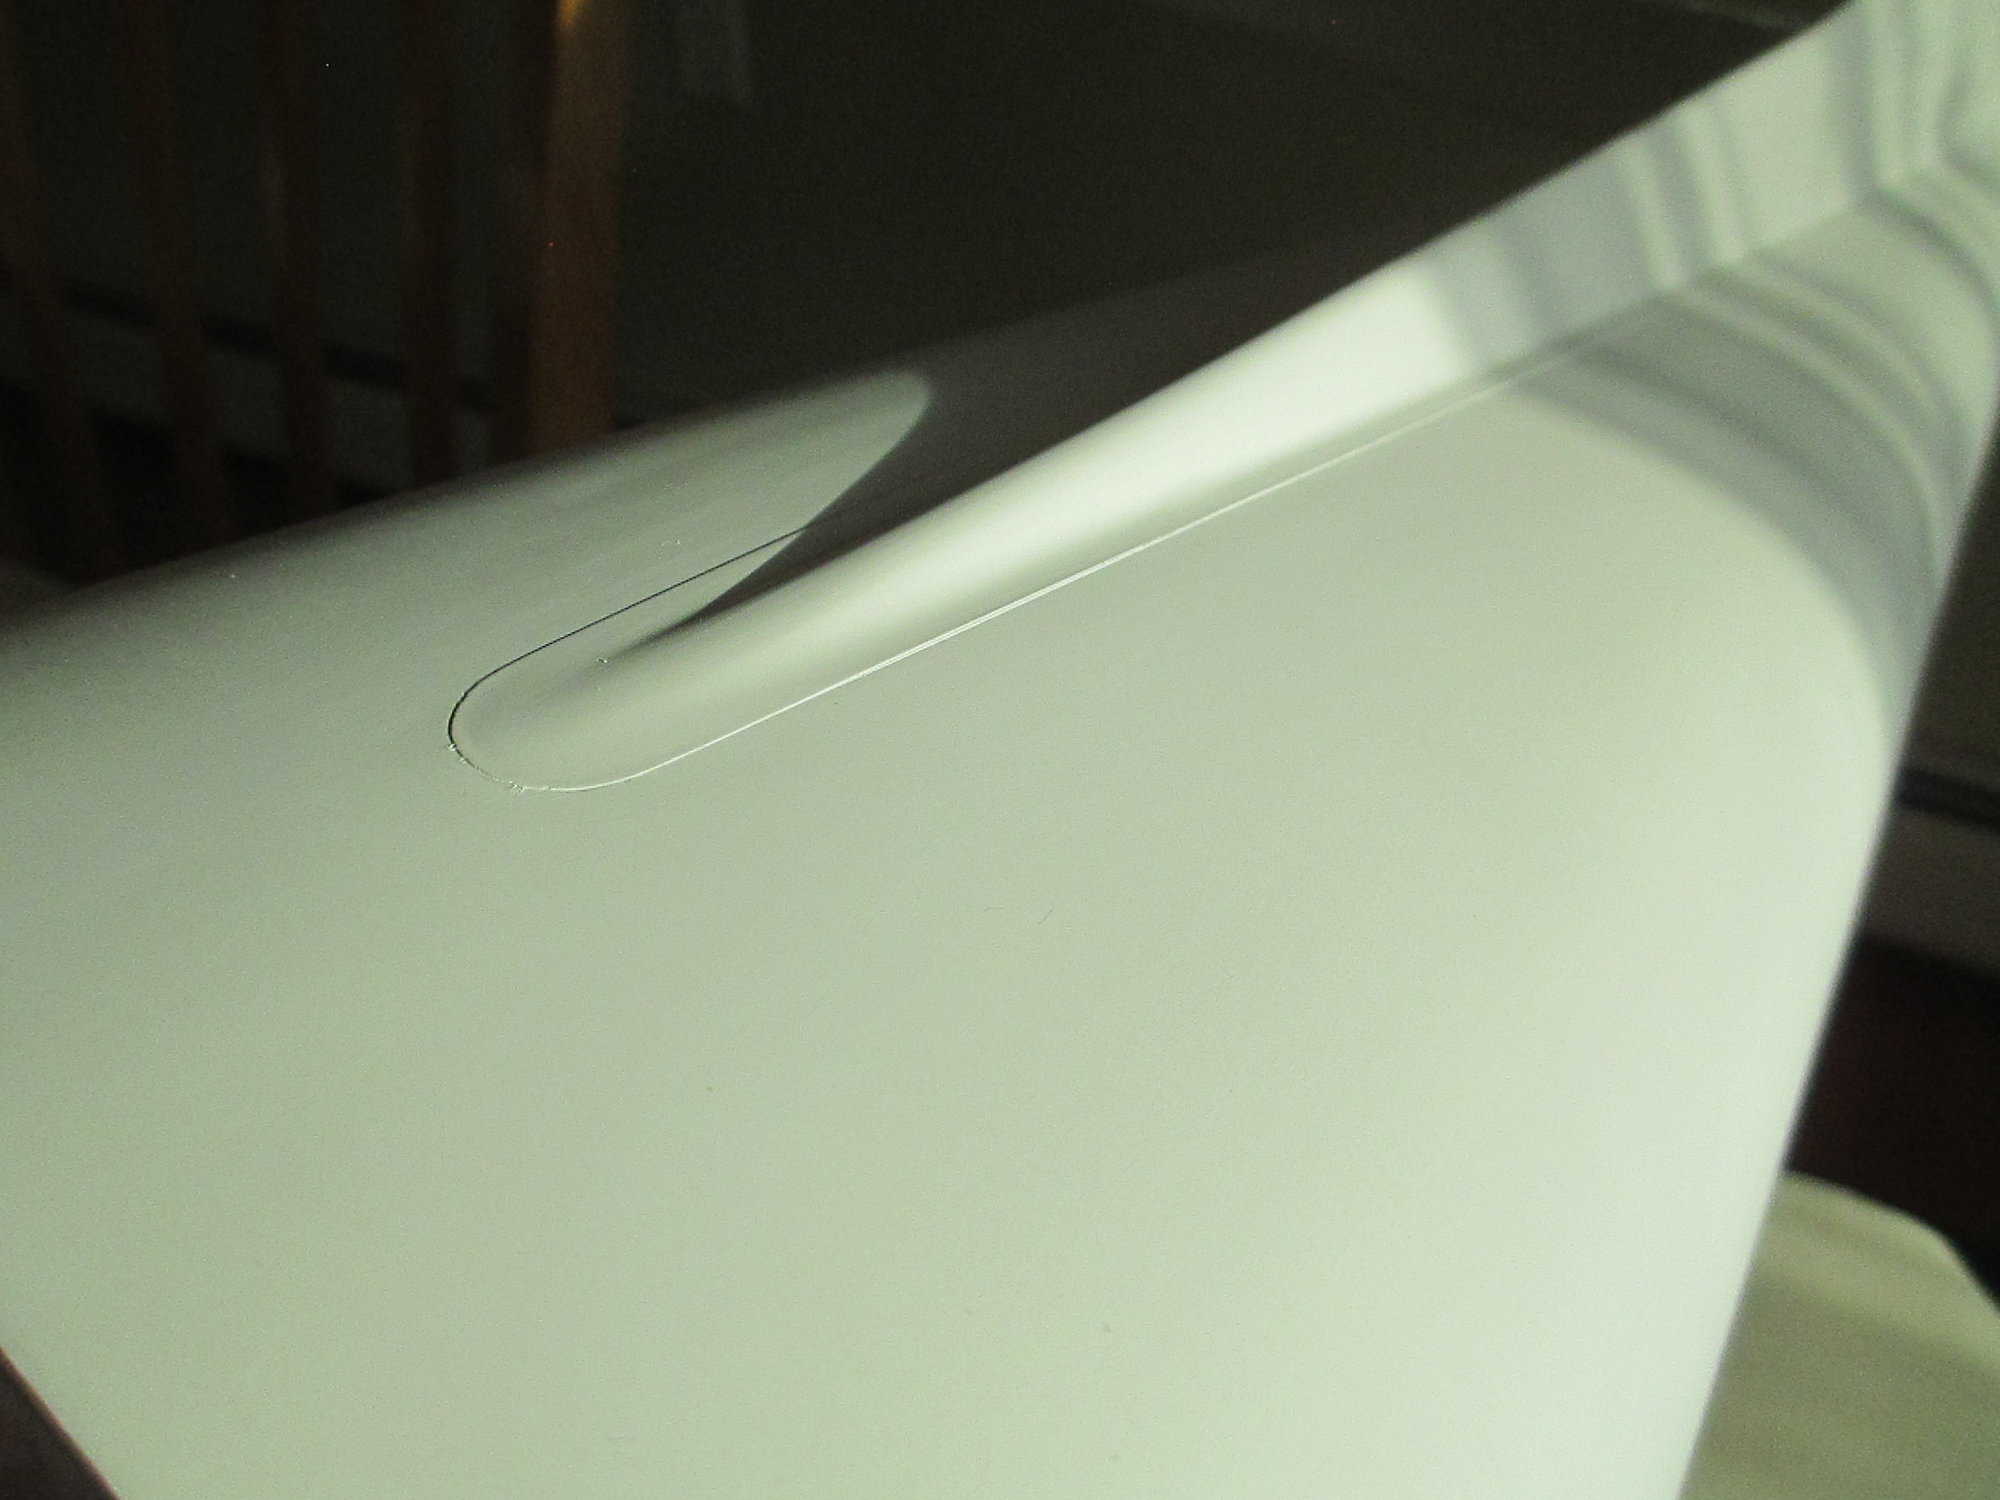
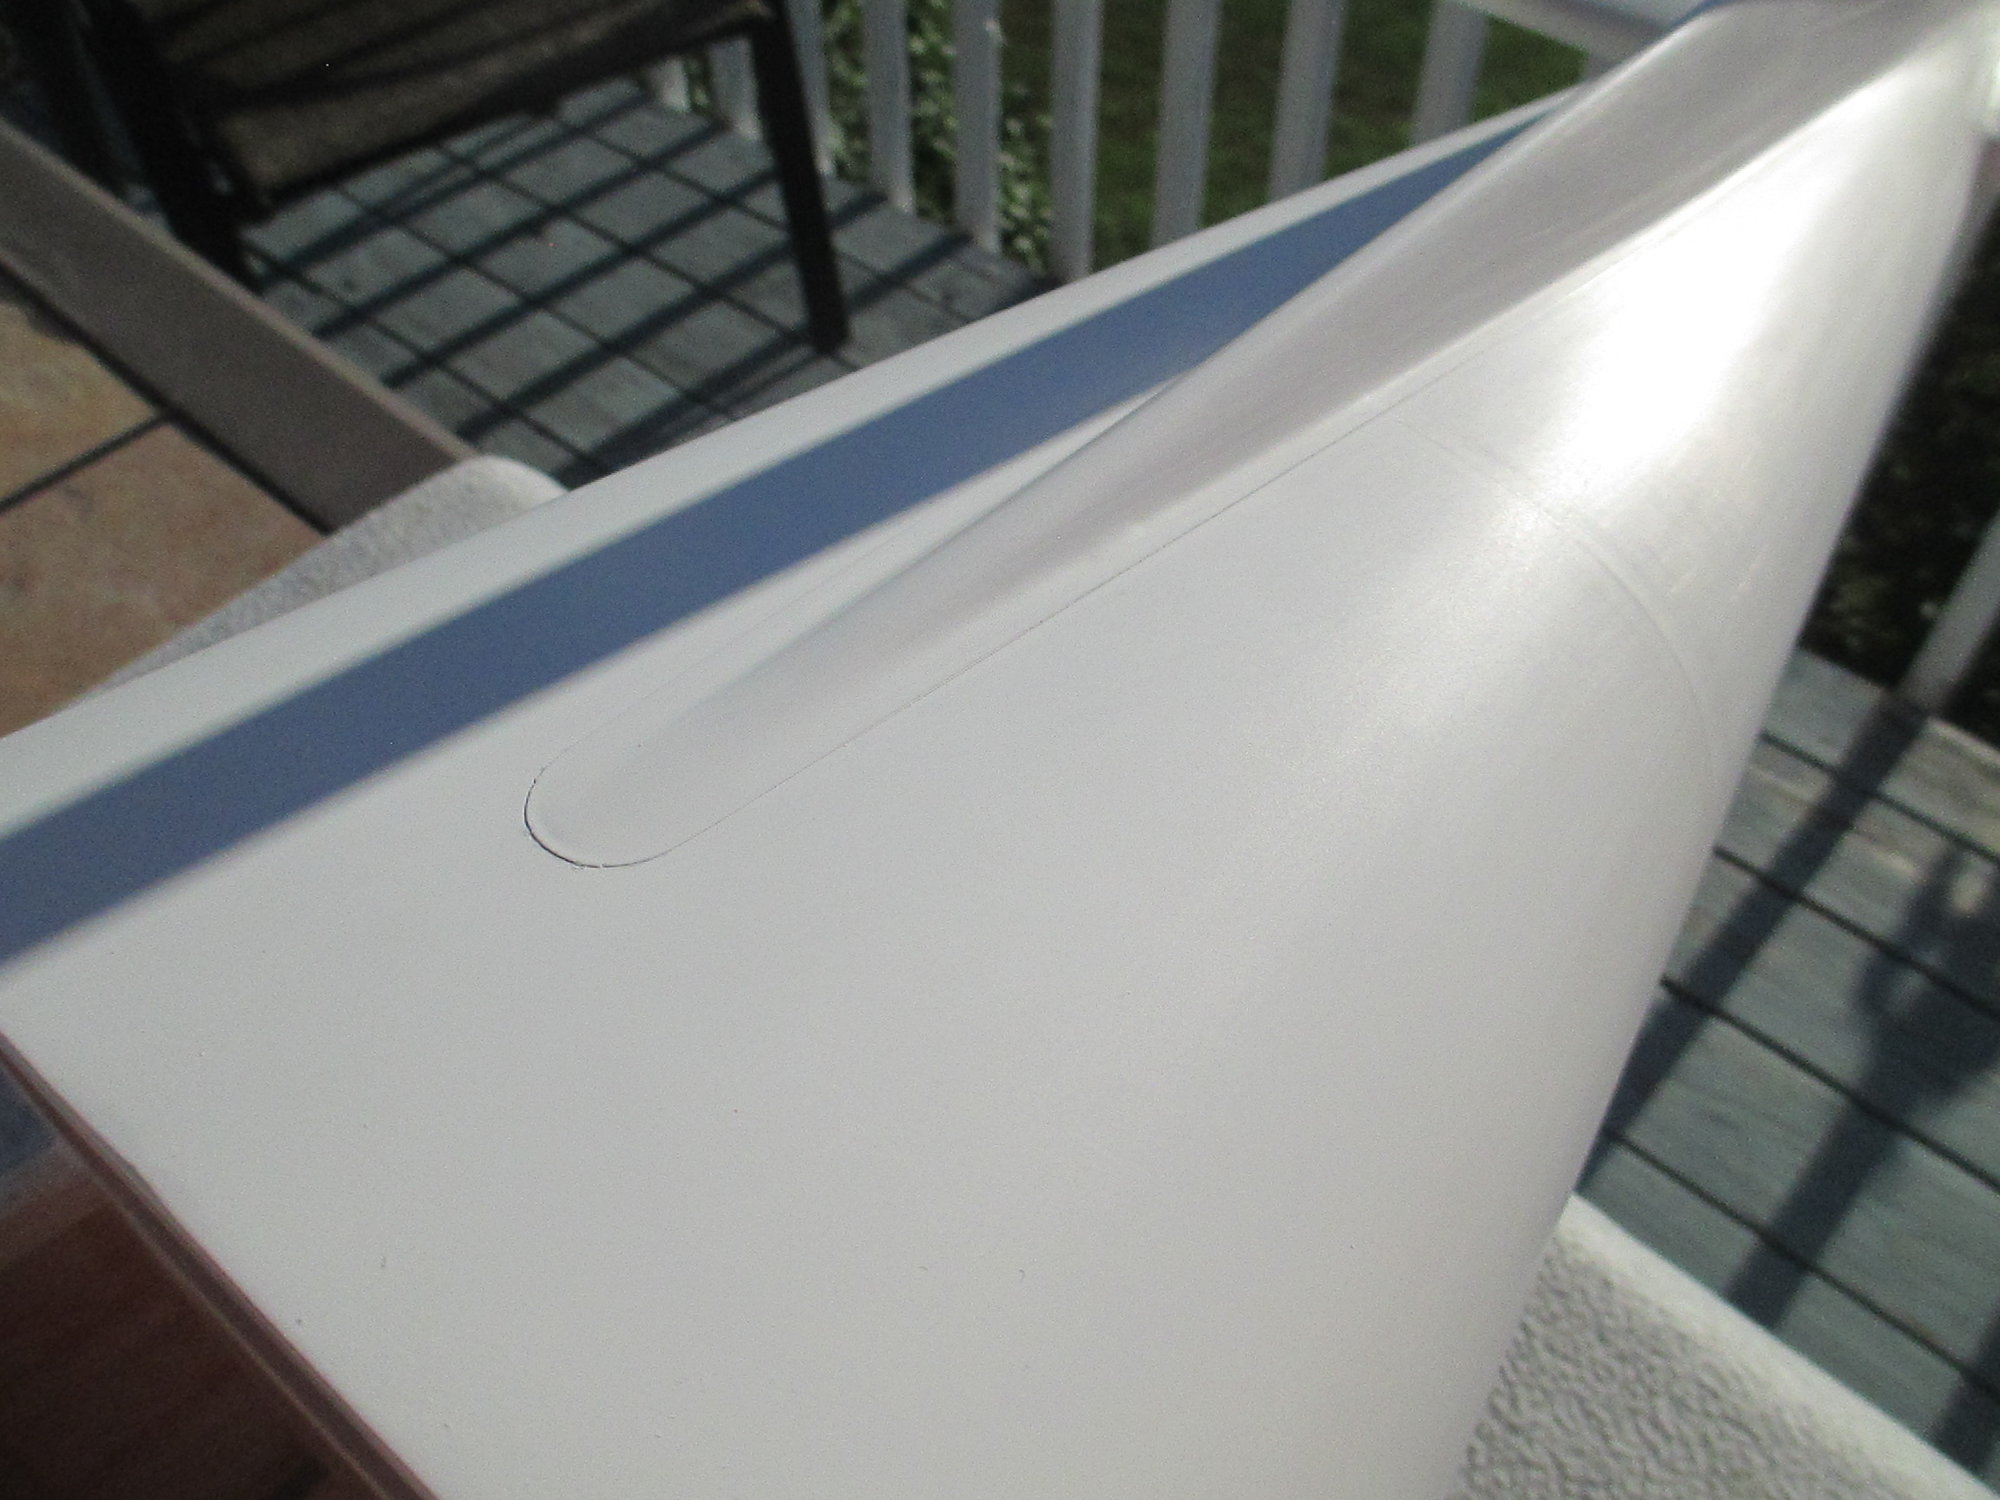
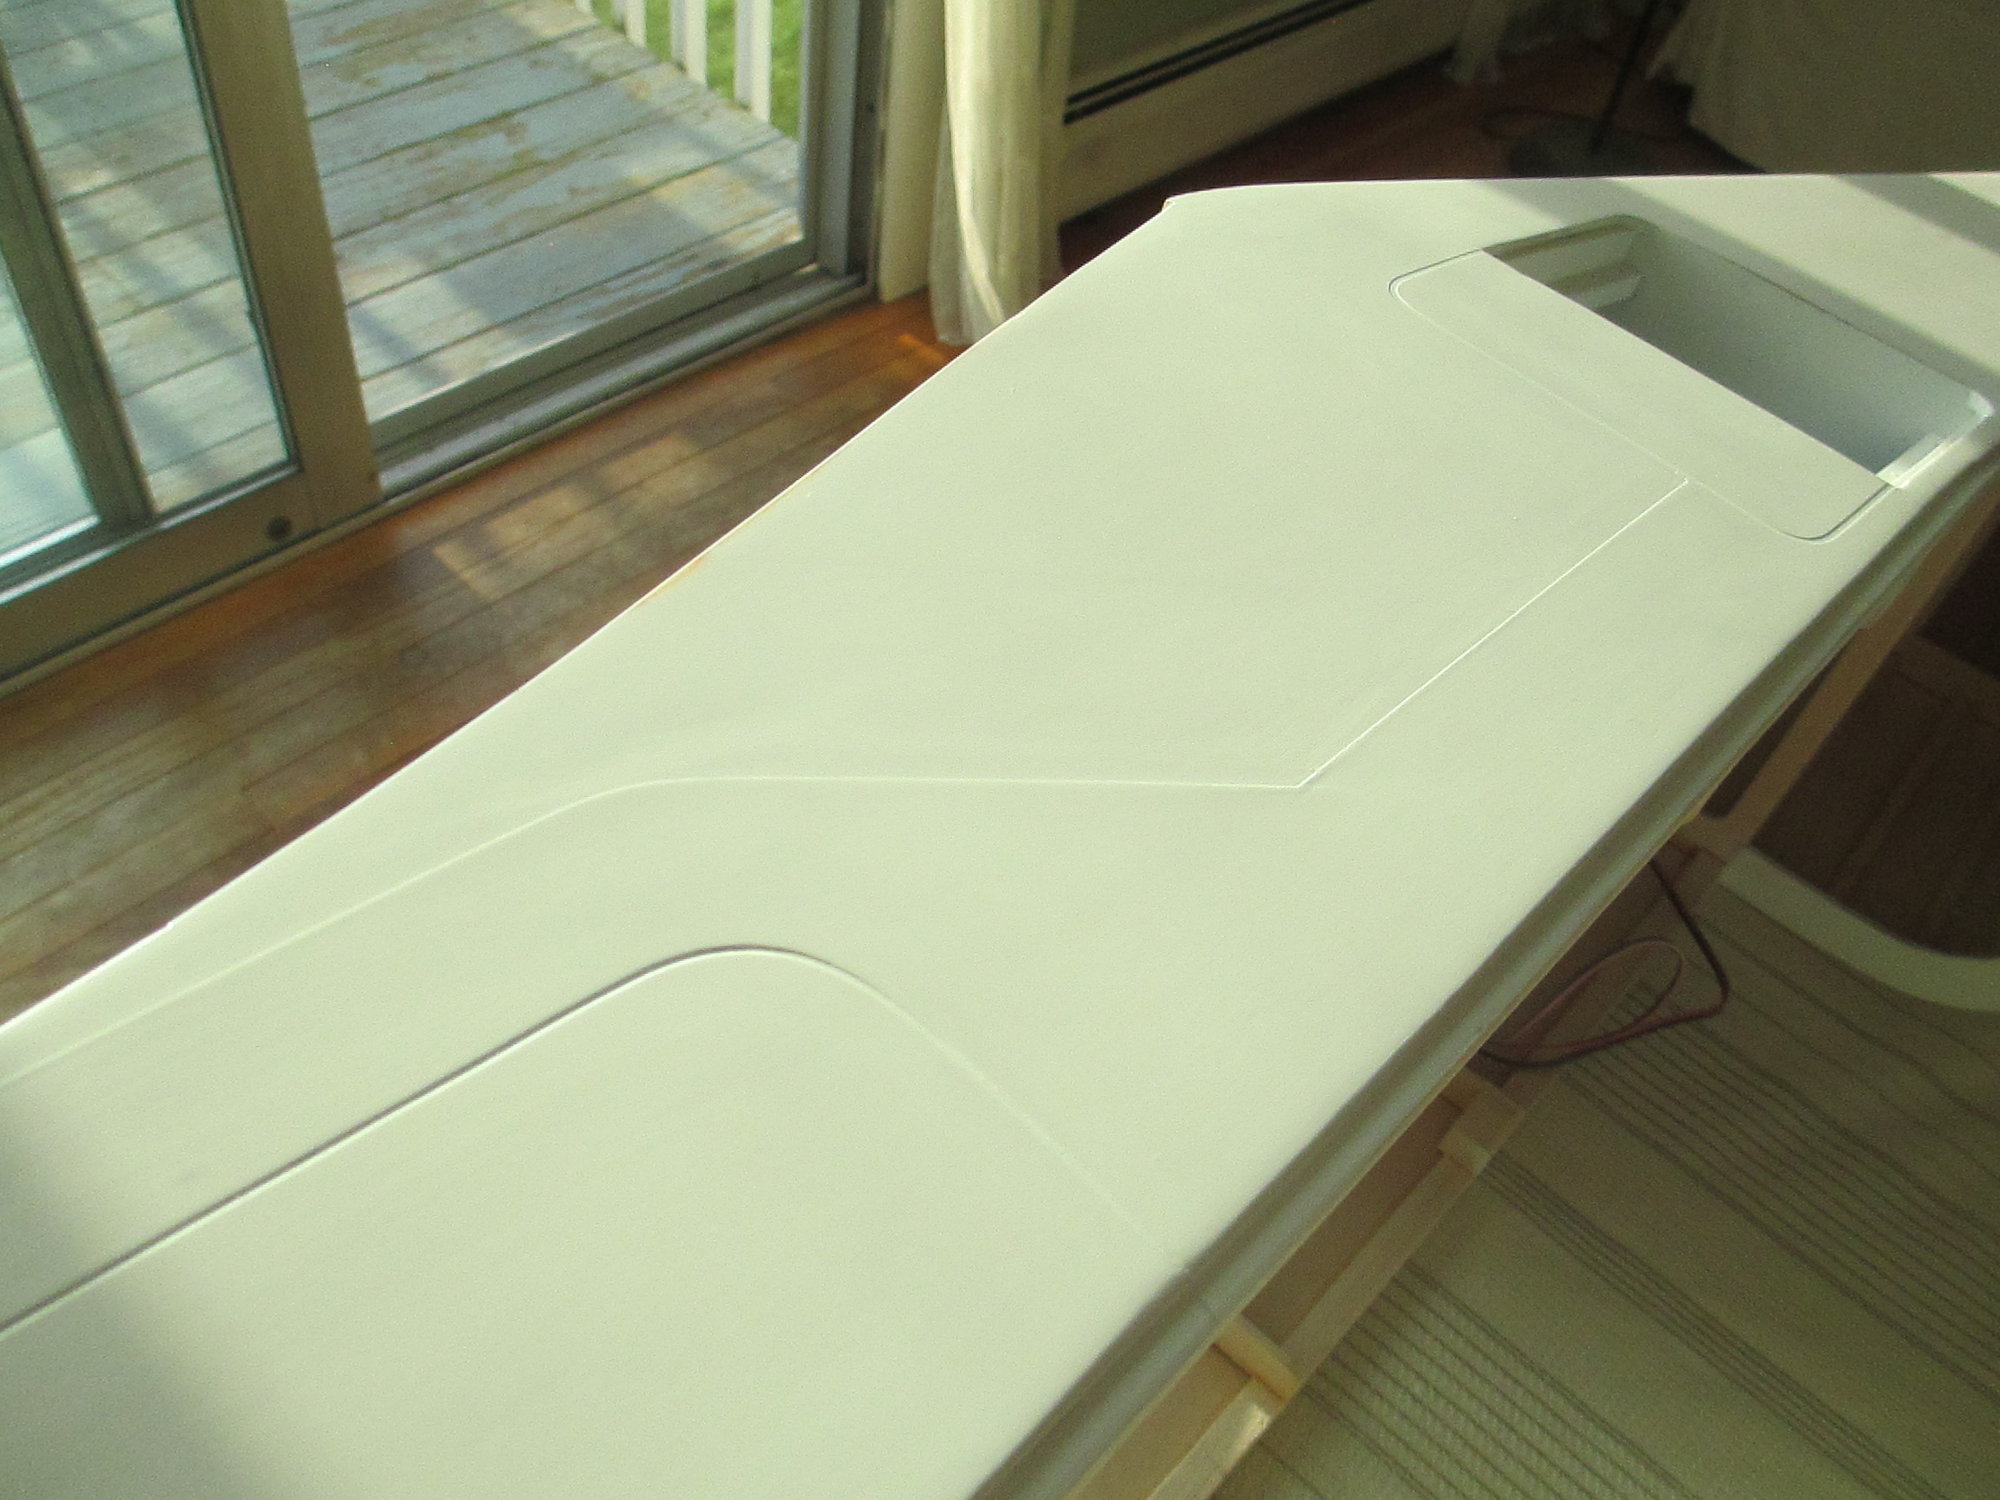
A flush panel joint joint differs from an overlapped joint. Here, I'm trying to simulate two panels that are abutted to one another not overlapped as I had previously done.
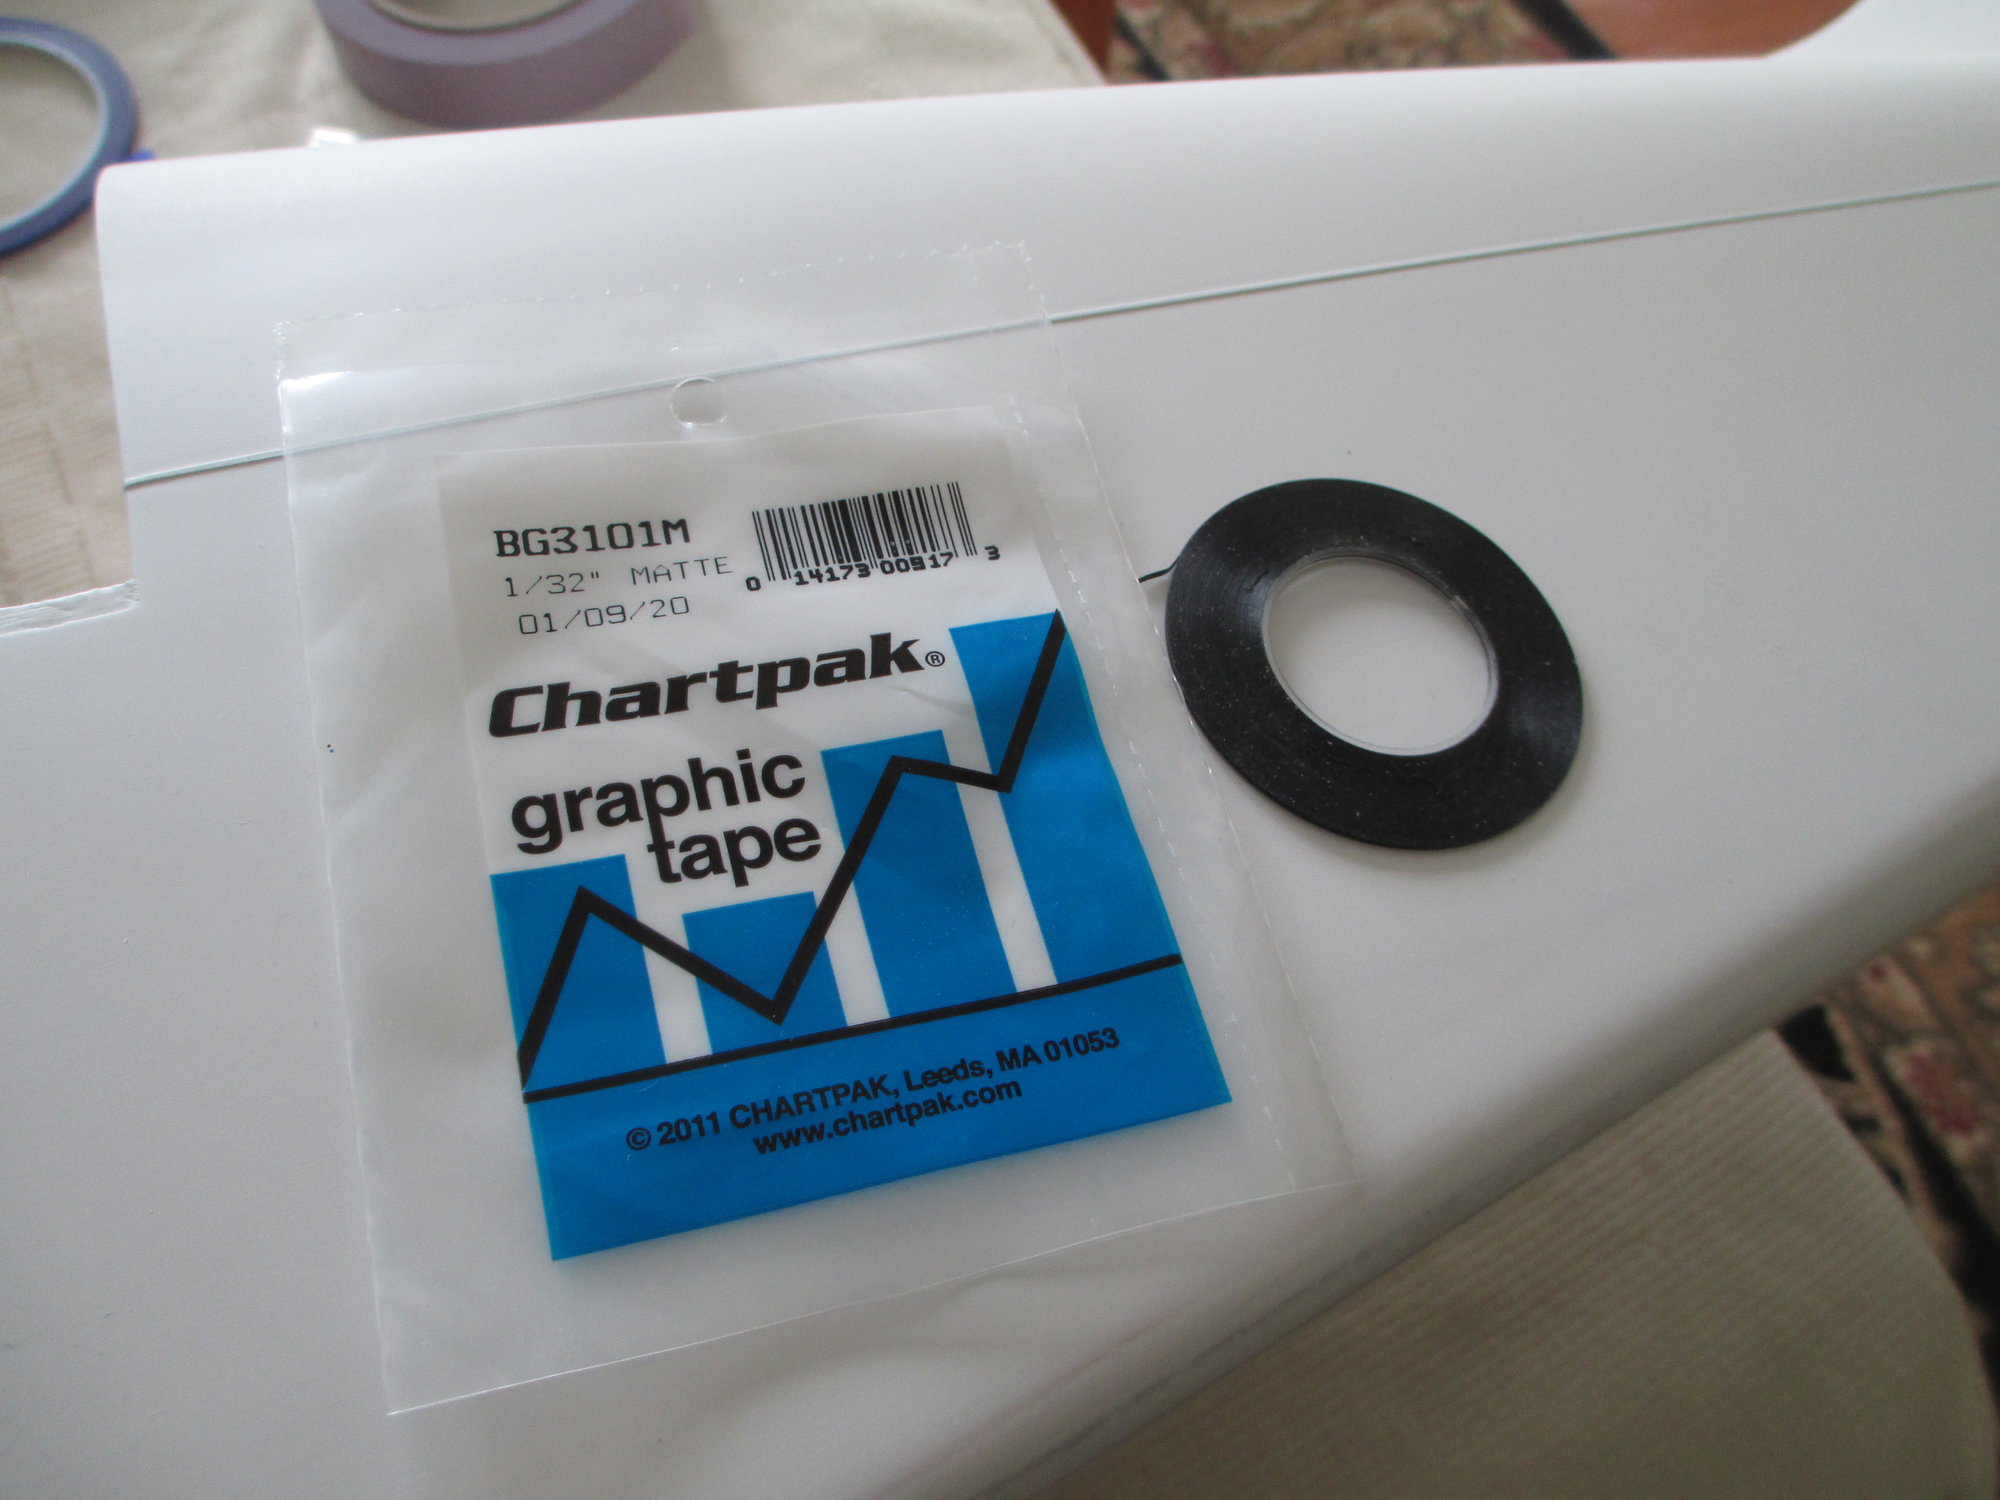
I prefer to use 1/32" Chartpak tape to create my panel joint lines. Chartpak tape can be purchased in a variety of widths (thickness) ranging from 1/64 to 1/4" to suite your needs.
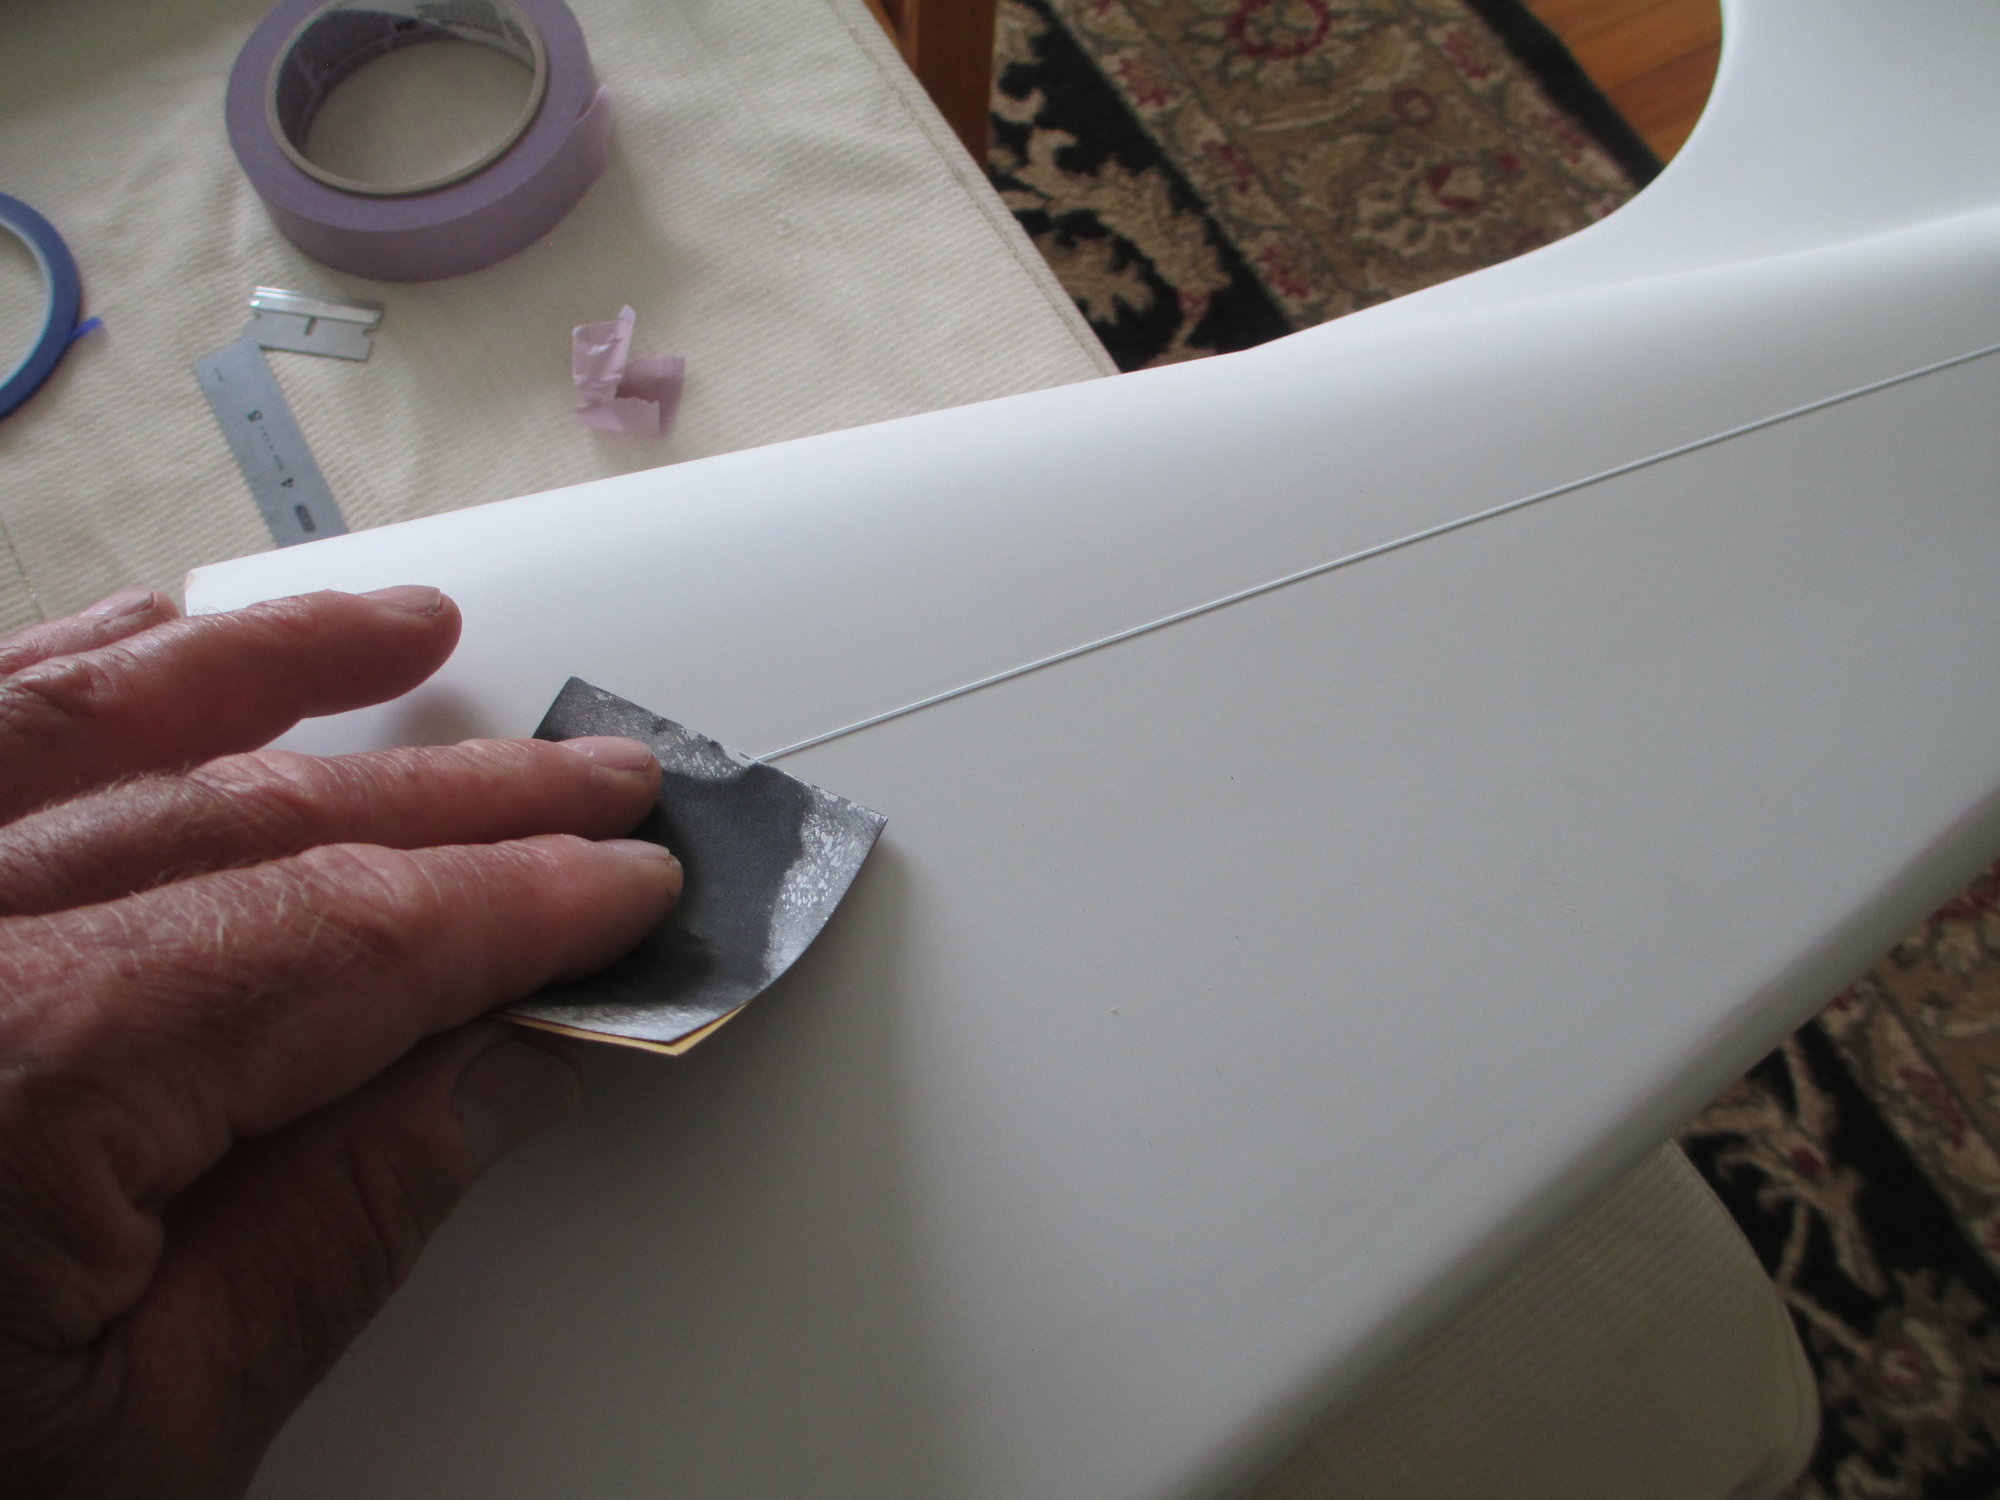
After the tape is applied, several coats of primer is sprayed over the top of the tape. Once dried, I sand the top of the tape using 600 grit paper as I had done before.
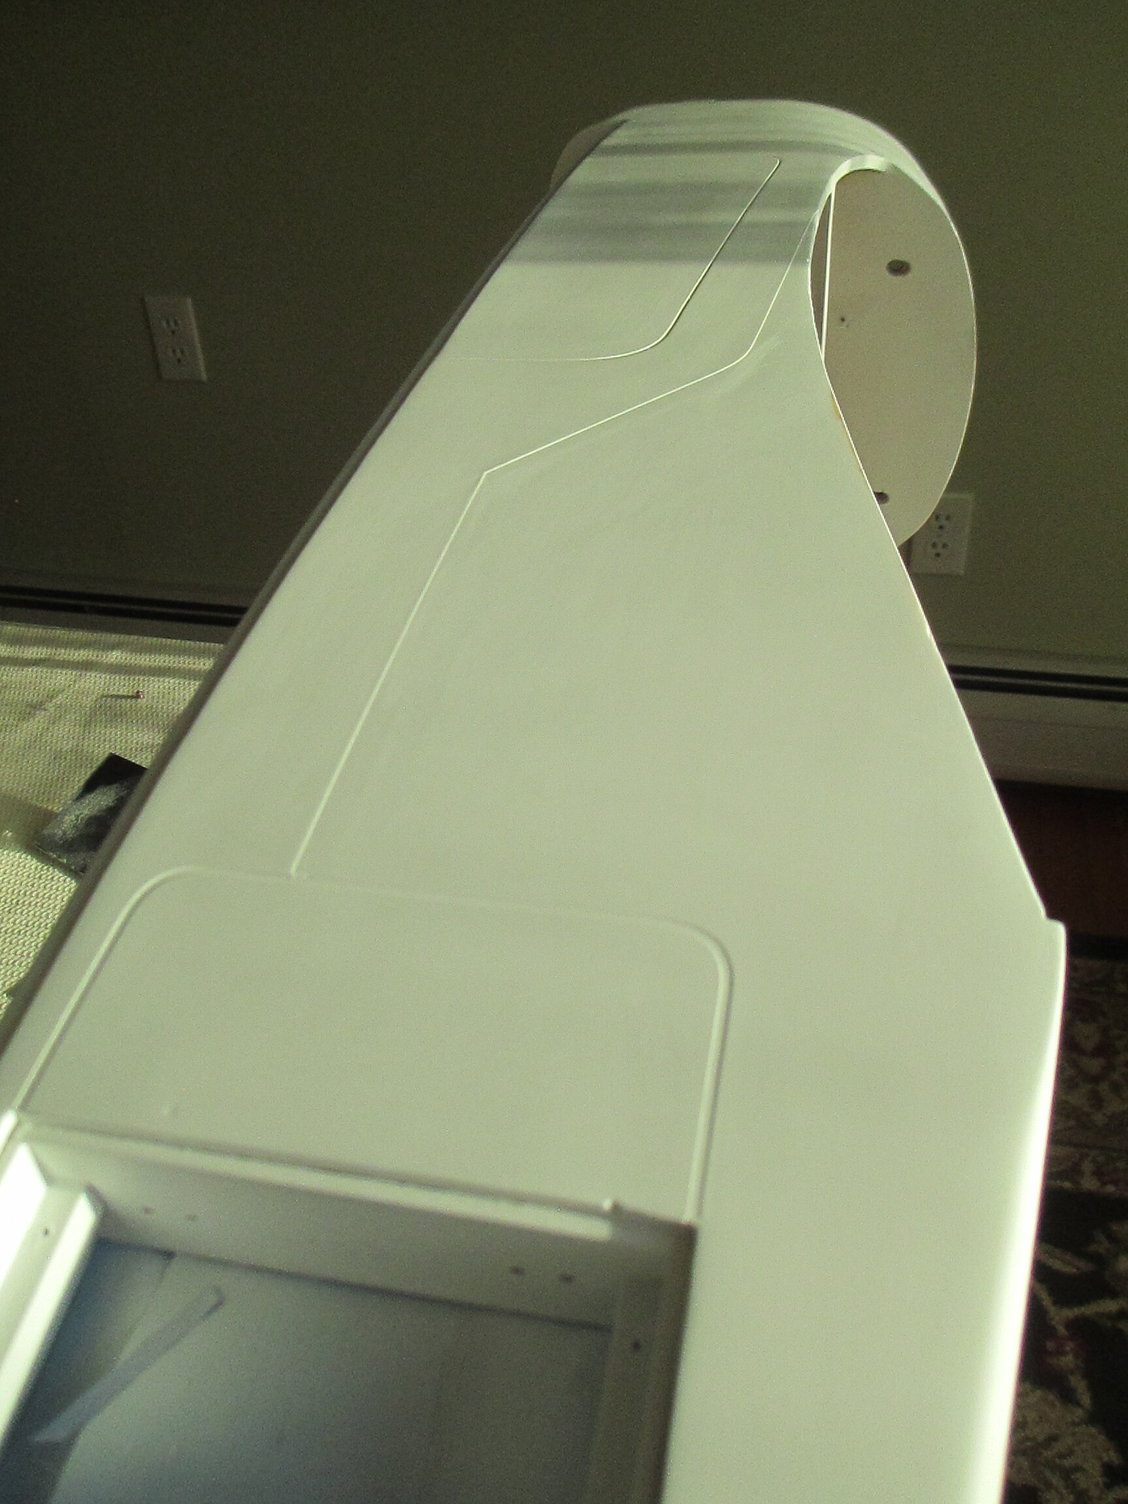
The primer is completely sanded off the surface of the tape bringing the color of the tape back to its black color. The tape is then gently pulled off. Do not be discouraged if you find glue residue left behind in the primered valley. Paper towel moistened with isopropyl alcohol (91%) will easily remove the glue leaving behind a clean trench.
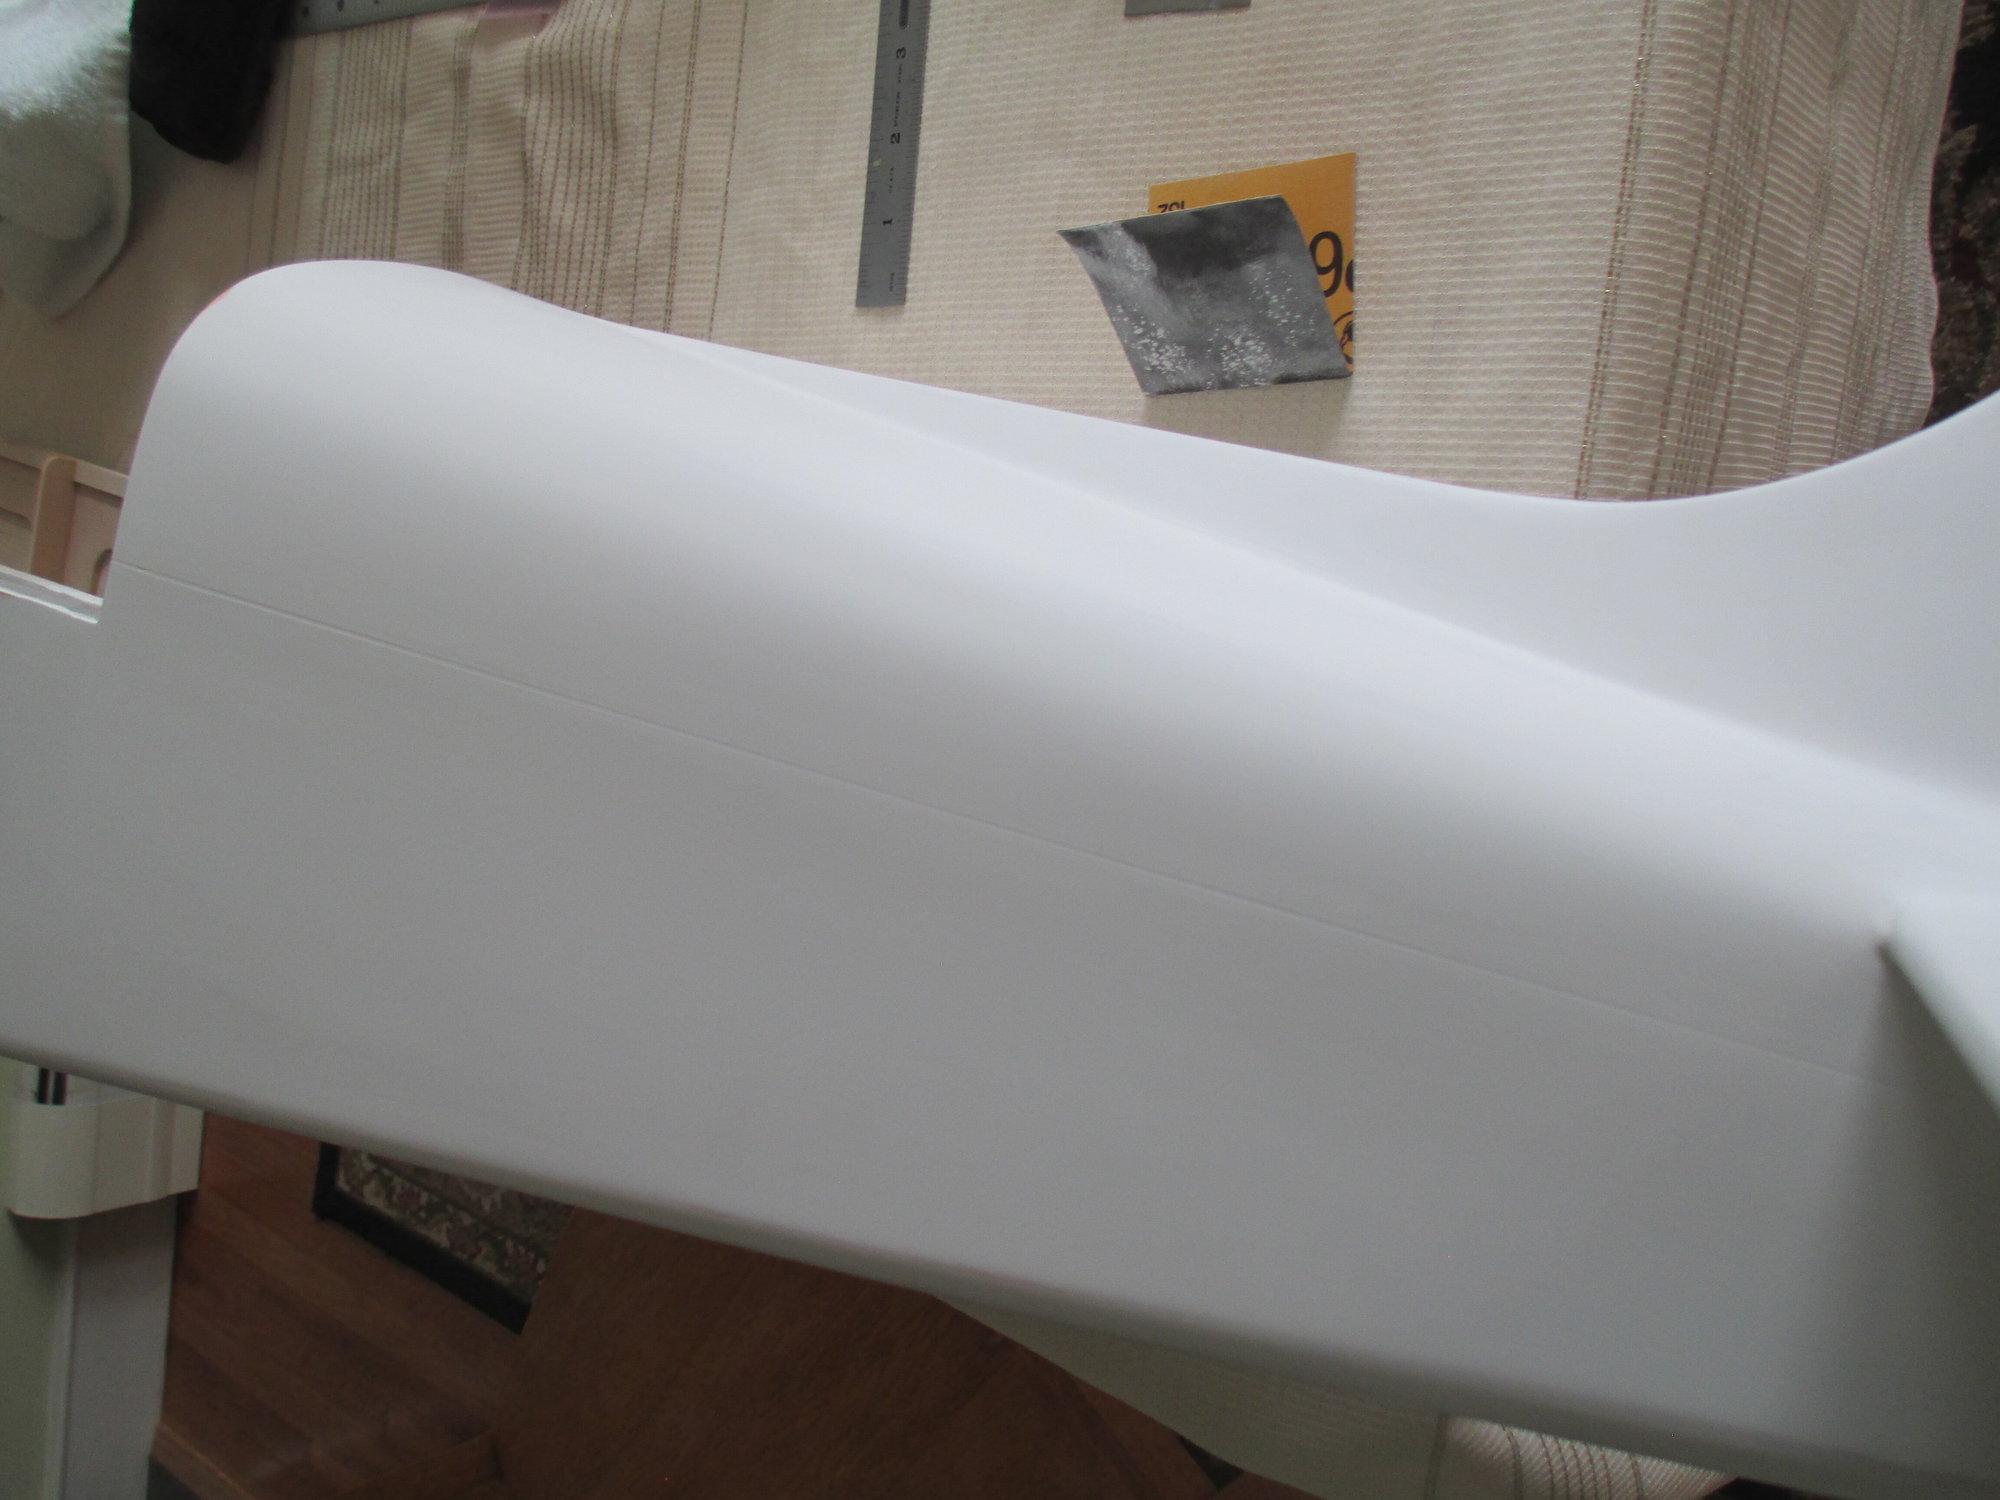
With poor lighting, it was hard to capture with my camera, a good shot of the end result.
Last edited by VincentJ; 07-16-2020 at 02:31 PM.
 07-18-2020, 05:05 AM
#1209


Hola Vince. Man, you get up earlier than I do for a Saturday morning. 
Went to your first post where you announced embarking on this project to see its date....06-22-2019, 05:52 PM. Been a little over a year ago.
Indeed, the Bonanza is going to be a scale builder's dream come true. I would fly it a few times, then hang in a museum and charge people to enjoy it. Maybe, it will end up in the Beechcraft Museum. Be sure to autograph it!
Regarding panel lines. Impressive results. Laying down pin-striping tape in a straight line has never produced for me the same results I see in your application. You must be using a laser to get them to look factory straight on curved surfaces.
I would not volunteer to be video-taping these last few days of working on it. I might fall asleep. Just kidding. Though I will never achieve a Master Craftsman level, my projects, though small, require a lot of time to do any one thing. Your photos and grammar show pretty good color, detail and depth.
Thanks for providing the details of your build. I look forward to seeing another email from RCU notifying me that you posted something.
Lupe
07-19-2020, 03:45 AM
#1210
Thread Starter
Thank you Lupe. I had anticipated that it would take me about two years to complete this project, all the scale details really puts the brakes on a project like this. Once she's completed though, Bob and I will have some fun with it. It will be very gratifying to see it airborne for the first time...
07-21-2020, 03:56 AM
#1211
Thread Starter
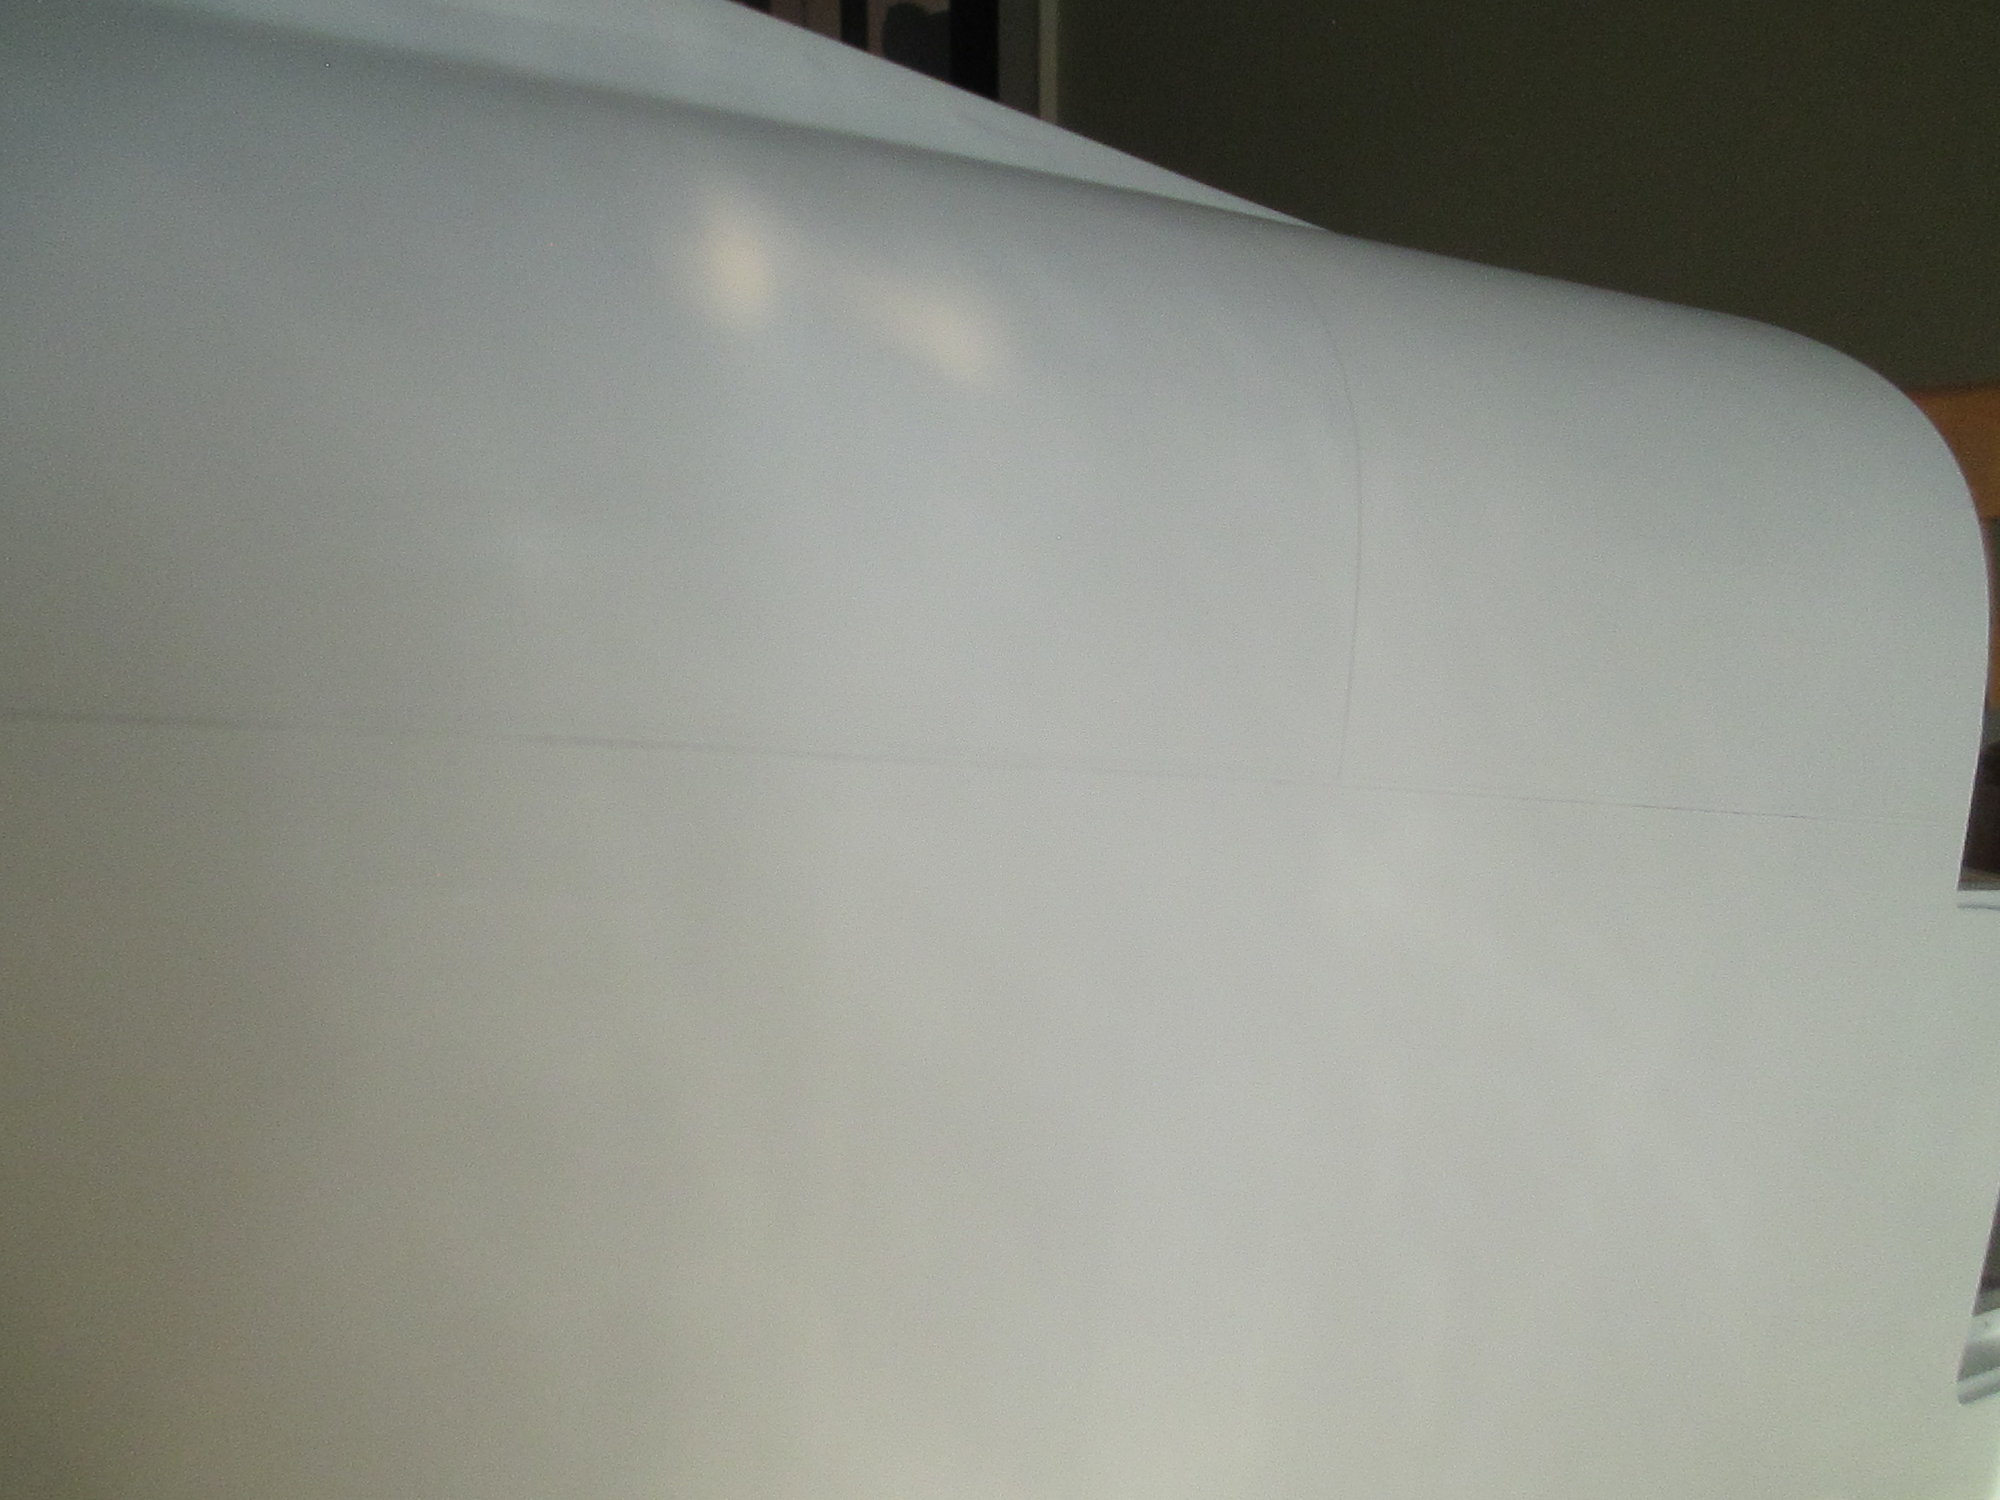
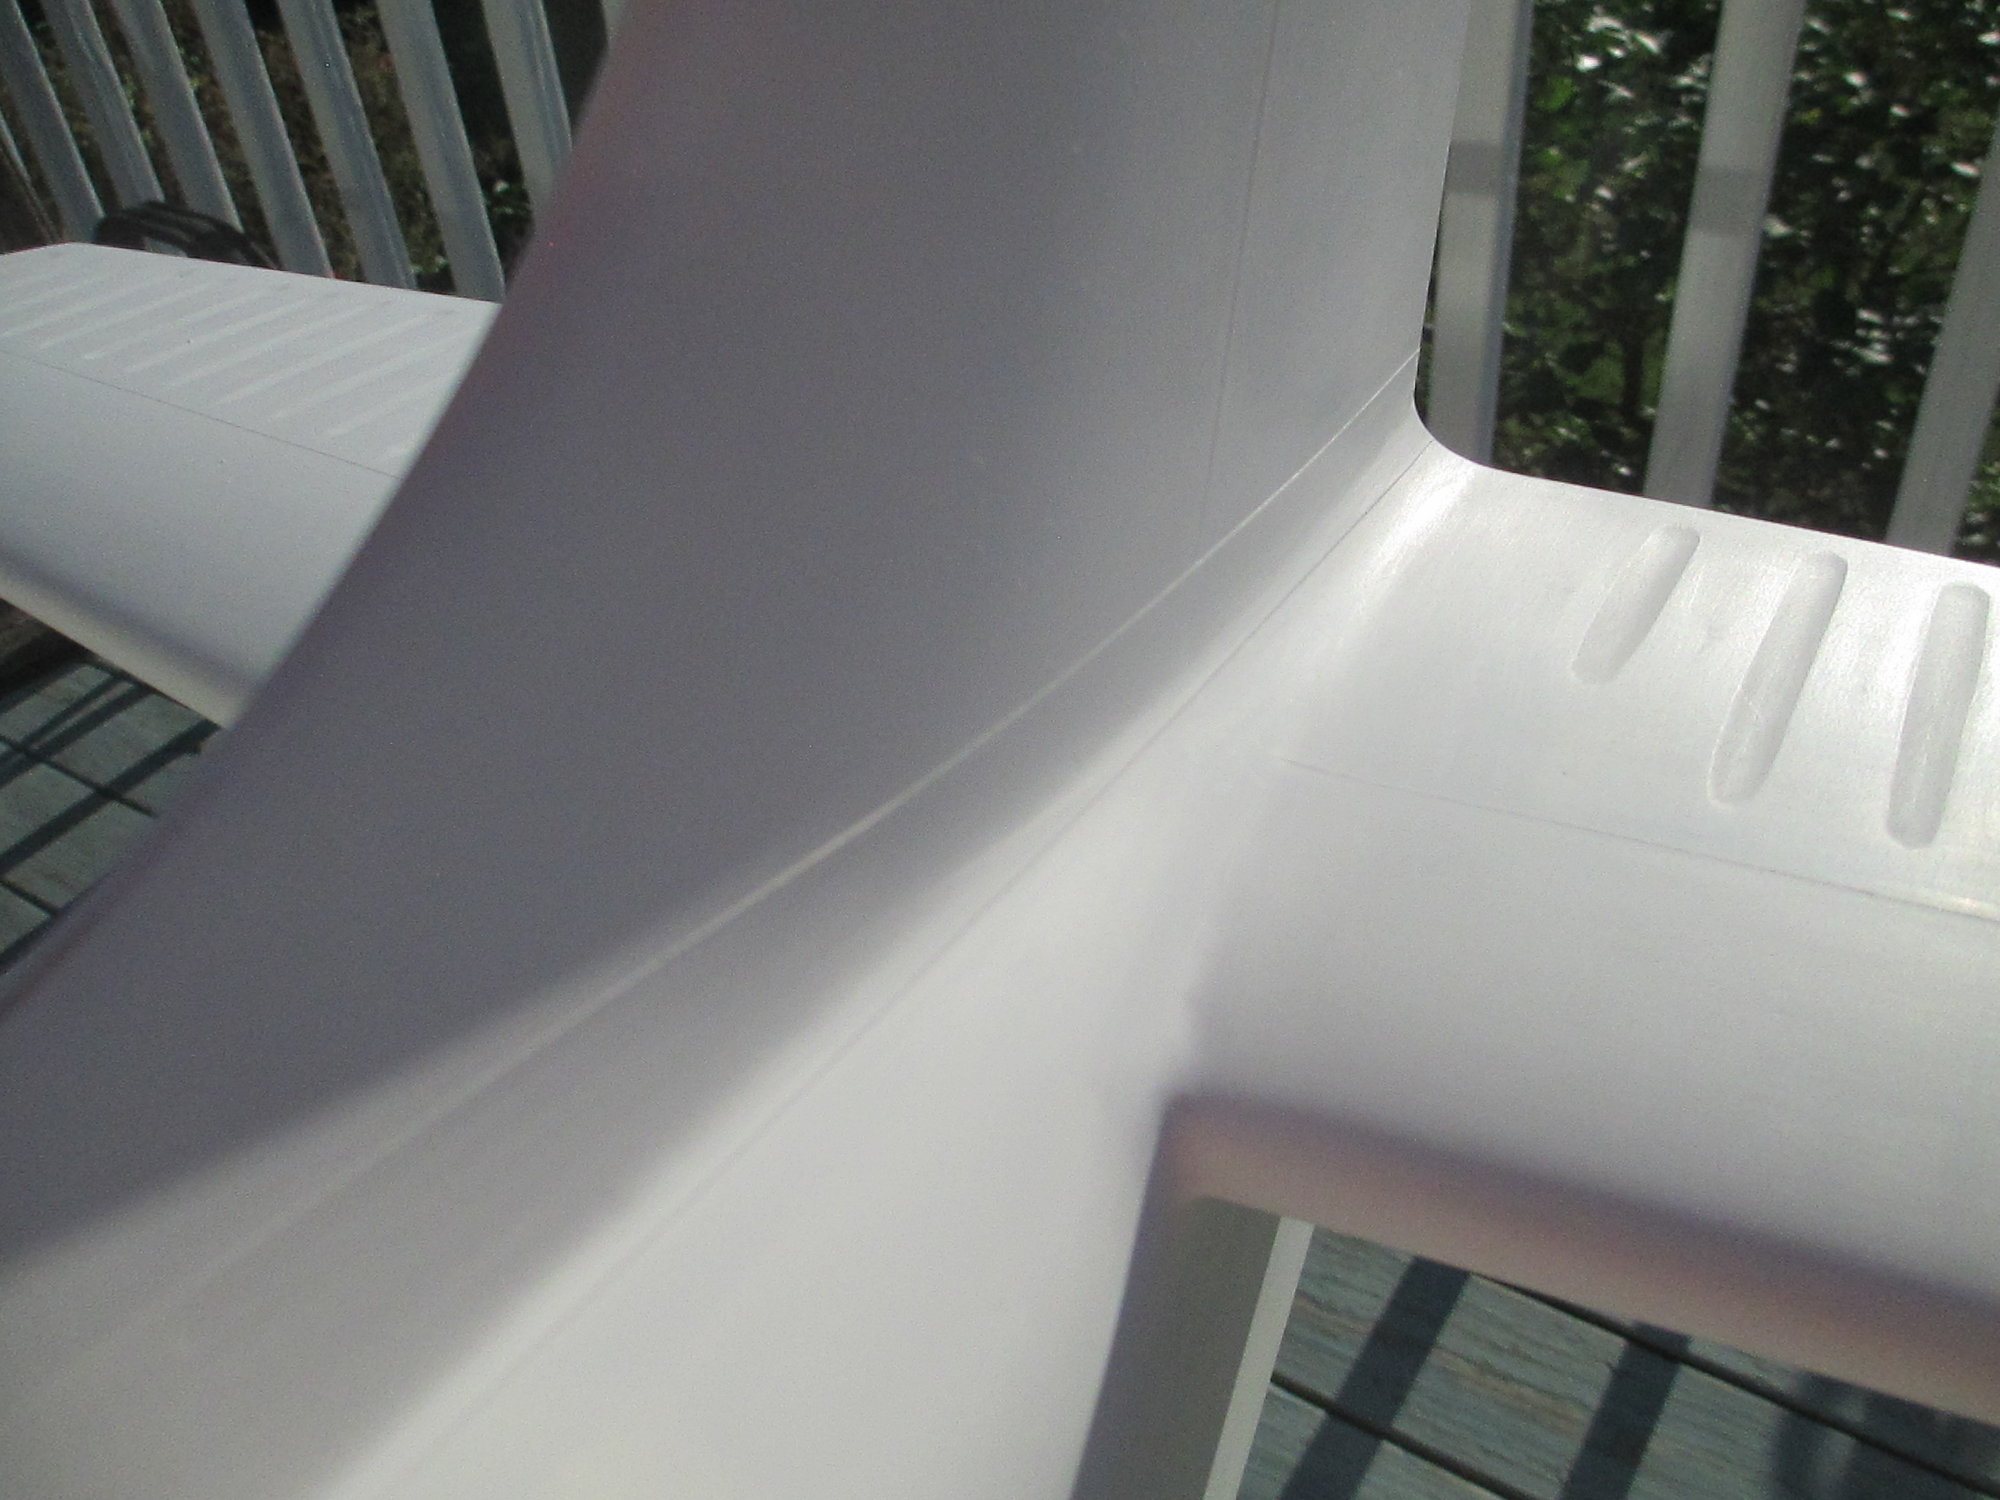
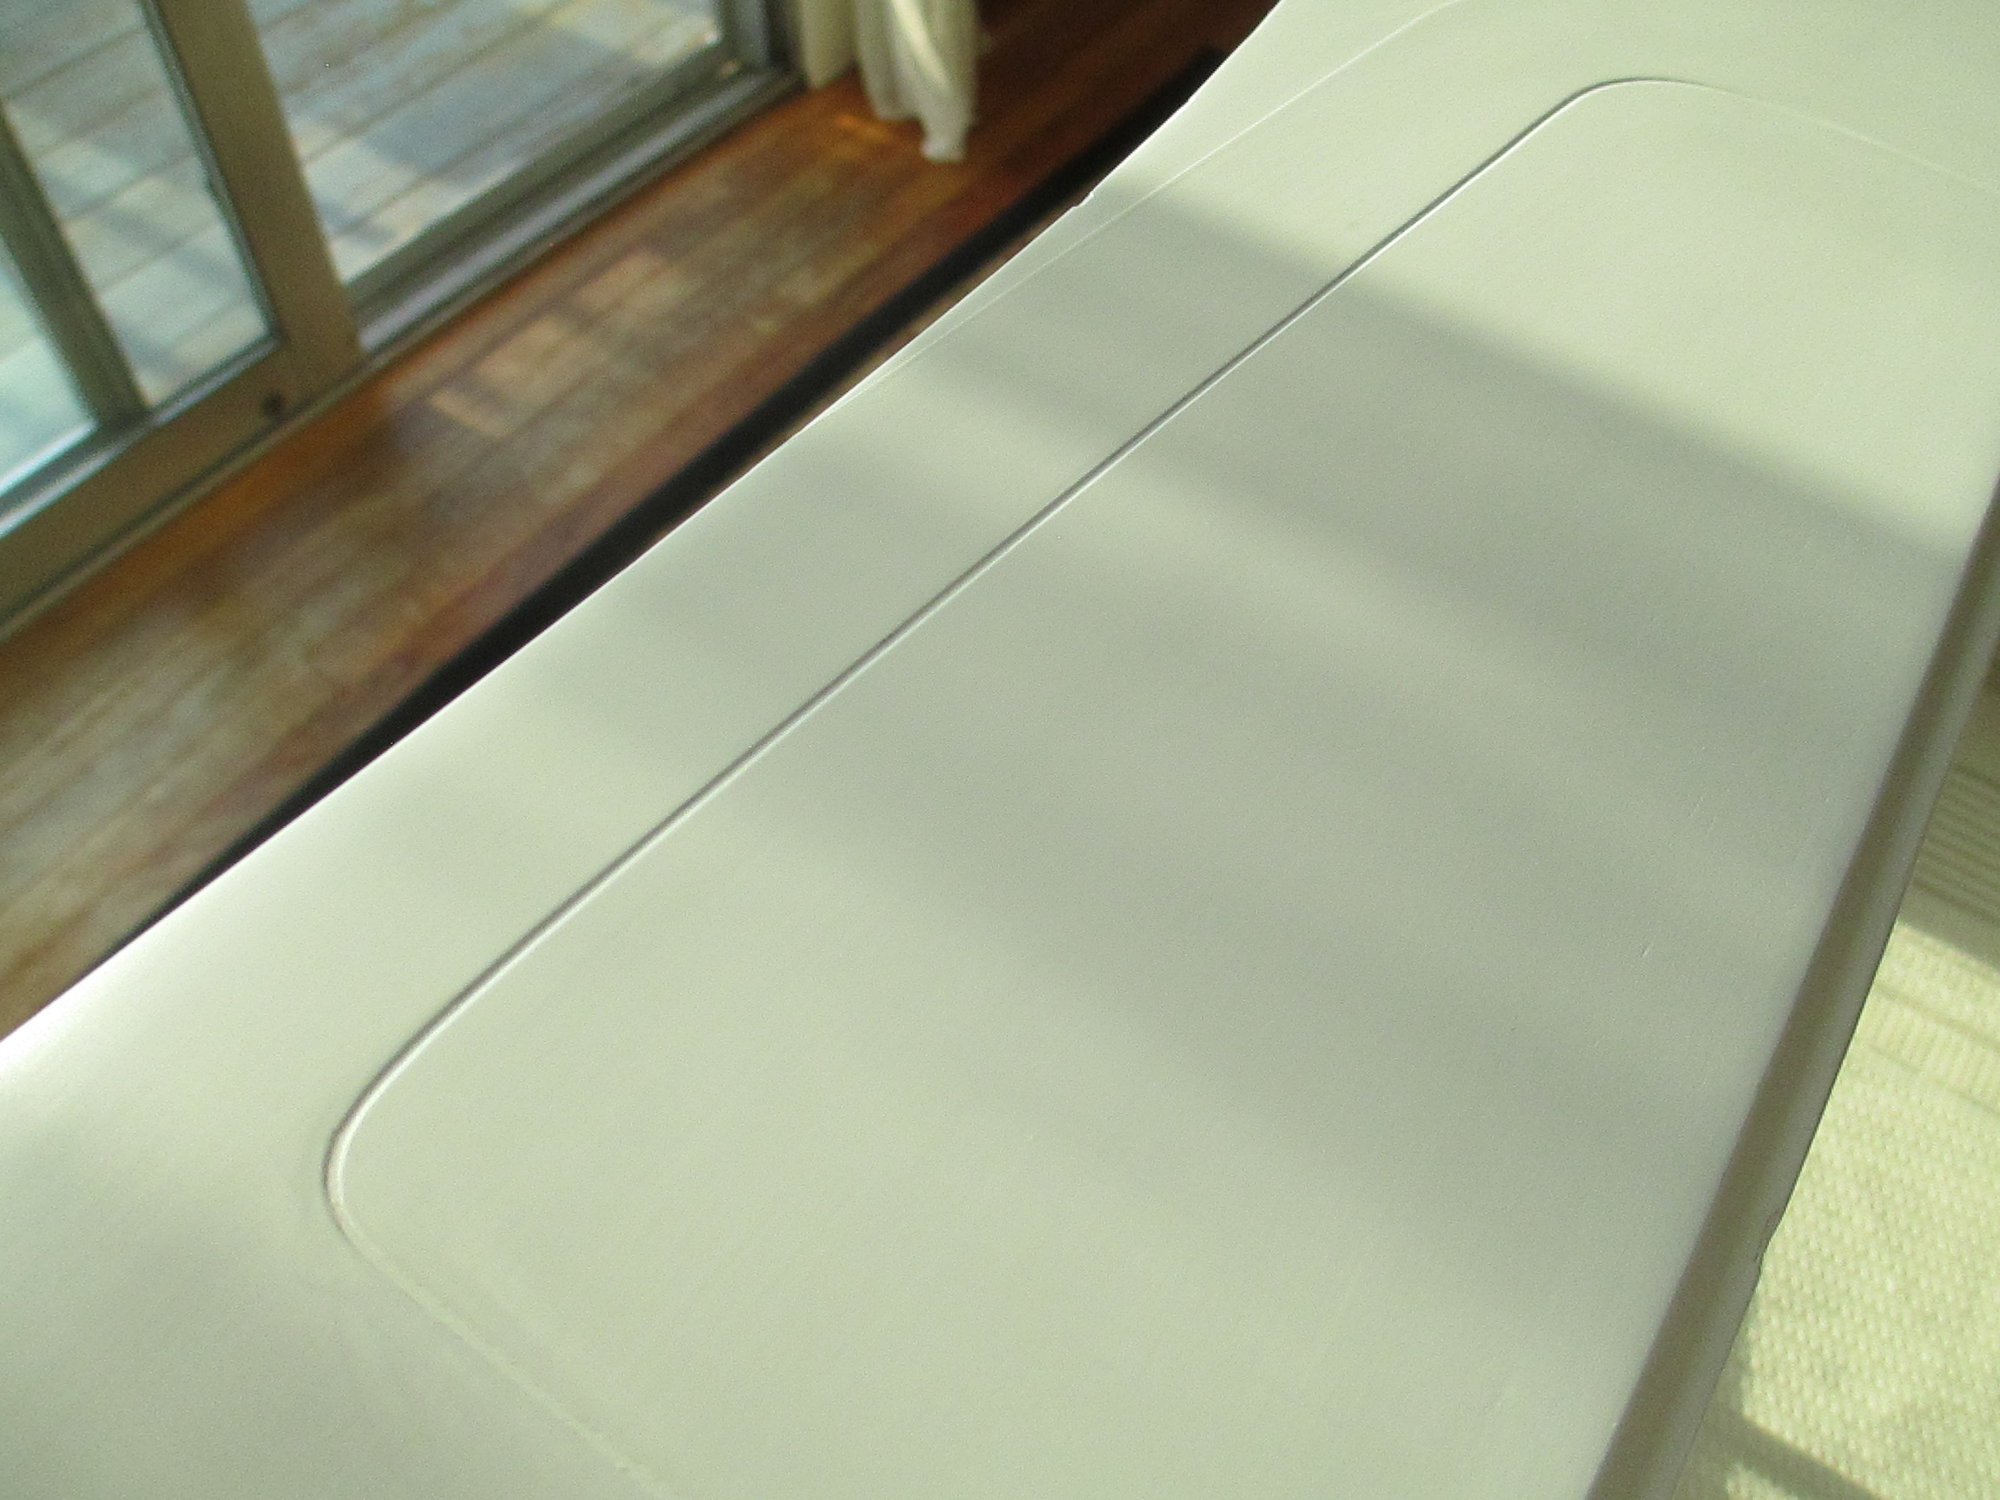
Still replicating panel lines! It's a slow and tedious process. I didn't like the results of my first attempt of the dorsal fin panel line, so I had to sand it off and redo it. A minor set-back, but I like the way it has turned out now.

 07-21-2020, 05:32 AM
#1213
Thread Starter
I don't know really how to answer your question Rowdog. Assembling an ARF for someone correctly, or fixing a damaged aircraft is easy to price out, but doing something like this is a whole different kettle of fish. I wouldn't even know how to charge someone for this...except to say it would be somewhere between ouch and binggggg!!!
Last edited by VincentJ; 07-21-2020 at 05:55 AM.
The following users liked this post:
rowdog_14 (07-21-2020)
 07-21-2020, 10:09 AM
#1215

You would almost have to charge by the hour and keep a logbook showing hours worked and what was done during that time.
It would astound most as to the time it takes to do some of the tasks needed to build a plane or, for that matter, a scale boat or ship. Most would think it's just a matter of throwing one together and putting on the covering, but that's never the case. The year plus you've put into this plane kind of bears that out
It would astound most as to the time it takes to do some of the tasks needed to build a plane or, for that matter, a scale boat or ship. Most would think it's just a matter of throwing one together and putting on the covering, but that's never the case. The year plus you've put into this plane kind of bears that out
 07-21-2020, 11:42 AM
#1217
Naw, he enjoys it too much to quit. Besides that, how would he be able to top the Bonanza if he quits building? That's part of the allure of building scale models, to make the next one even better than the present one
The following users liked this post:
Iceman707 (07-21-2020)
07-21-2020, 02:03 PM
#1218

I would venture that concept would apply to any model, not just a scale model. IMO it is one of the driving forces behind the hobby, build the next one better then the last, make this landing better then the last, score better this round then the last etc.
Awesome work Vince. Should I ever get the itch to build a detailed model I will definitely be using some of your methods. Thank you for documenting your technique for us. I'm starting to regret selling the Byron F33 that fell in my lap a couple months ago.
The following users liked this post:
Iceman707 (07-21-2020)
07-26-2020, 02:57 AM
#1219
Thread Starter
I would venture that concept would apply to any model, not just a scale model. IMO it is one of the driving forces behind the hobby, build the next one better then the last, make this landing better then the last, score better this round then the last etc.
Awesome work Vince. Should I ever get the itch to build a detailed model I will definitely be using some of your methods. Thank you for documenting your technique for us. I'm starting to regret selling the Byron F33 that fell in my lap a couple months ago.
Awesome work Vince. Should I ever get the itch to build a detailed model I will definitely be using some of your methods. Thank you for documenting your technique for us. I'm starting to regret selling the Byron F33 that fell in my lap a couple months ago.
Last edited by VincentJ; 07-26-2020 at 03:02 AM.
07-26-2020, 03:01 AM
#1220
Thread Starter
I'm almost done with the panel lines on the fuselage, just a few more! My partner Bob came over the other day, I think he liked what he saw...
The rivet factory will be opening soon...
 07-27-2020, 06:10 AM
#1221
Thread Starter
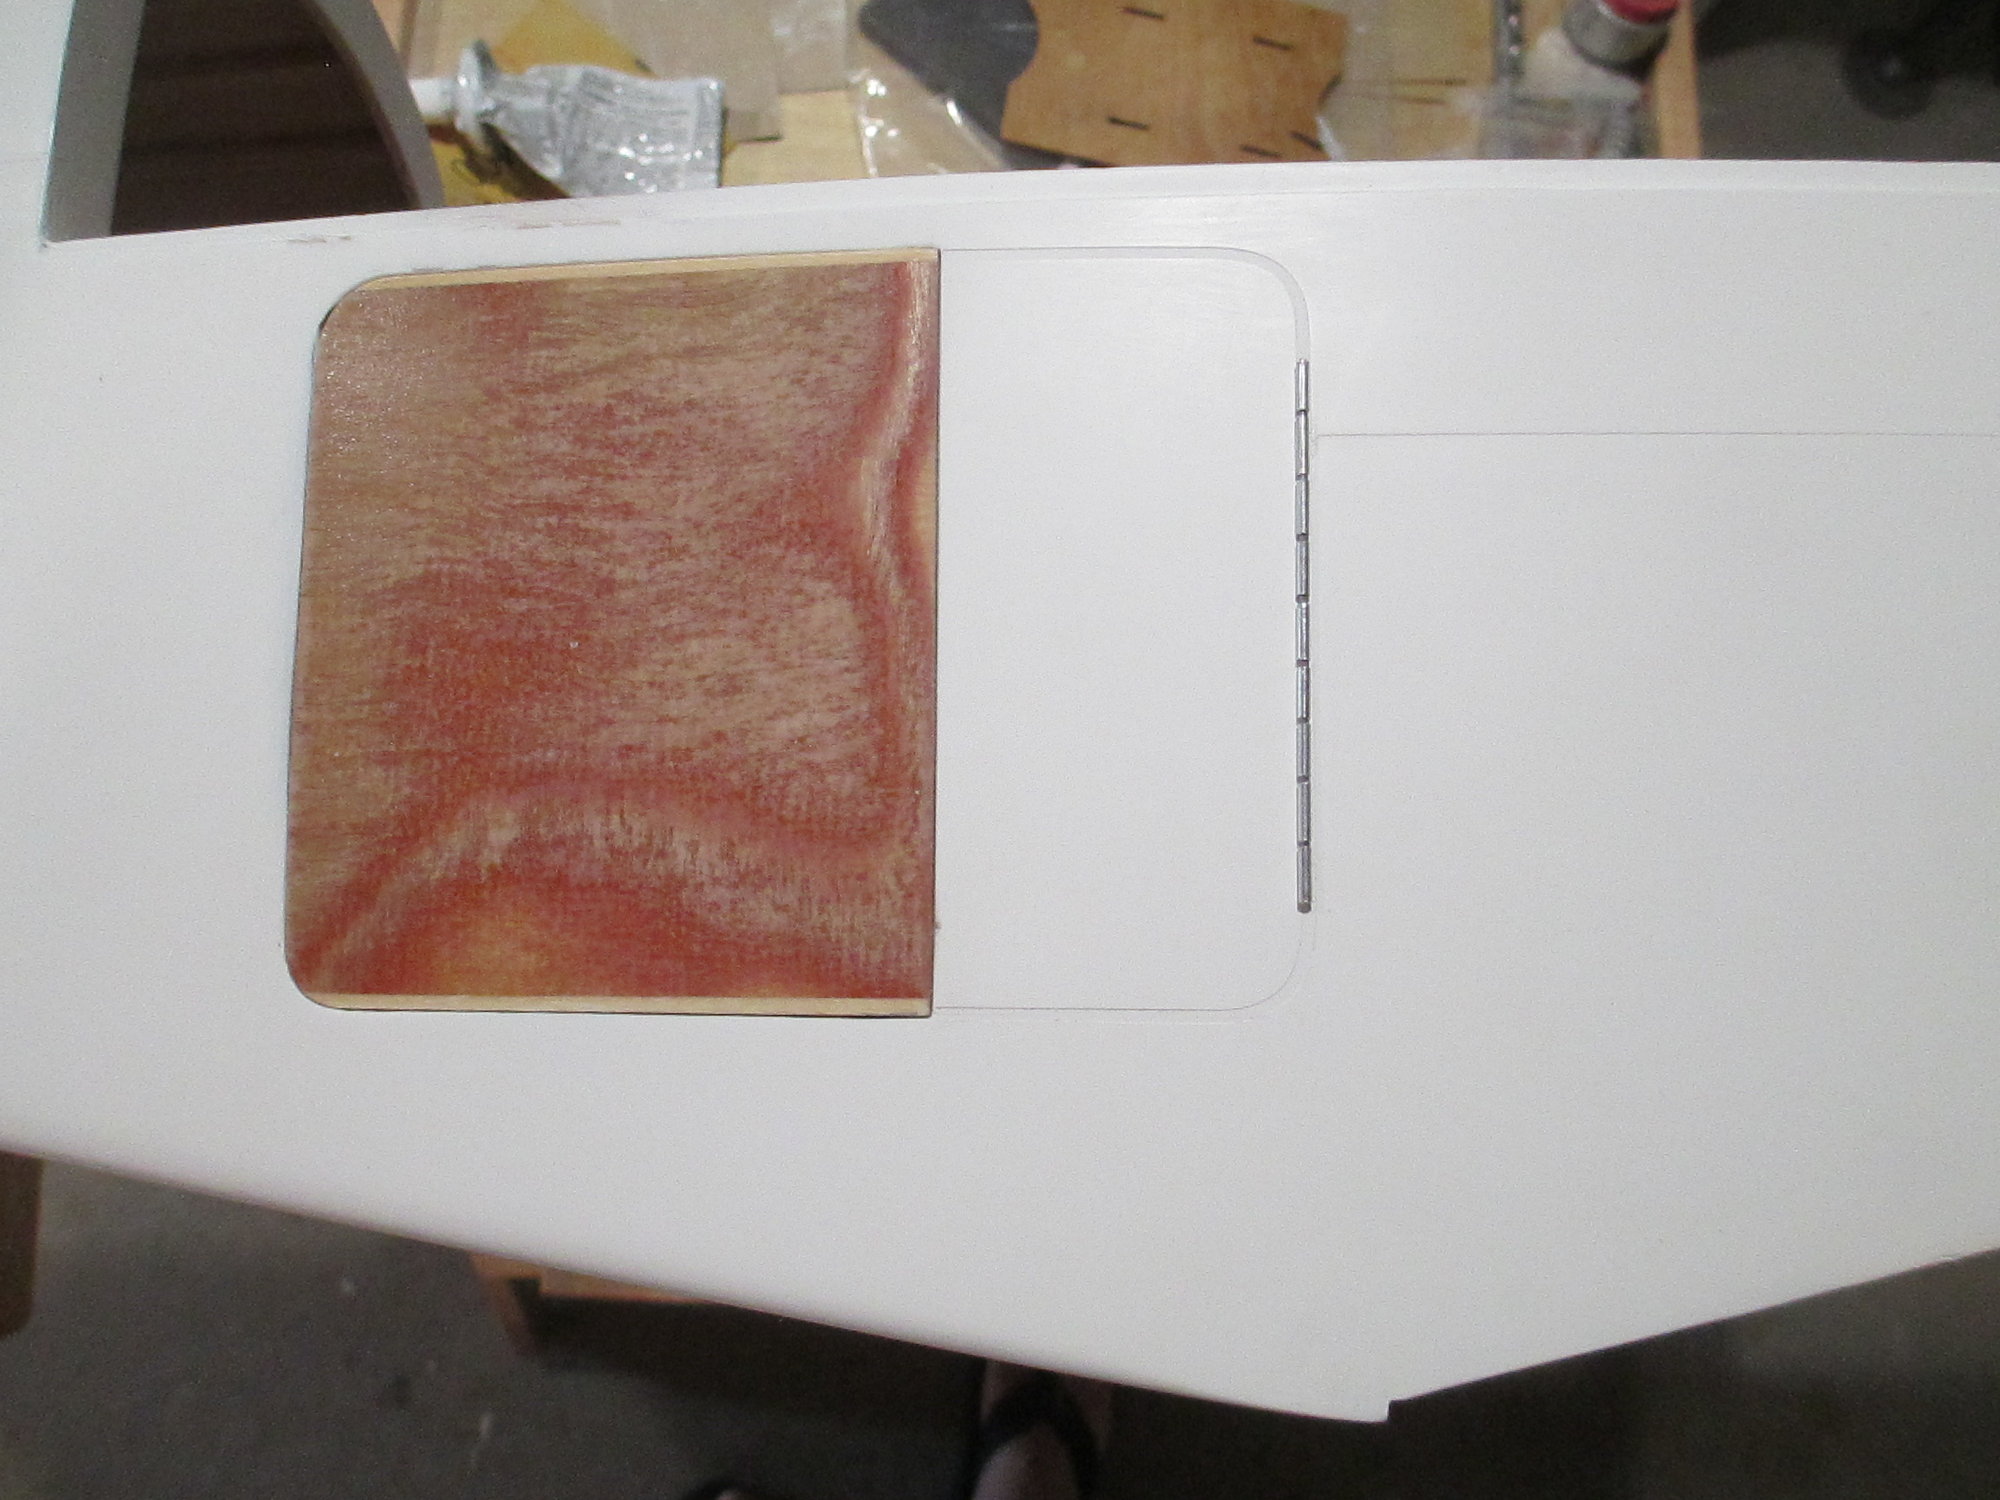
Glad to be working on something other than panel lines today. Replicating the cargo door hinge as shown in full scale is what I will be tasked with.
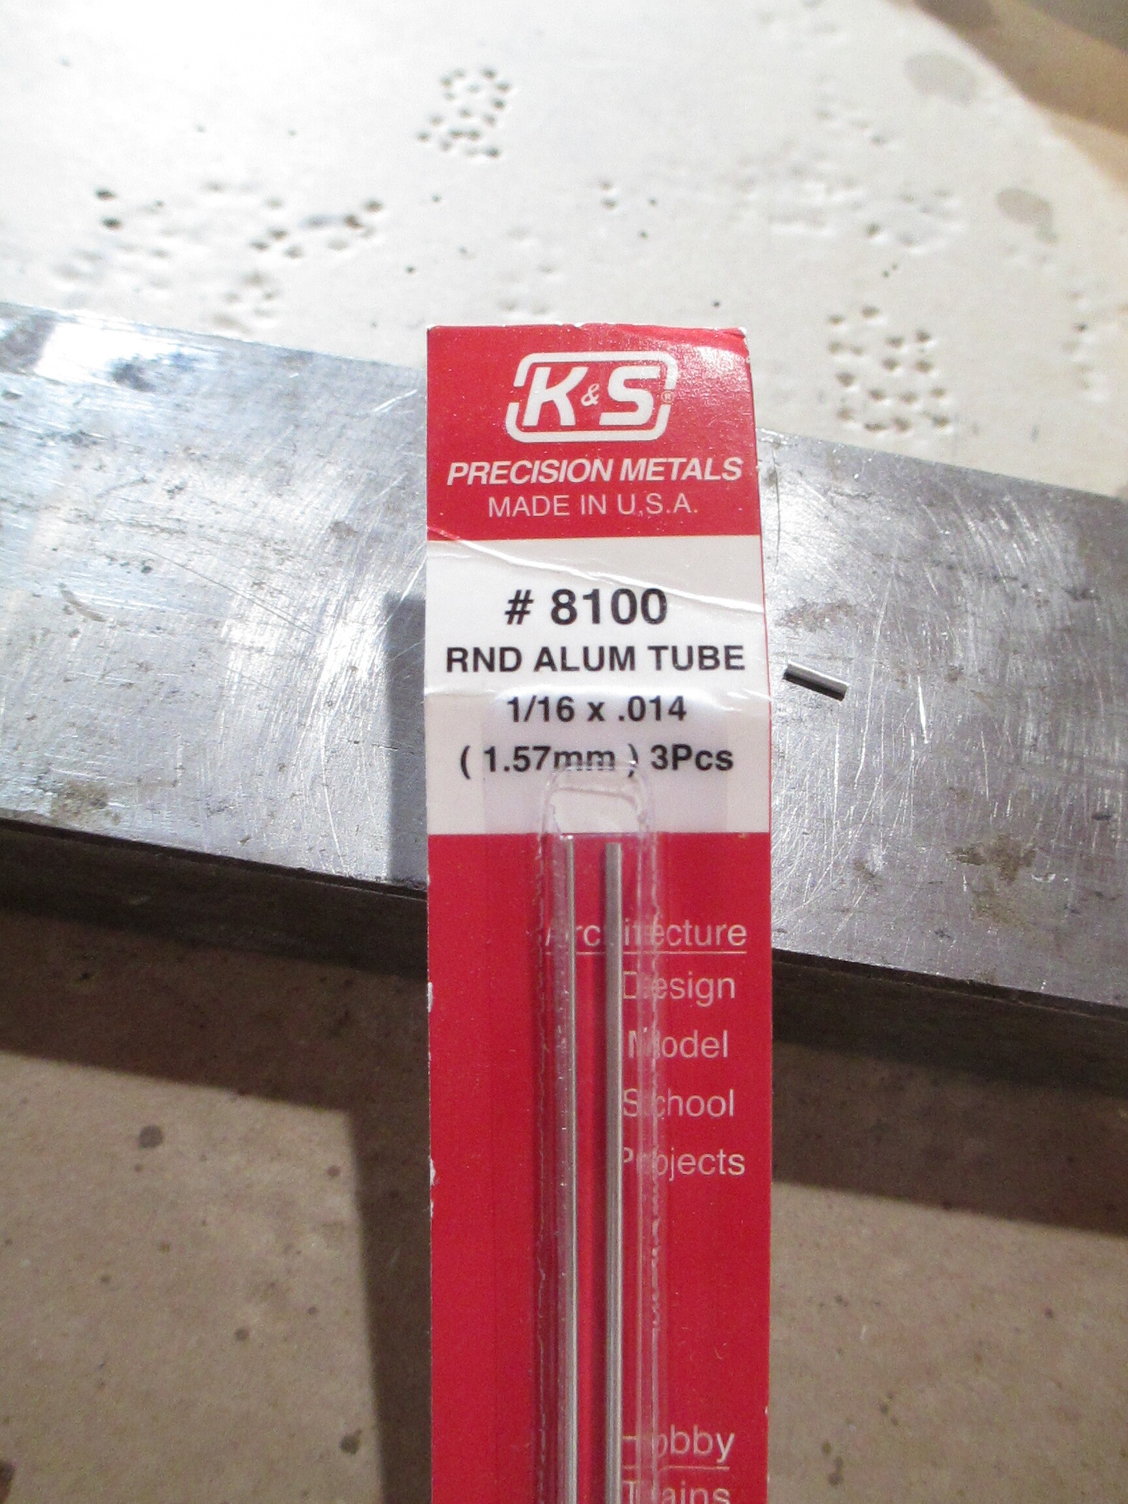
Unfortunately the hinge will not be functional. It need only give the illusion of an operational hinge. I'm using K&S aluminum tubing and a stainless rod (hinge pin) which slips inside of the tube.
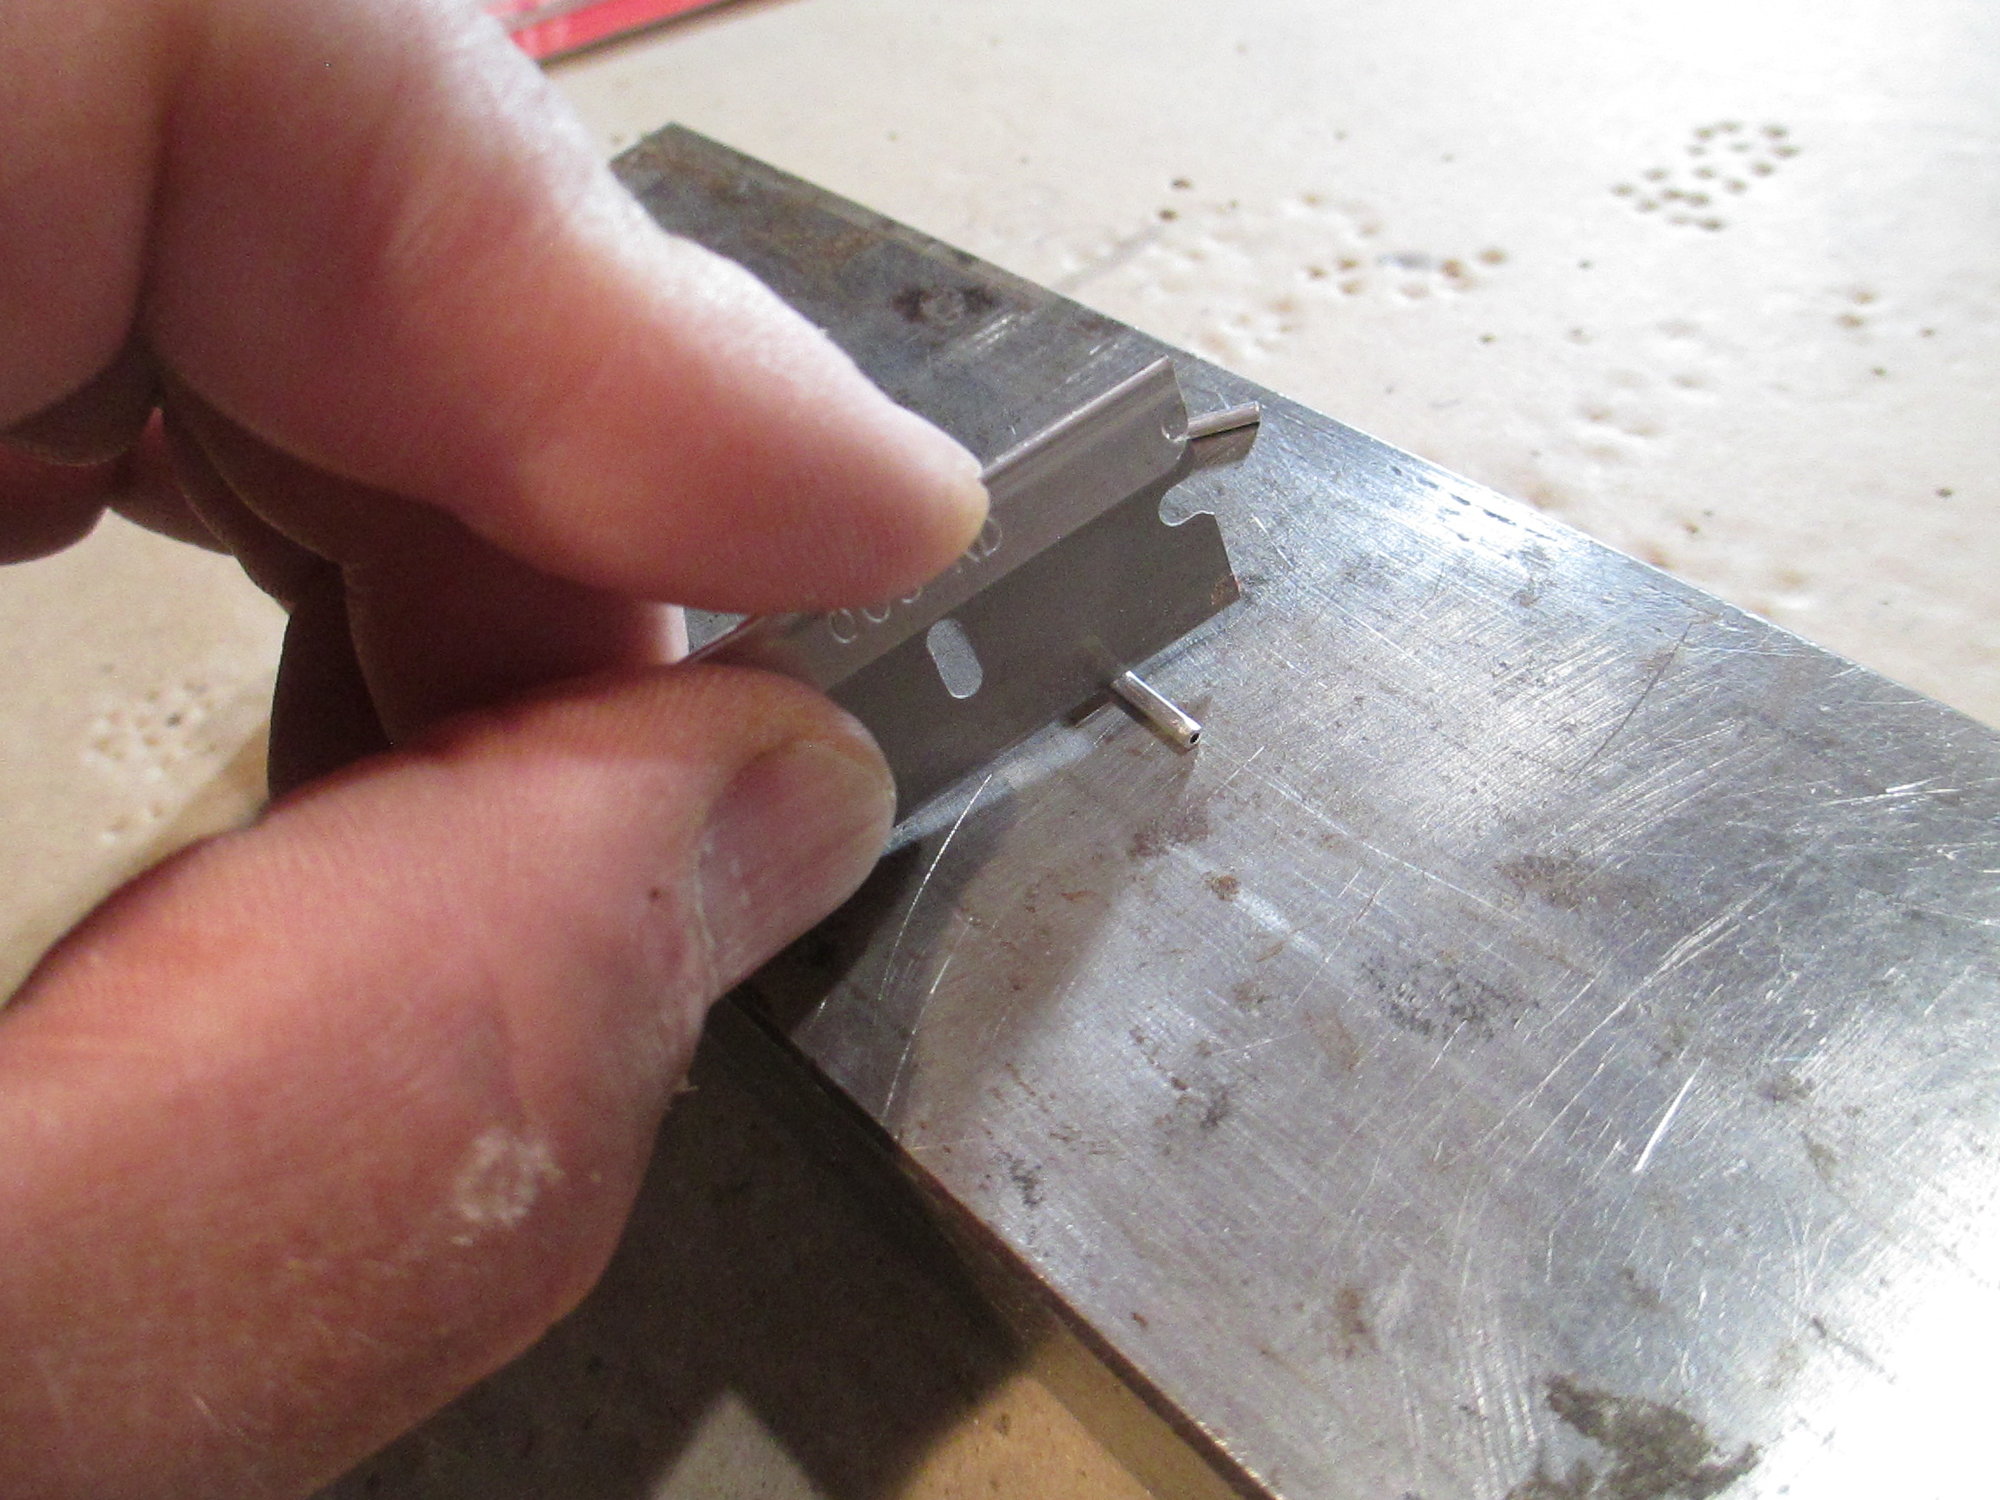
I determined that each hinge segment should be 1/4" in length. The easiest way to cut them is with a sharp single edge razor placed over the top of the tubing. Using gentle downward pressure on the blade, roll the tubing. You need not sever the tubing completely, scoring the tubing will make it easy to snap them off with your hand.
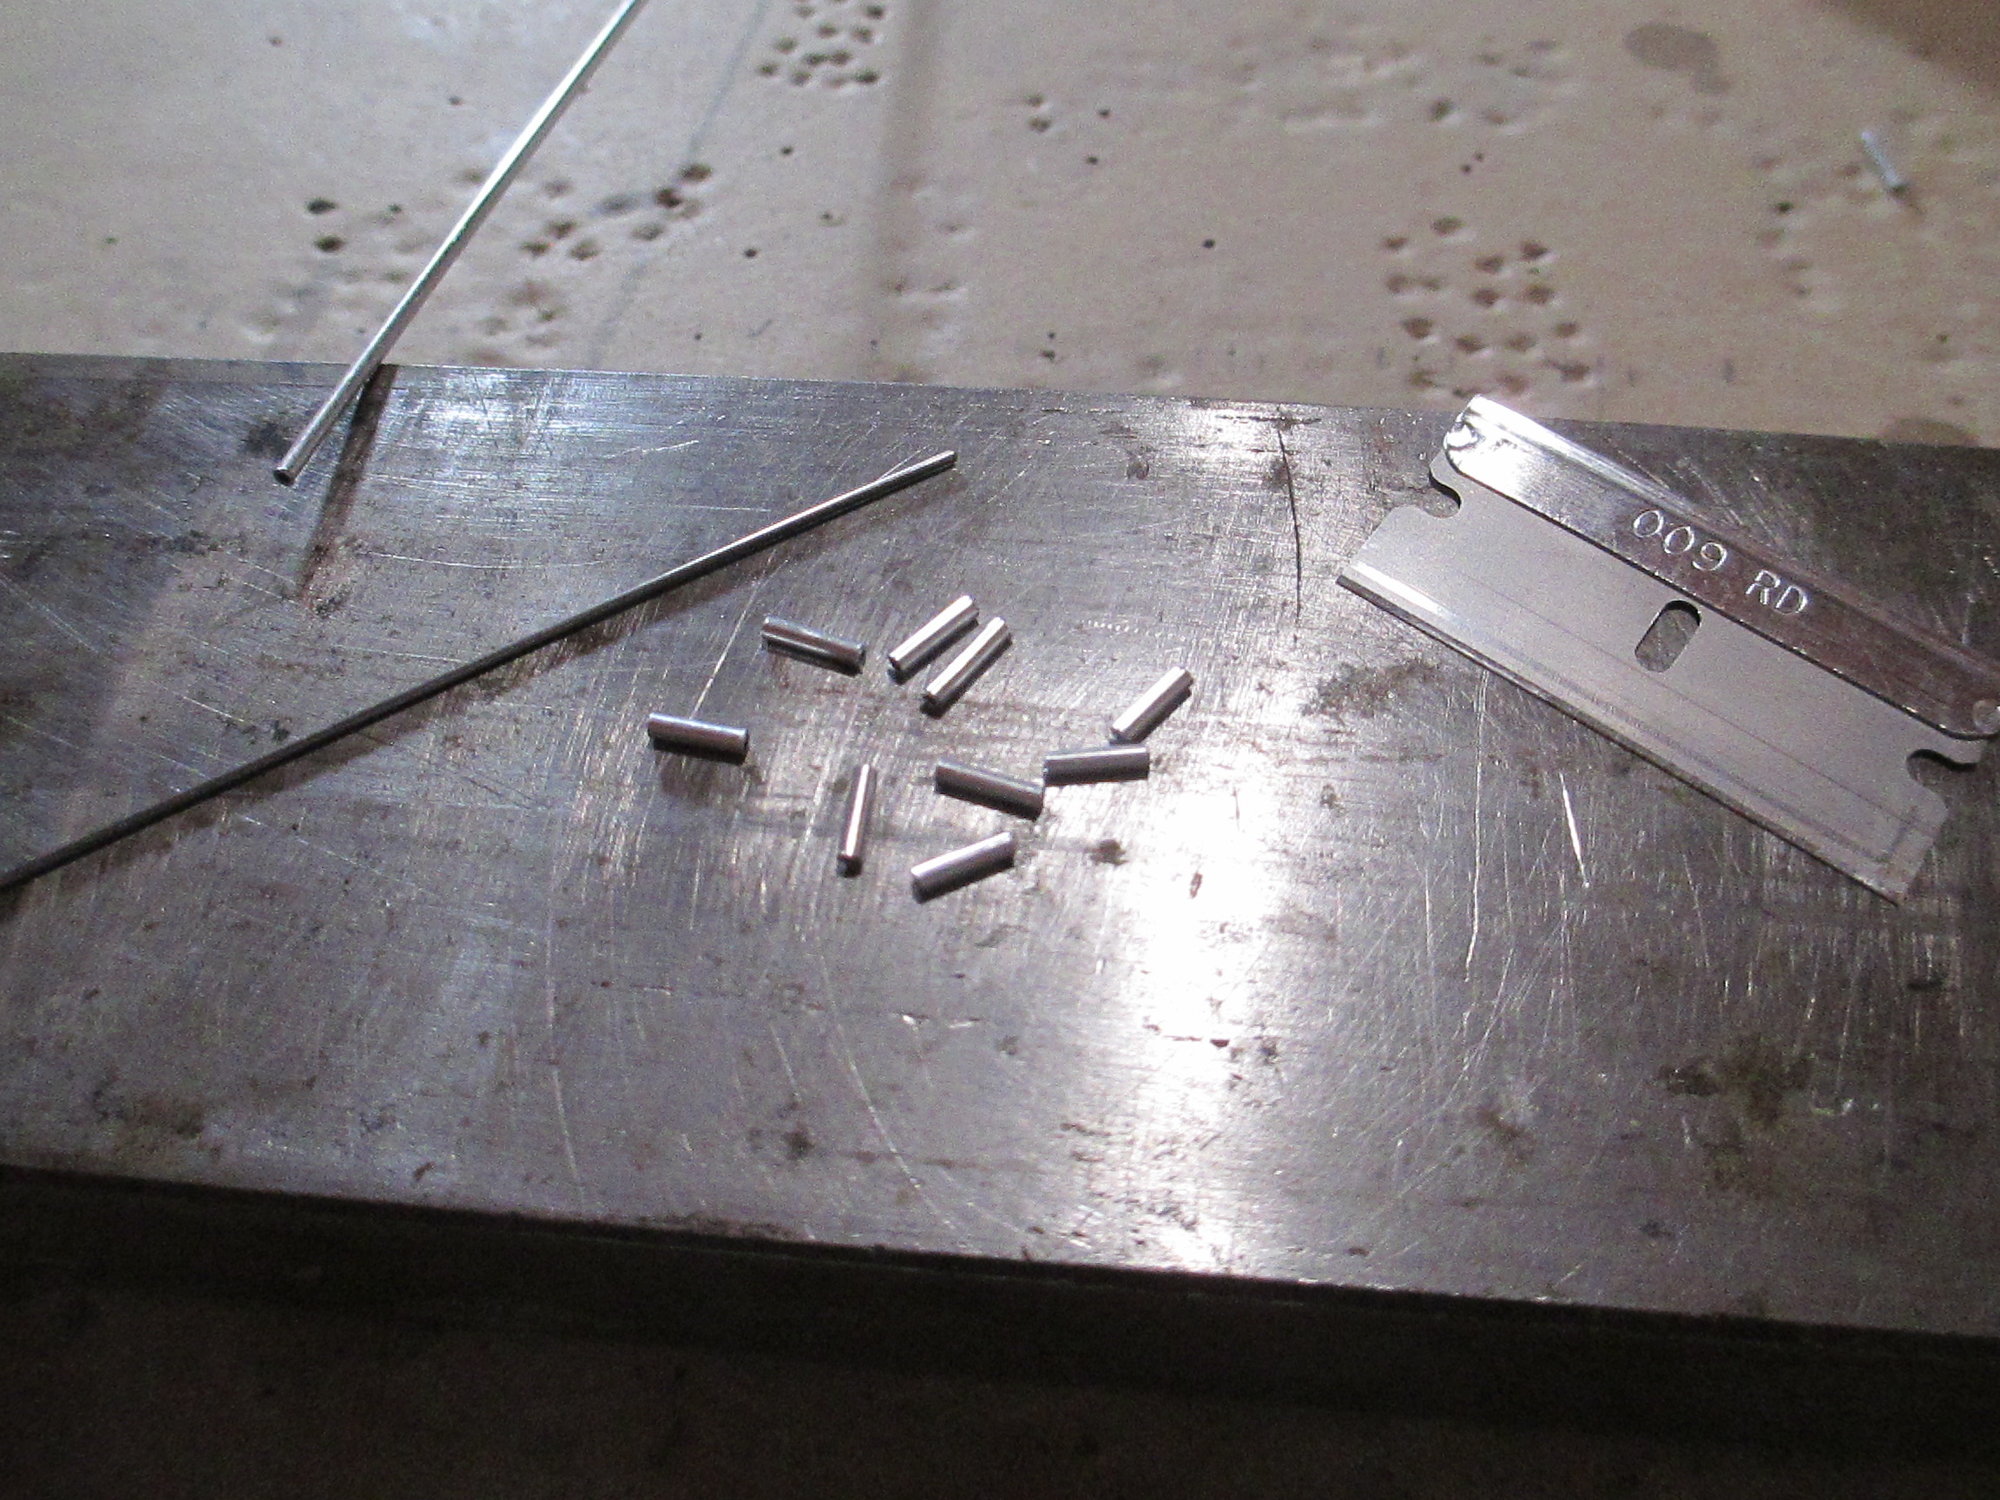
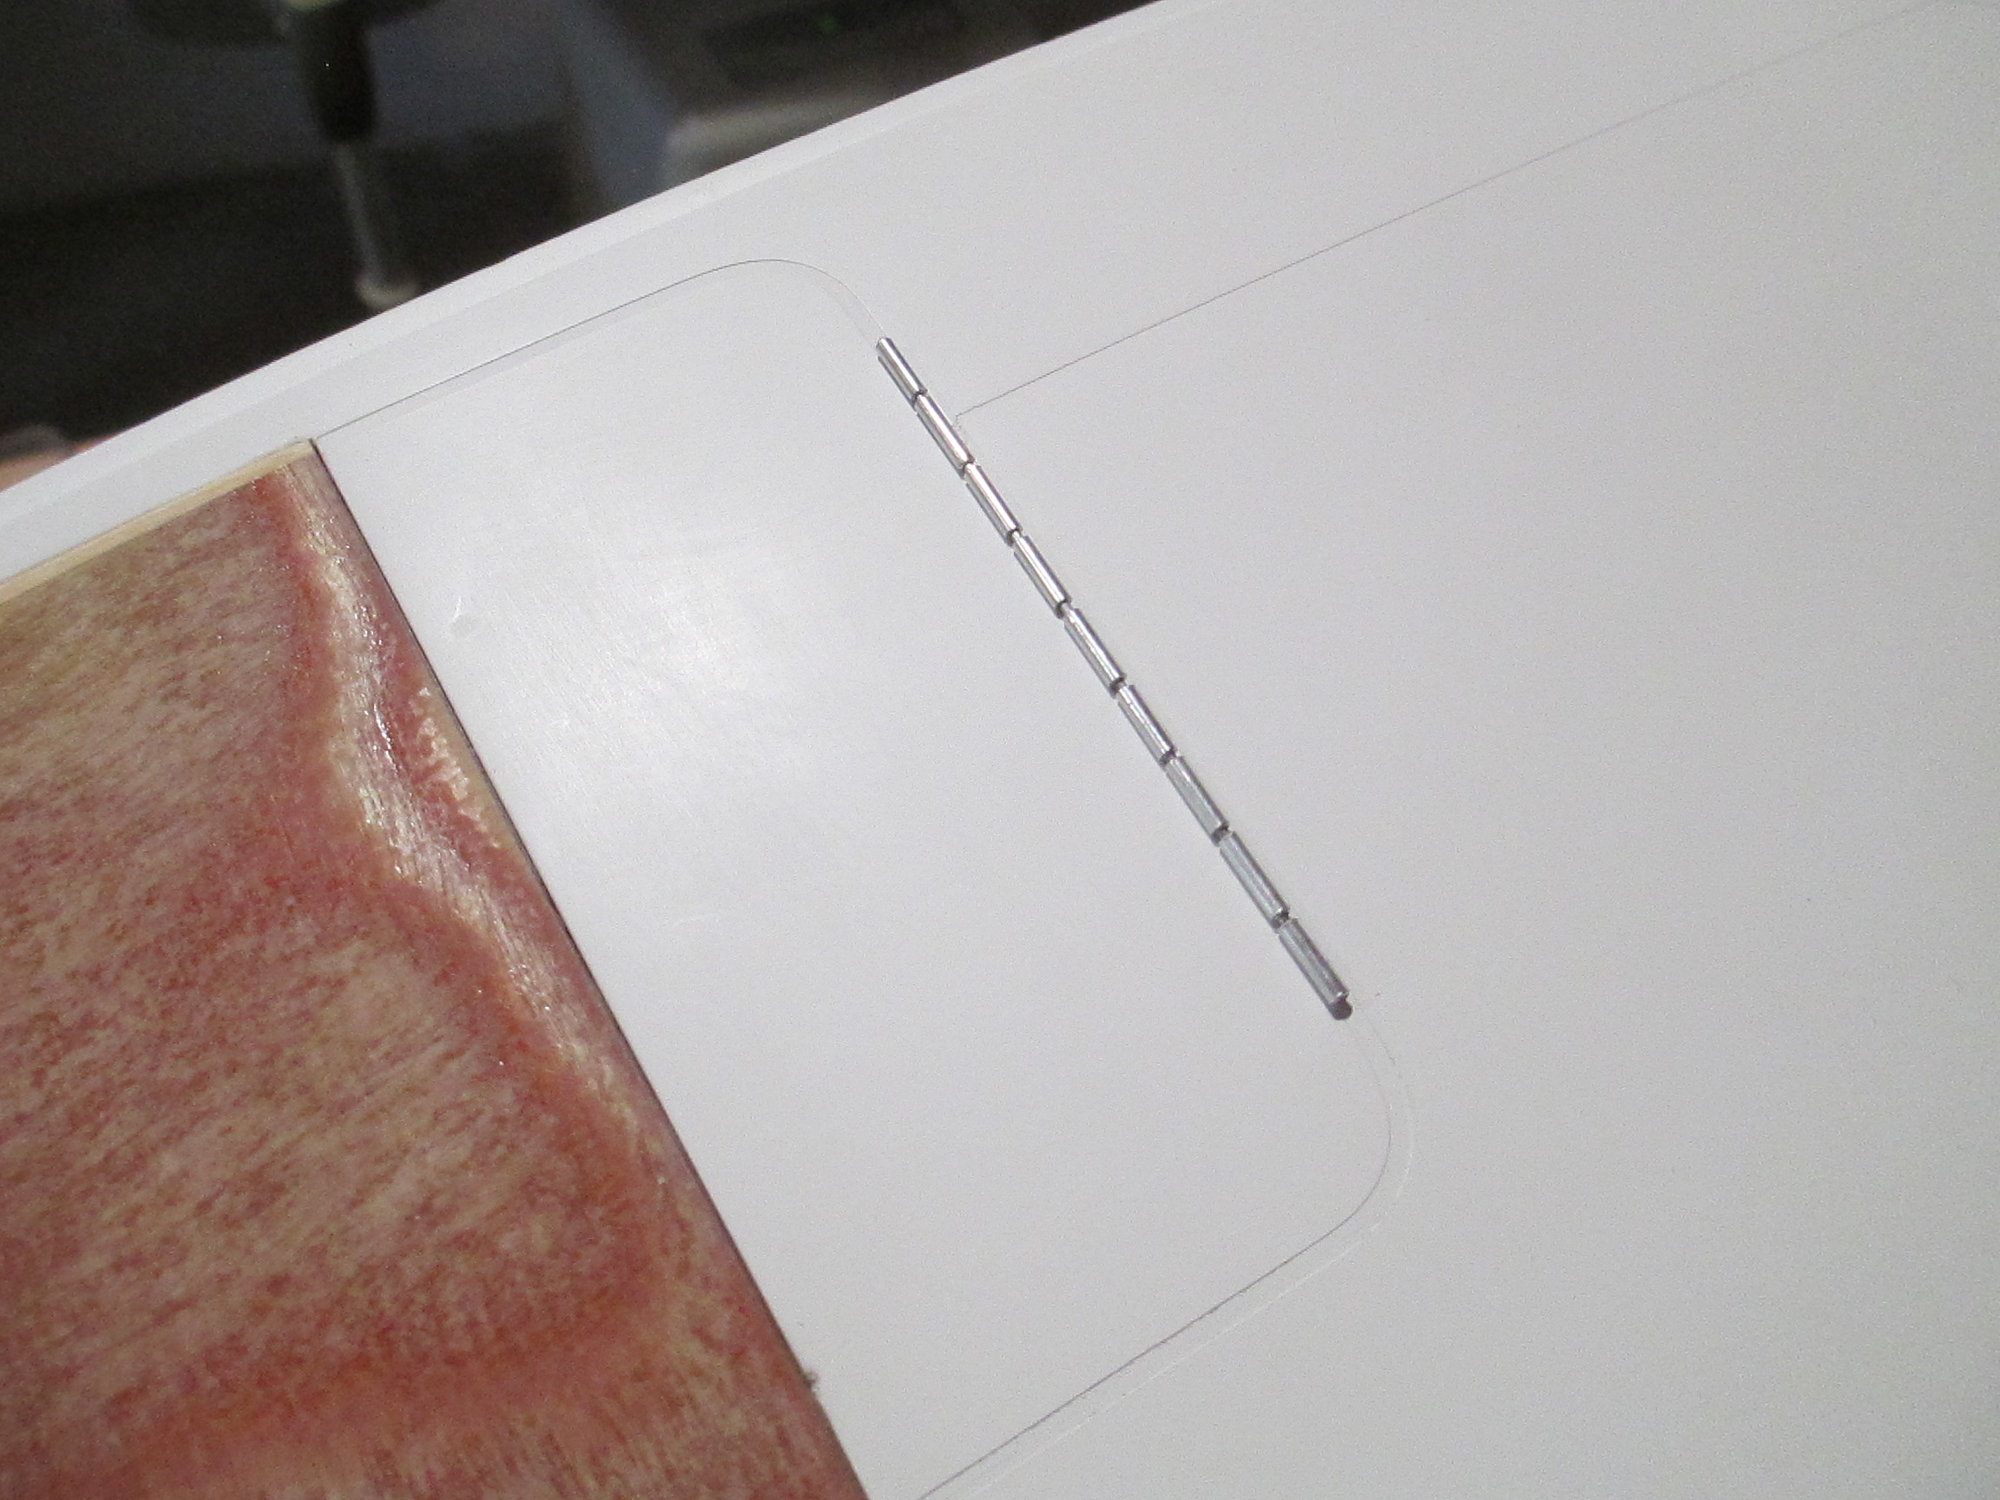
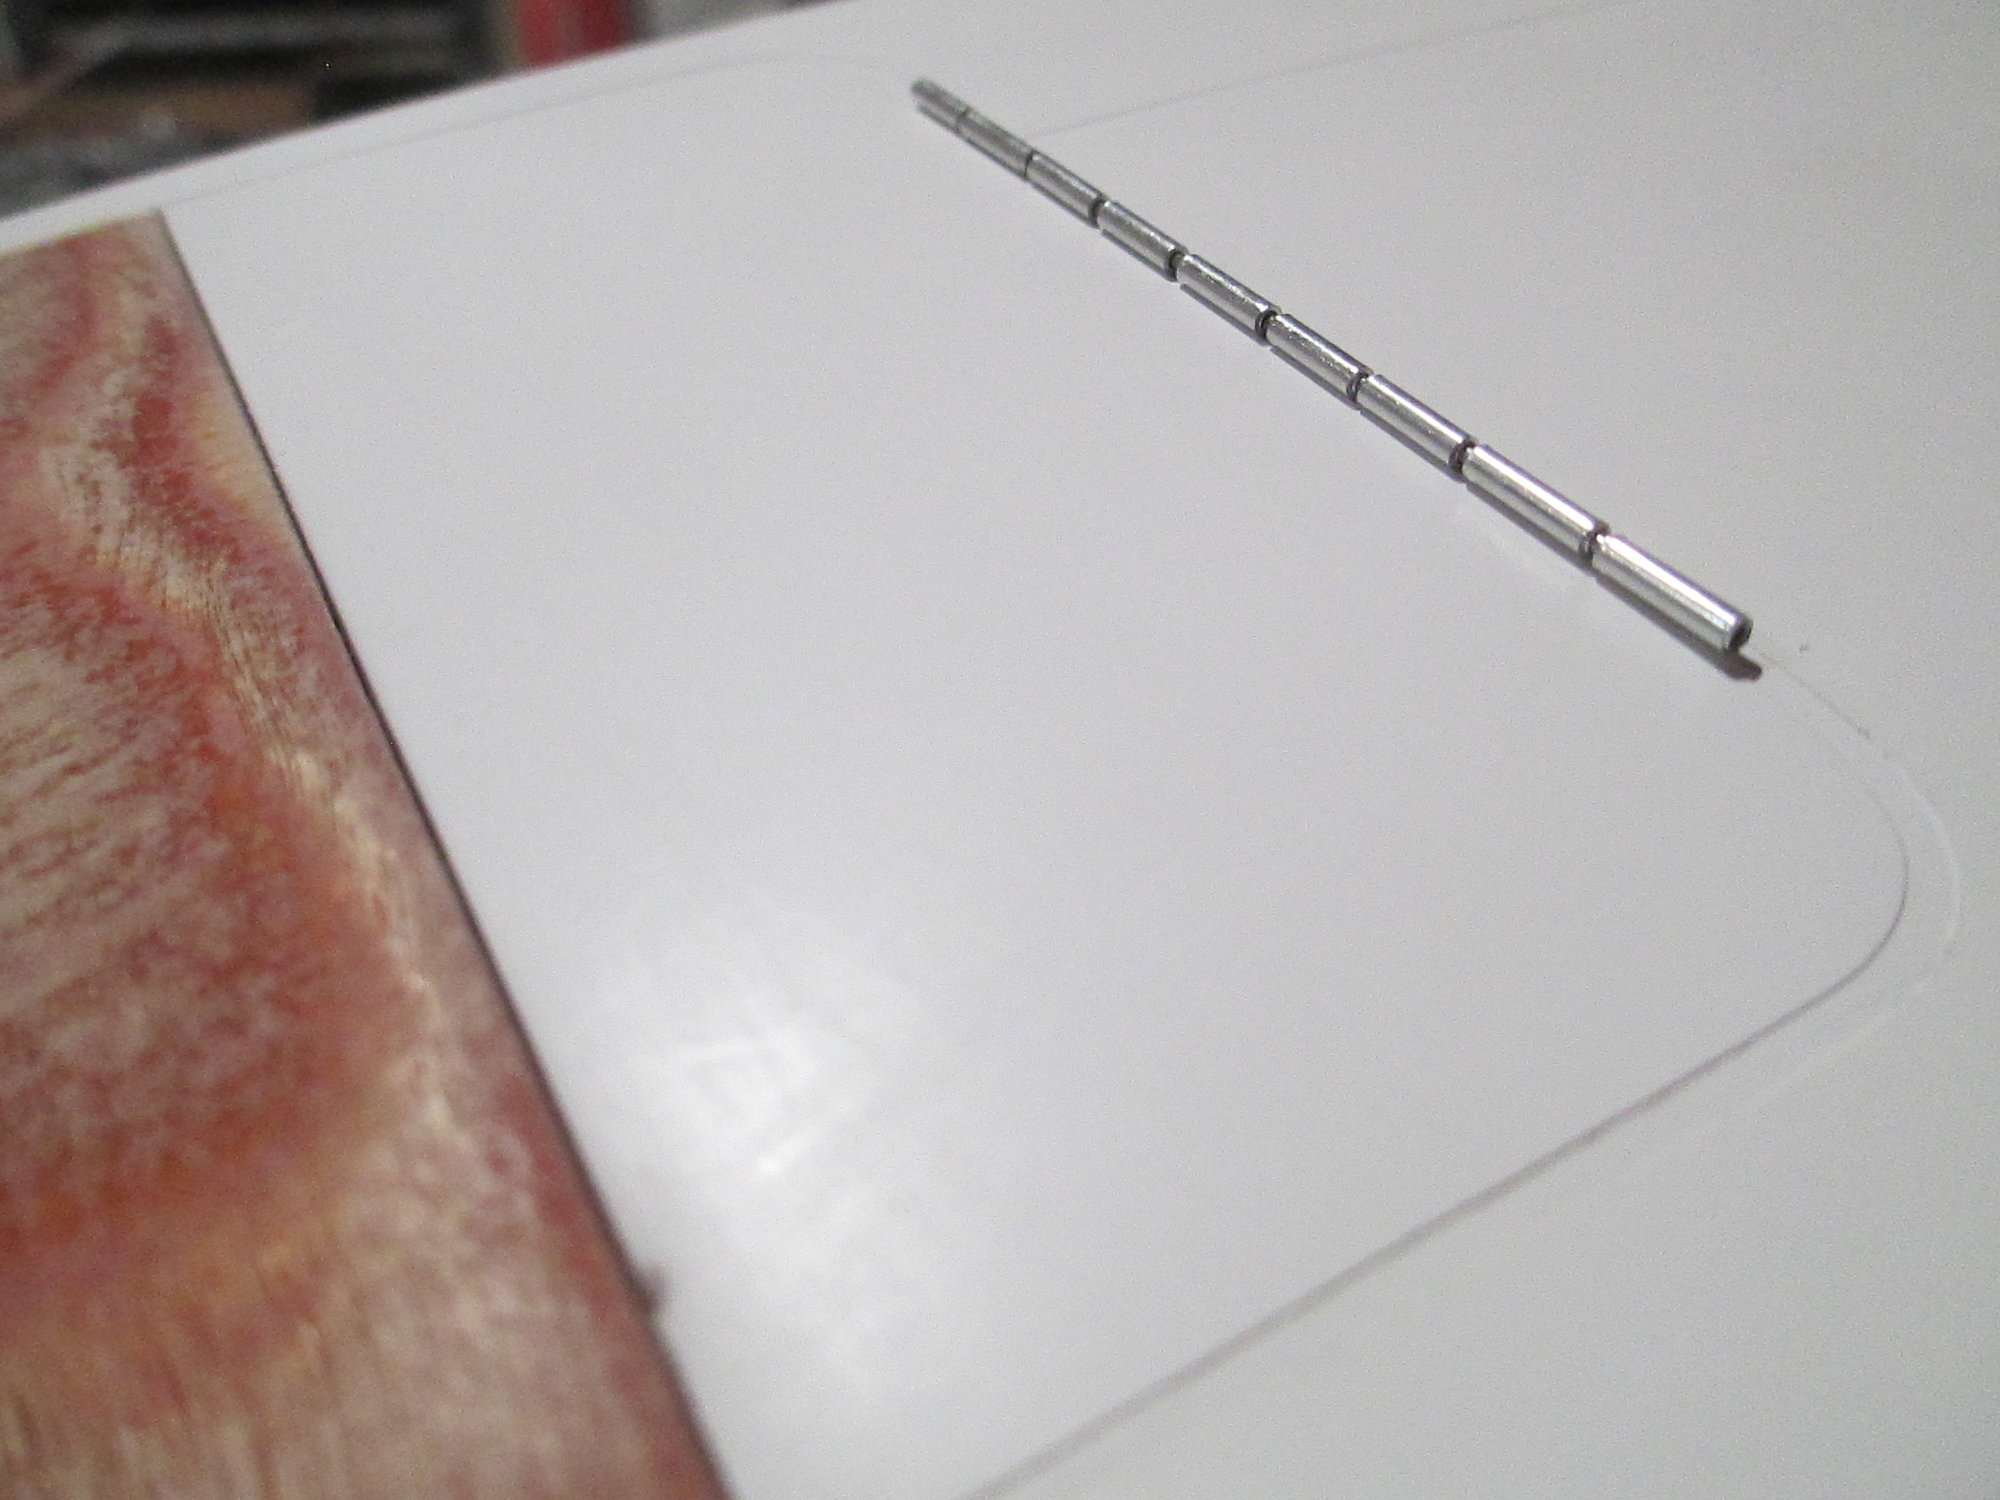
All of the segments have been cut...
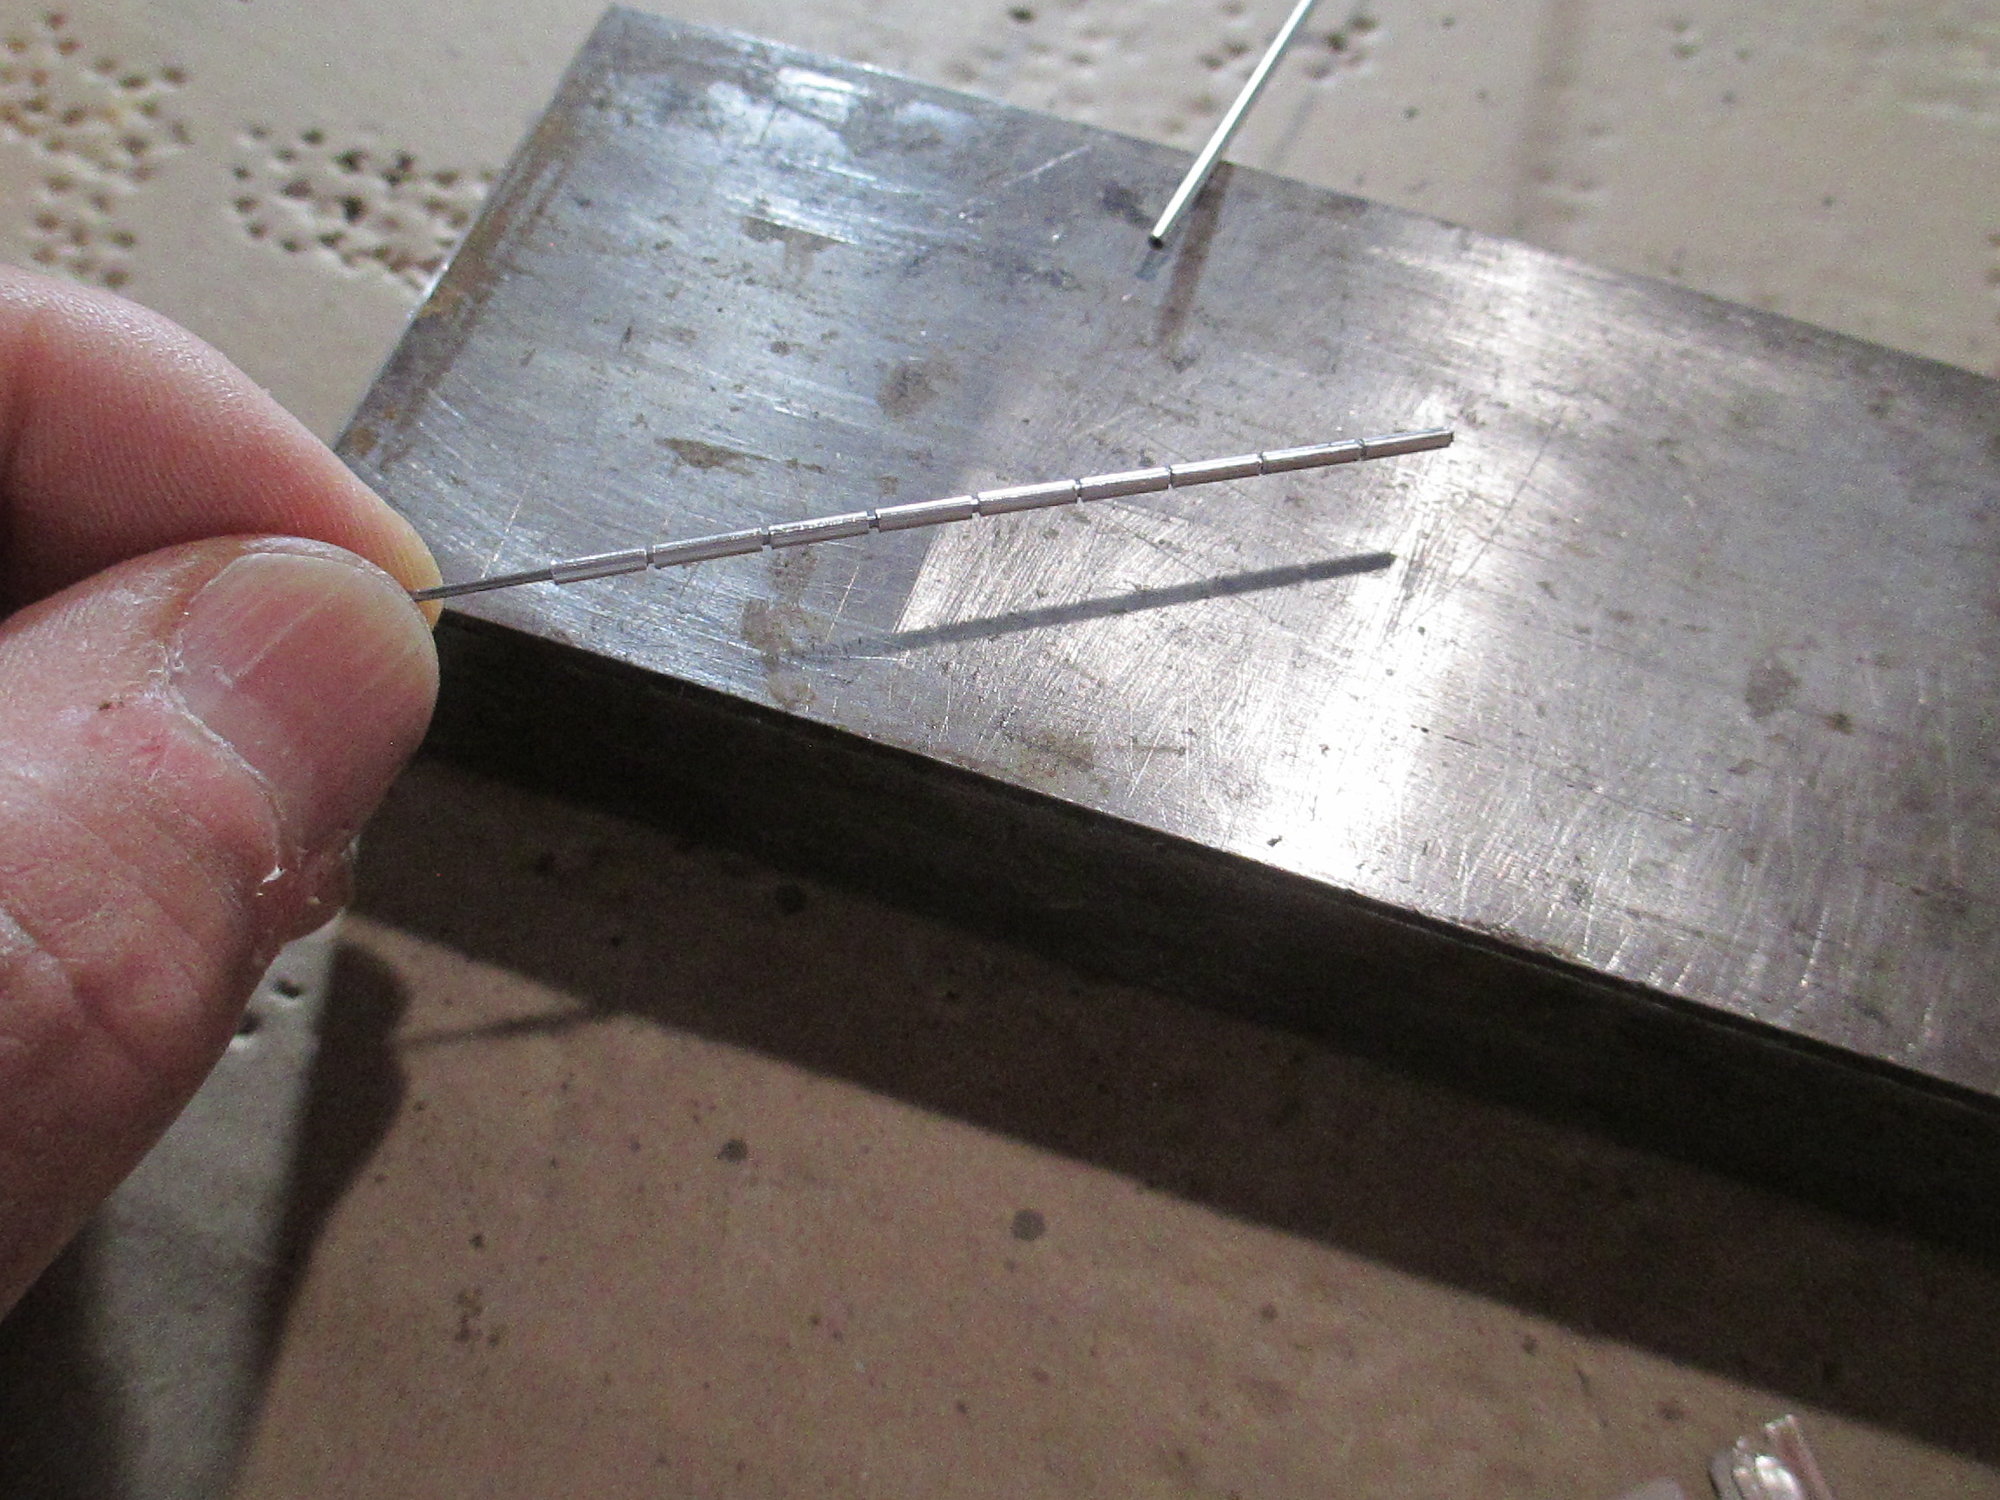
...and slipped over the stainless rod. Just space each segment to your liking, if you want adding a drop of thin CA at each segment will lock everything into place. I did not use CA, I placed a small drop of epoxy on the fuselage using a wooden toothpick on each segment to hold them in place .
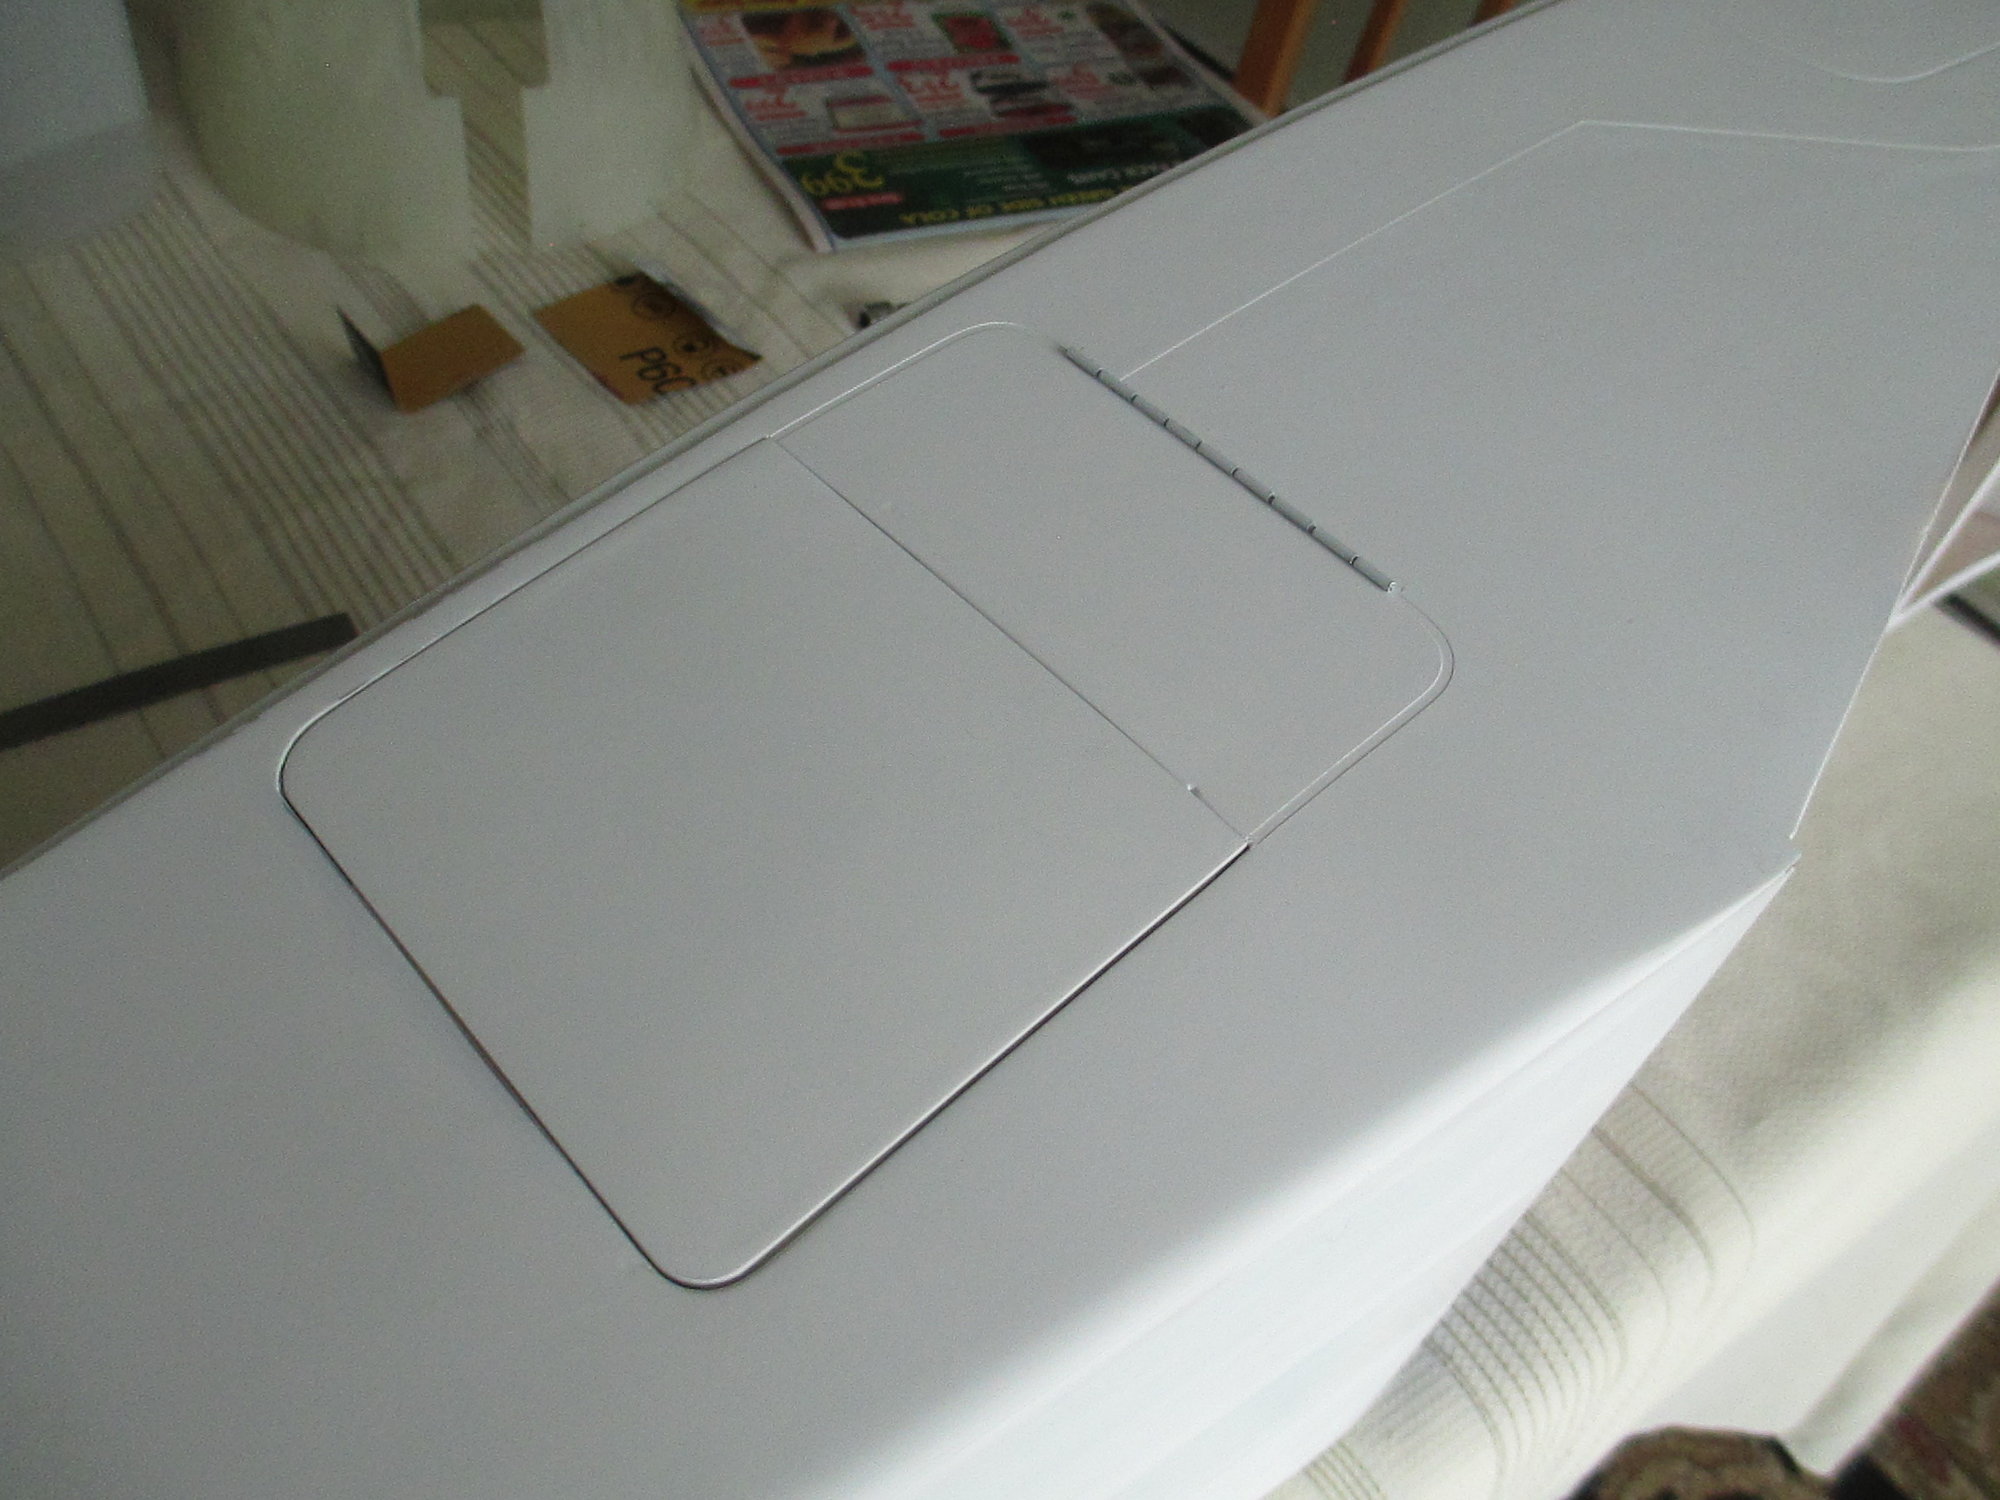
Here is the final product. I think once painted it will look like the real thing. Note: only half of the cargo door will be removable giving access to all of the switches as well as a place to fuel the tank.
Last edited by VincentJ; 07-27-2020 at 07:45 AM.
07-28-2020, 07:58 AM
#1223
Thread Starter
I would like to have this door hinged so it would swing out and to the right. Any suggestions as to which hinges will work best? I don't want anything mounted on the outside for obvious reasons...
Last edited by VincentJ; 07-28-2020 at 08:01 AM.
07-28-2020, 11:52 AM
#1225
Thread Starter