Lanier RC 84" Stinger
 07-09-2023, 11:51 PM
#26

Thread Starter
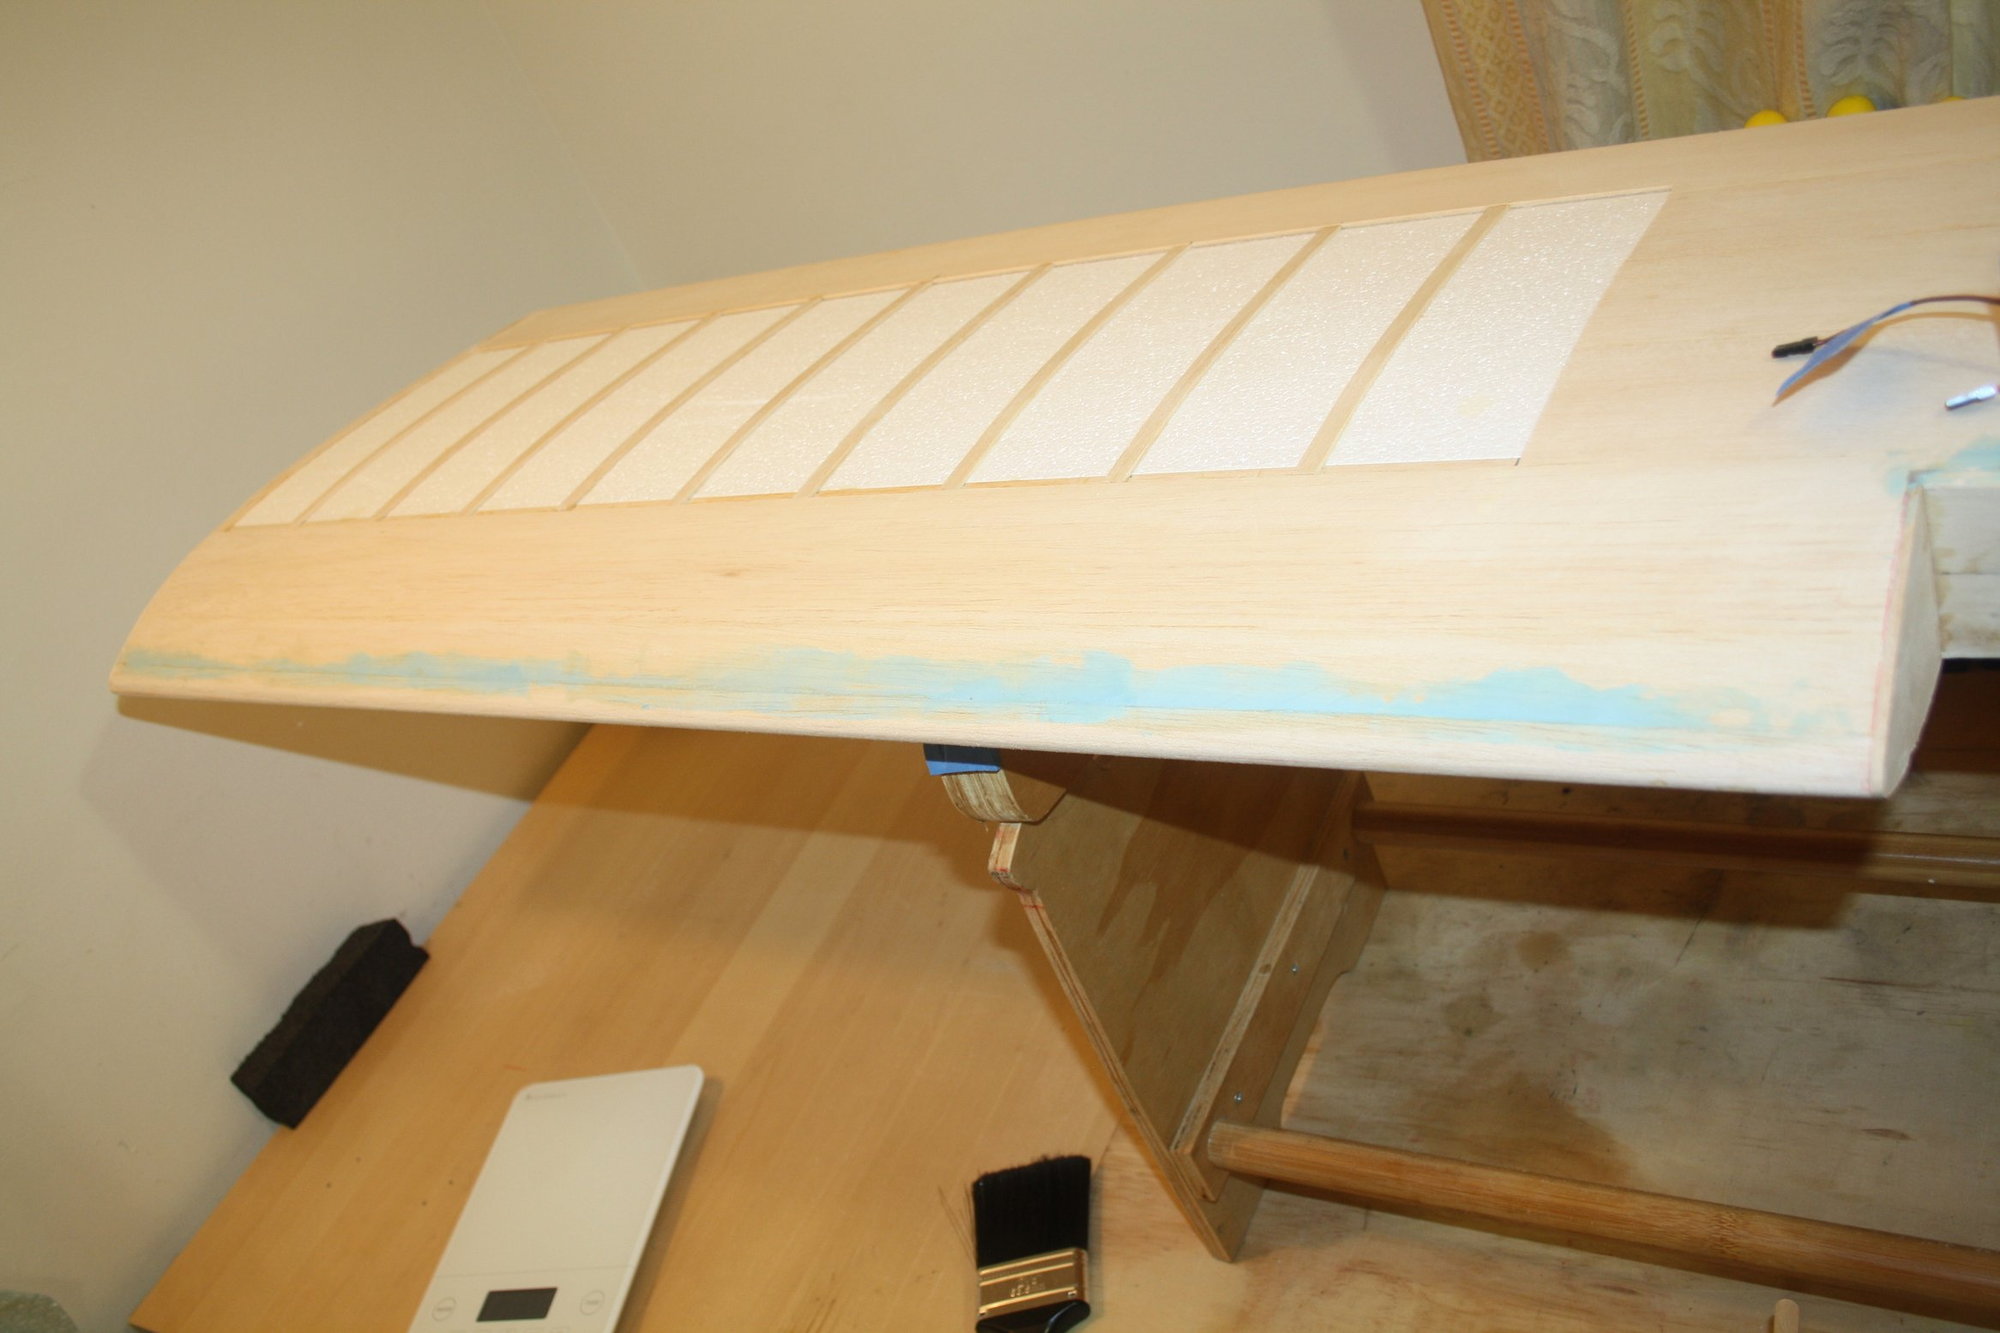
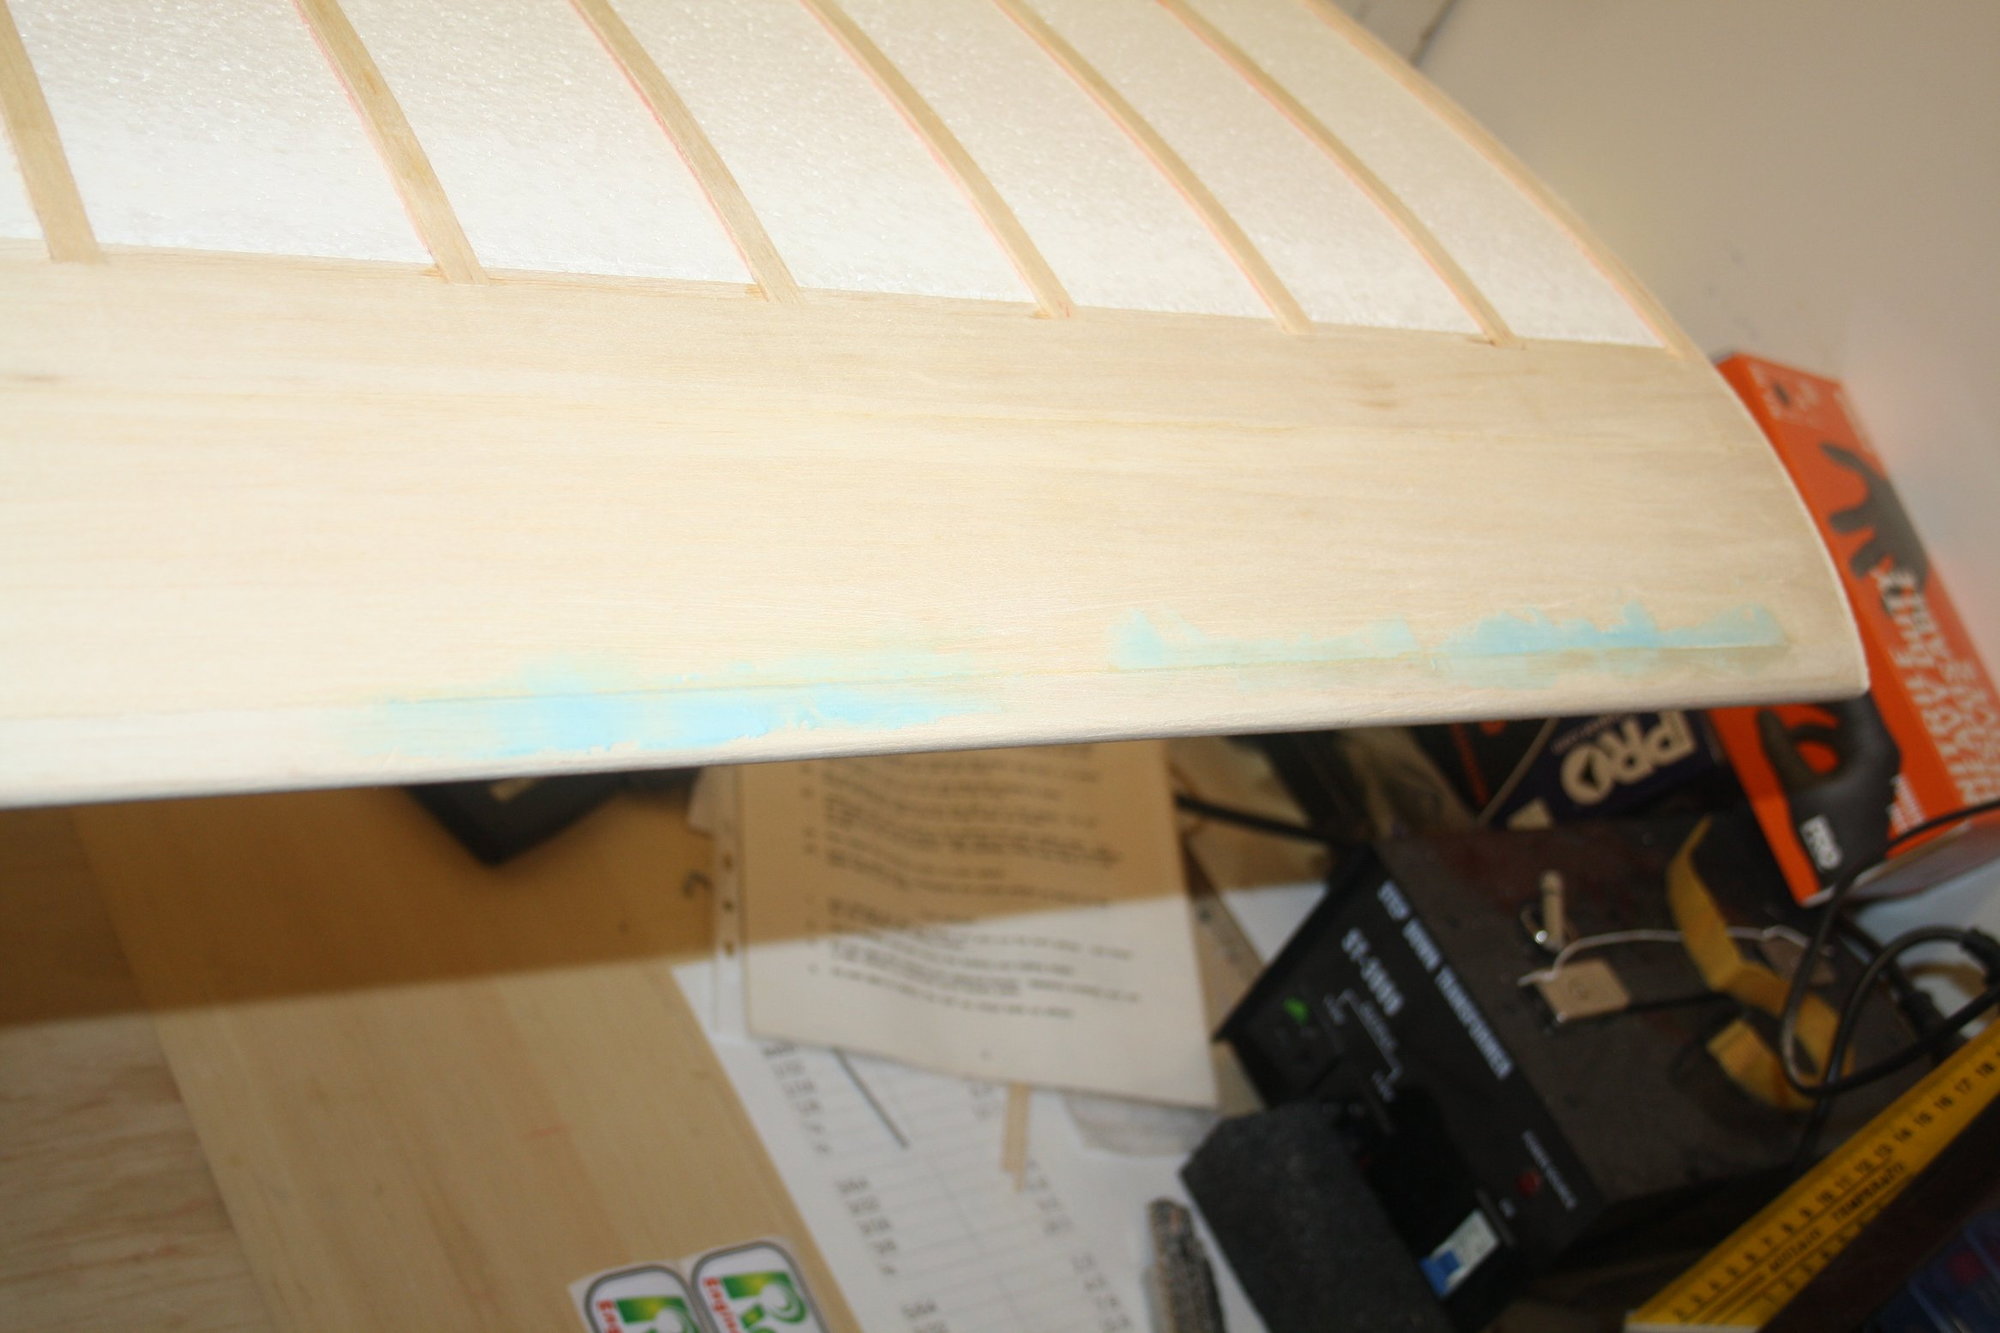
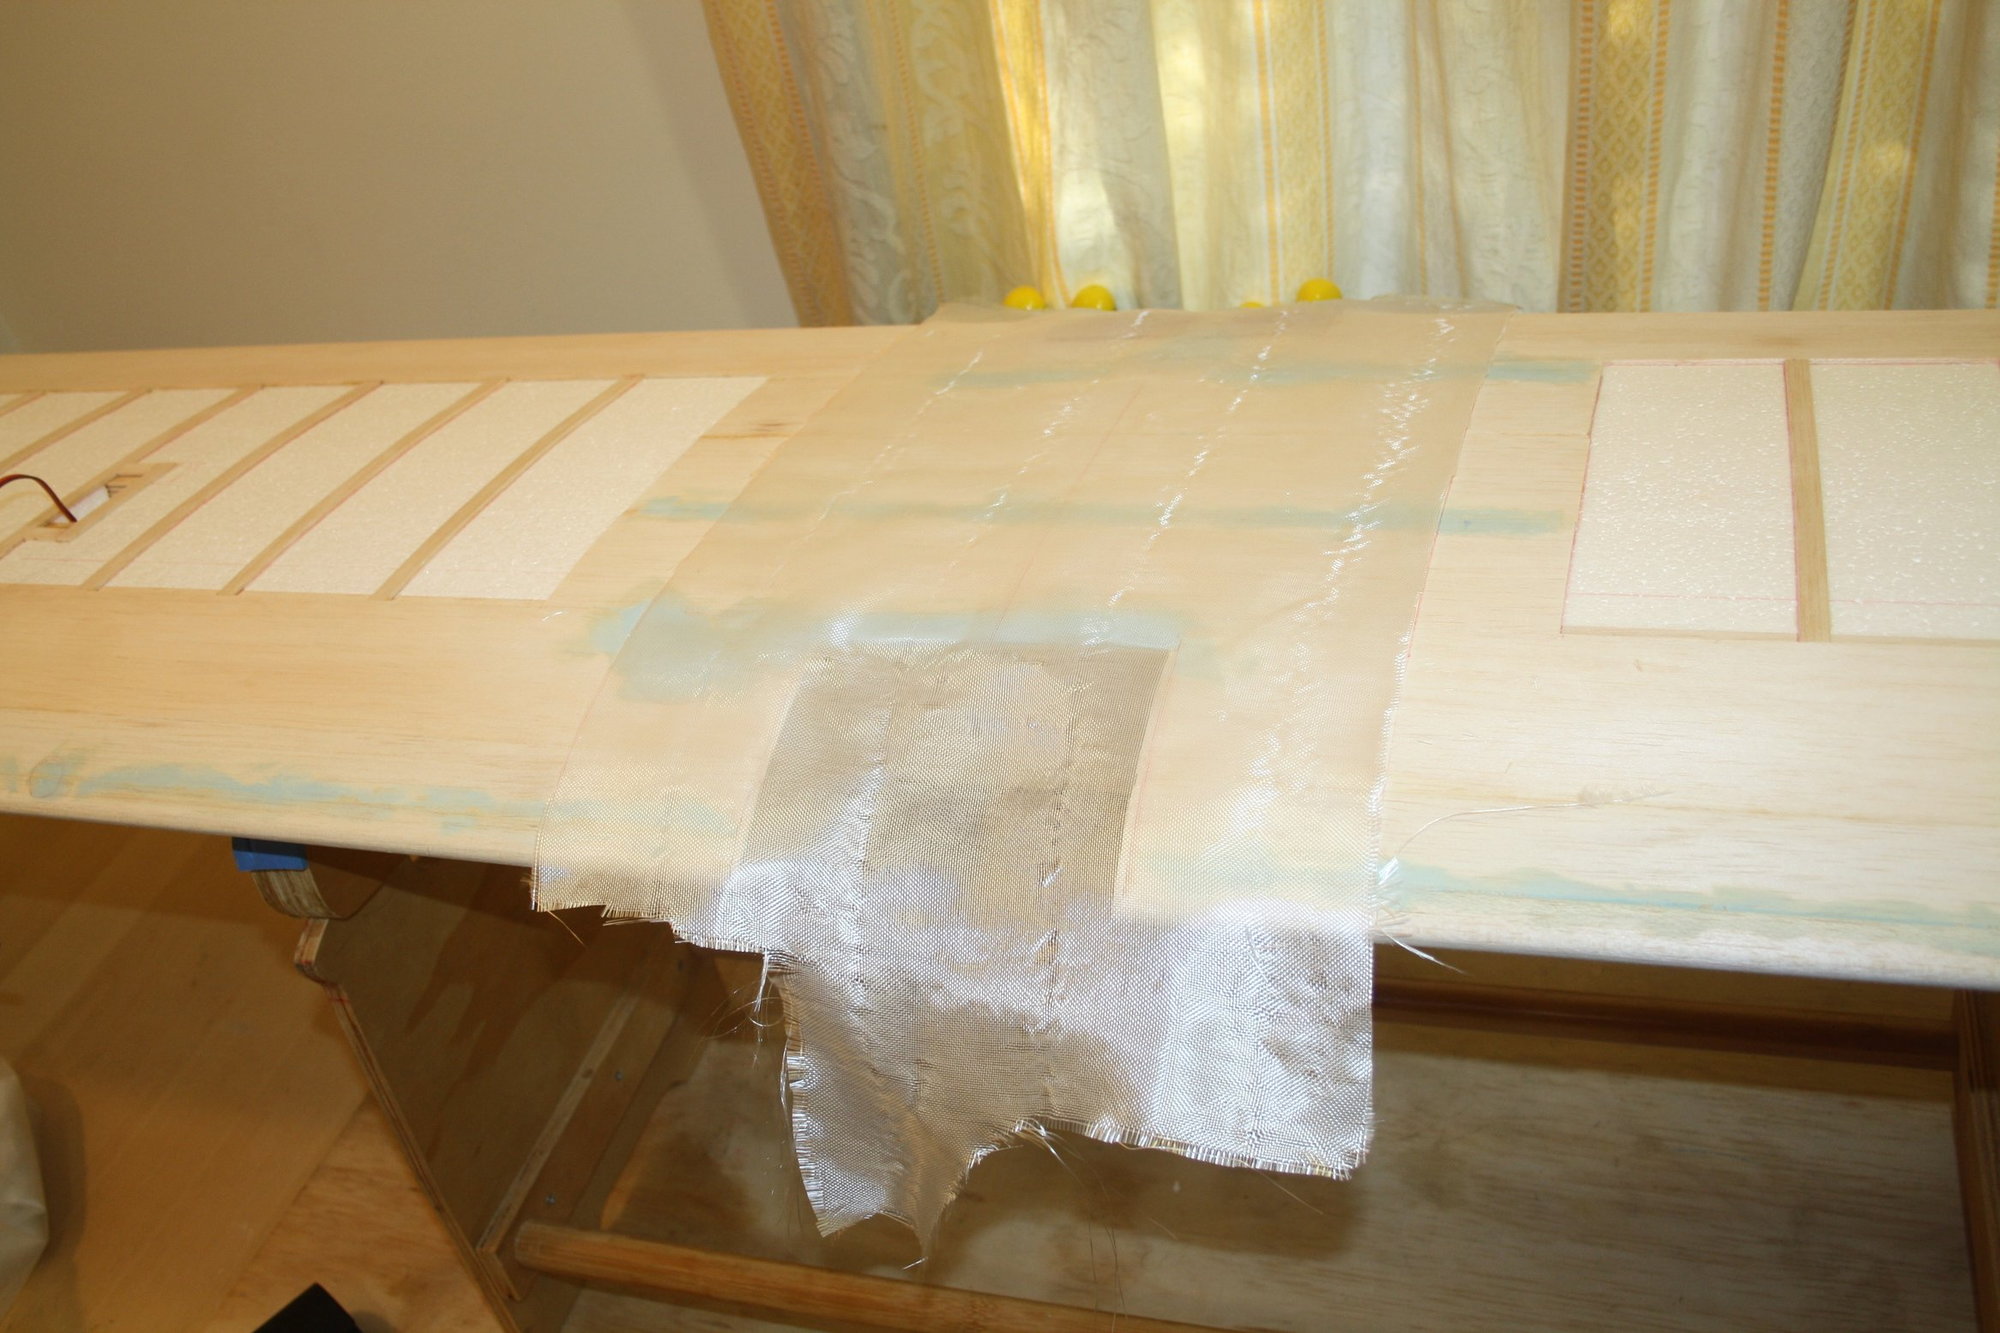
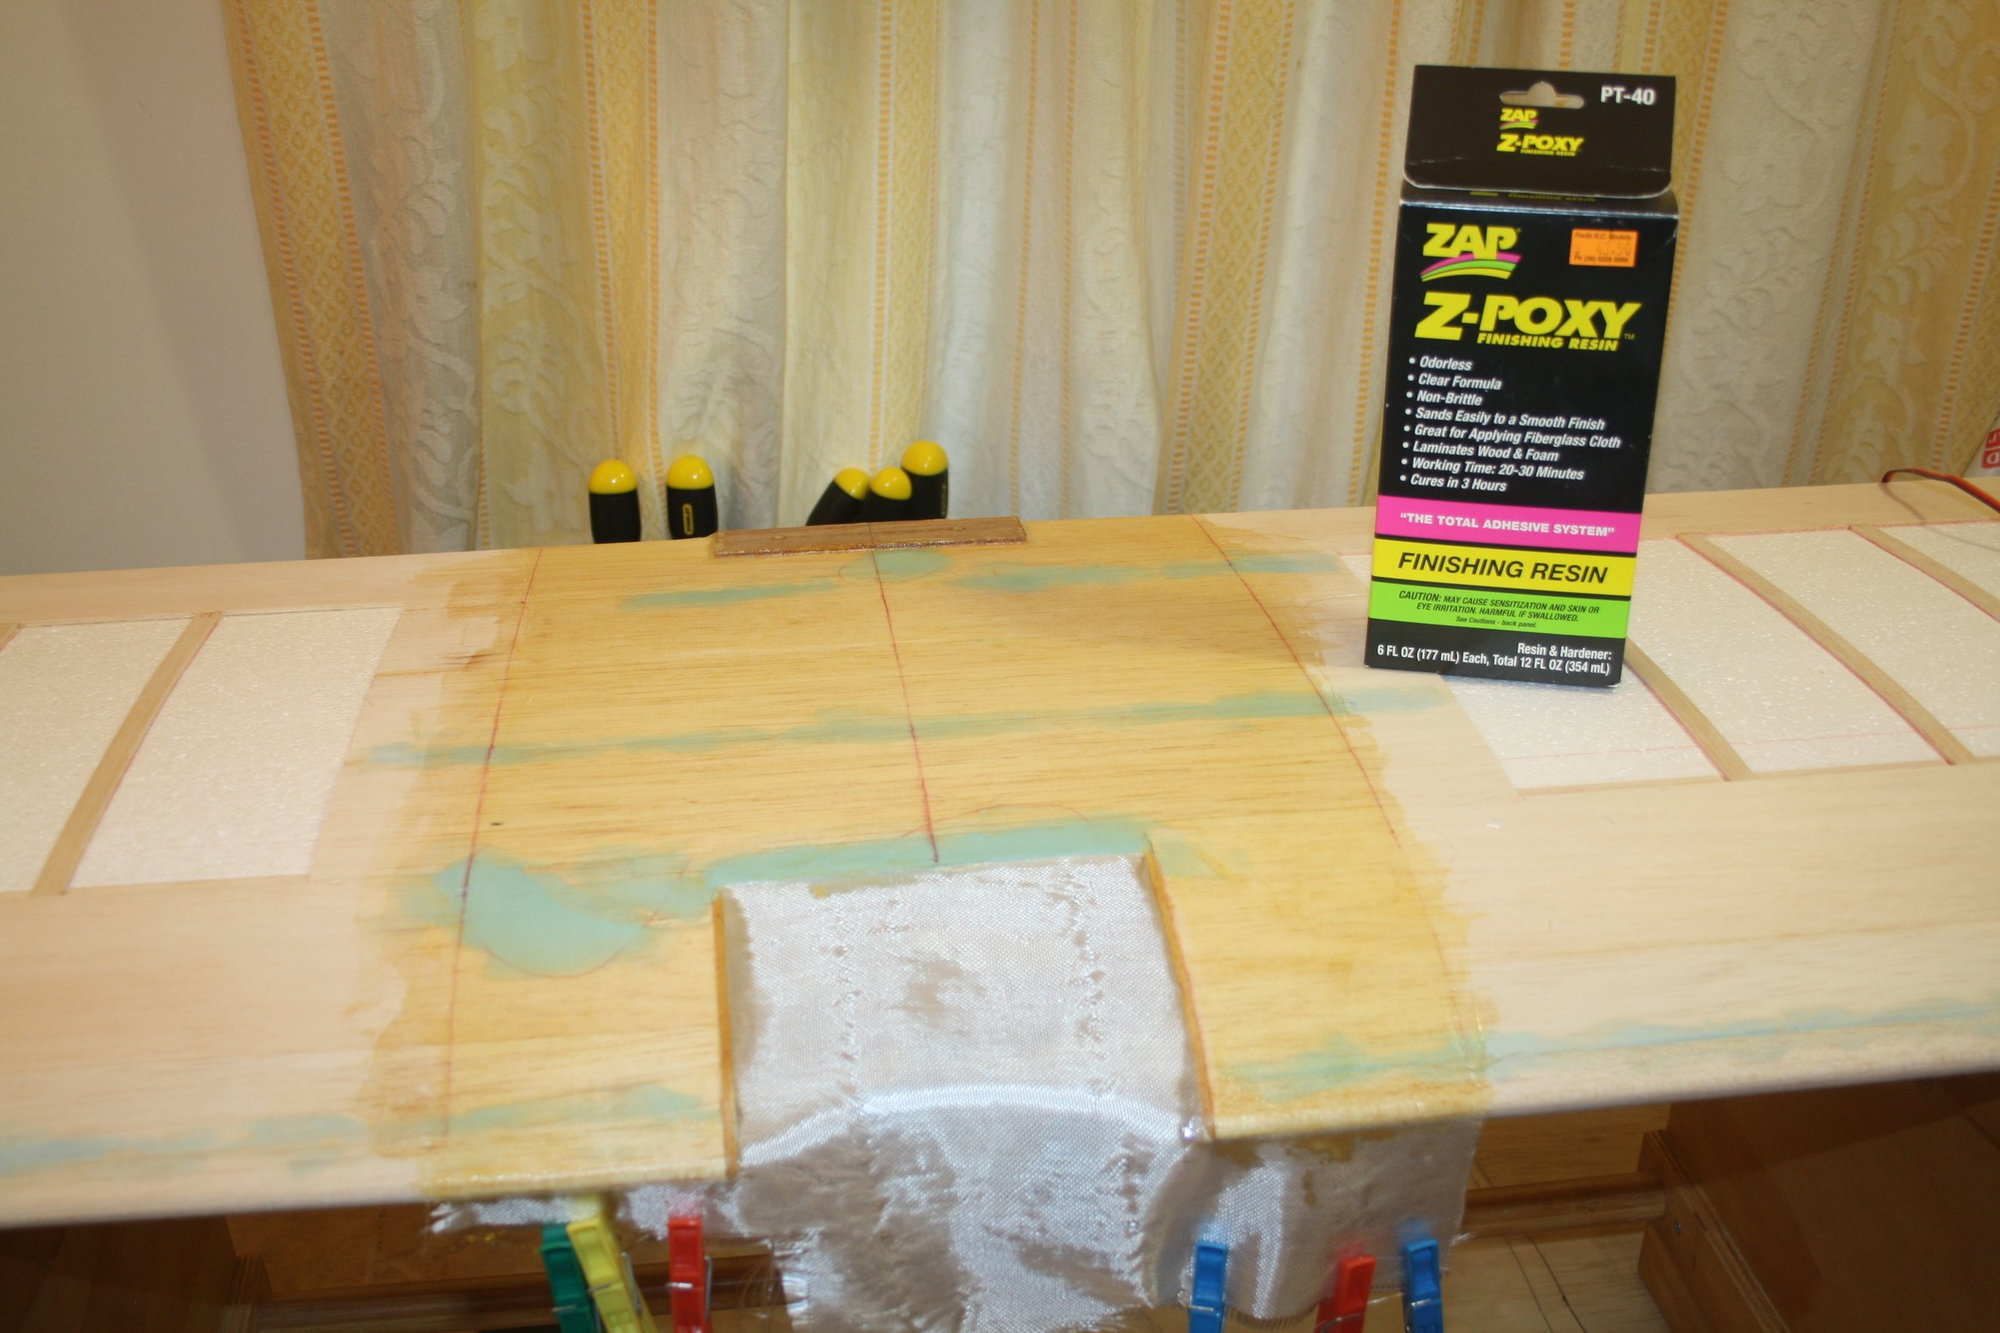
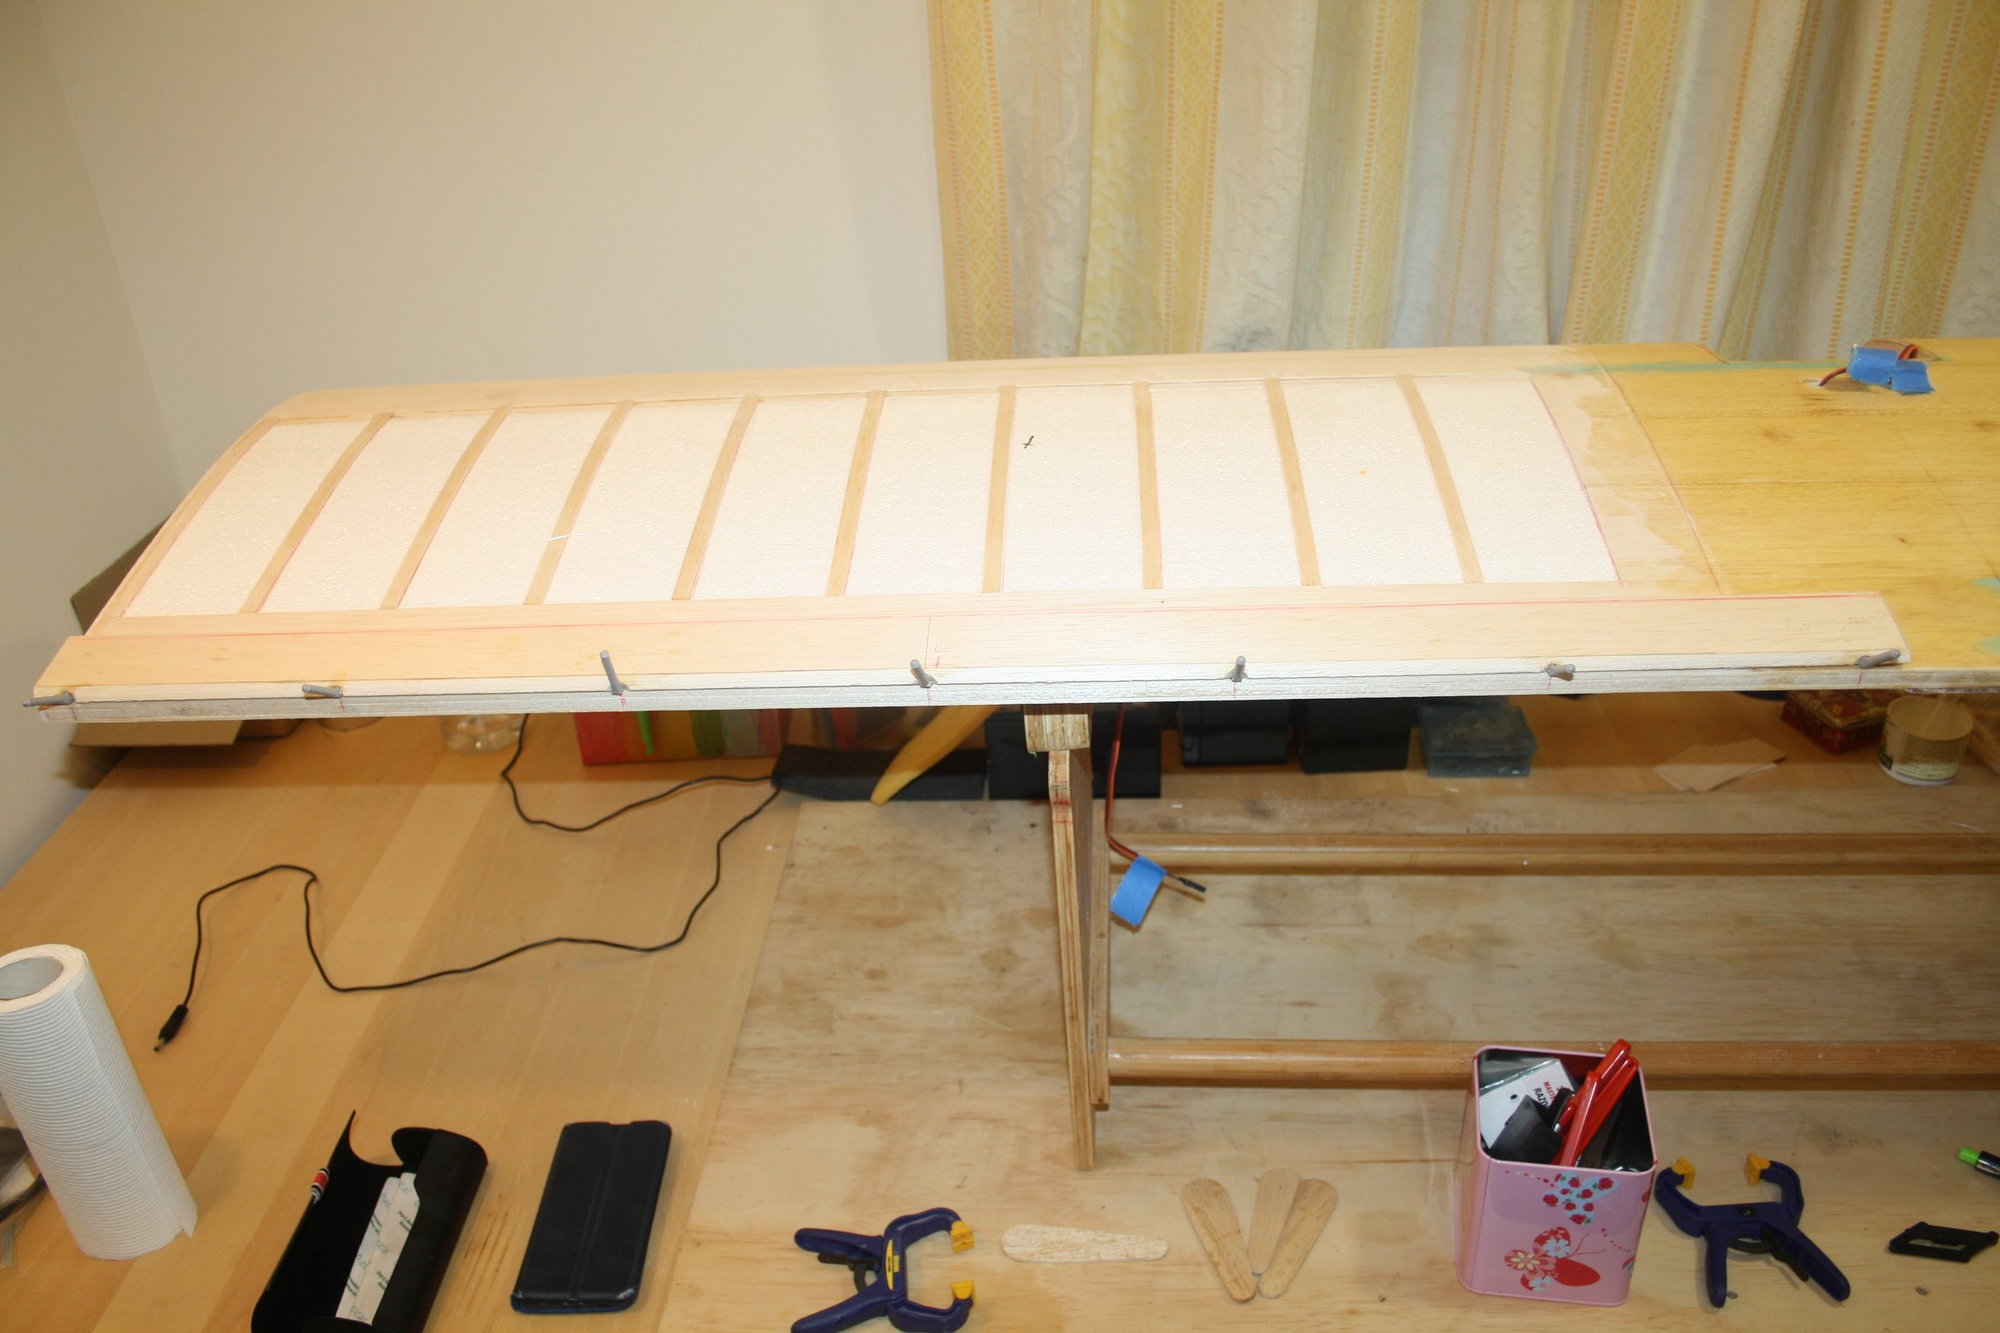
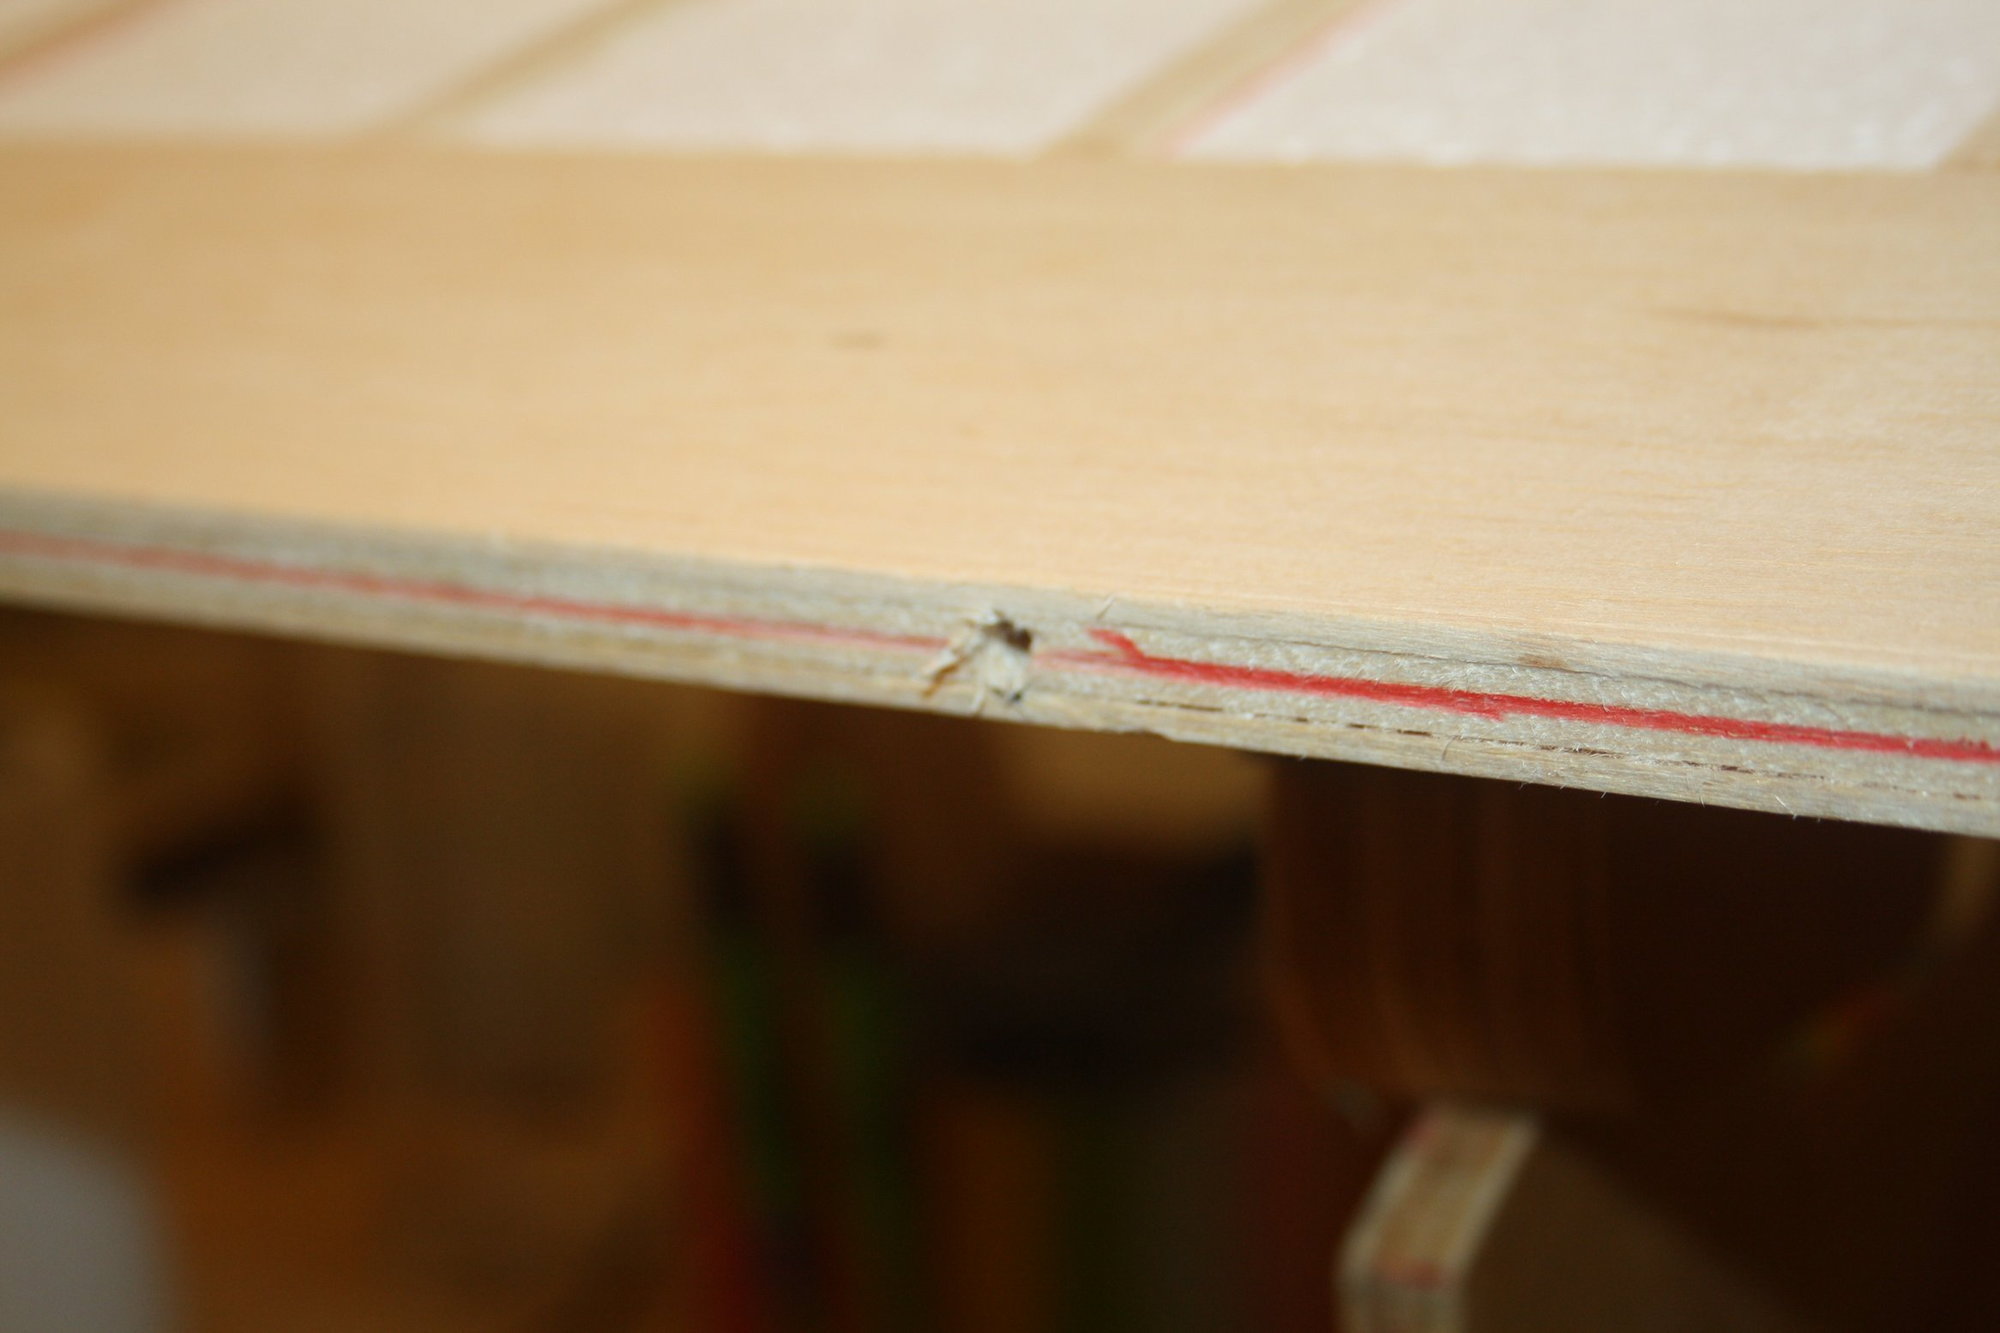
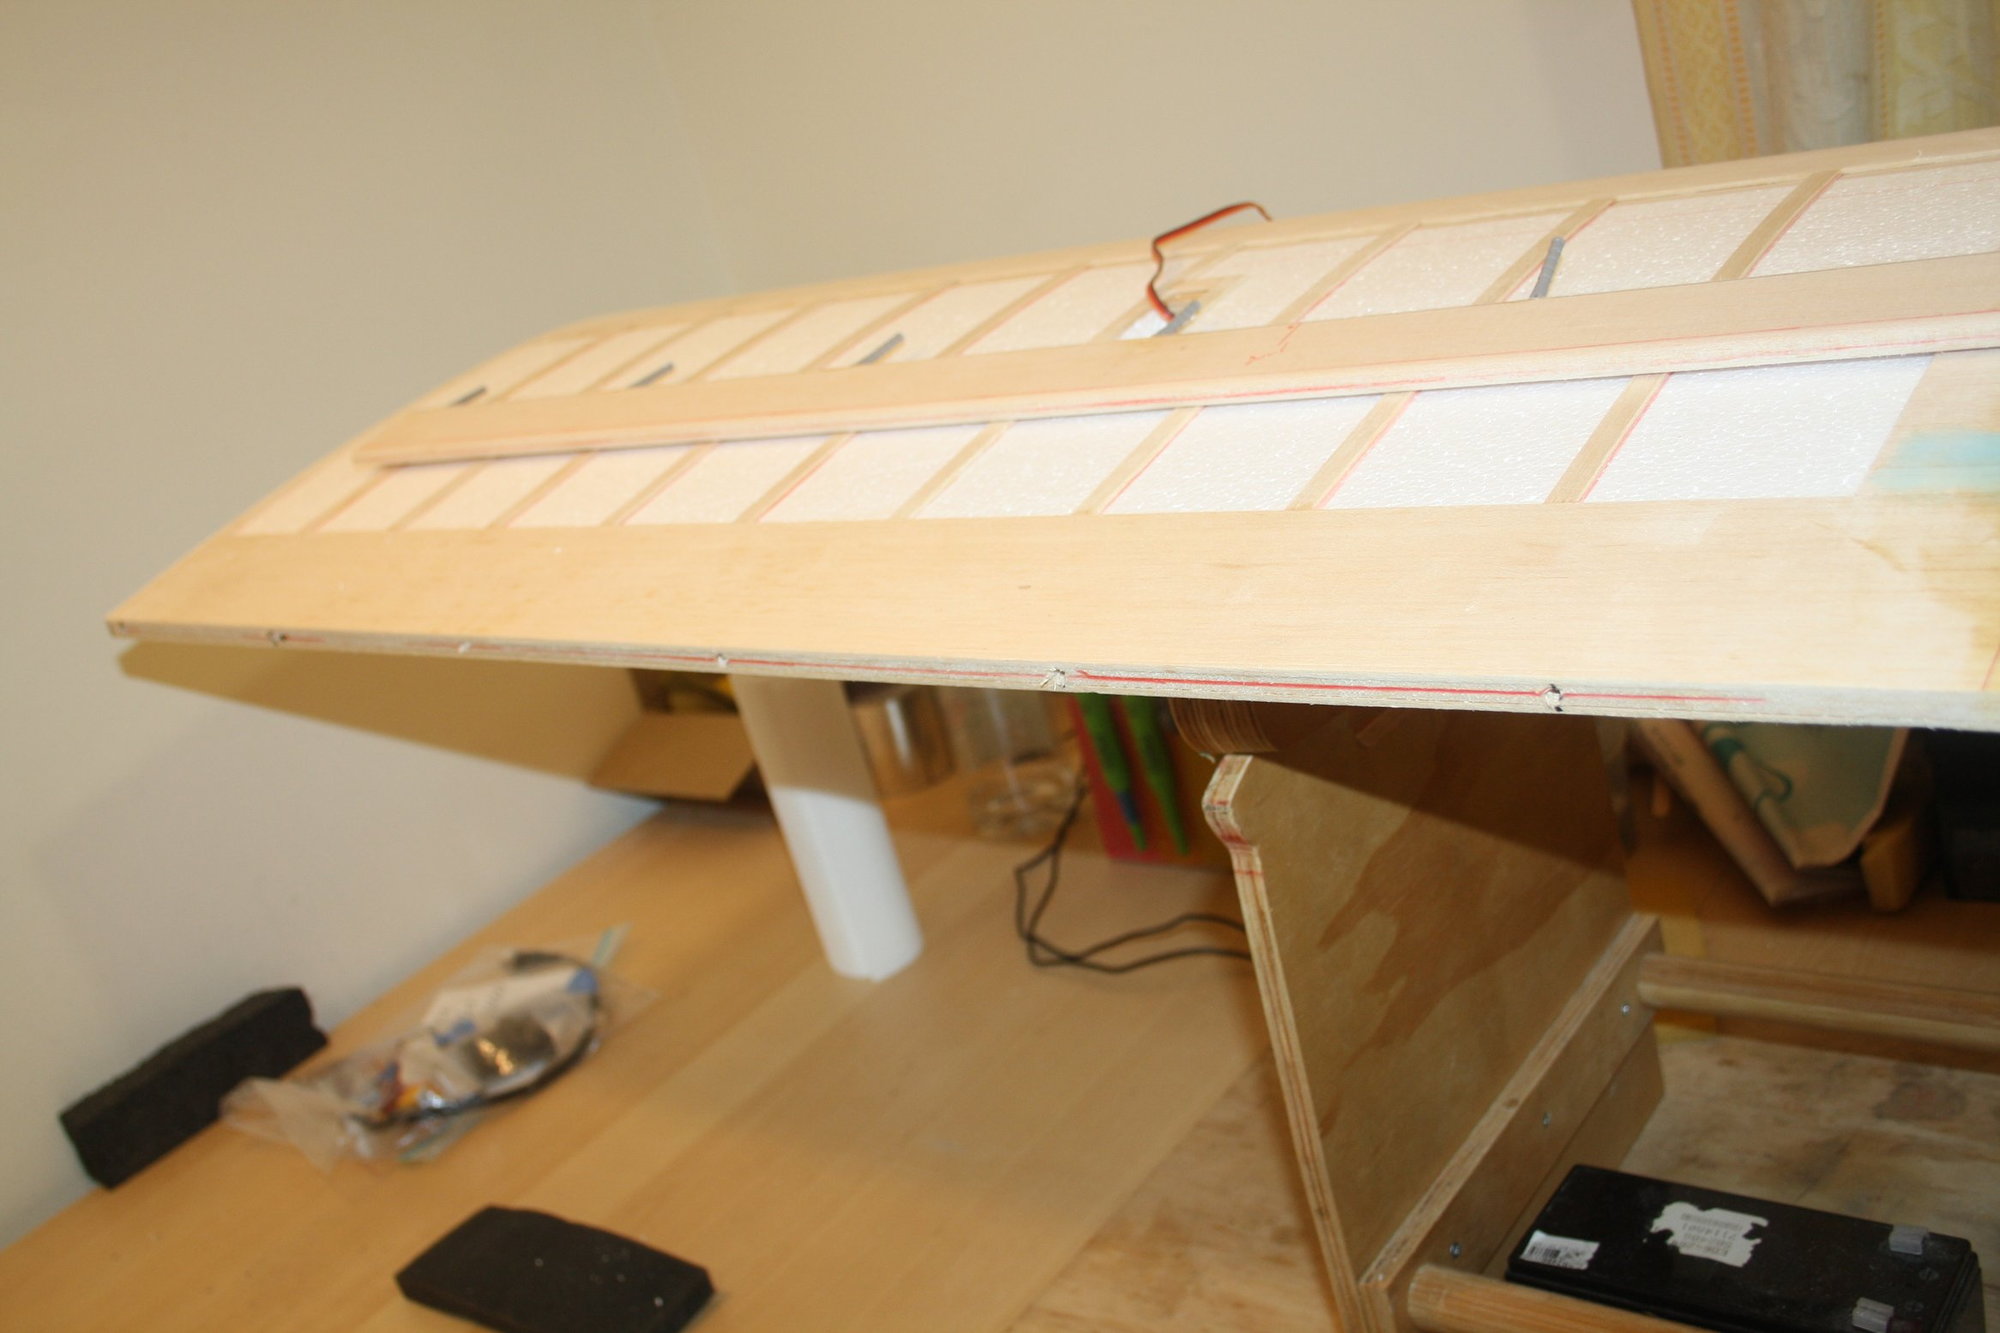
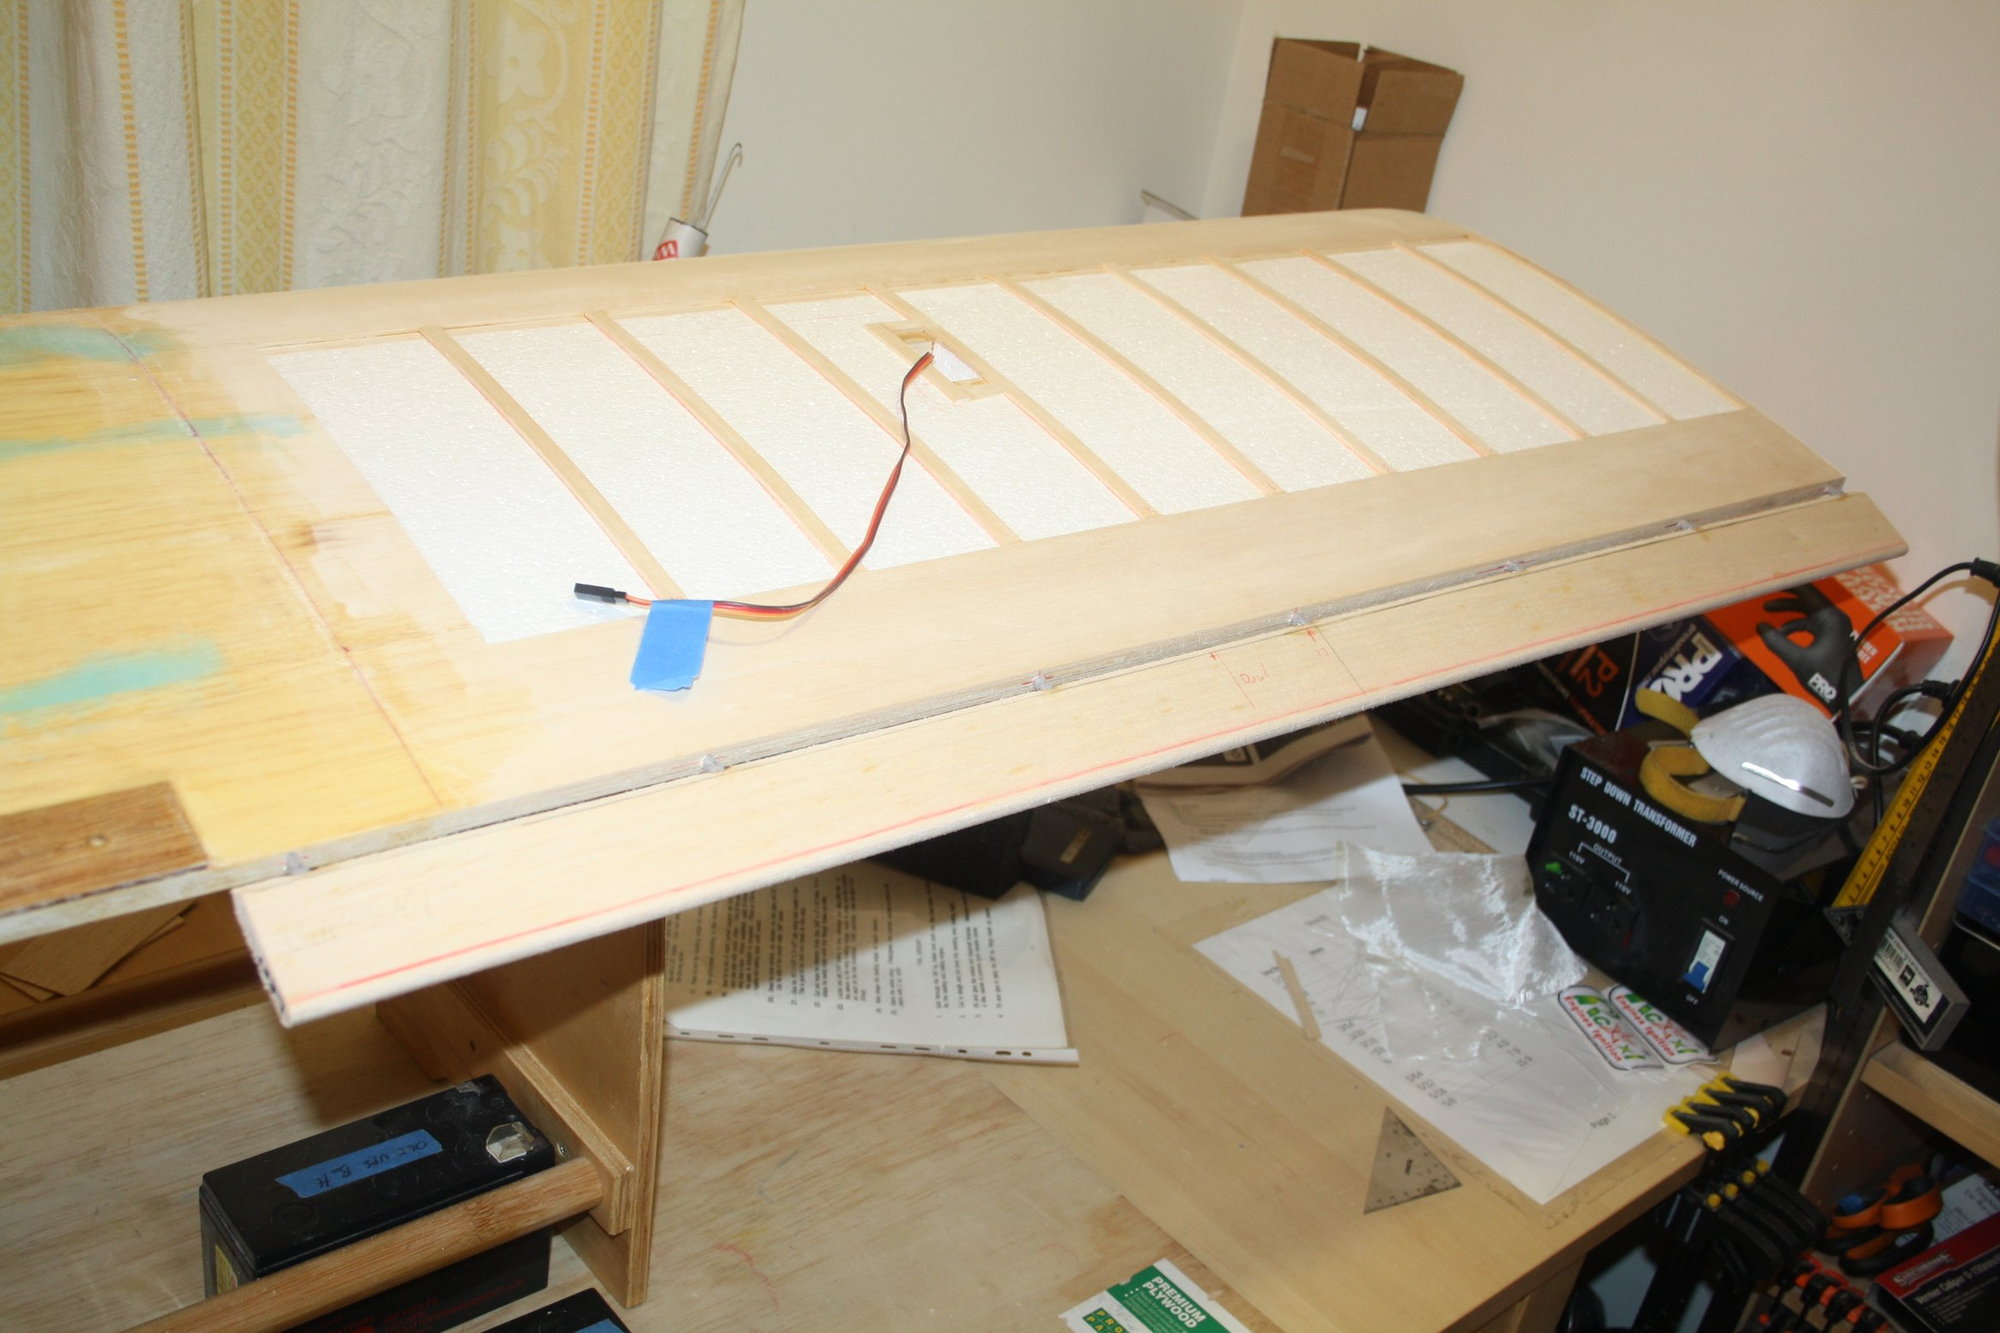
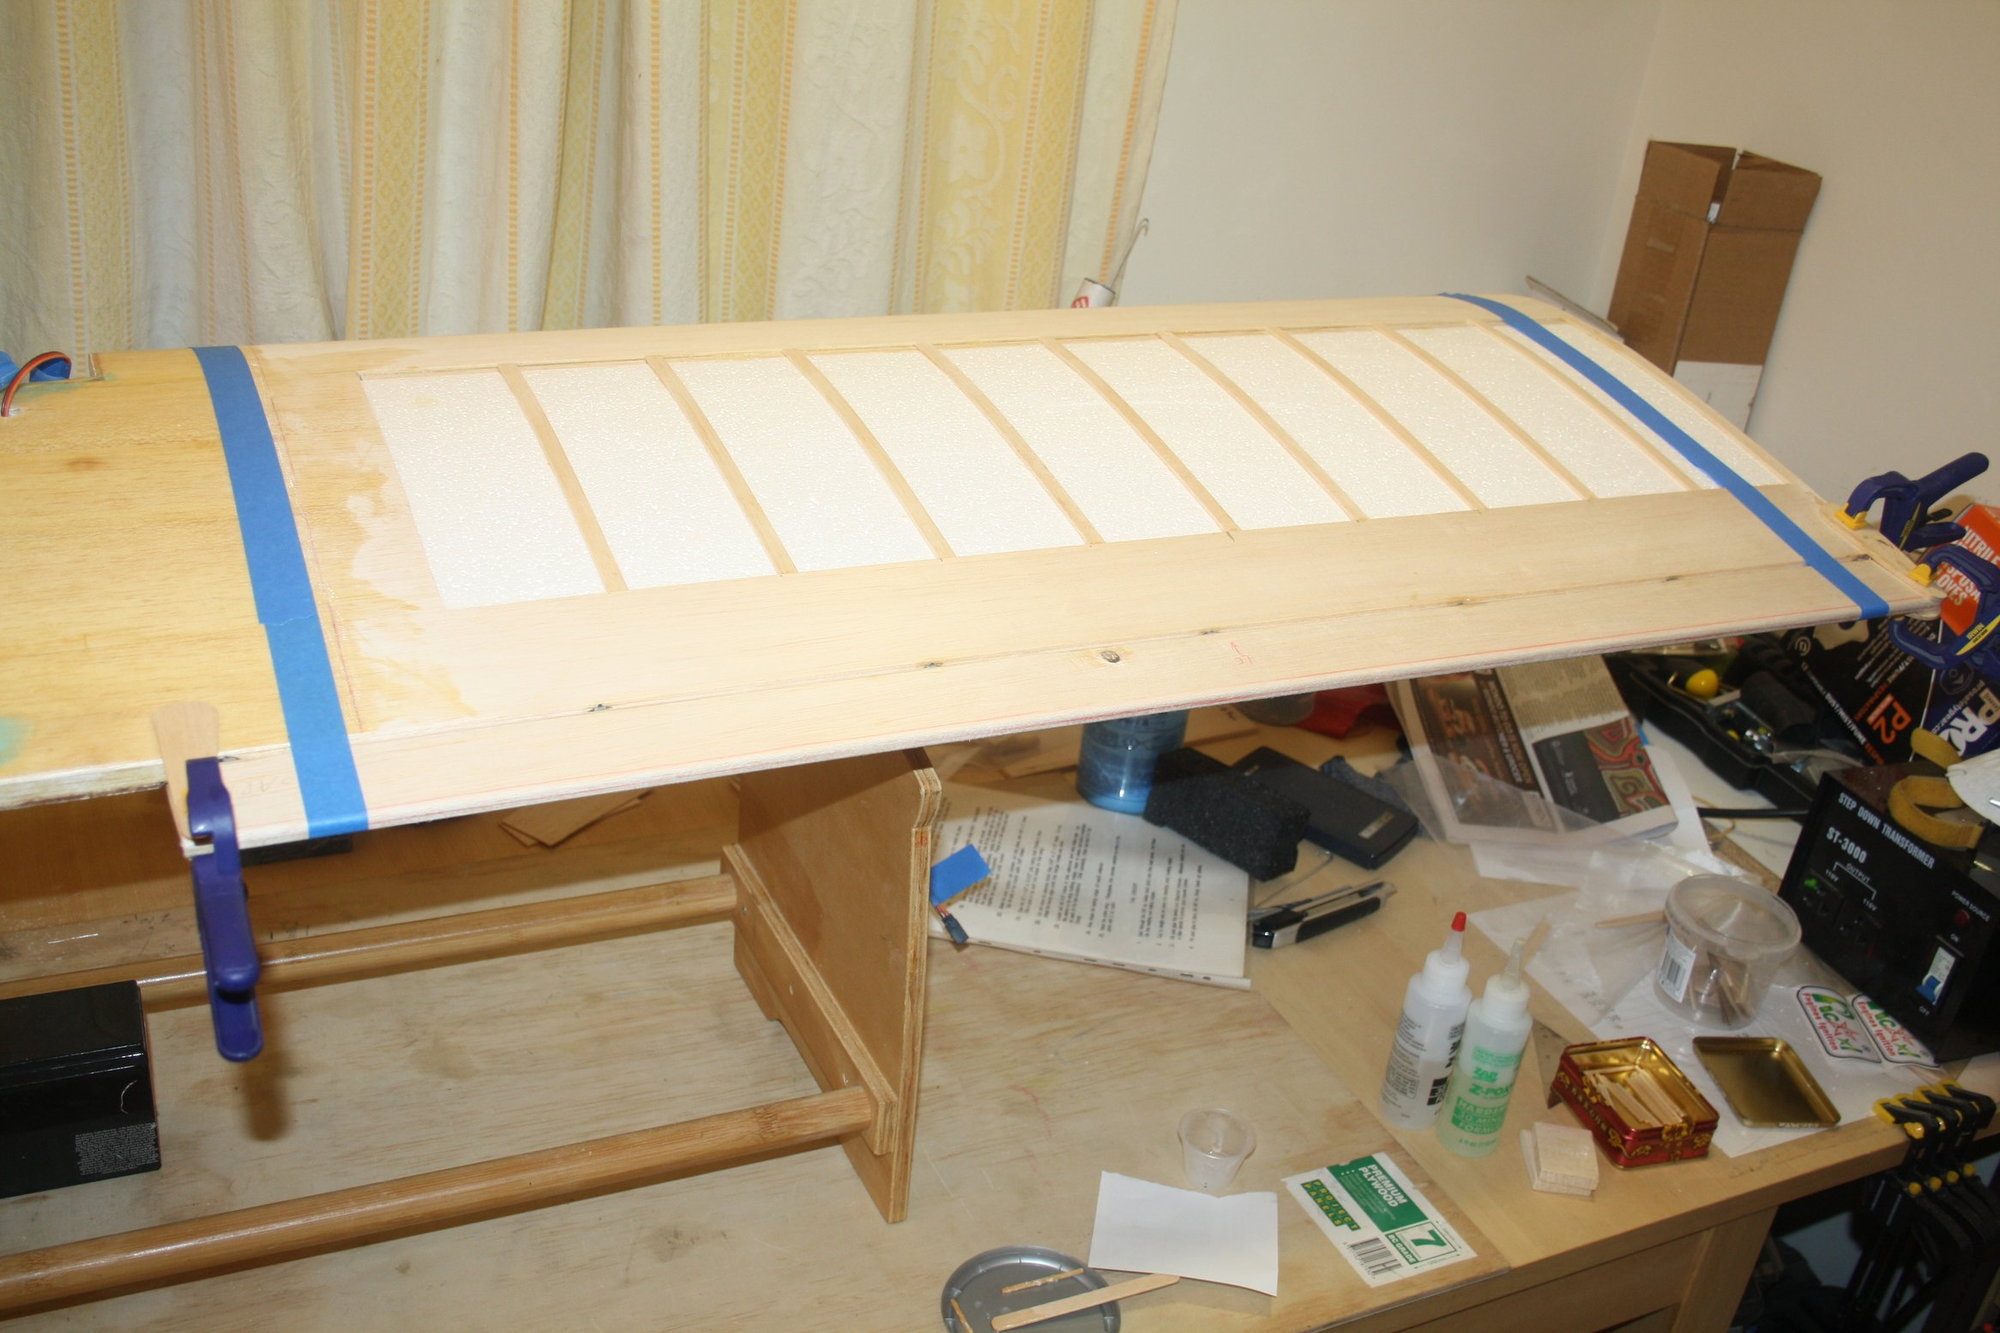
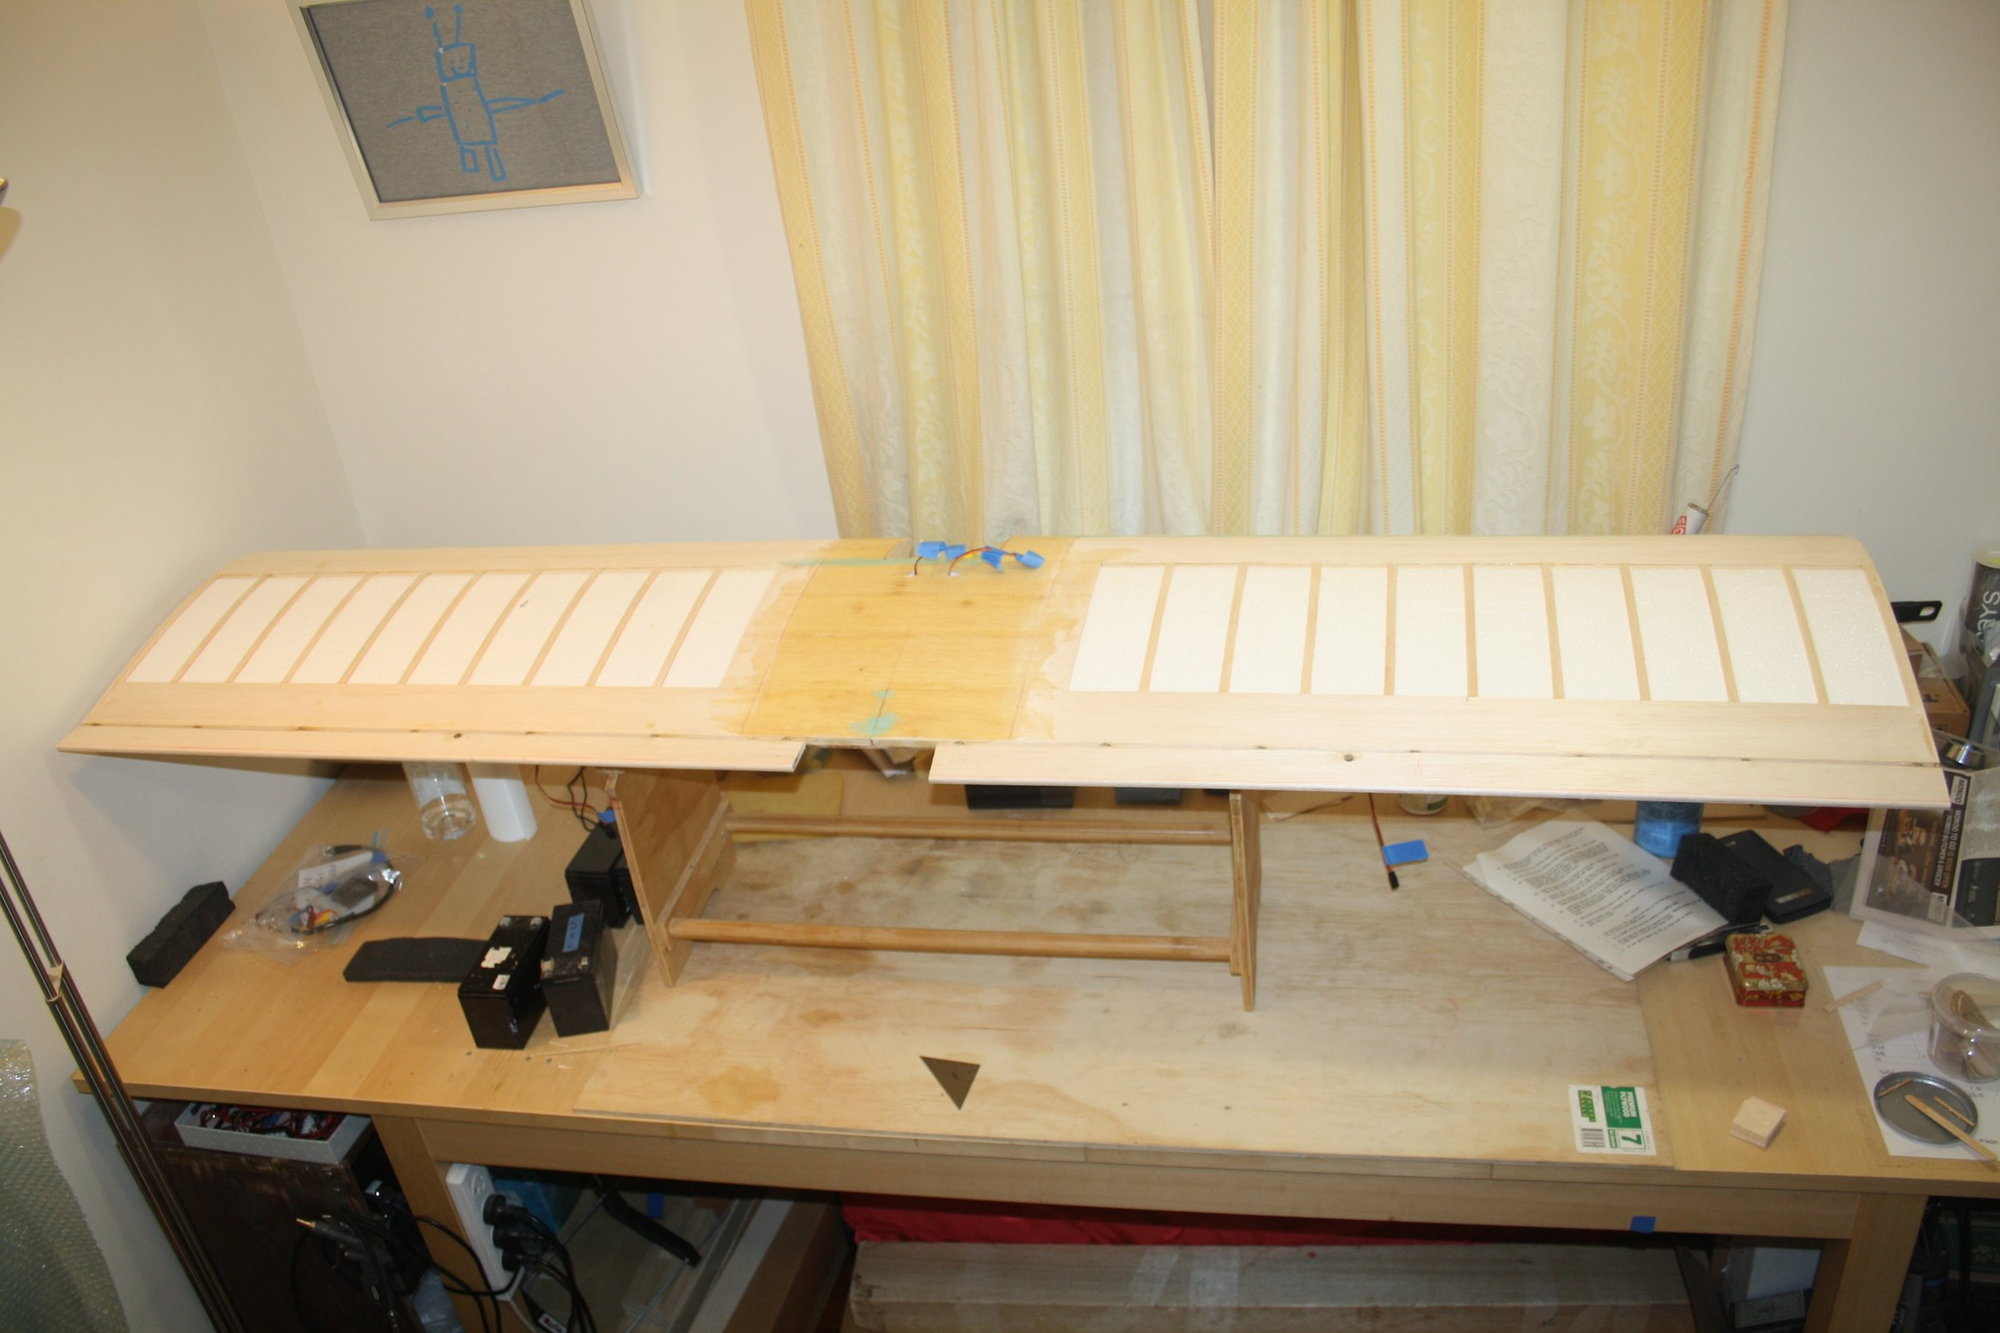
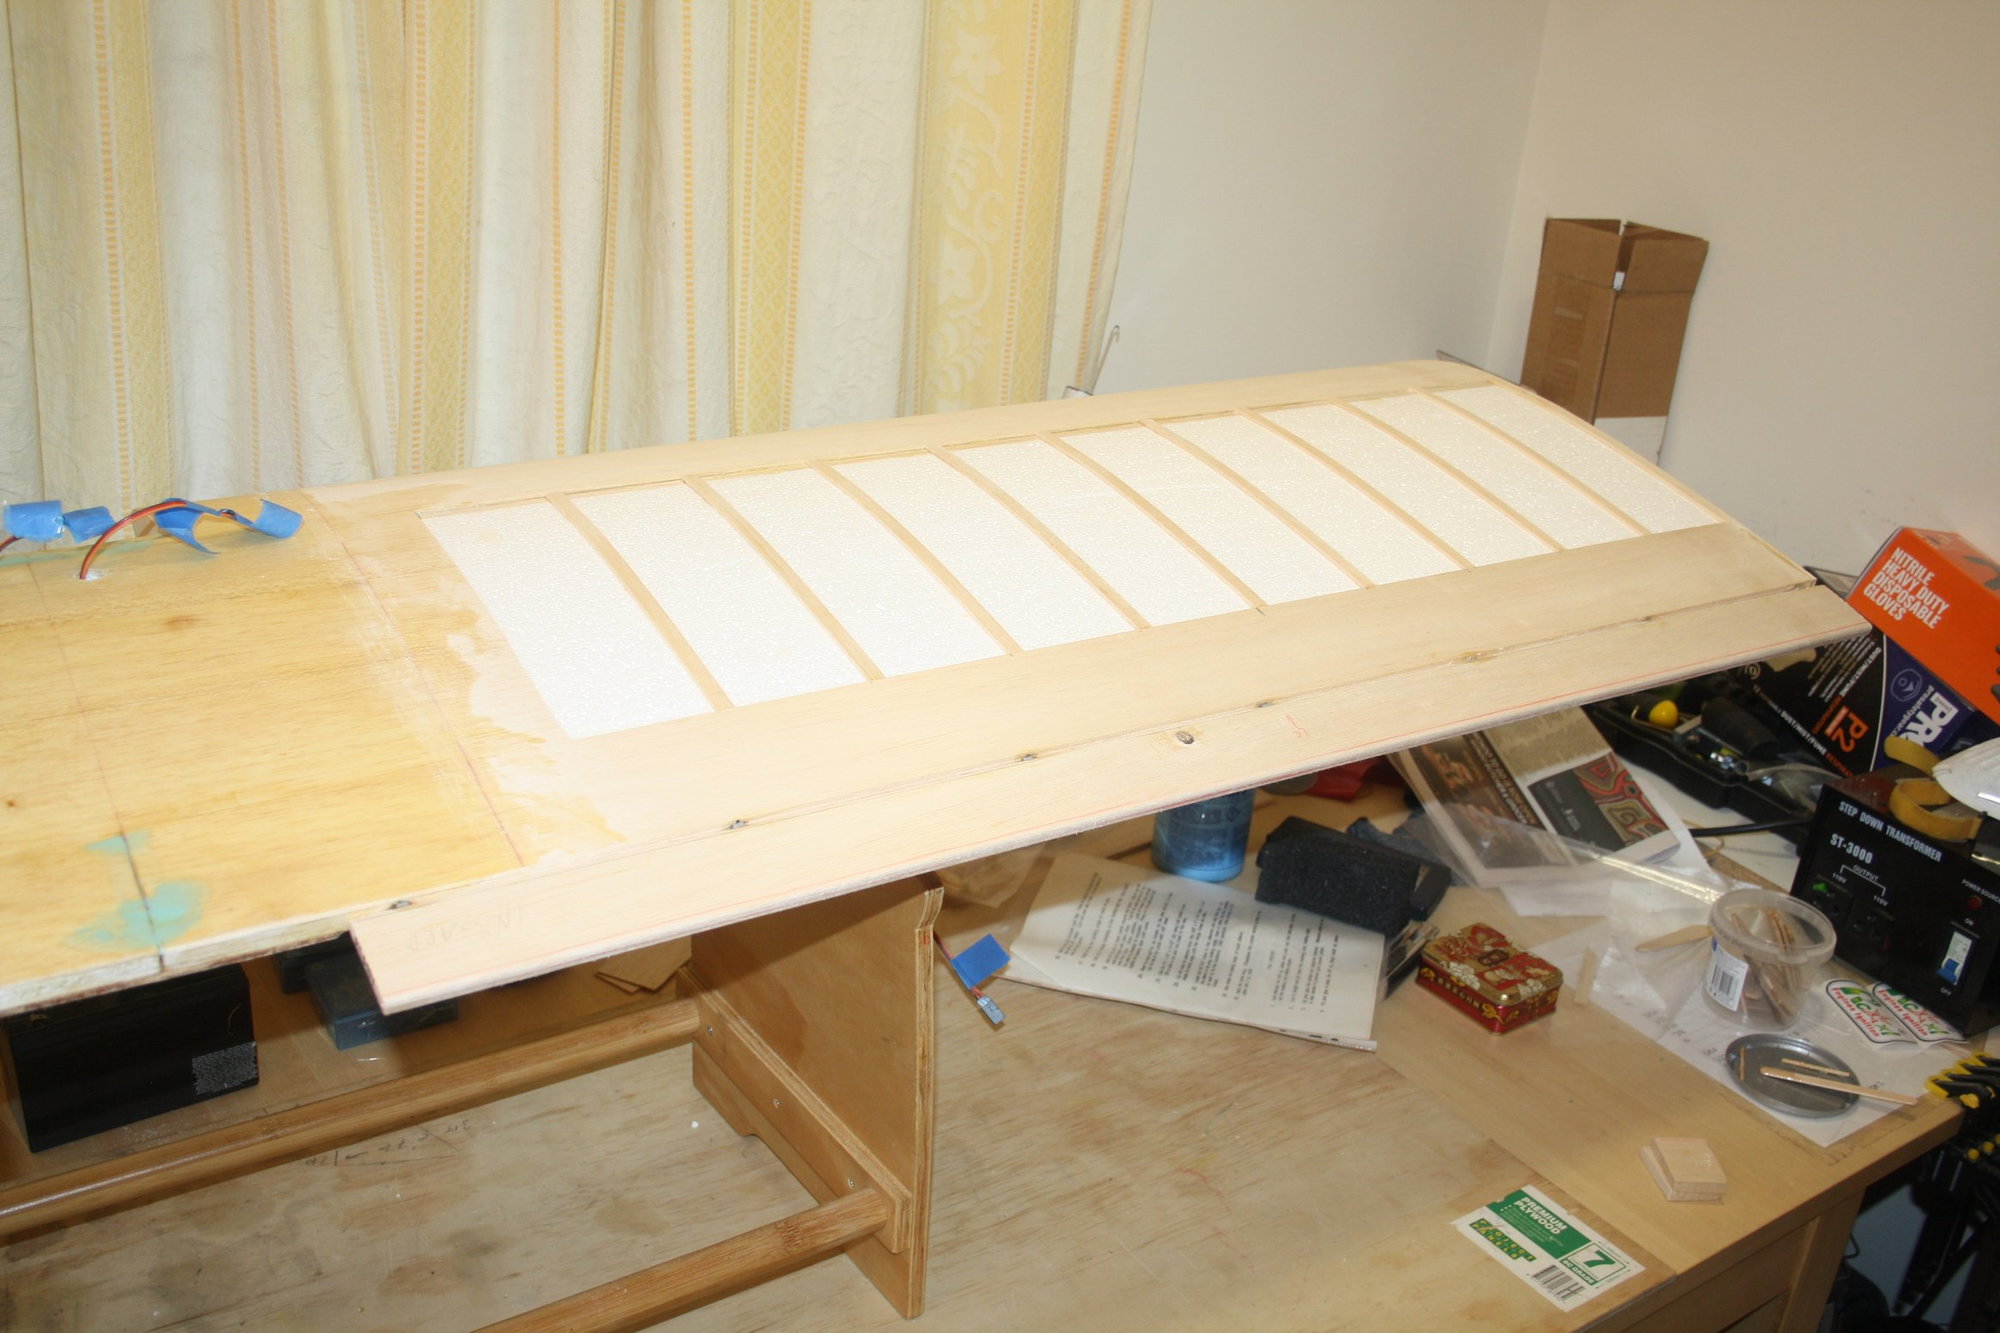
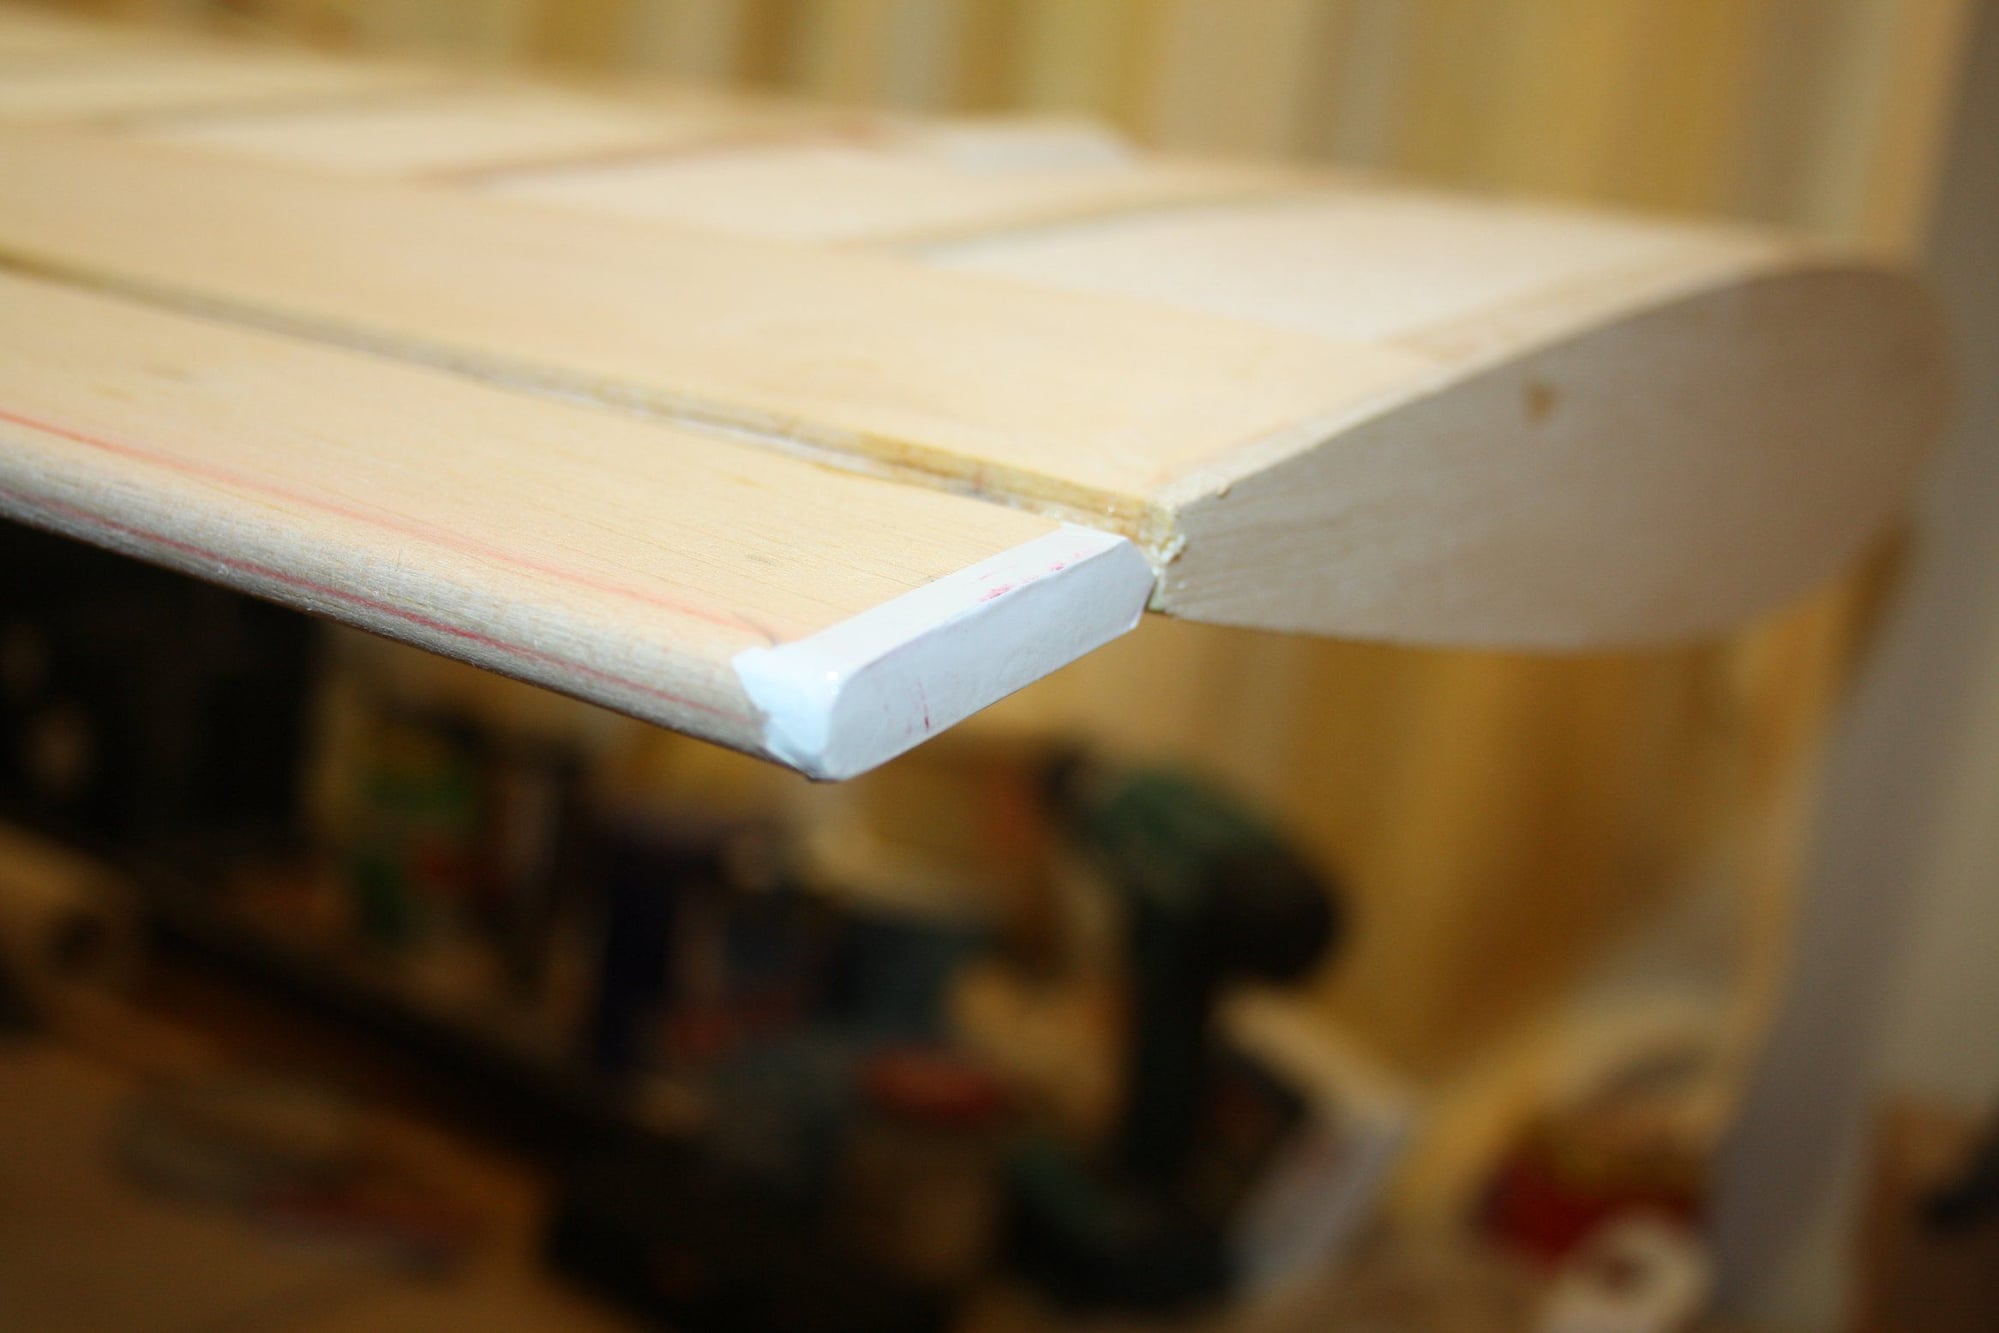
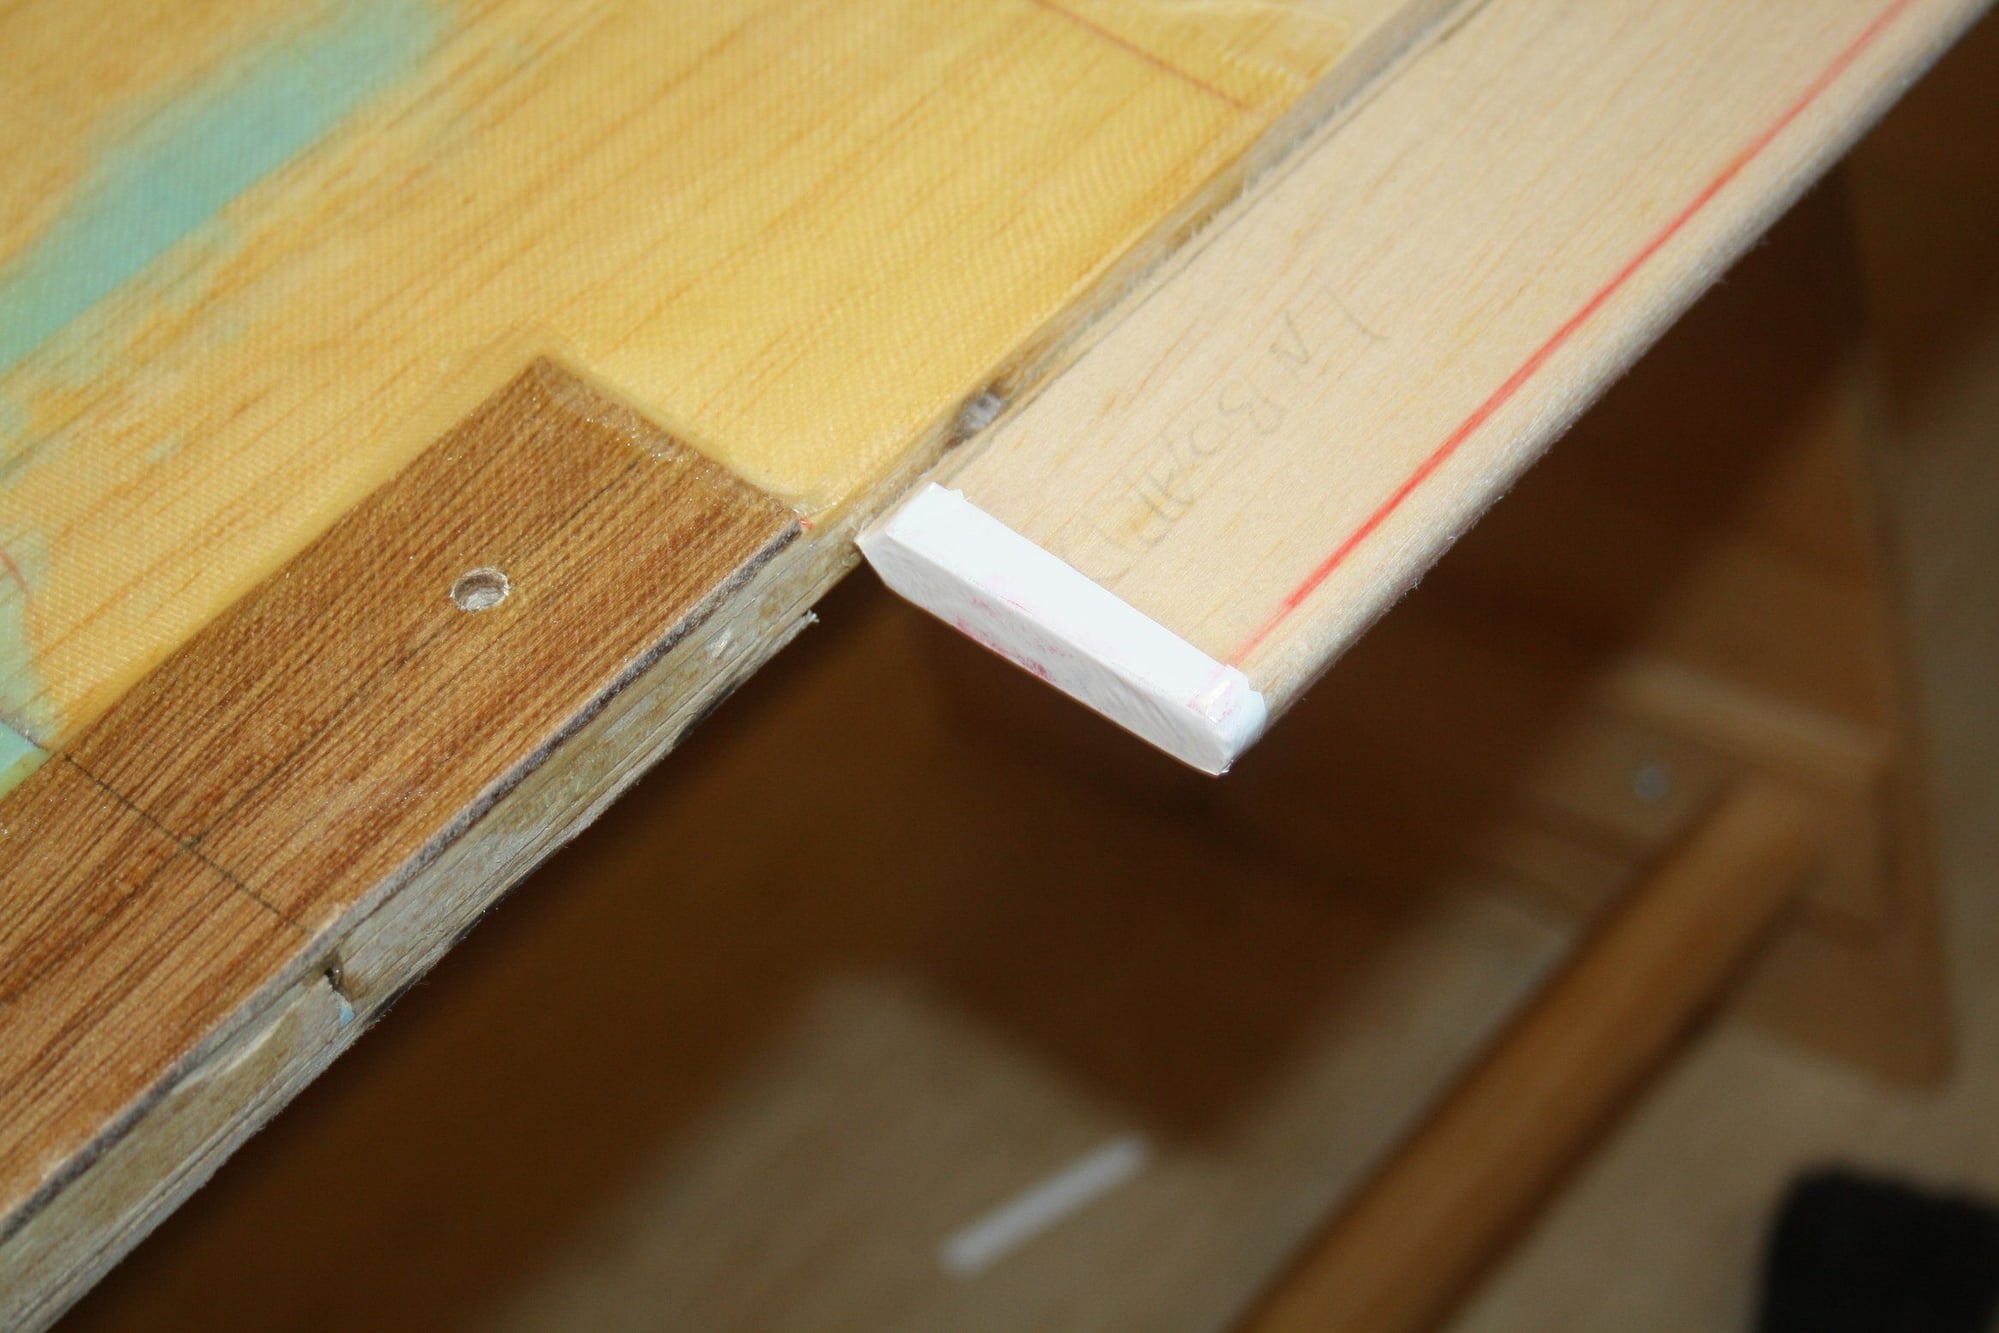
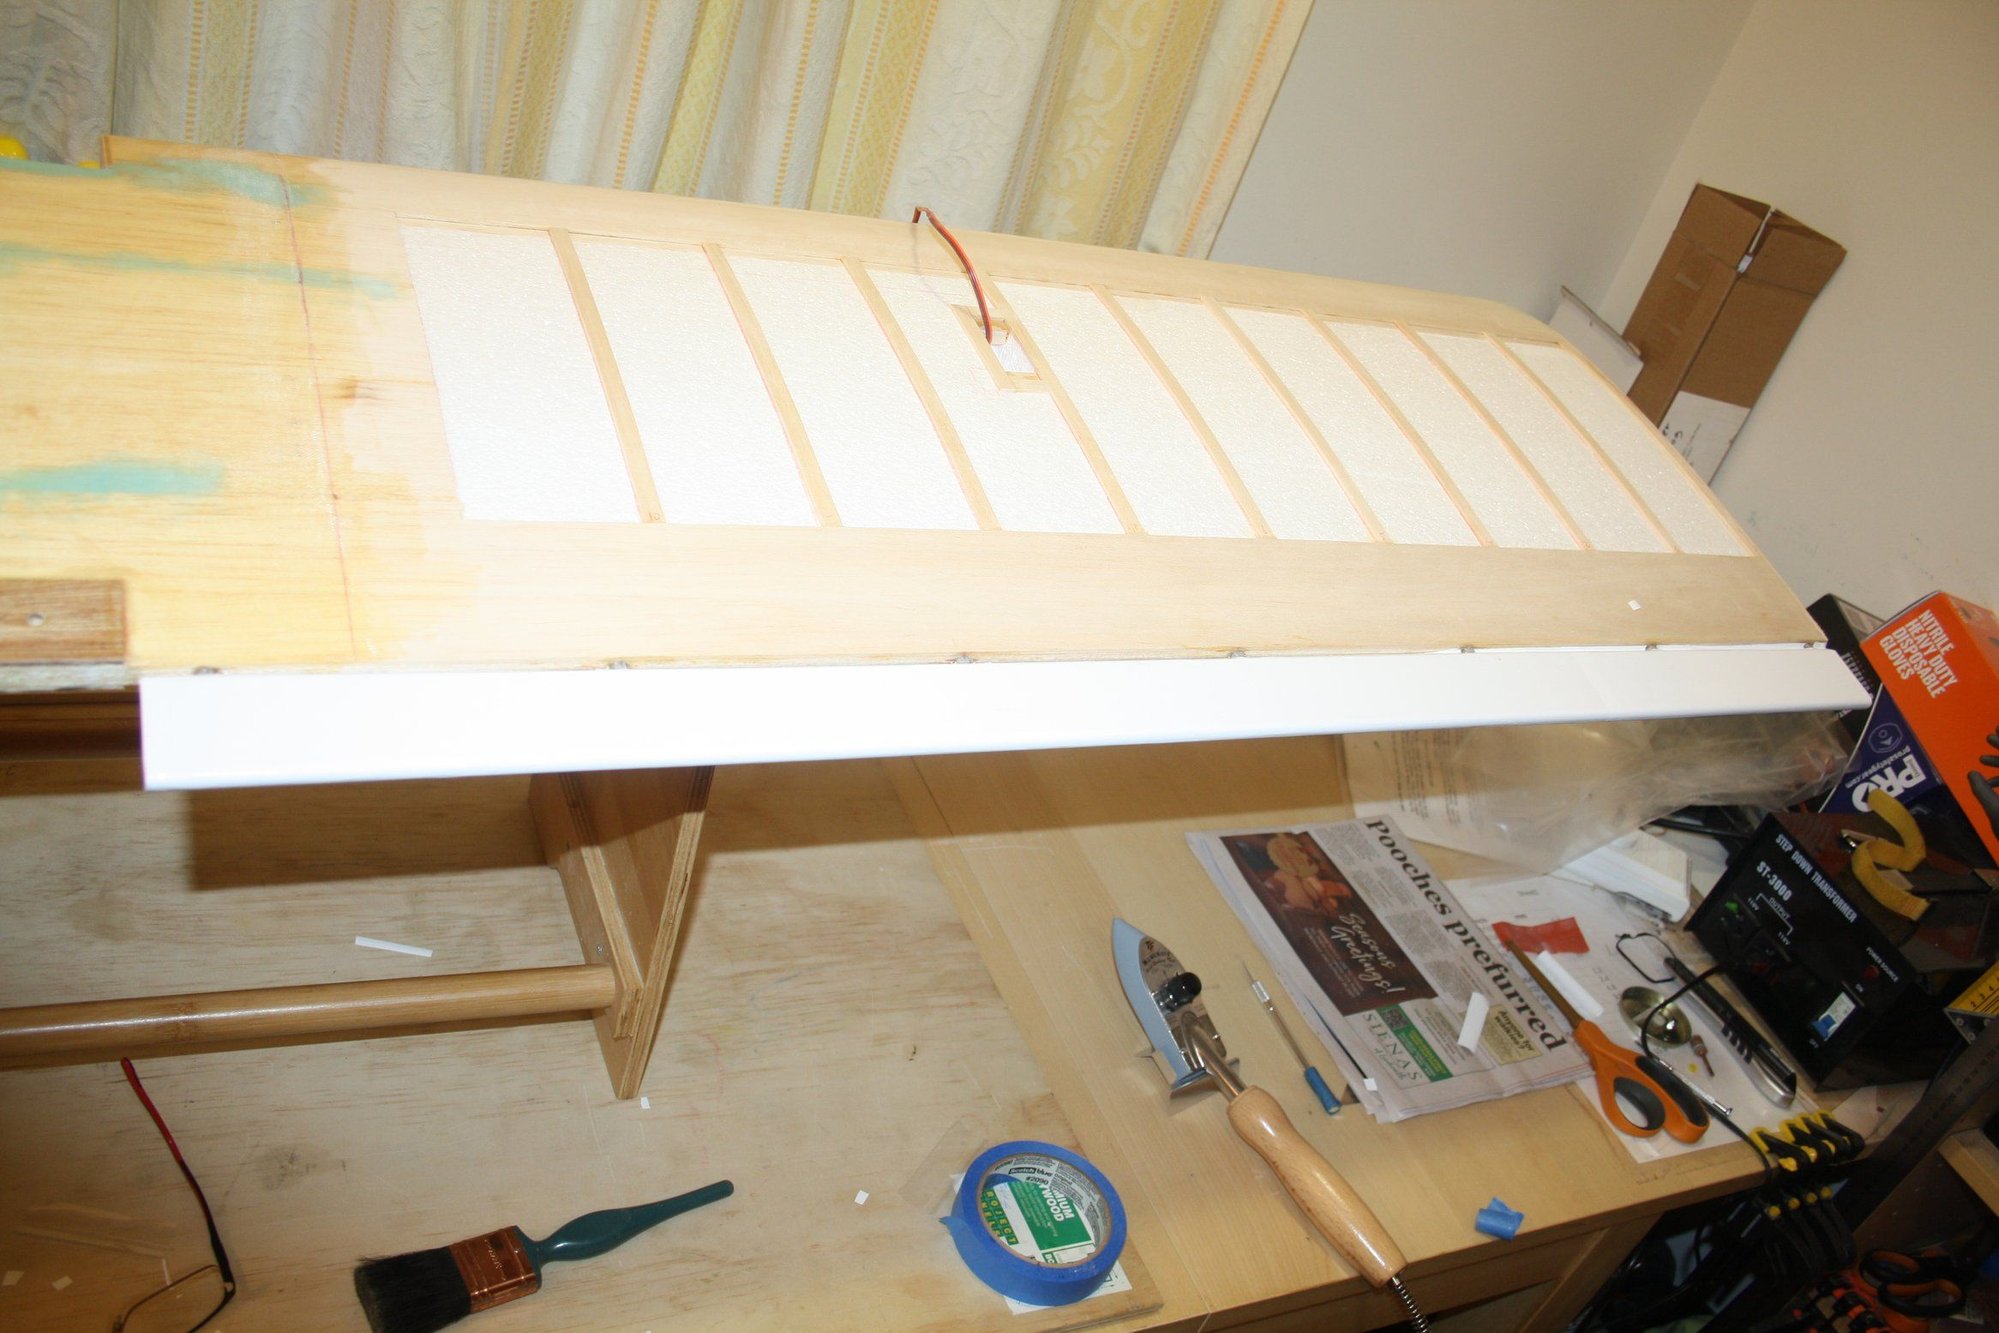
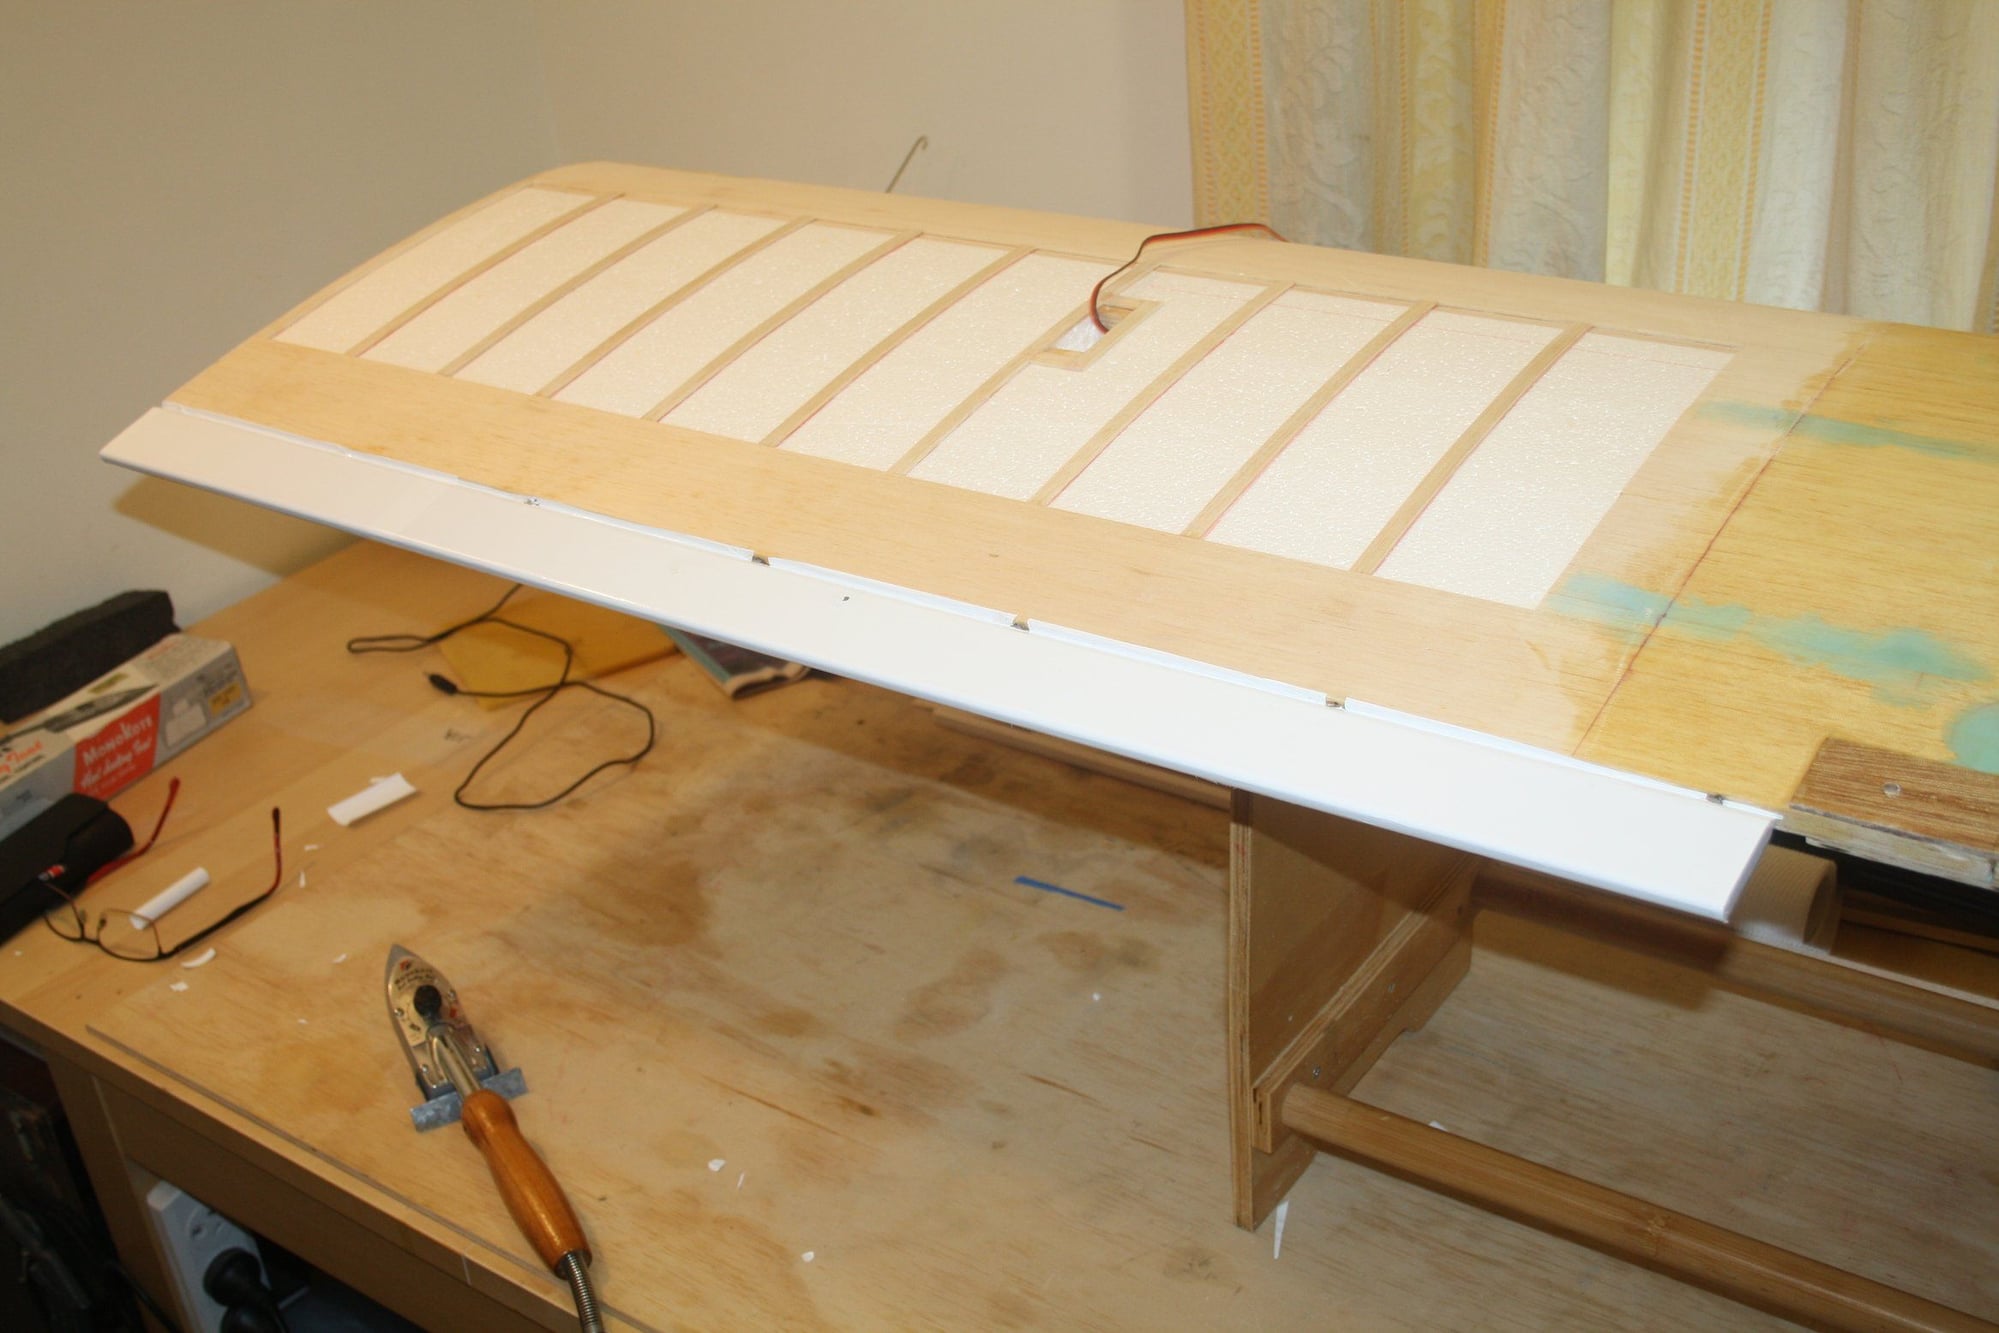
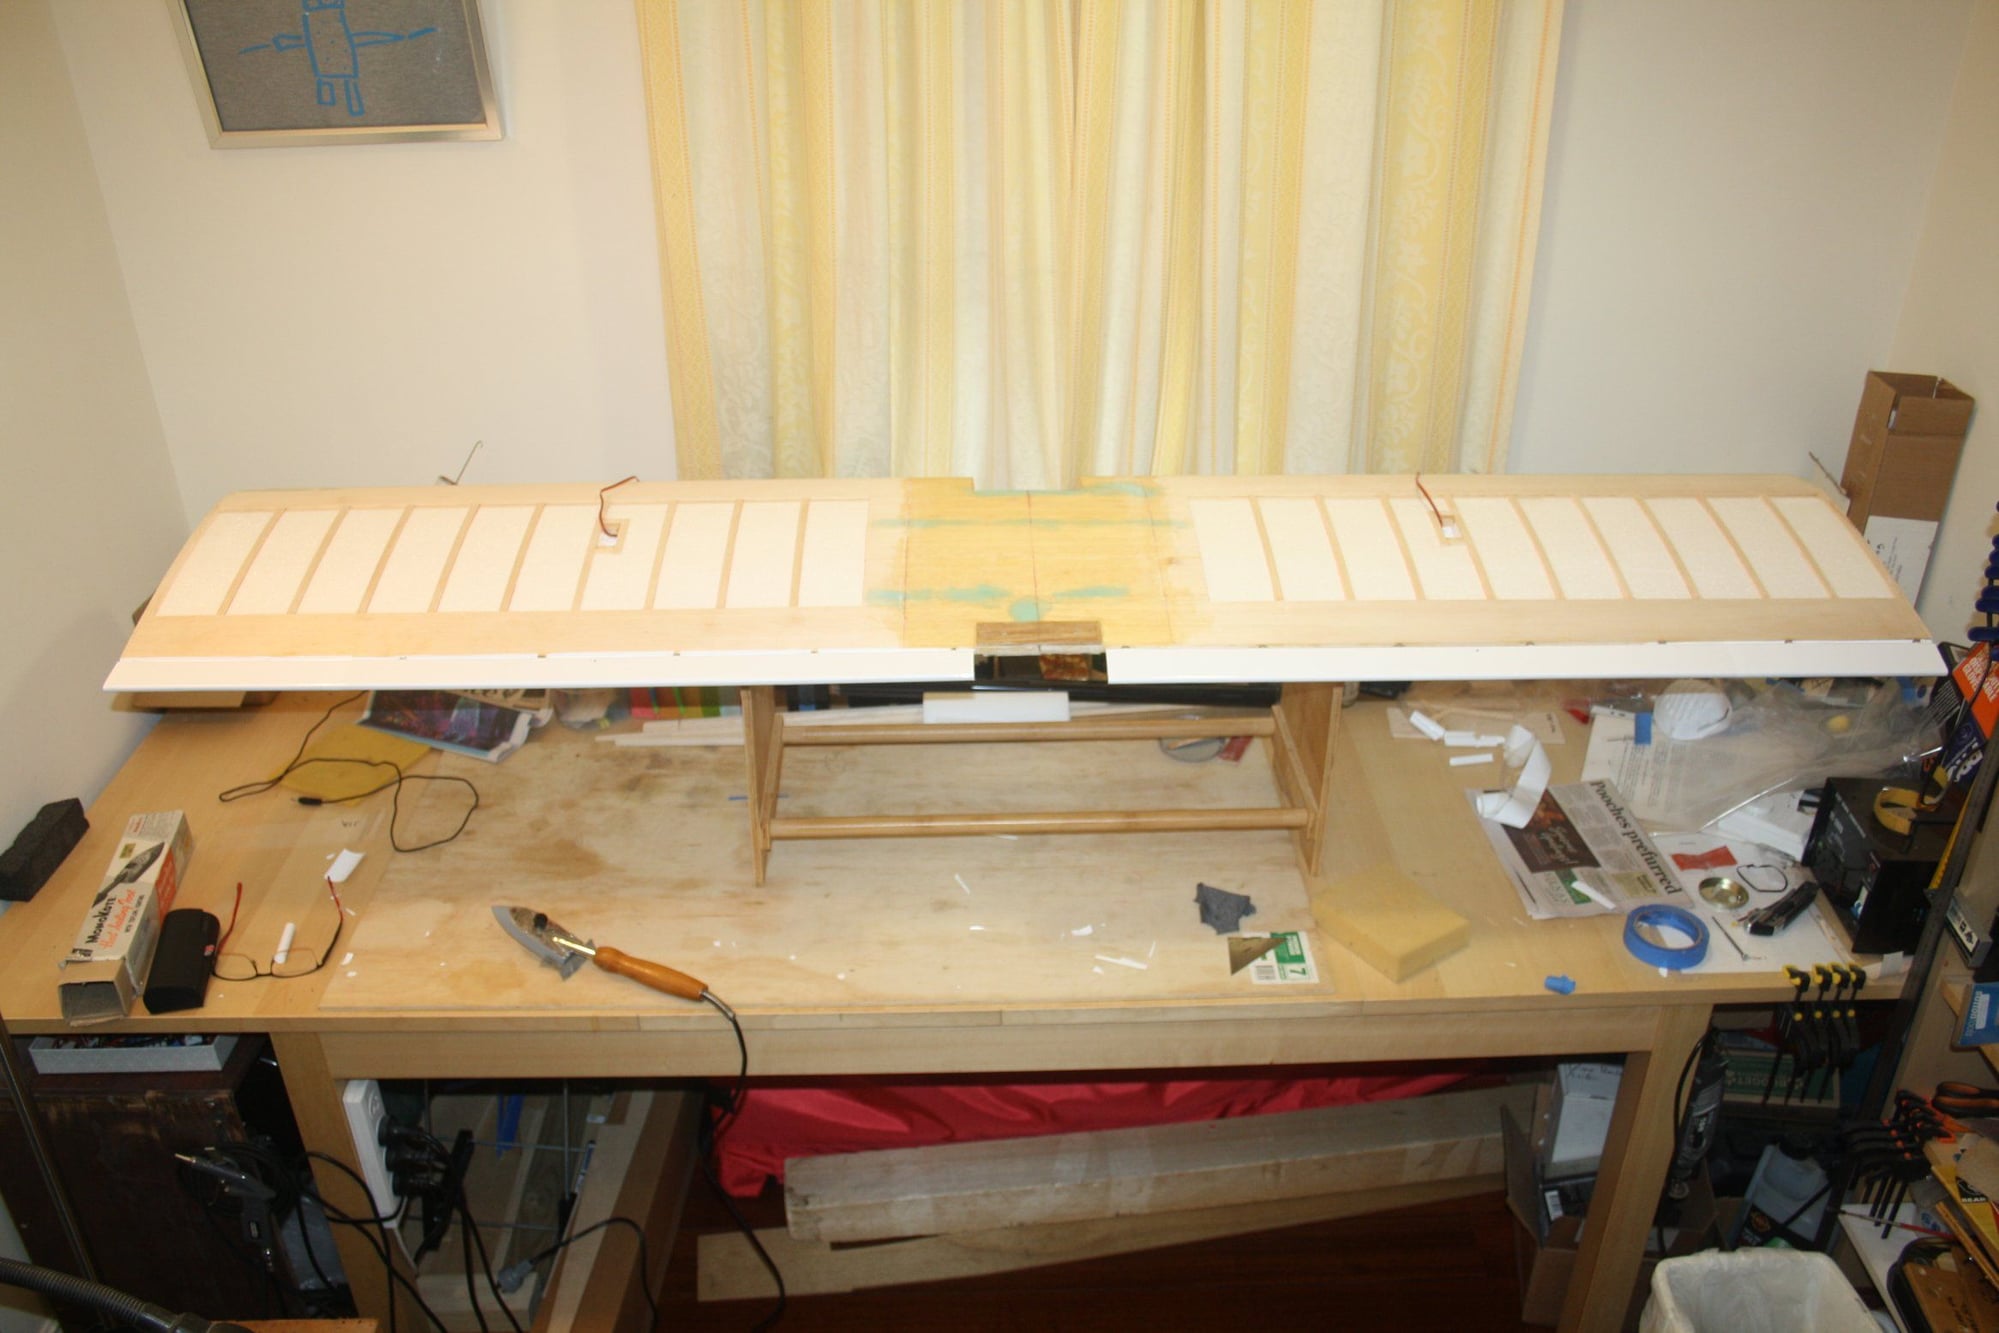
I completed the sheeting of the center section (top and bottom) and made a "repair" to the curvature of the right wing panel with sheeting "lamination".
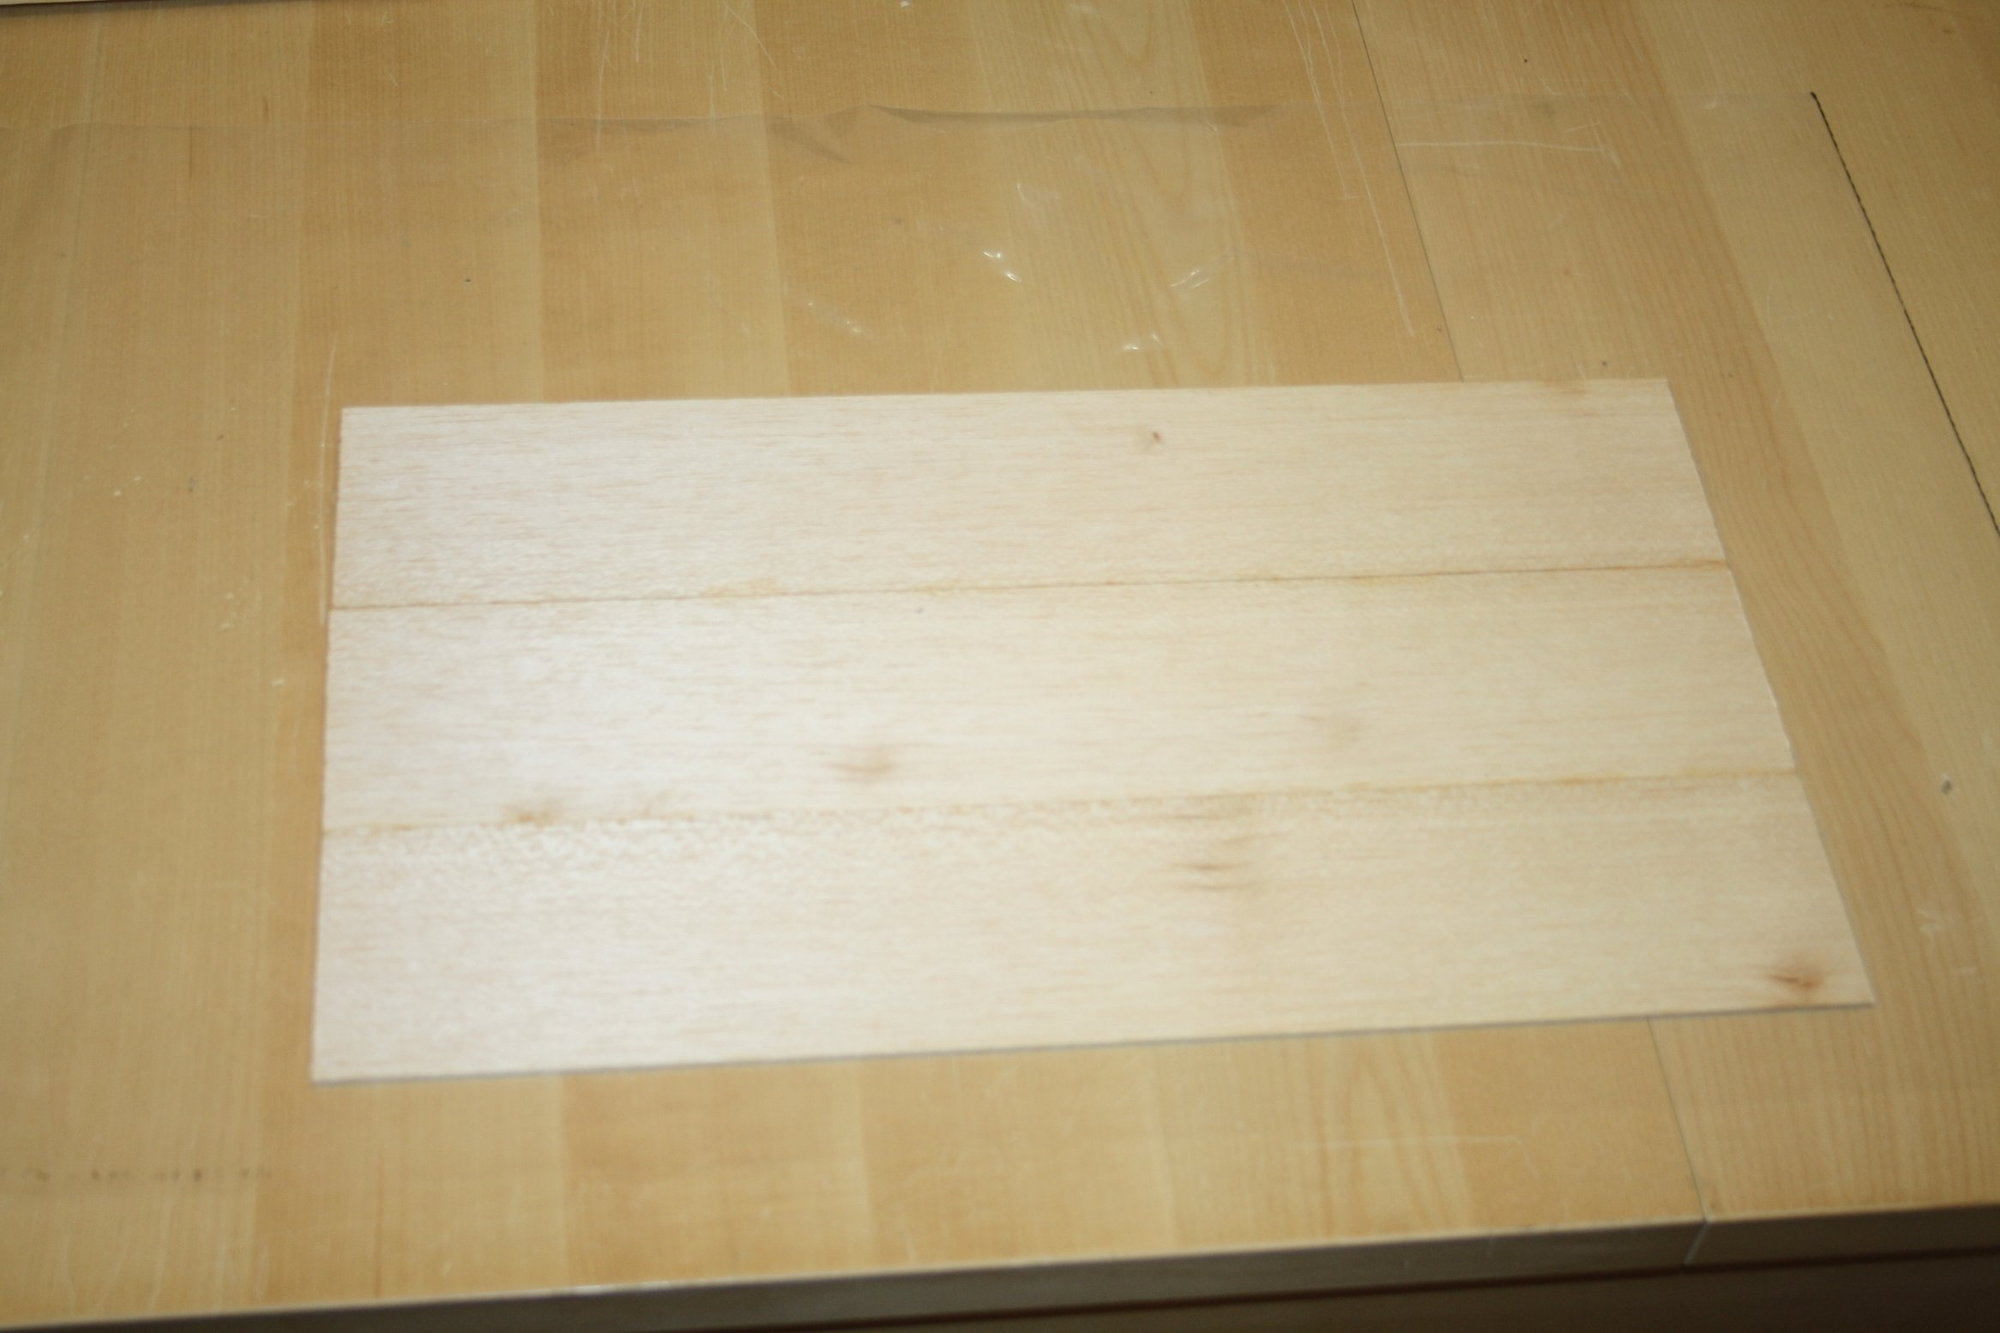

A small strip of sheeting to close the gap...

Cheers,
Eran
A small strip of sheeting to close the gap...
Cheers,
Eran
Last edited by erans; 07-09-2023 at 11:54 PM.
 07-16-2023, 11:09 PM
#27
Thread Starter
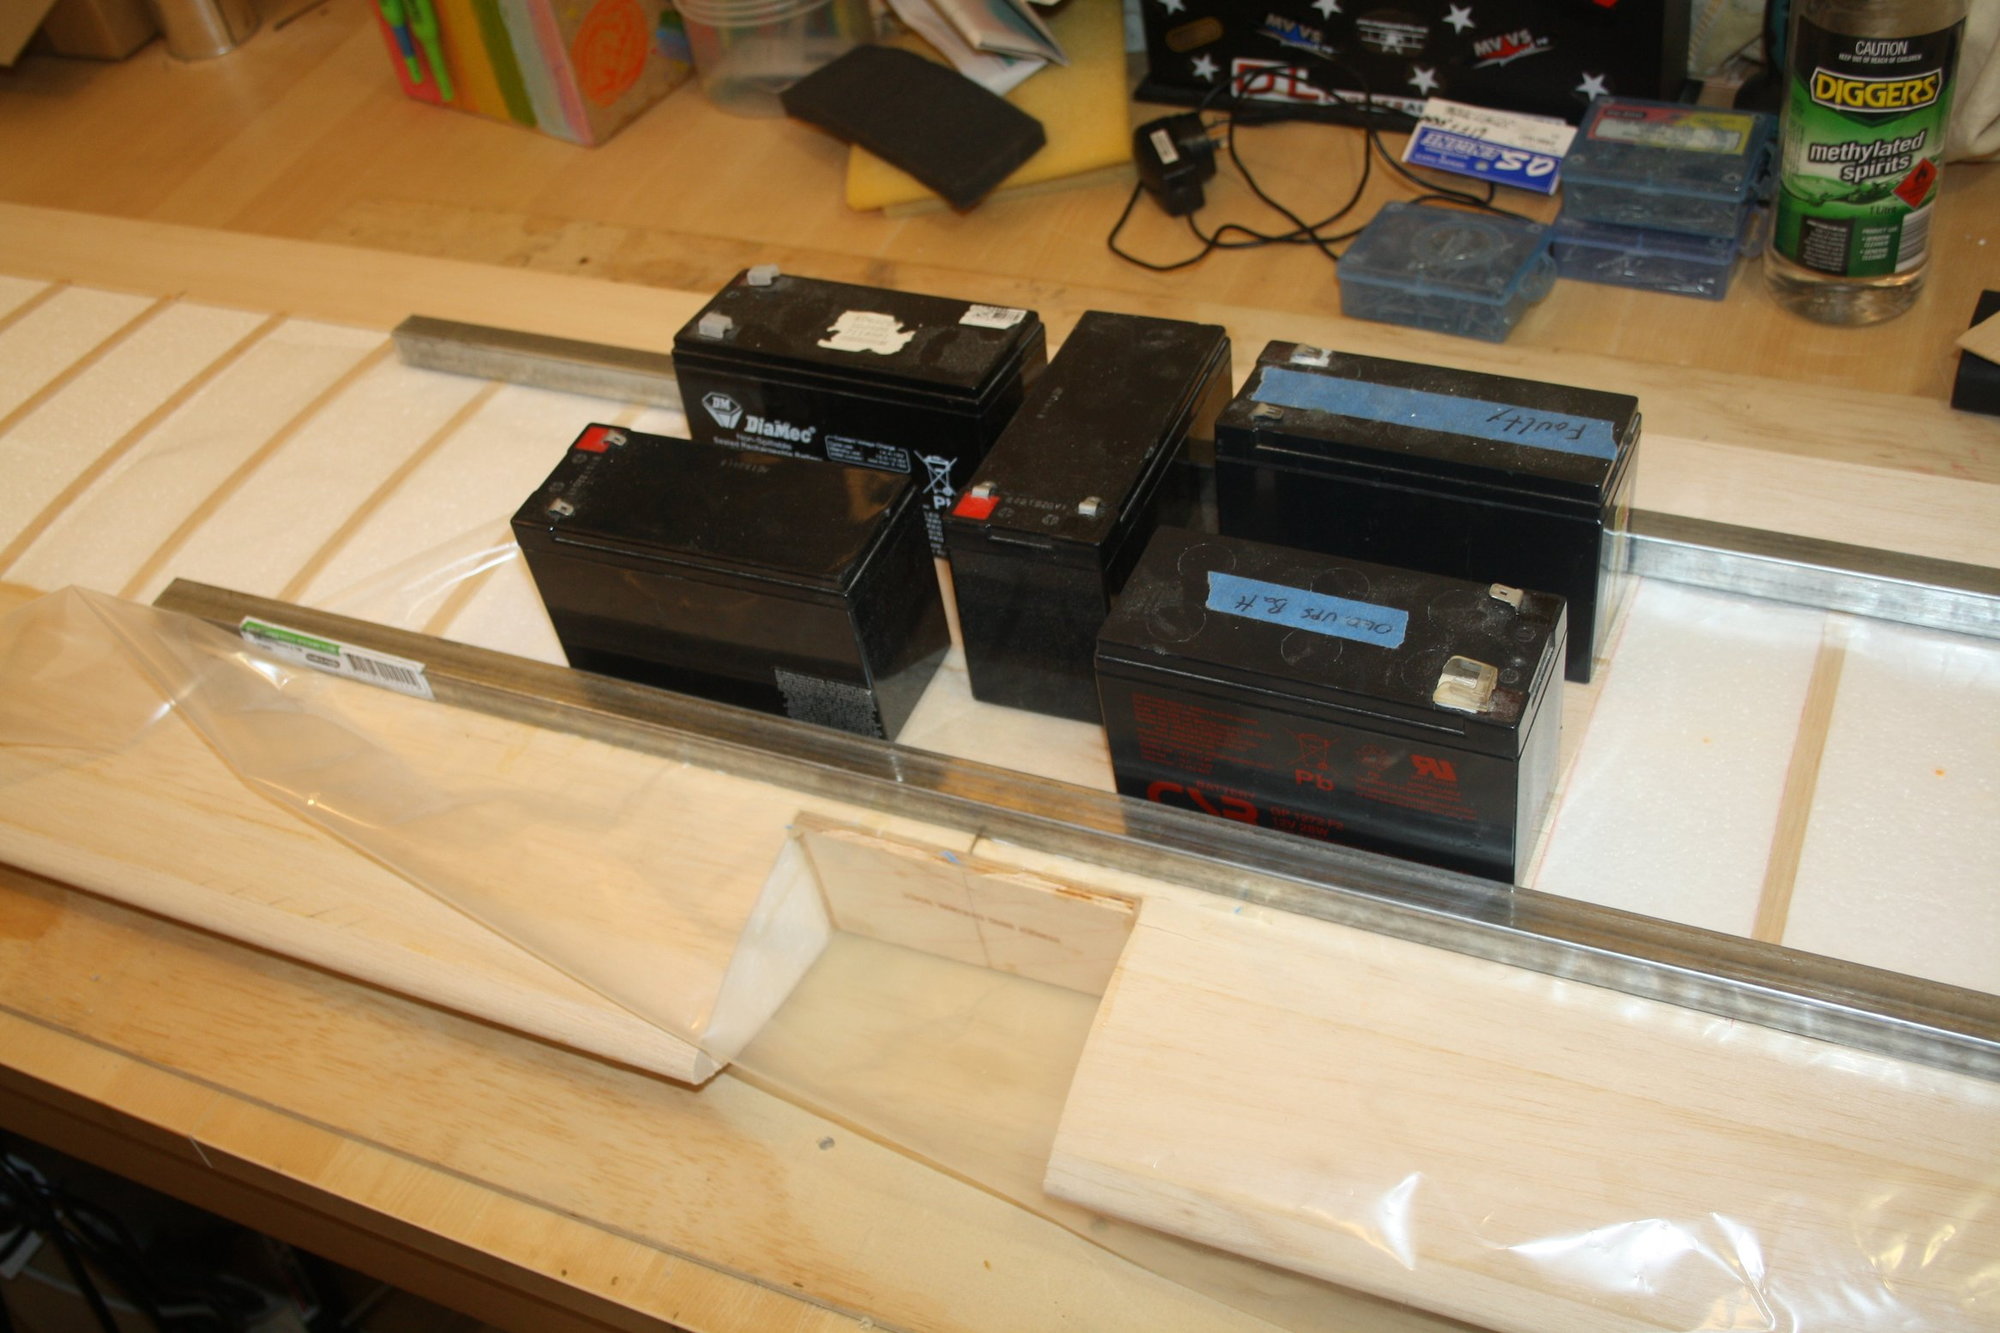
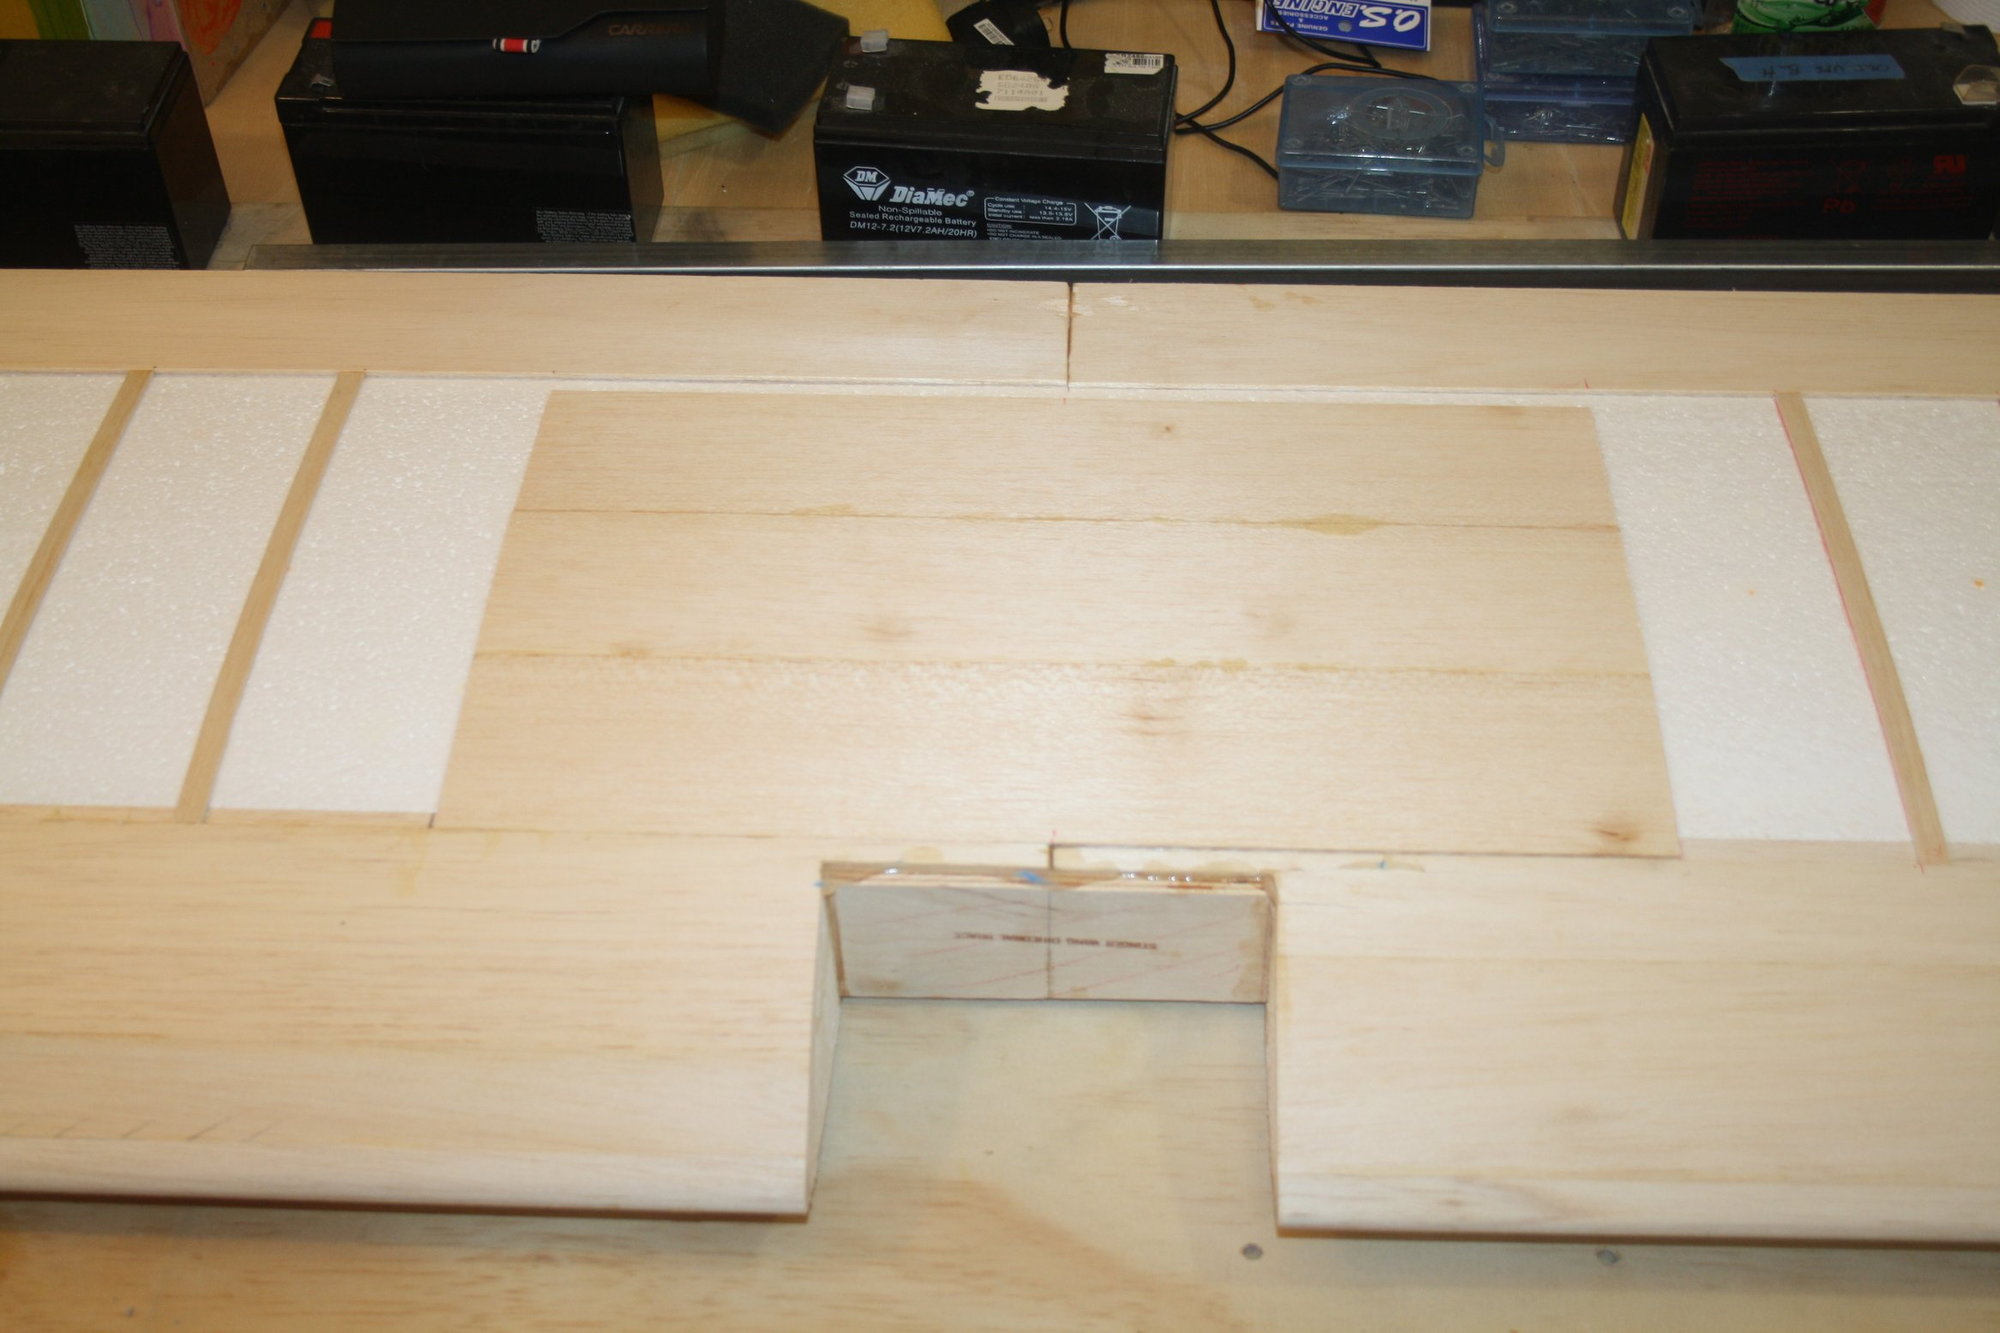
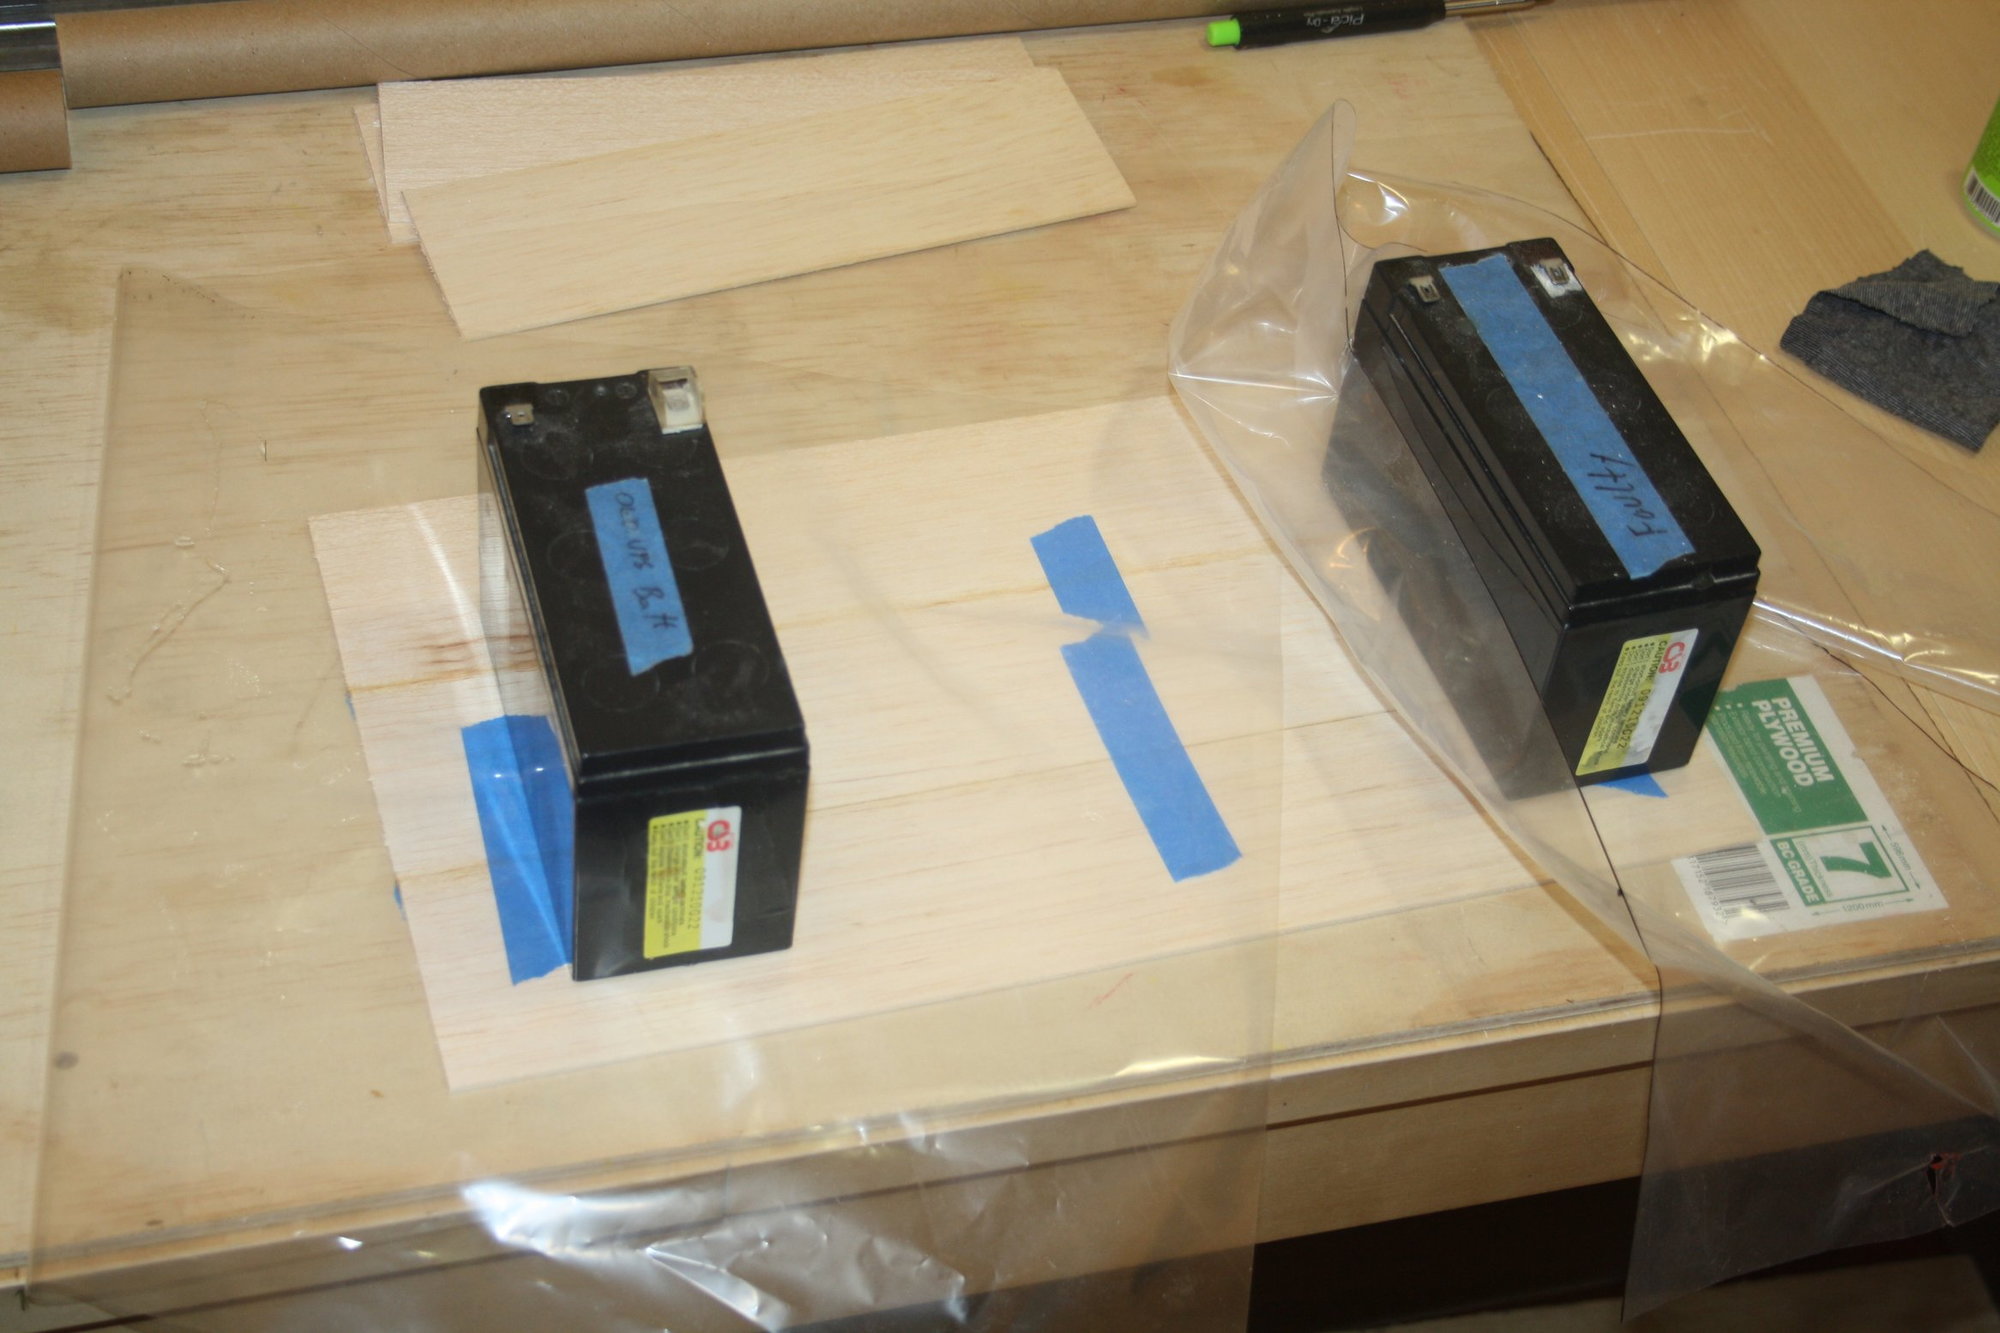
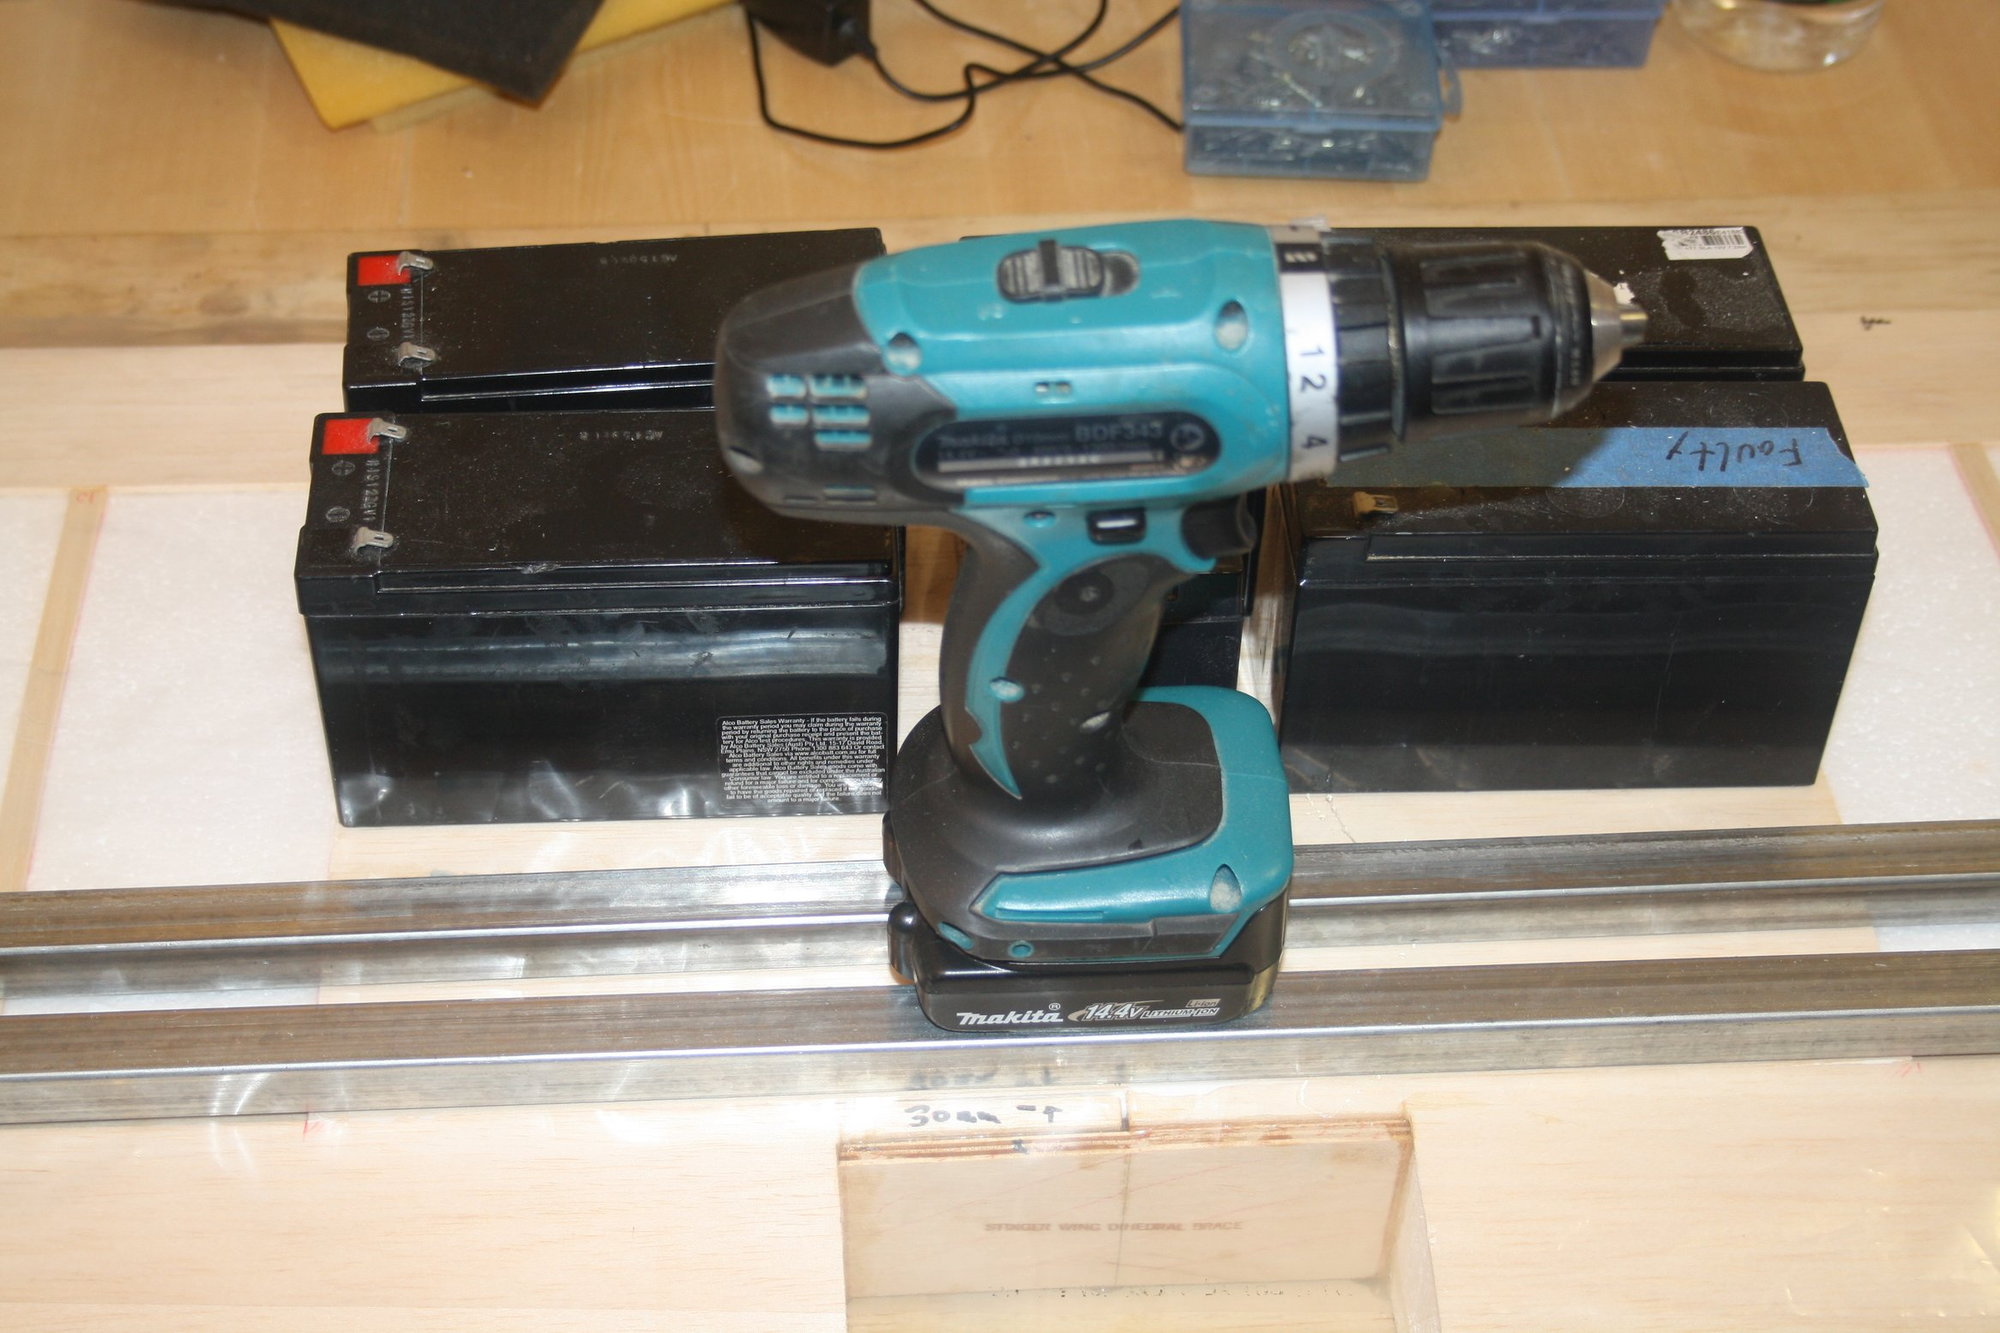
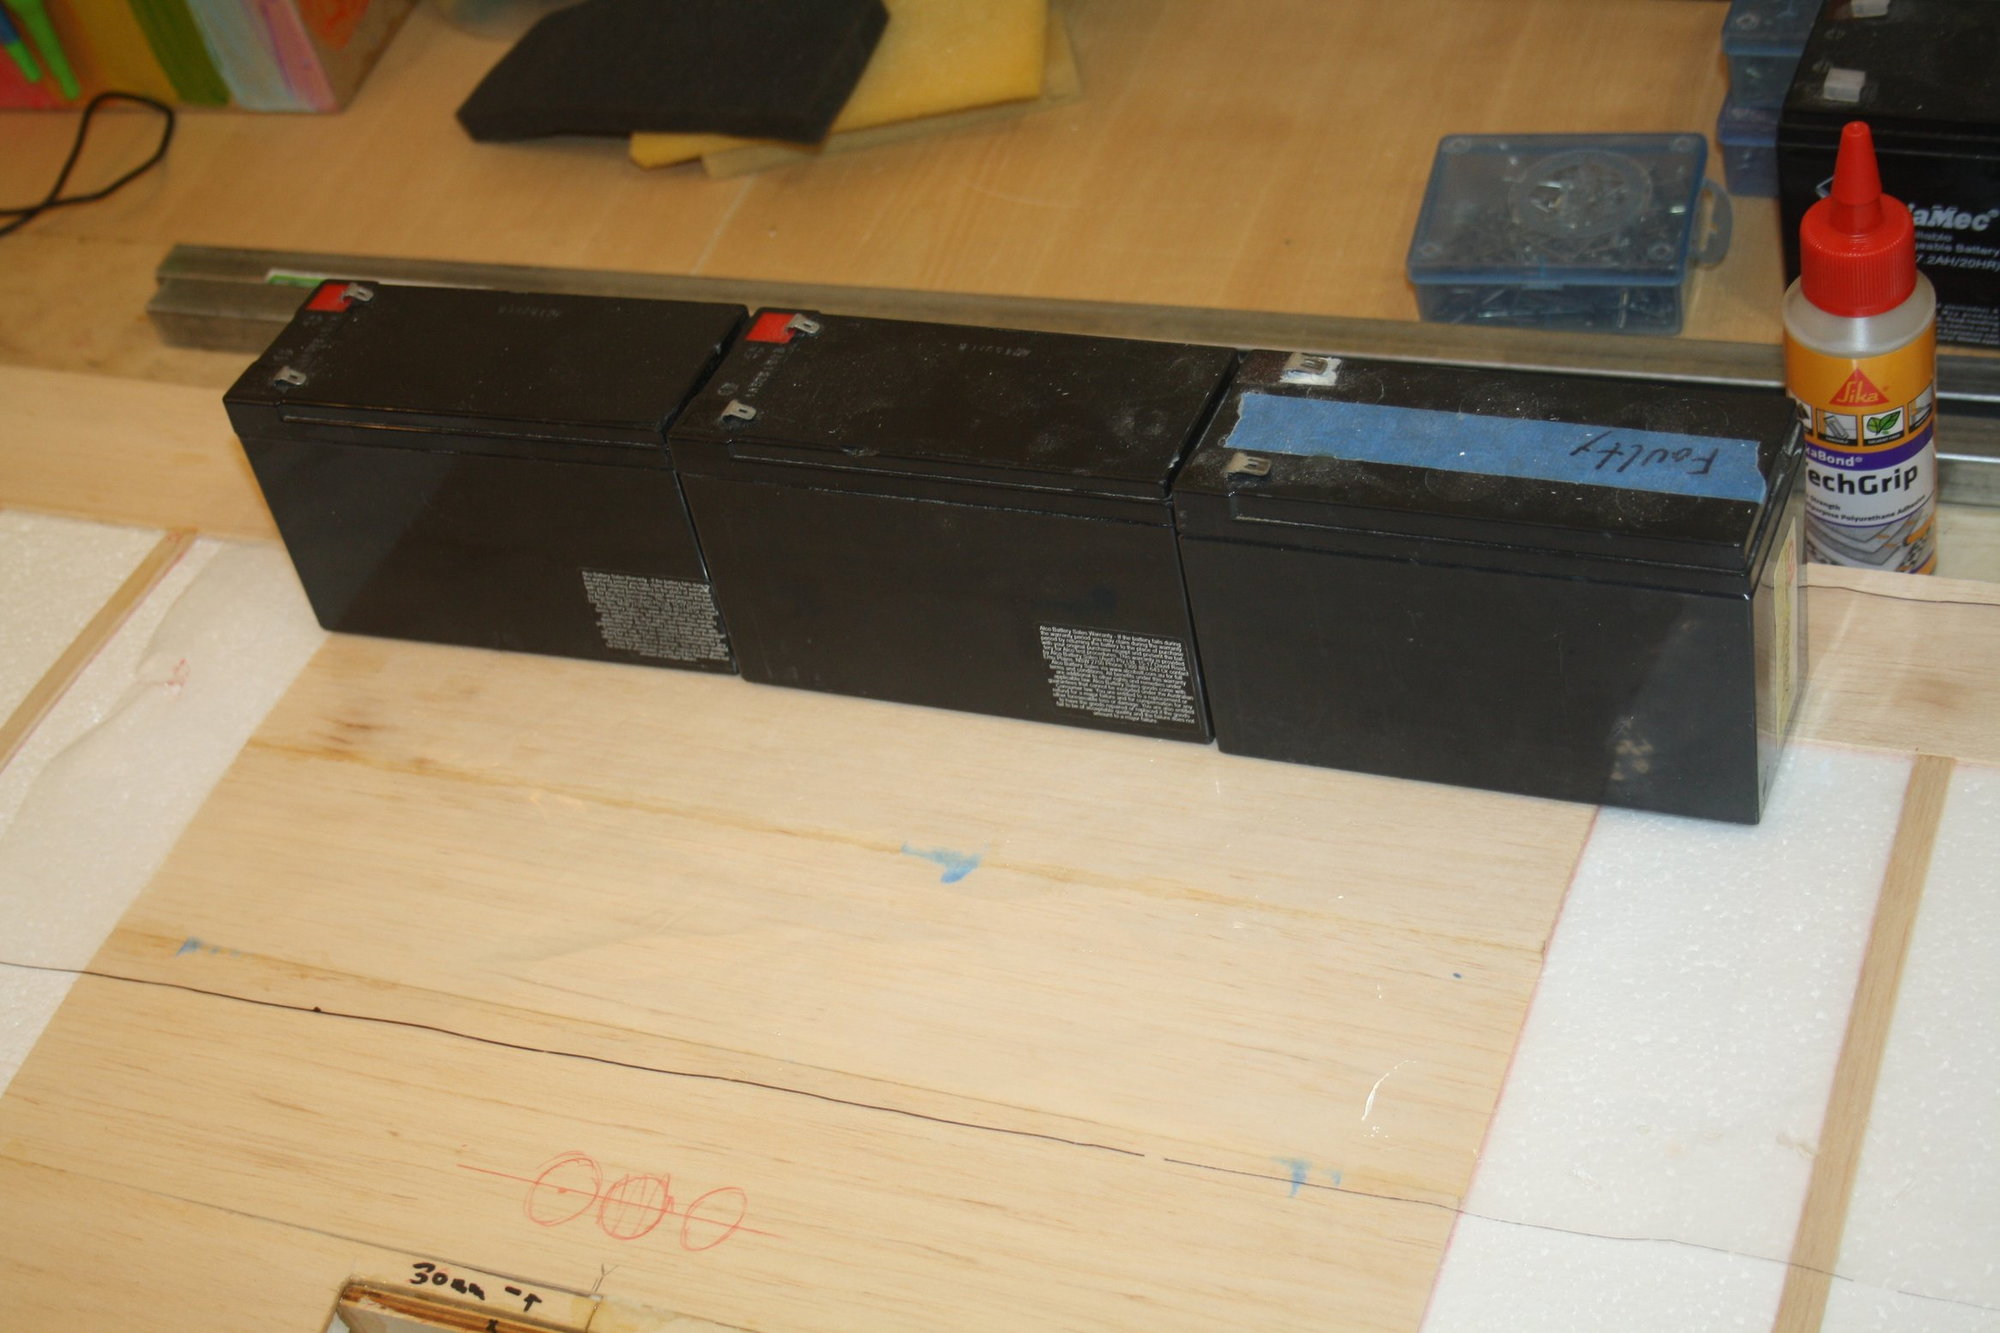
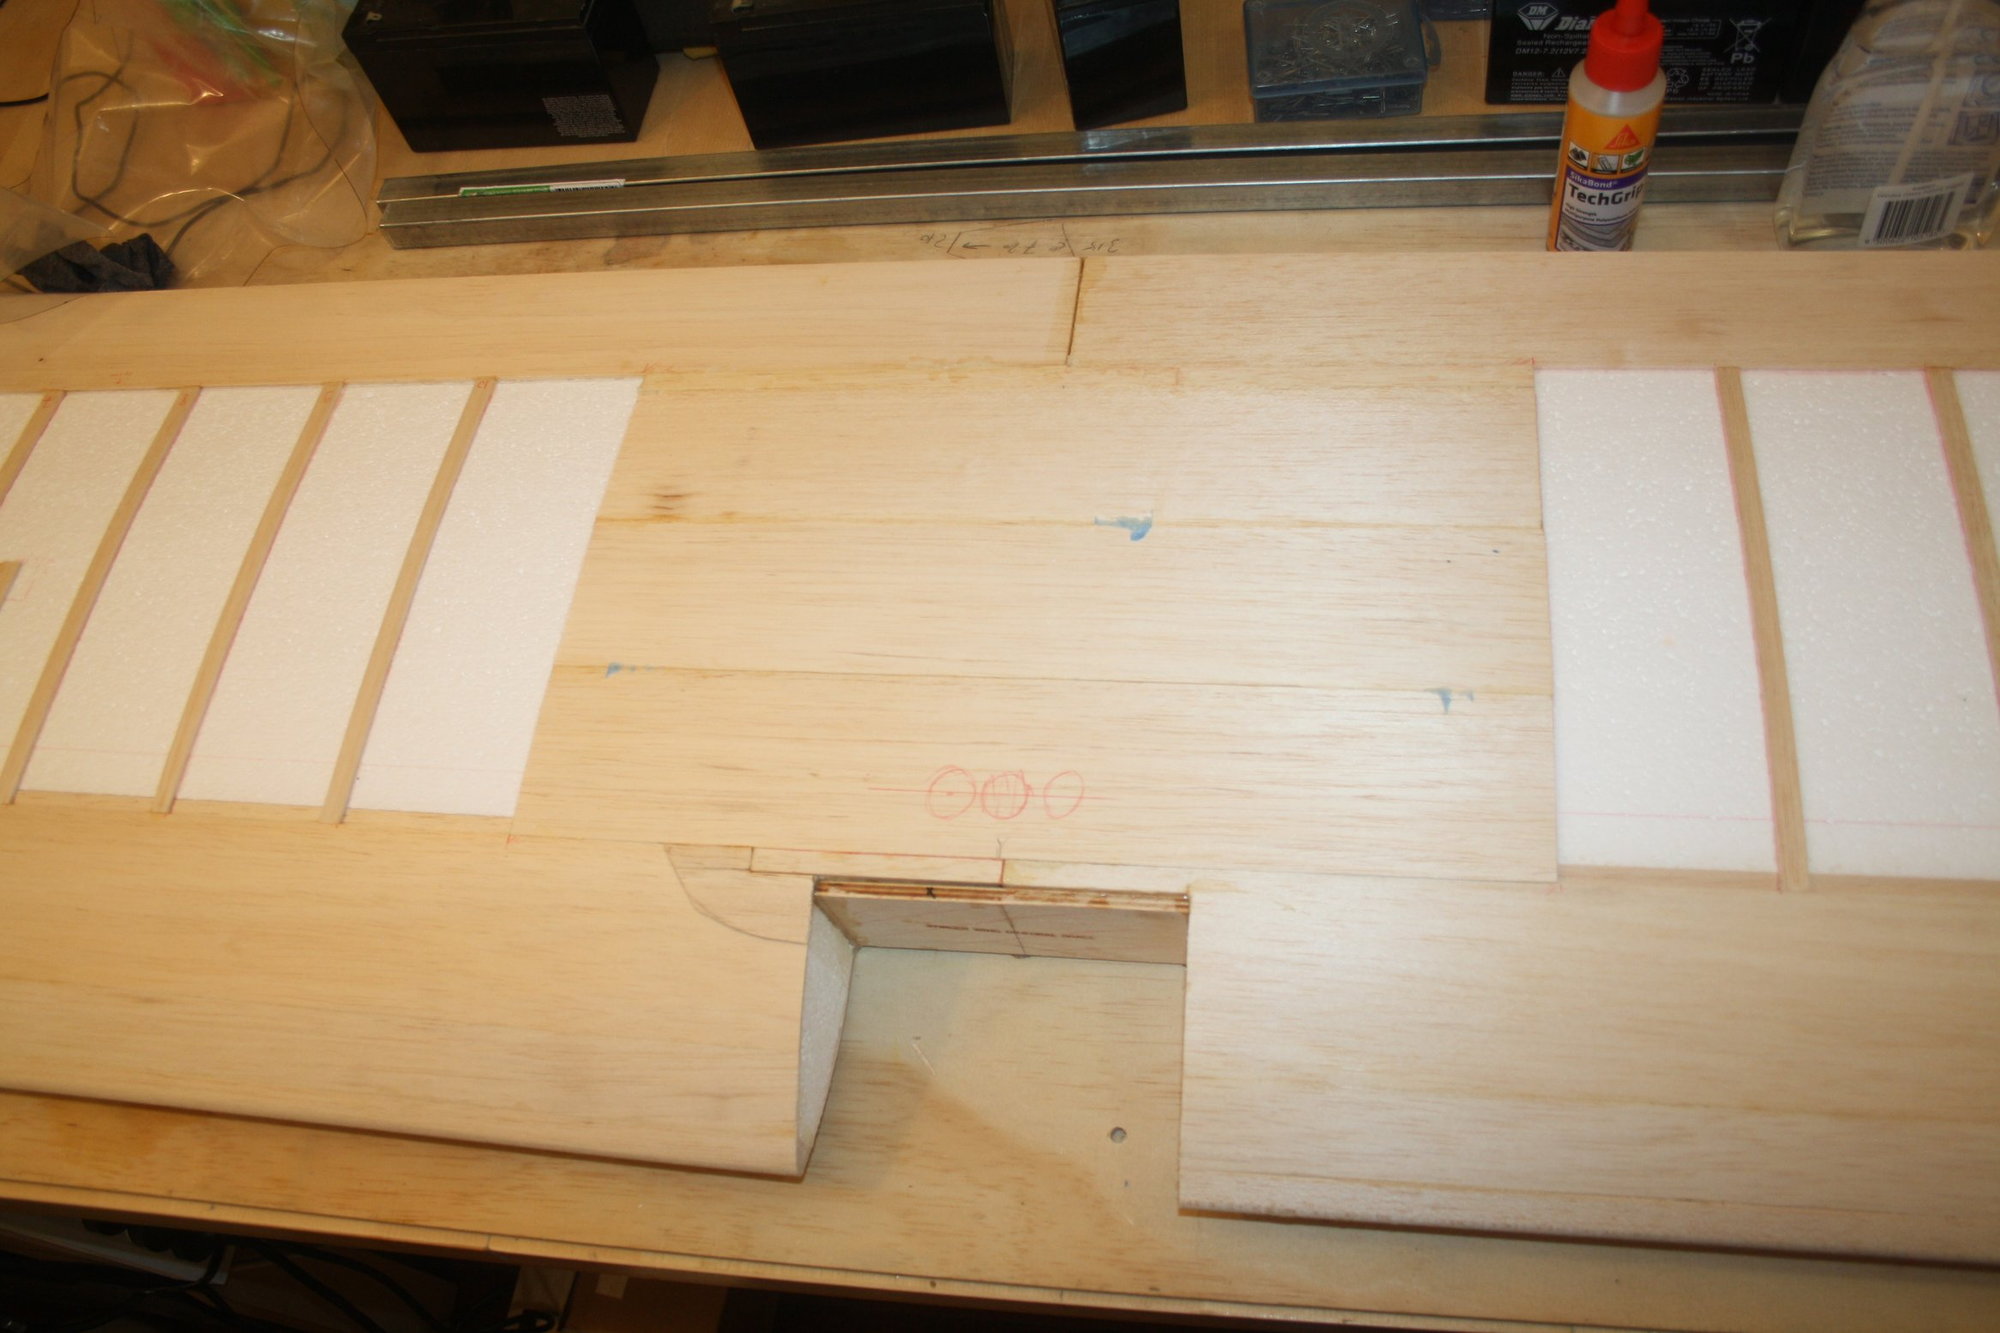
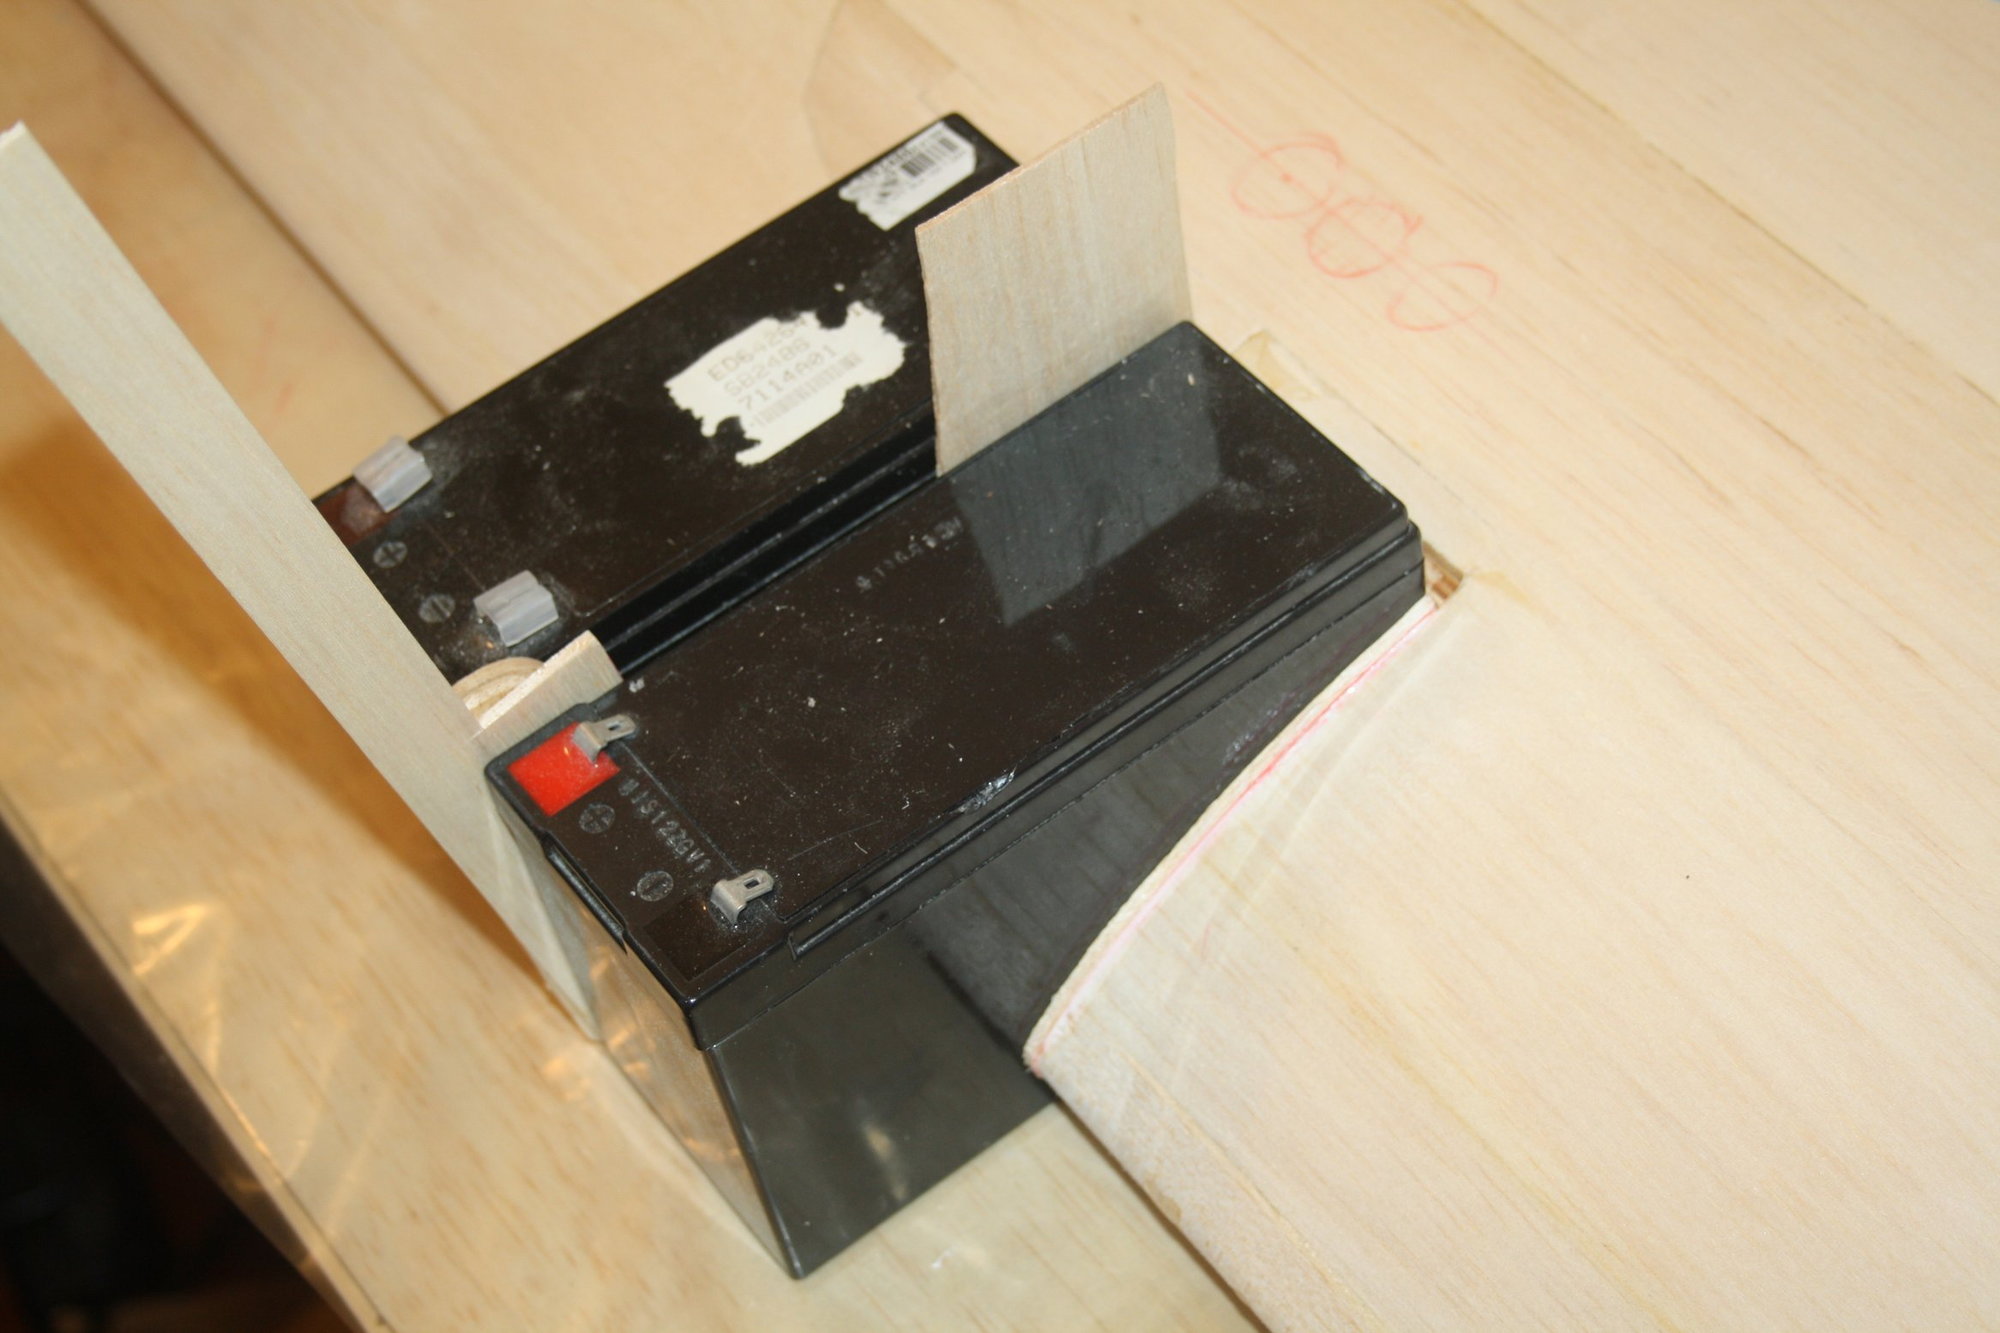
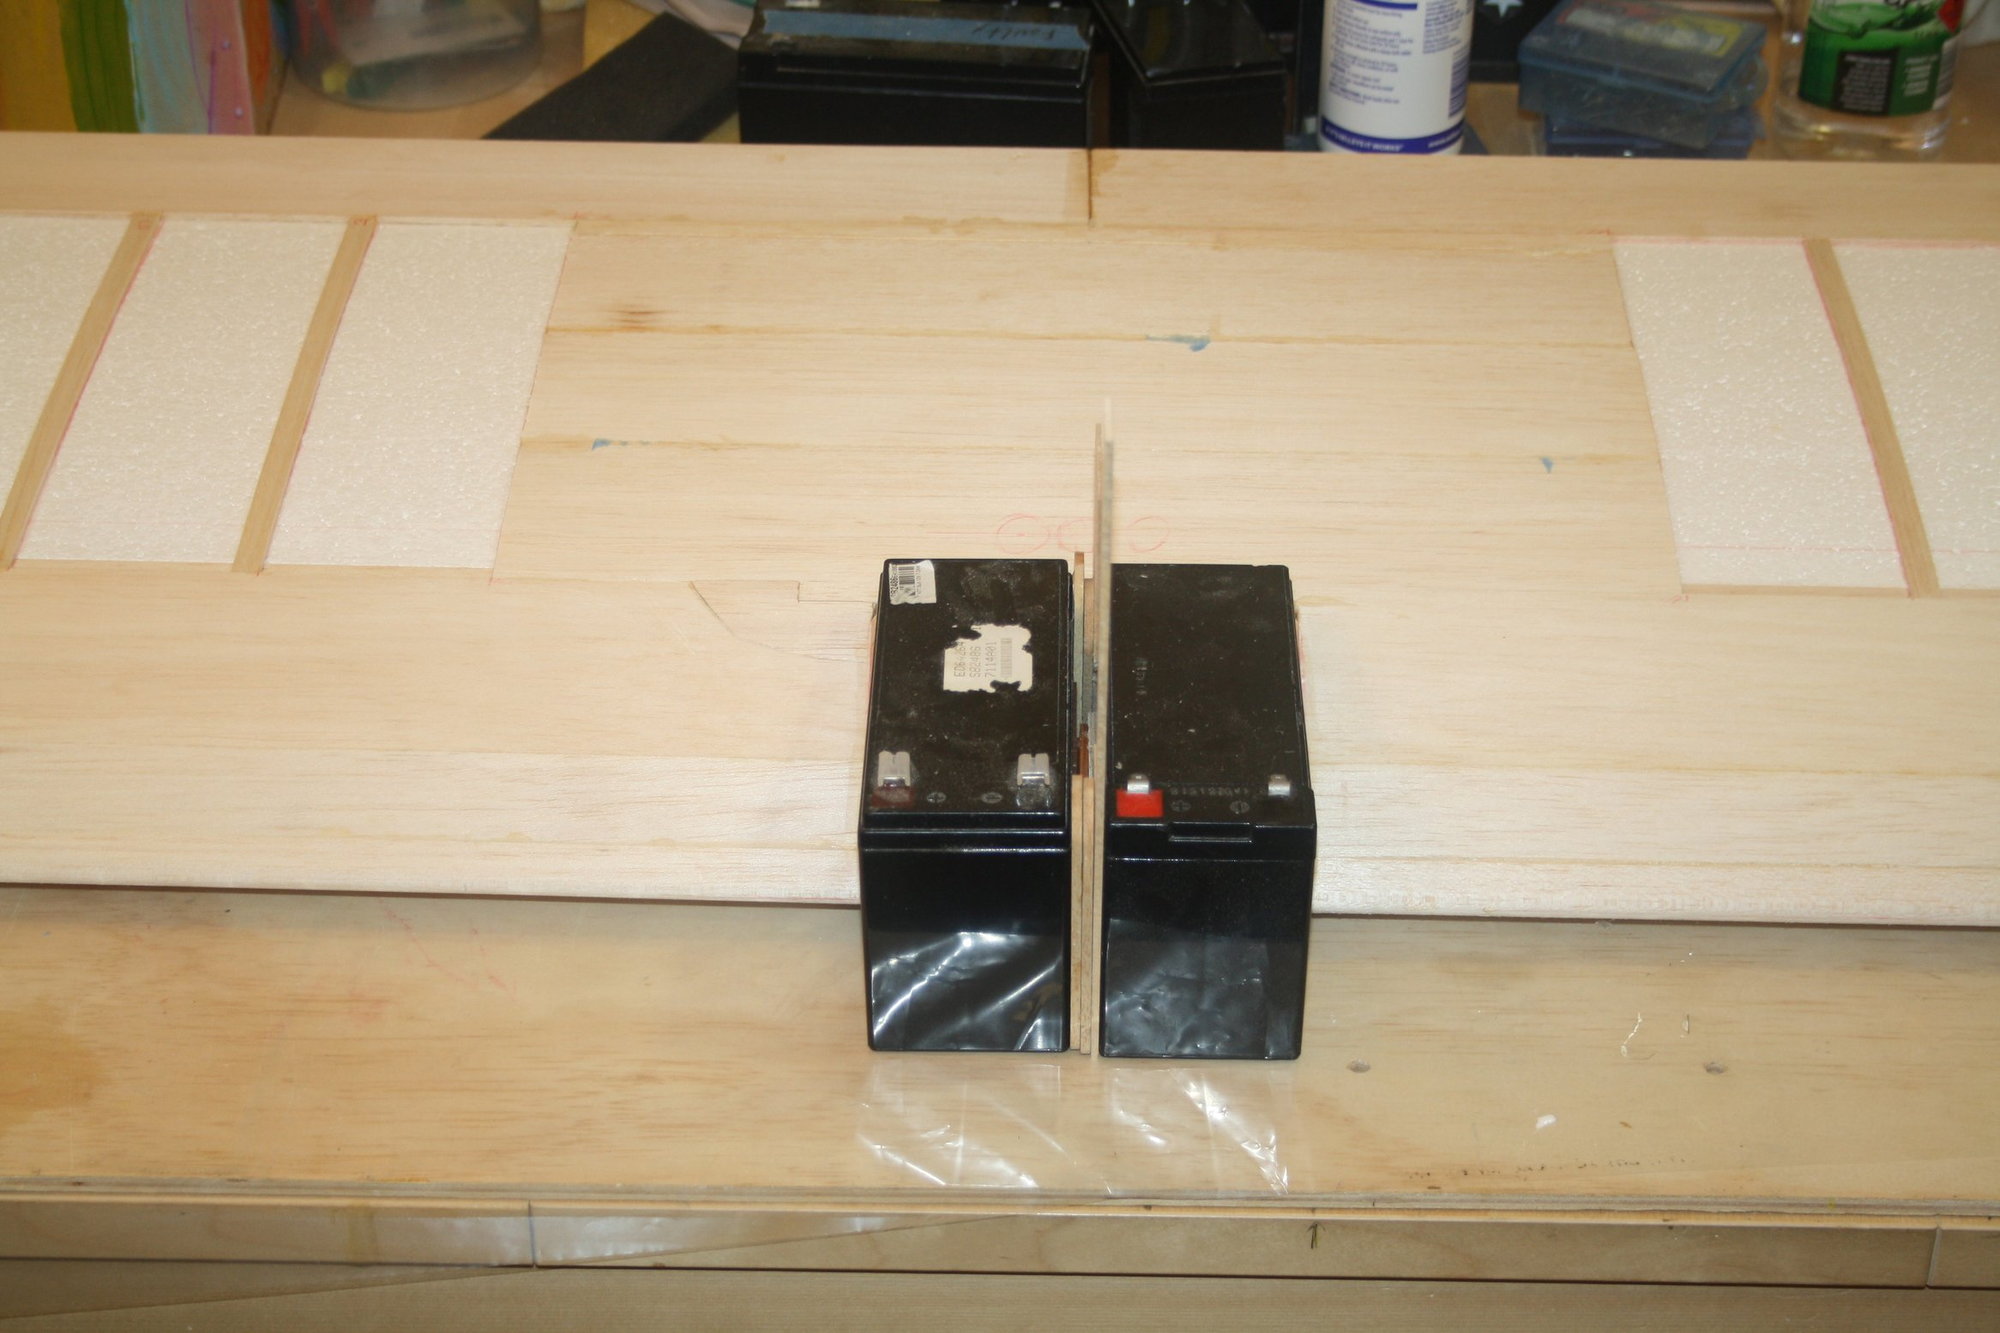
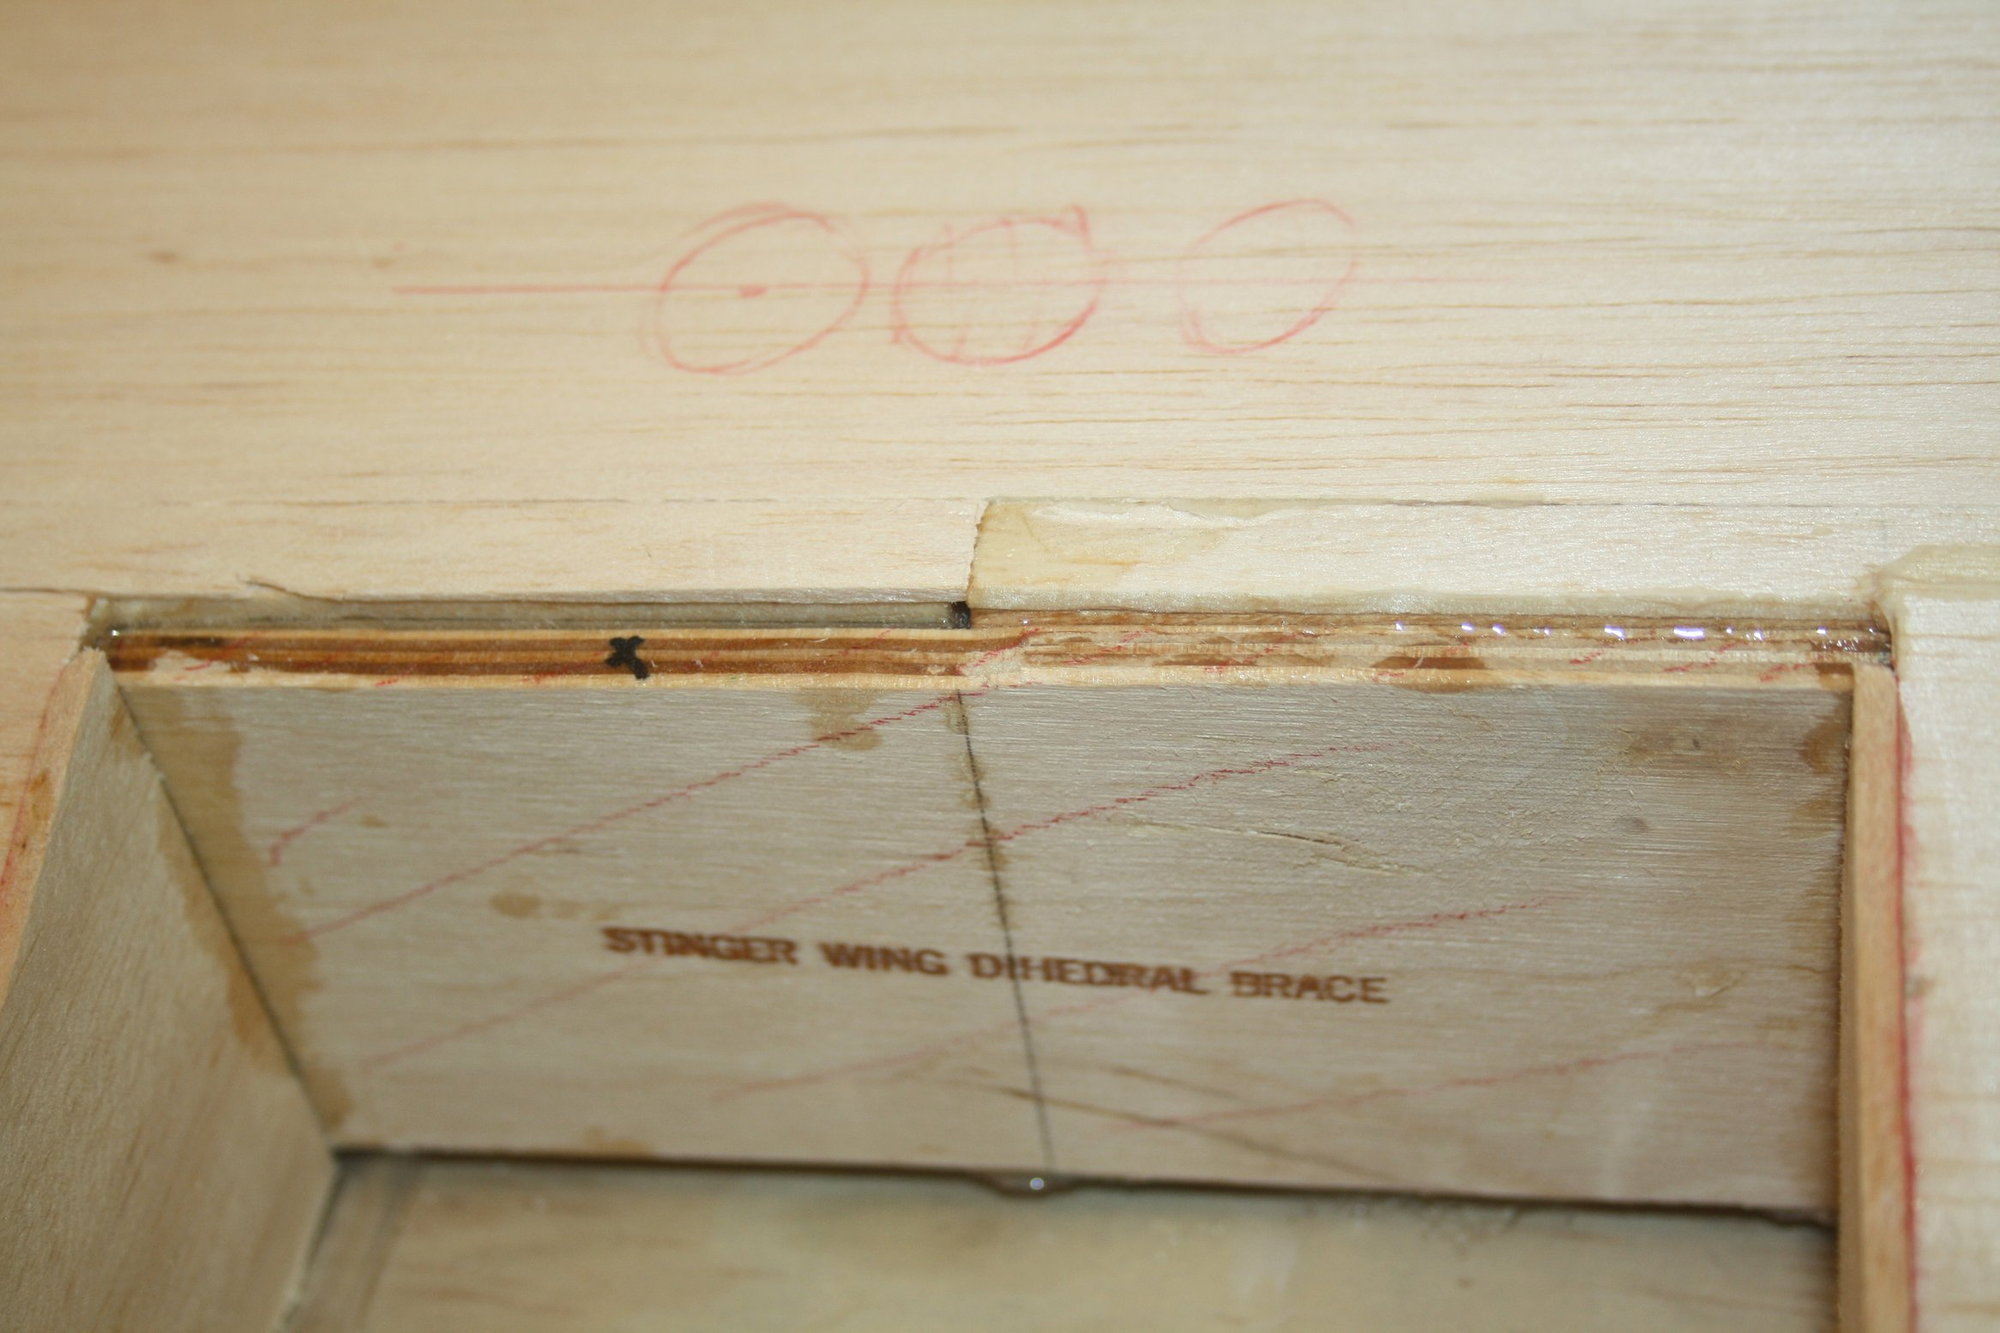
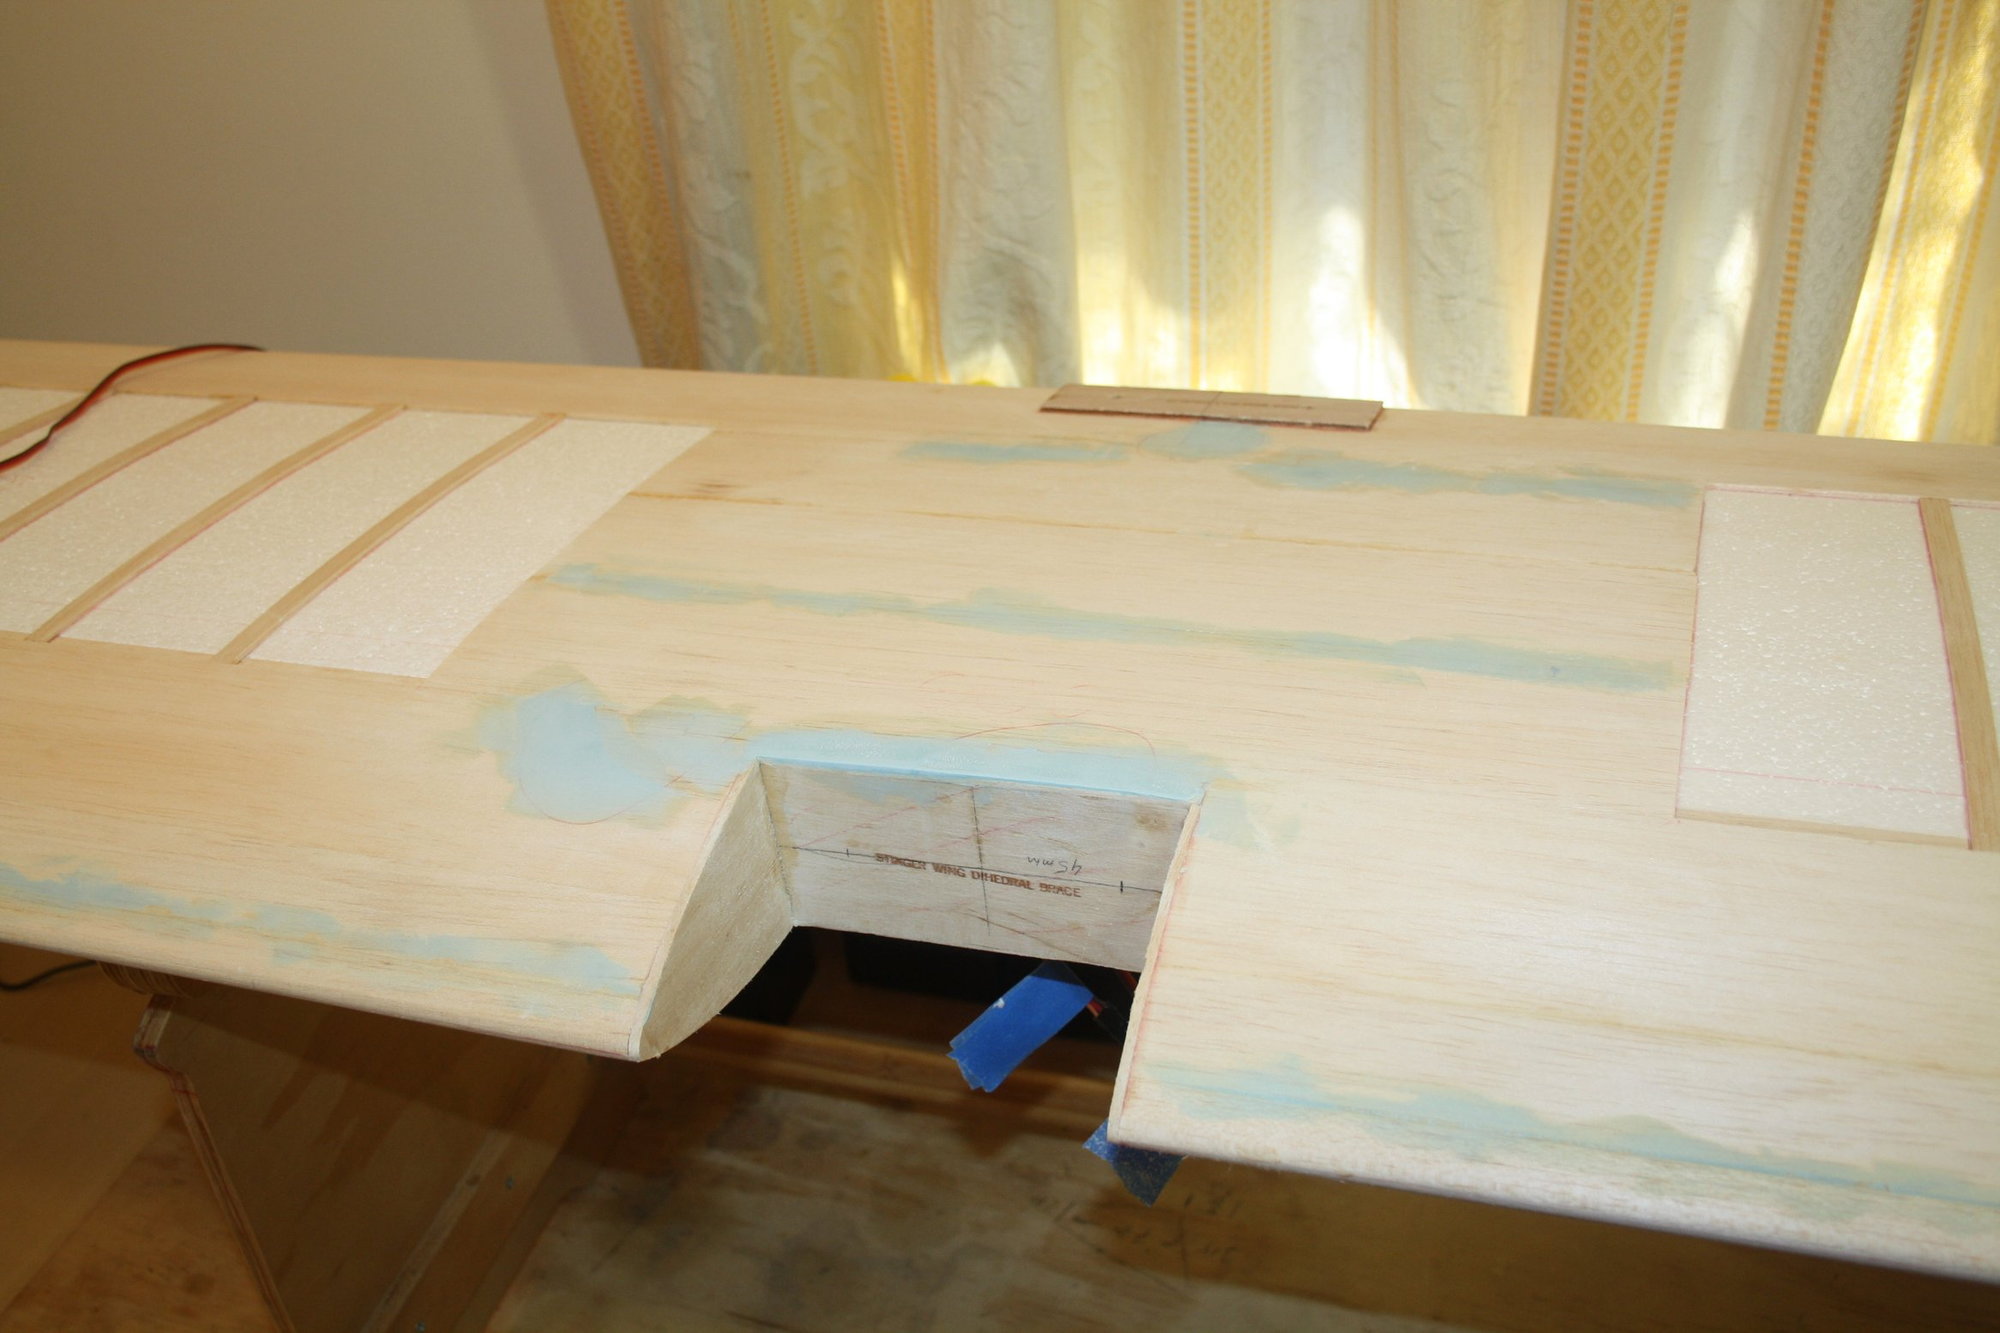
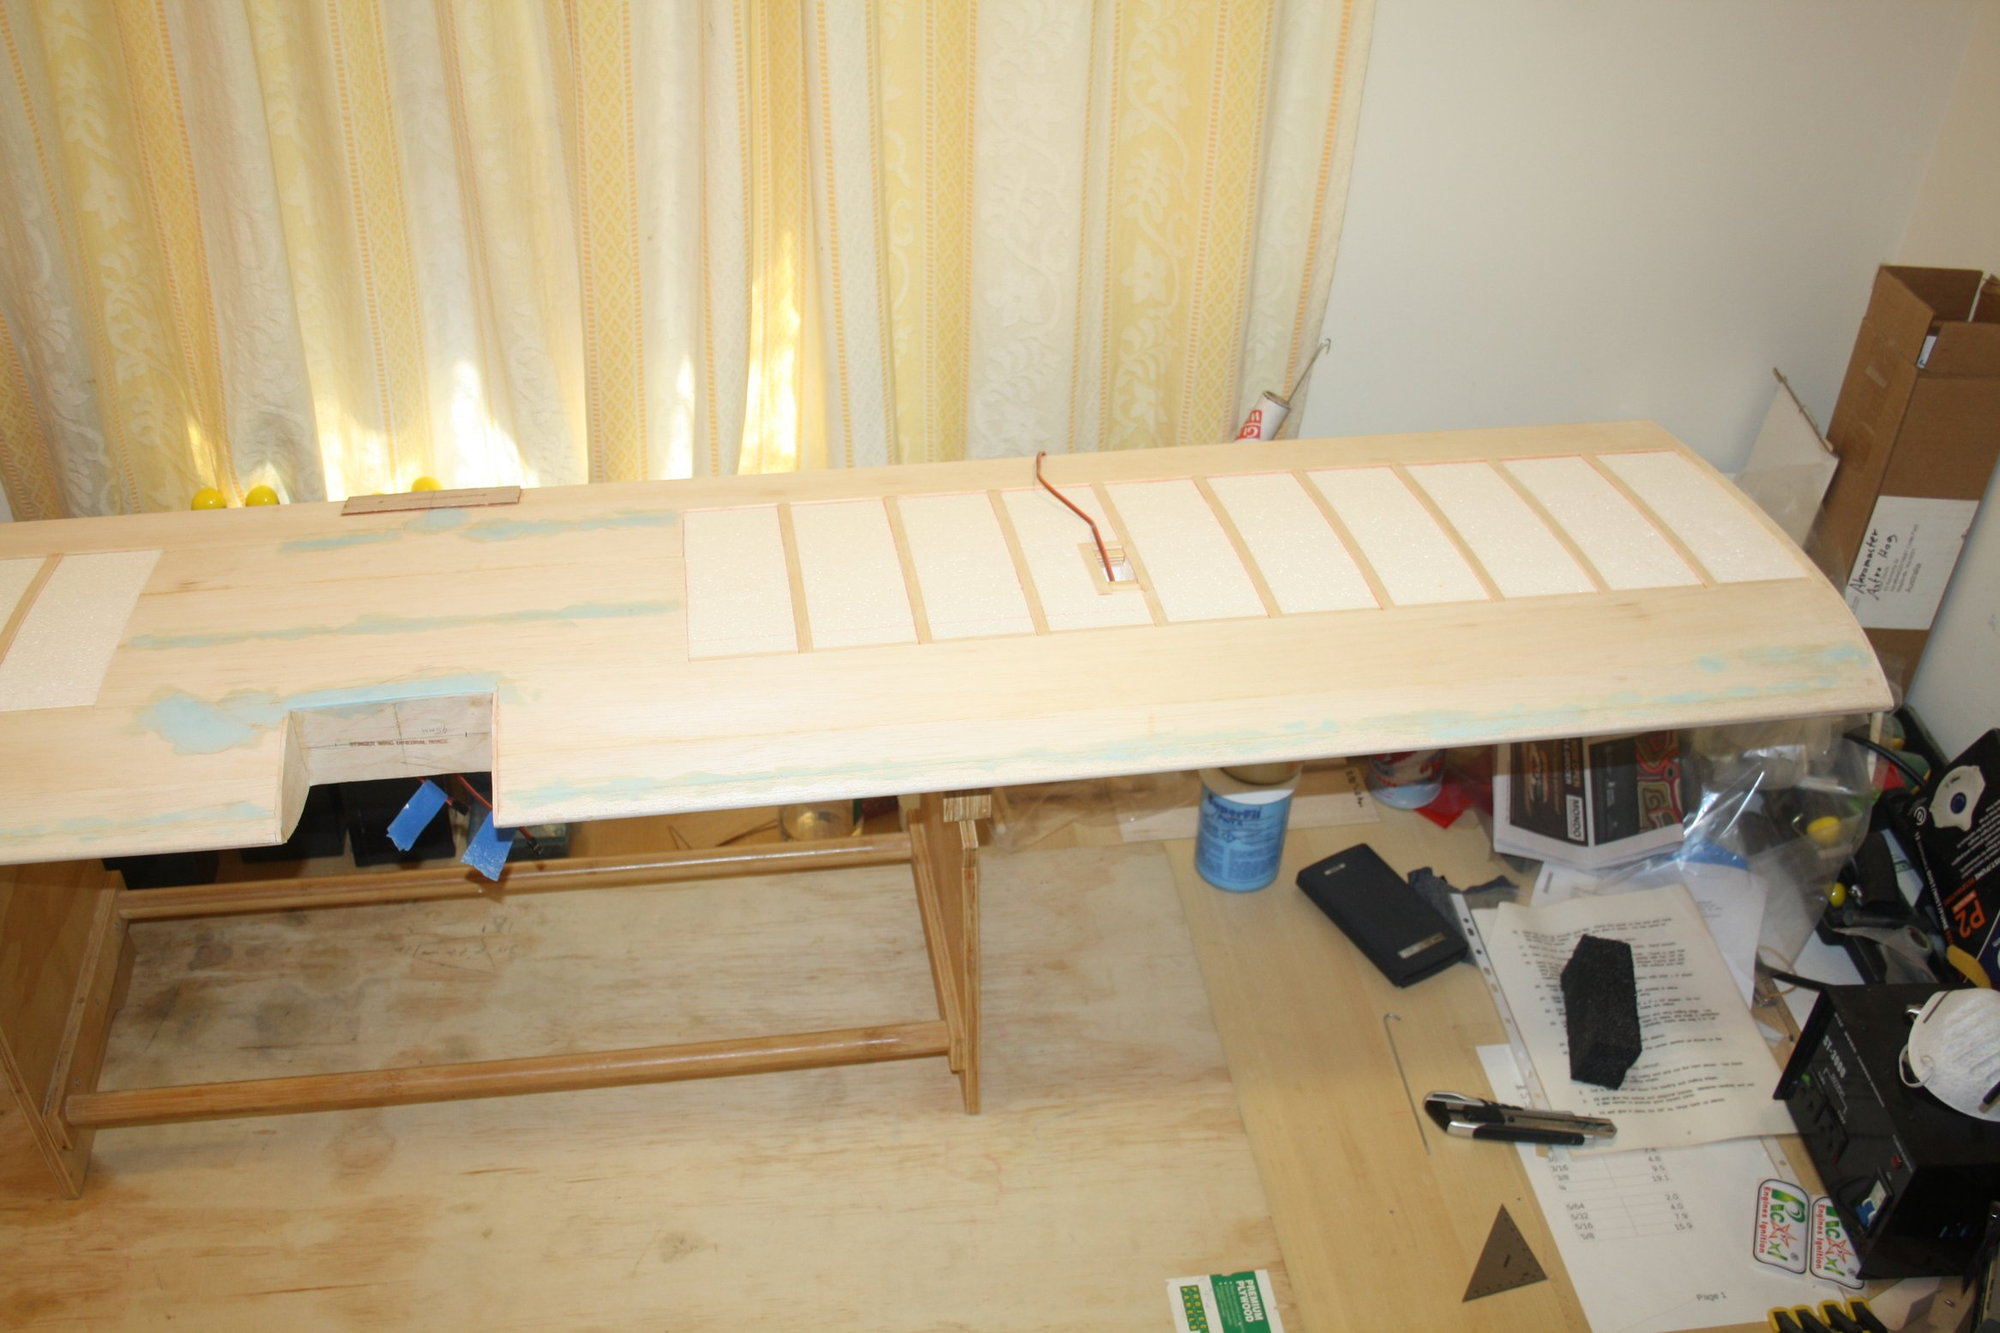
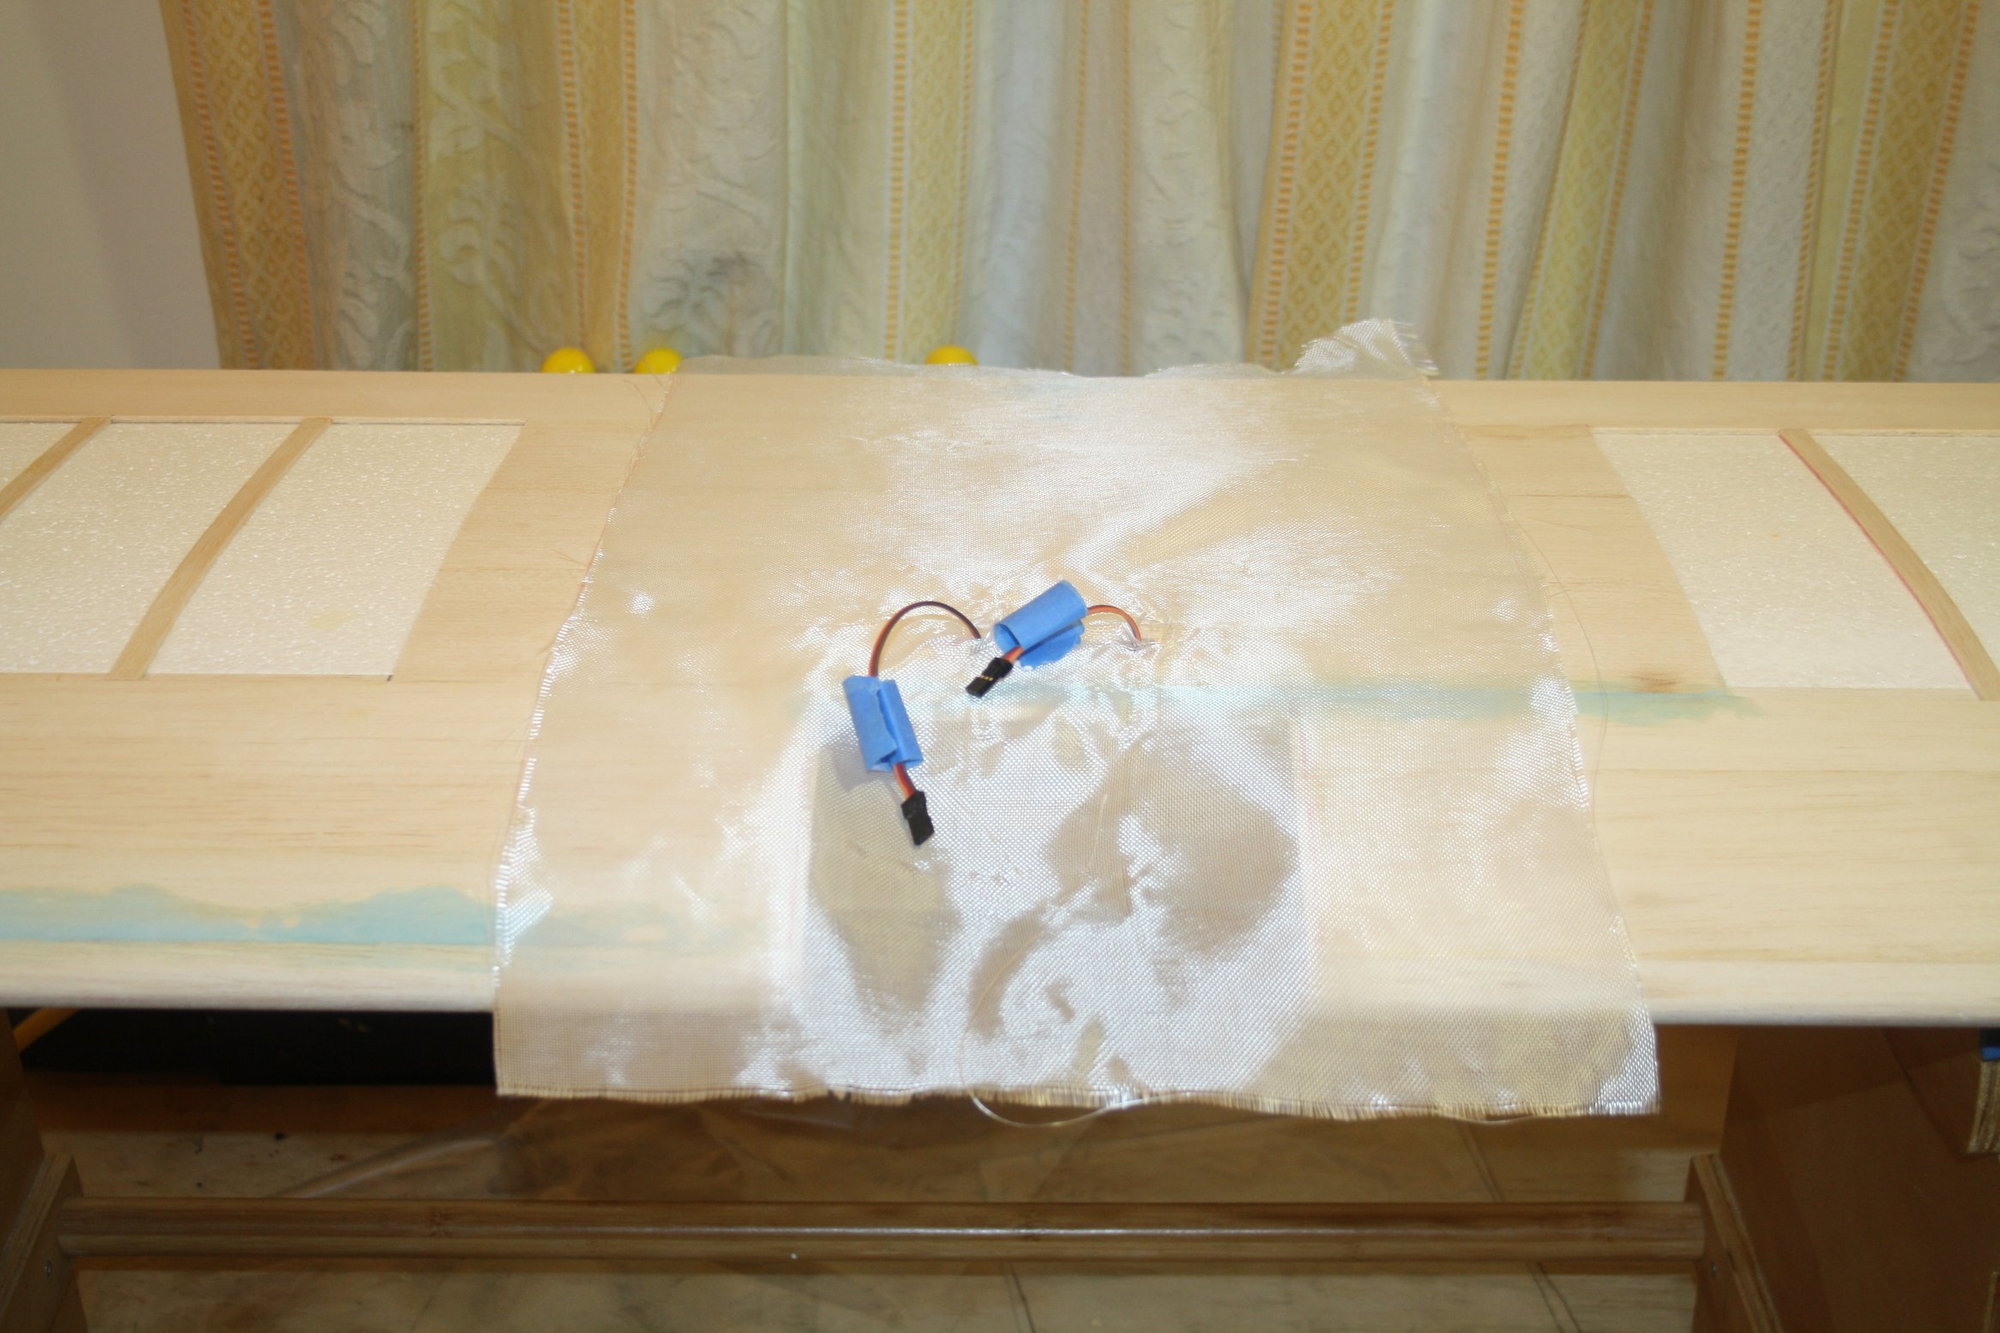
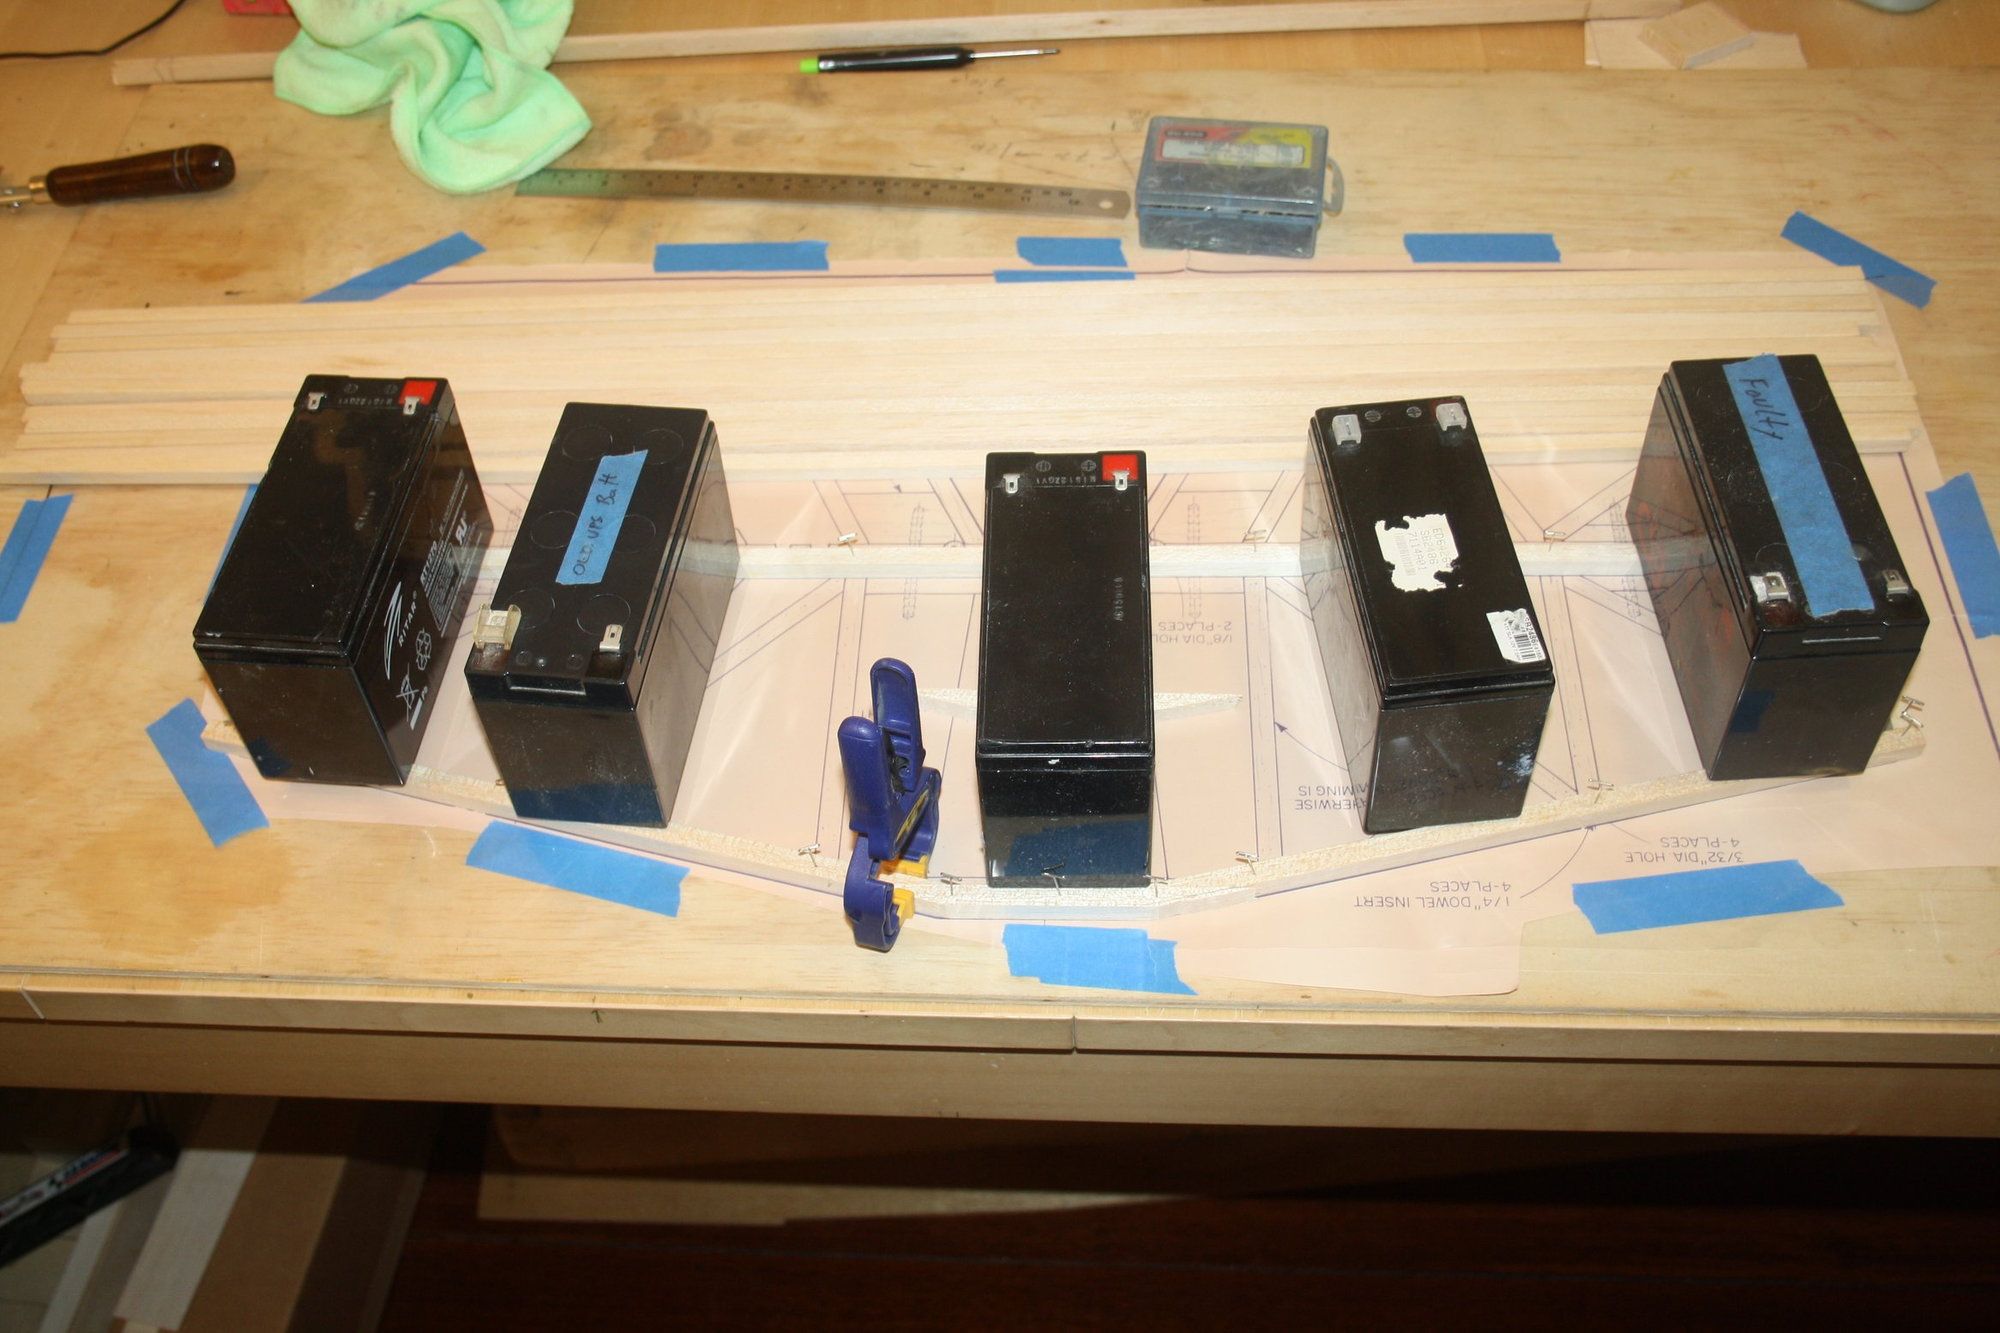
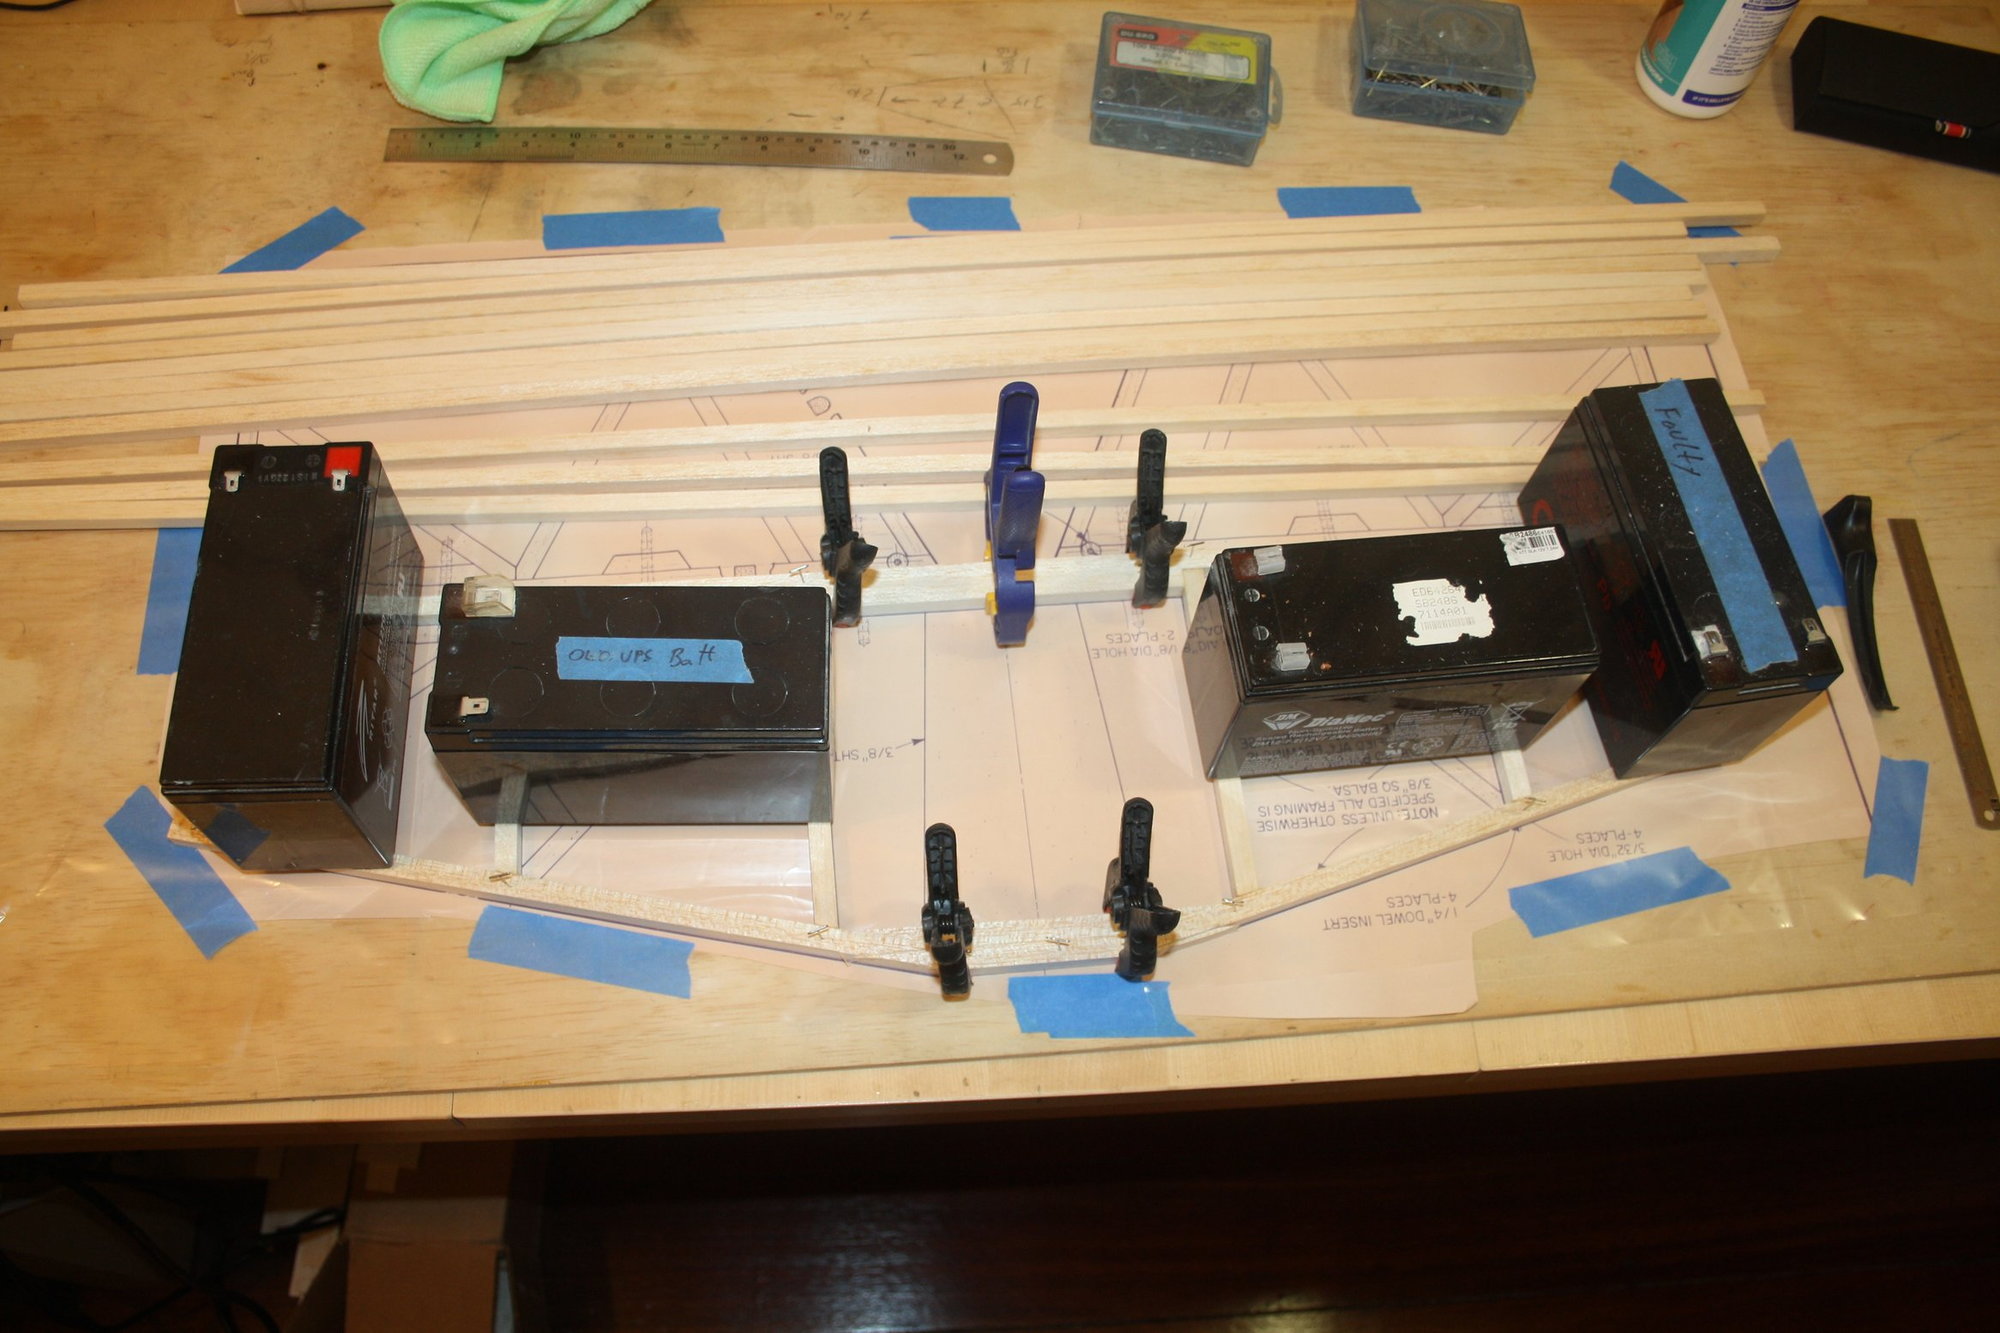
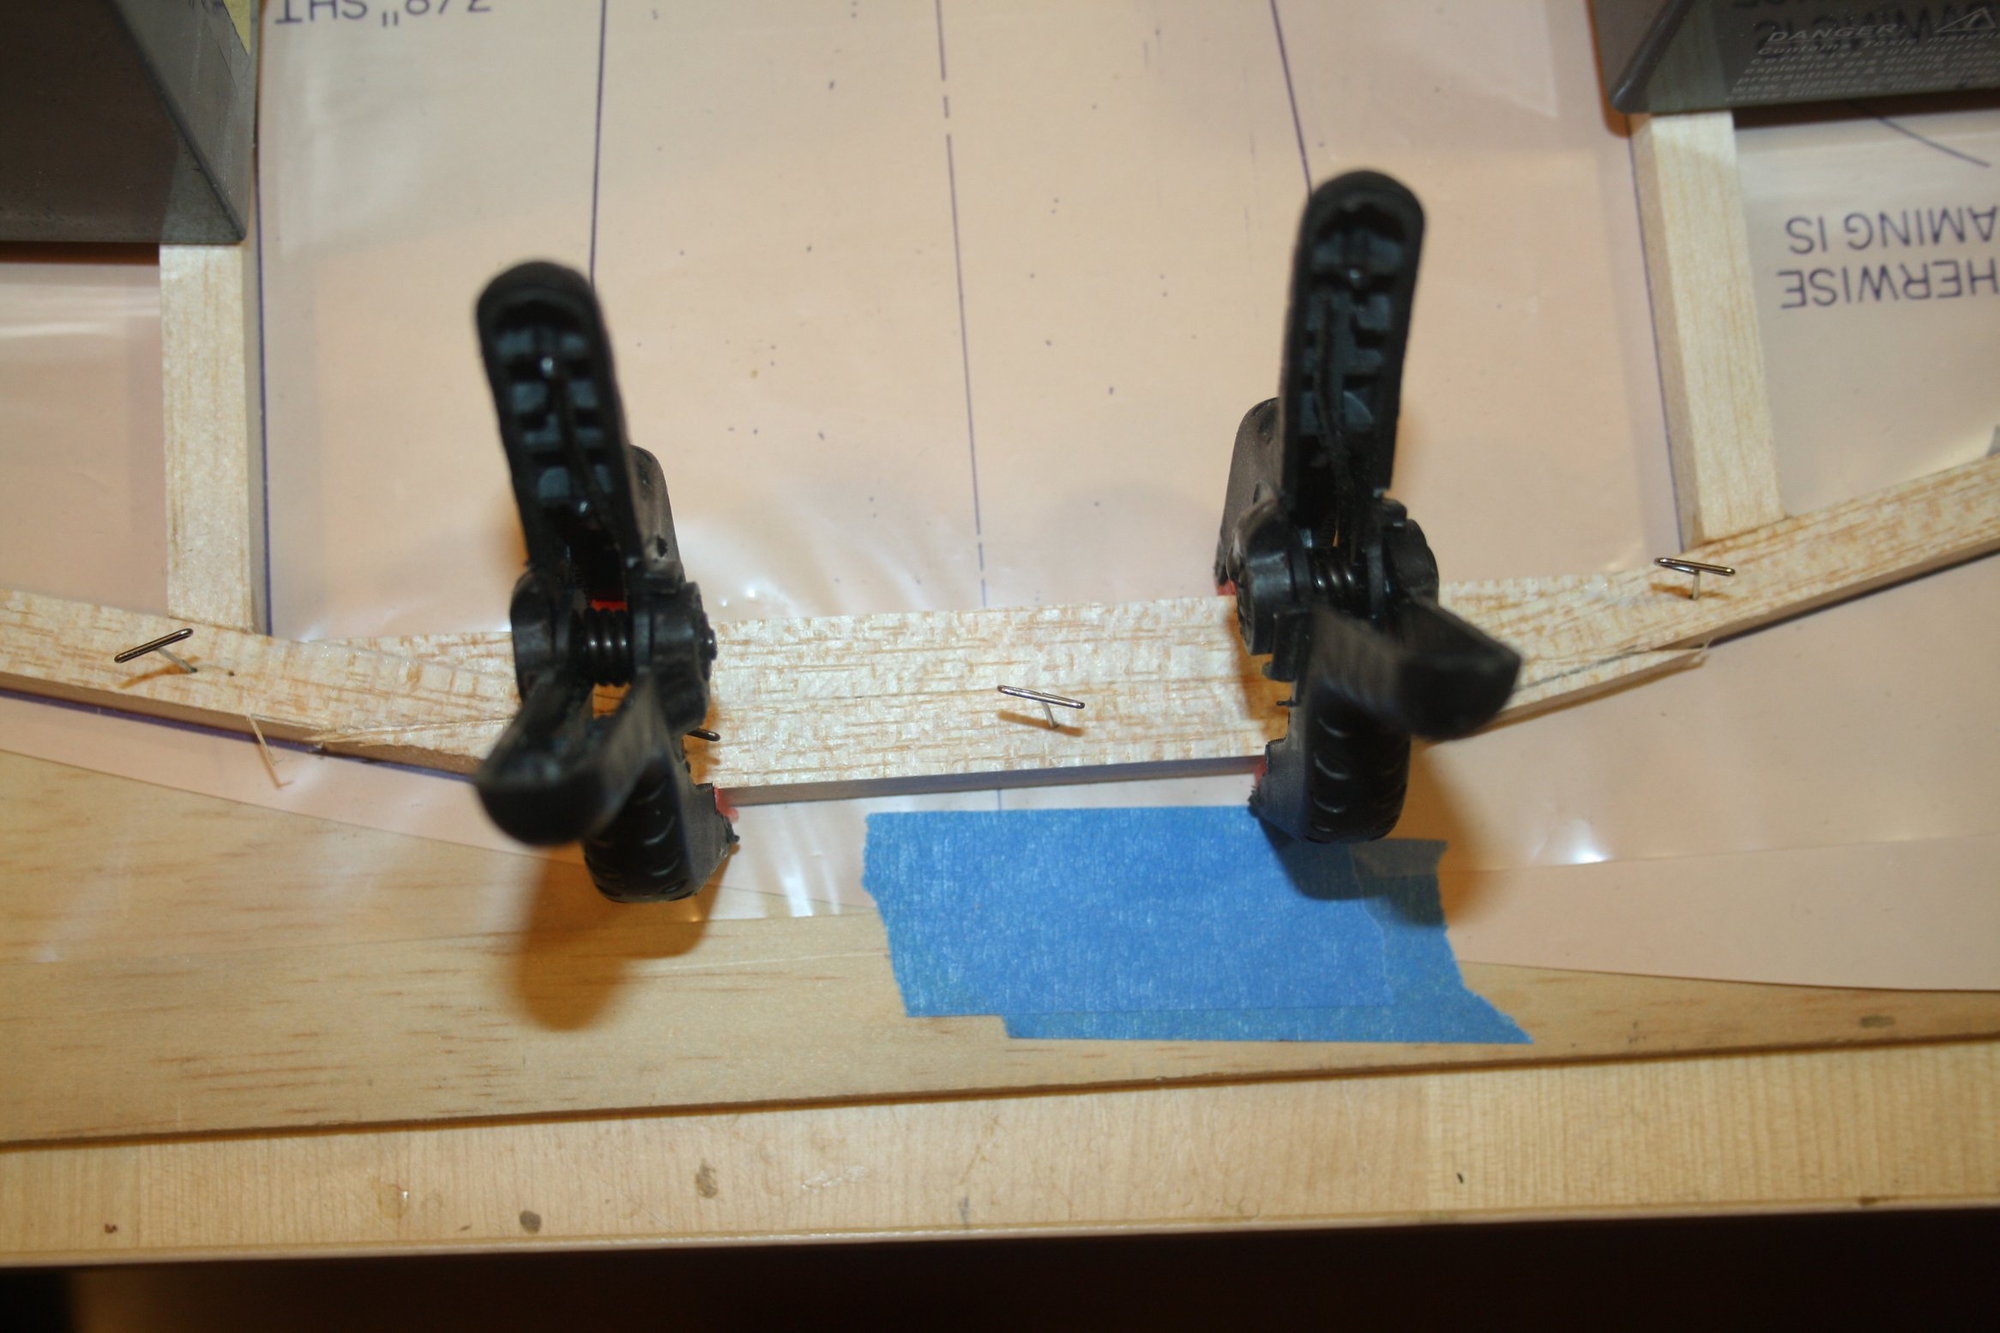
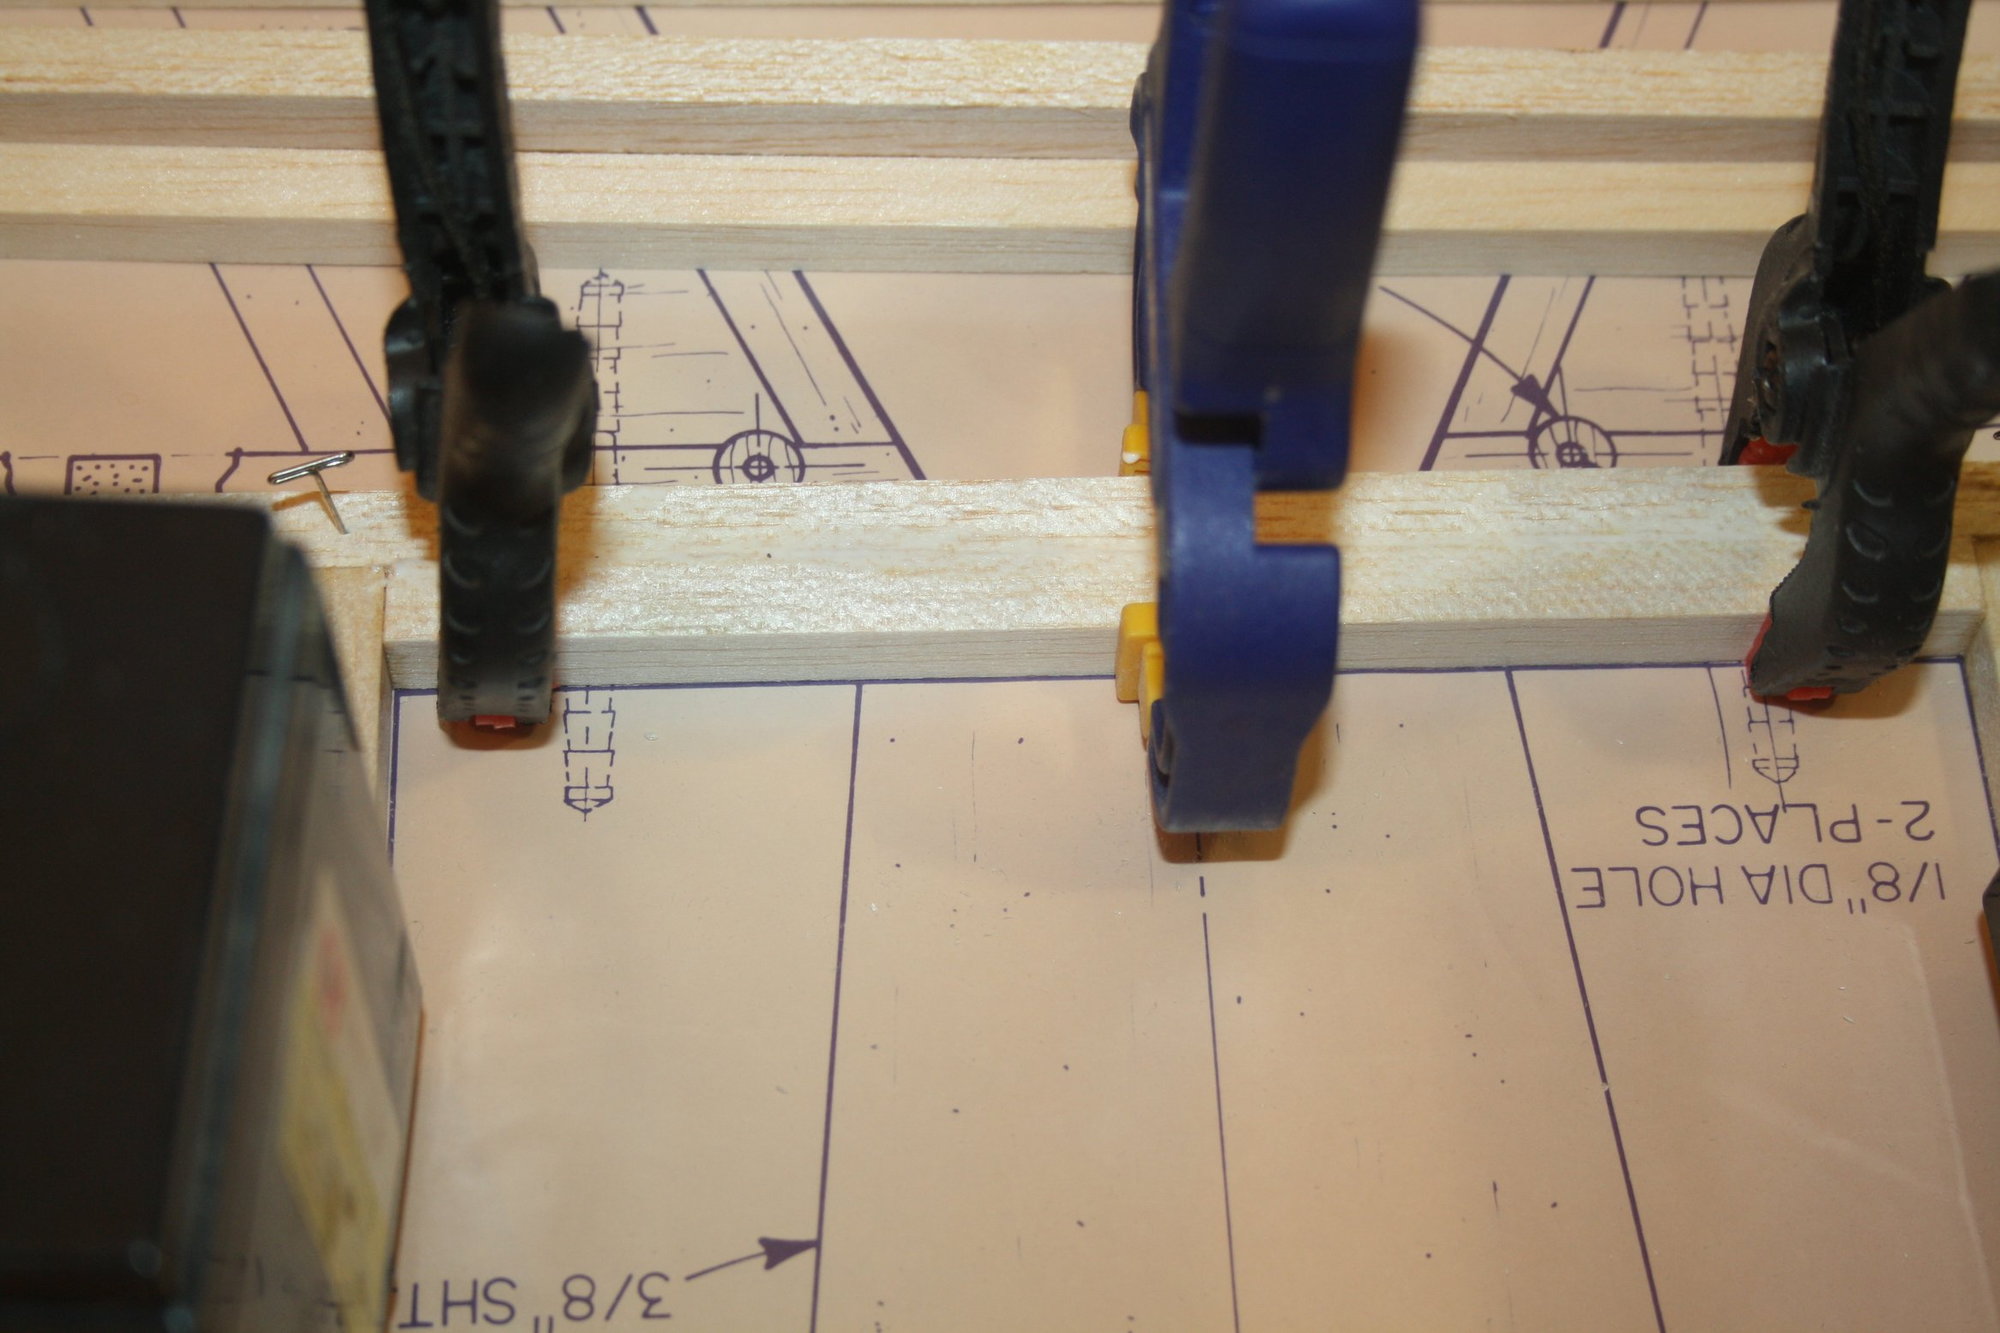
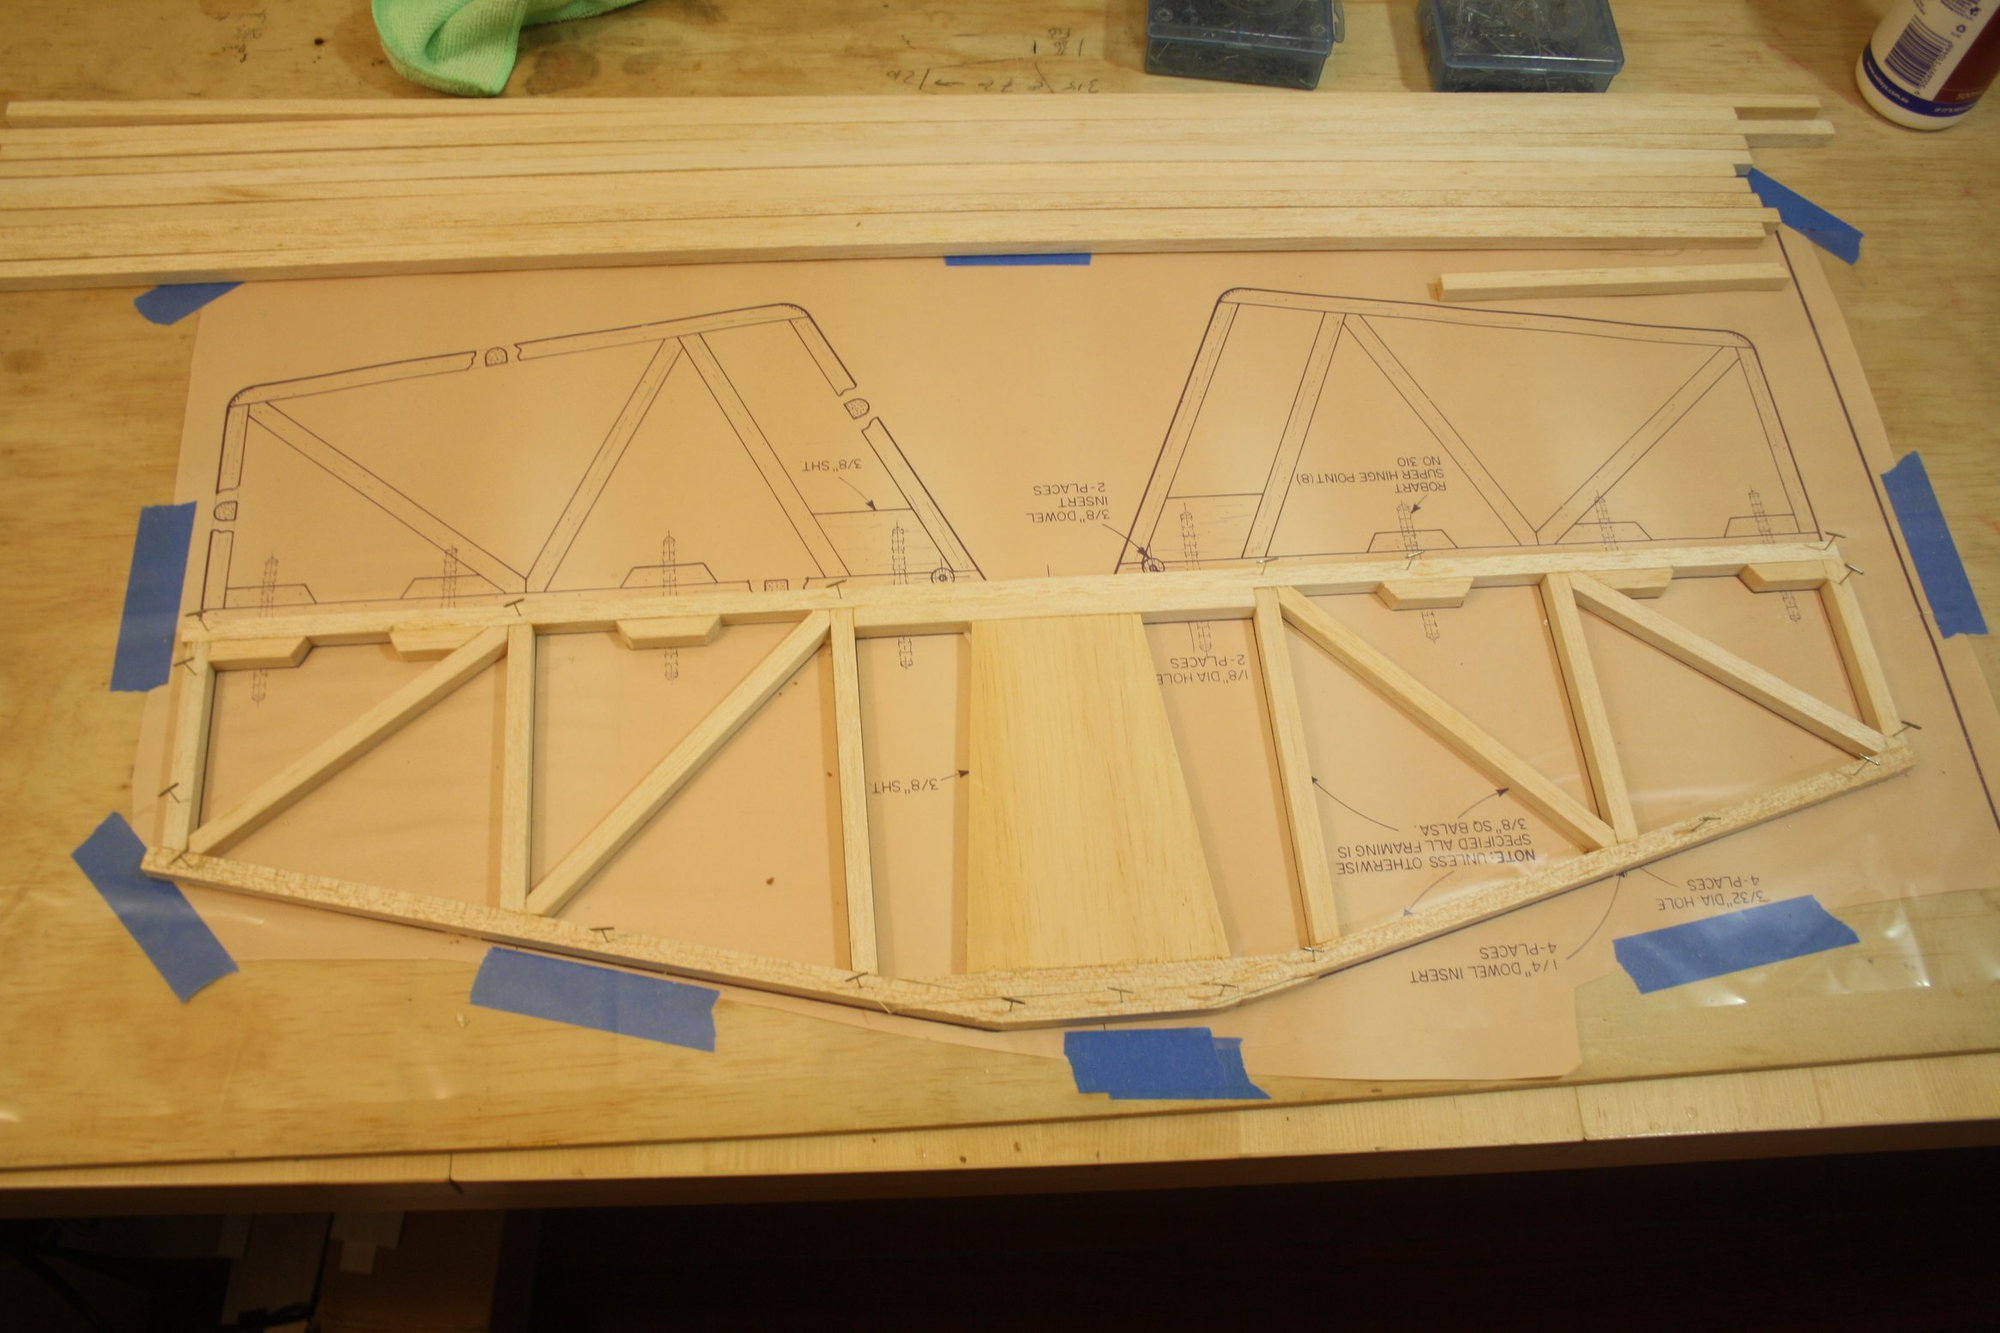
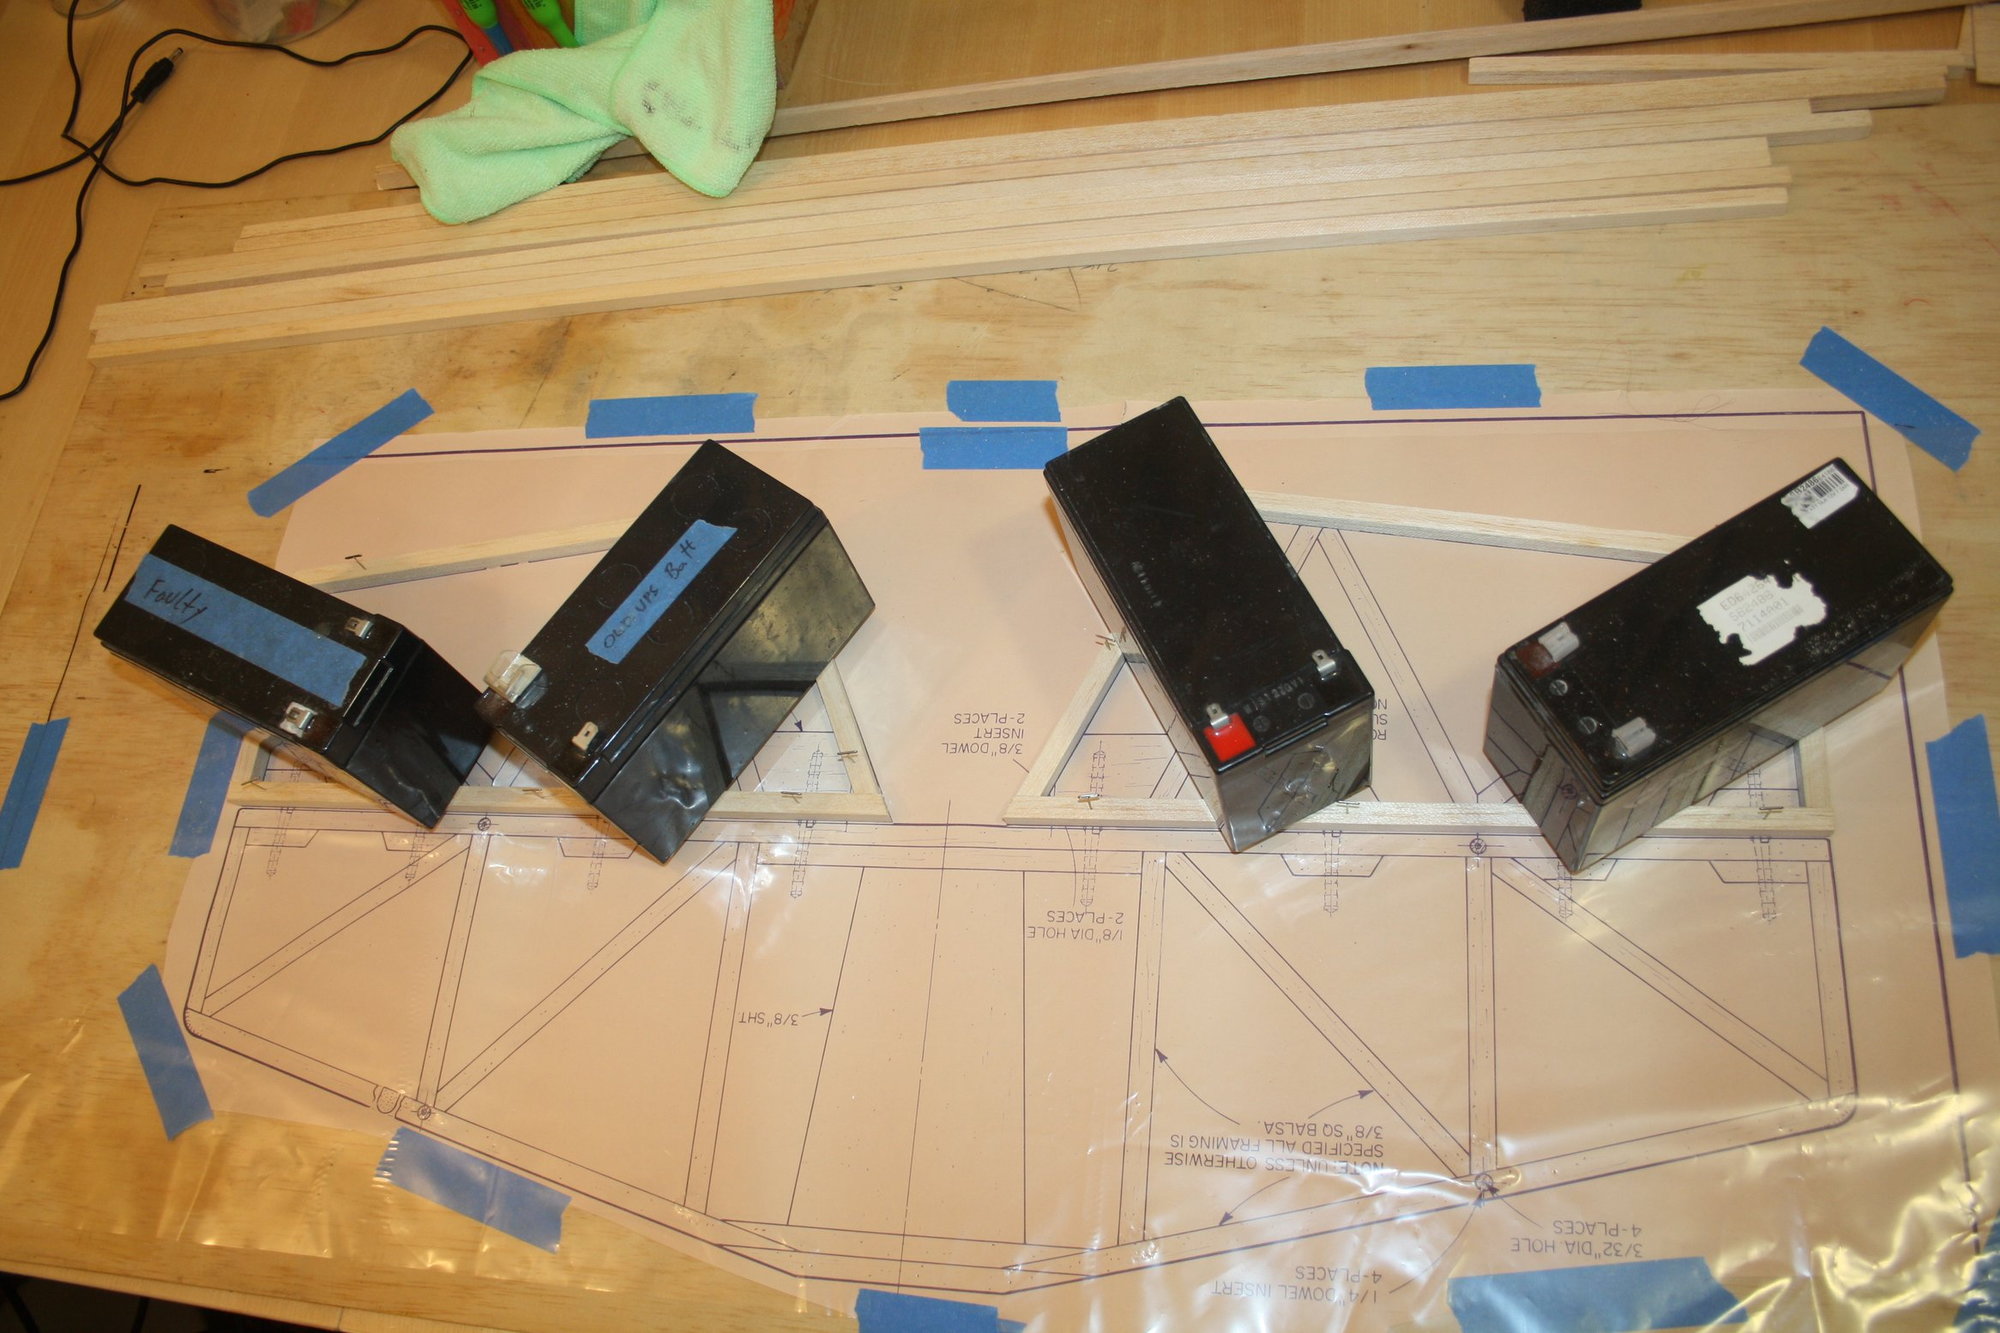
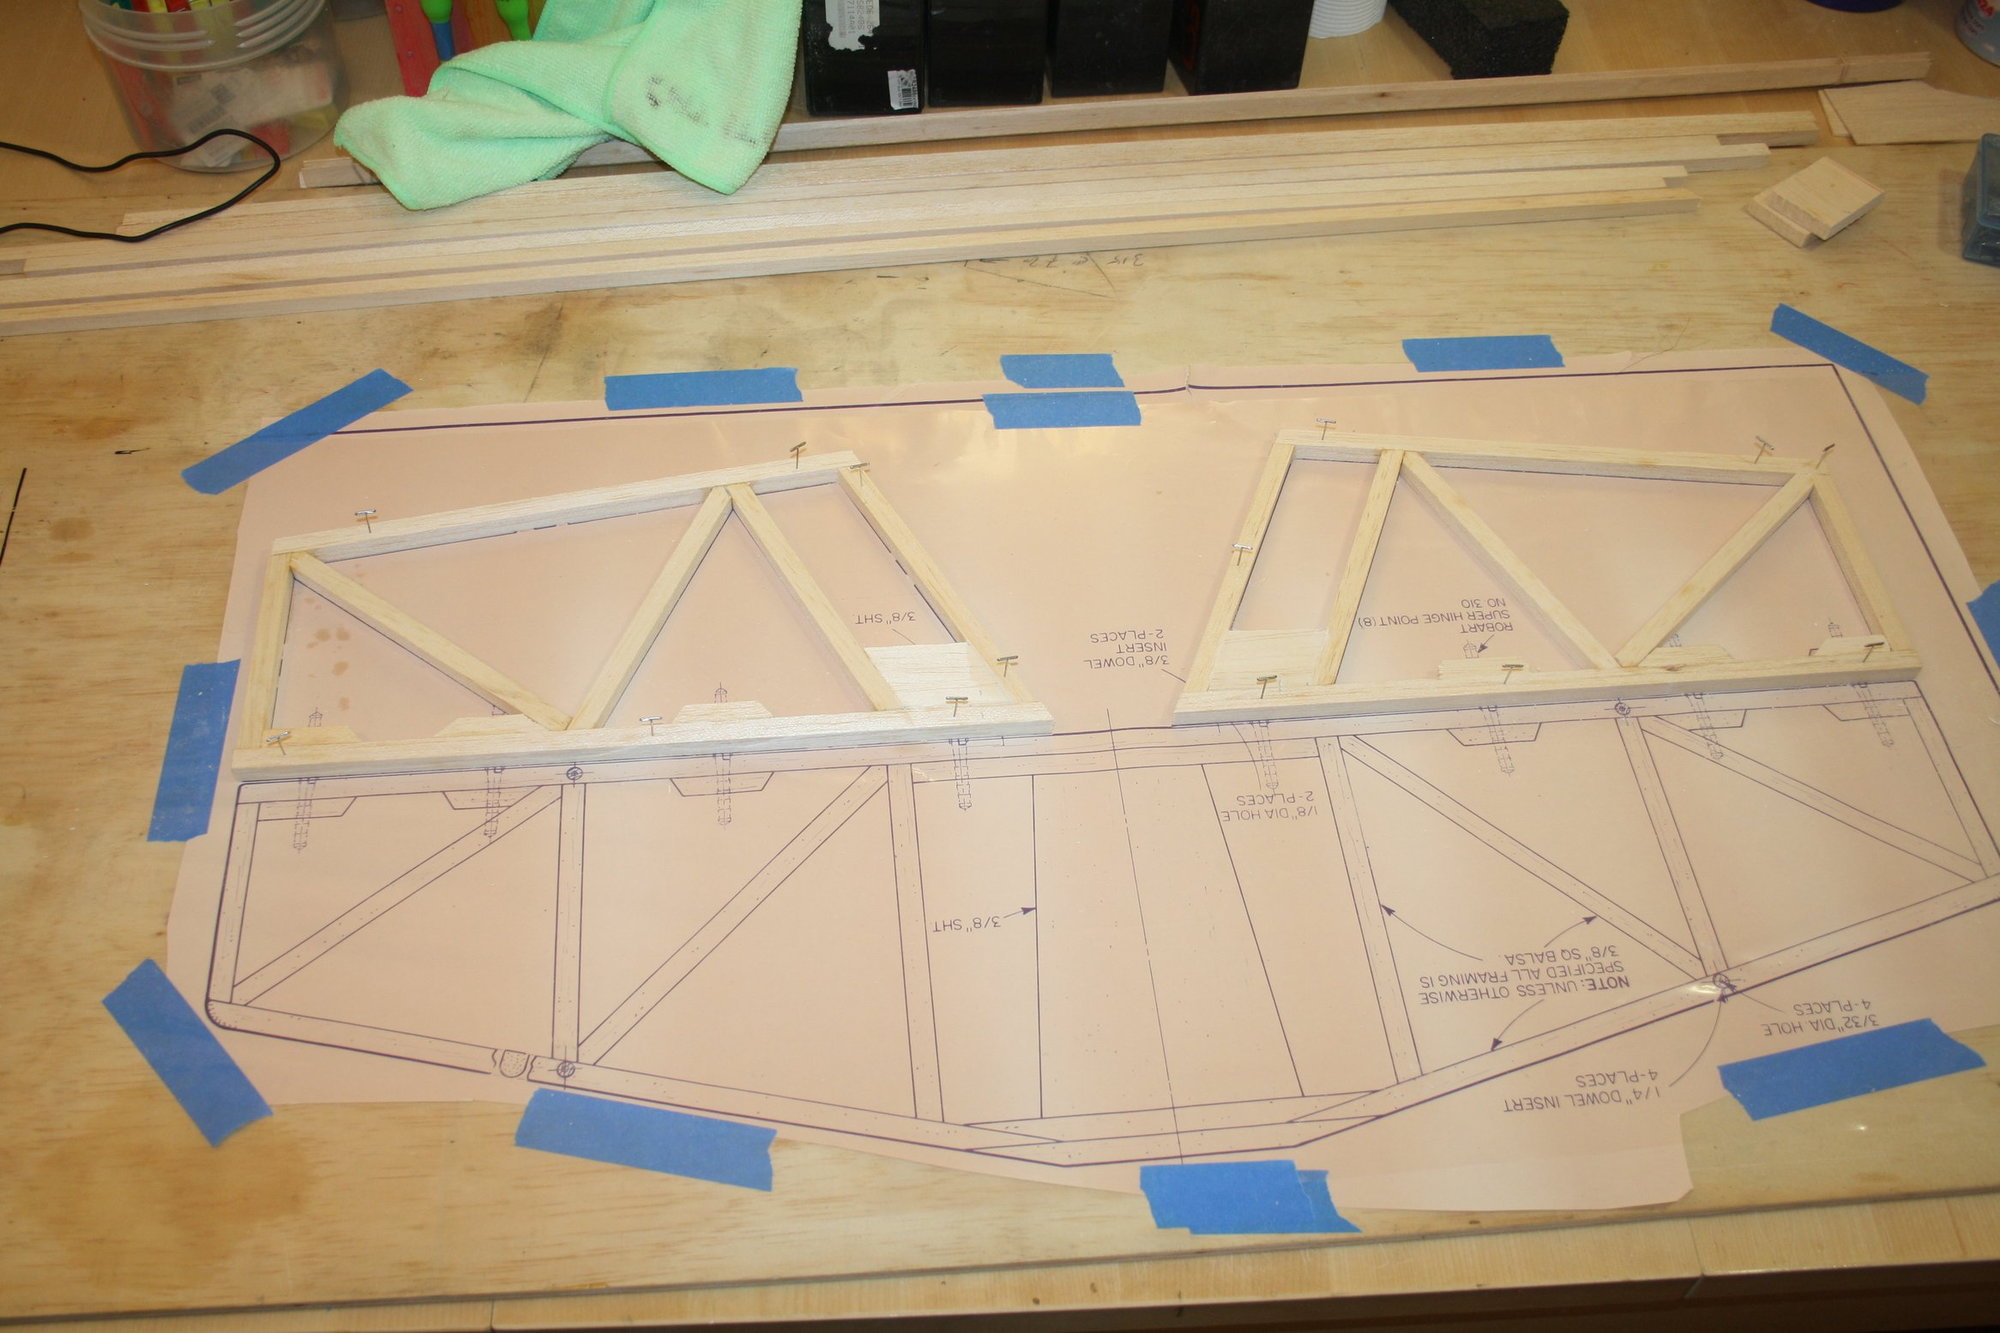
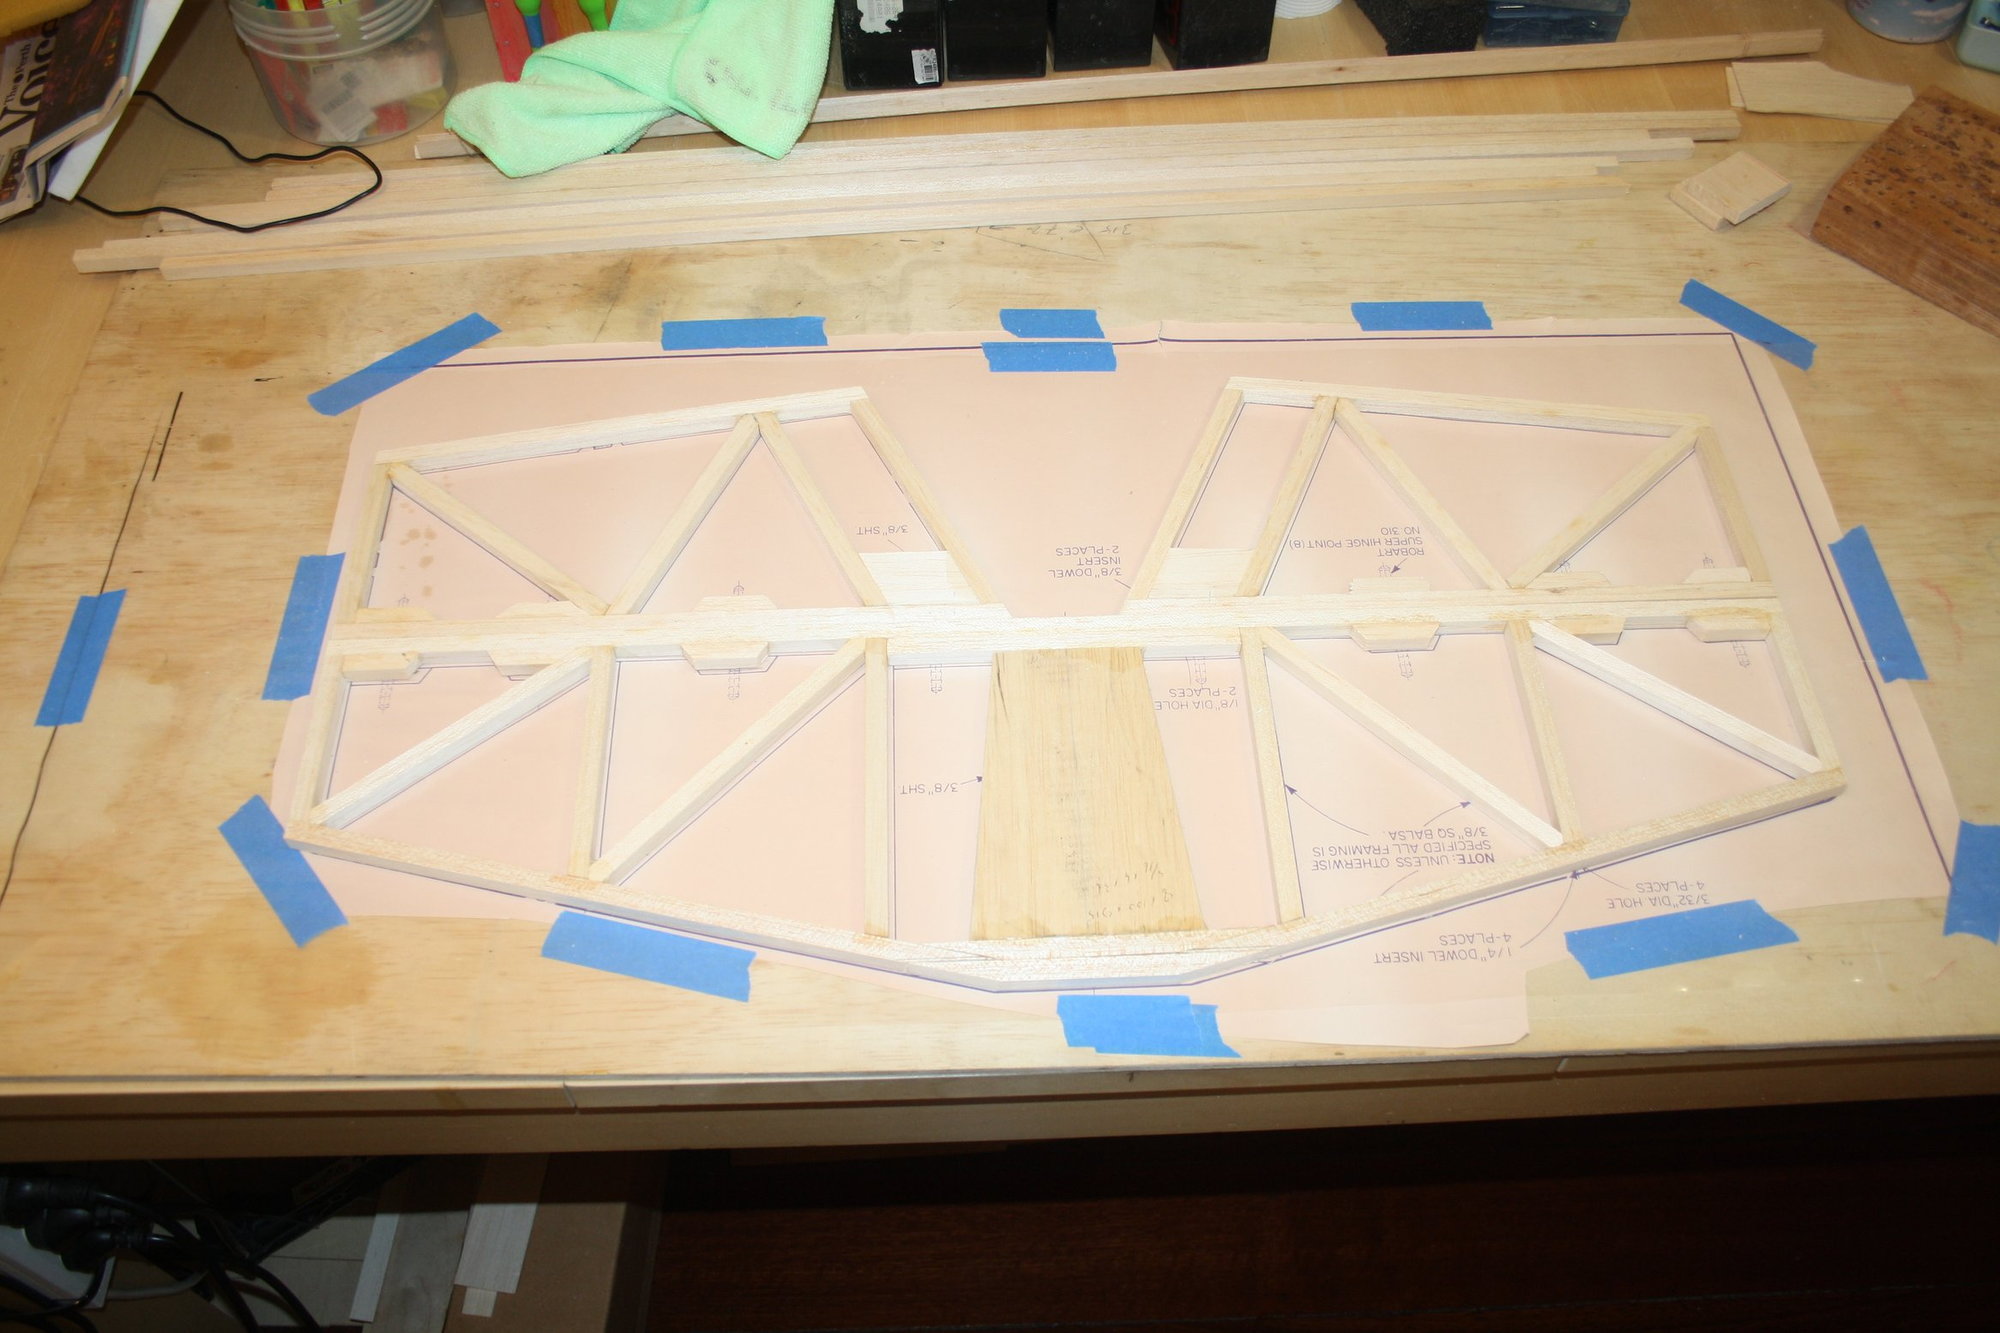
I glued the "half ribs" (the front portion of a rib covering the foam where the fuselage is inserted). I used two old batteries and a wedge between them to press/hold the half ribs securely in place while the glue dries.
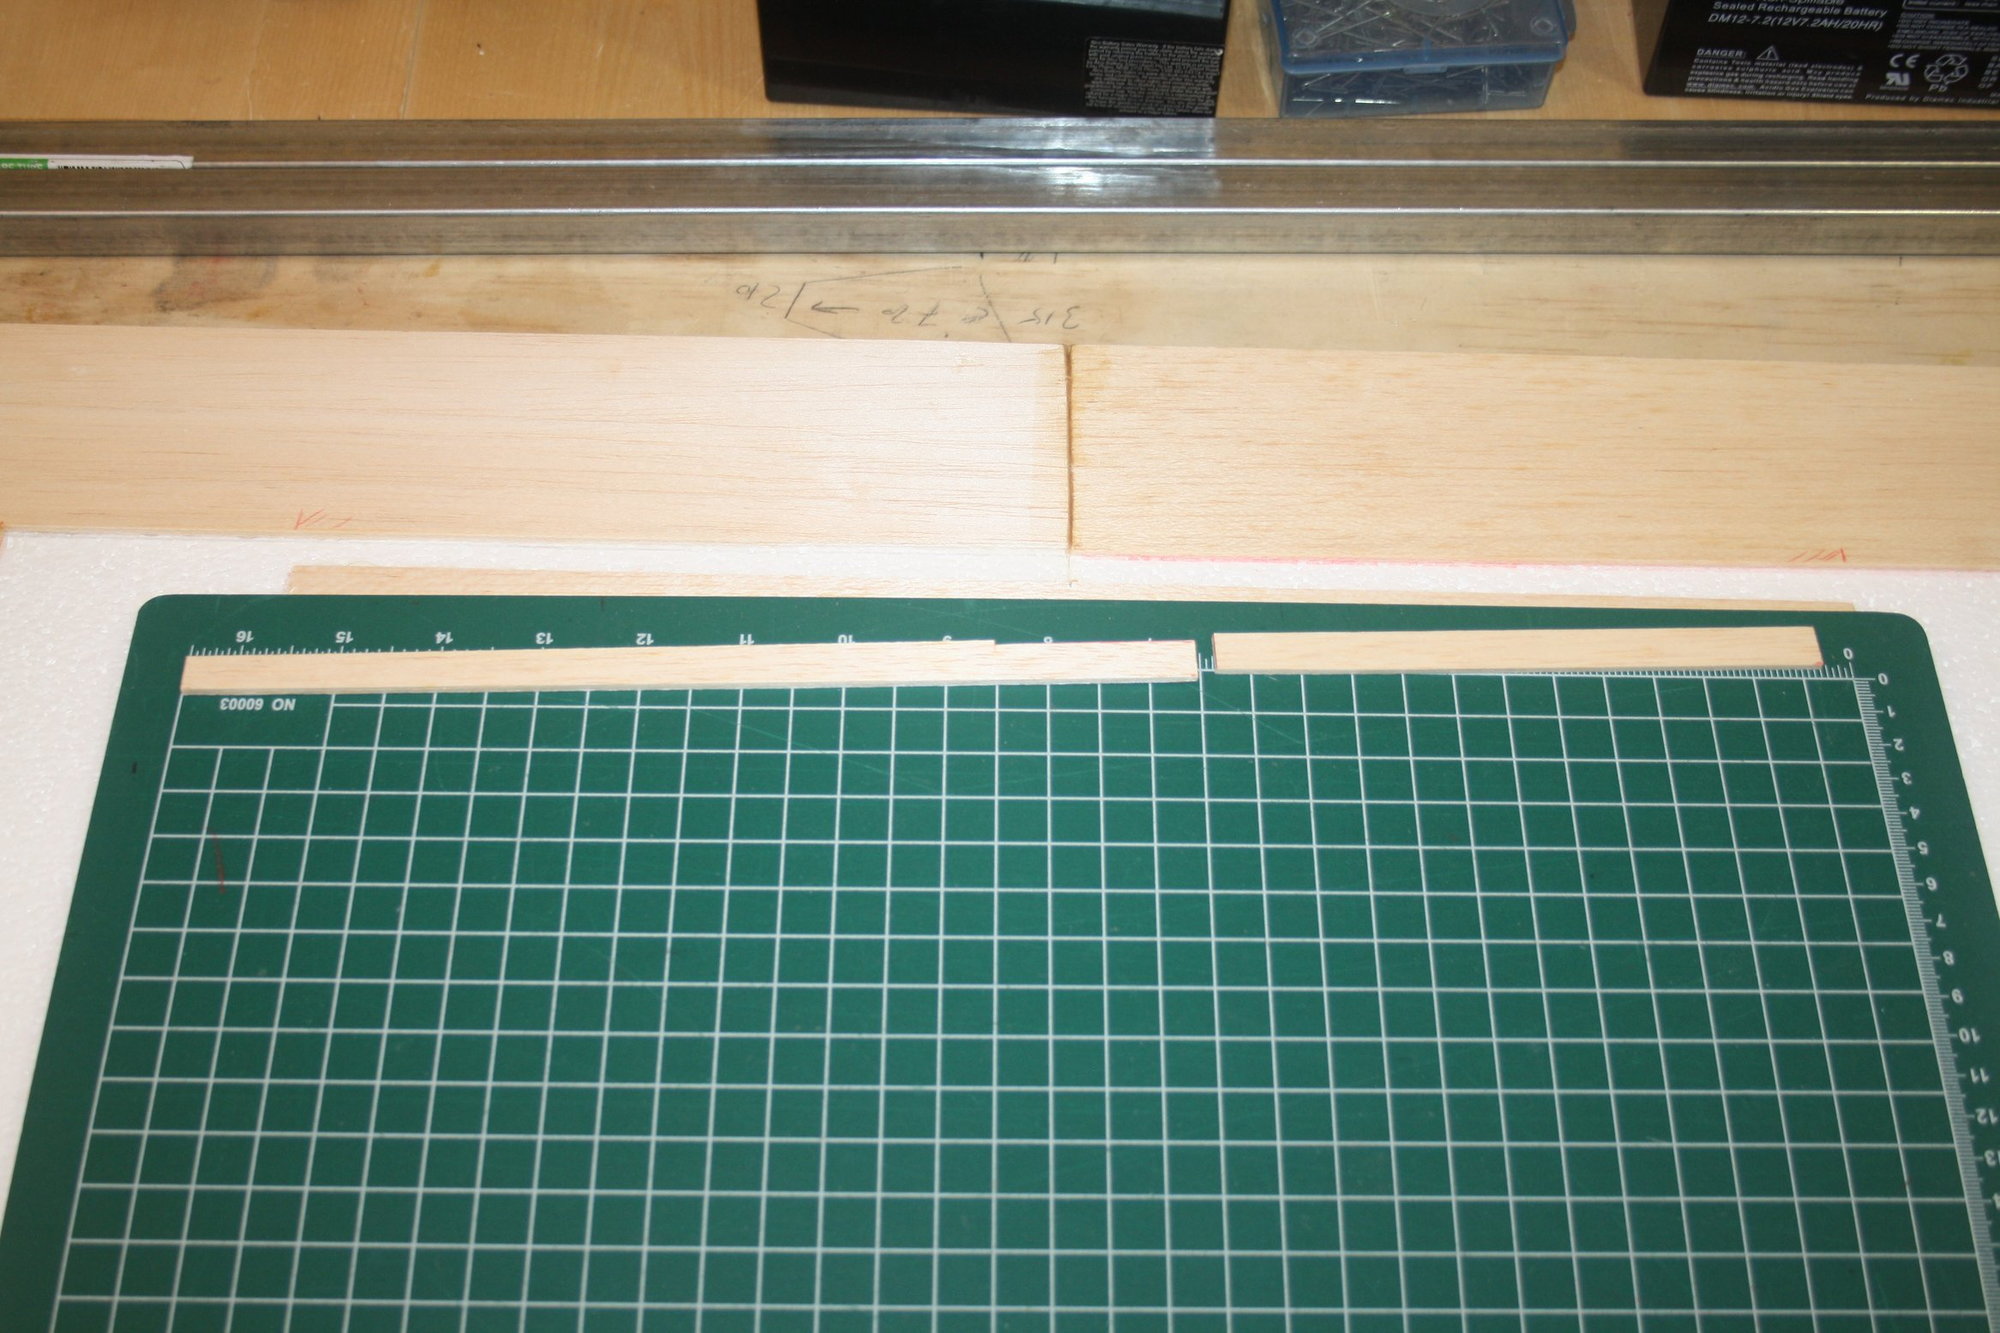
I also dressed the spar with sheeting (top and bottom).

Cheers,
Eran
I also dressed the spar with sheeting (top and bottom).
Cheers,
Eran
07-23-2023, 02:45 AM
#28
Thread Starter
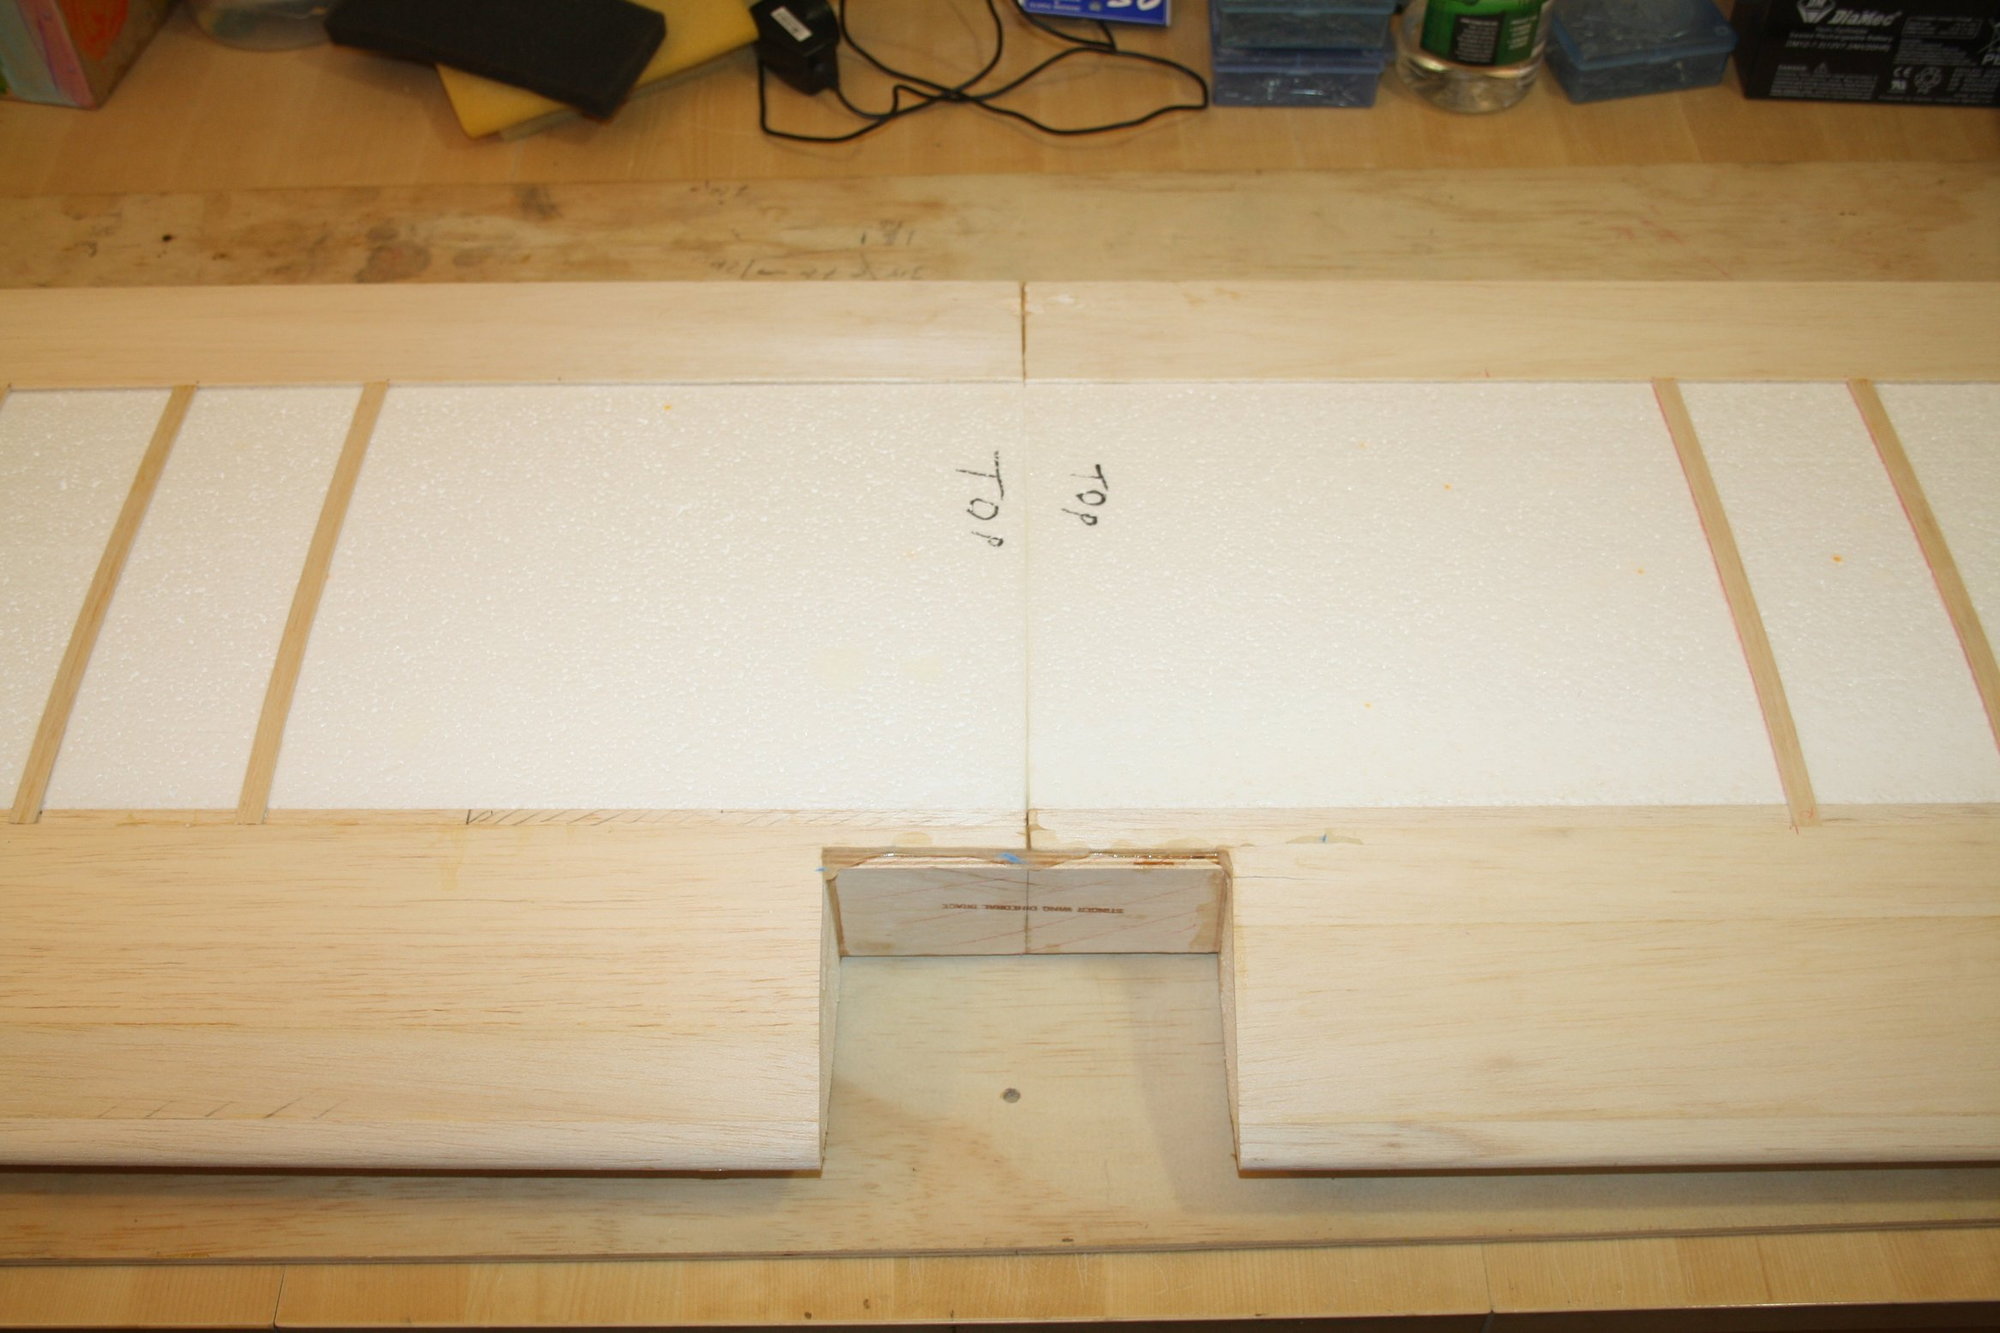
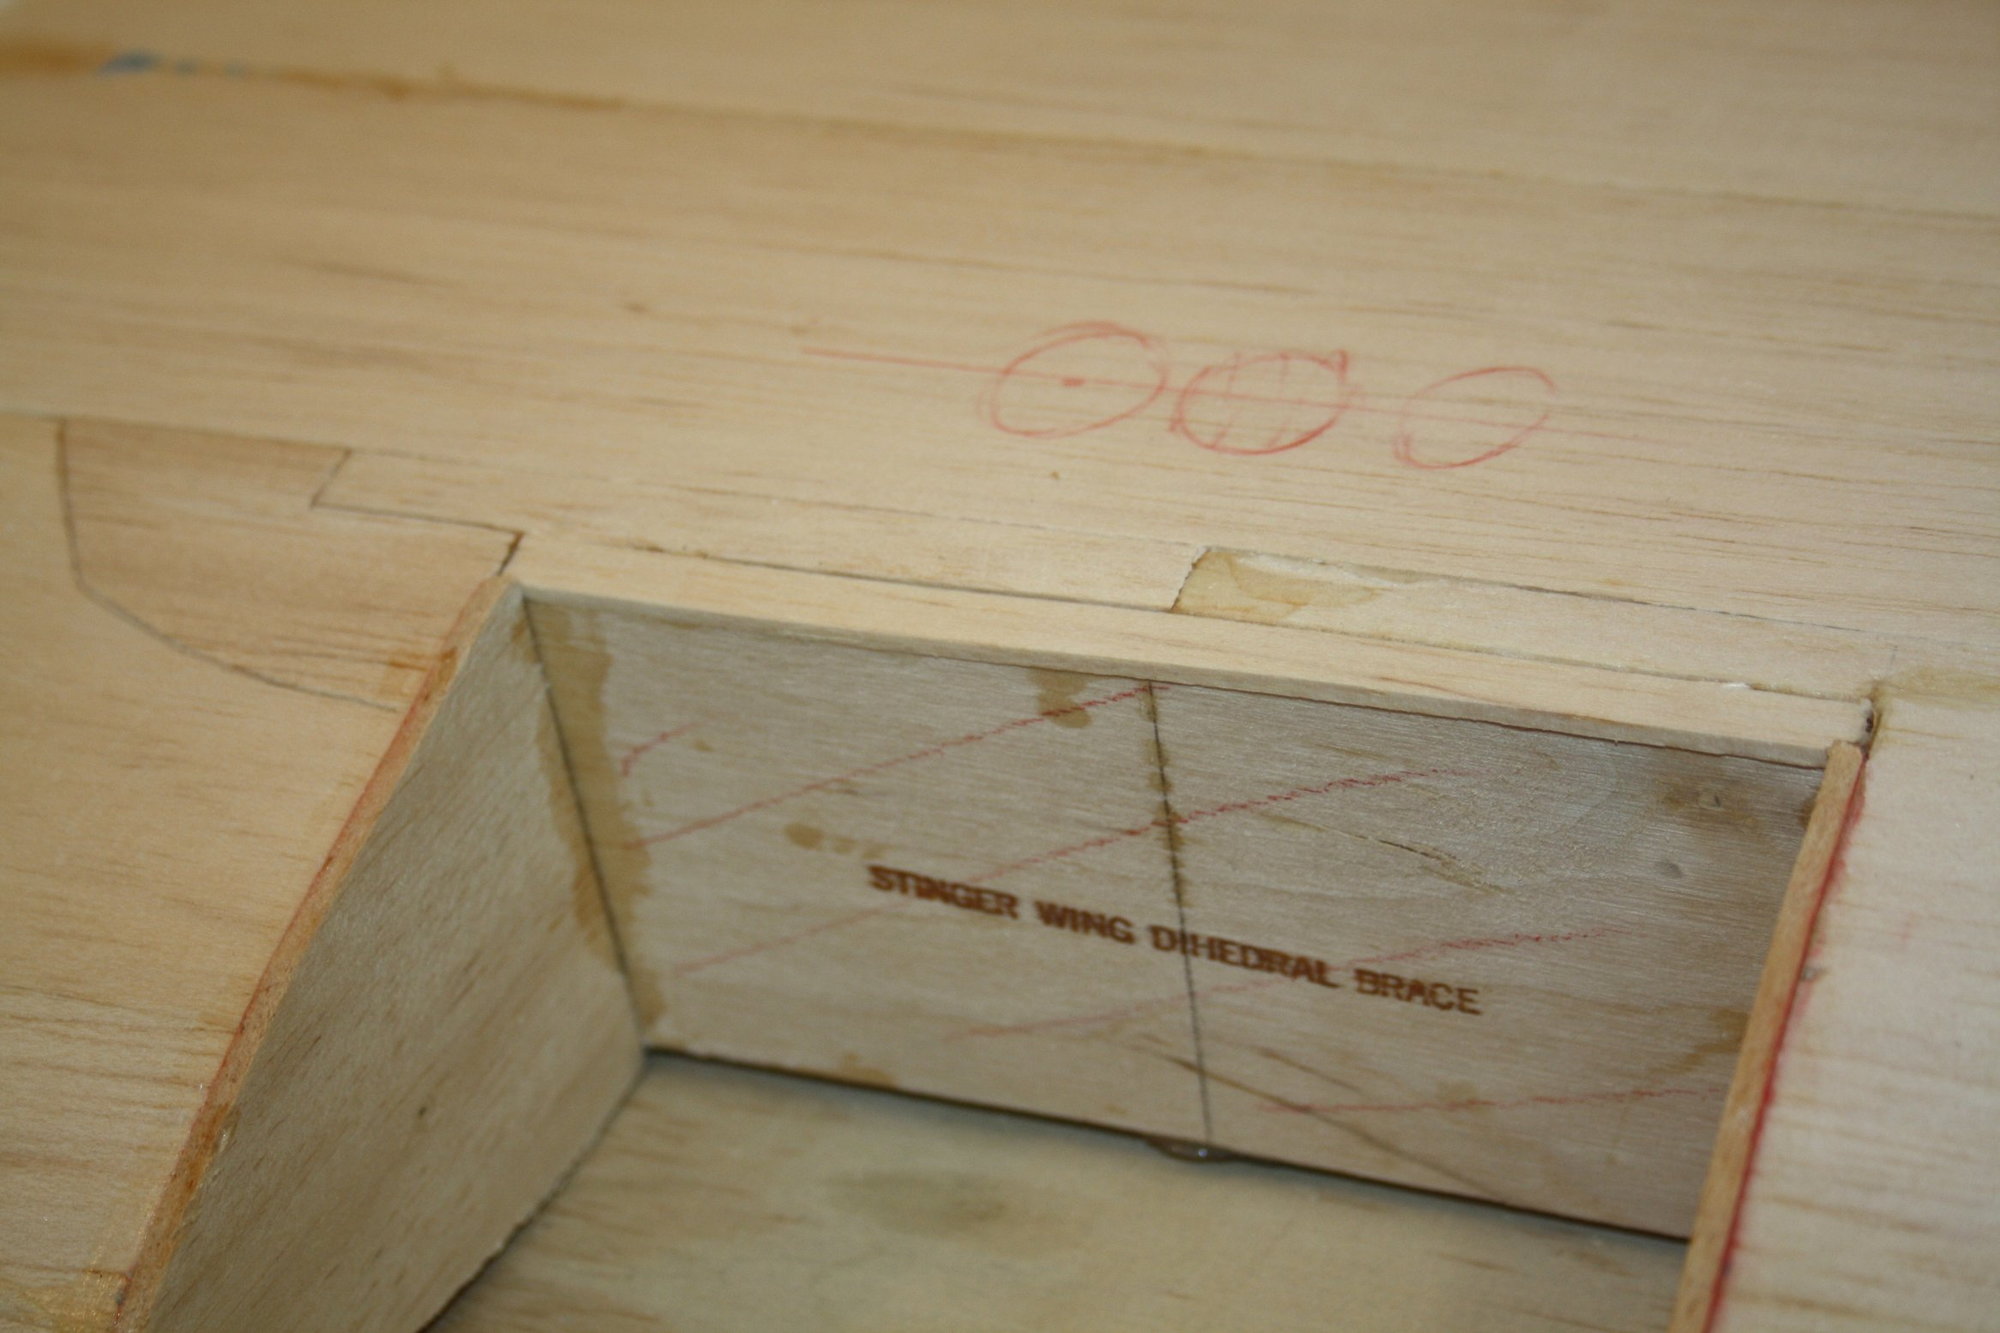
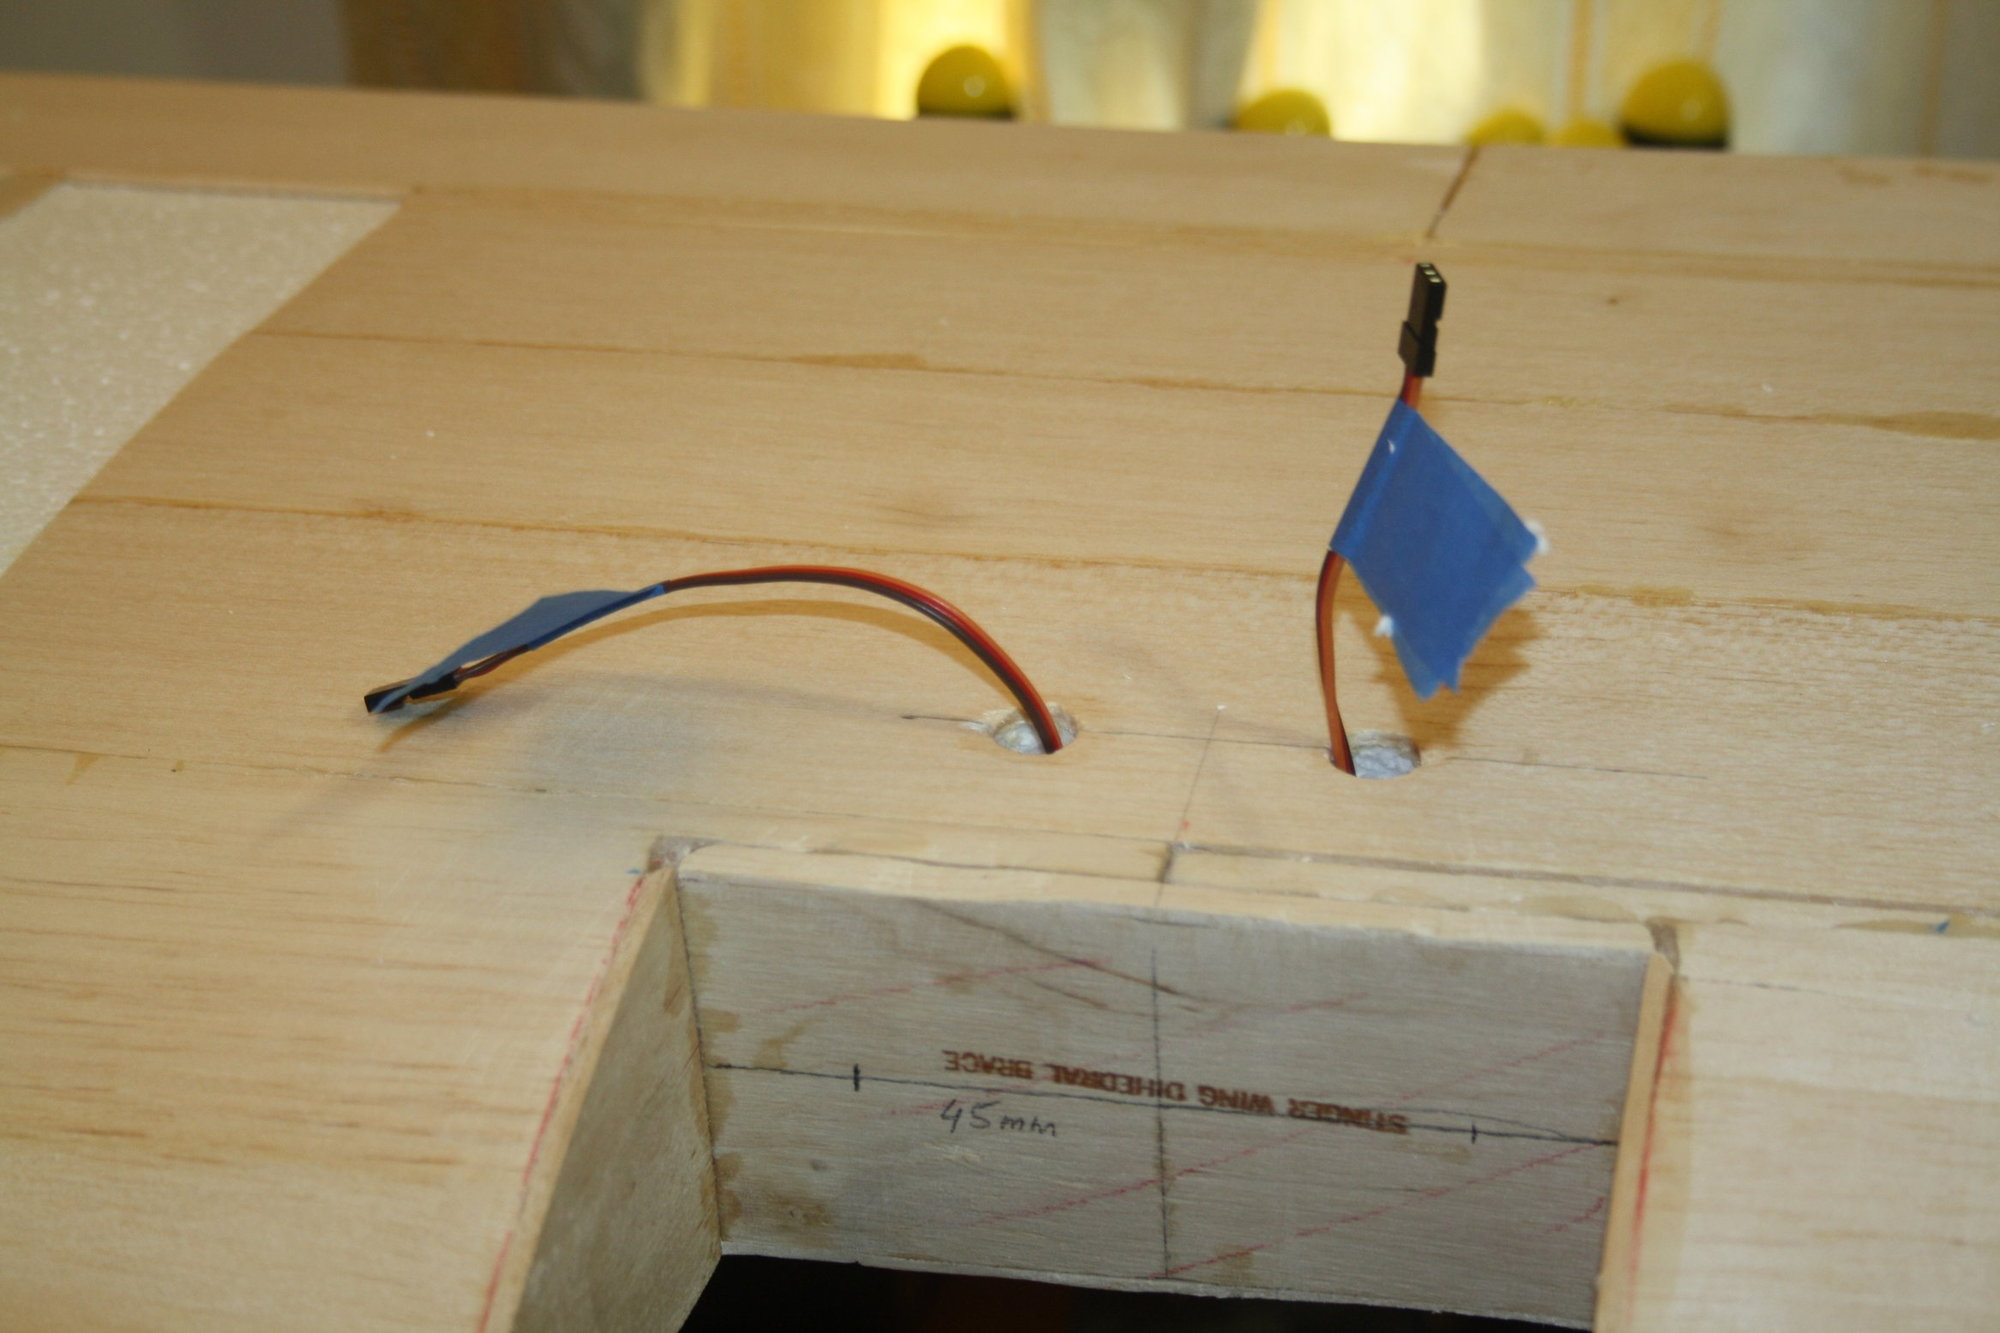
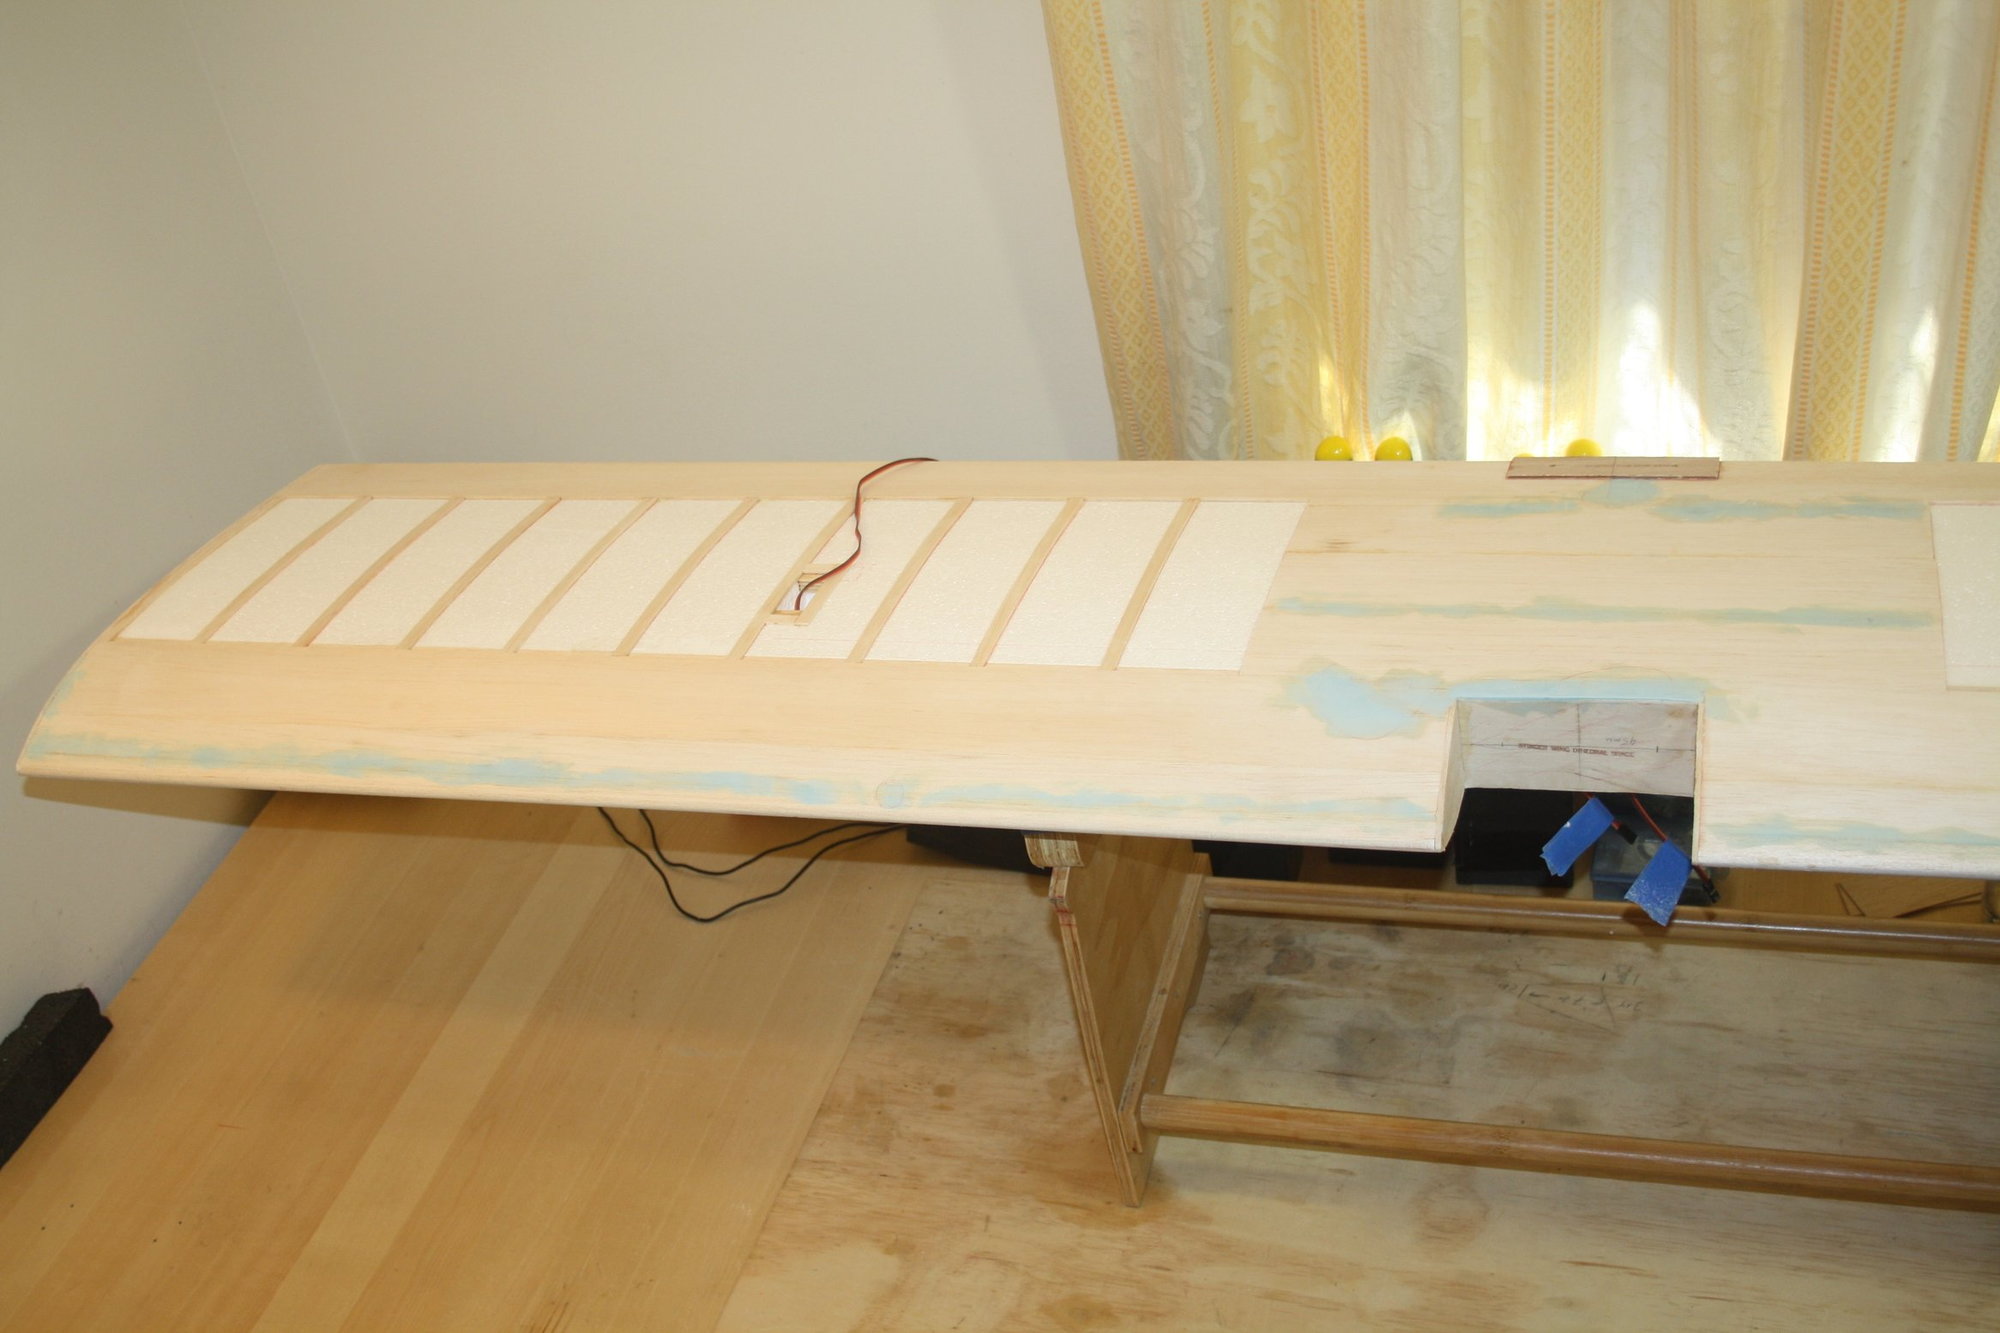
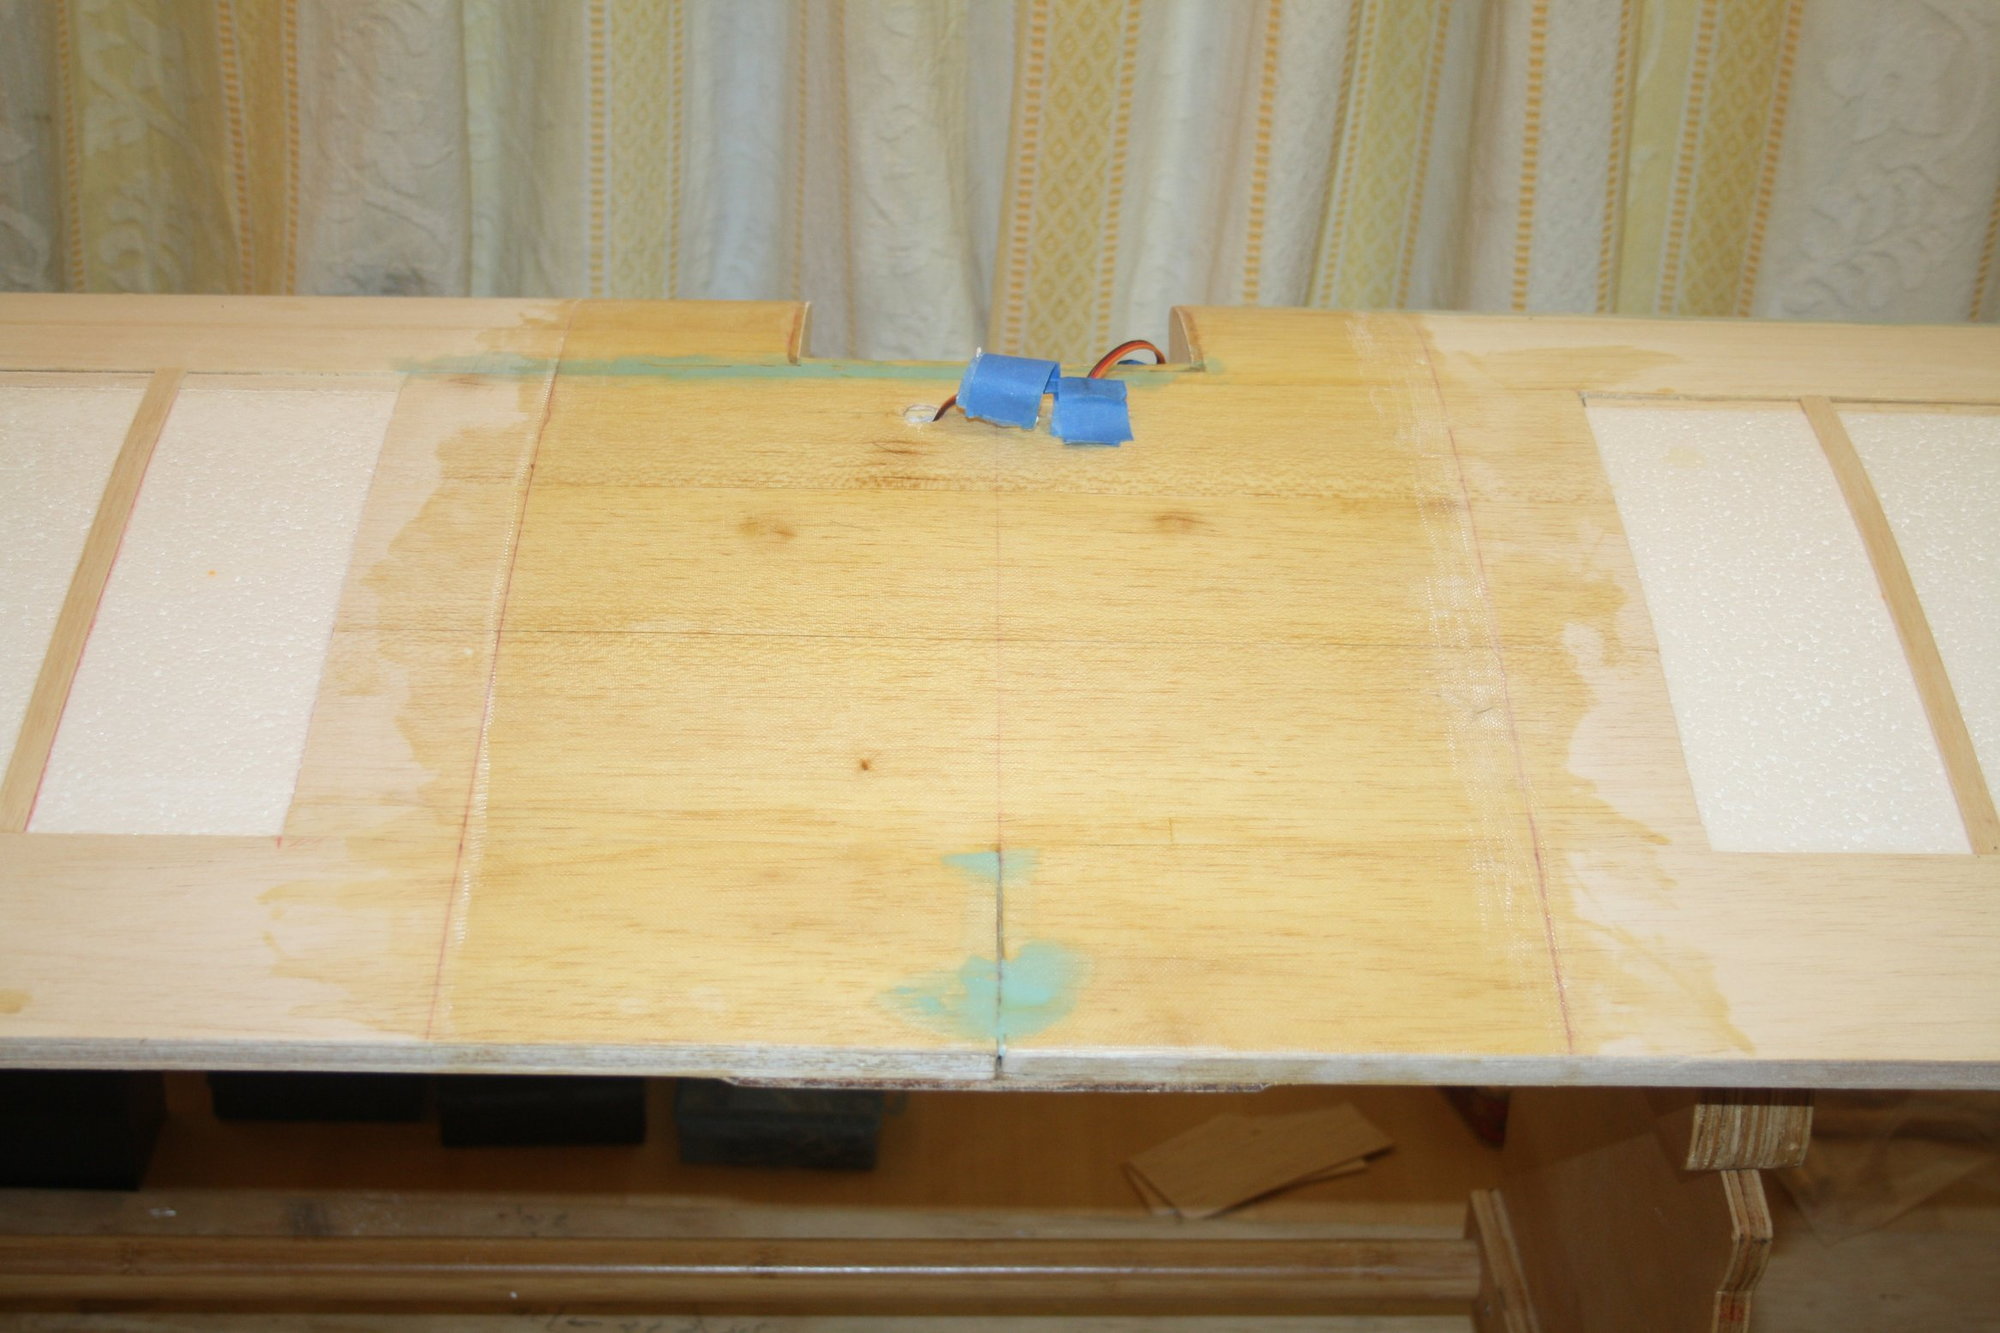
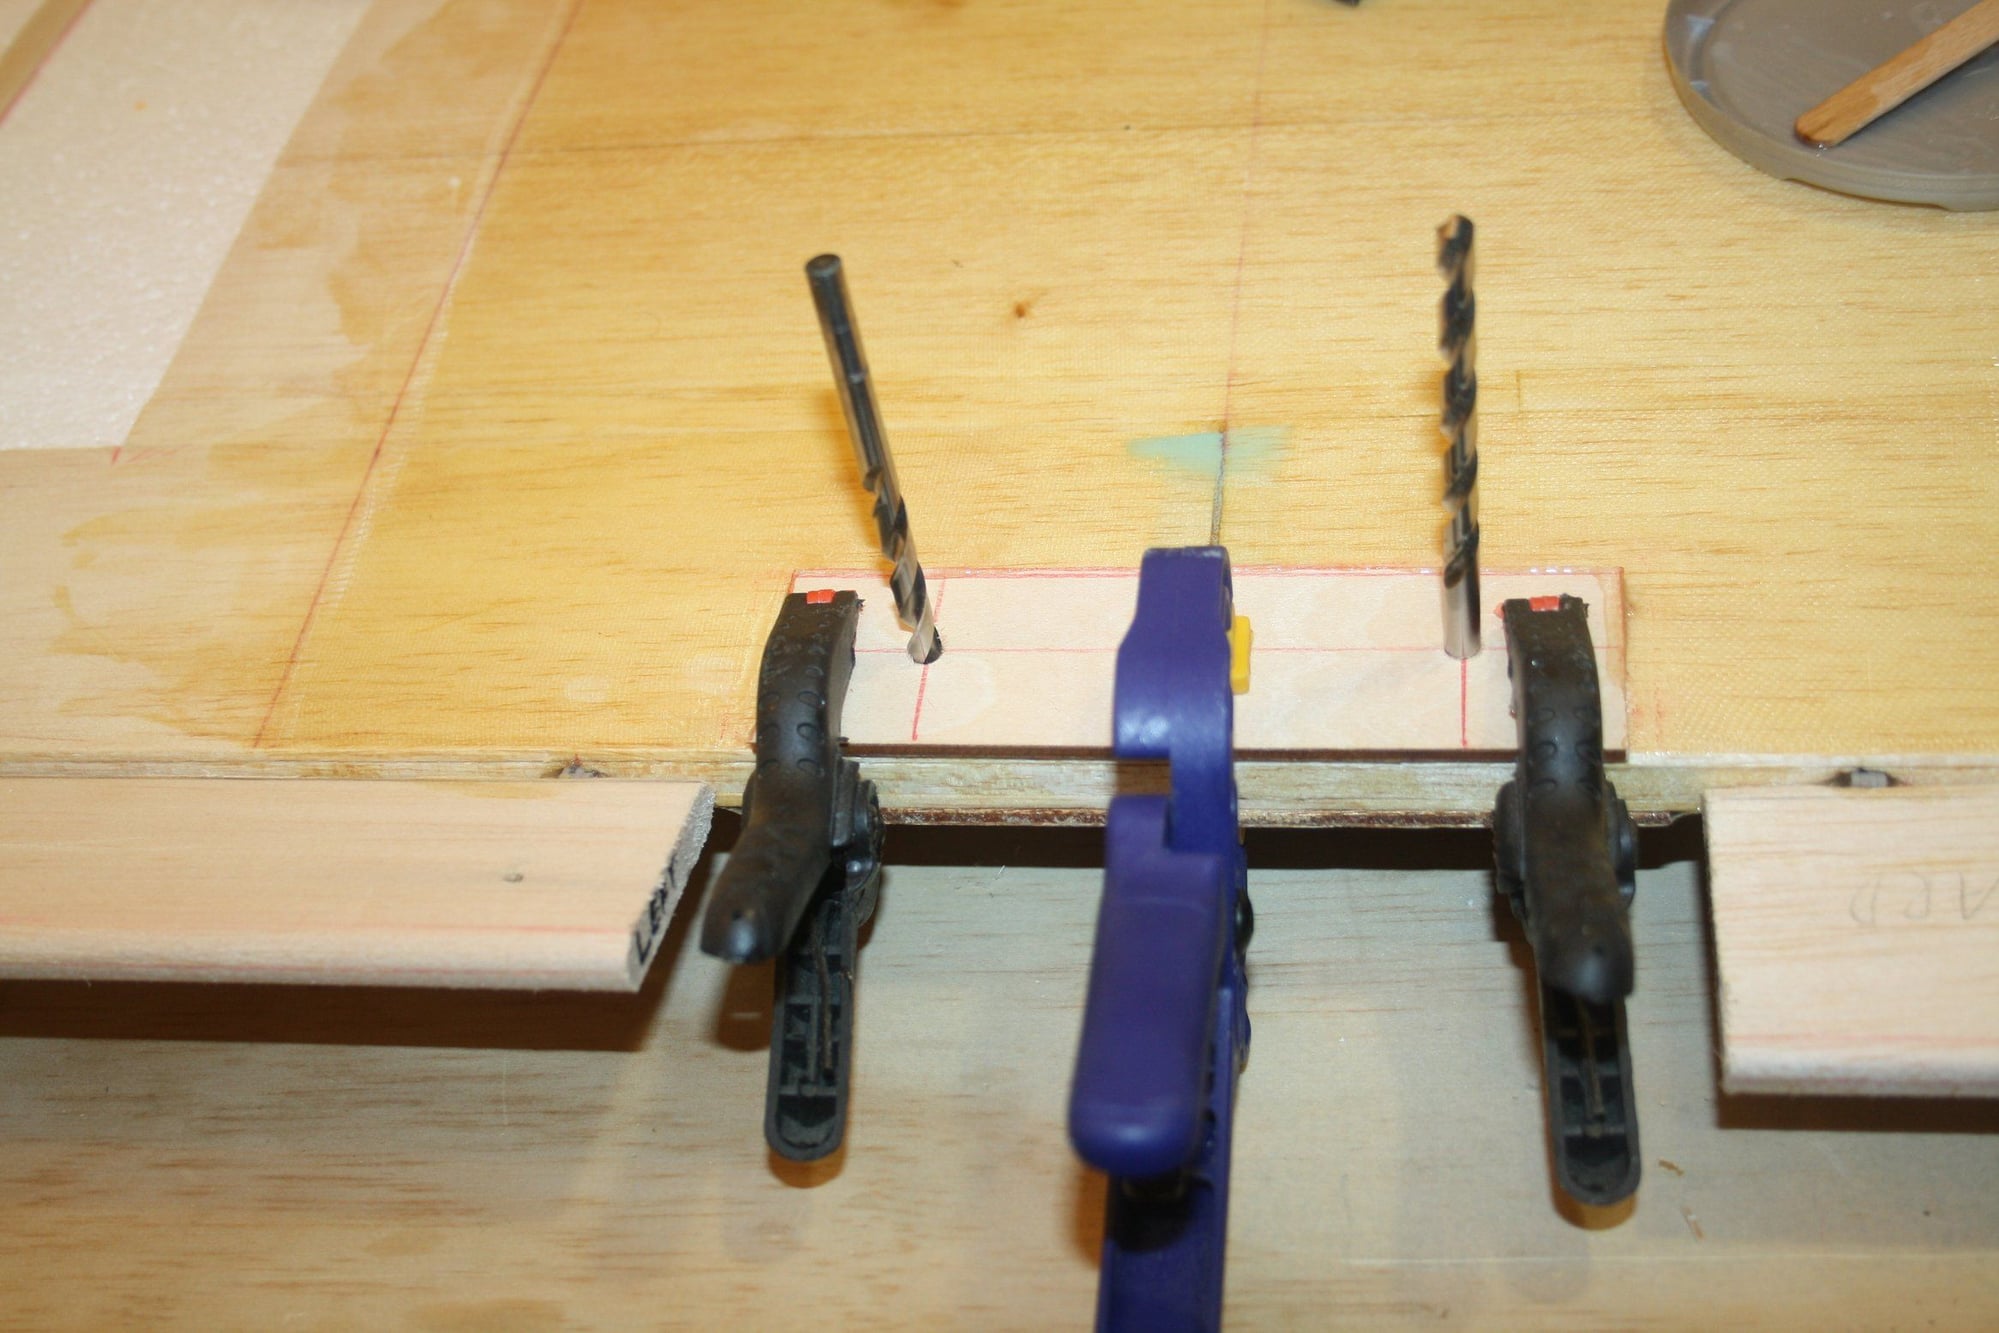
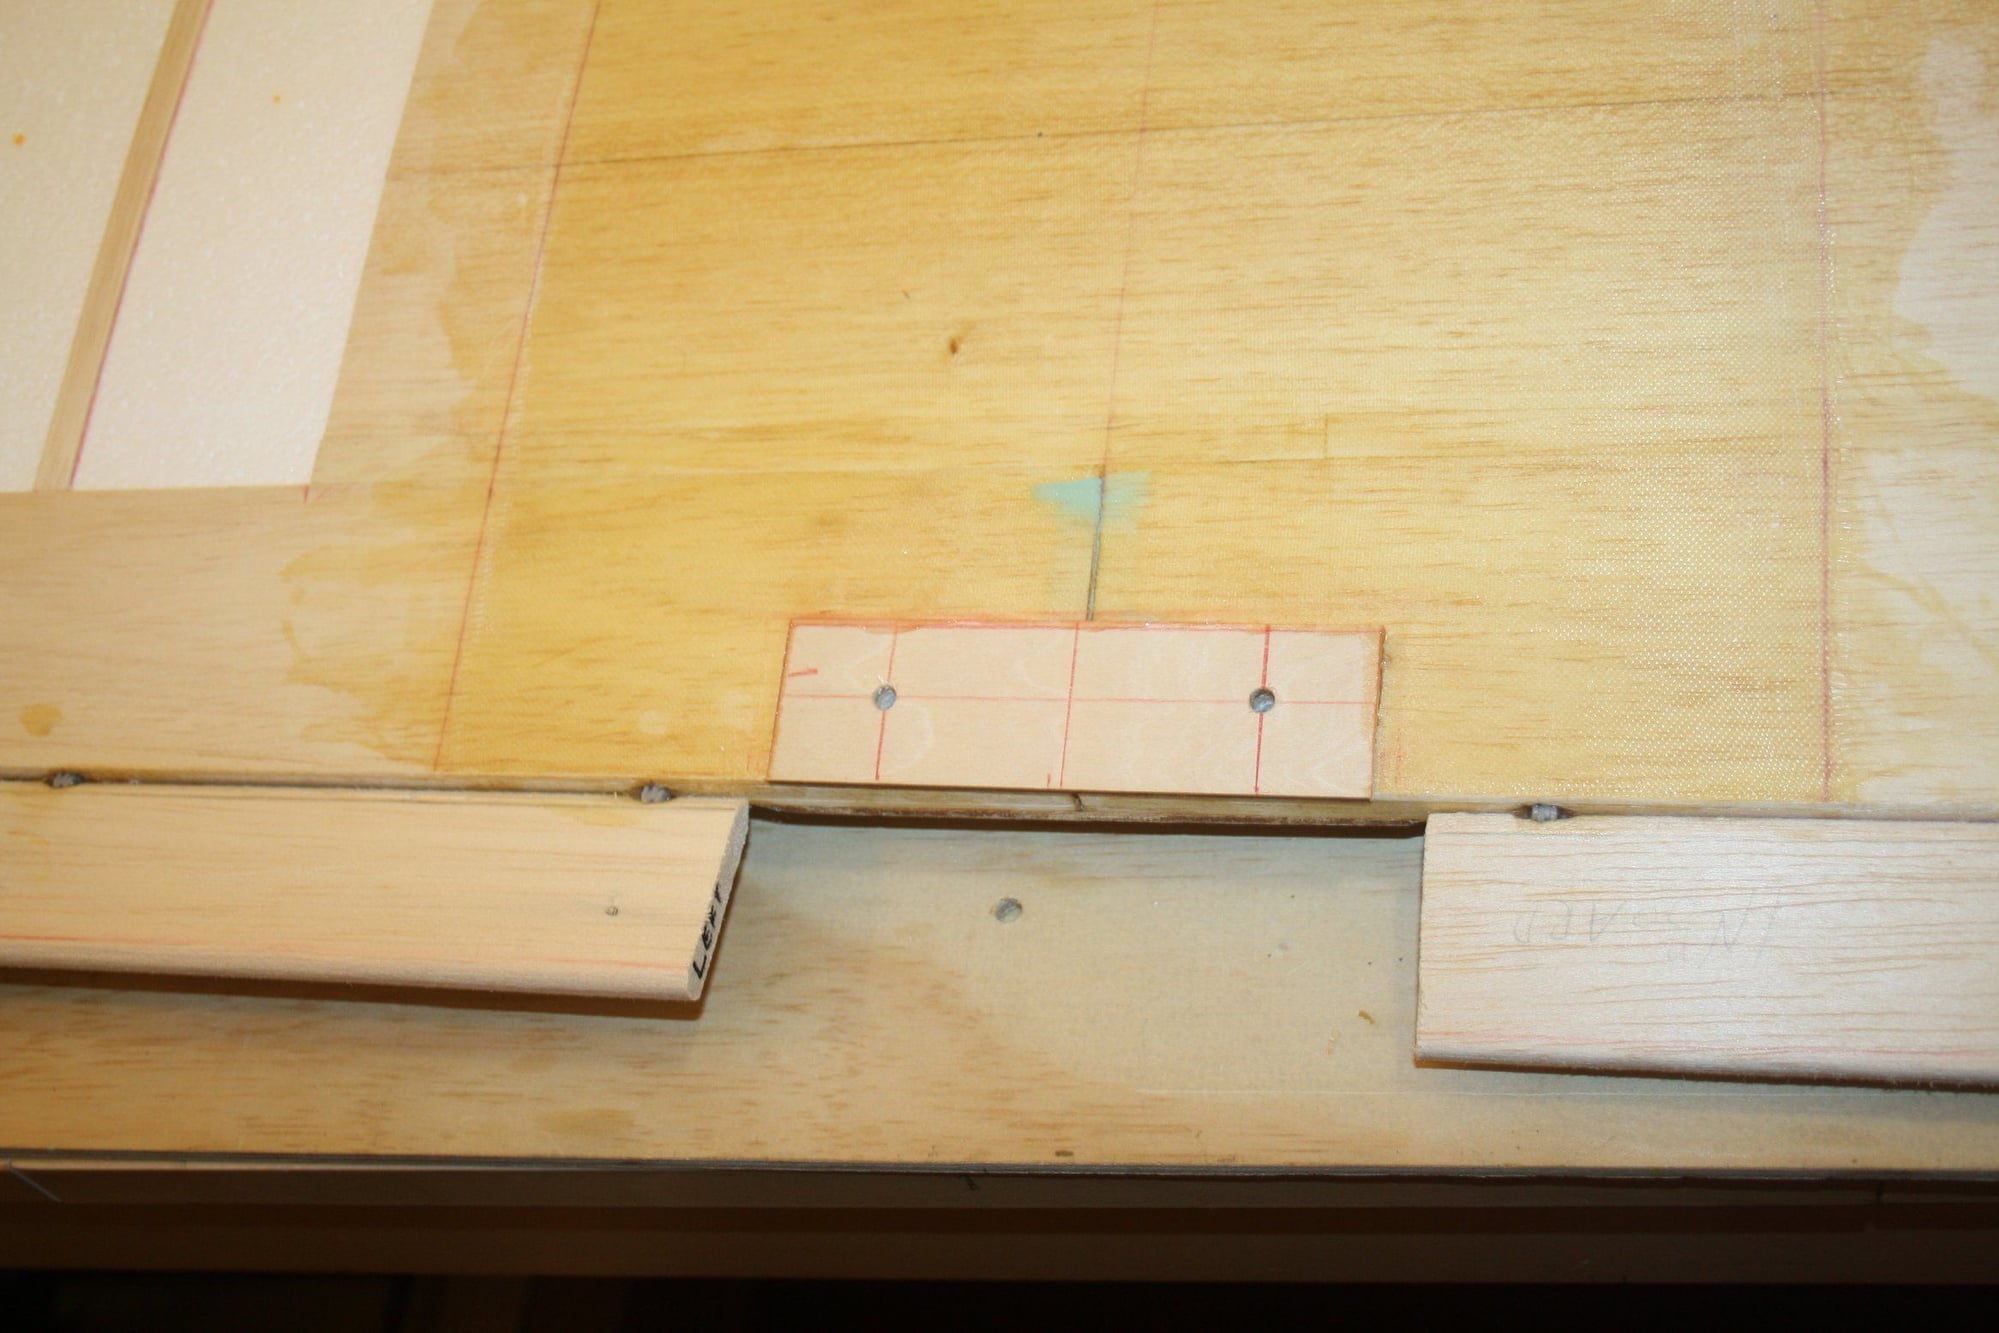
I drilled into the channel for the exit of the ailerons servos leads (marking the drill bit to the correct depth) and glued into place the wing-bolts plywood plate.
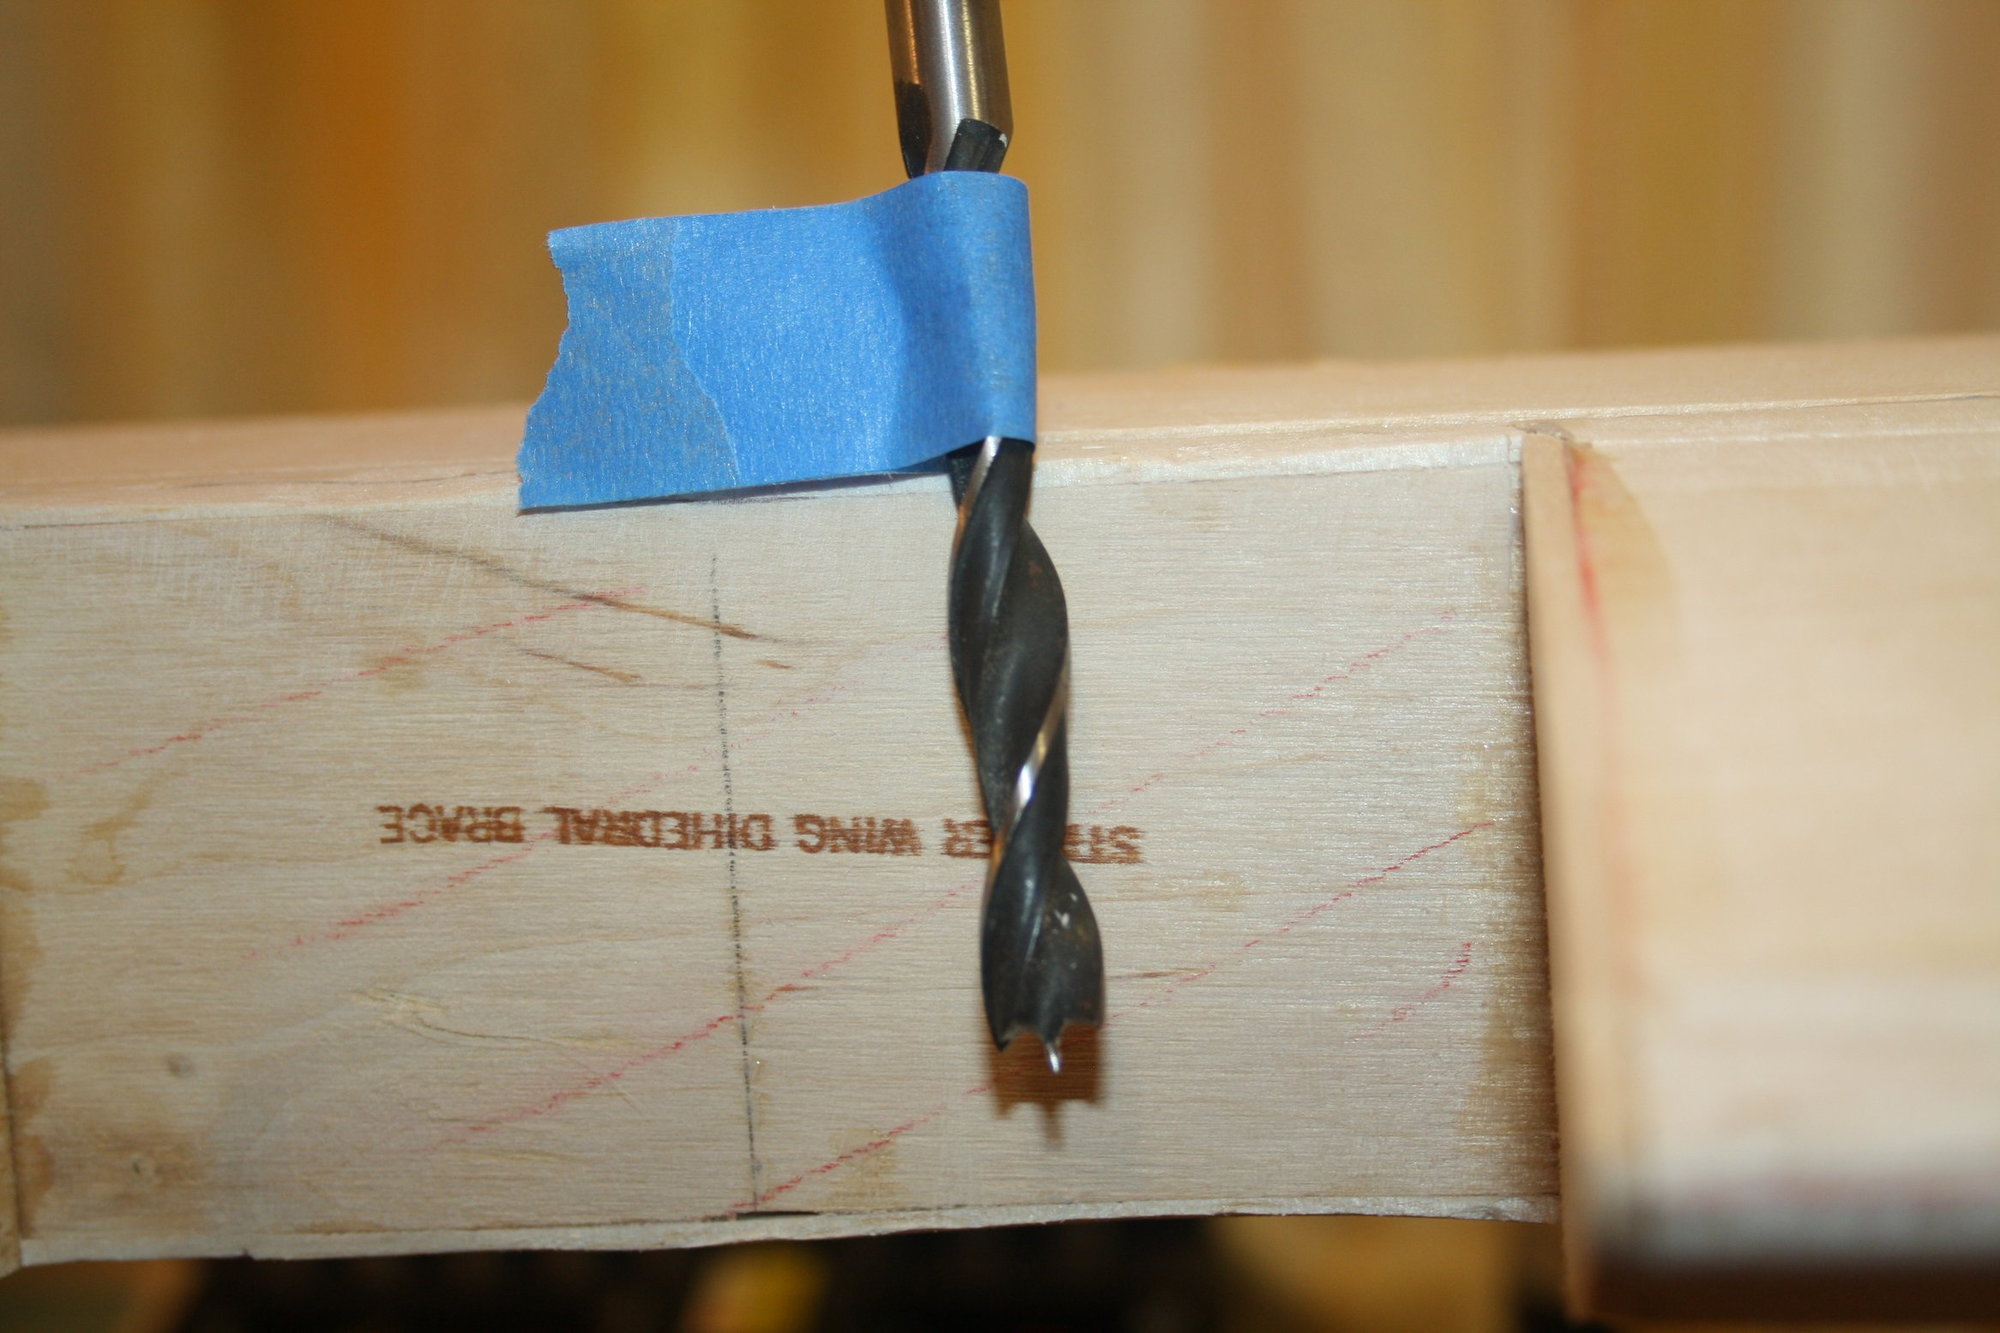
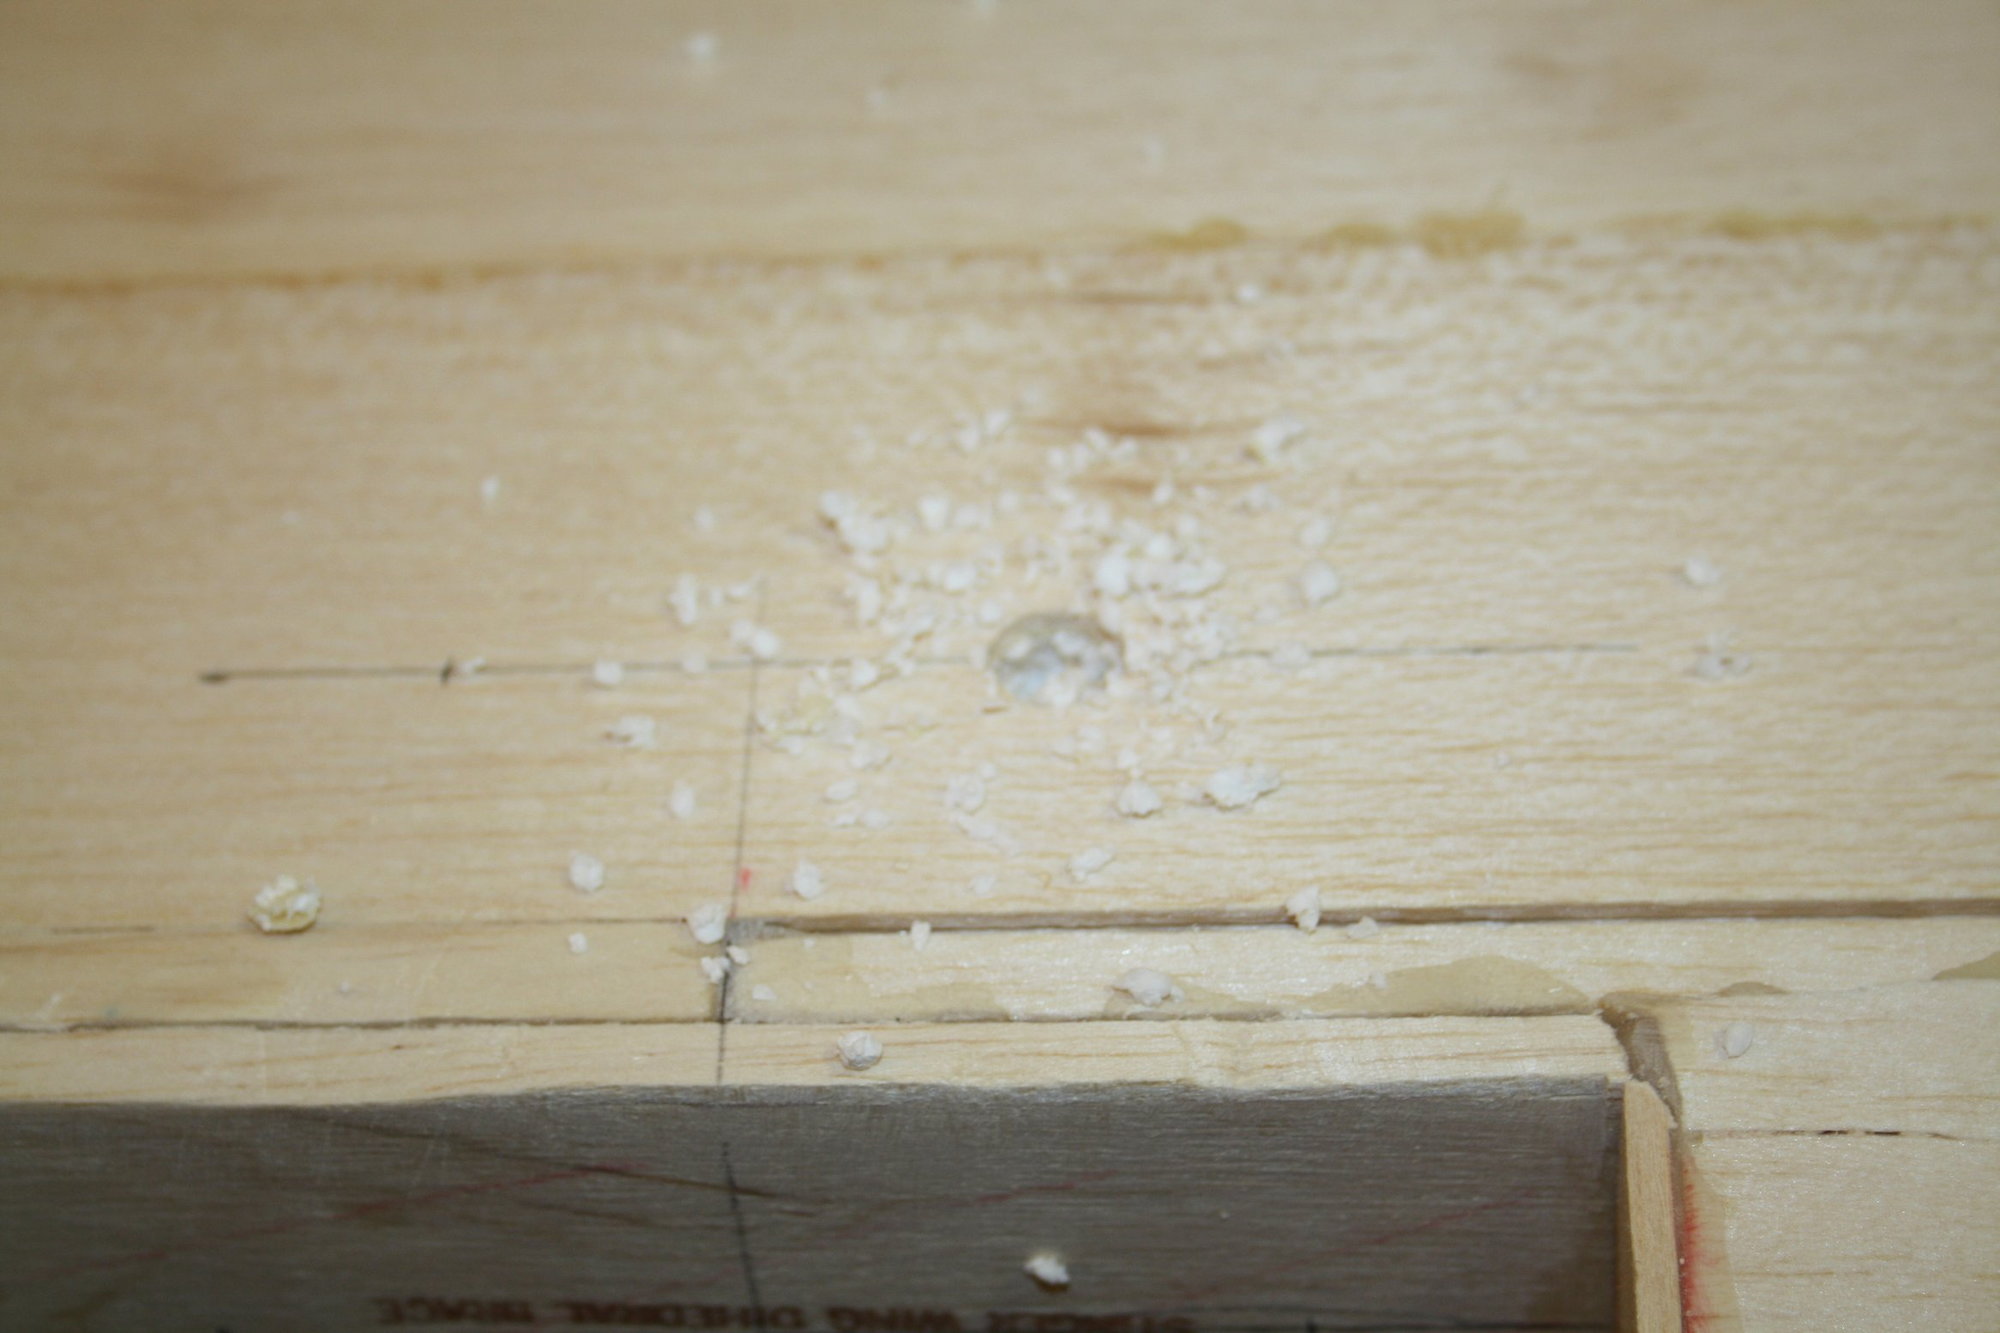
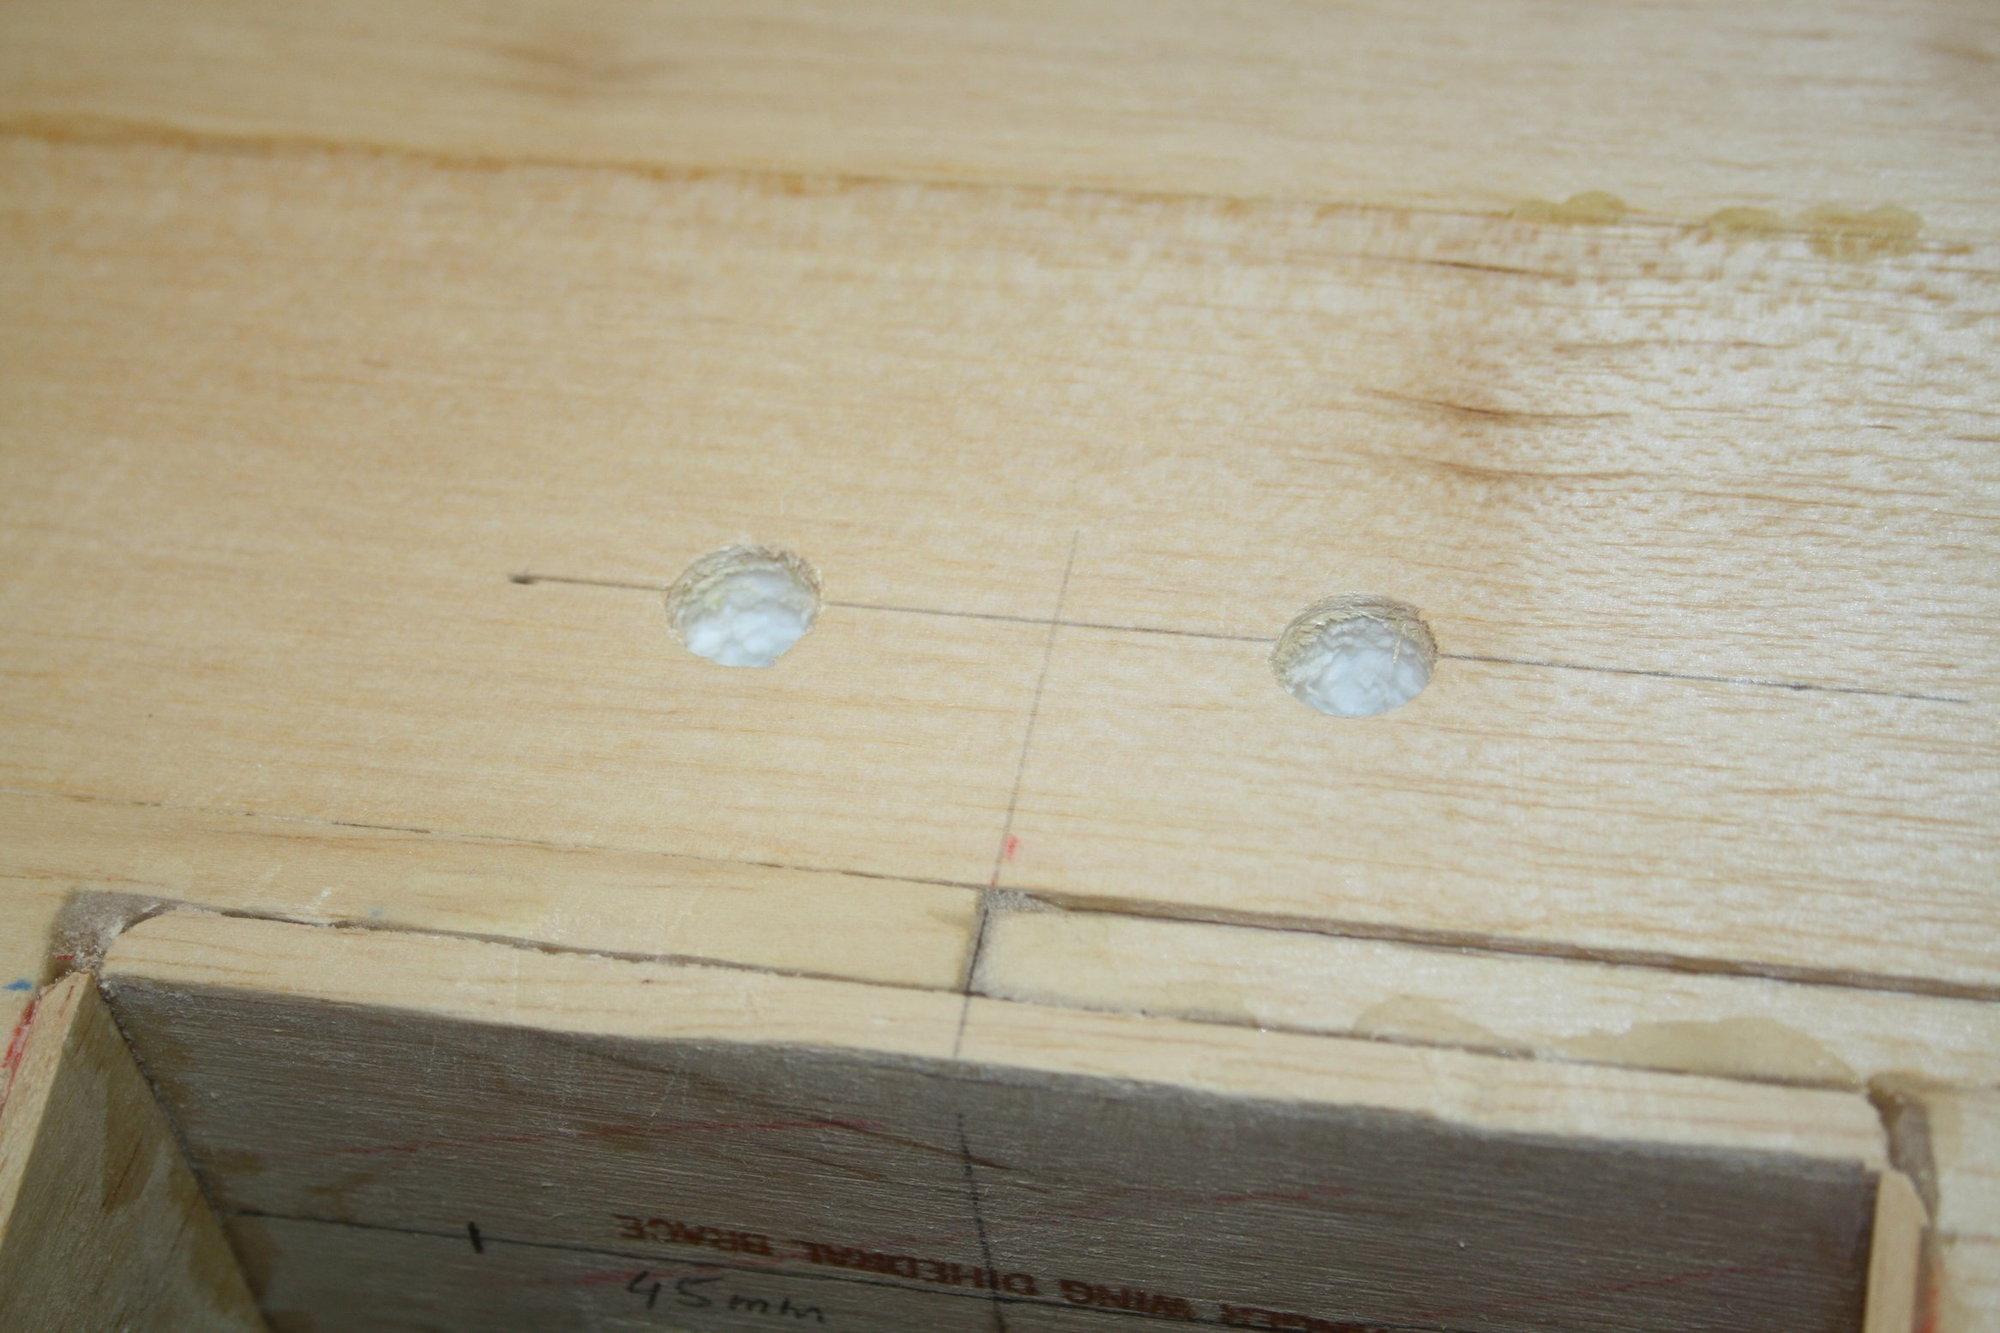

Cheers,
Eran
Cheers,
Eran
Last edited by erans; 07-23-2023 at 02:47 AM.
07-23-2023, 02:57 AM
#29
Thread Starter
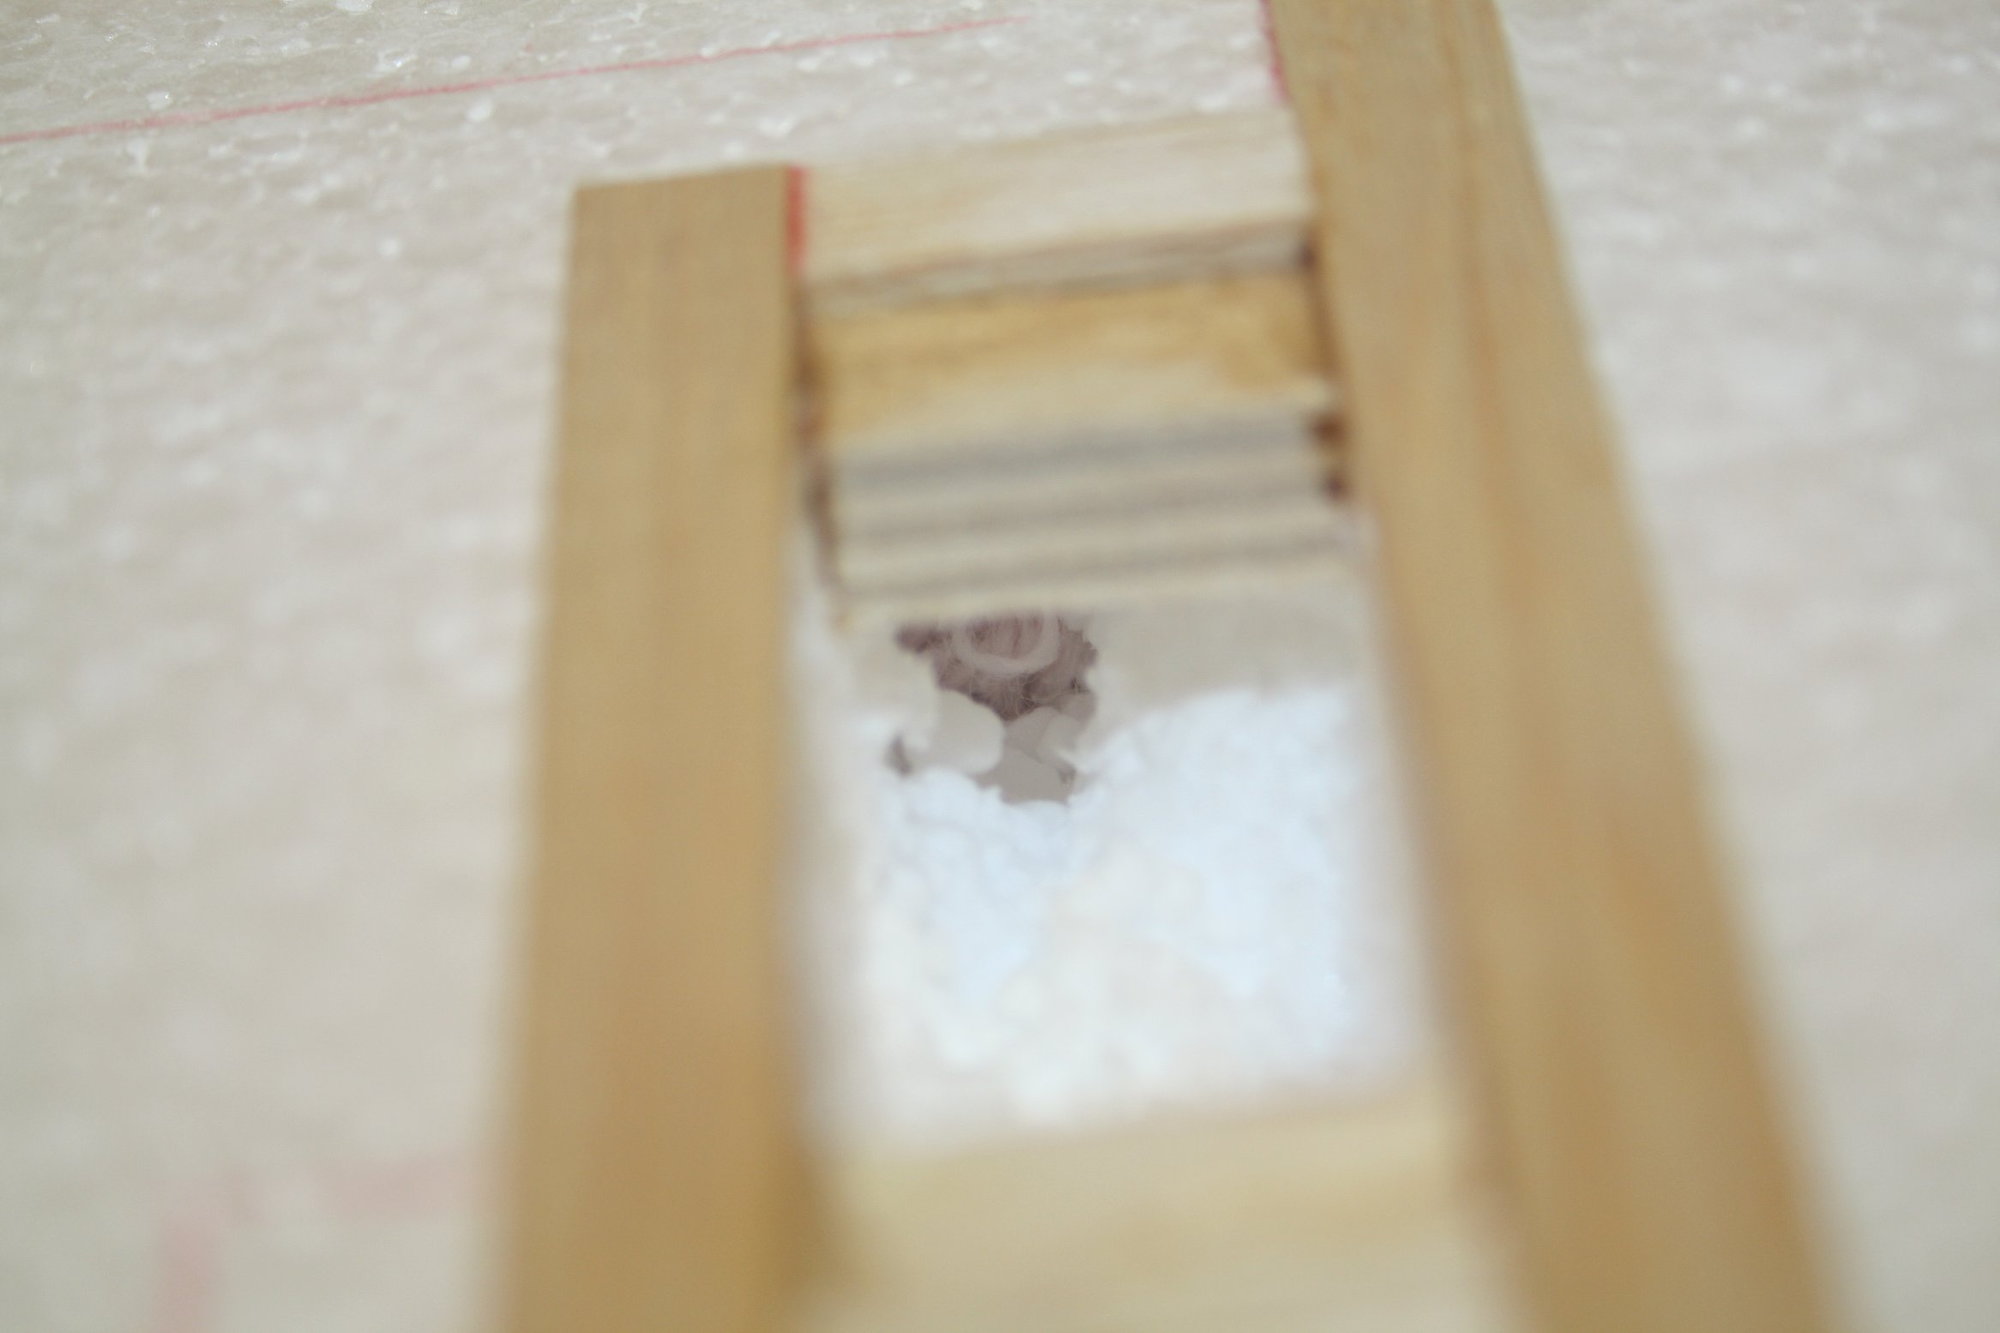
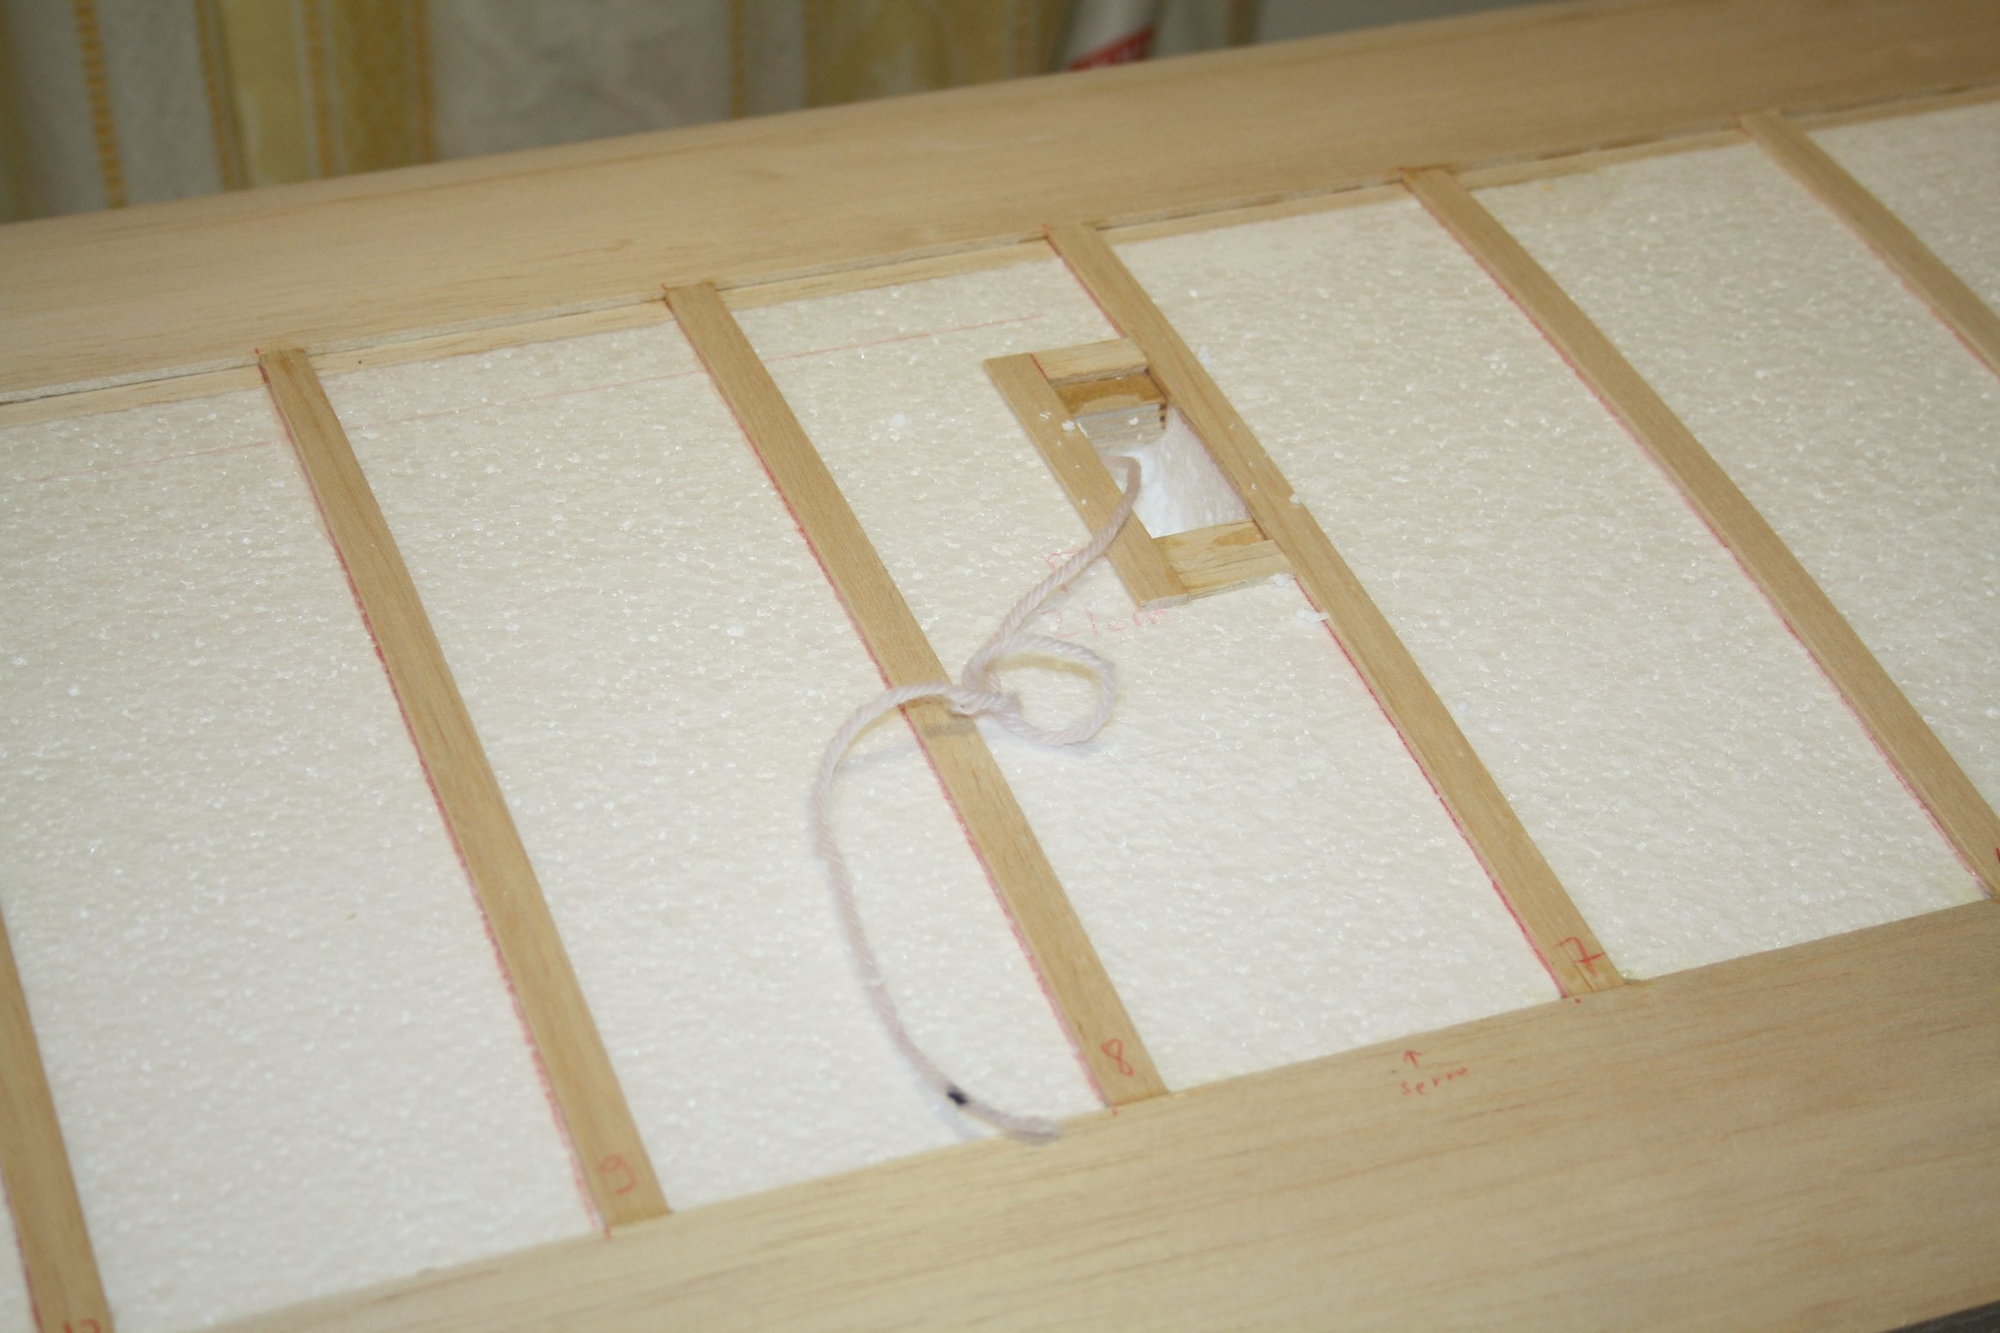
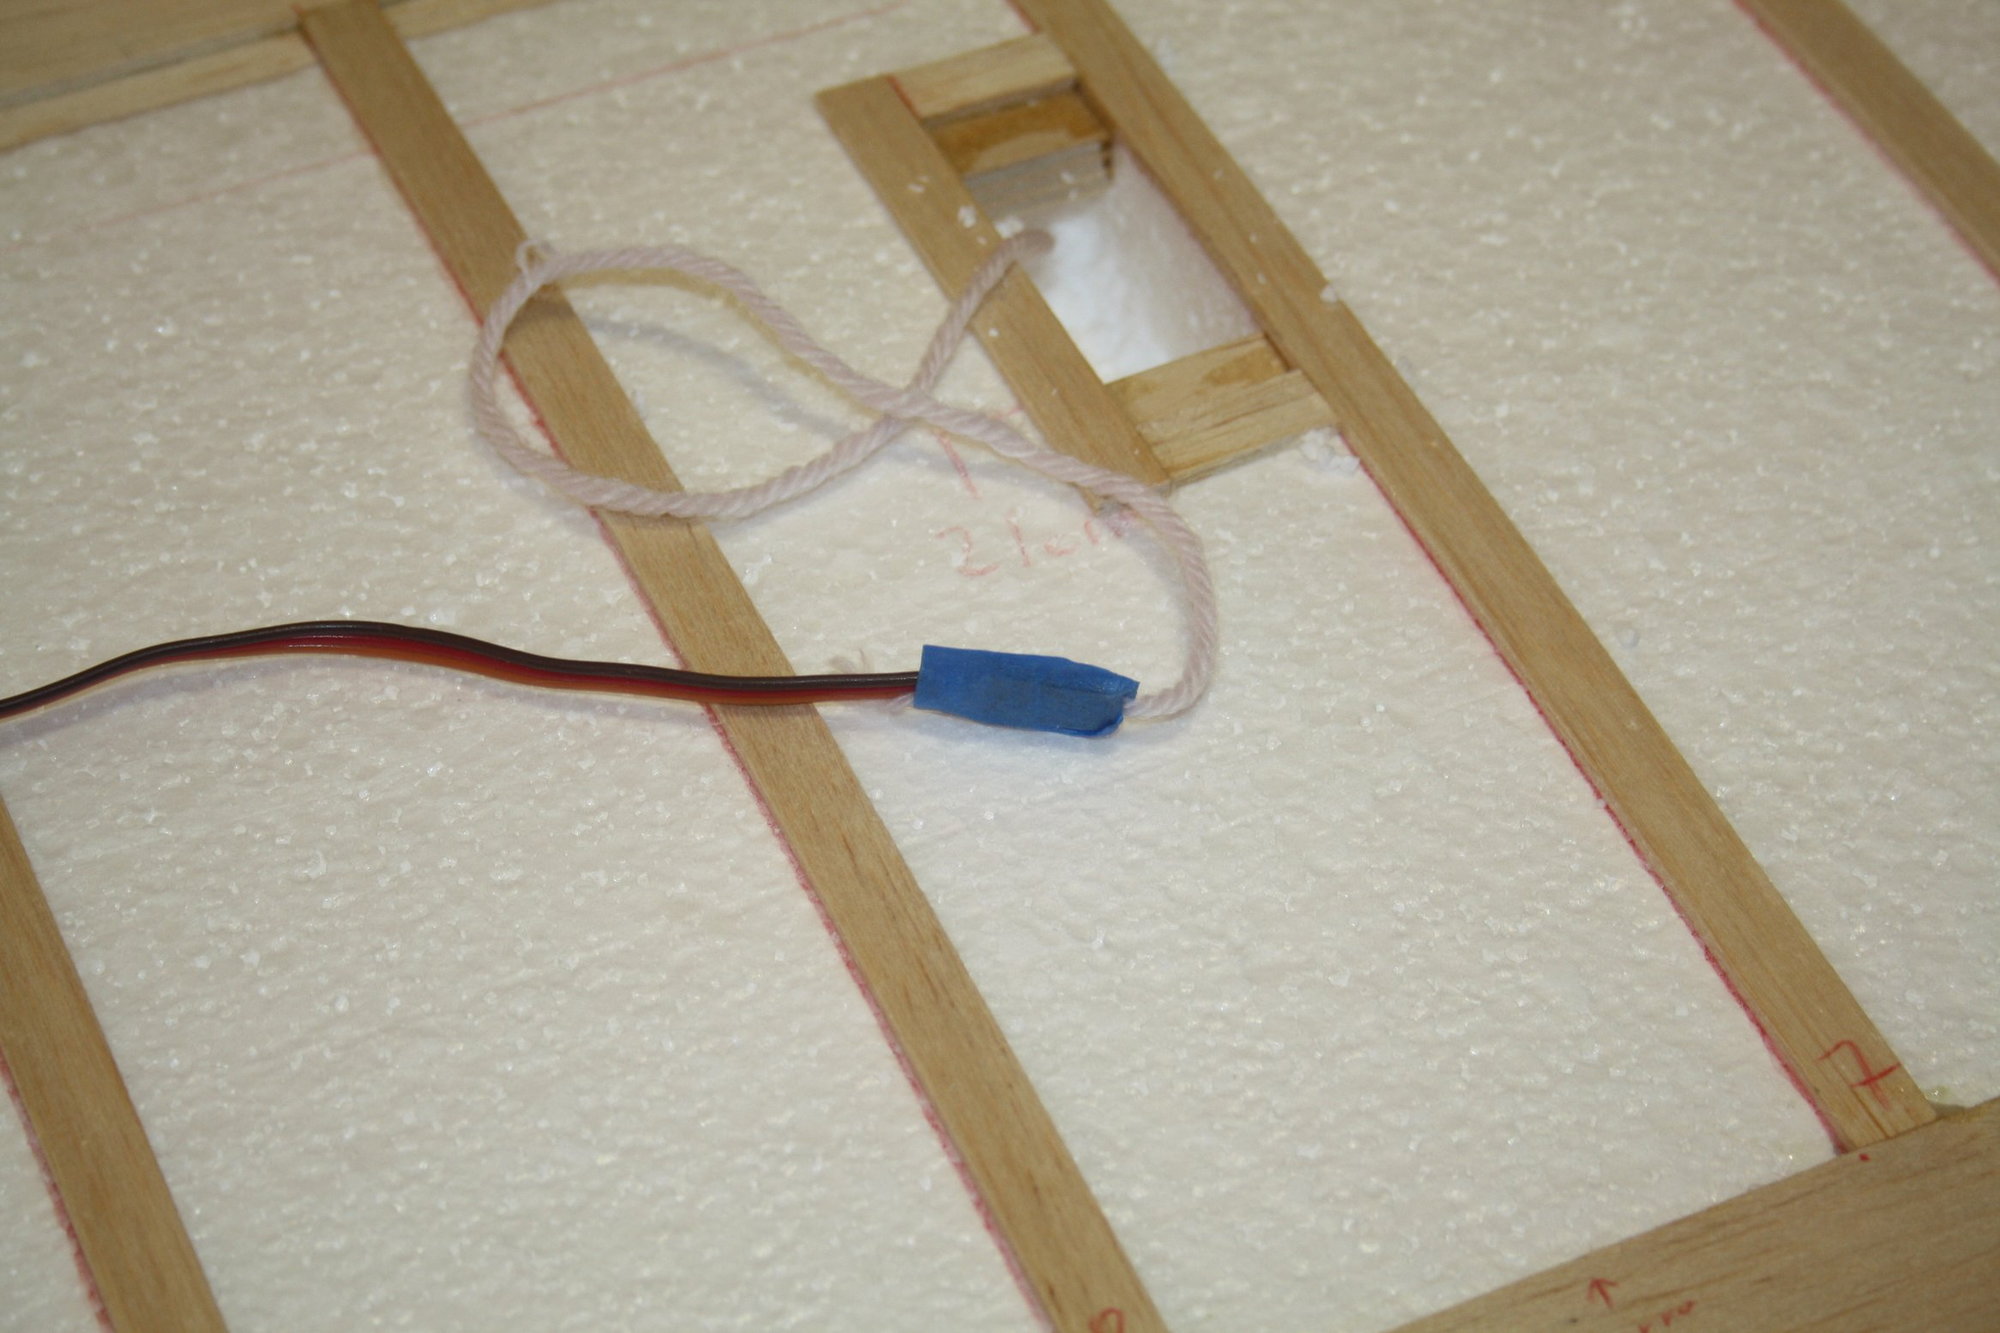
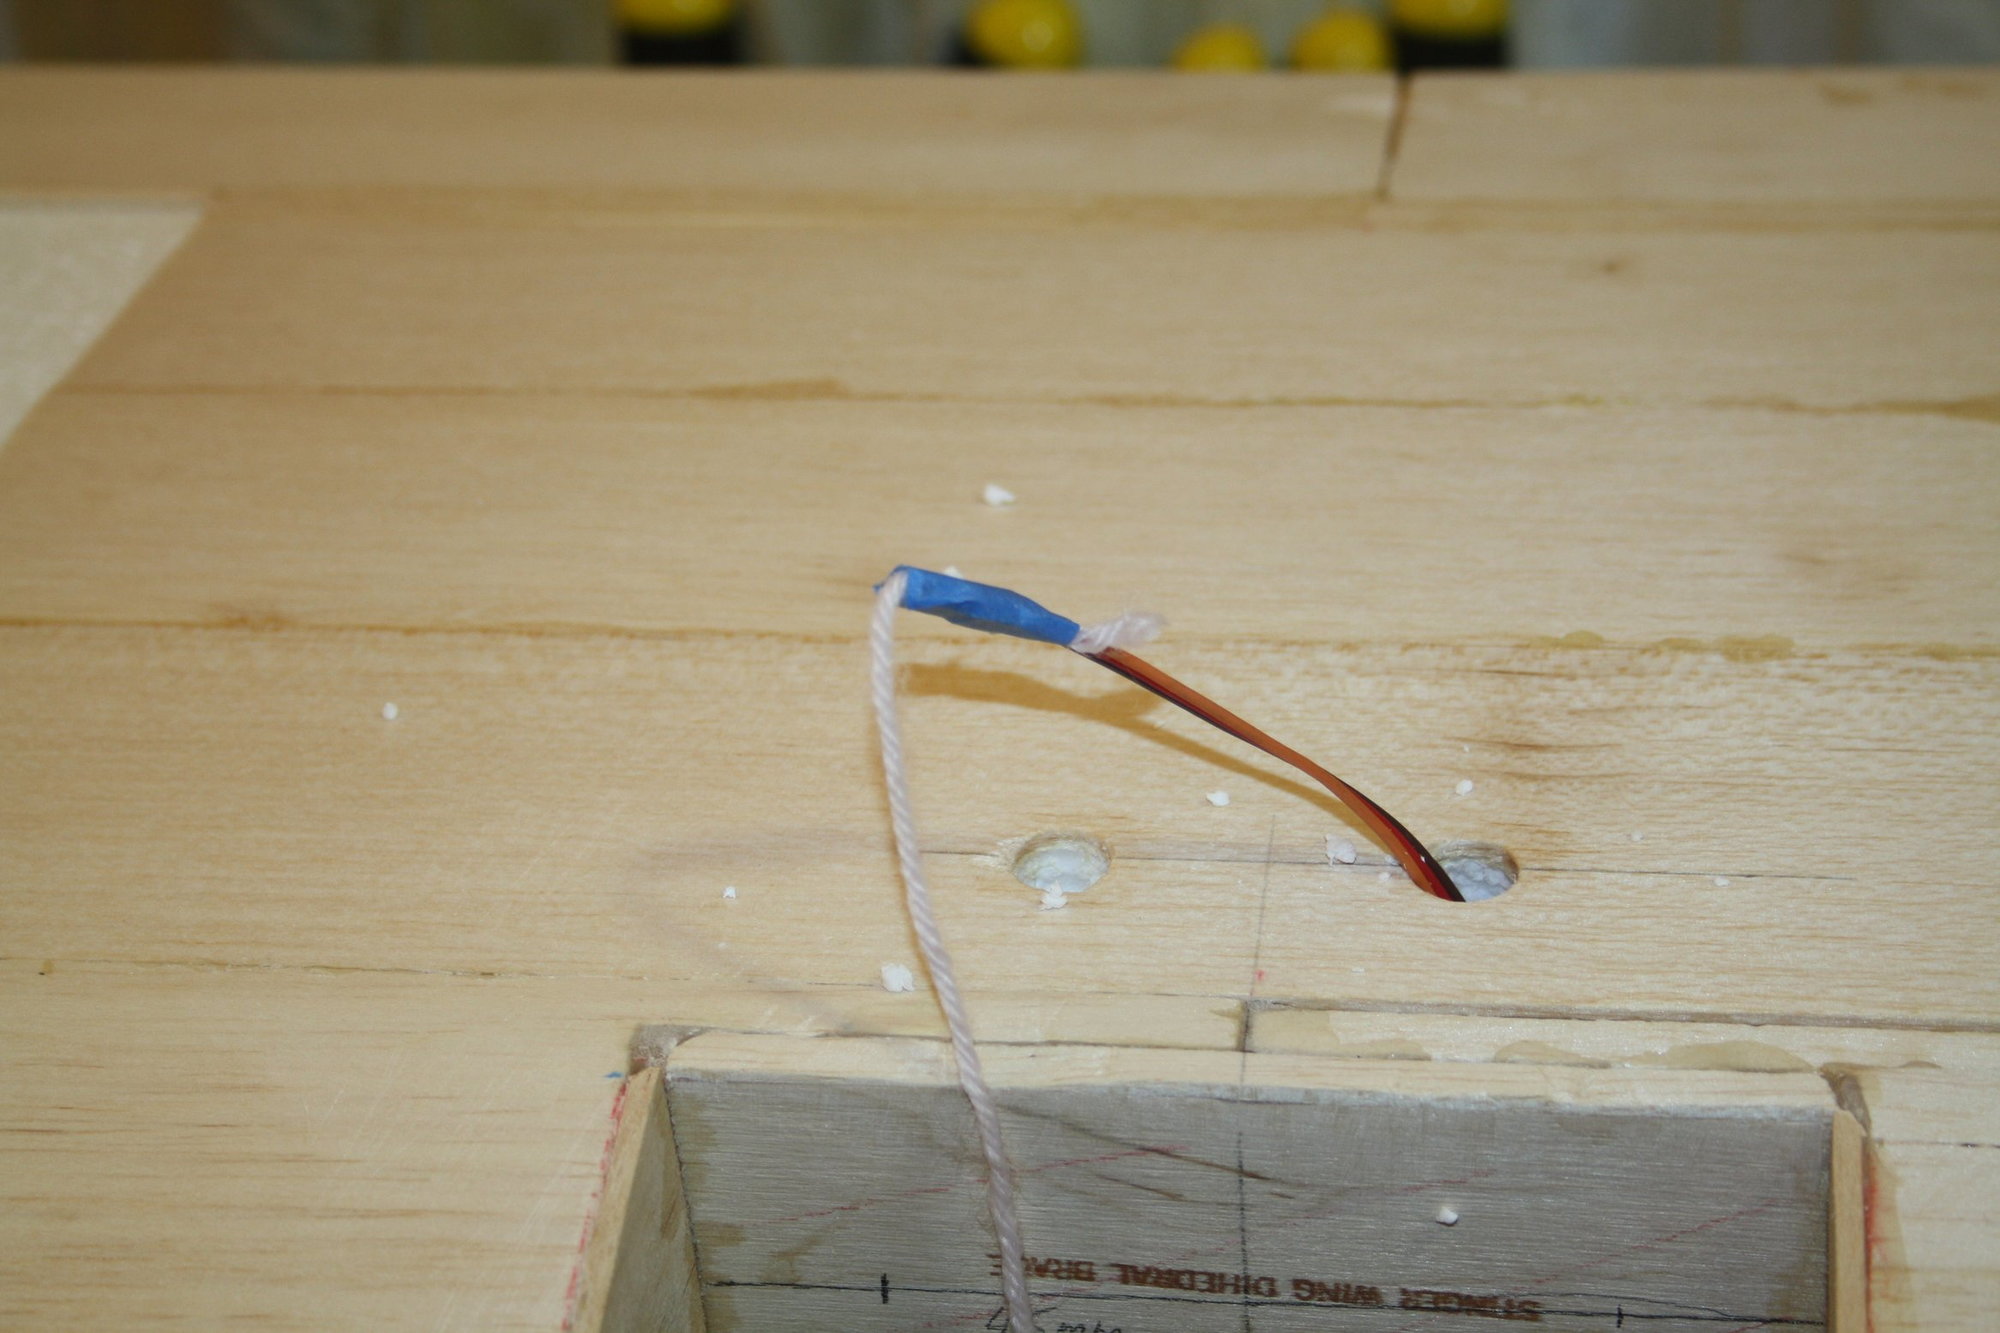
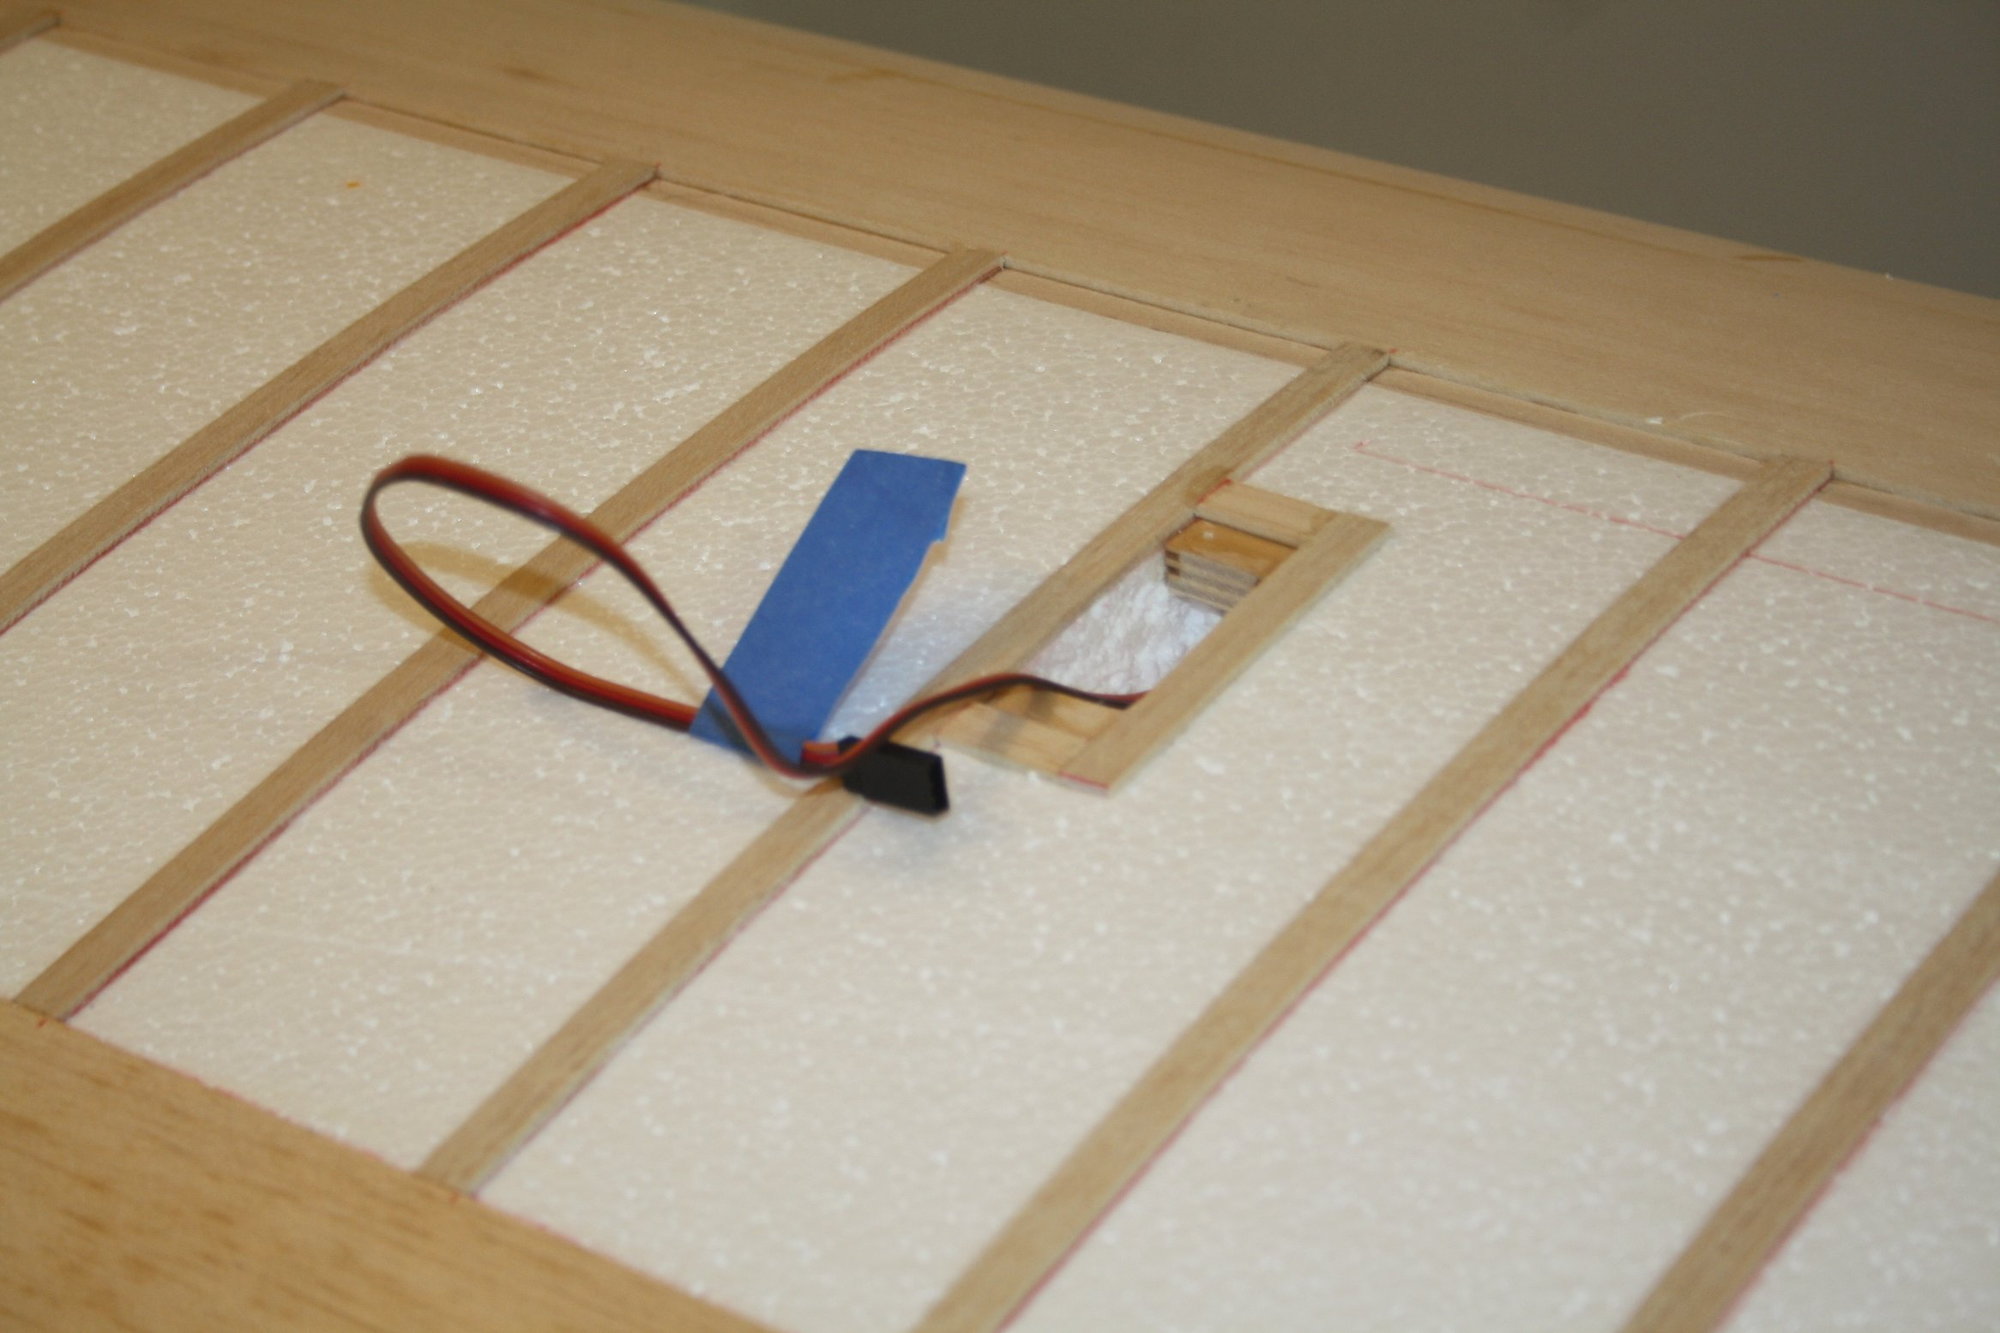
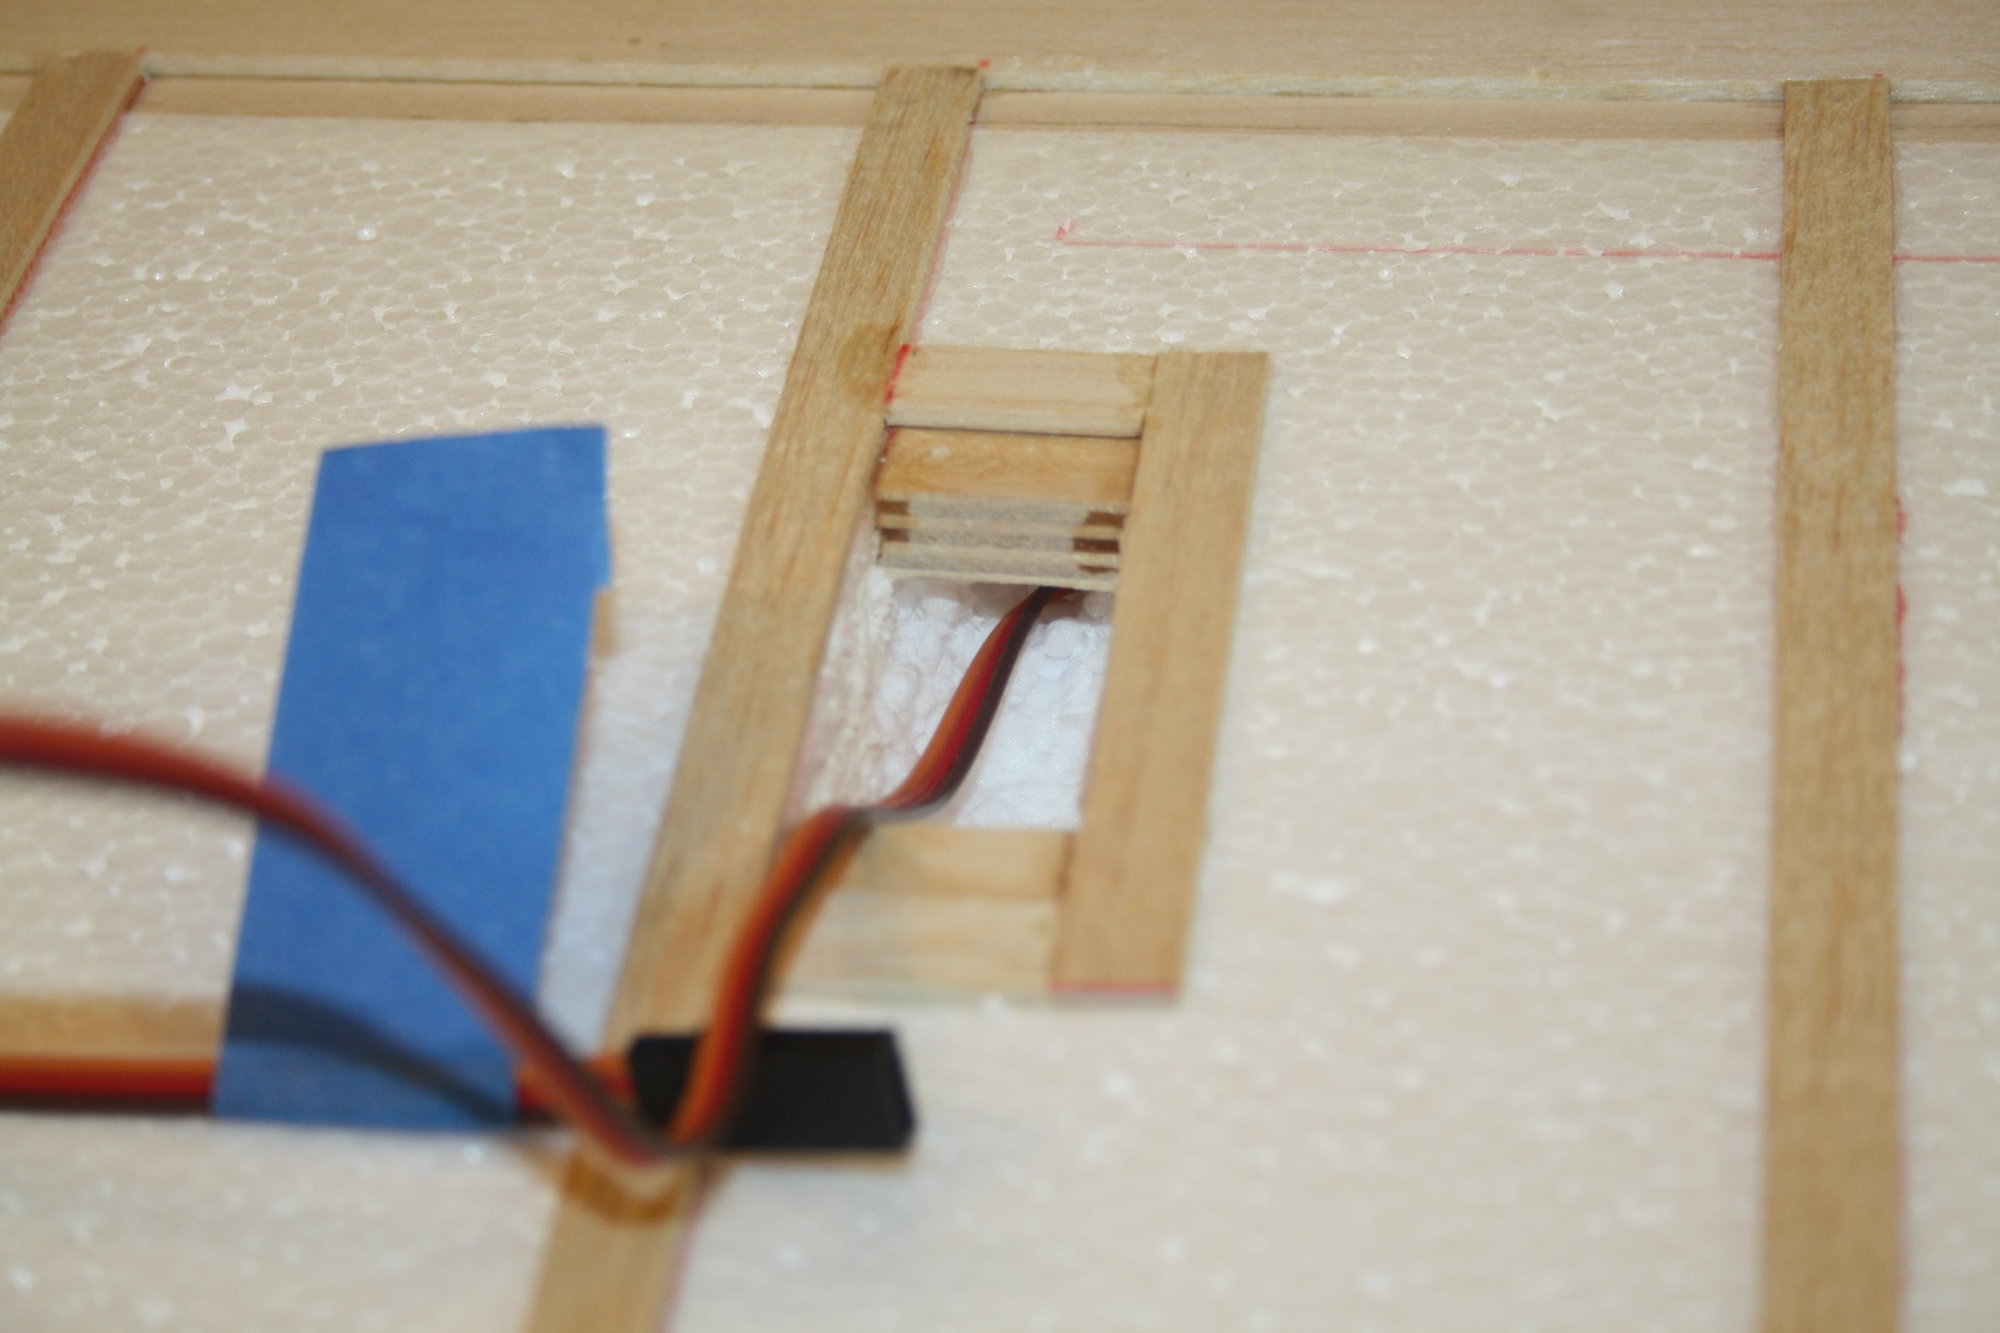
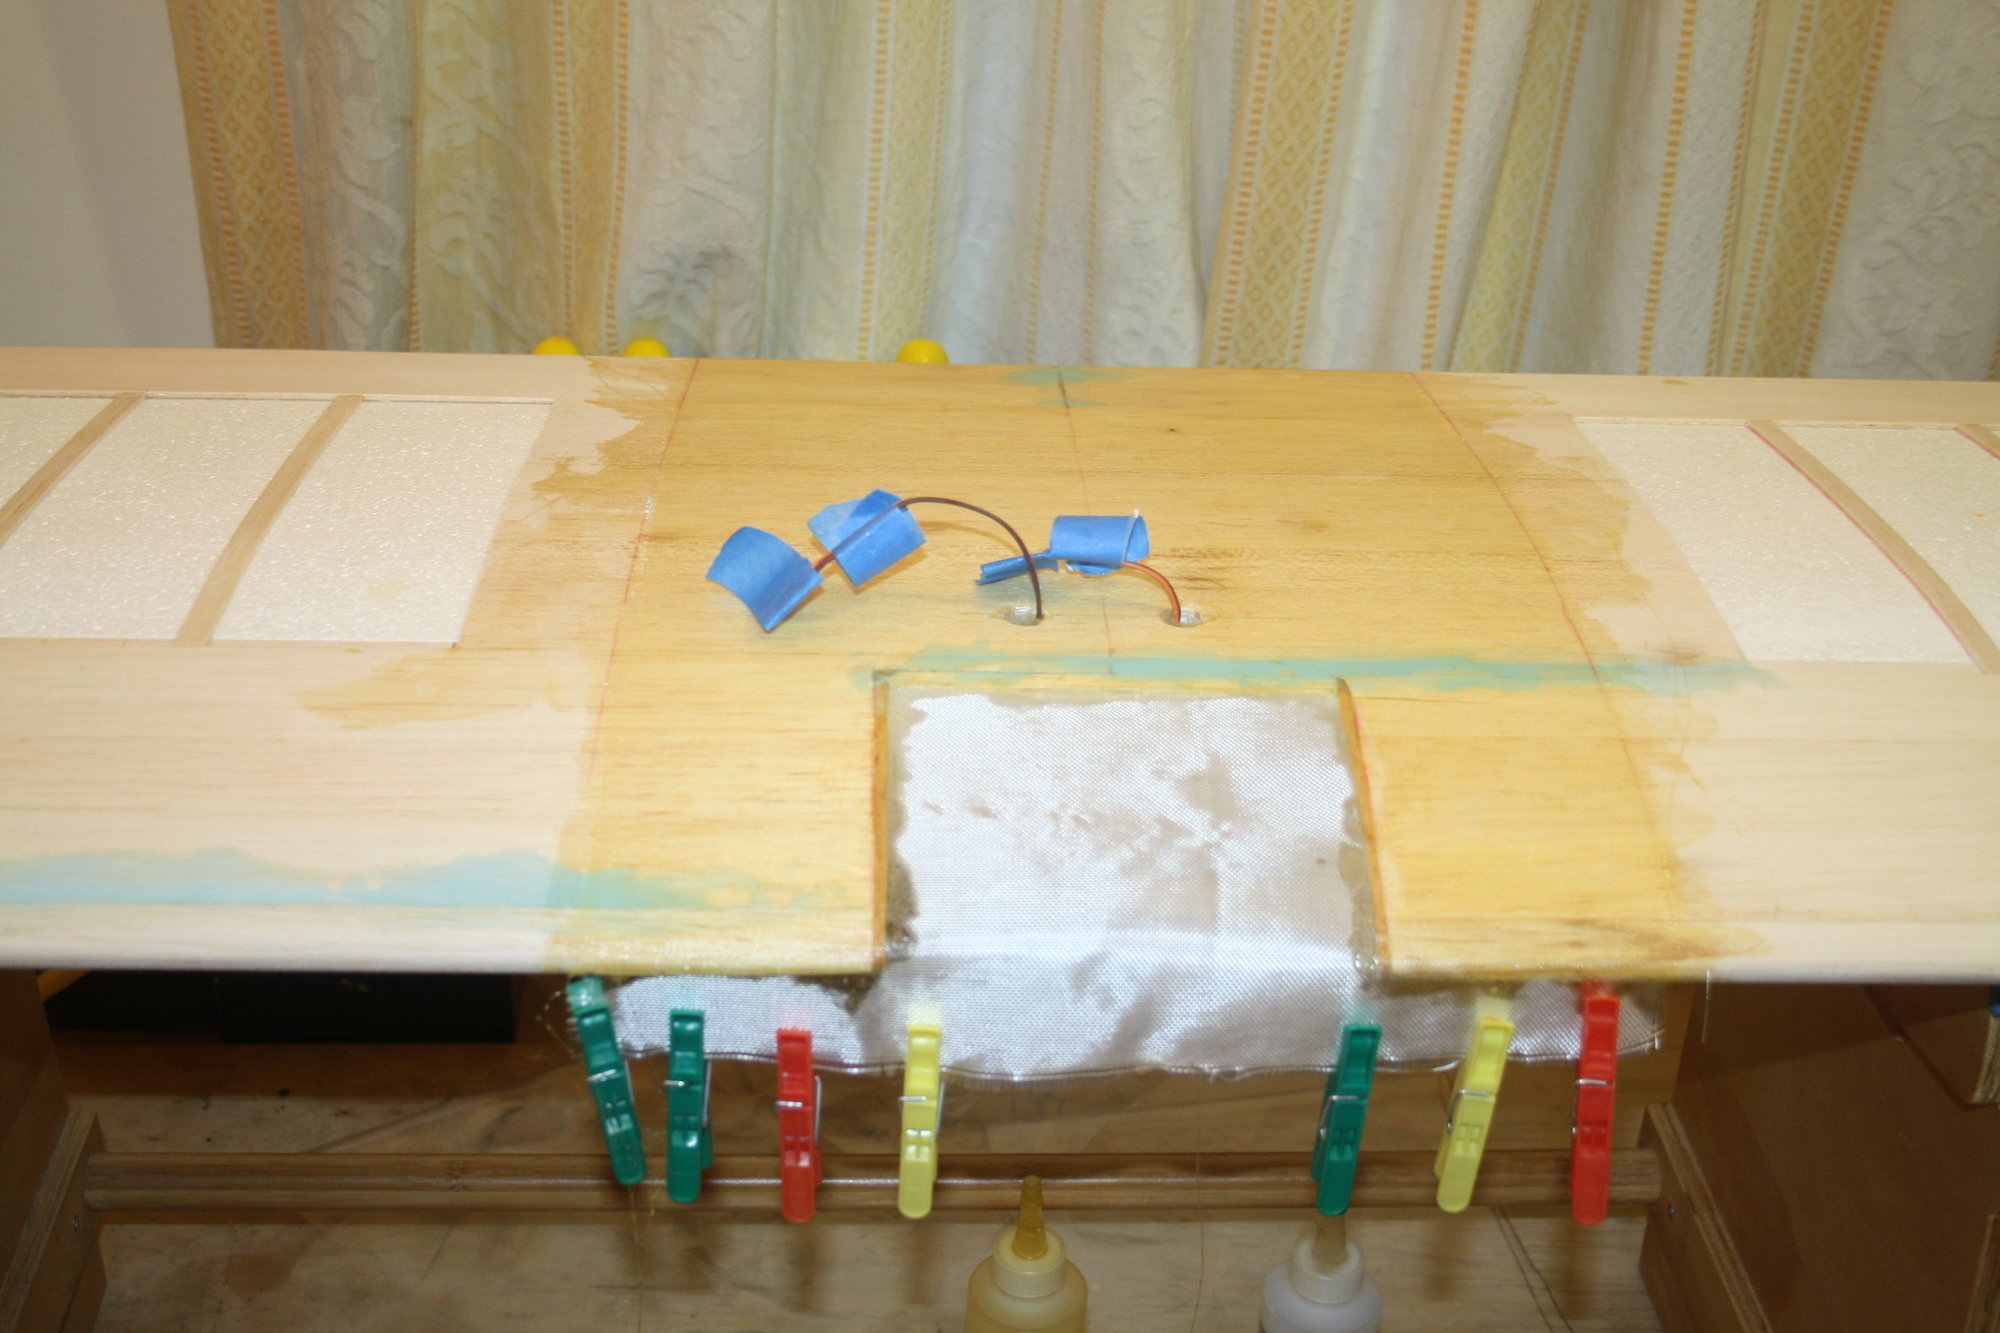
Threading leads through the channel in the wings proved to be very difficult. I spent two hours getting the two servo leads through.
My first attempt to get a "pull wire" through was by attaching weight and trying to use gravity. This was a complete failure.
Eventually I ended up using the inside flexible rod from a Sullivan God-N-Rod inserted from the "incorrect" hole (which allowed the flexible rod to get into the channel in shallow angle). The rod was threading the pull-wire through to where it was visible from the servo bay. Using tweezers, I pulled the wire out through the last 90 degree bend. I then connected the servo lead to the pull-wire and pulled it to the wing center section hole.
Cheers,
Eran
 08-06-2023, 09:33 PM
#31
Thread Starter
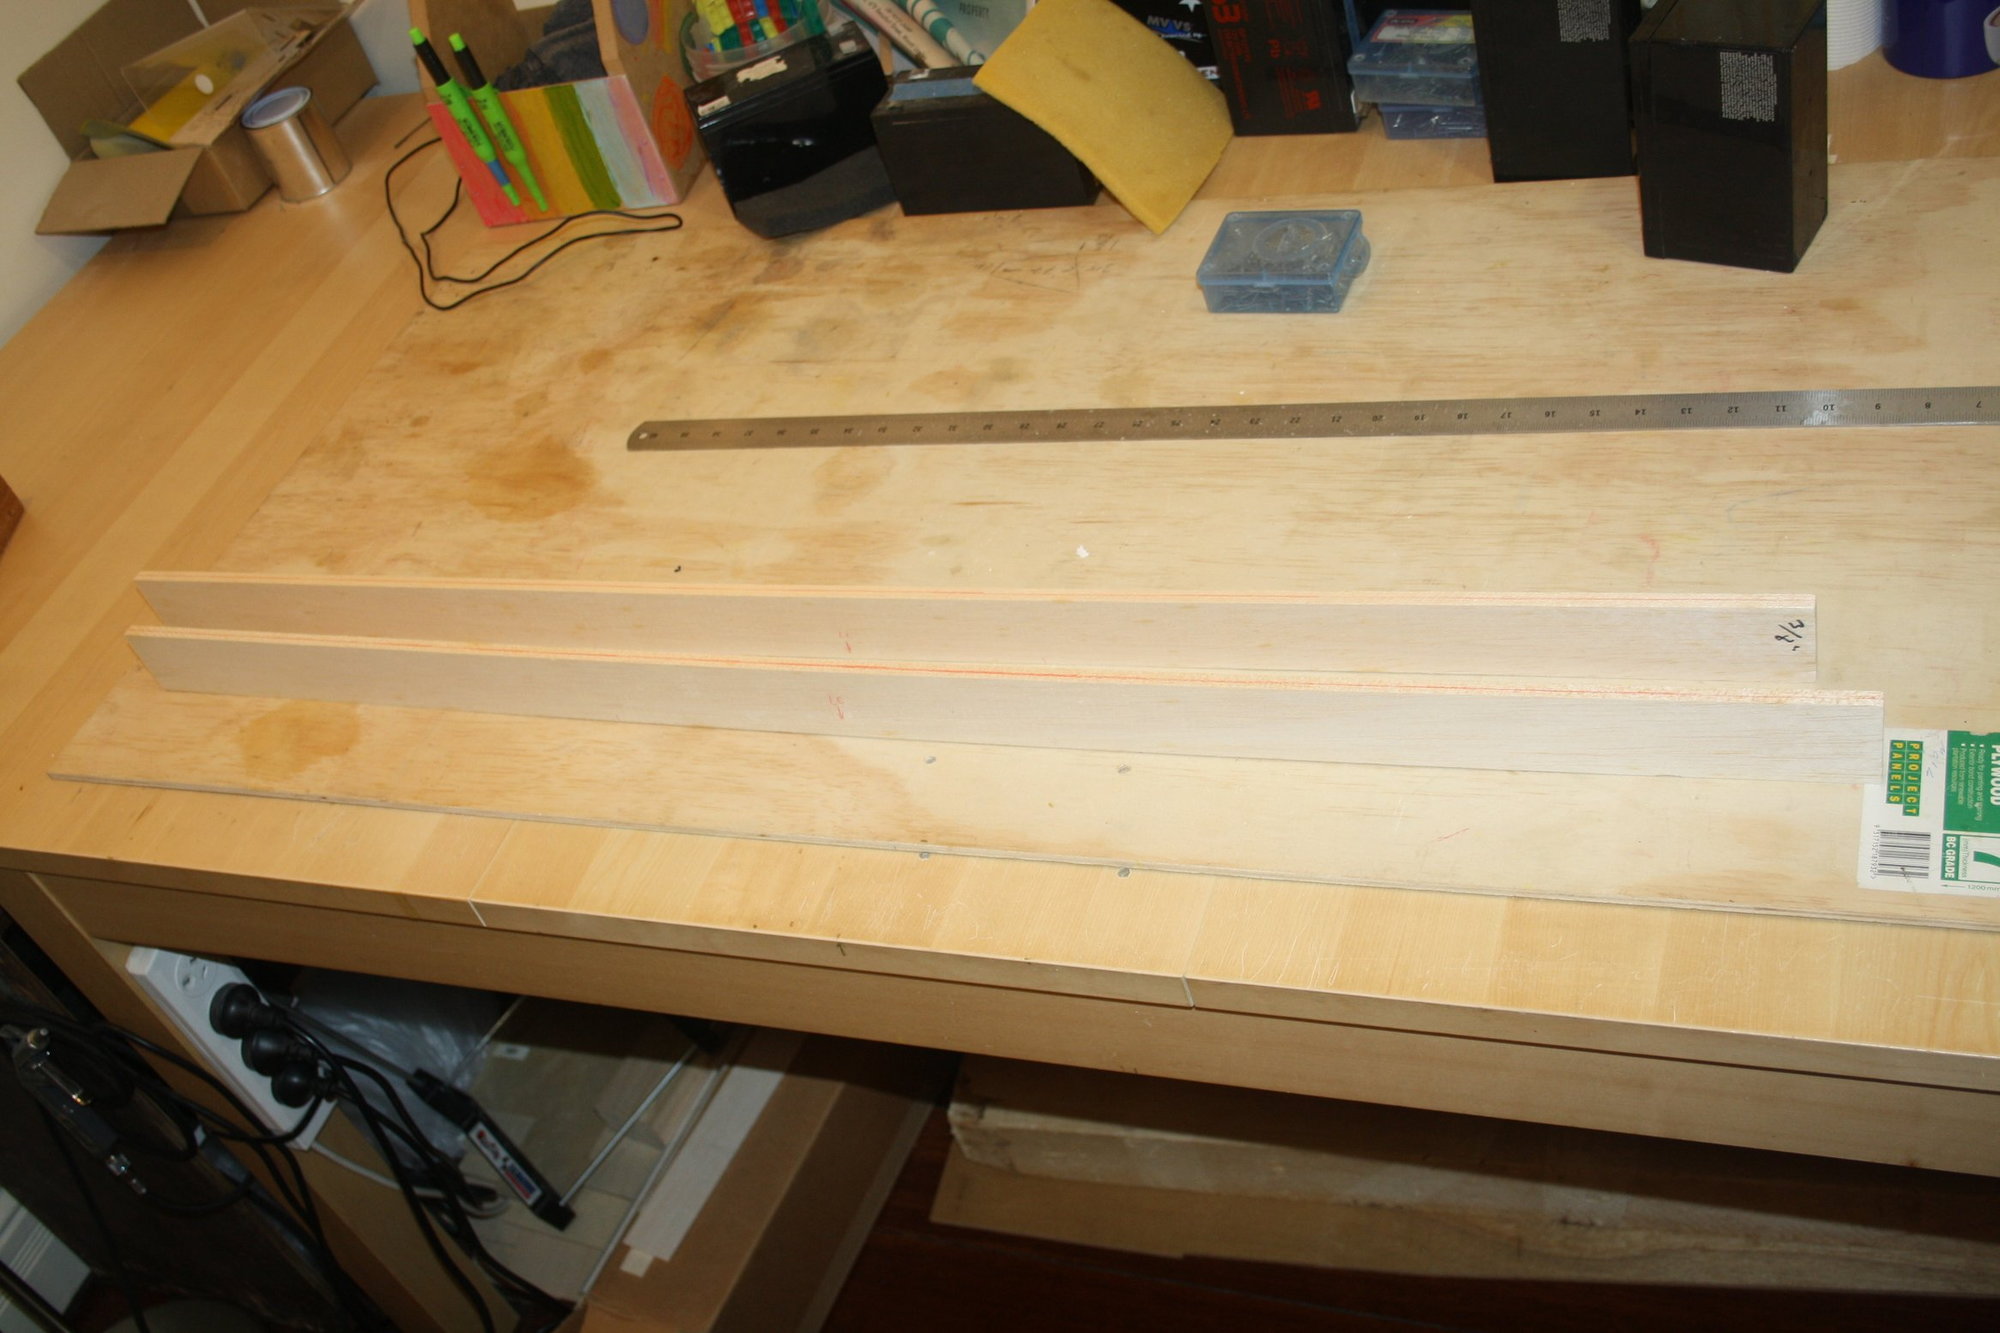
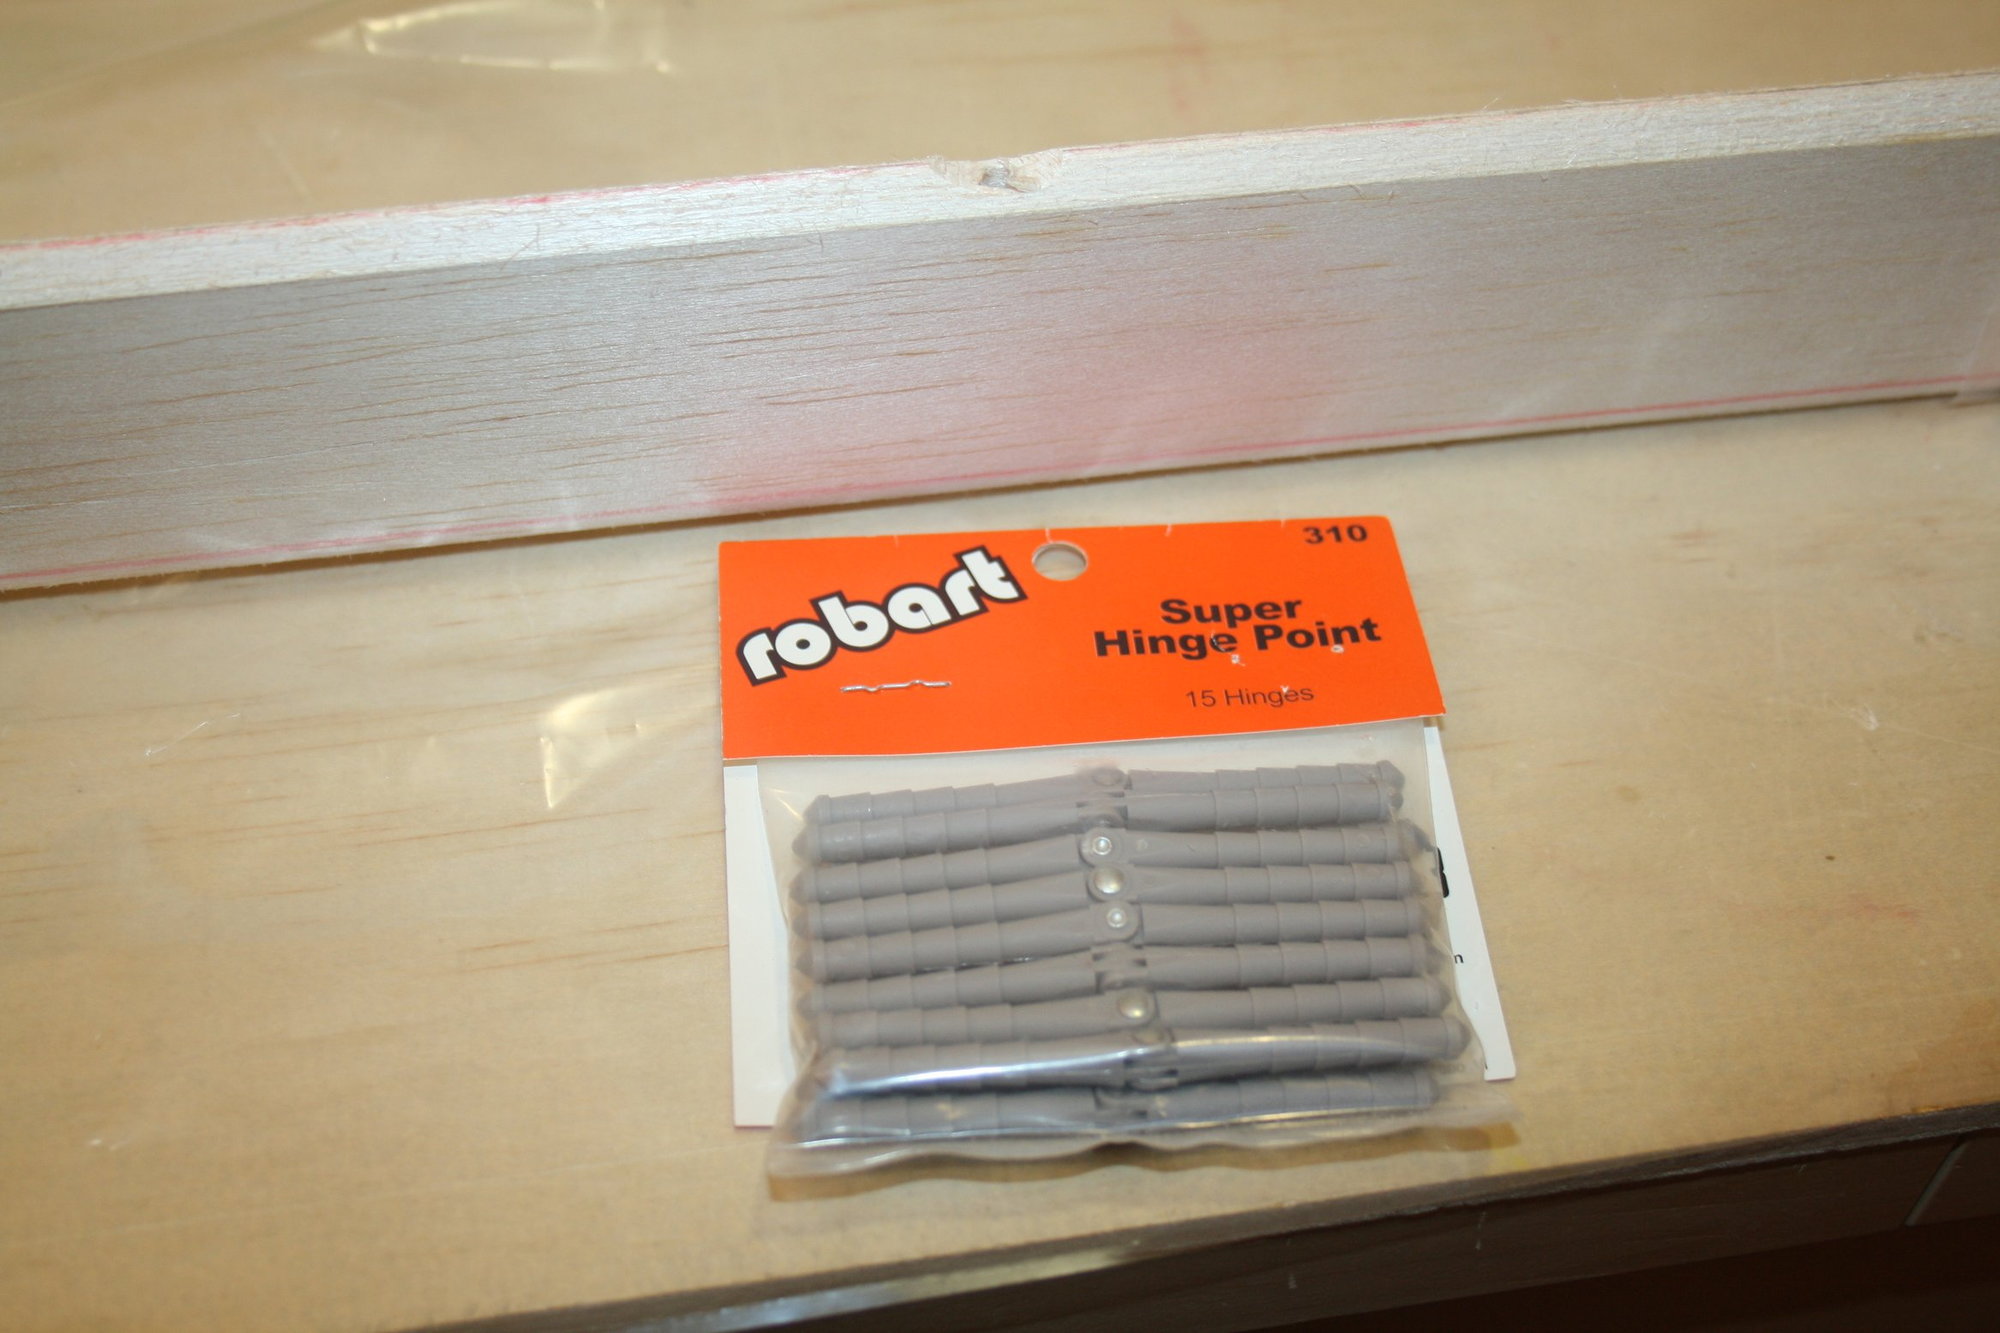
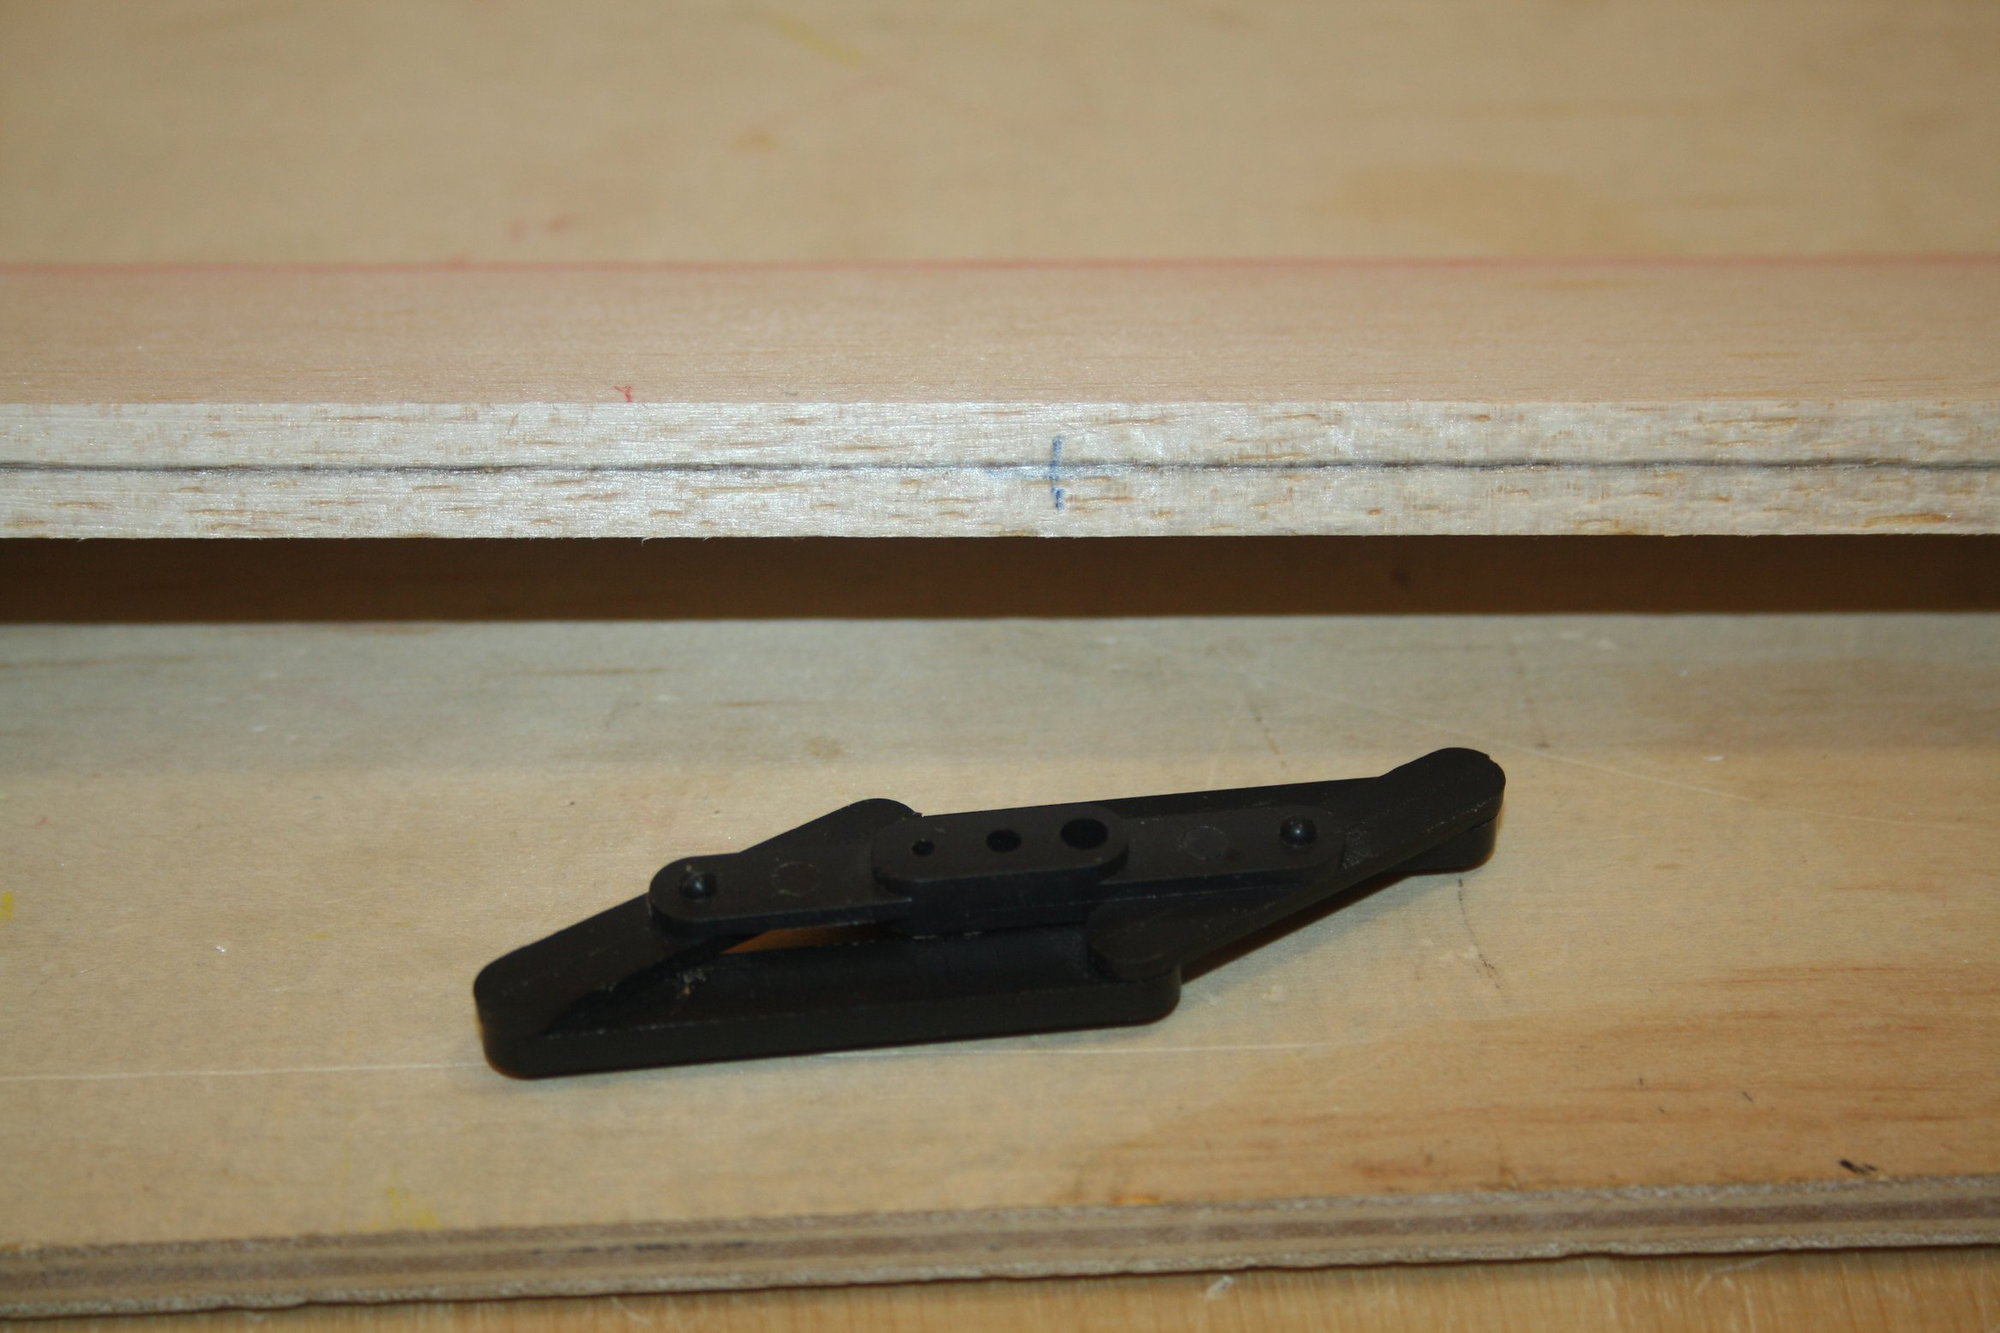
I marked the aileron center line by using the "Dubro Kwik-Hinge Slotter kit" and drilled for the Robart Super Hinge Point (#310). The correct depth was marked on the drill bit with a blue tape.
As I am fighting a bow in the ailerons, I am using 7 hinges per aileron (compared with the plans 5 hinges per aileron).
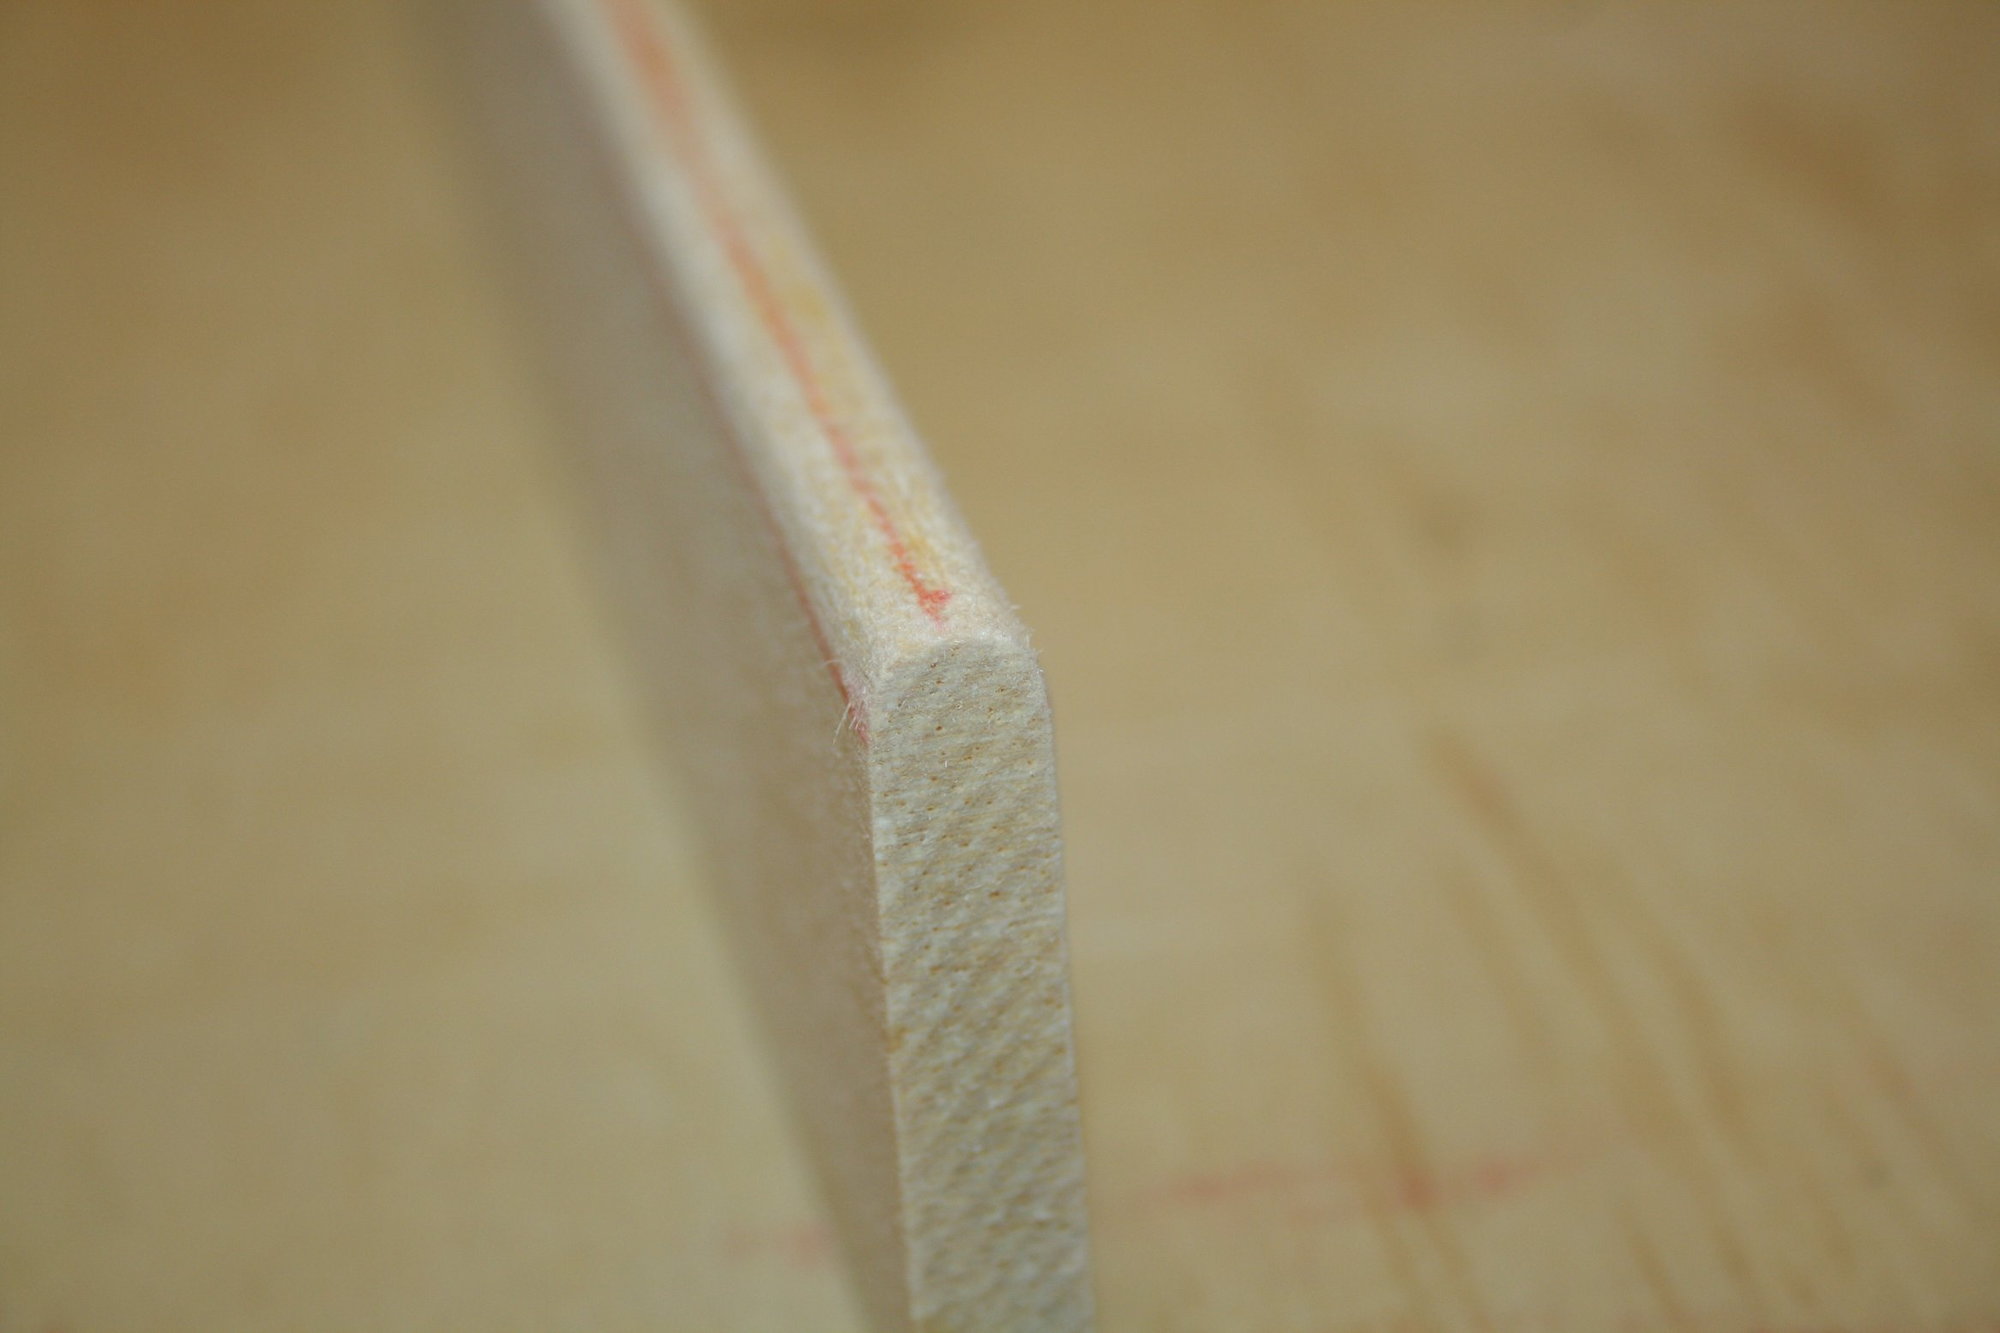
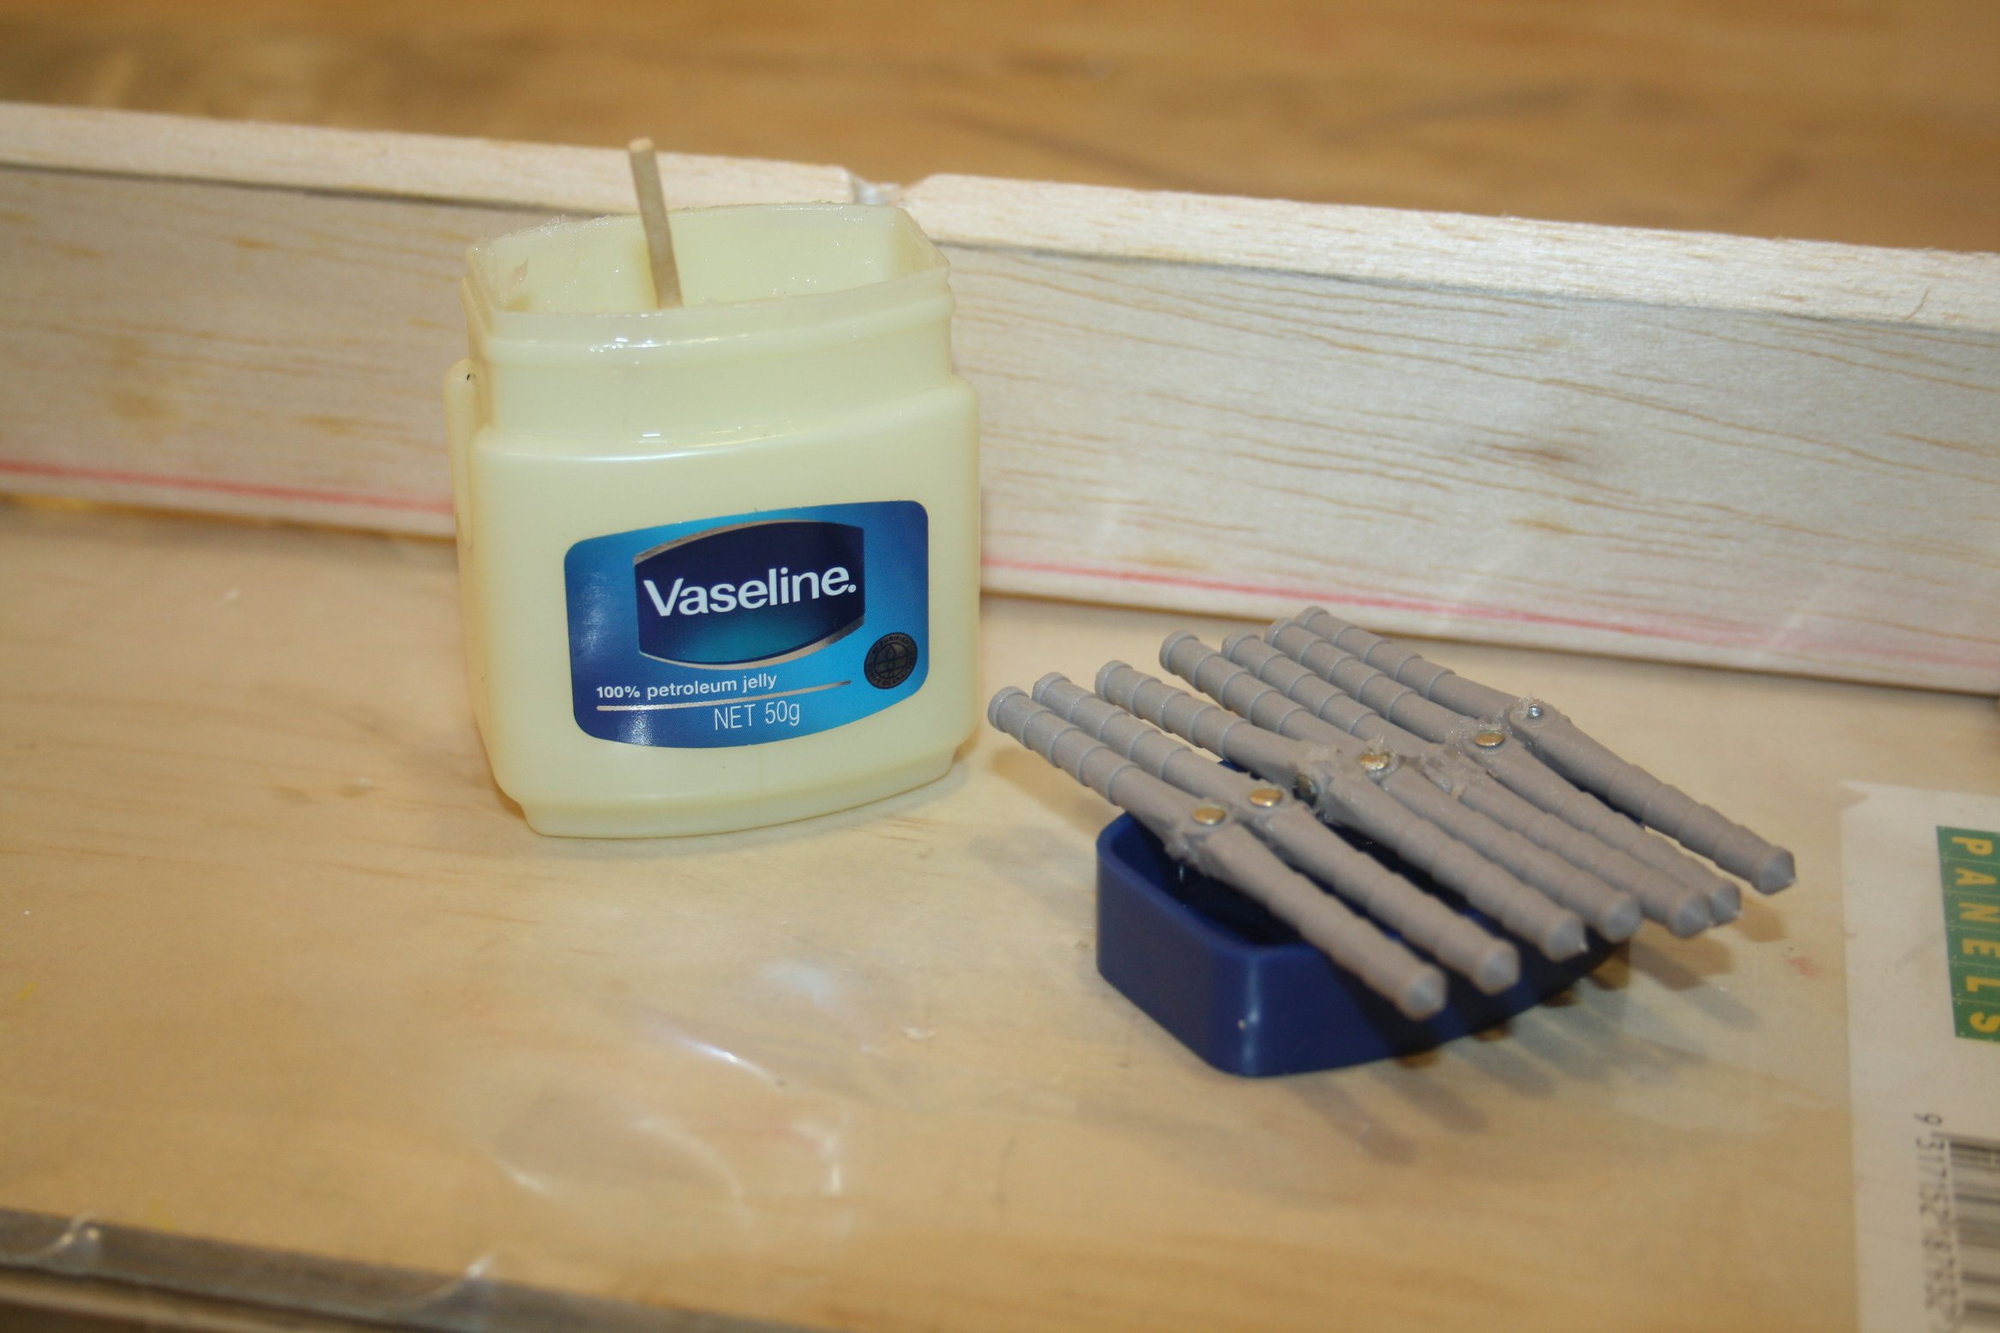
Once drilling was done, I shaped the LE to a bevel edge. I then used Vaseline to protect the hinge joint from the Epoxy and used 30 minutes Epoxy to glue the hinges into the ailerons.

Cheers,
Eran
As I am fighting a bow in the ailerons, I am using 7 hinges per aileron (compared with the plans 5 hinges per aileron).
Once drilling was done, I shaped the LE to a bevel edge. I then used Vaseline to protect the hinge joint from the Epoxy and used 30 minutes Epoxy to glue the hinges into the ailerons.
Cheers,
Eran
08-10-2023, 10:57 PM
#32
Thread Starter
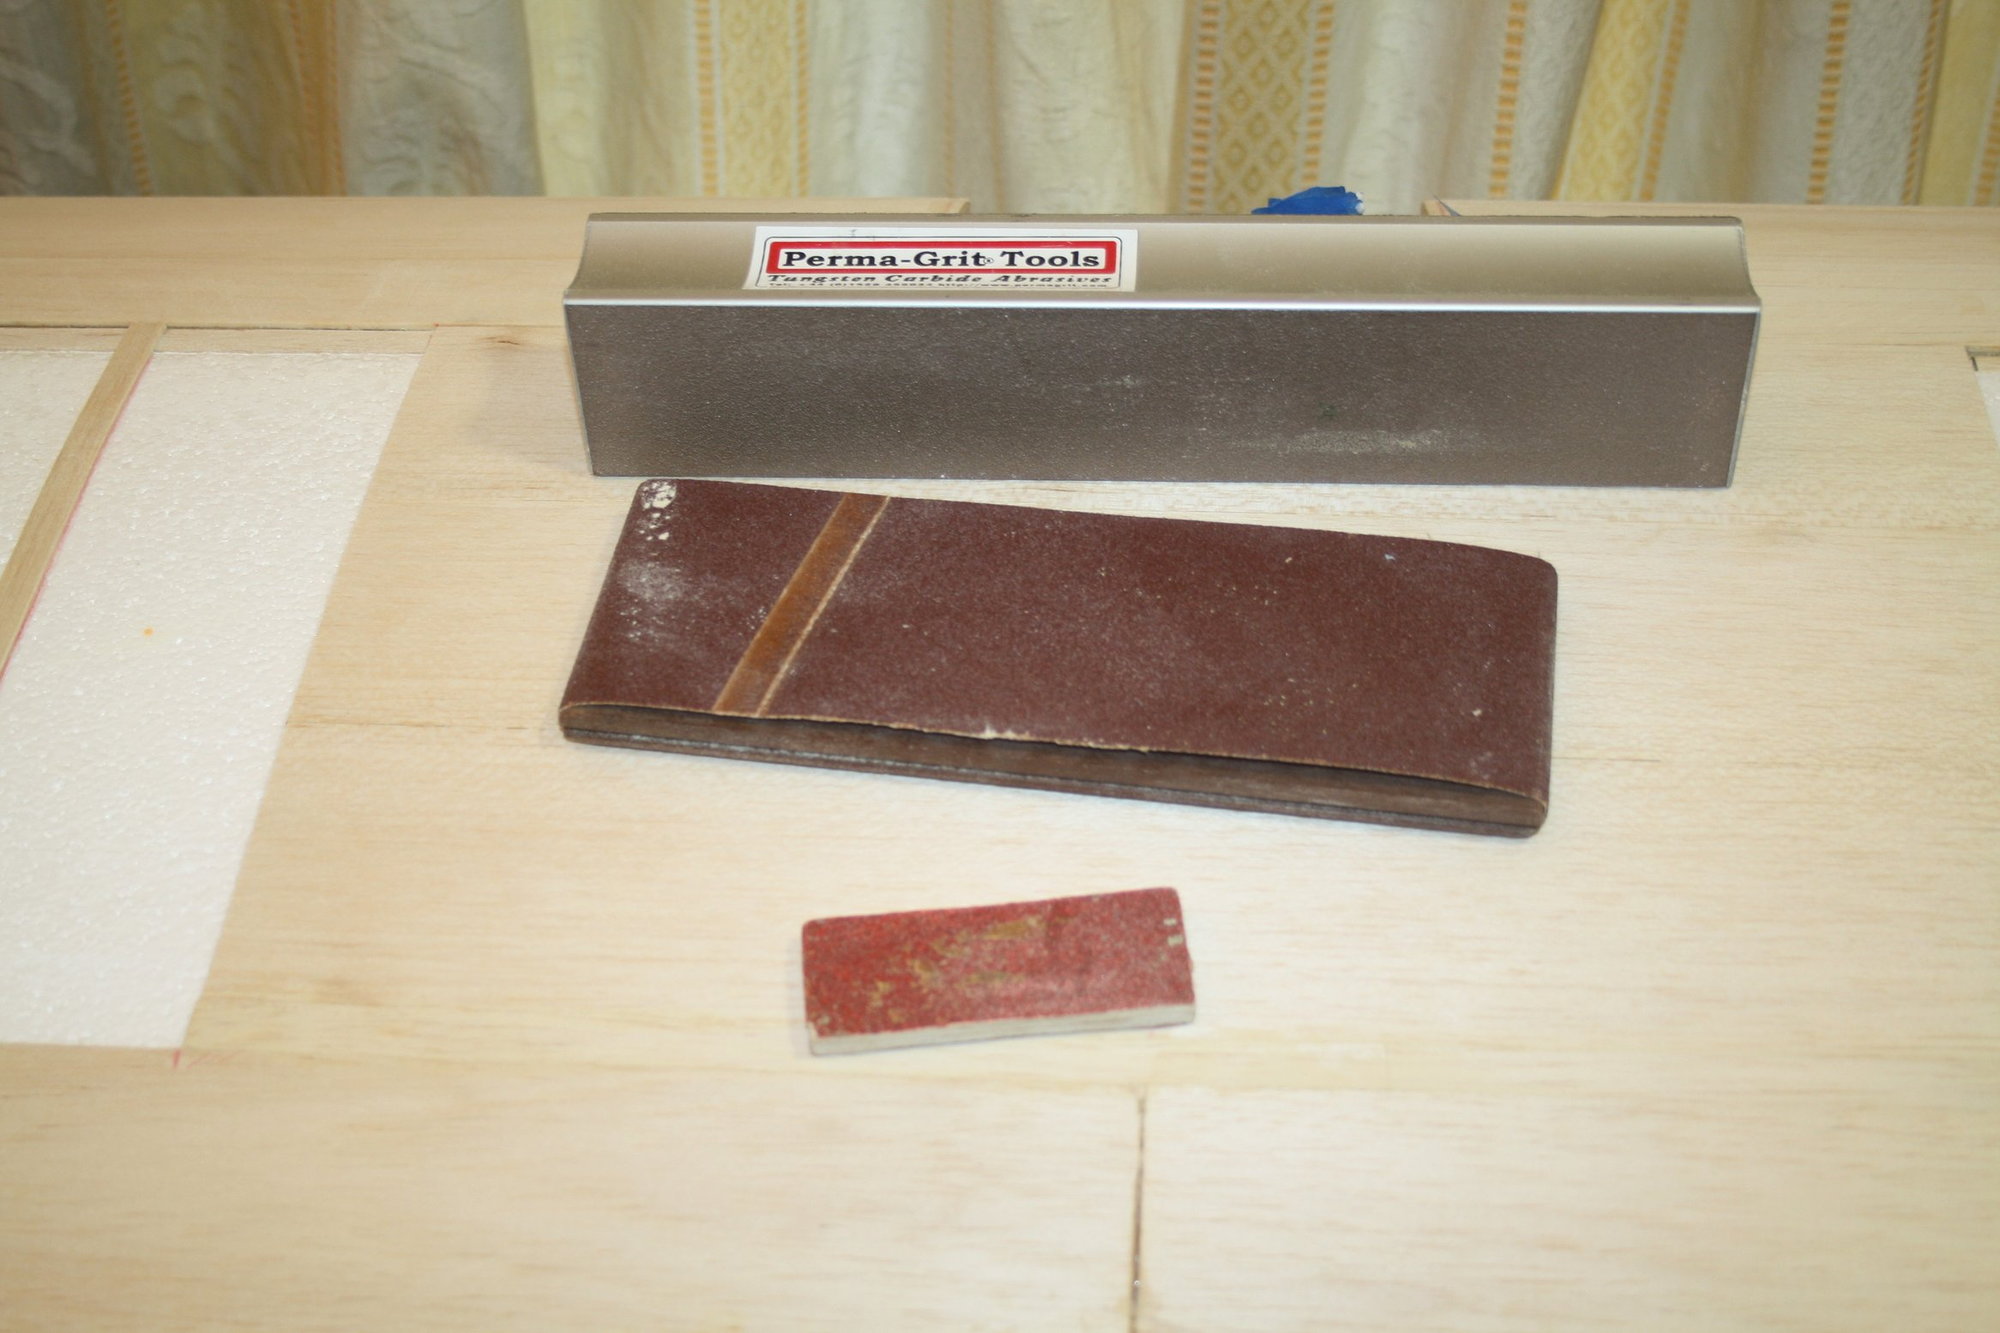
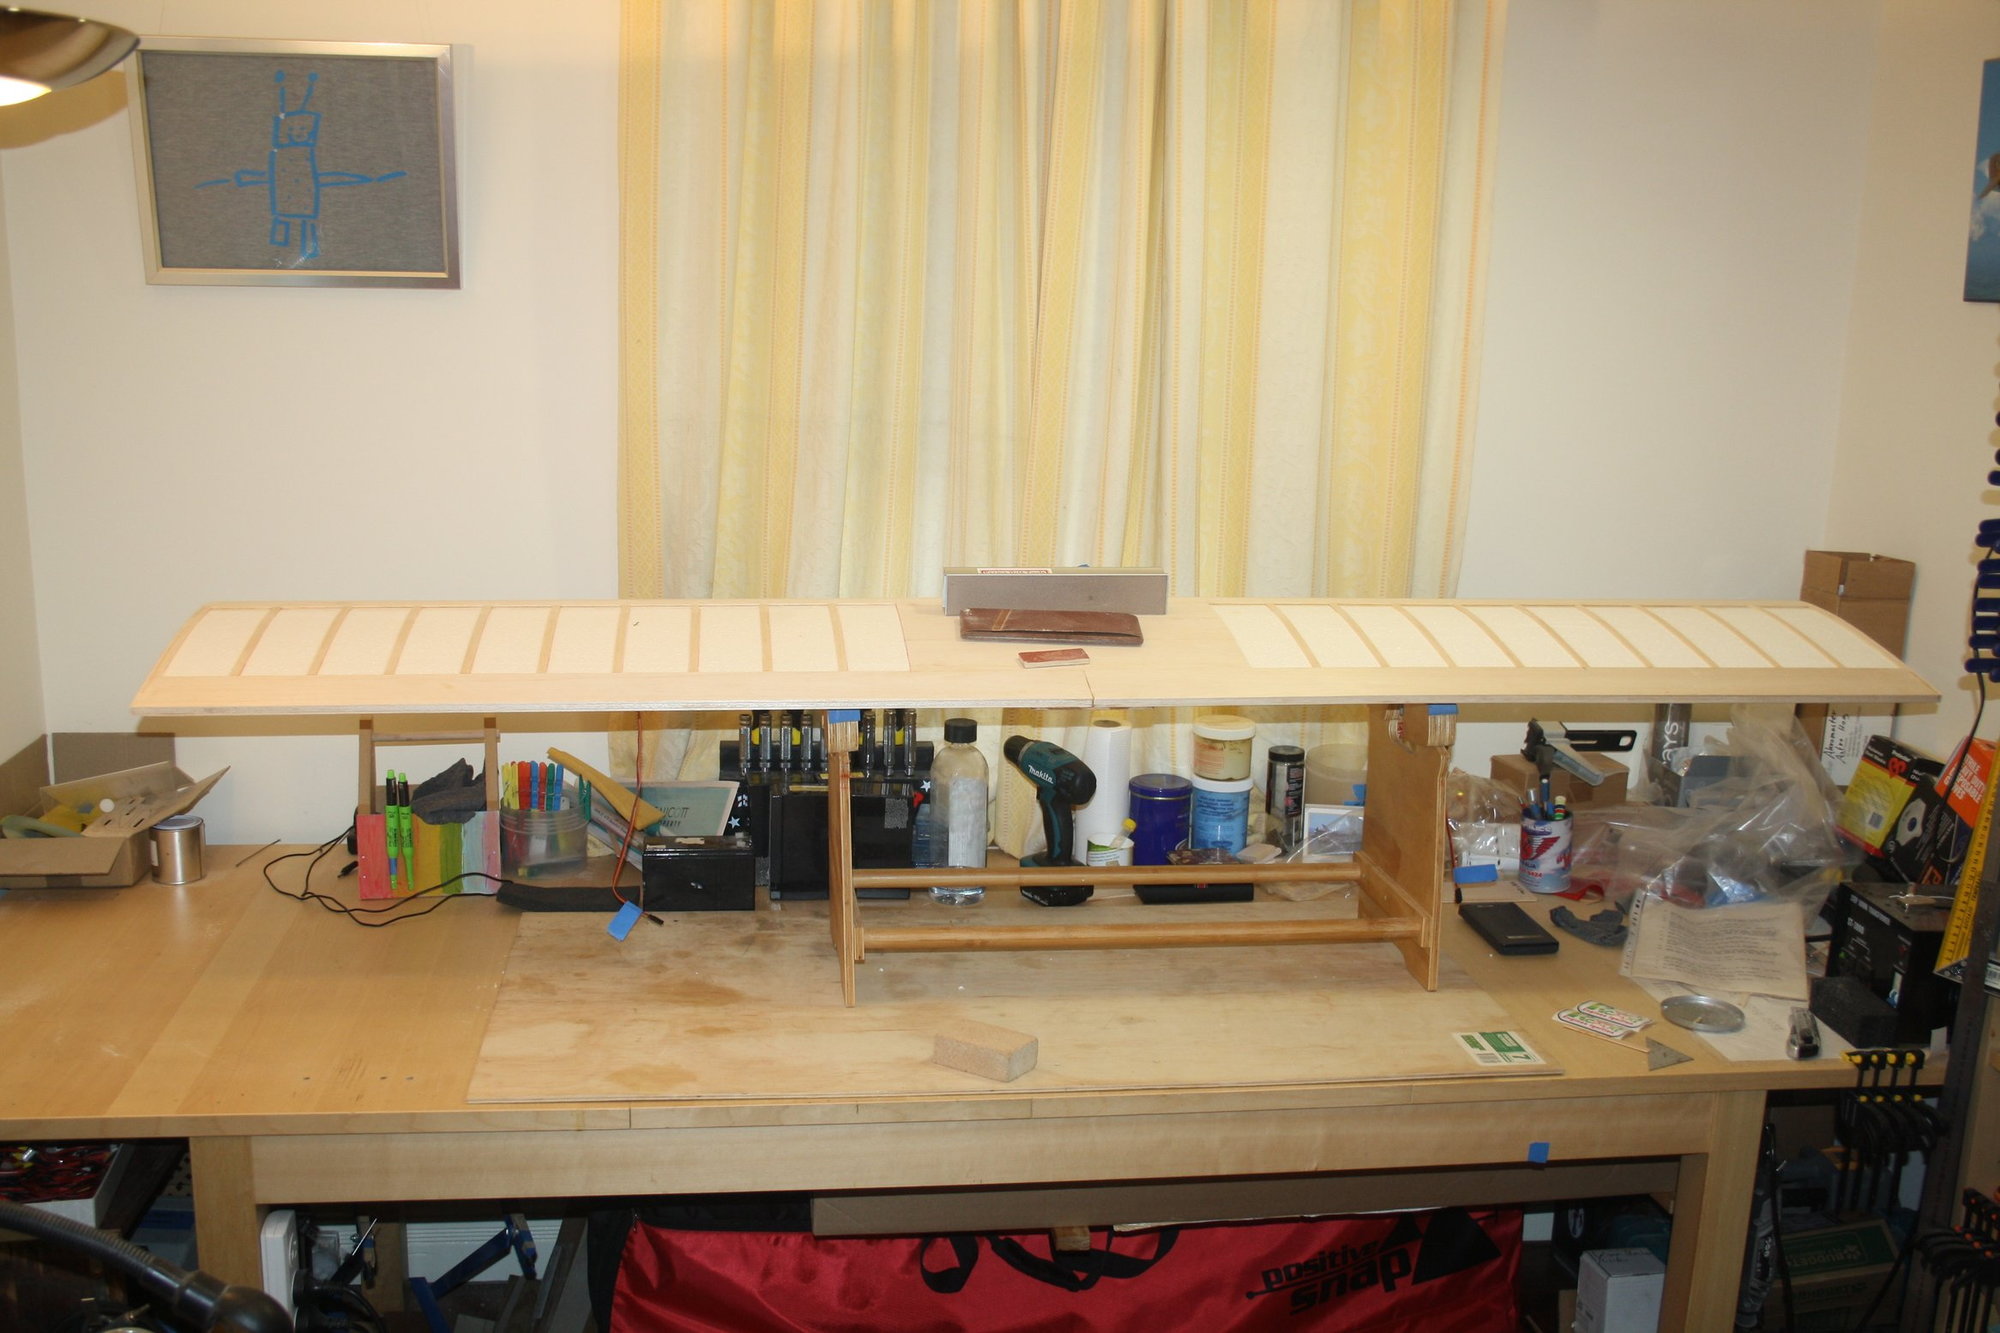
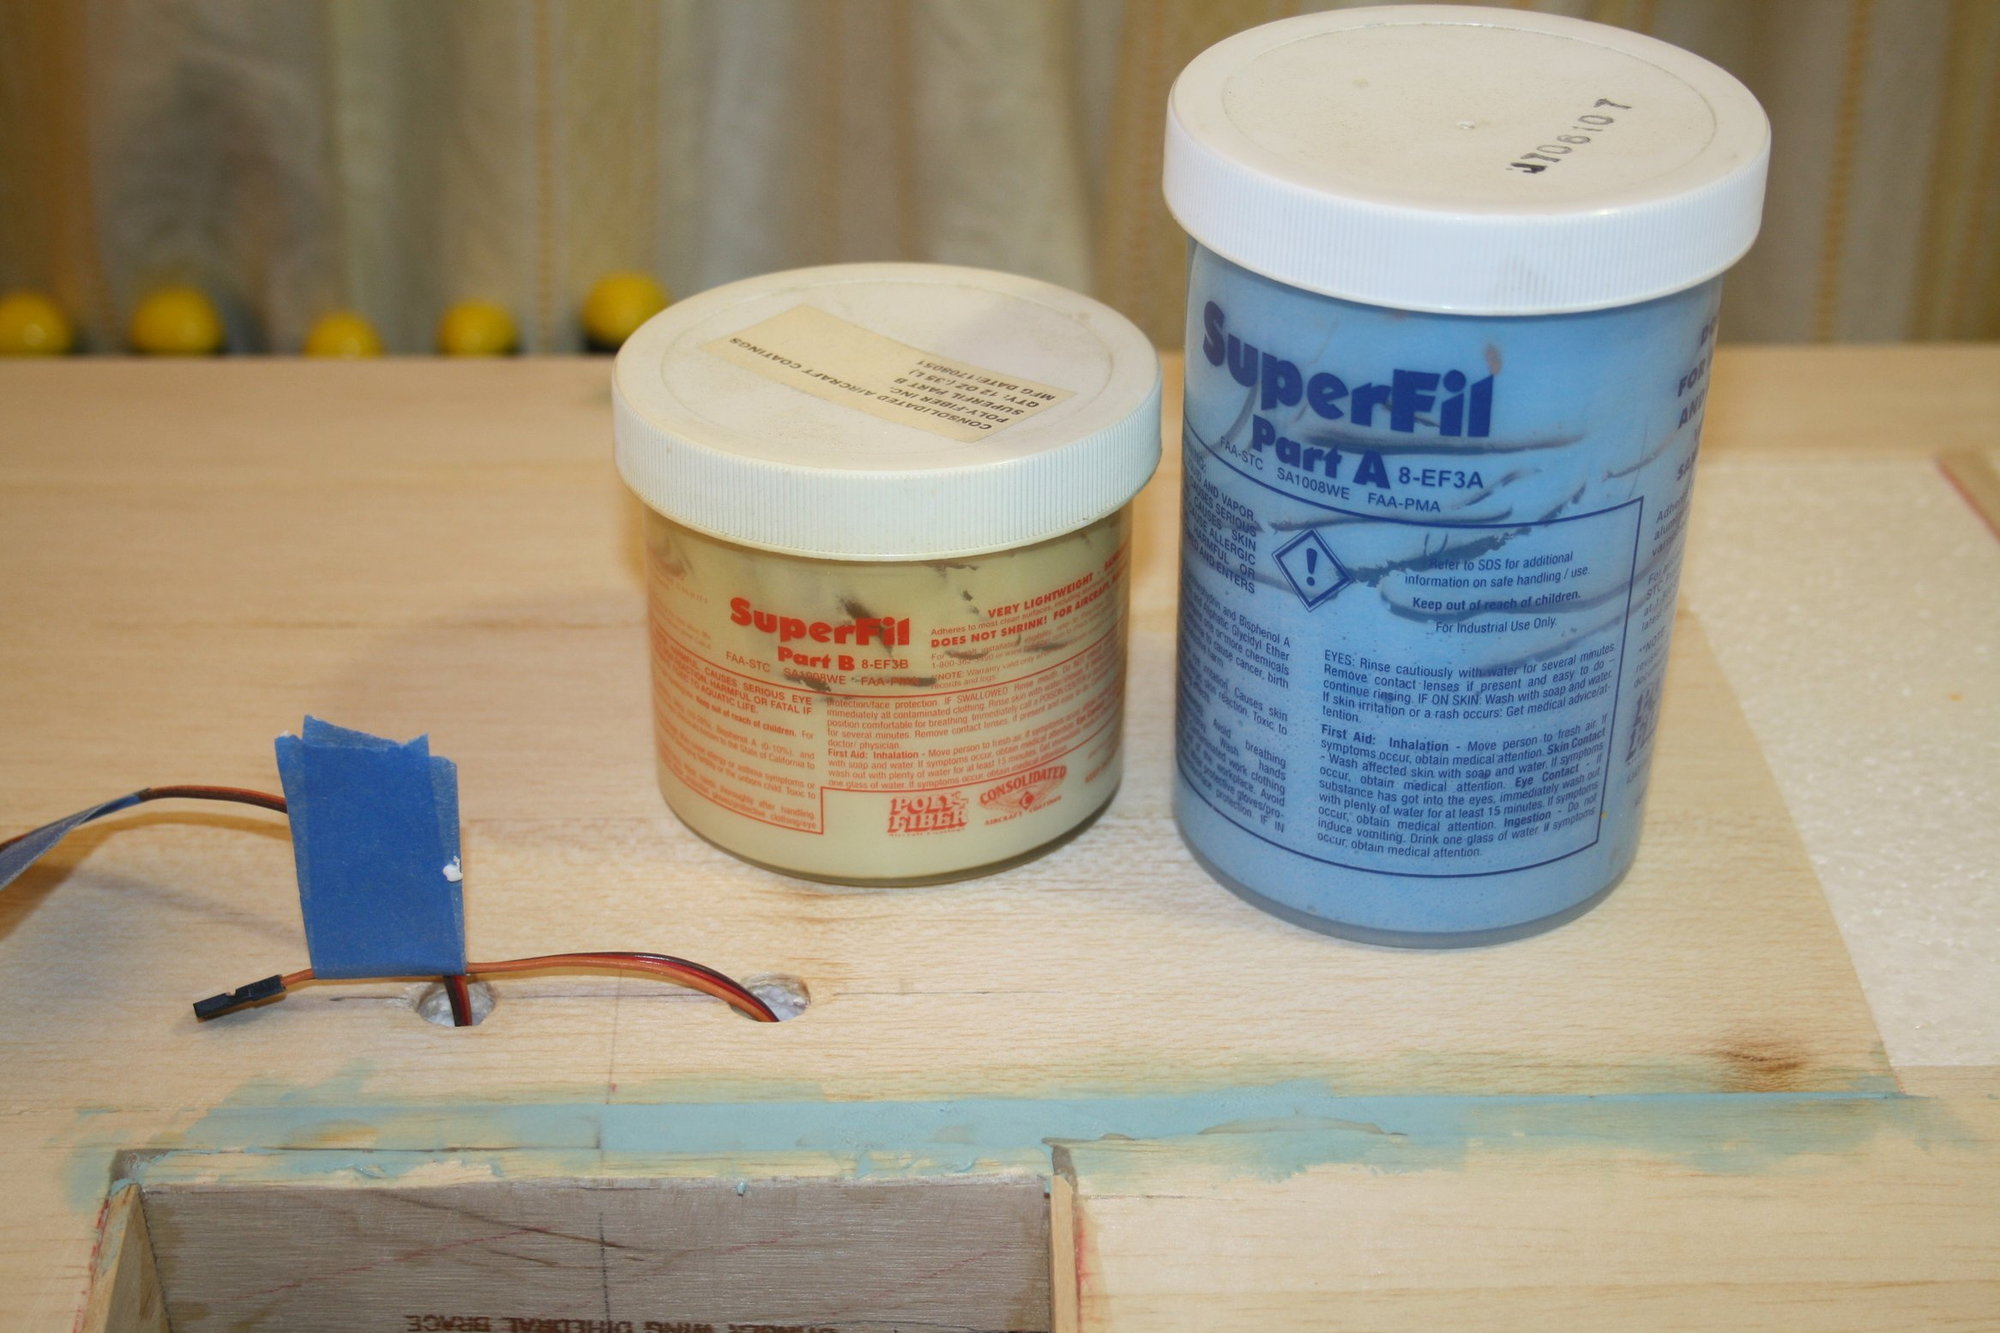
The time has finally arrived to sand the wing smooth and fill the imperfections. Having multiple types of sanding blocks is very helpful. My favorite filler is the SuperFil two parts filler as shown in the photos.
Cheers,
Eran
Cheers,
Eran

 08-26-2023, 09:06 PM
#34
Thread Starter
It was finally time to attach the ailerons. I started by marking the hinges location and dry fitting the ailerons in place
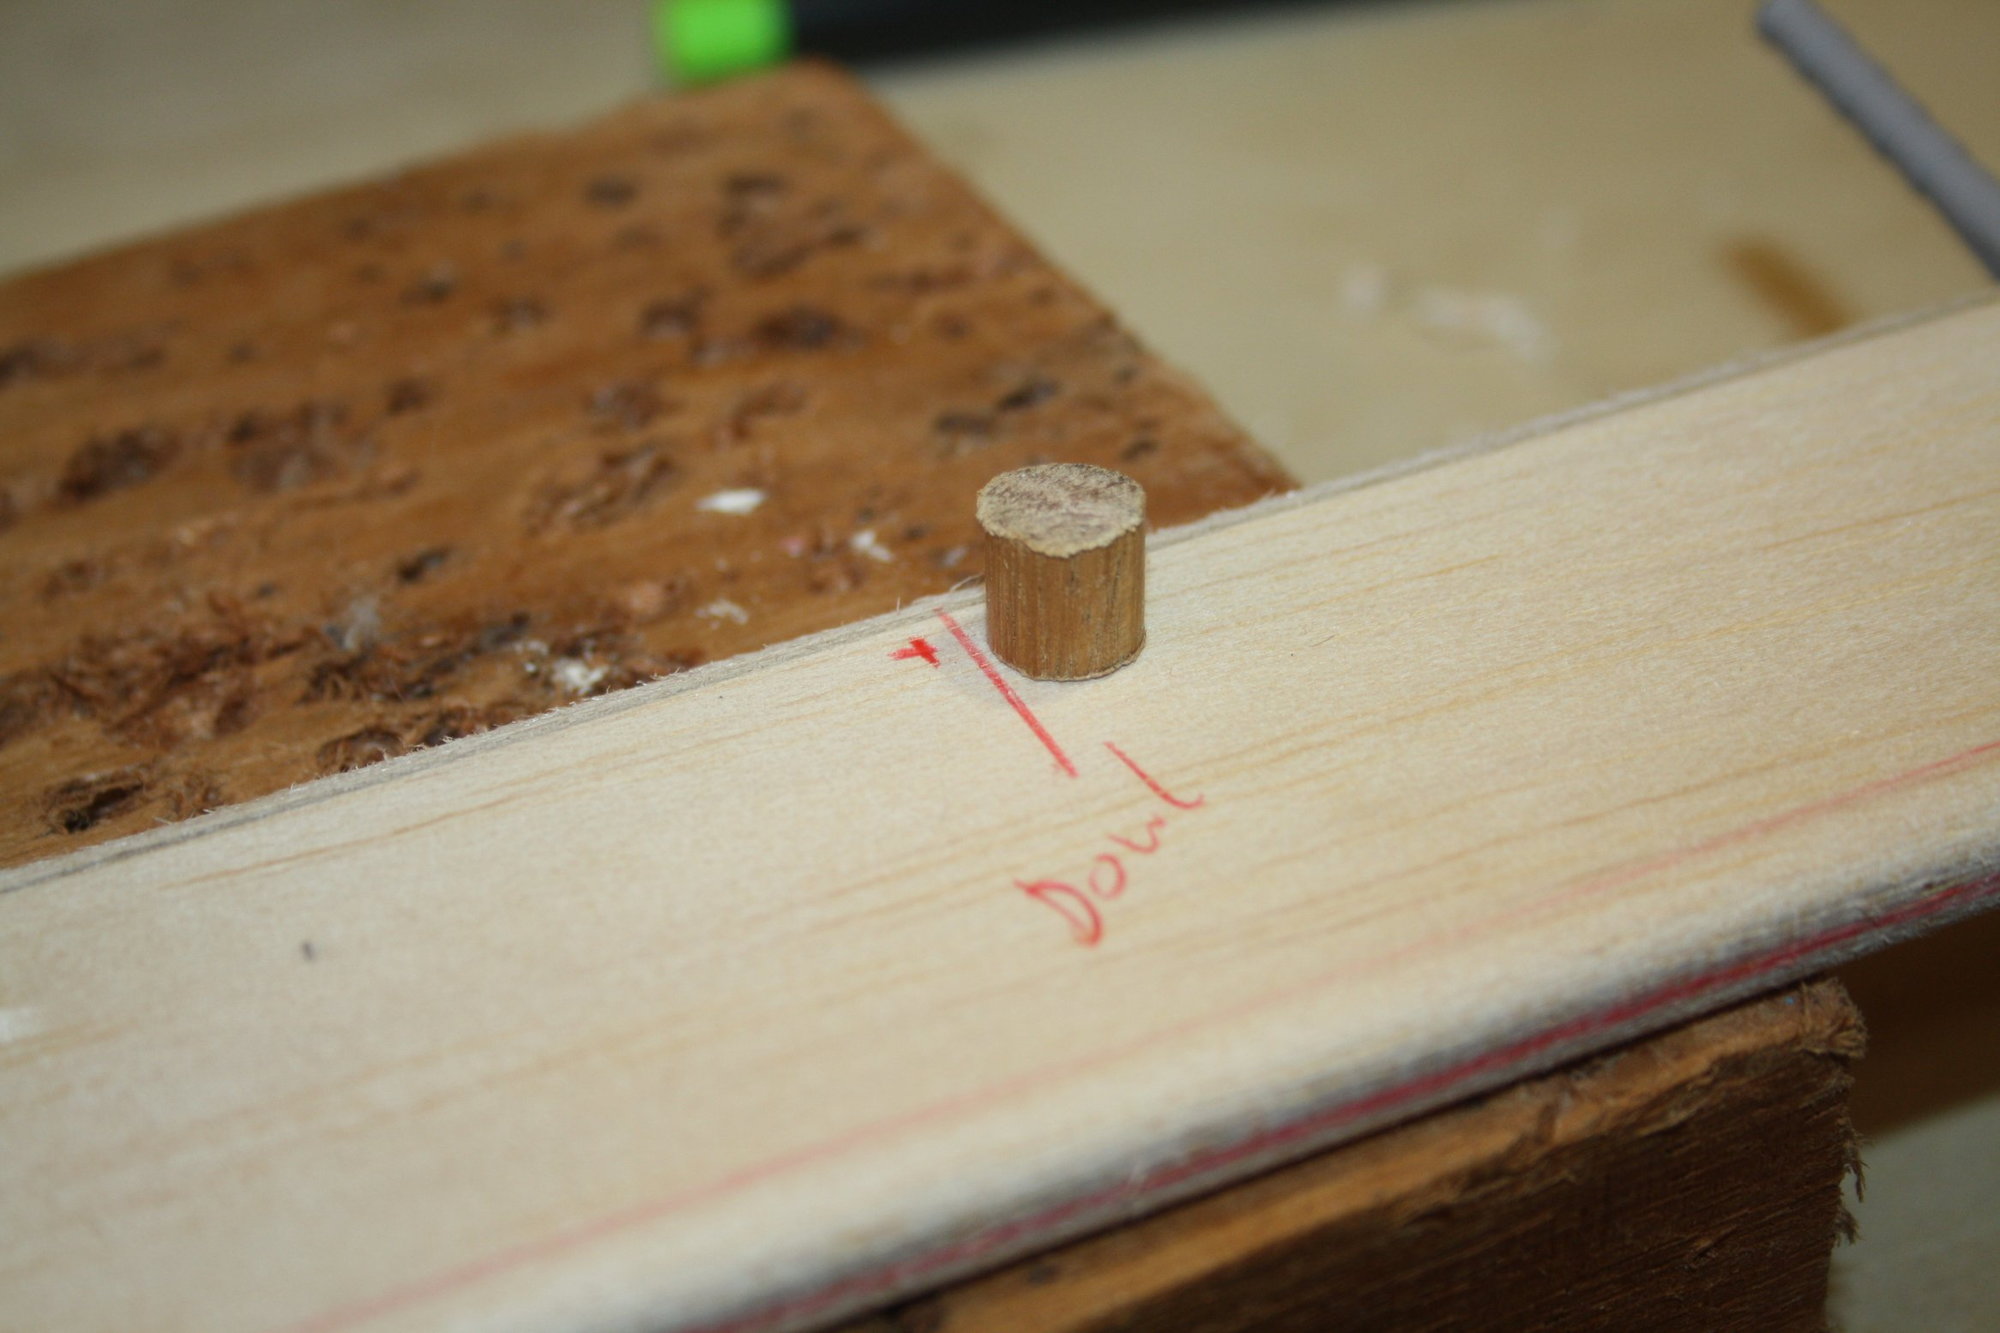
One lase preparation work was inserting a dowel in the location of the control horn and drilling it.
Cheers,
Eran
One lase preparation work was inserting a dowel in the location of the control horn and drilling it.
Cheers,
Eran
08-26-2023, 09:10 PM
#35
Thread Starter
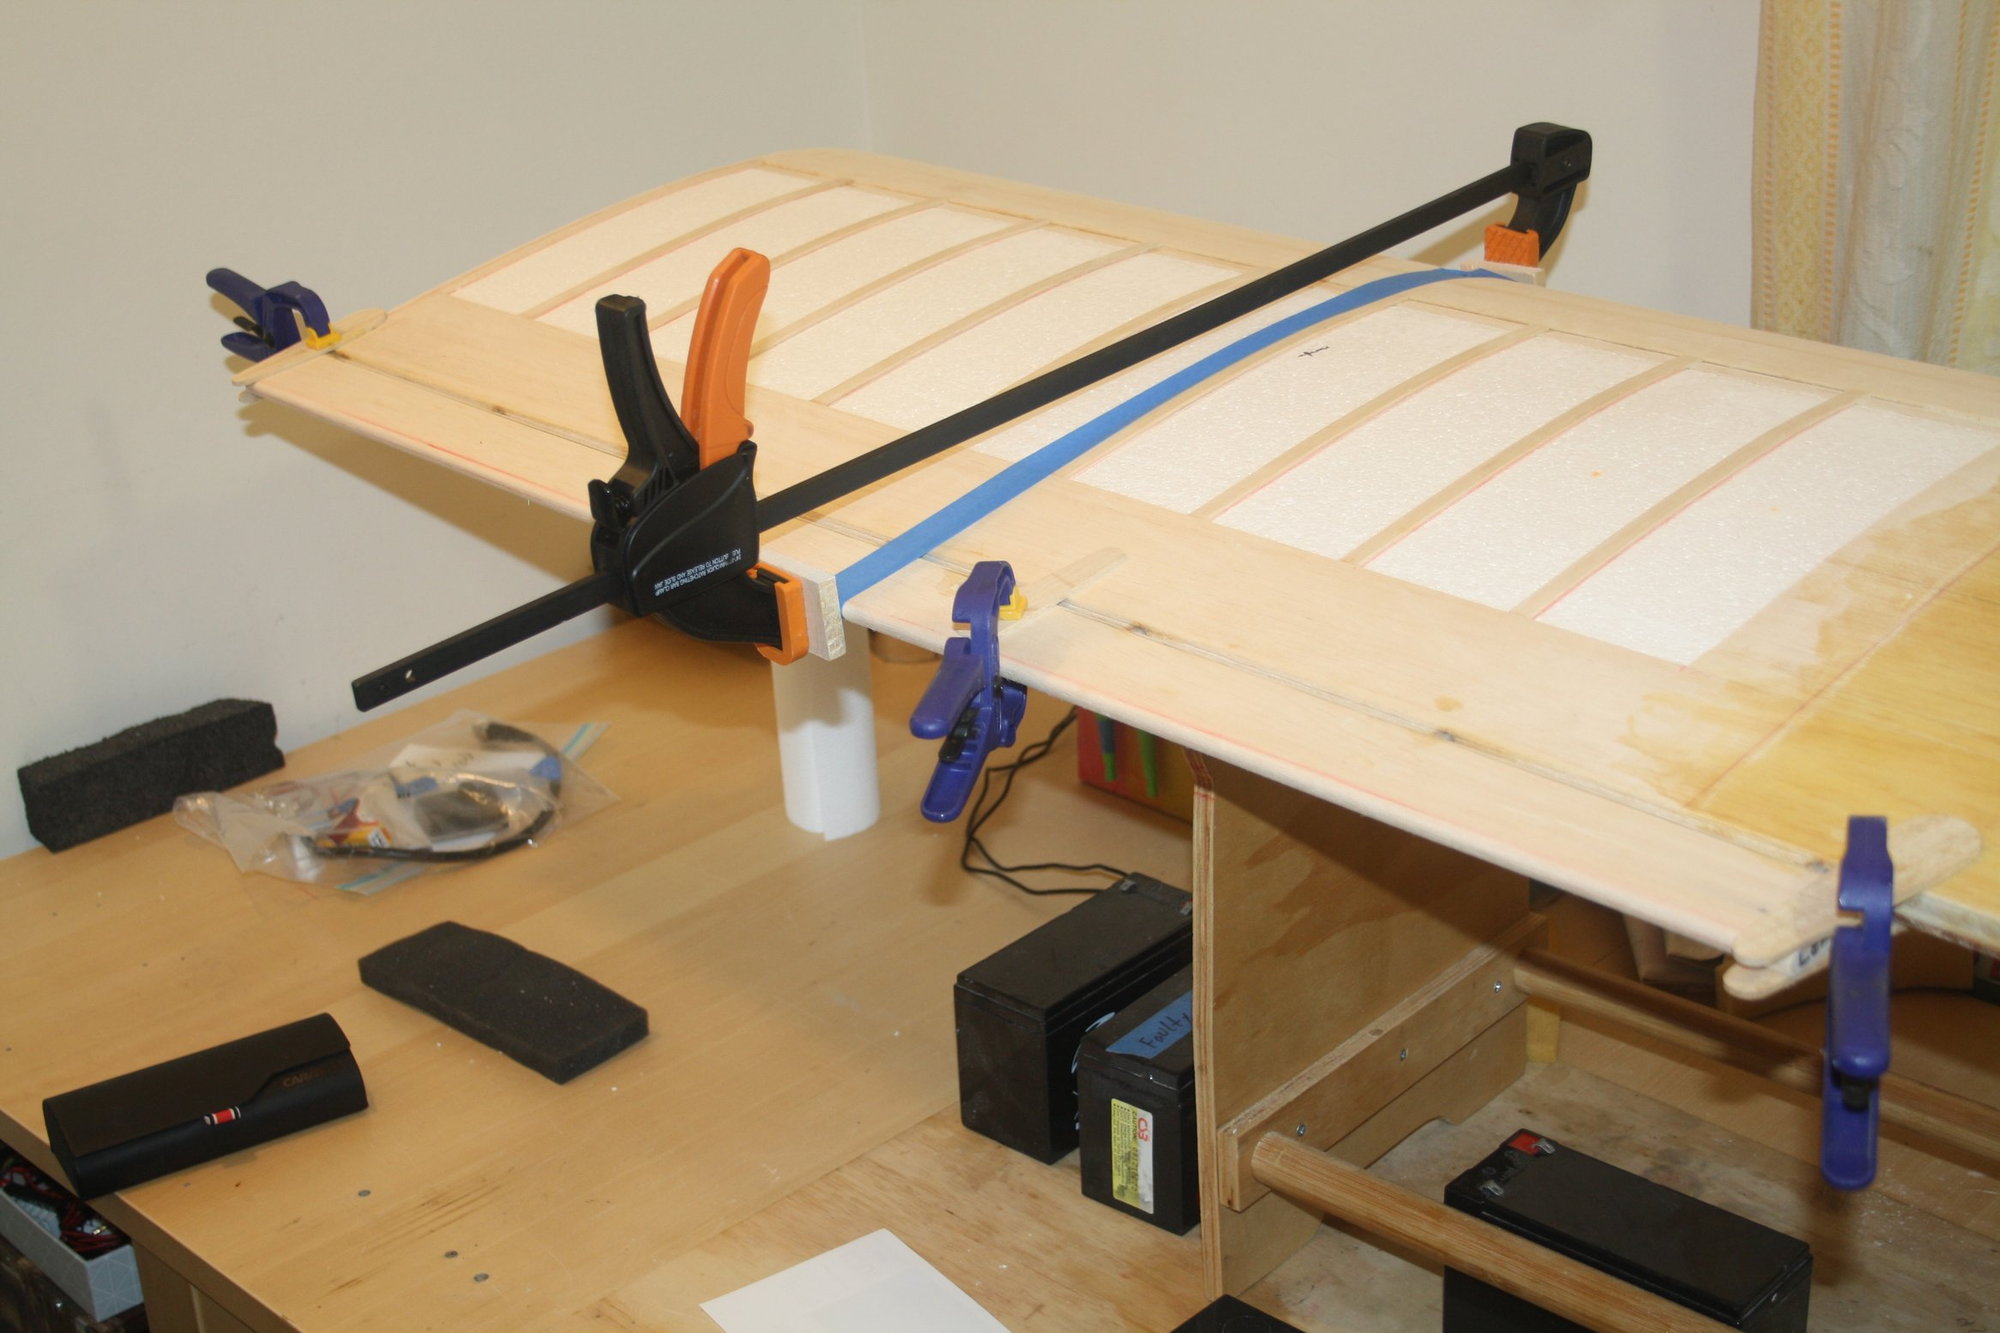
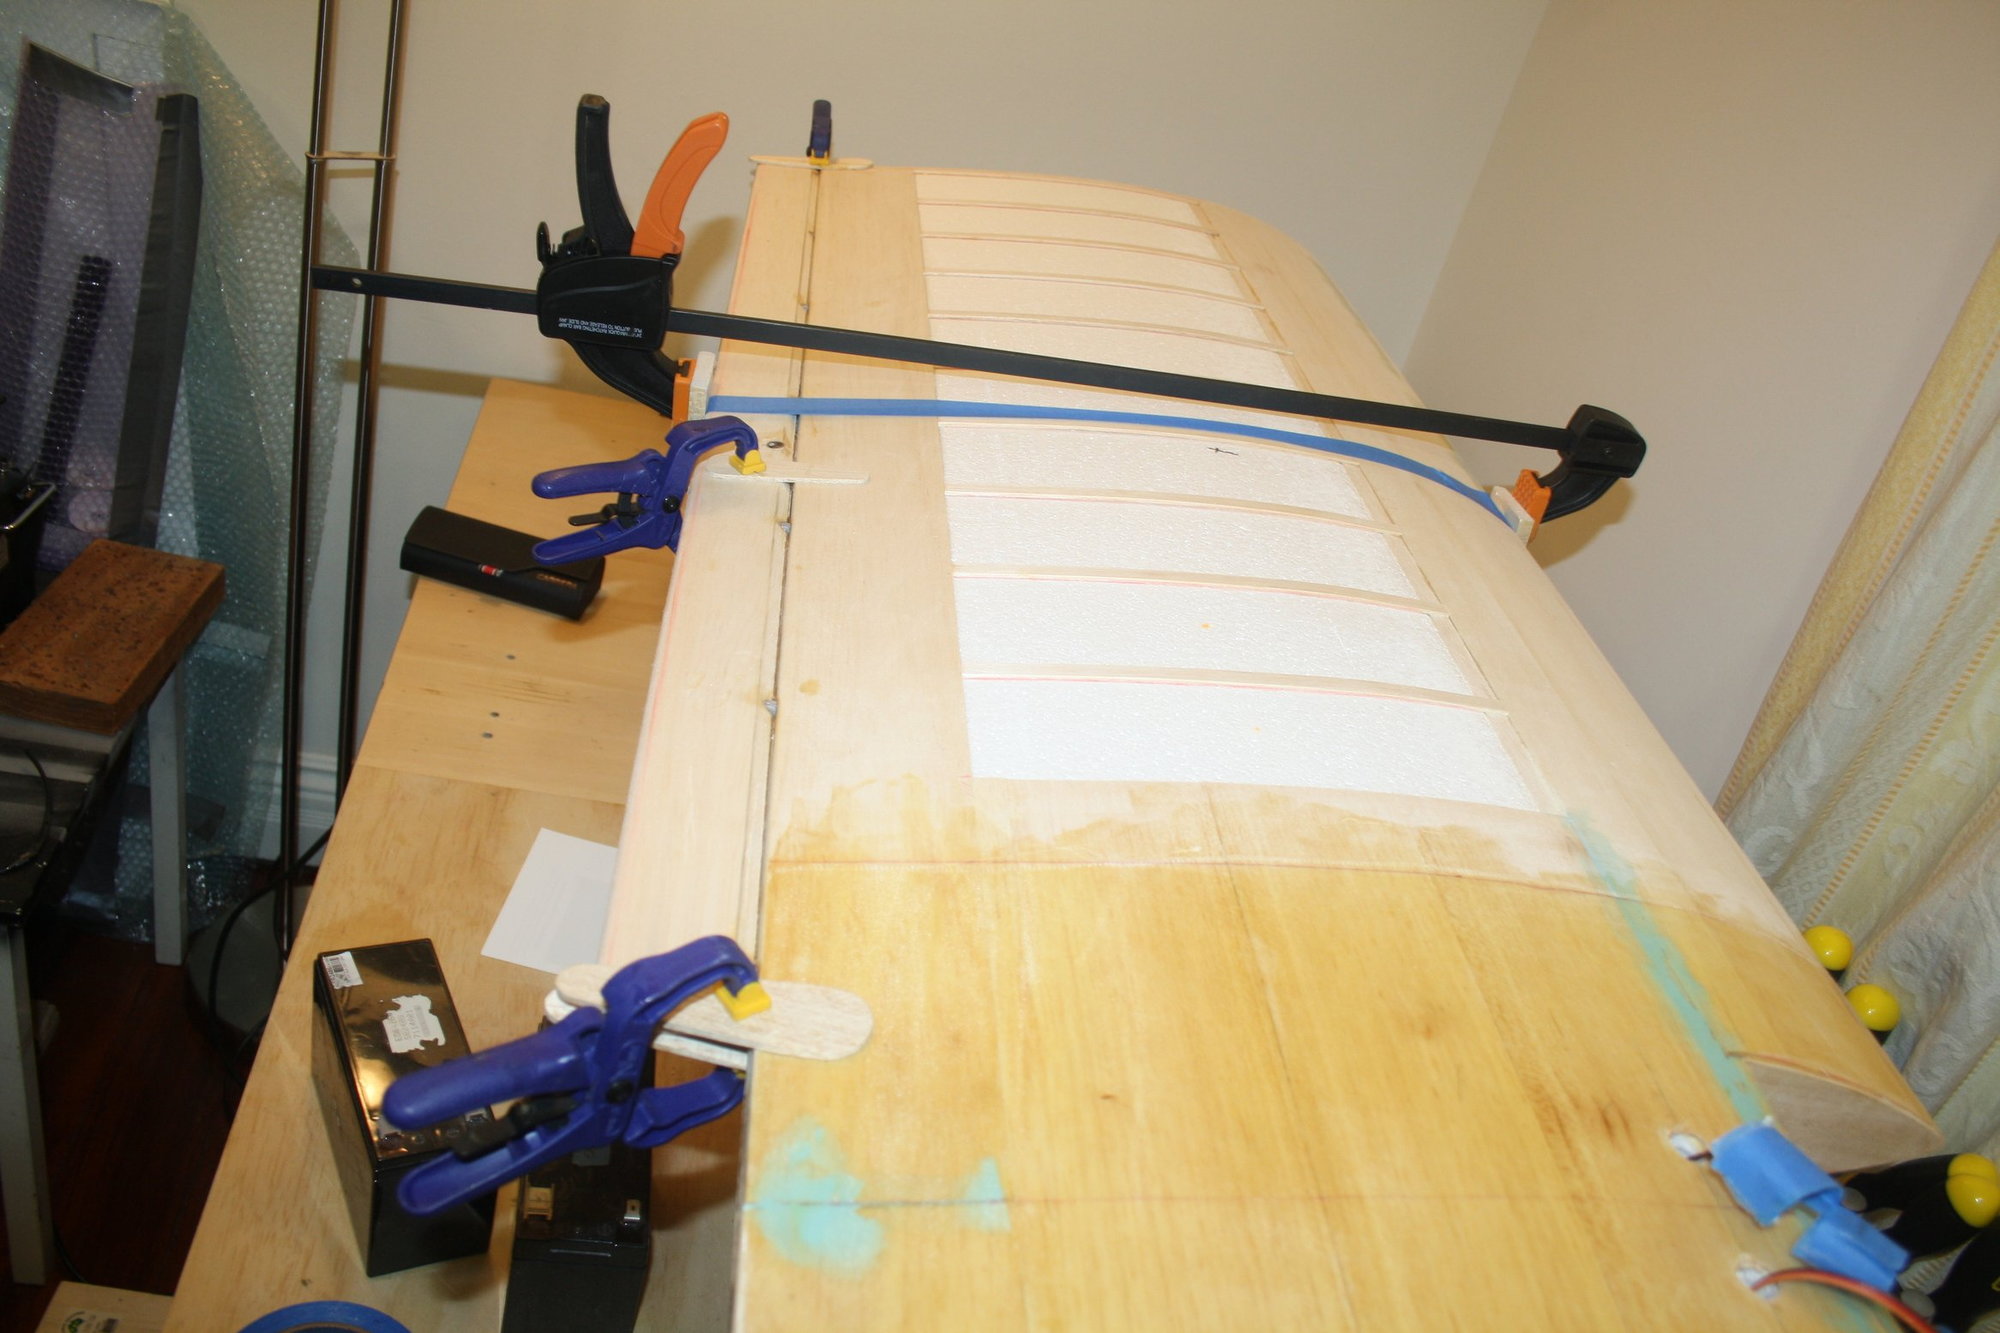
I had one aileron with a severe bow in it. I therefore installed more hinges then shown on the plan.
During the glue setting period I forced the bowed aileron into submission with a clamp. To prevent the Epoxy from gluing the hinge pin I am using Vaseline.
The result of forcing the aileron into position was that it is mostly straight, however, it is not moving as freely as I would like. I will need strong servos to operate it satisfactory. I should have made a new aileron...


Cheers,
Eran
During the glue setting period I forced the bowed aileron into submission with a clamp. To prevent the Epoxy from gluing the hinge pin I am using Vaseline.
The result of forcing the aileron into position was that it is mostly straight, however, it is not moving as freely as I would like. I will need strong servos to operate it satisfactory. I should have made a new aileron...
Cheers,
Eran
 09-14-2023, 09:17 PM
#38
Thread Starter
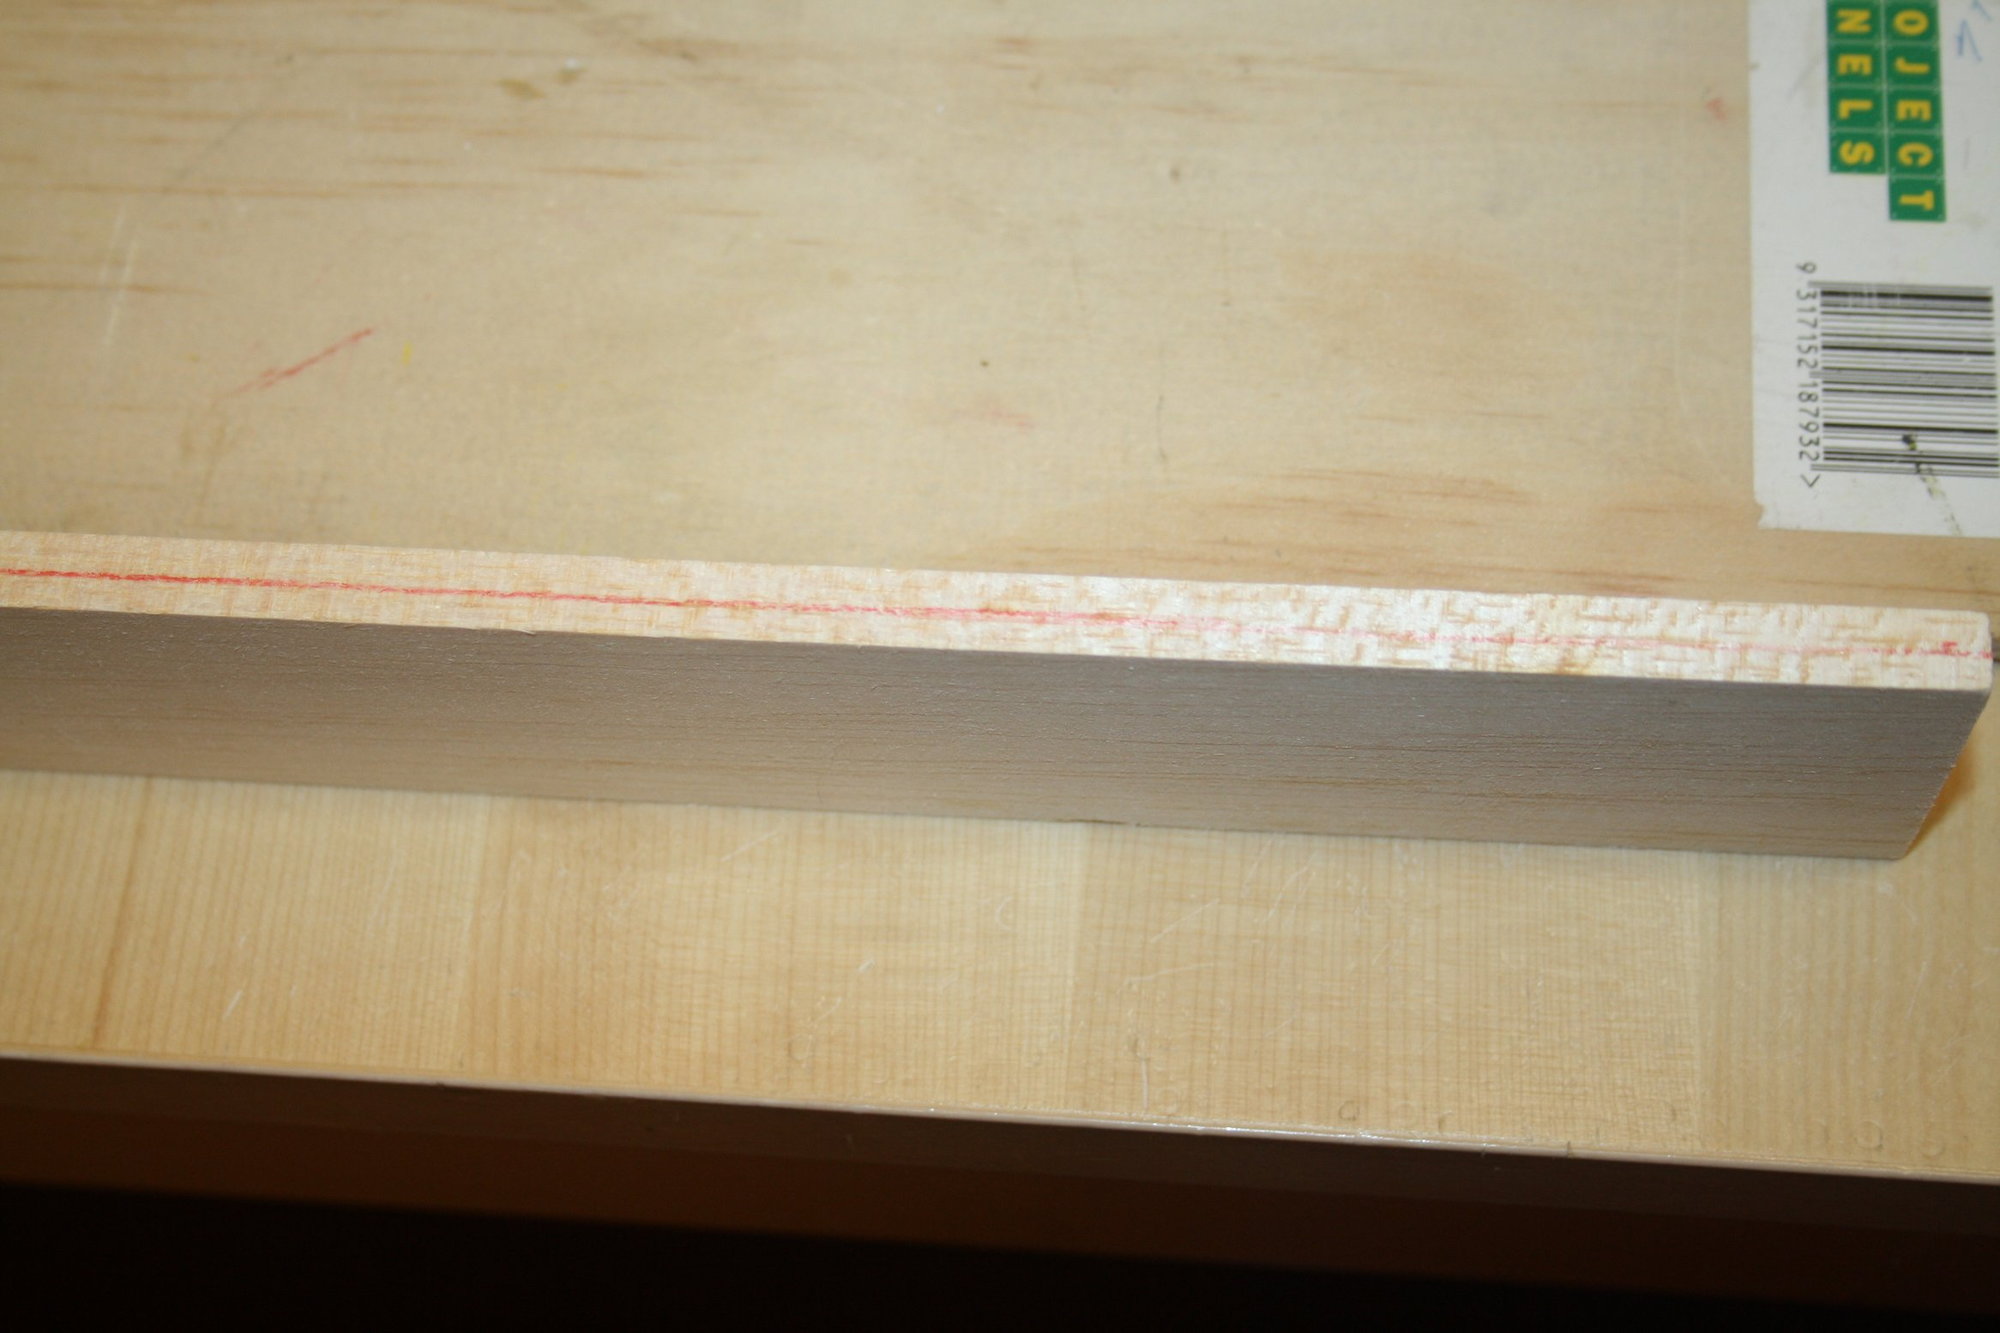
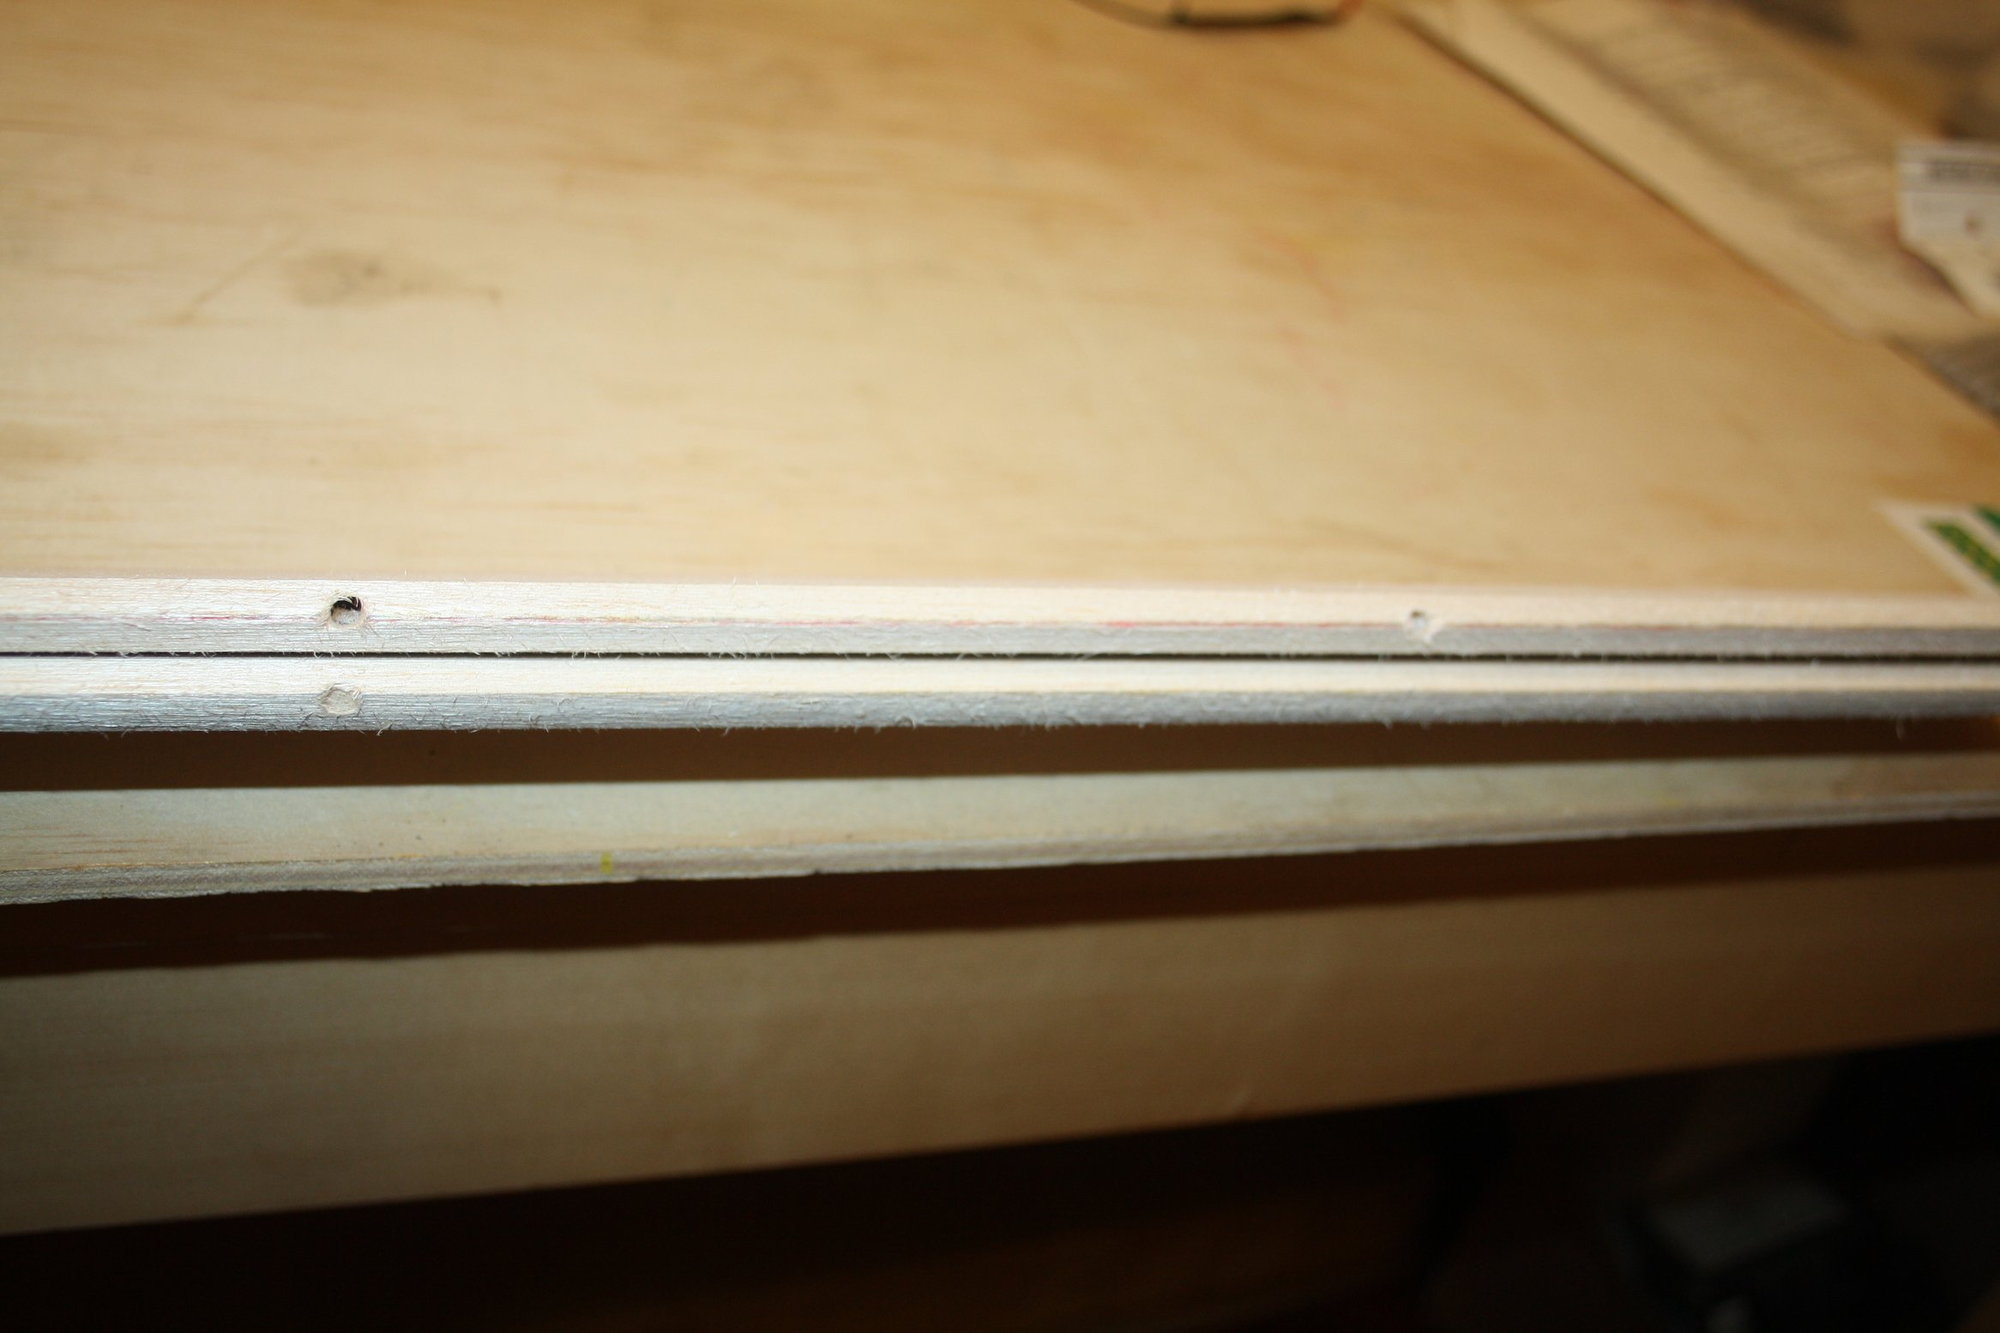
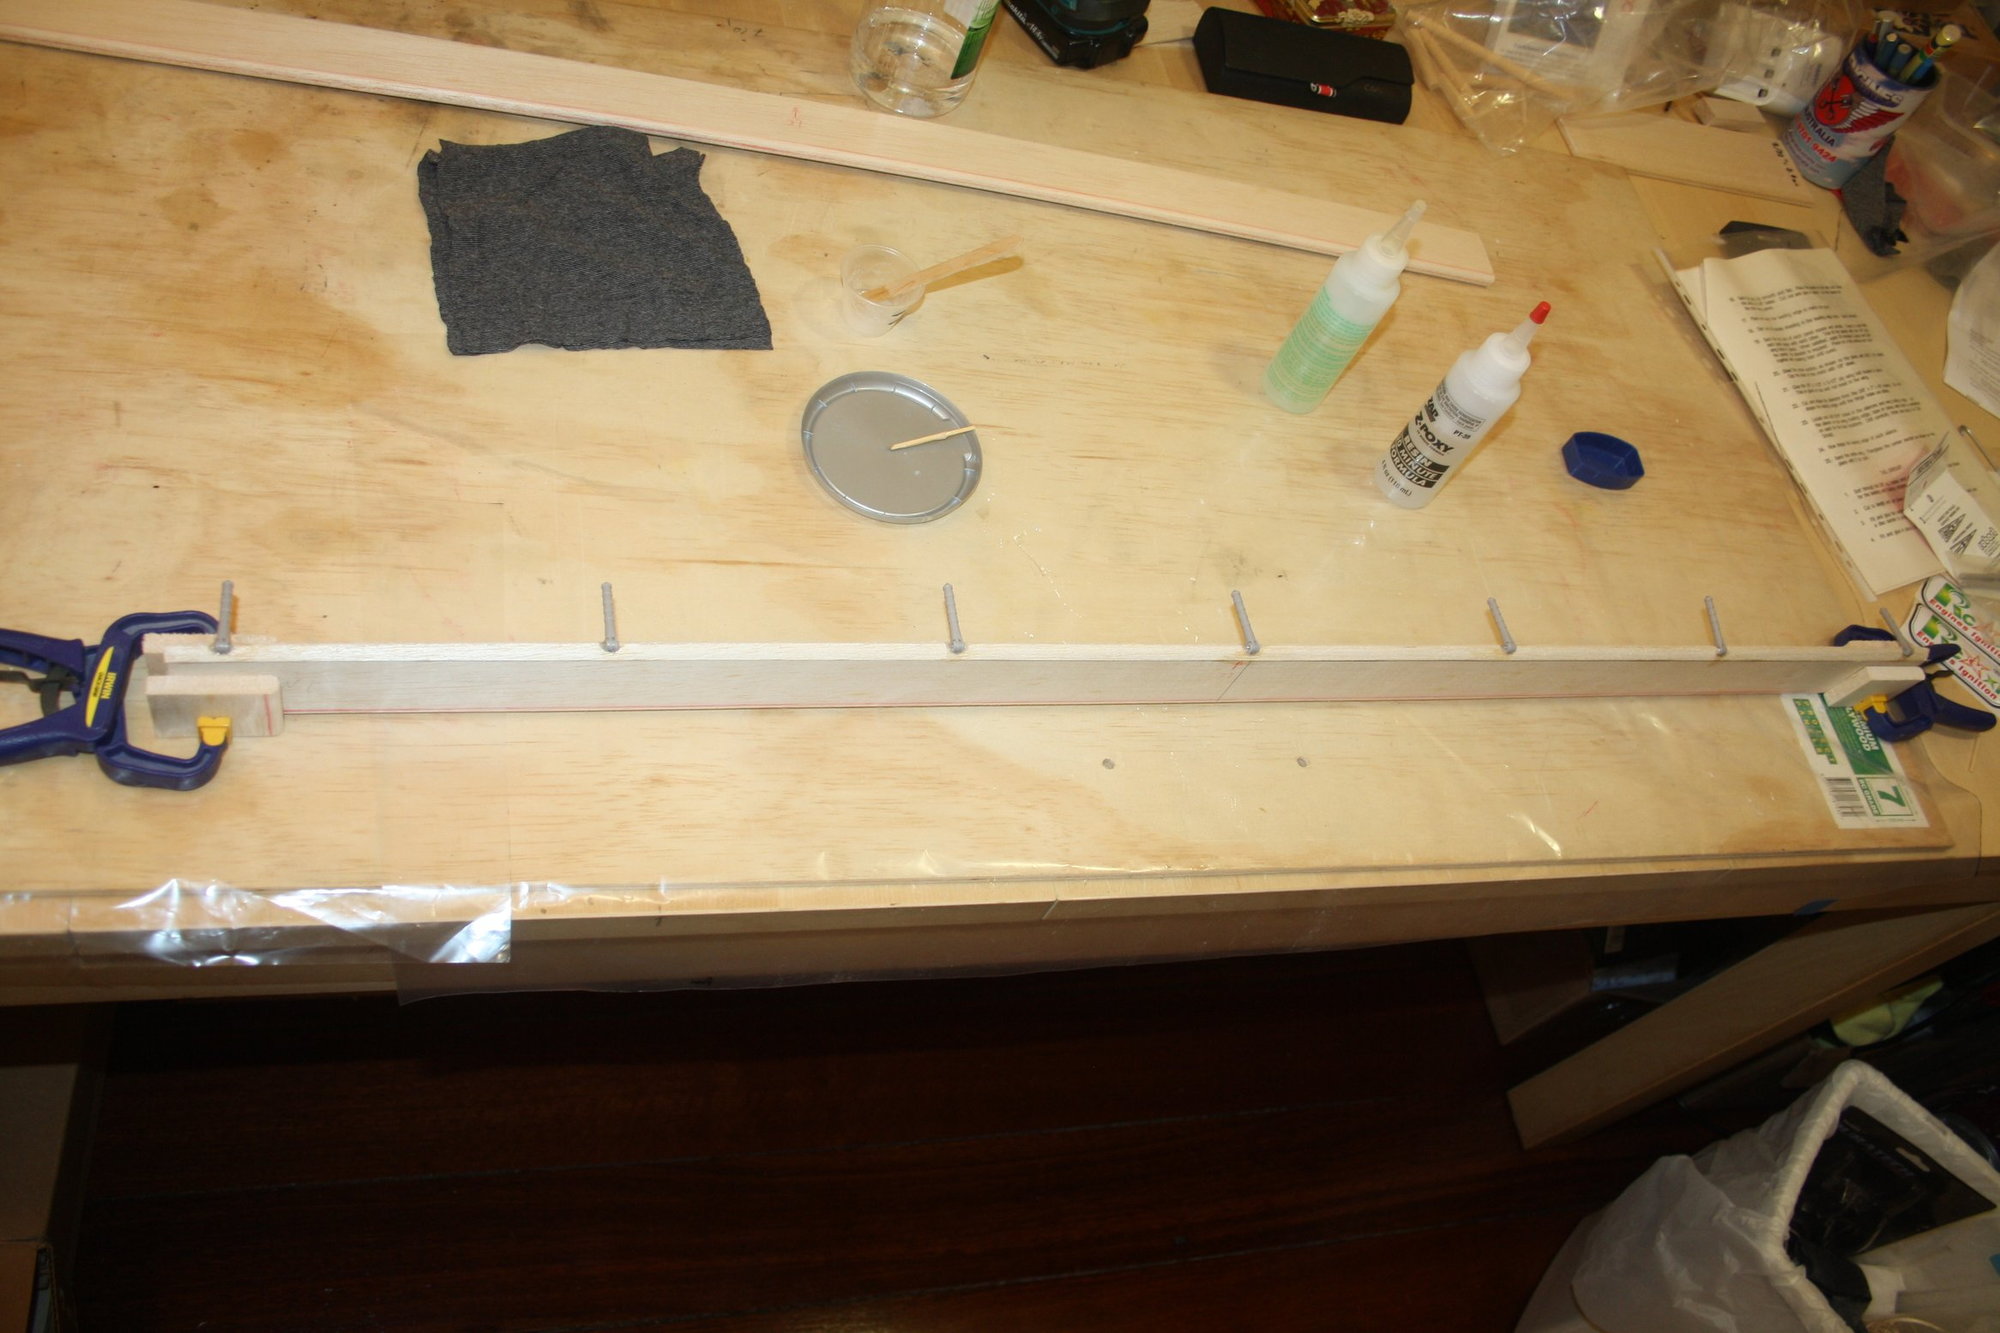
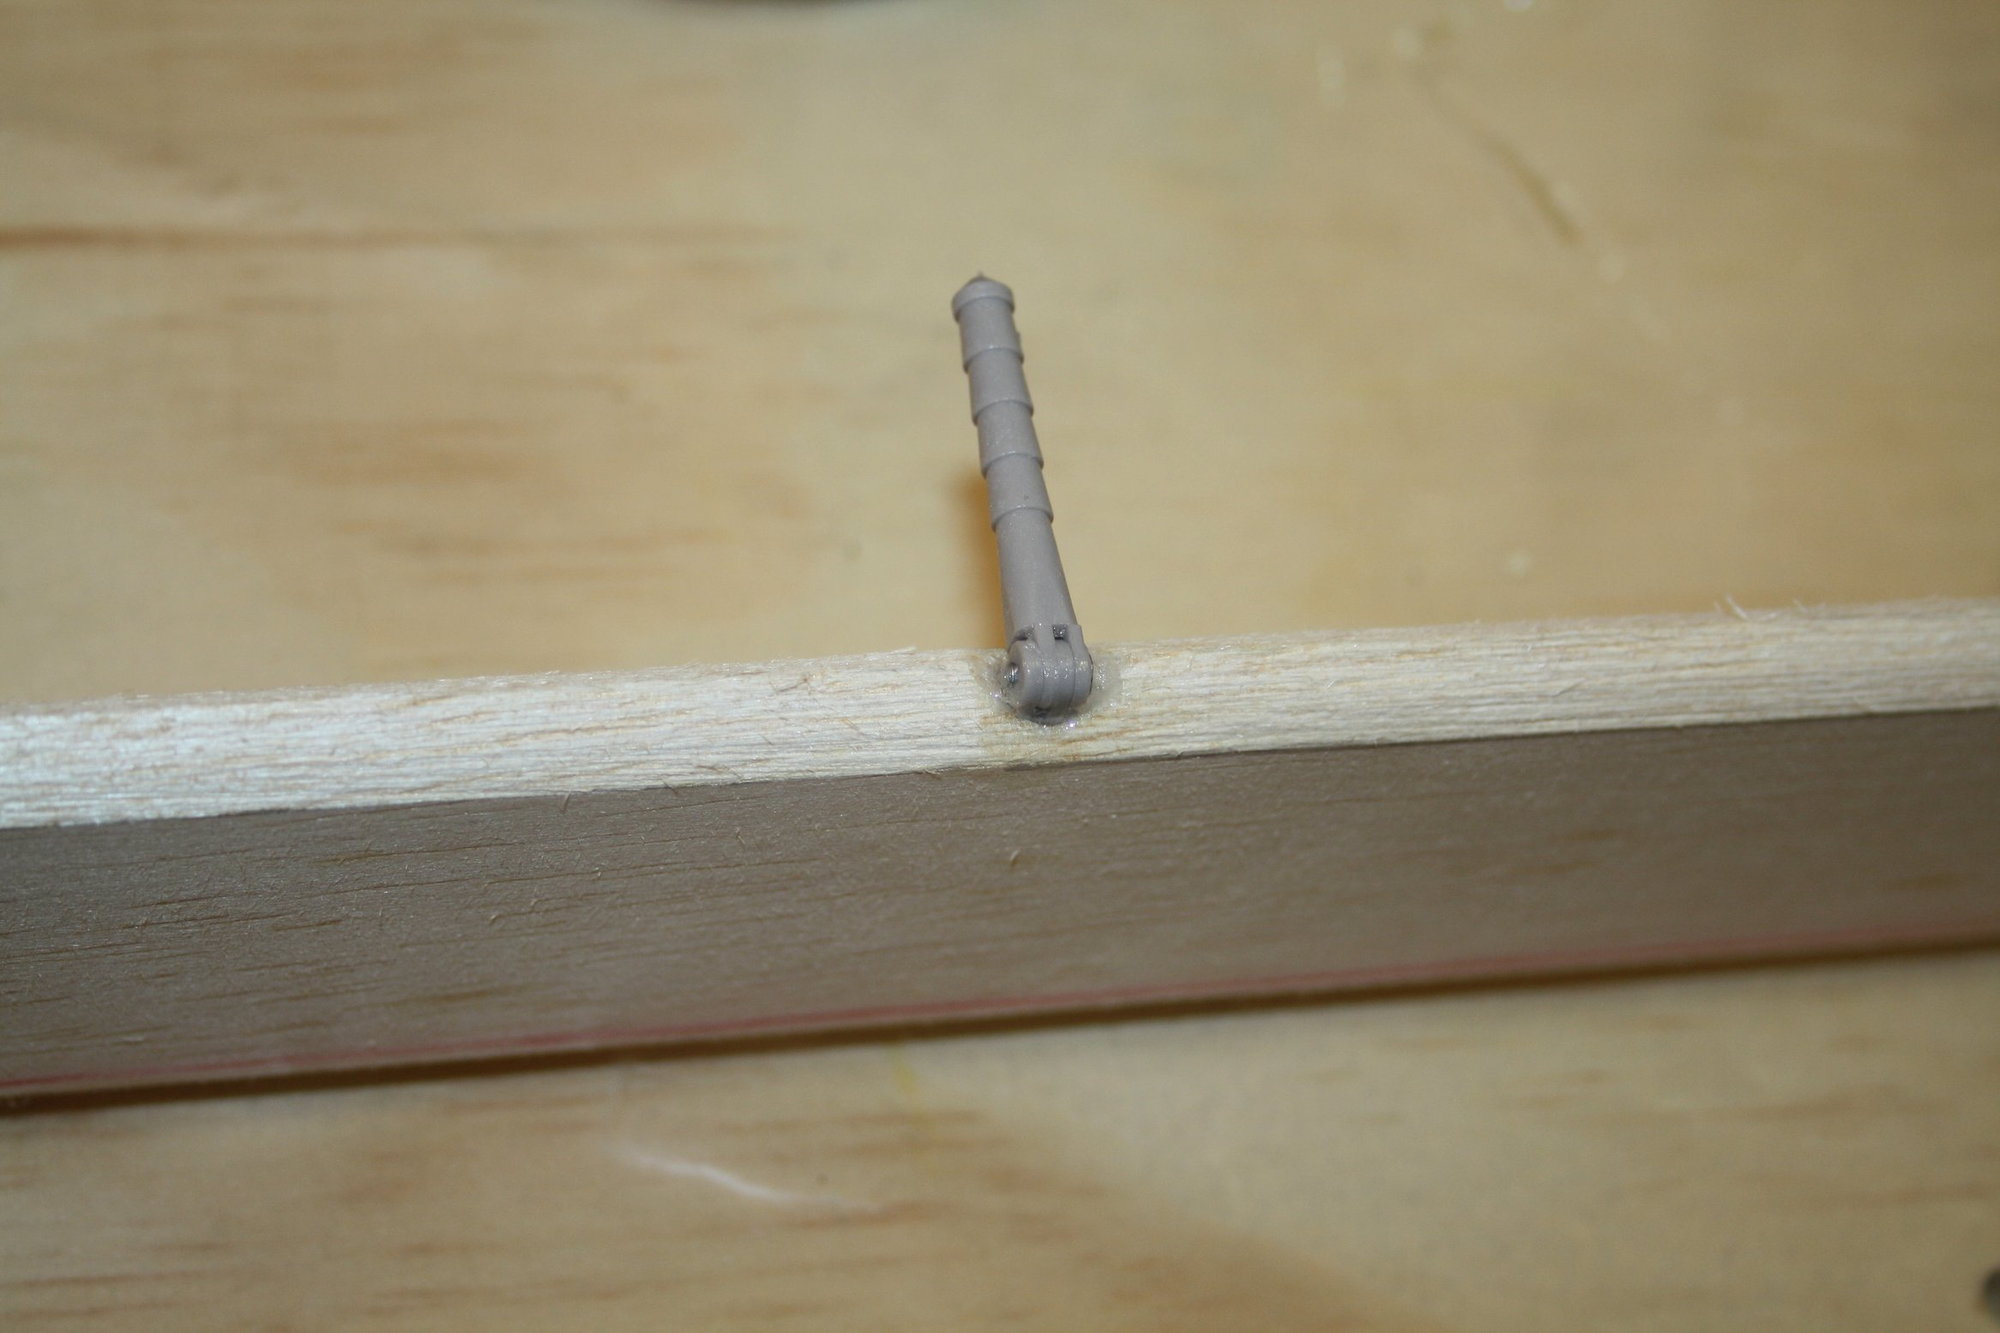
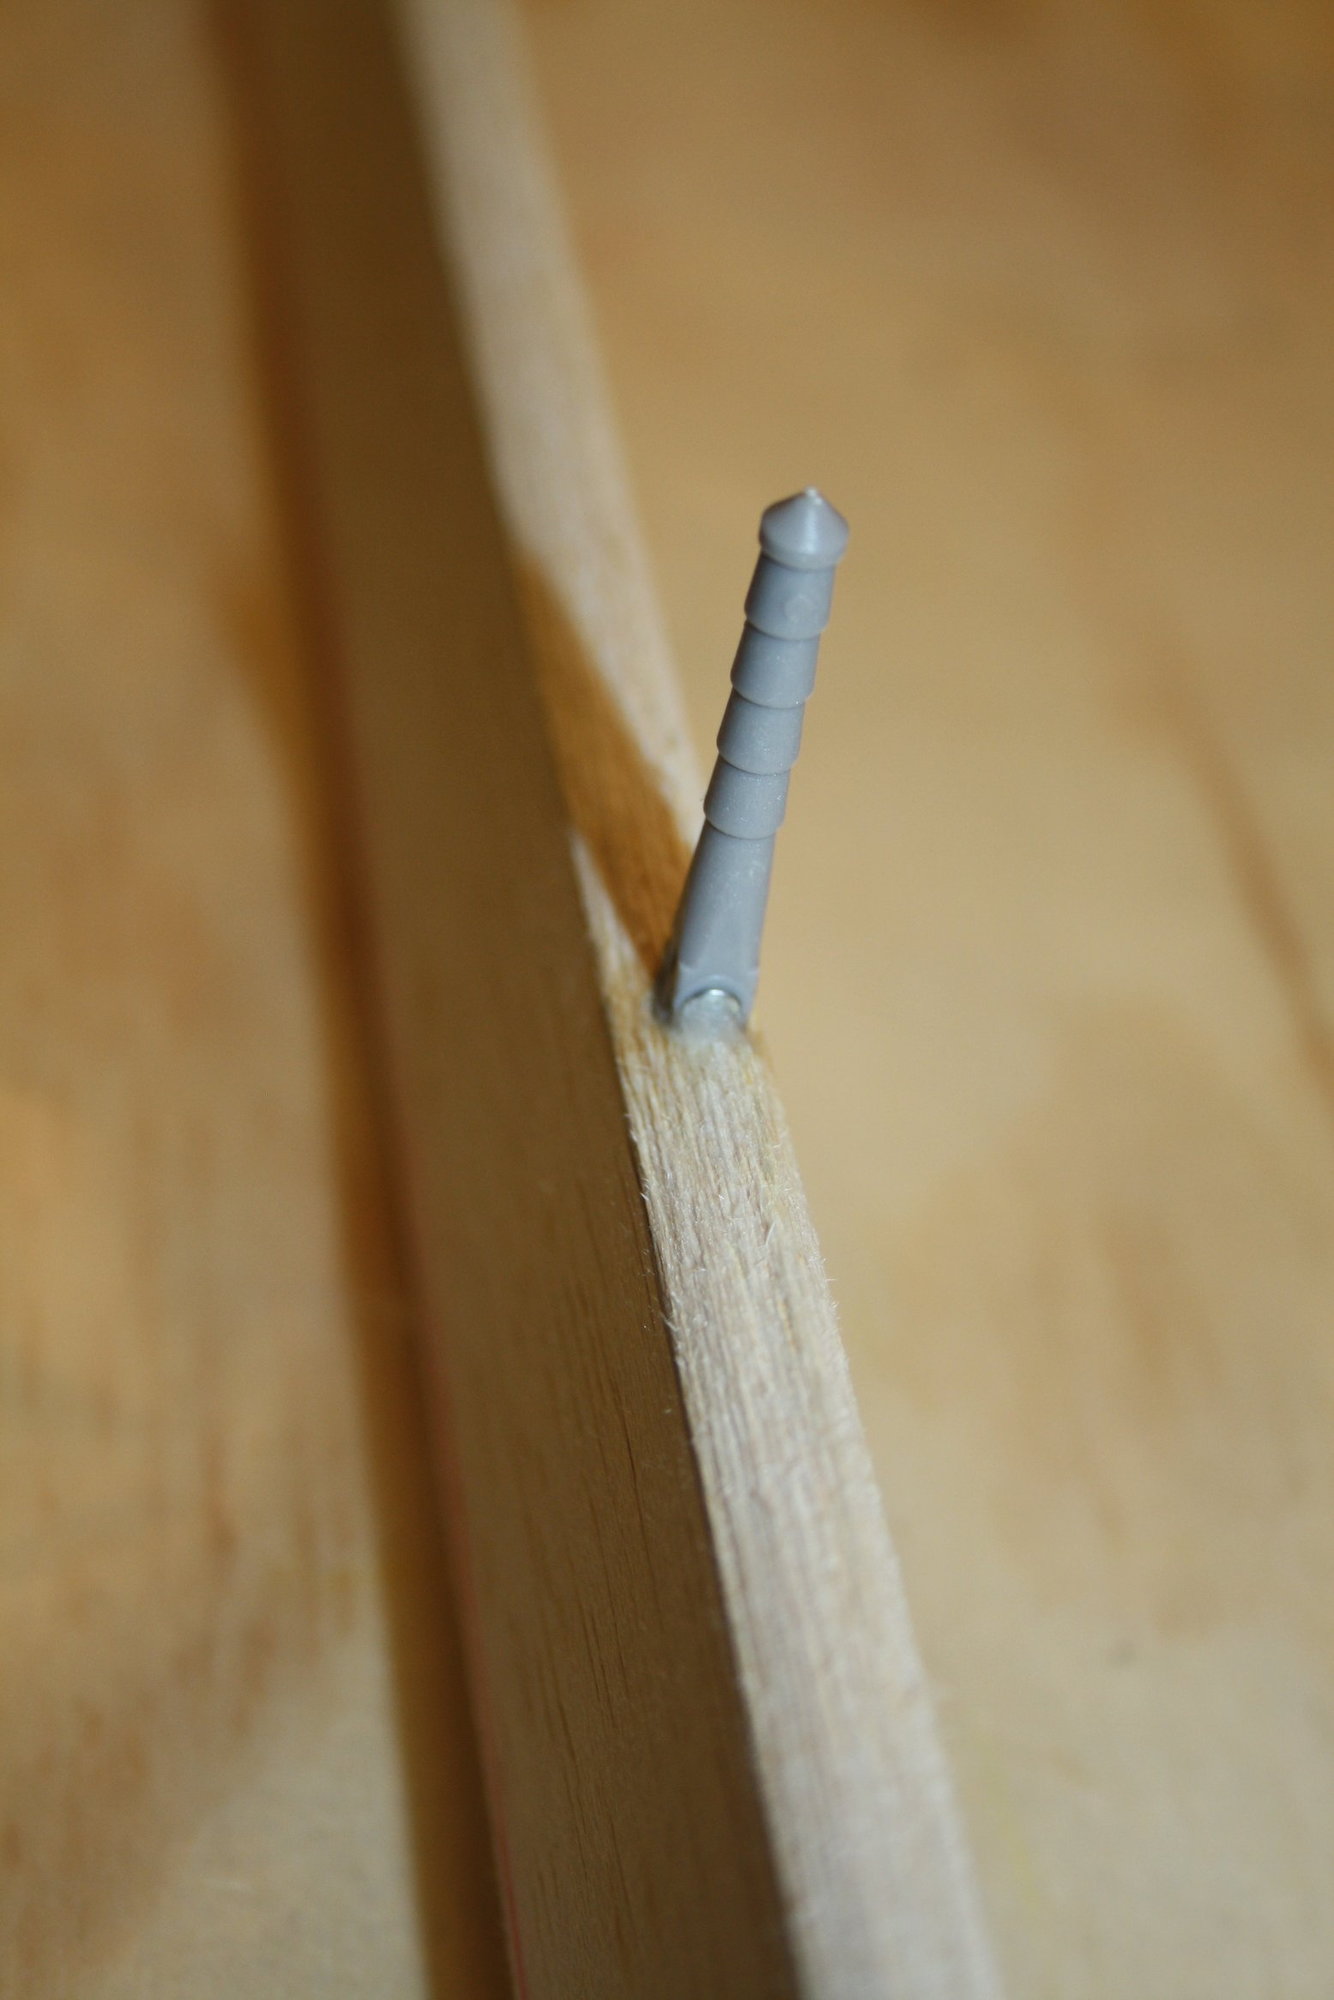
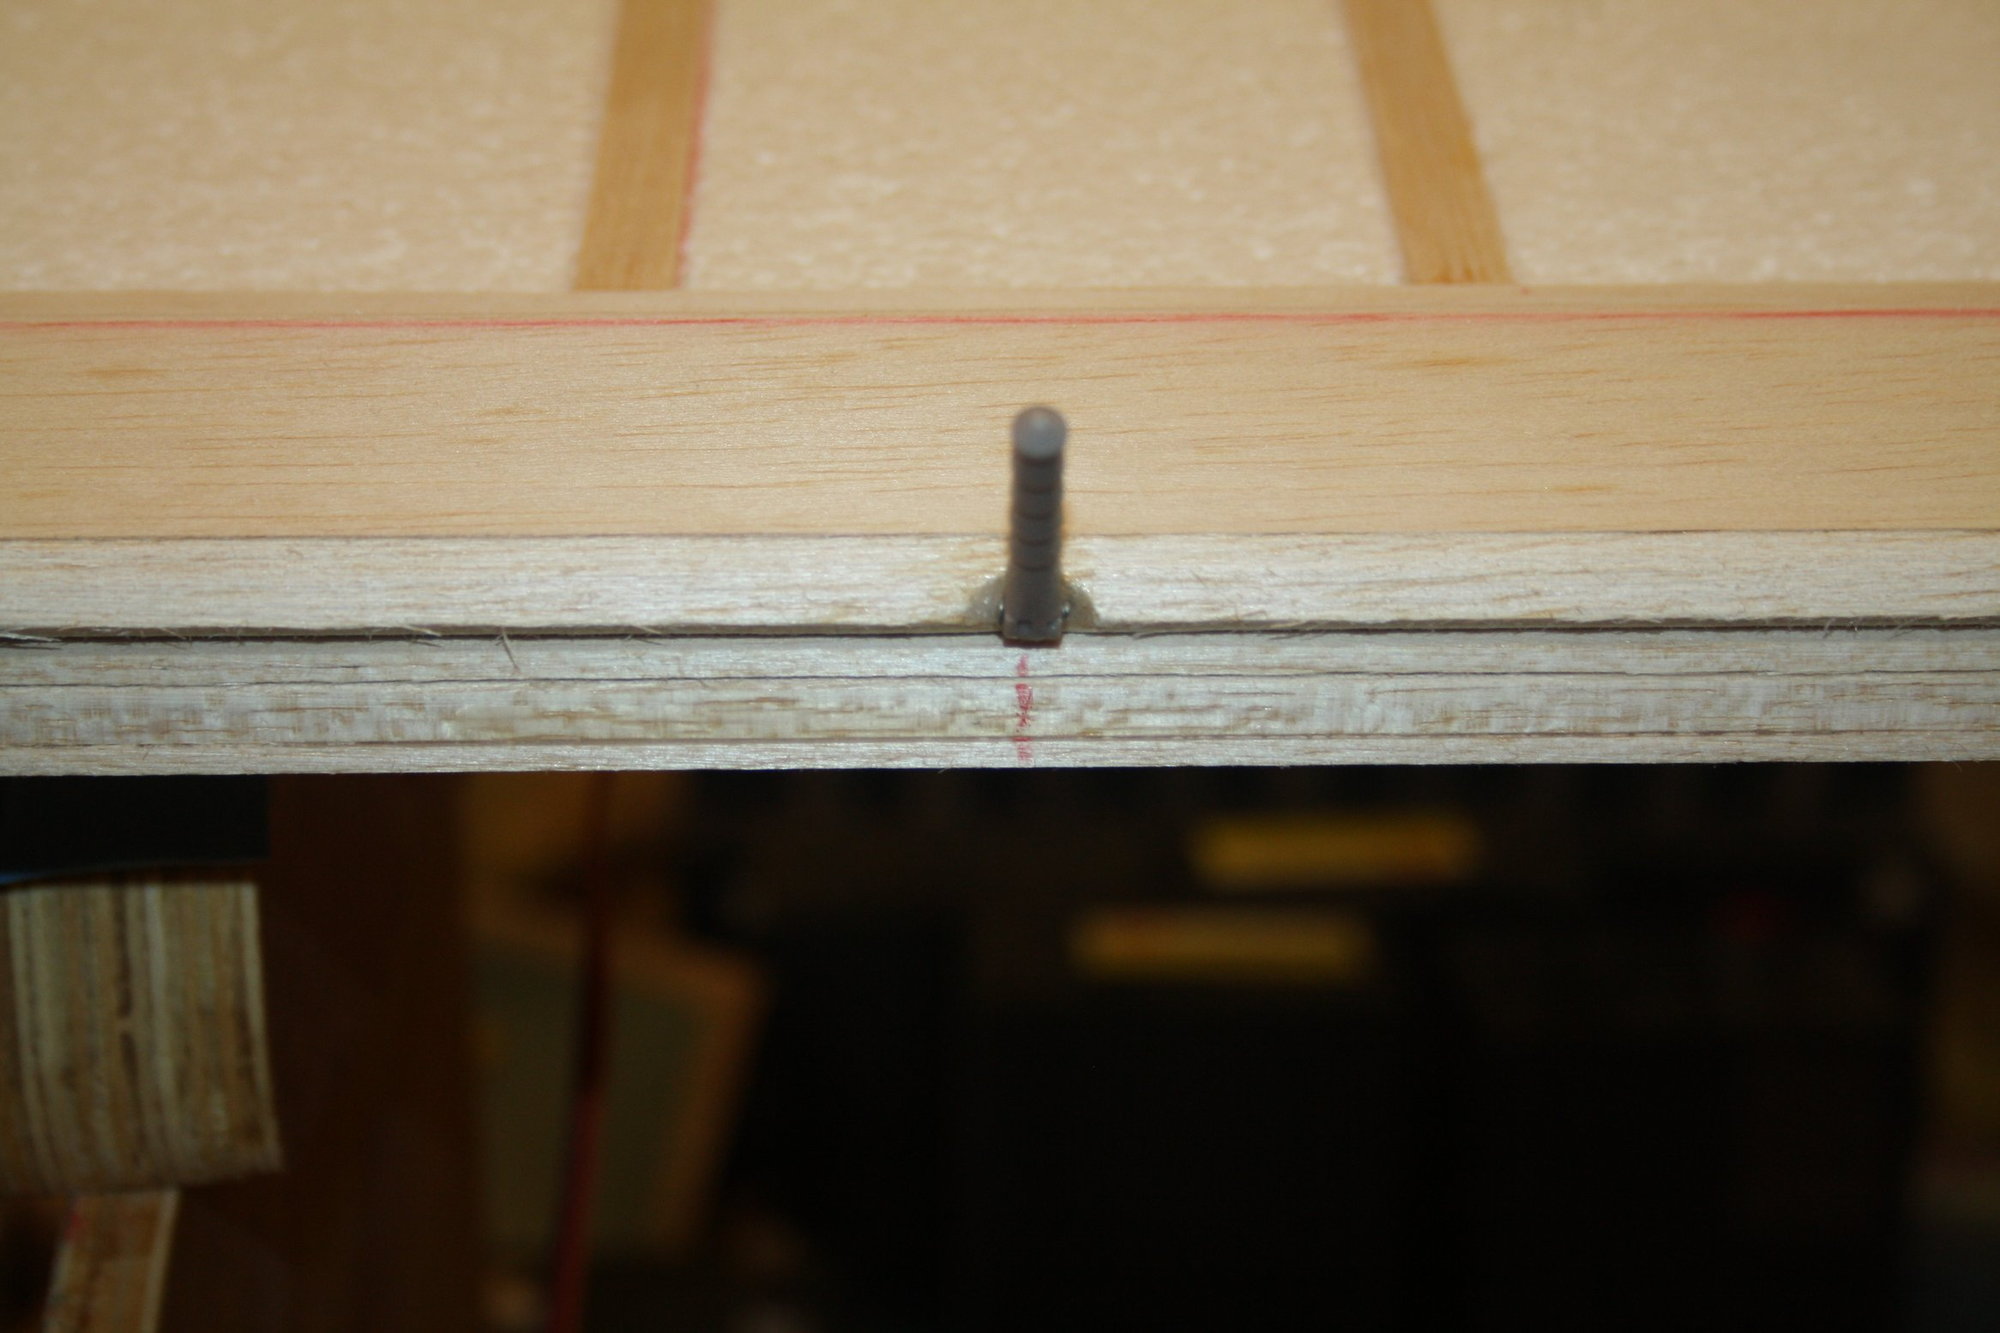
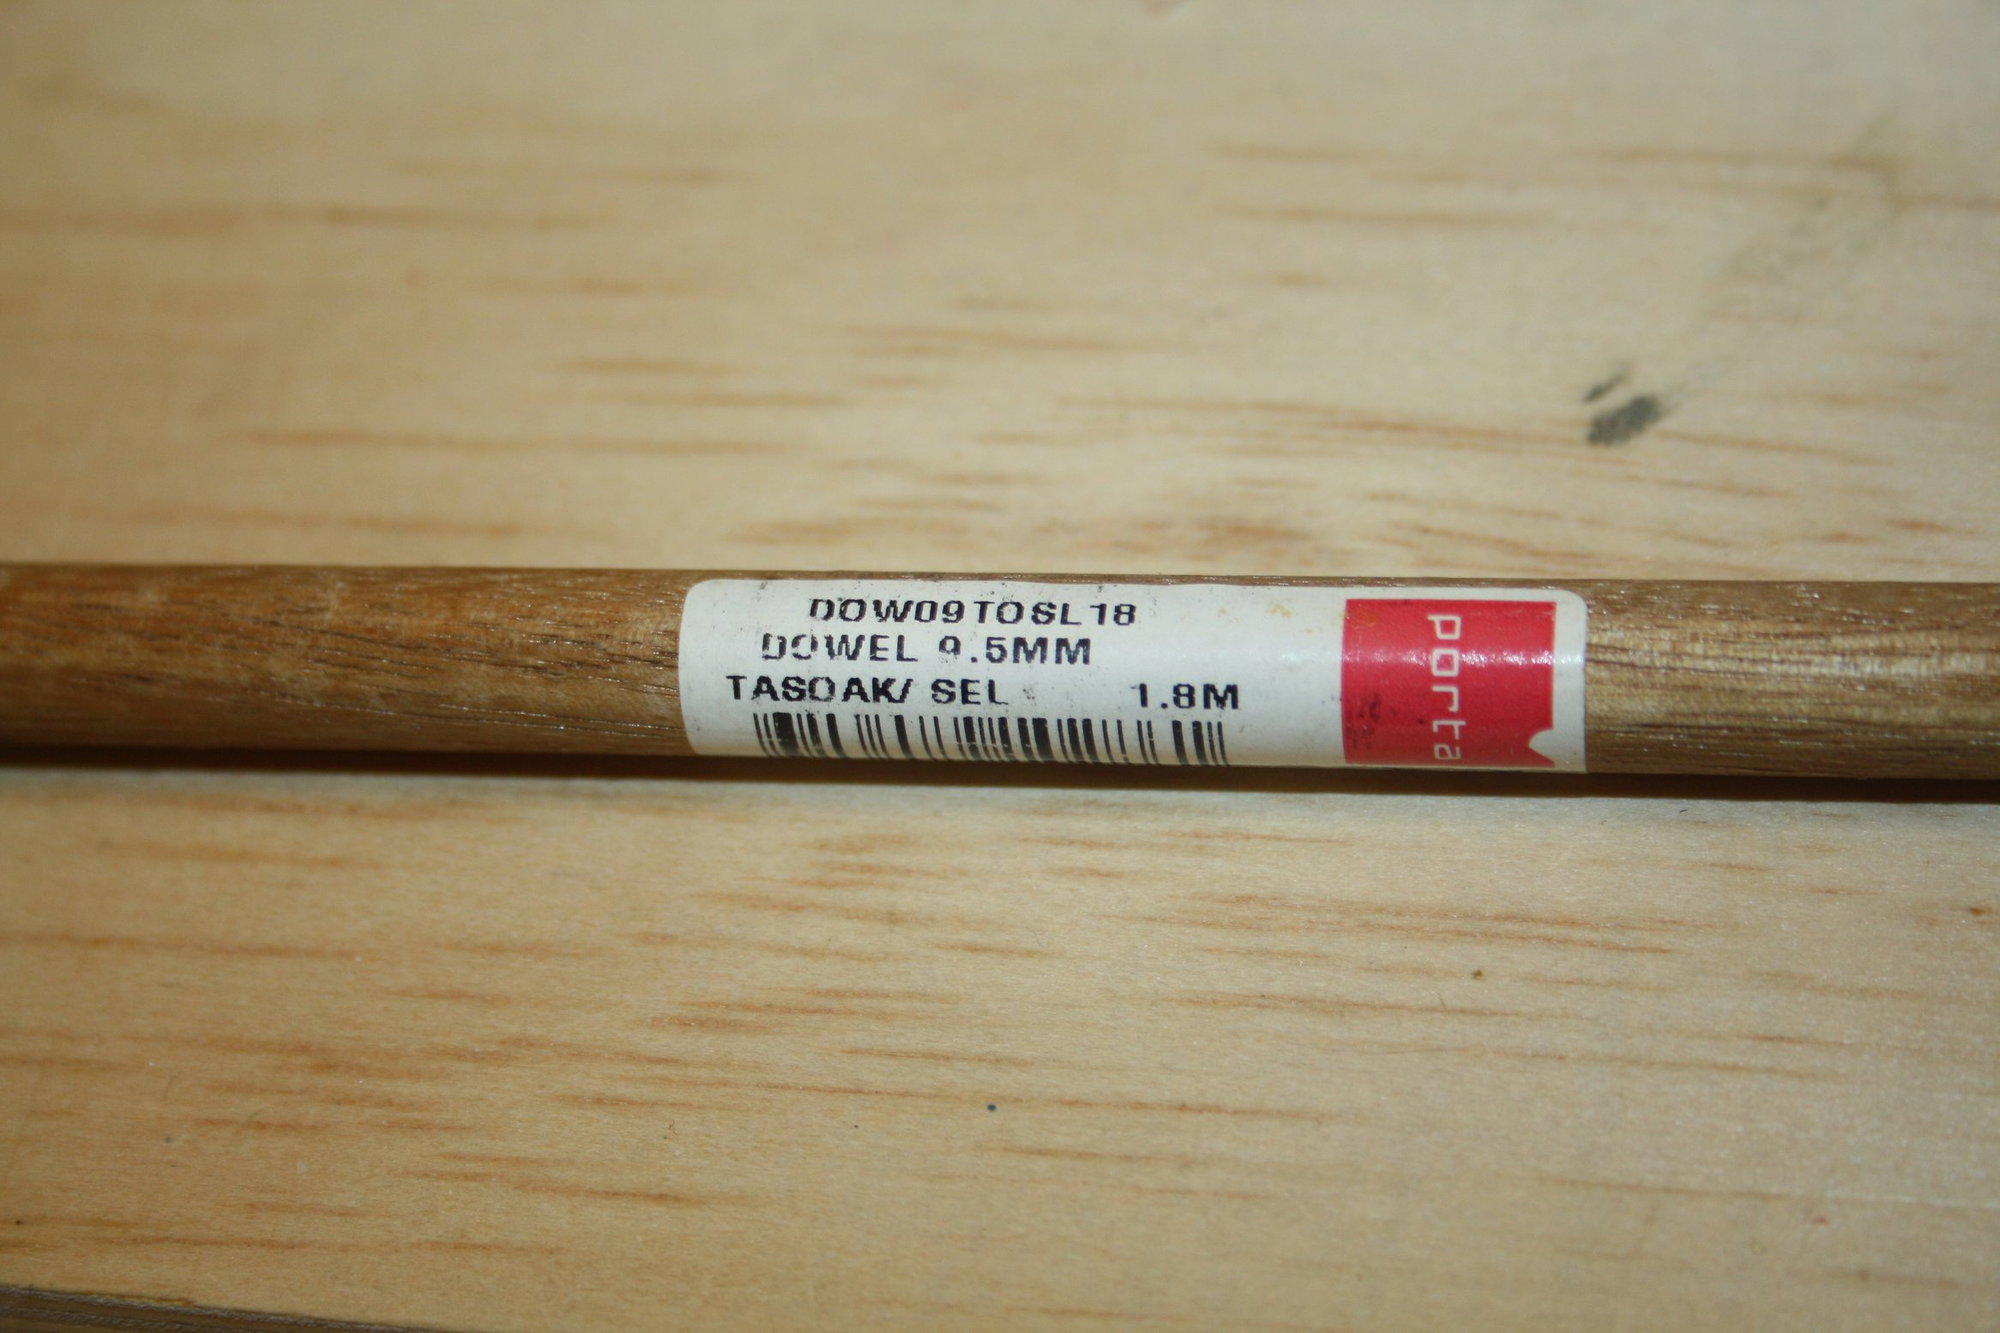
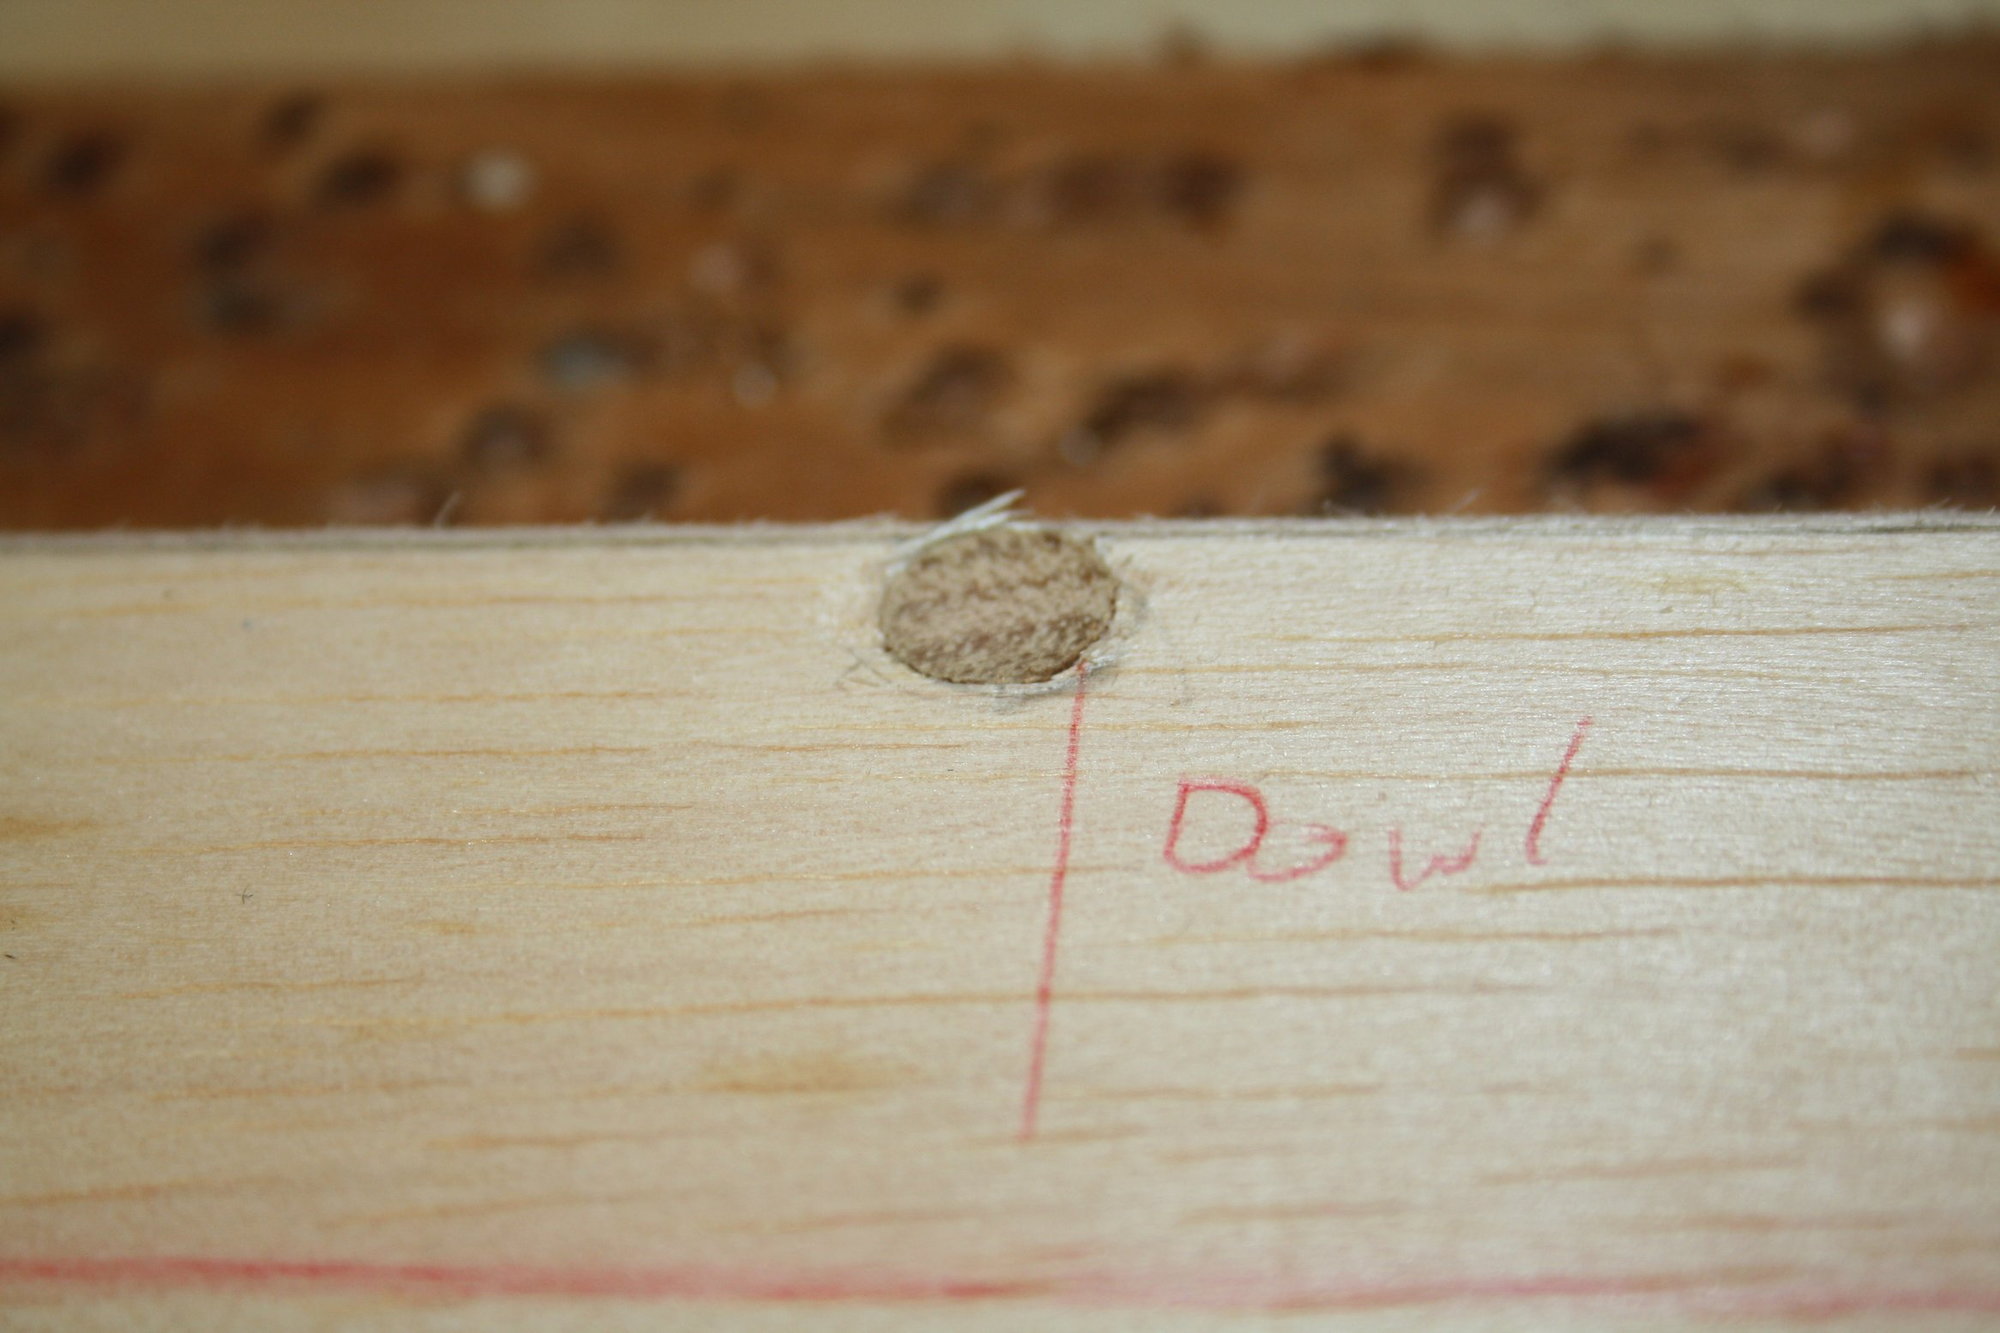
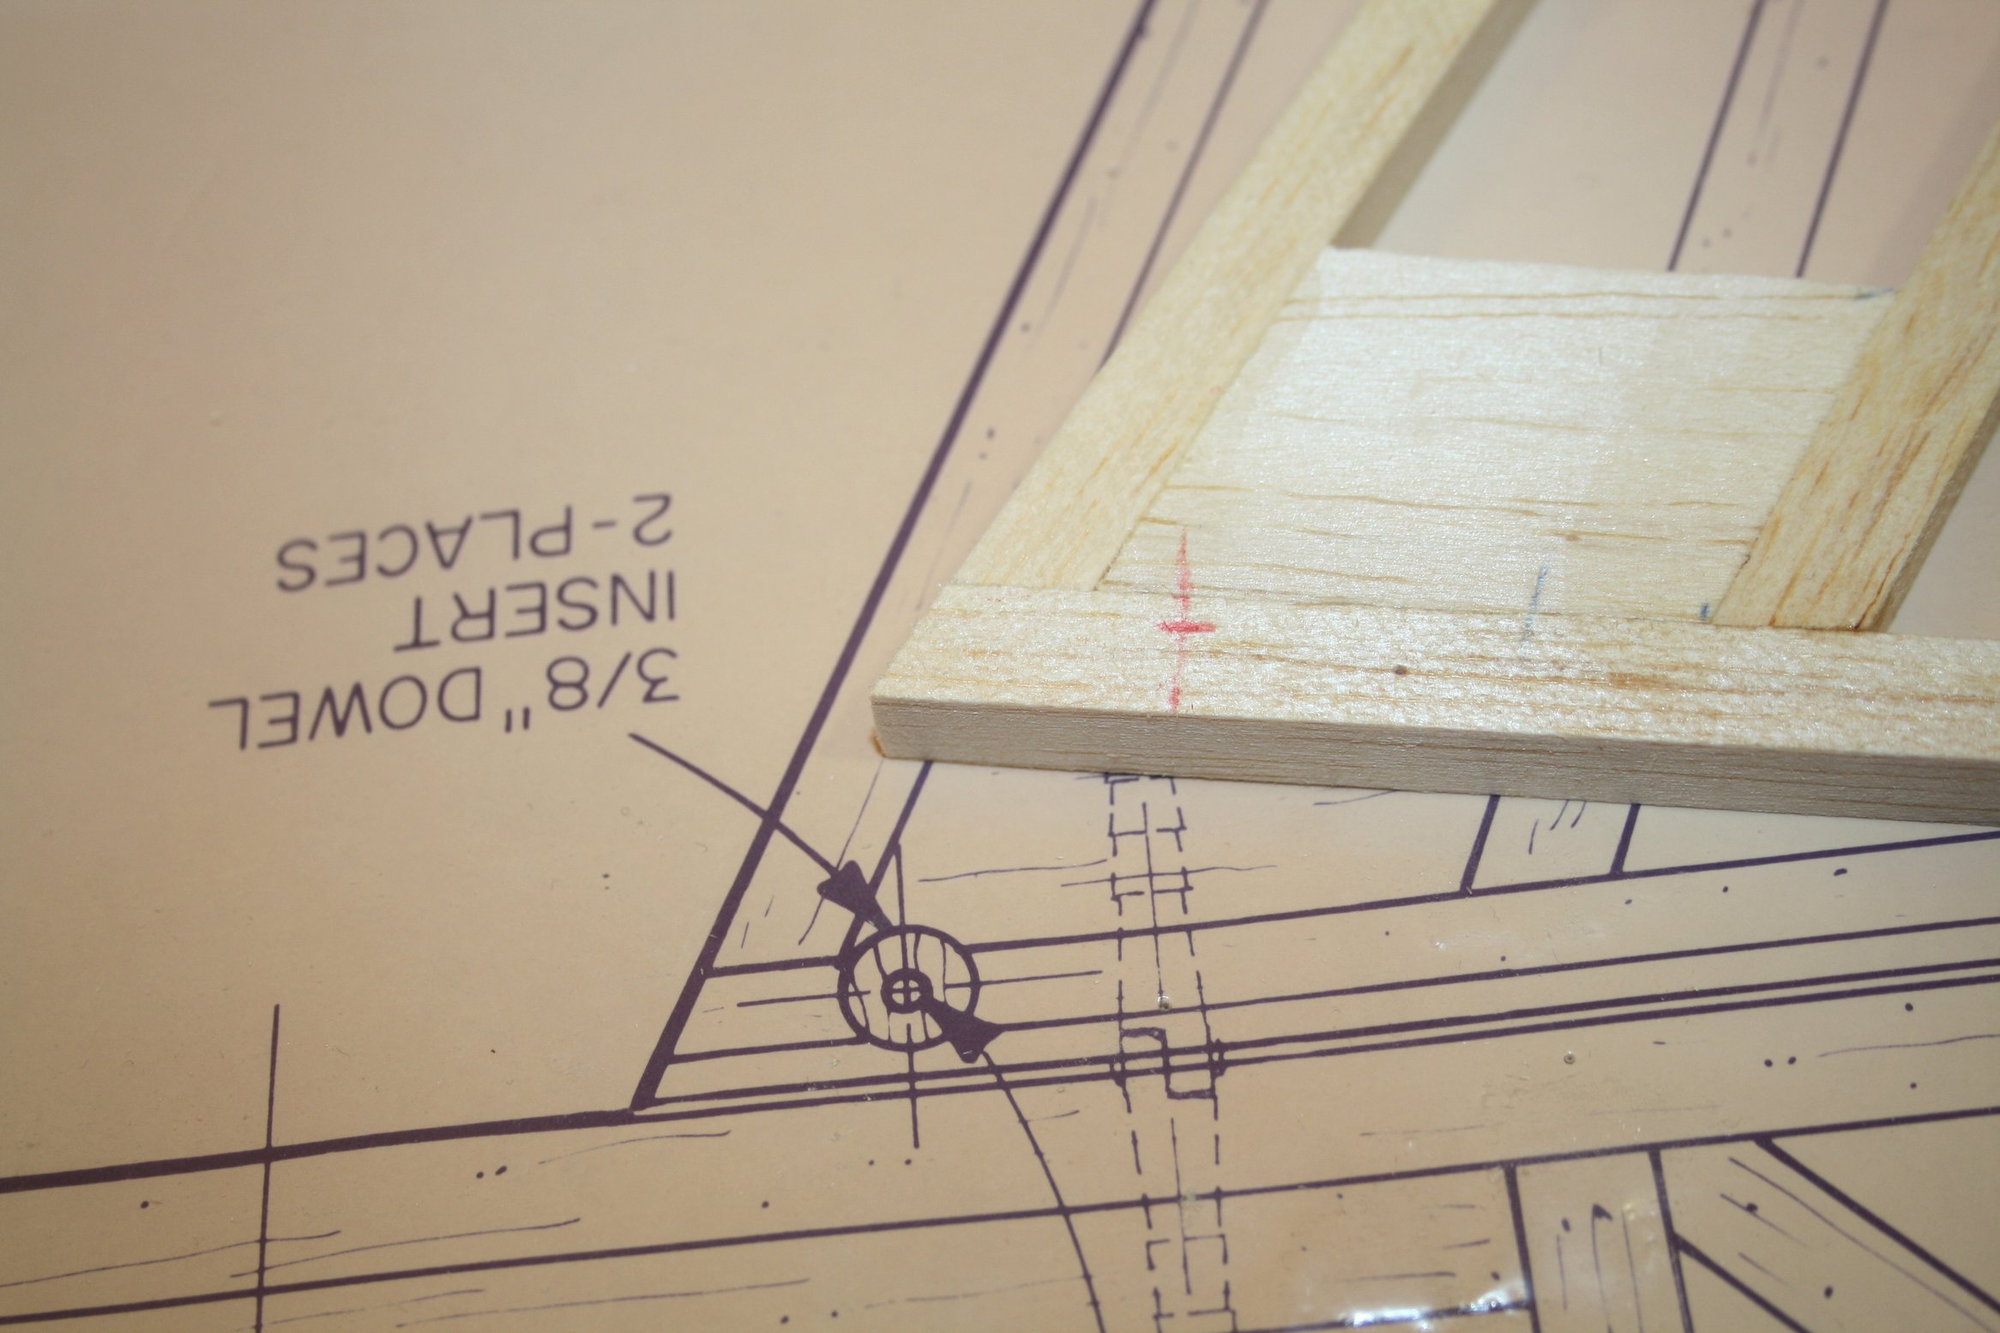
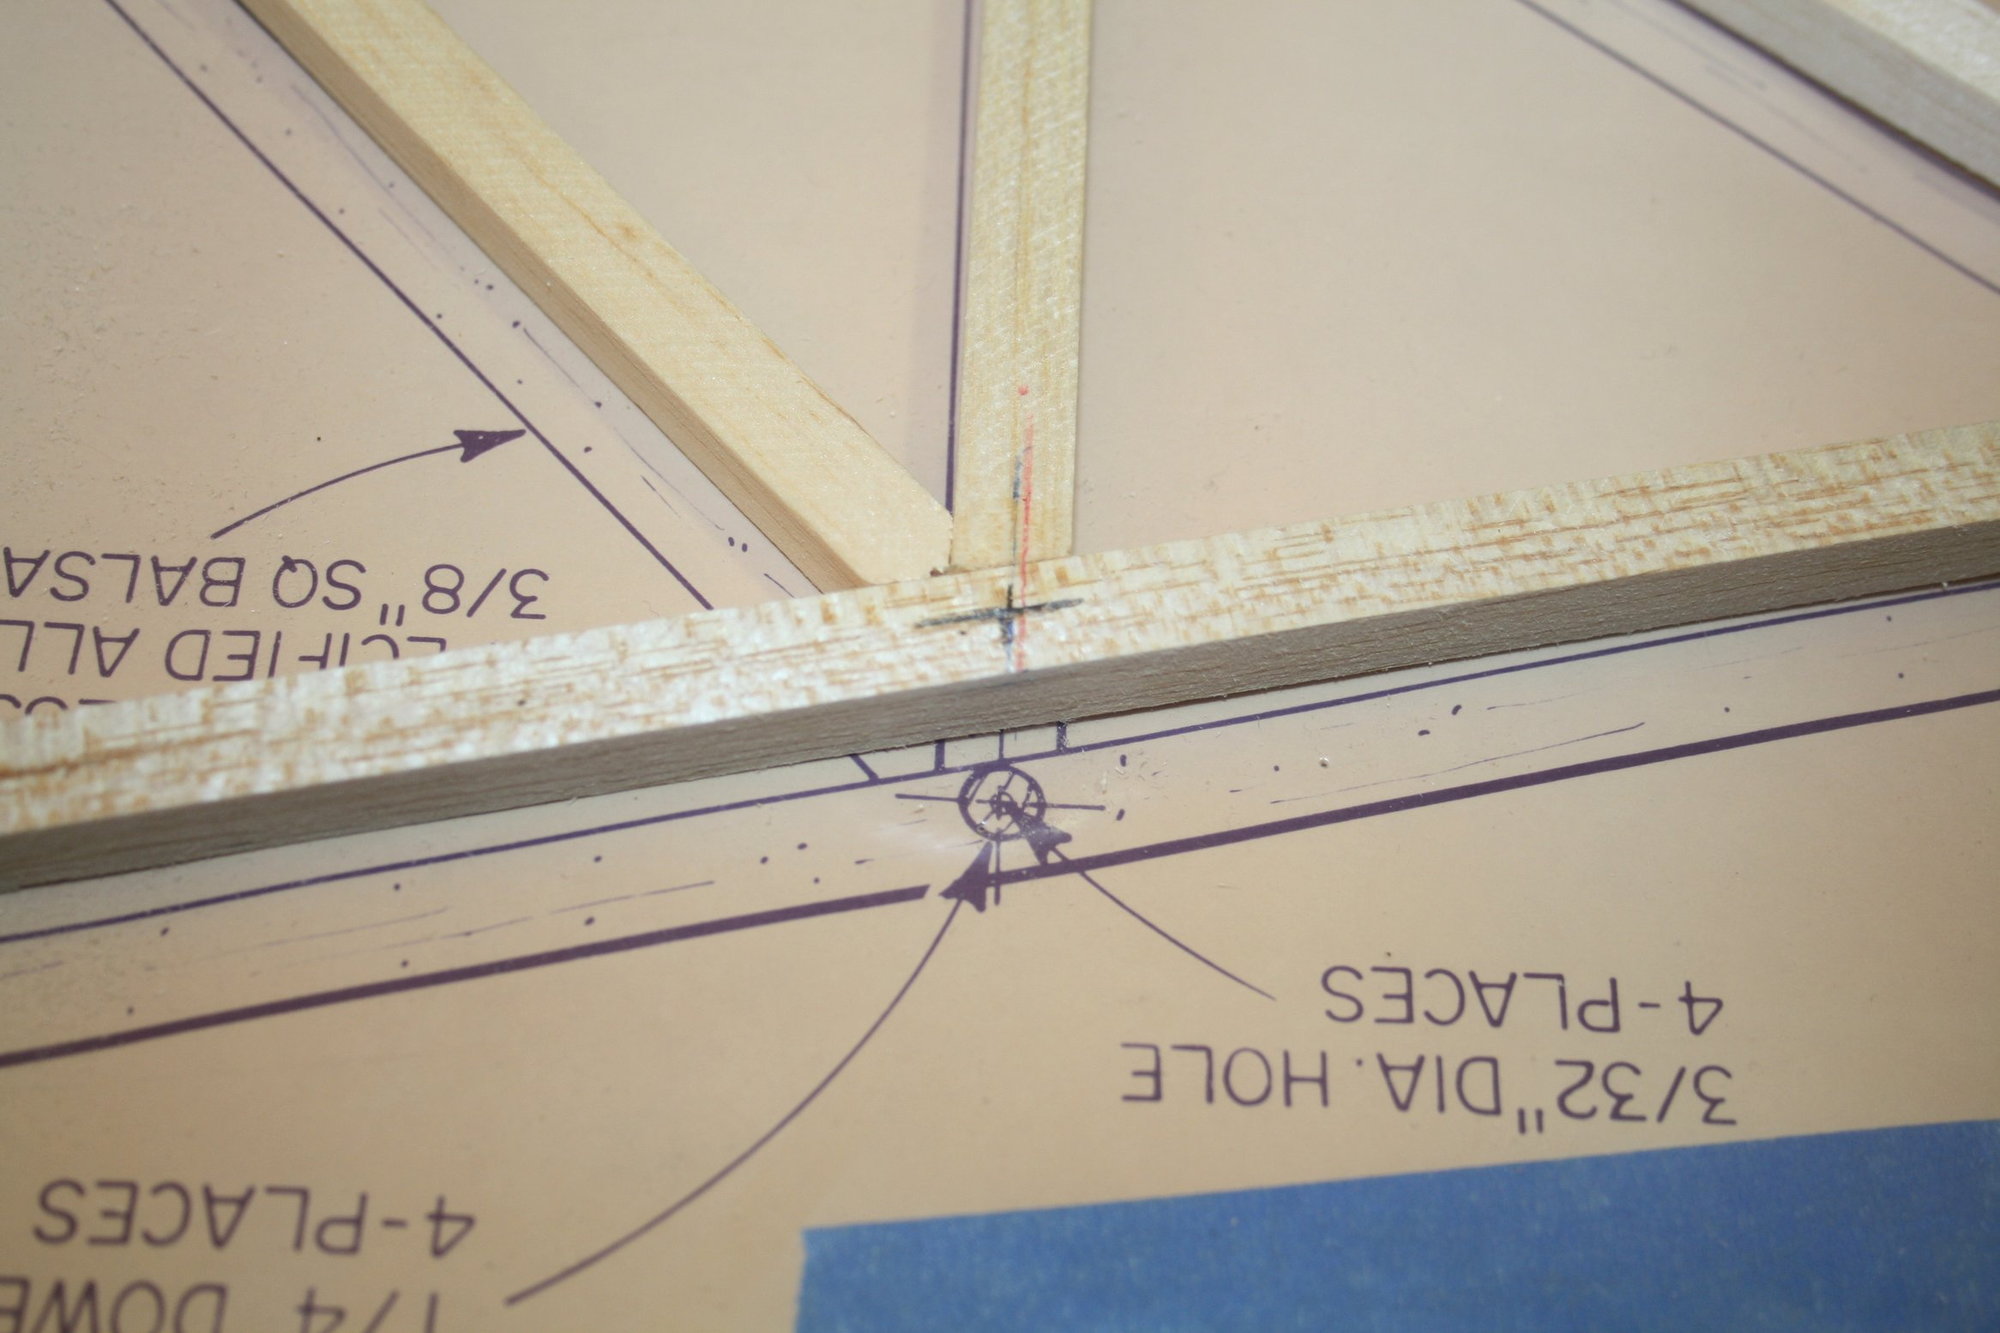
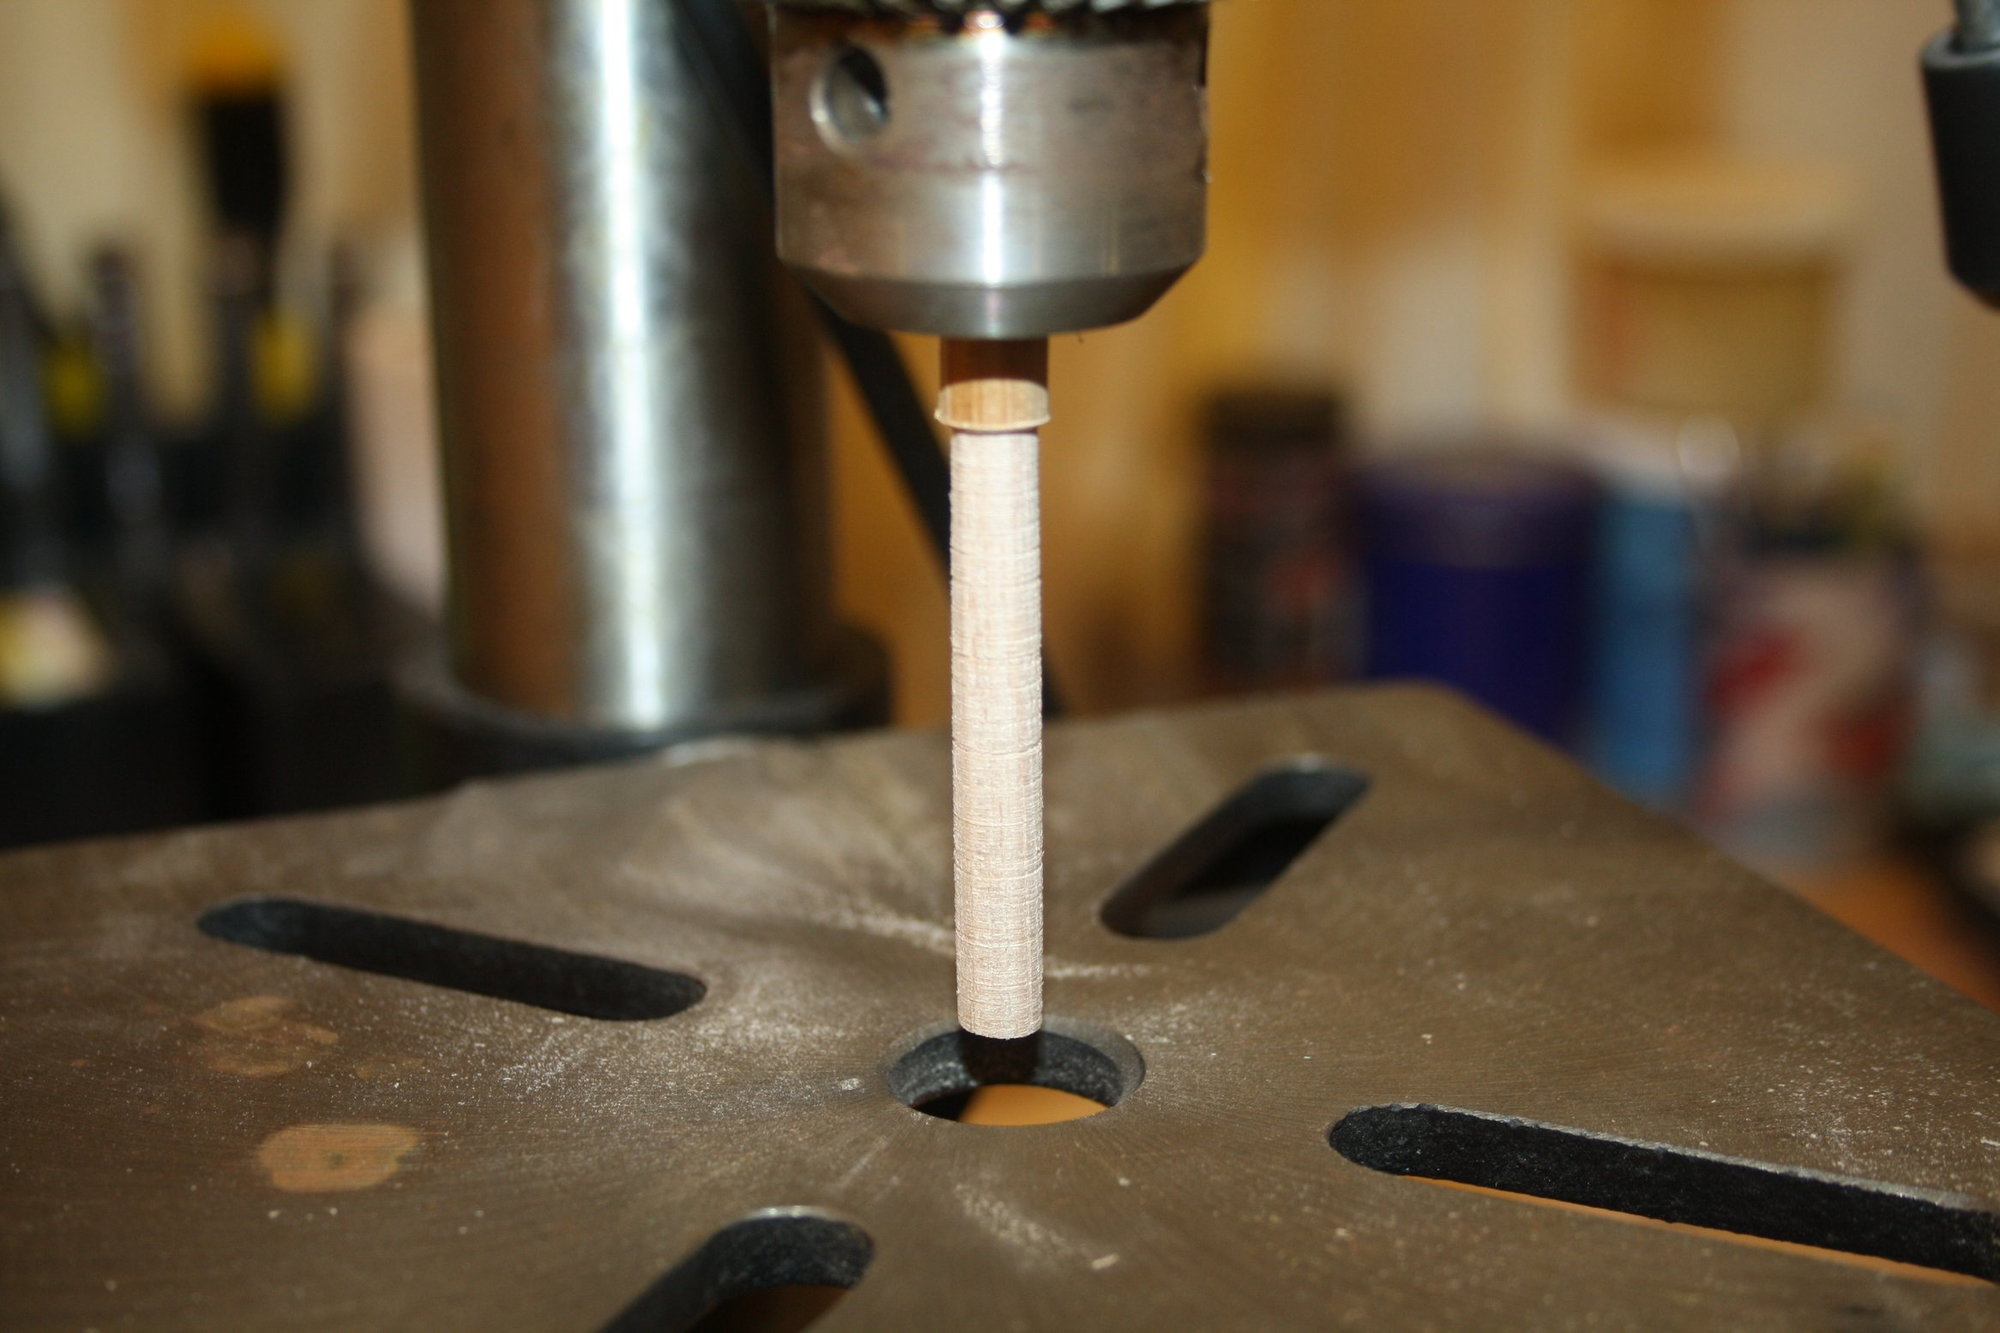
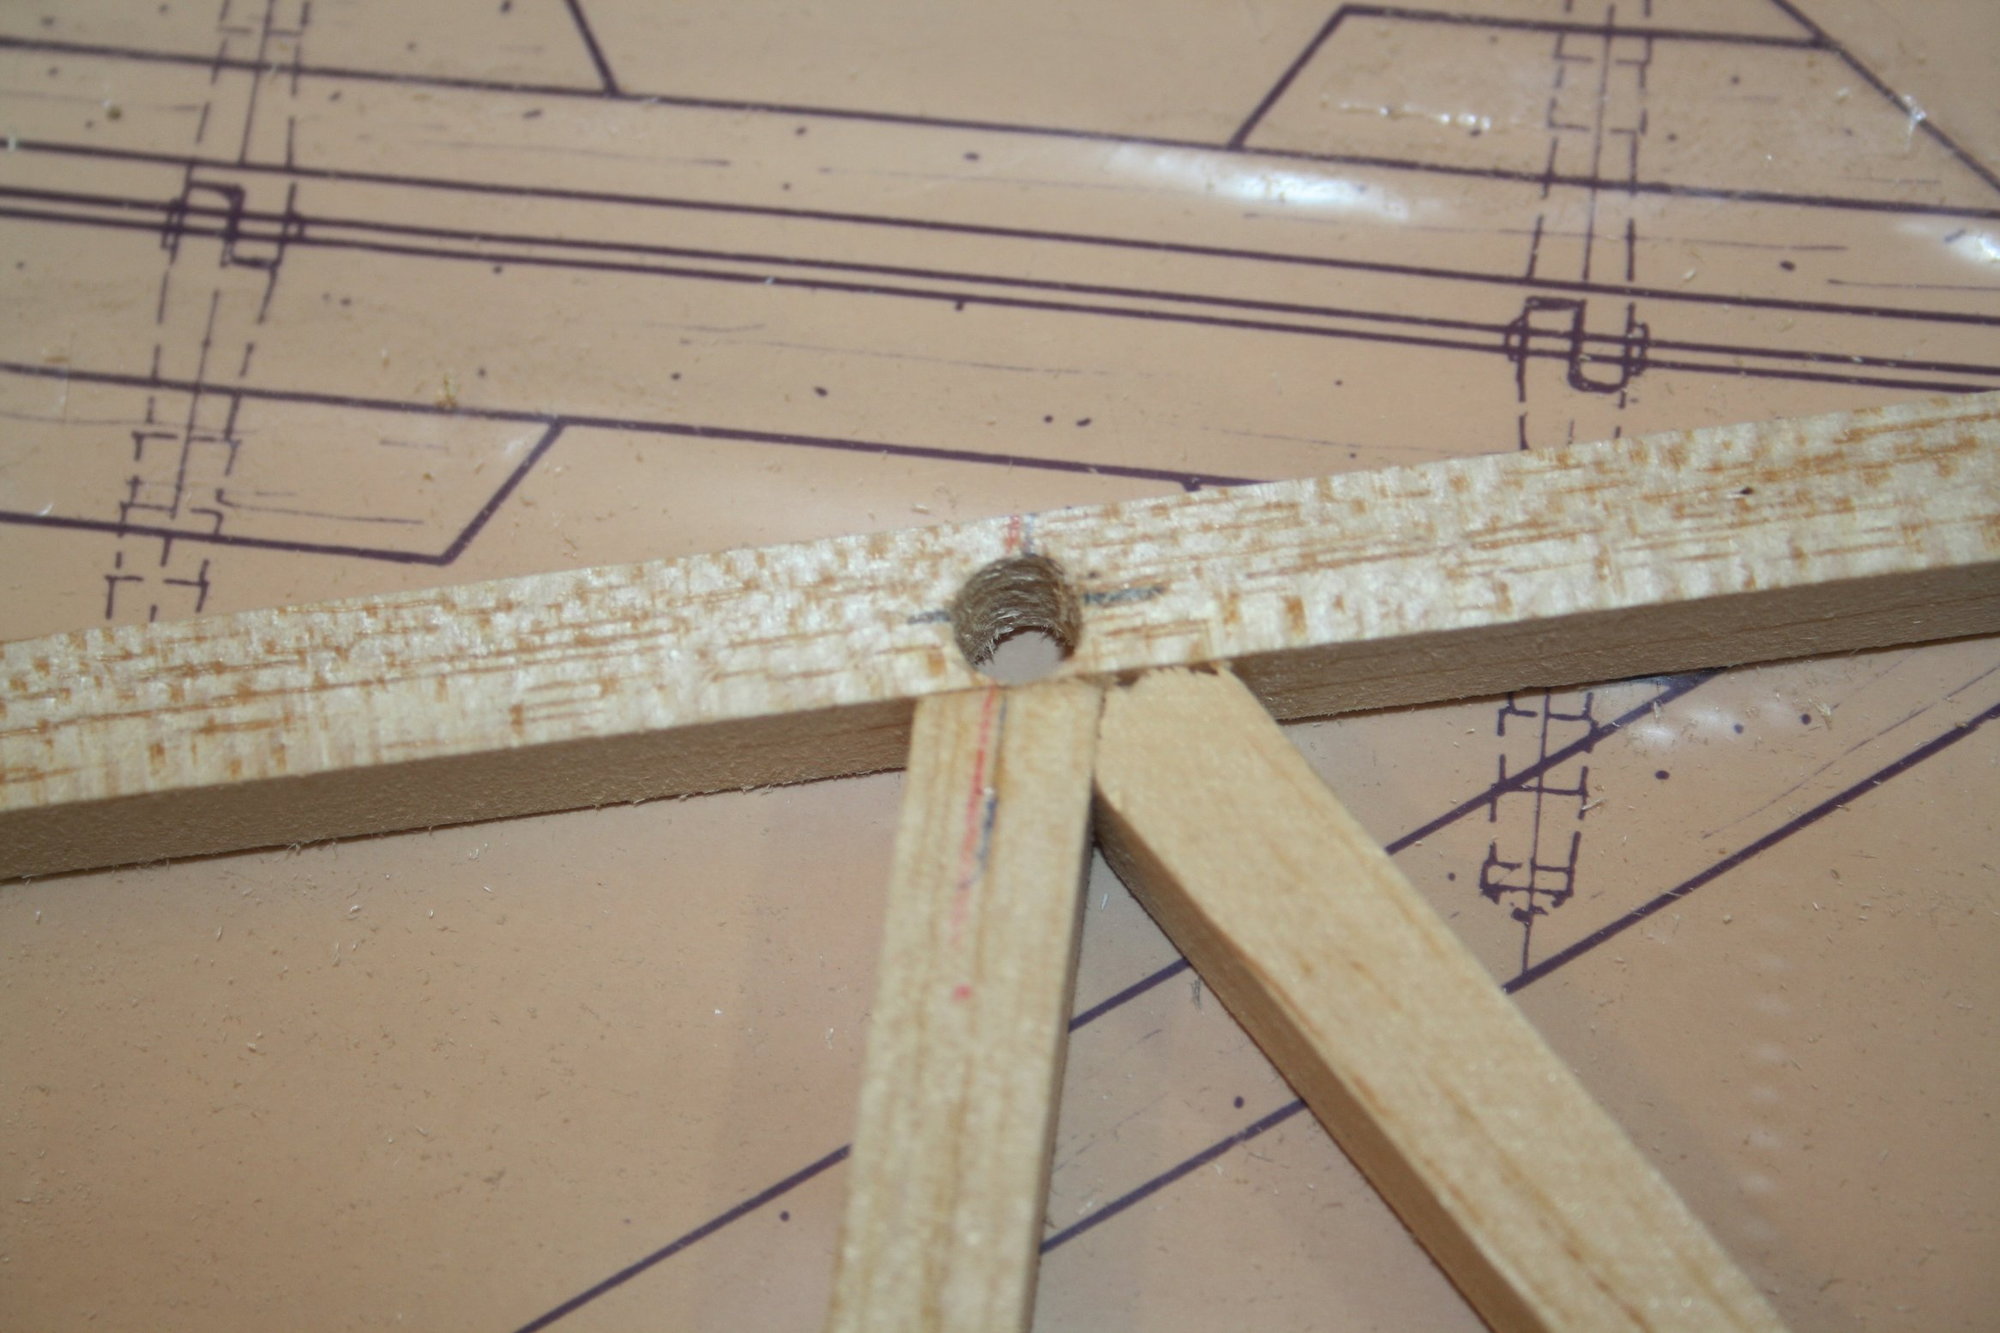
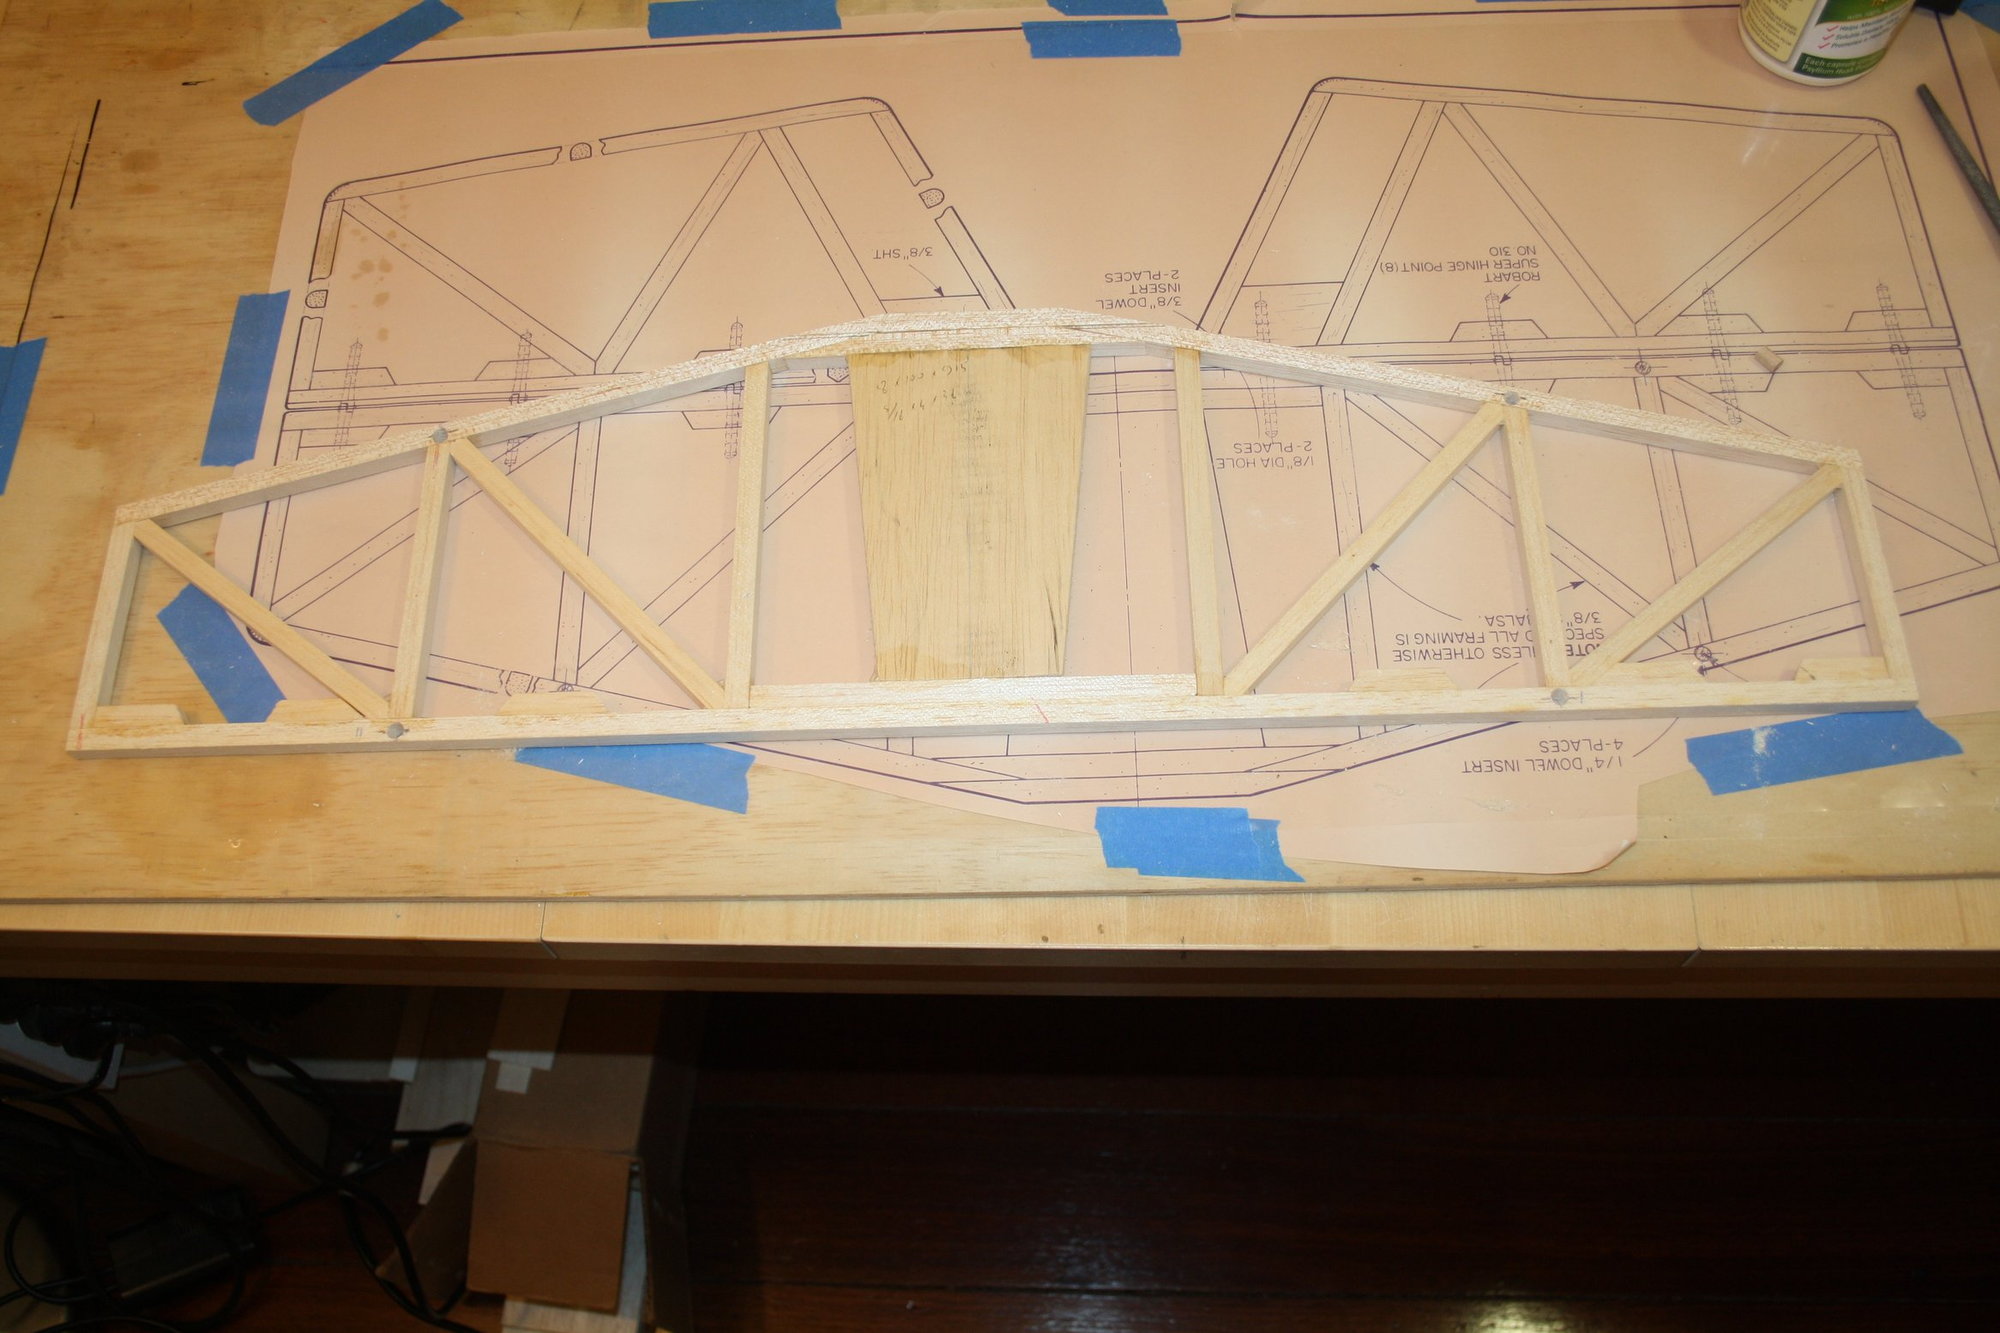
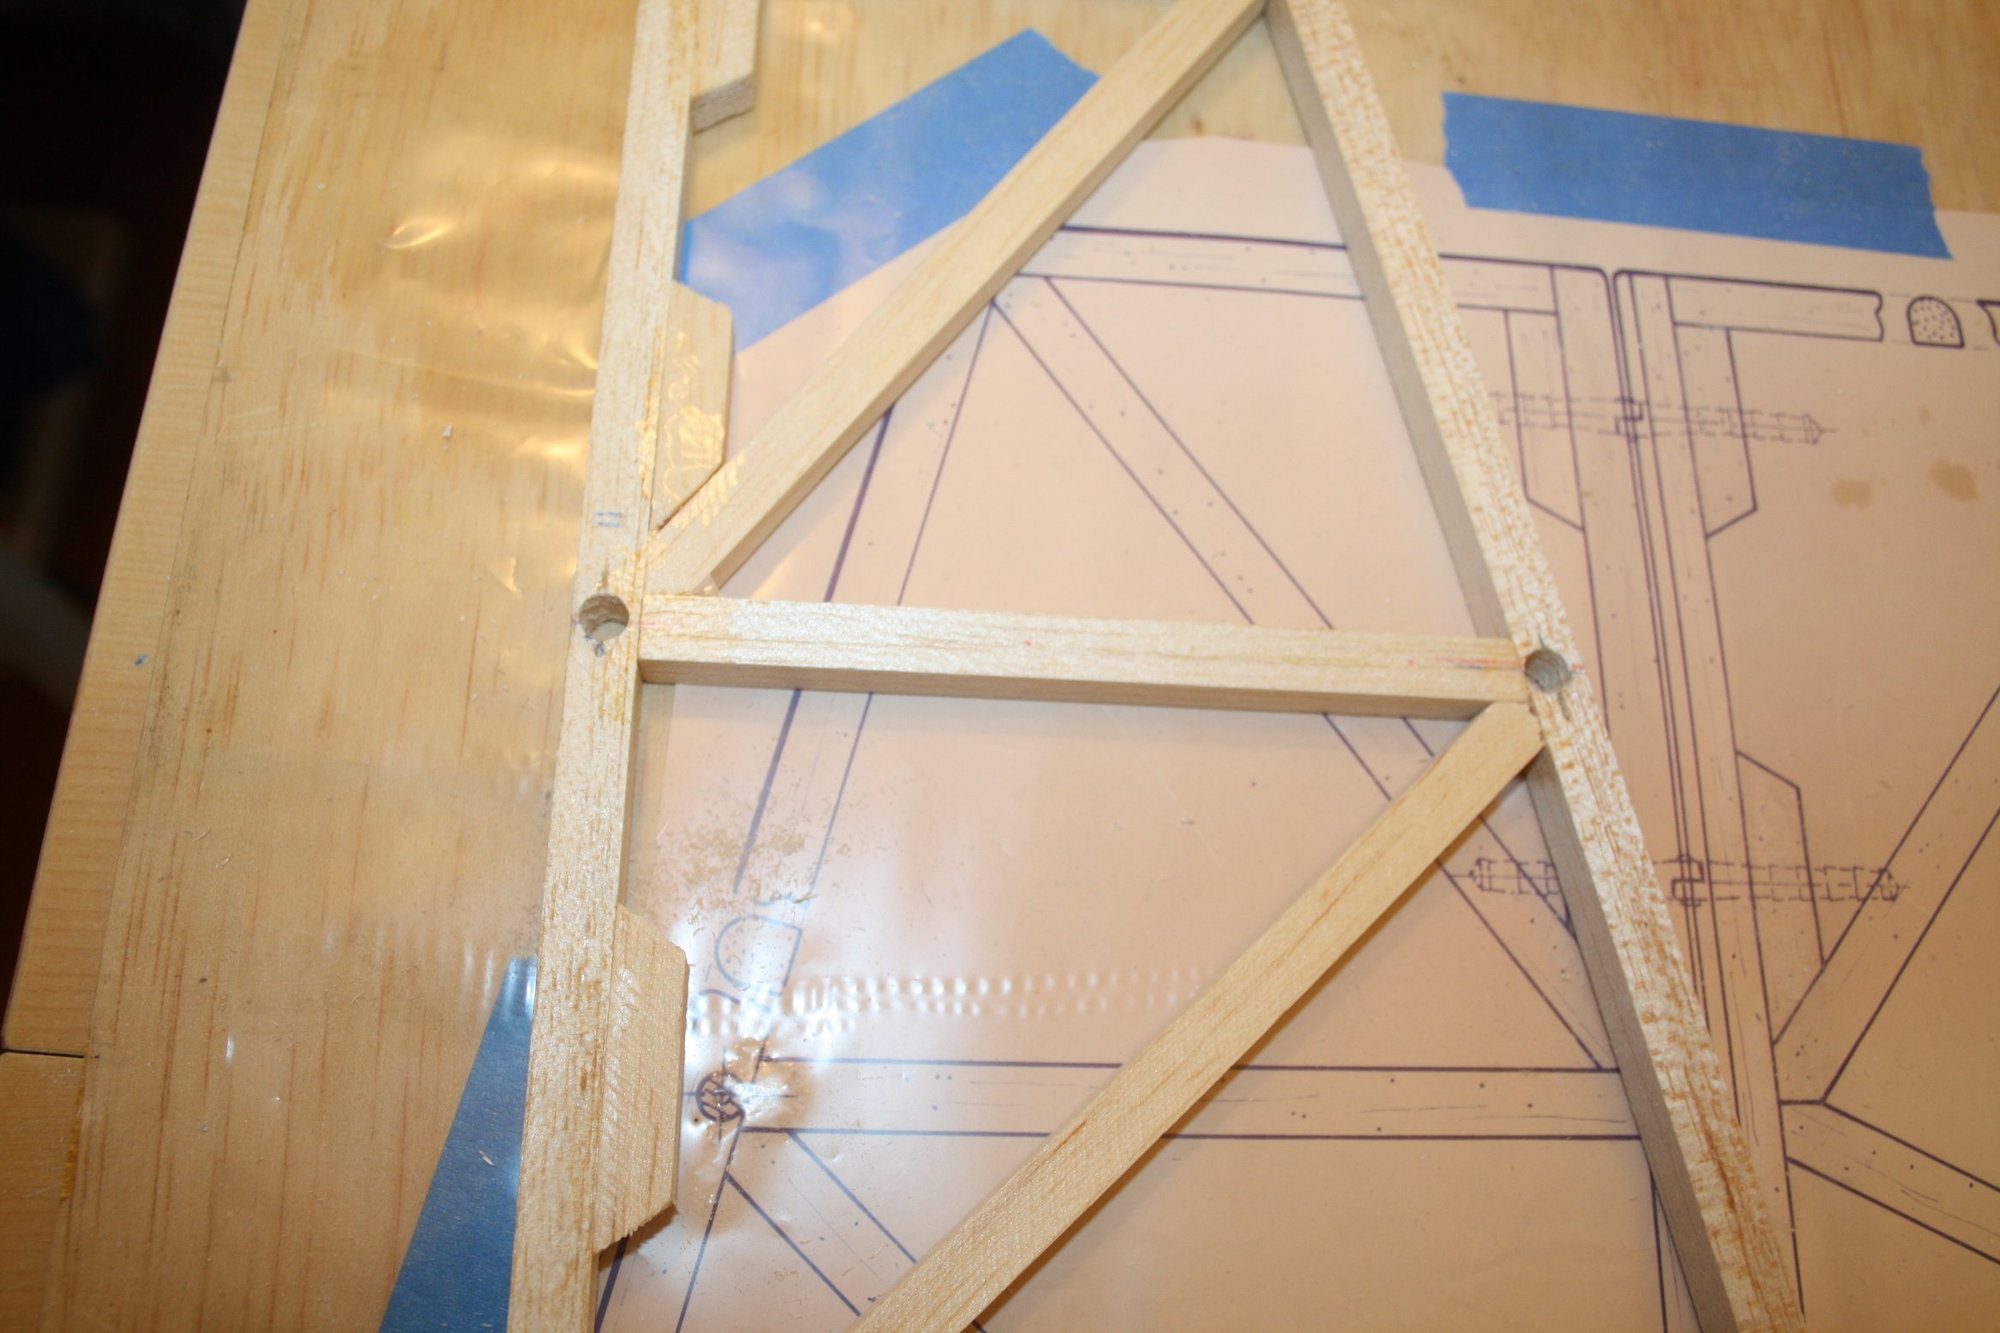
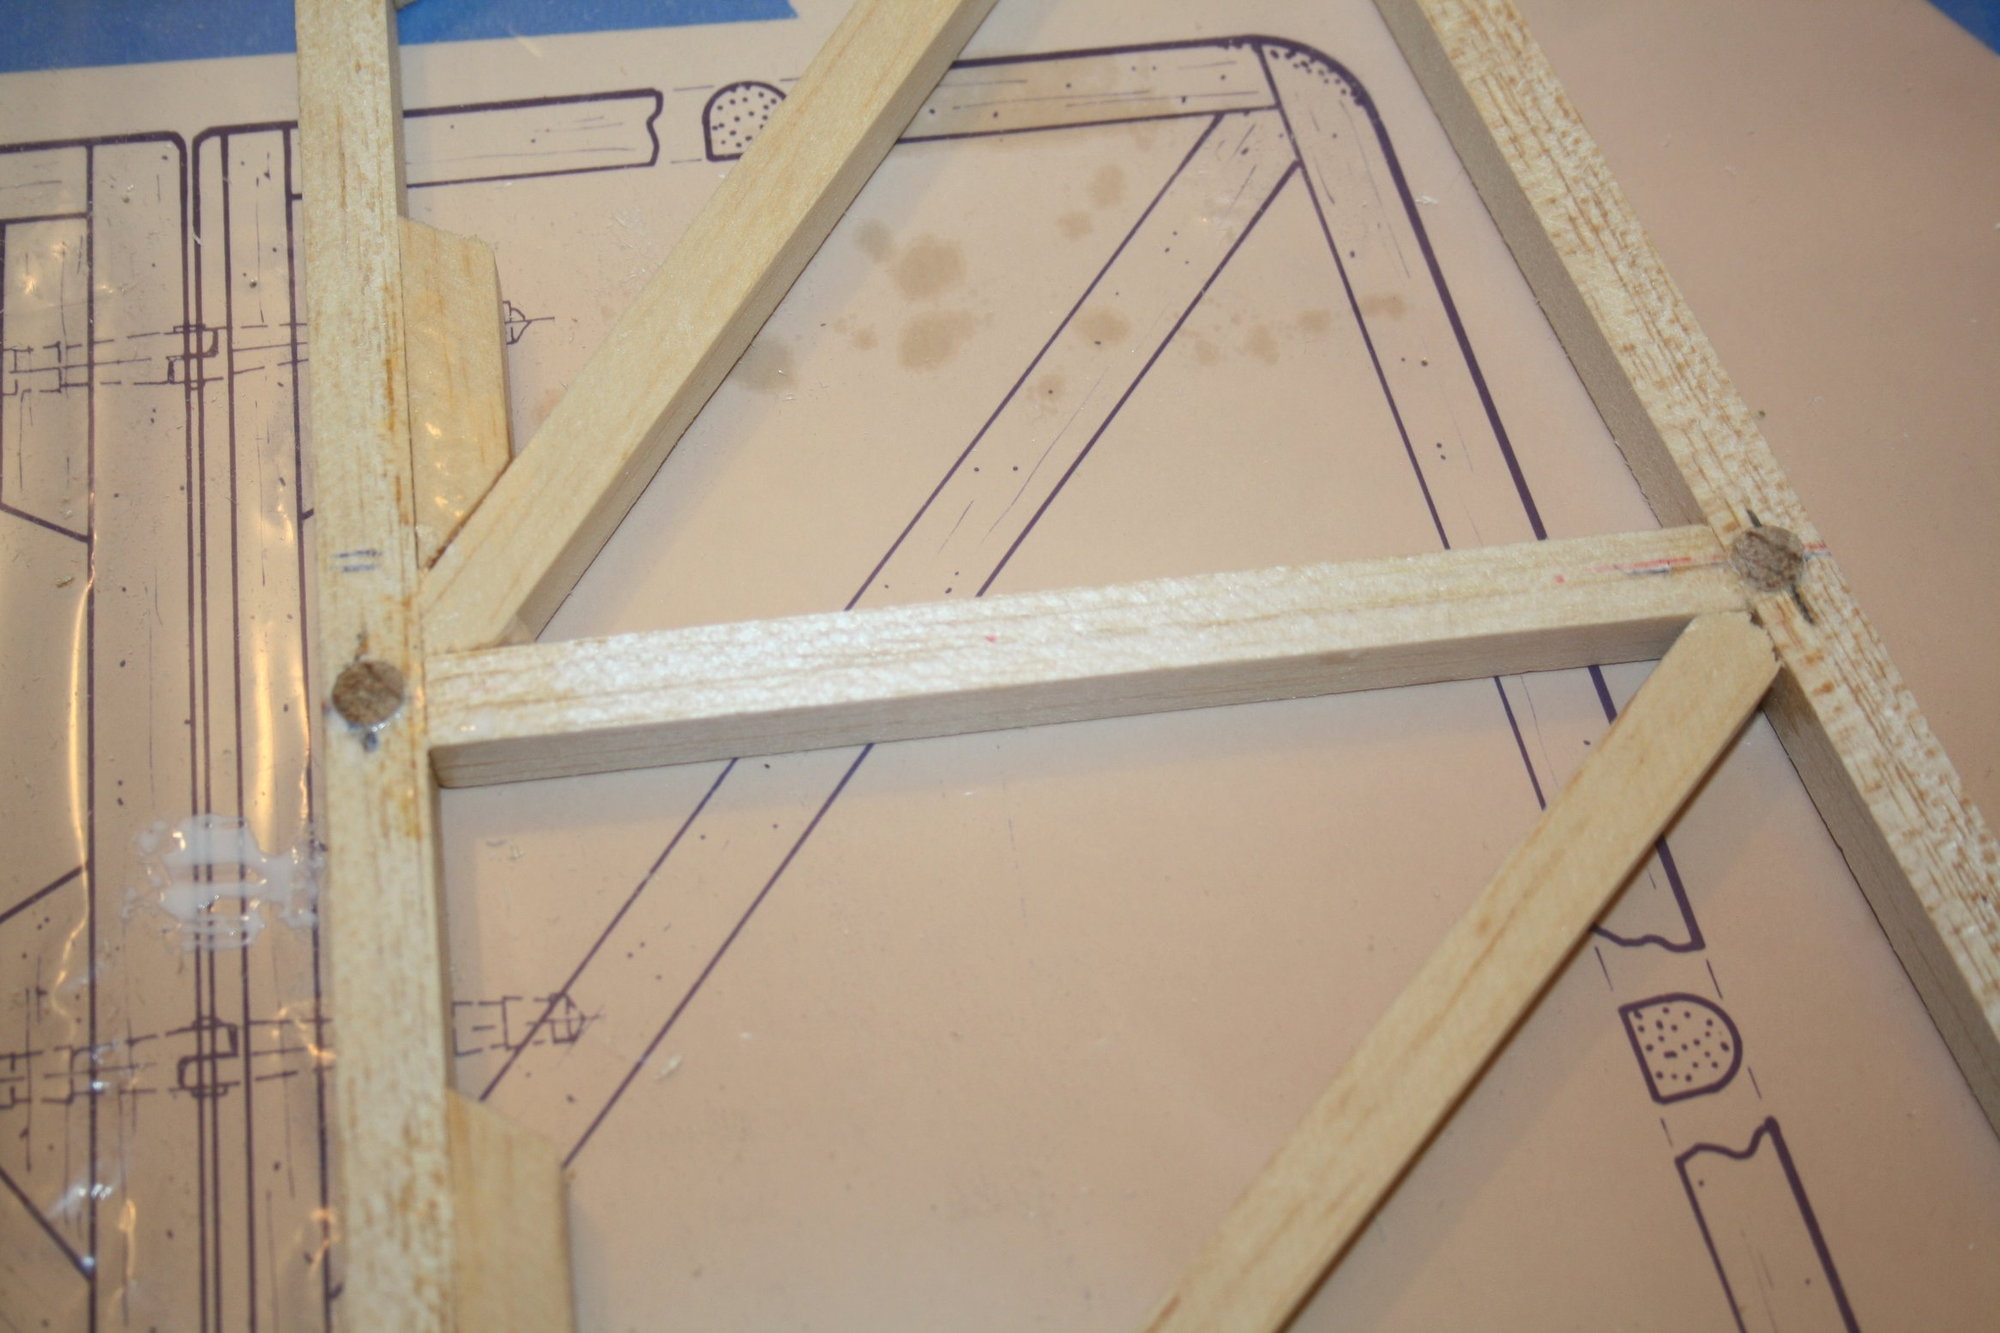
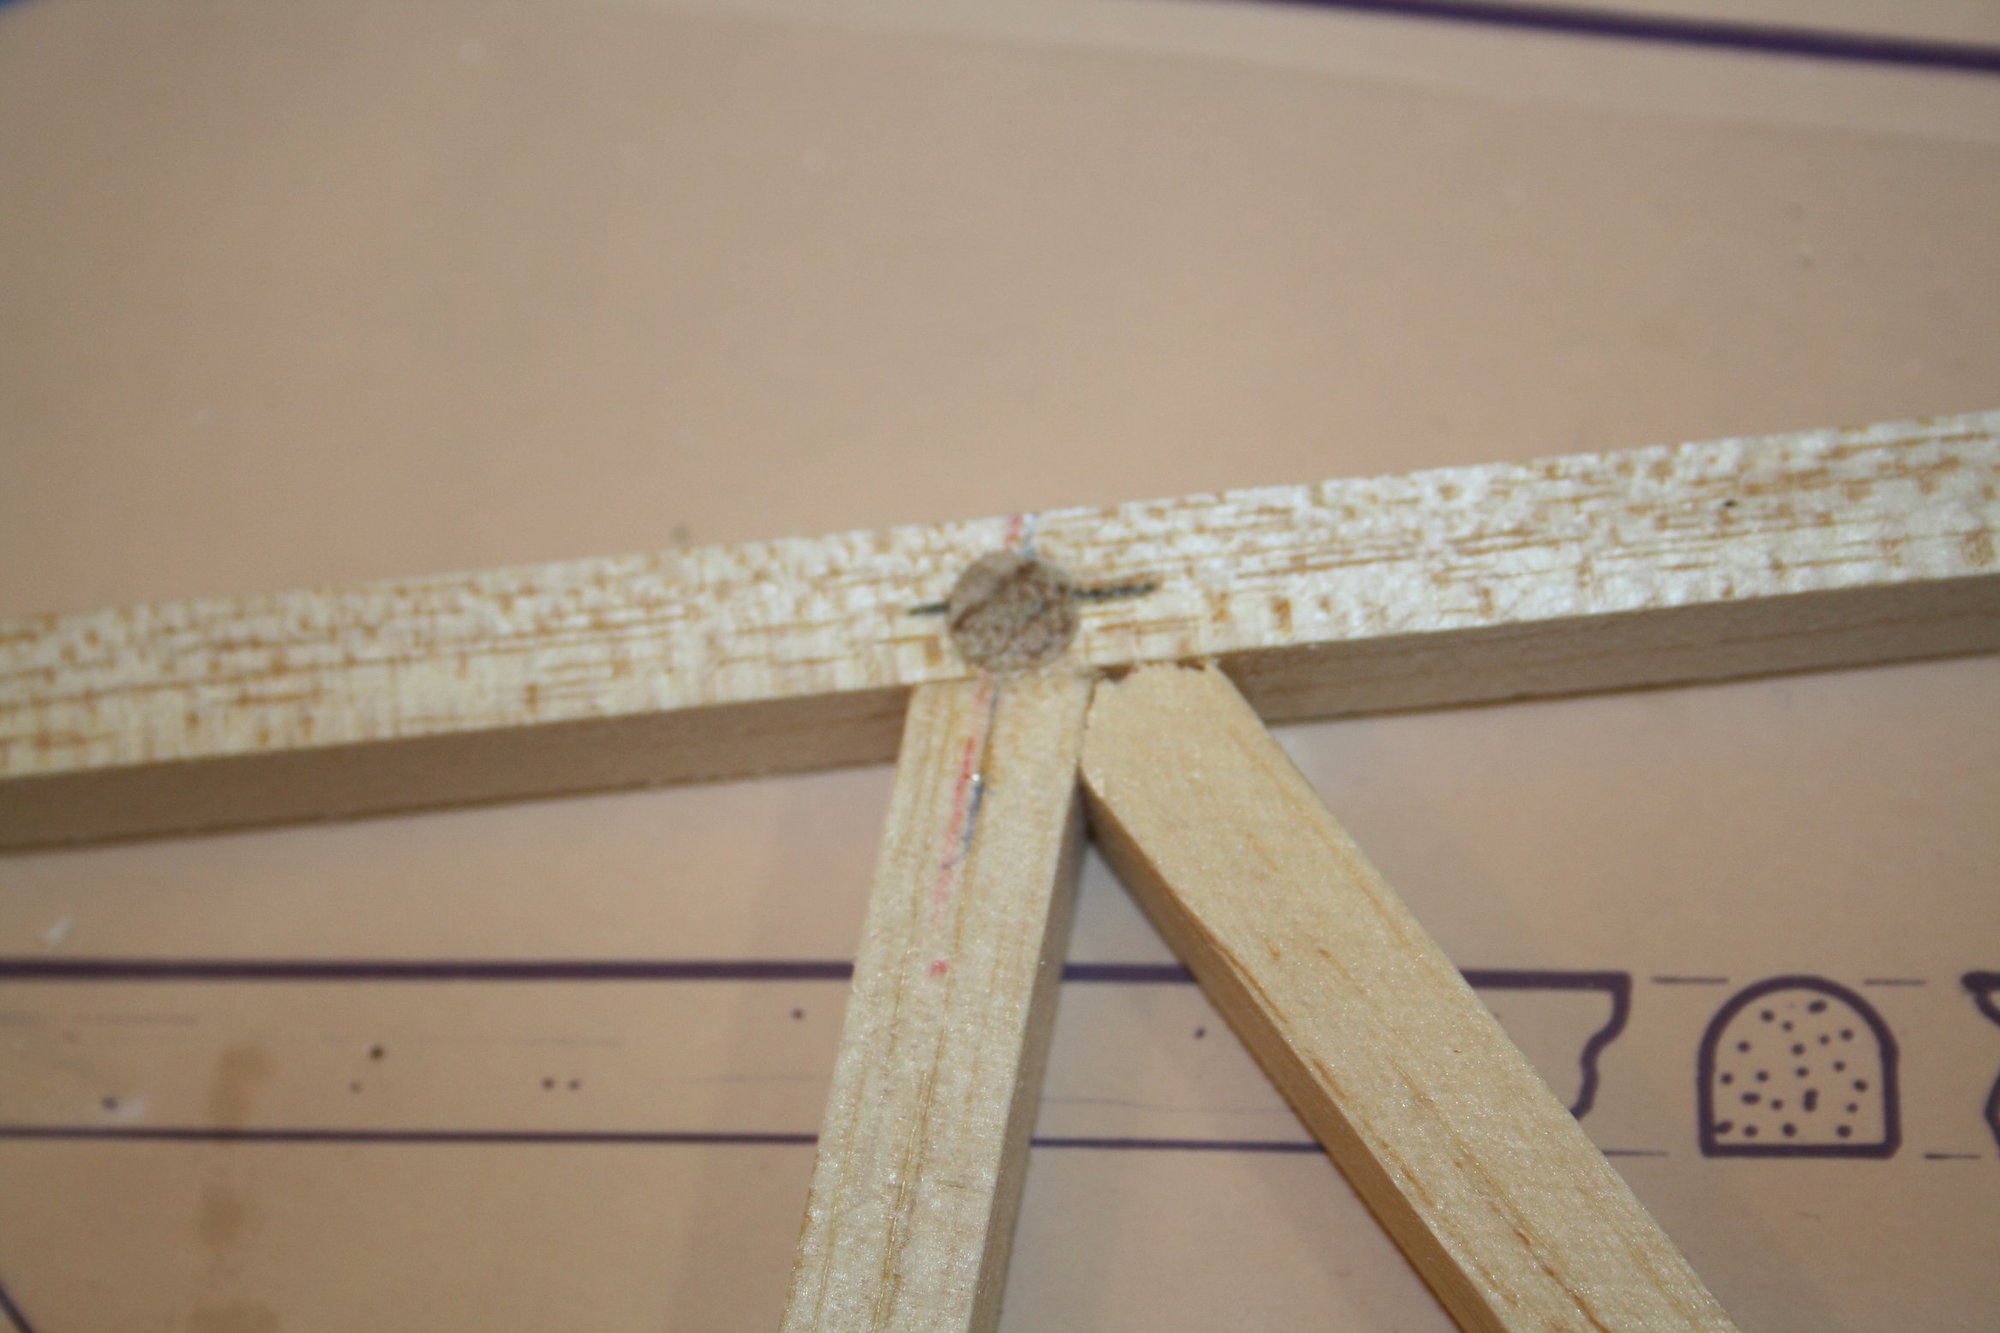
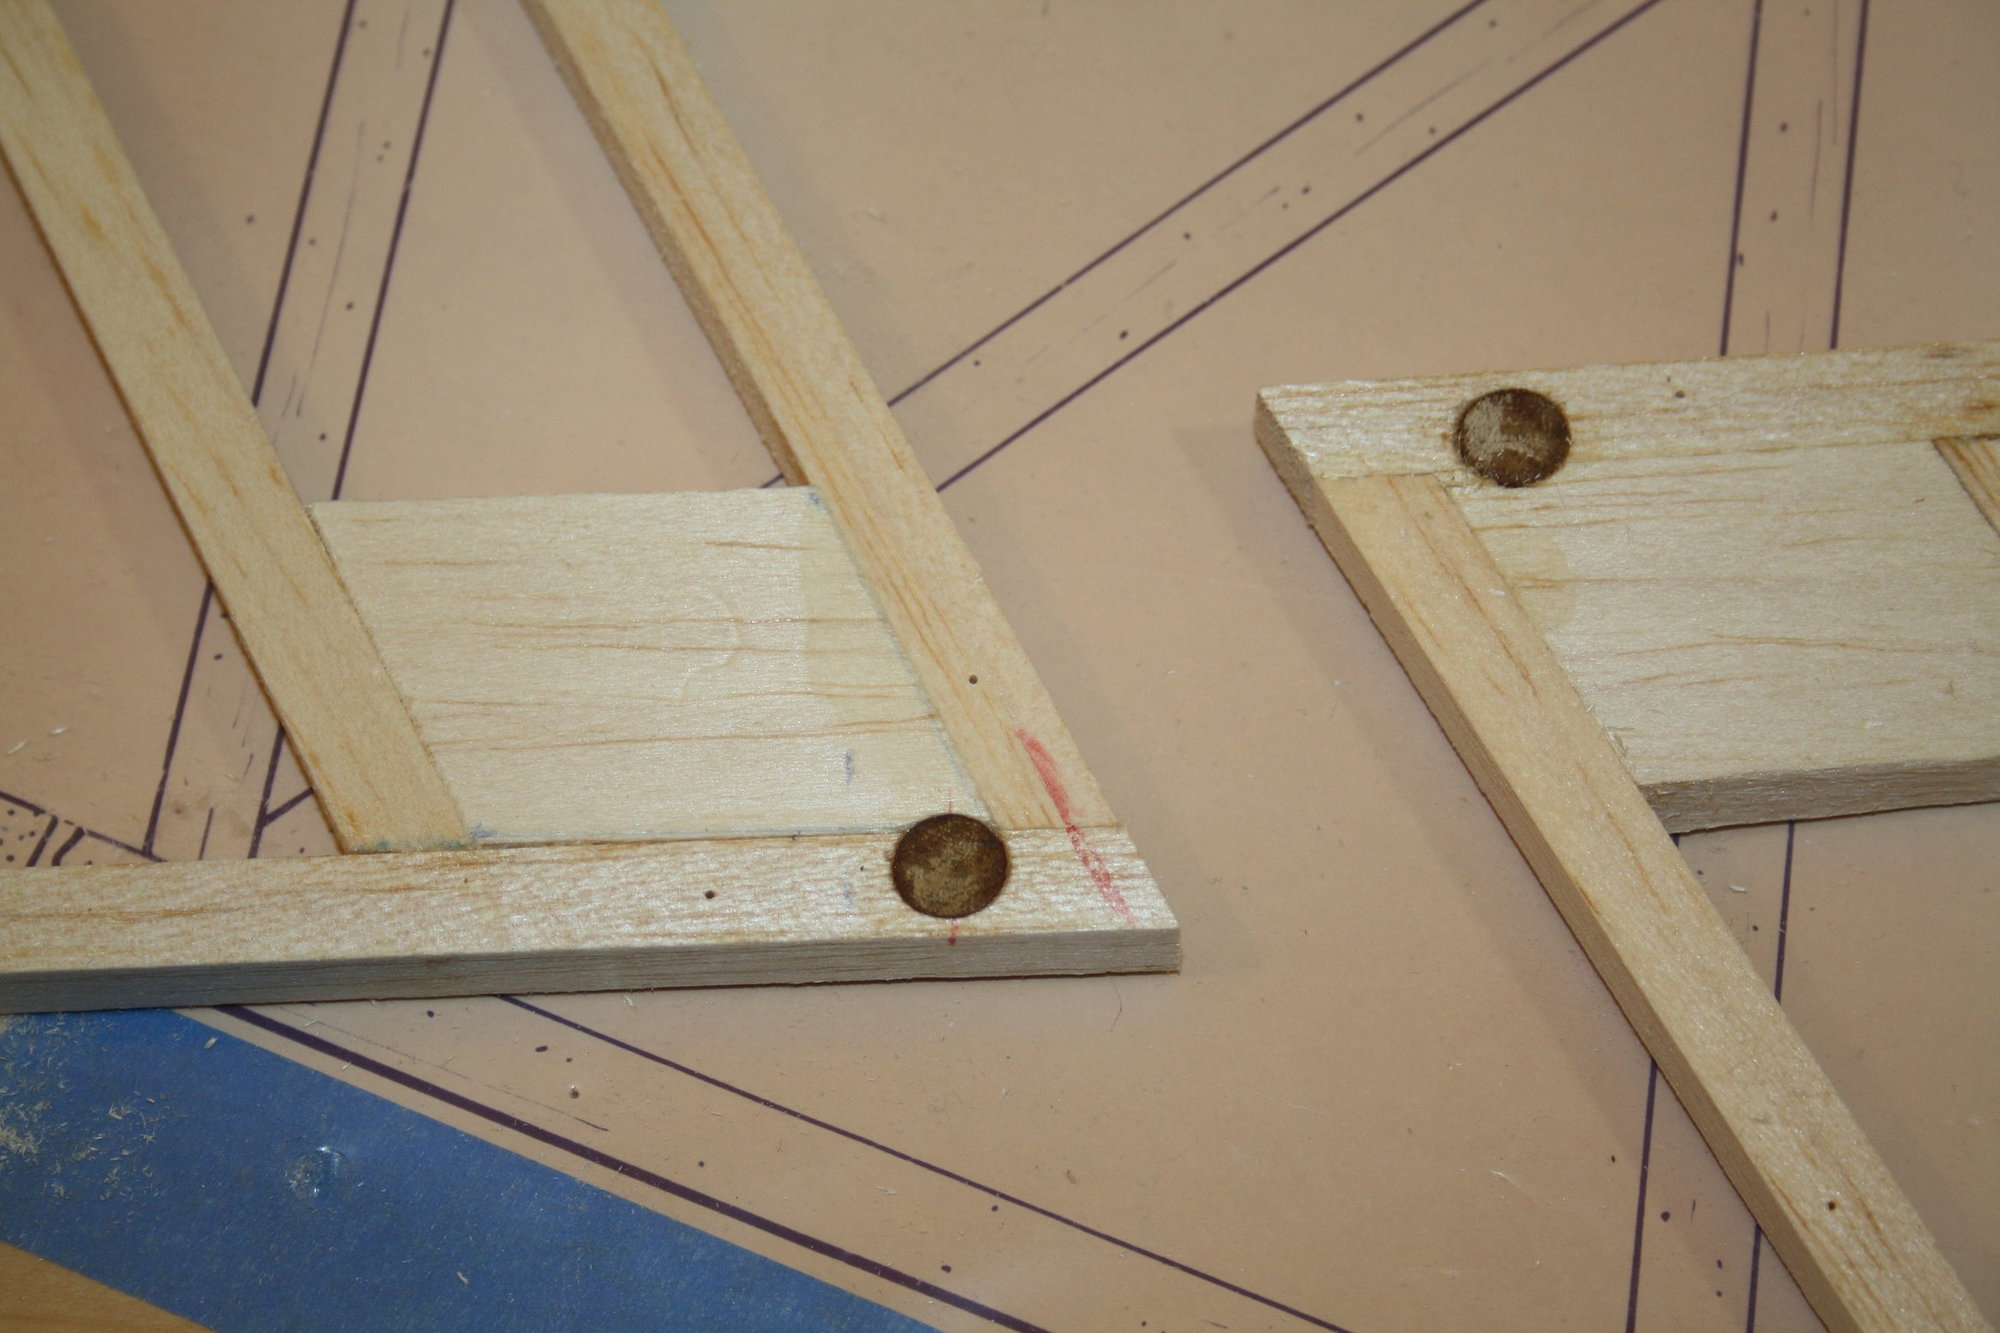
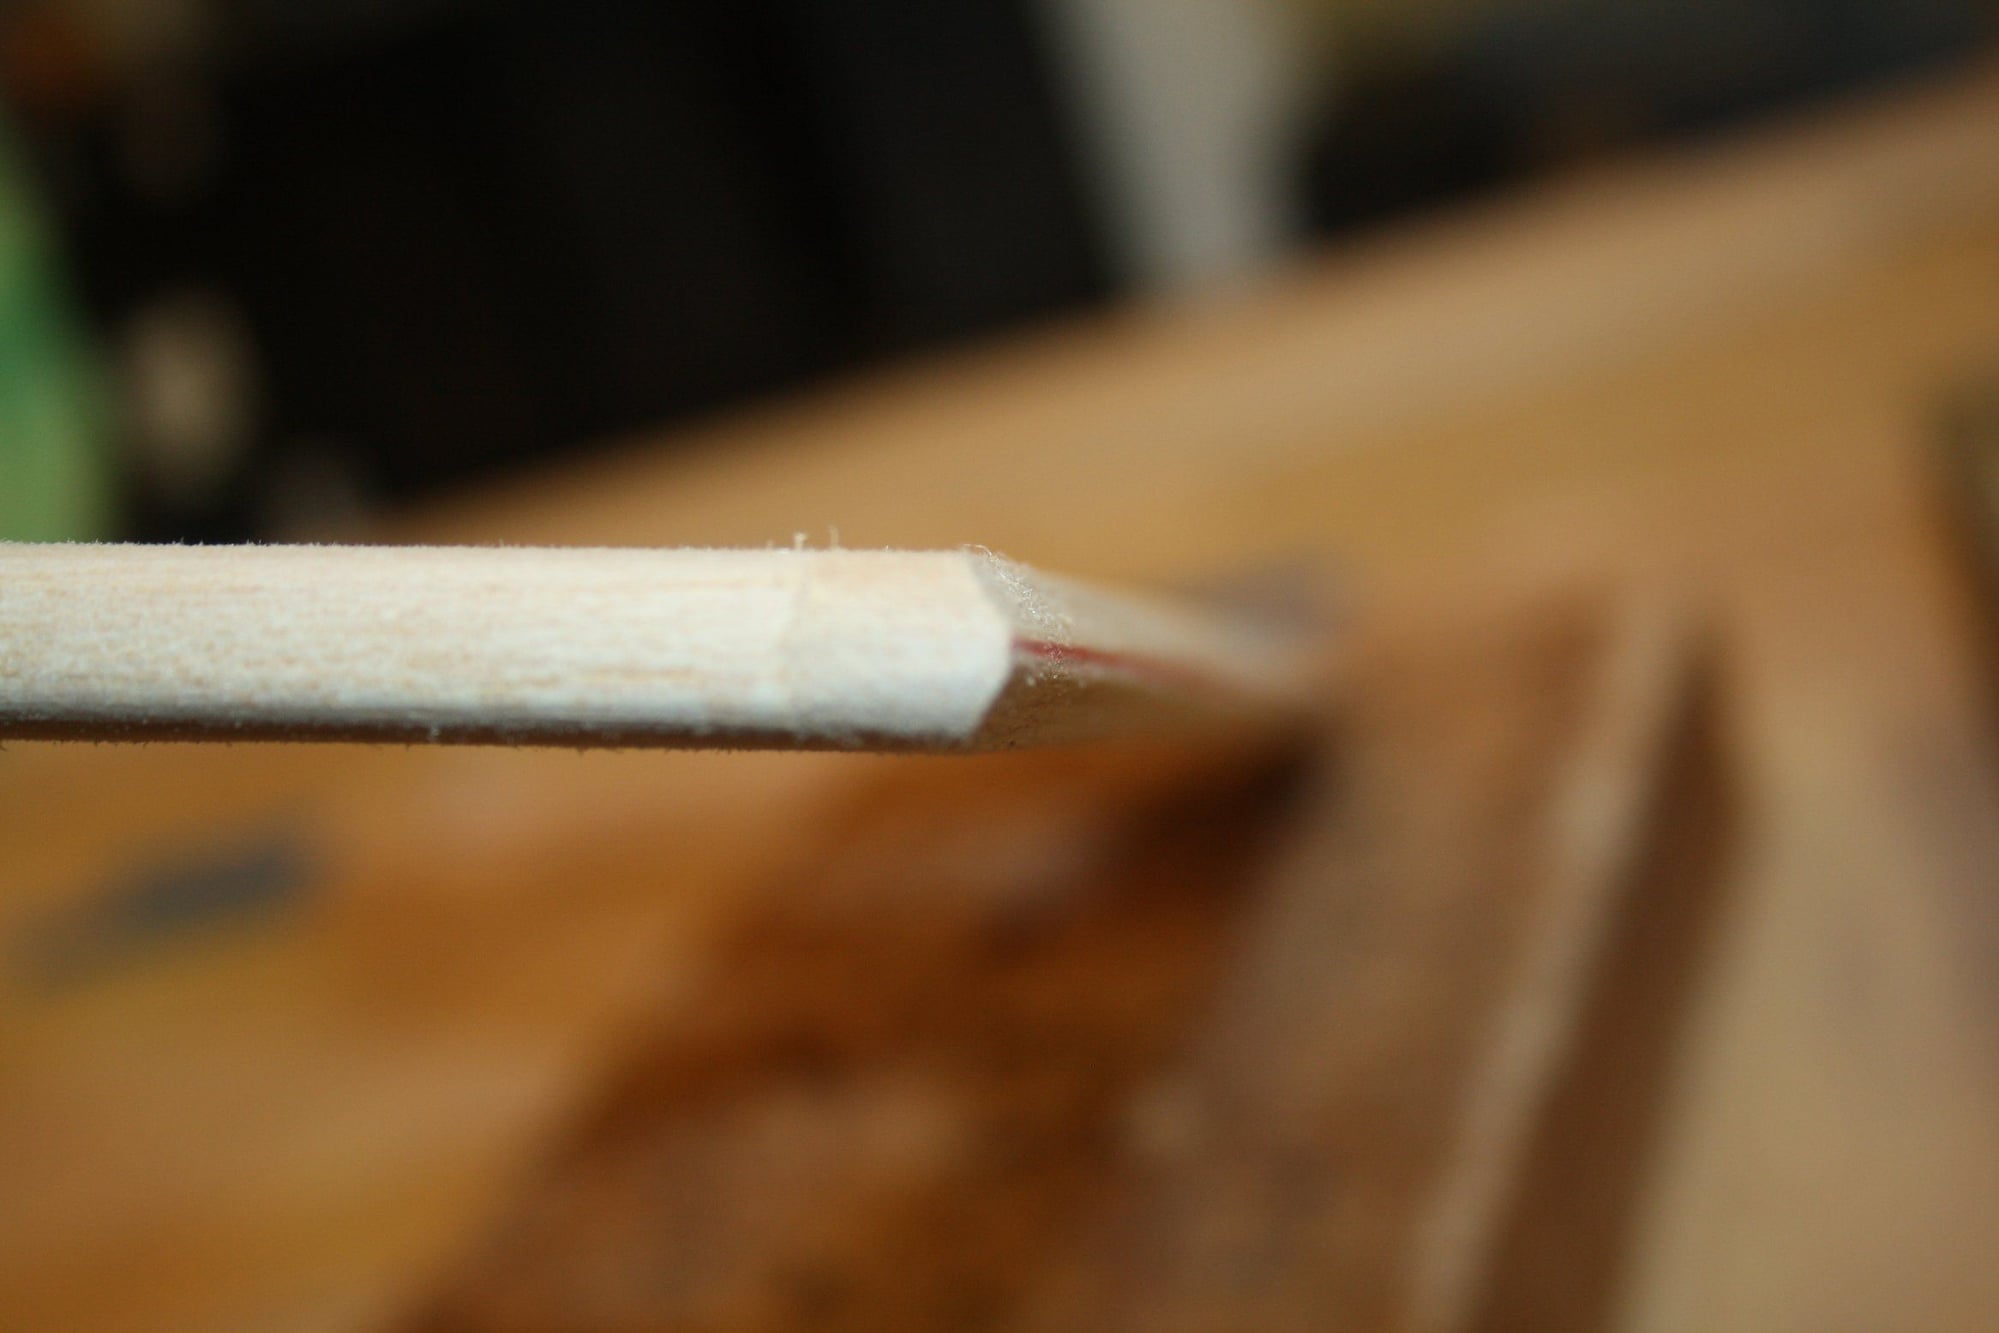
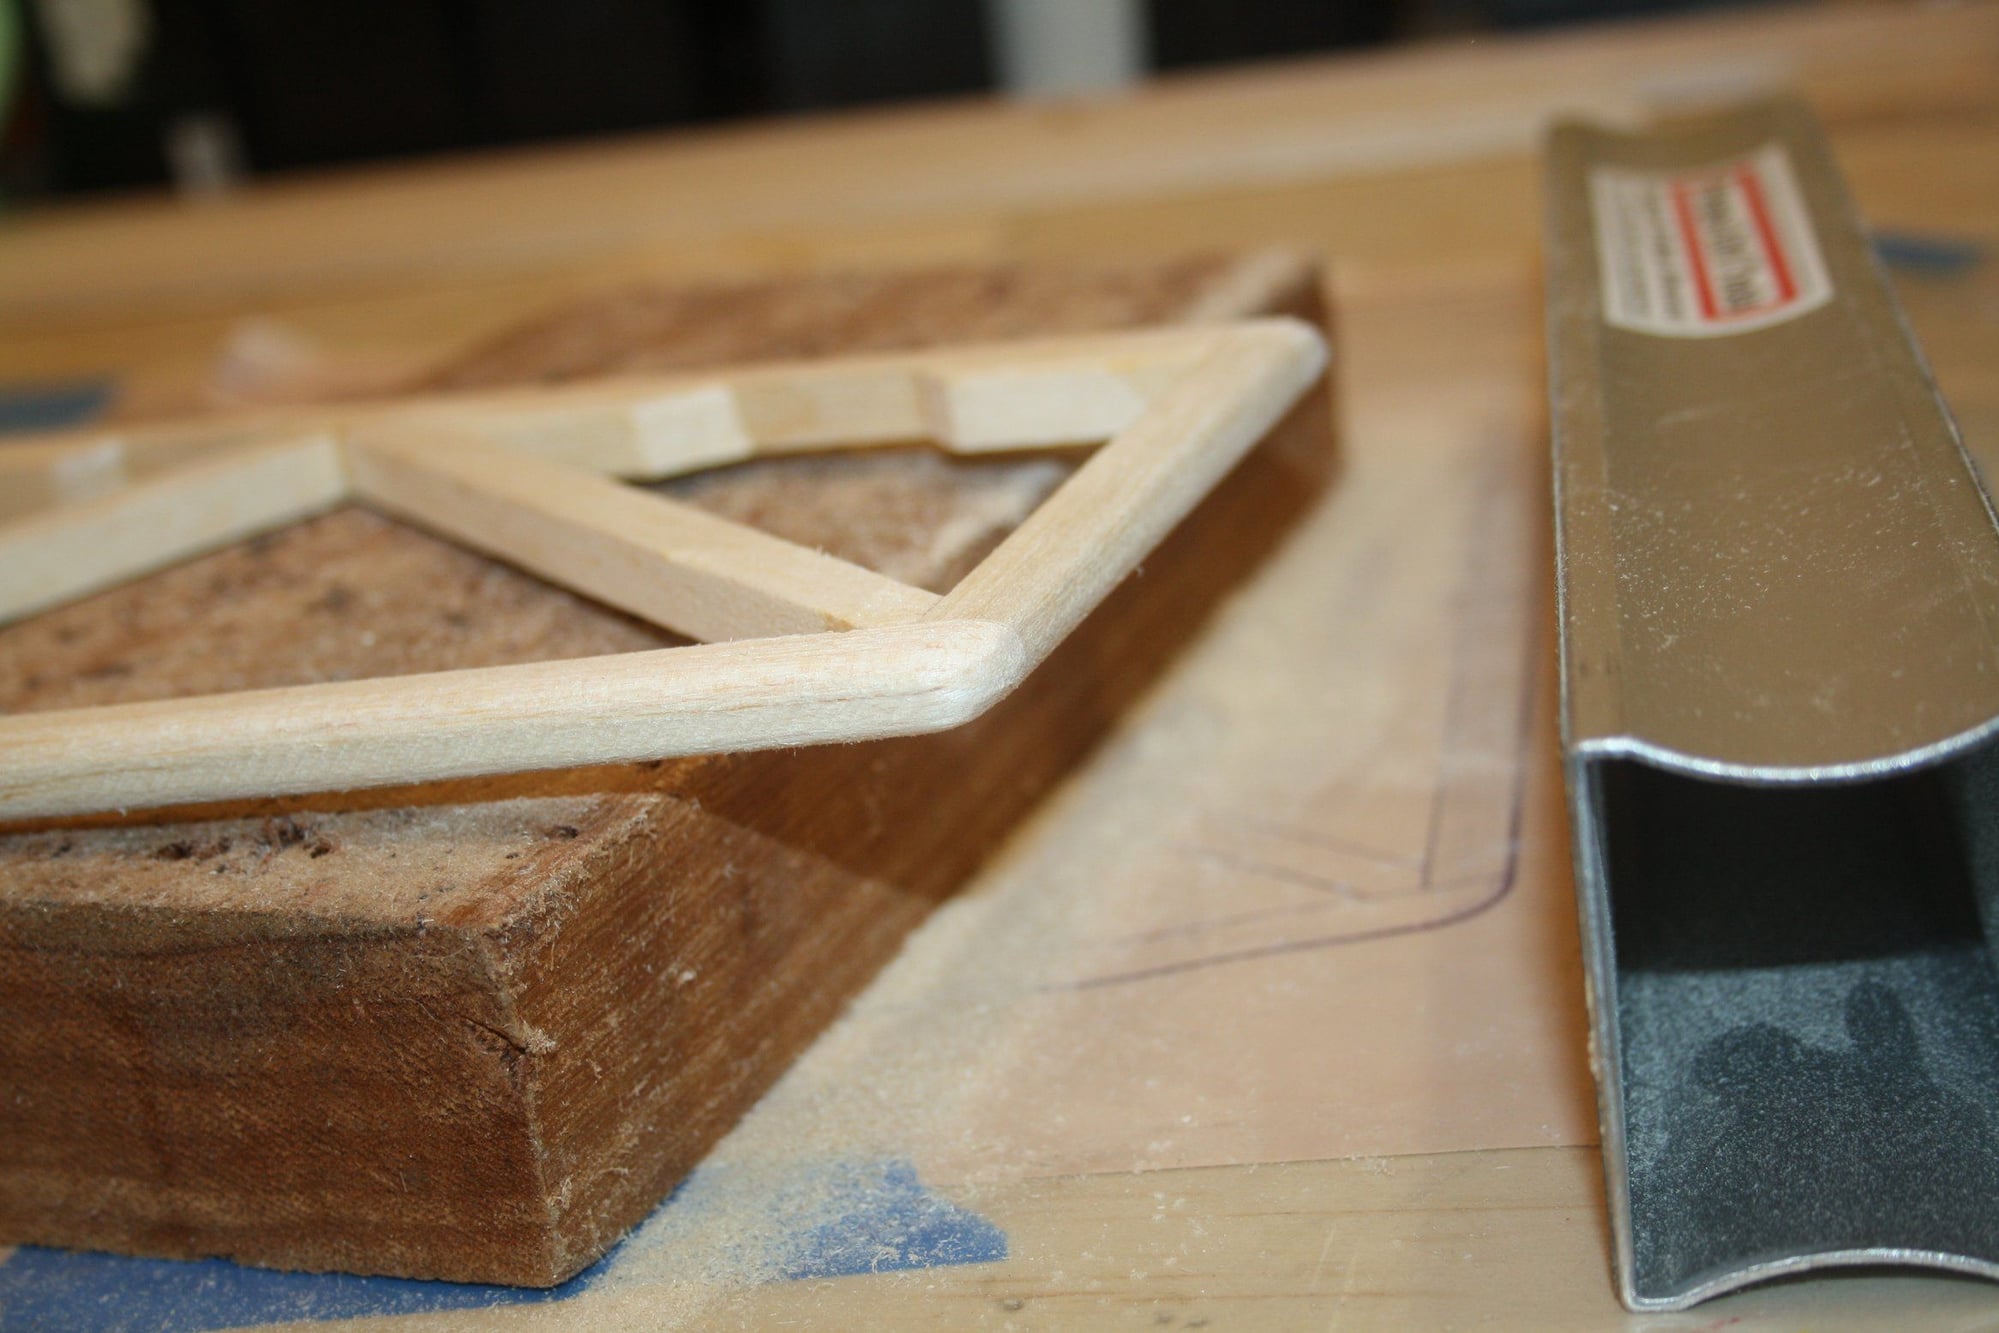
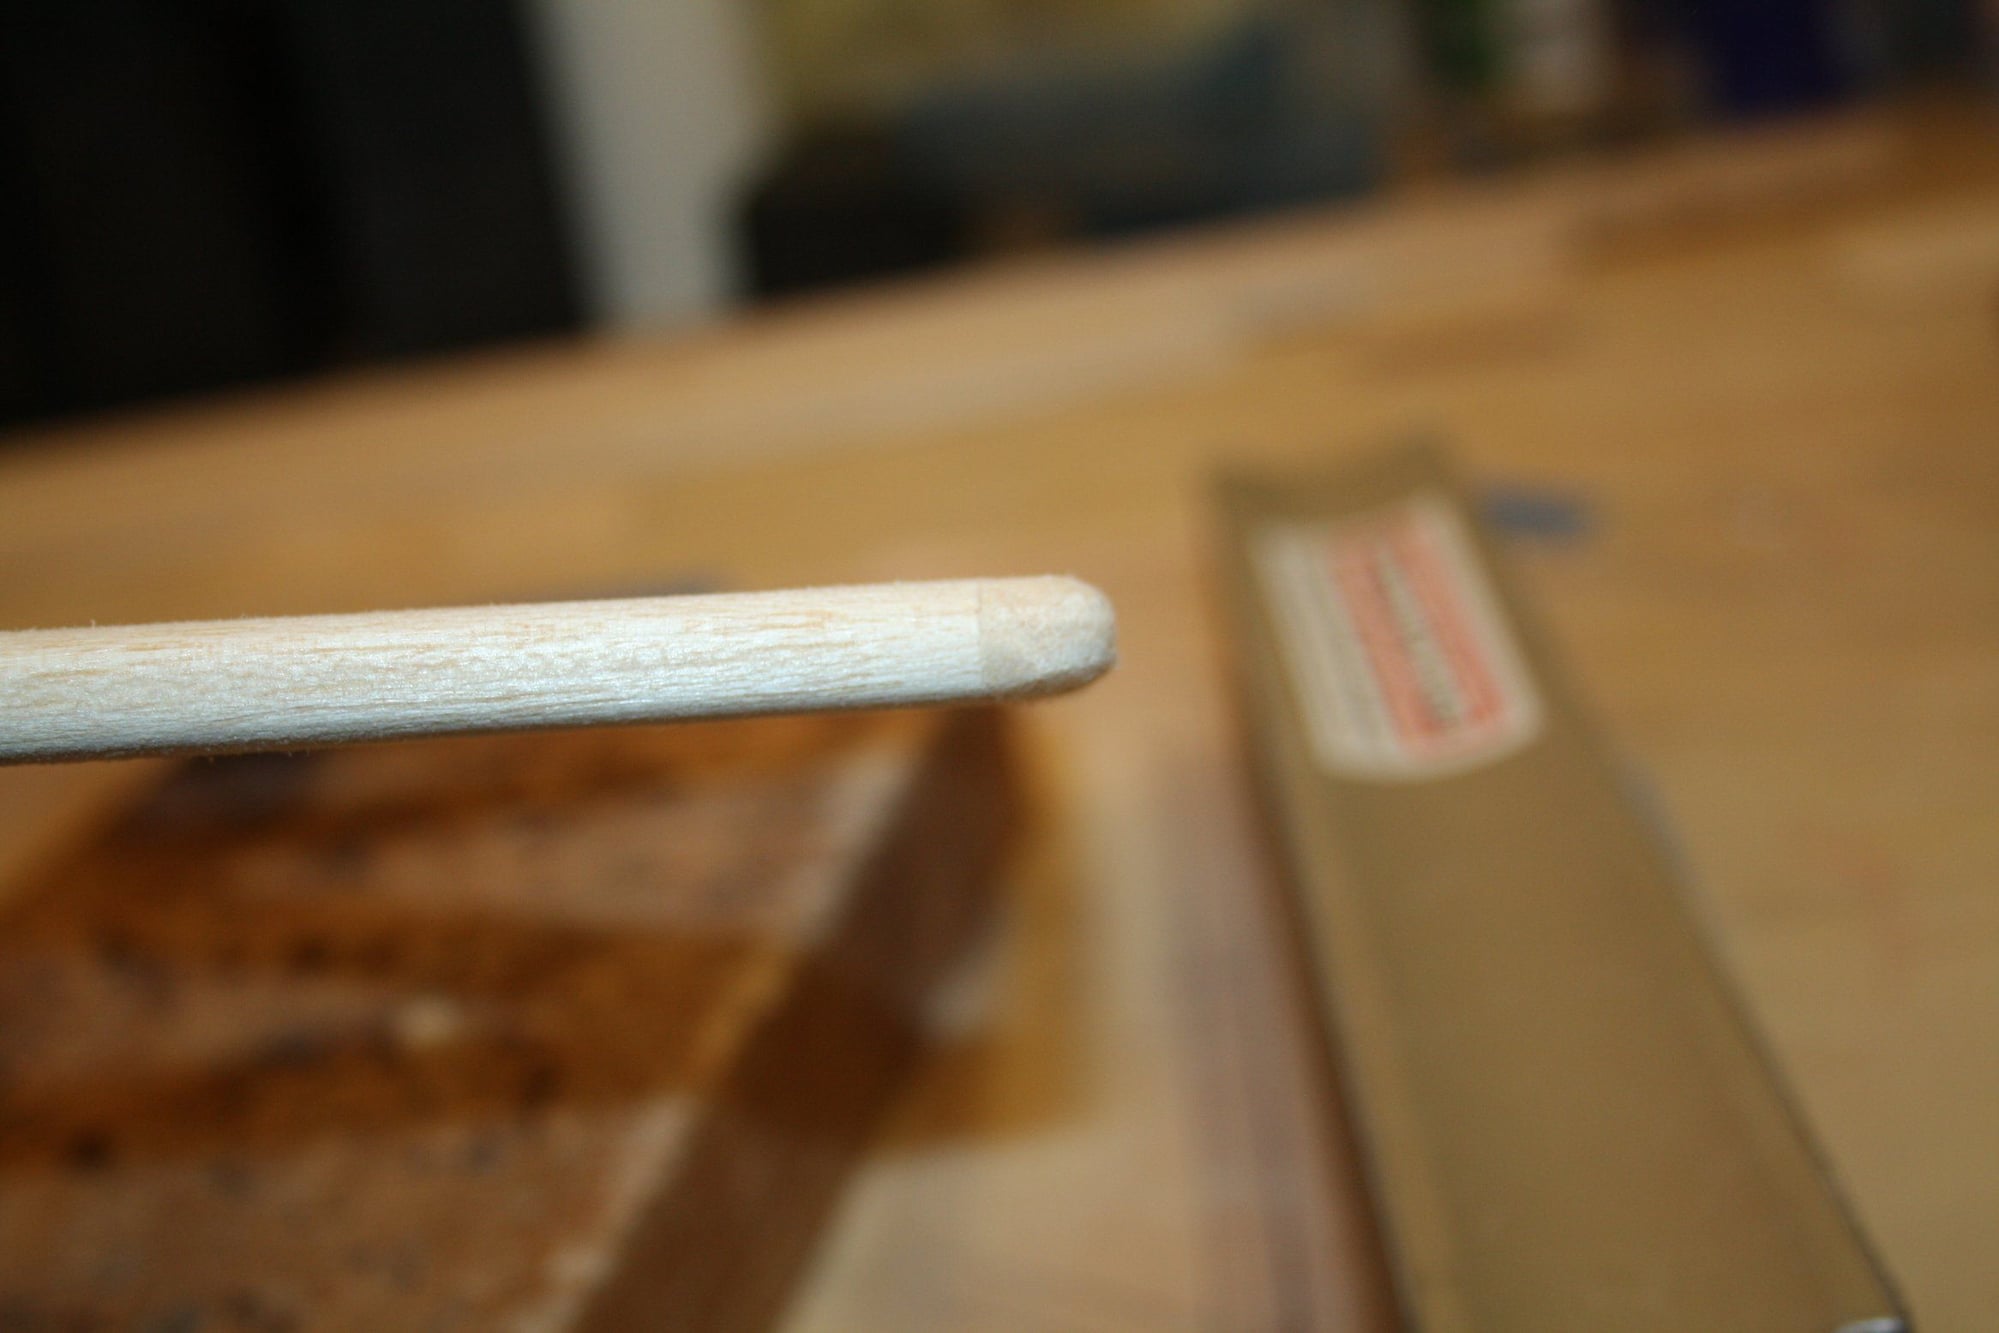
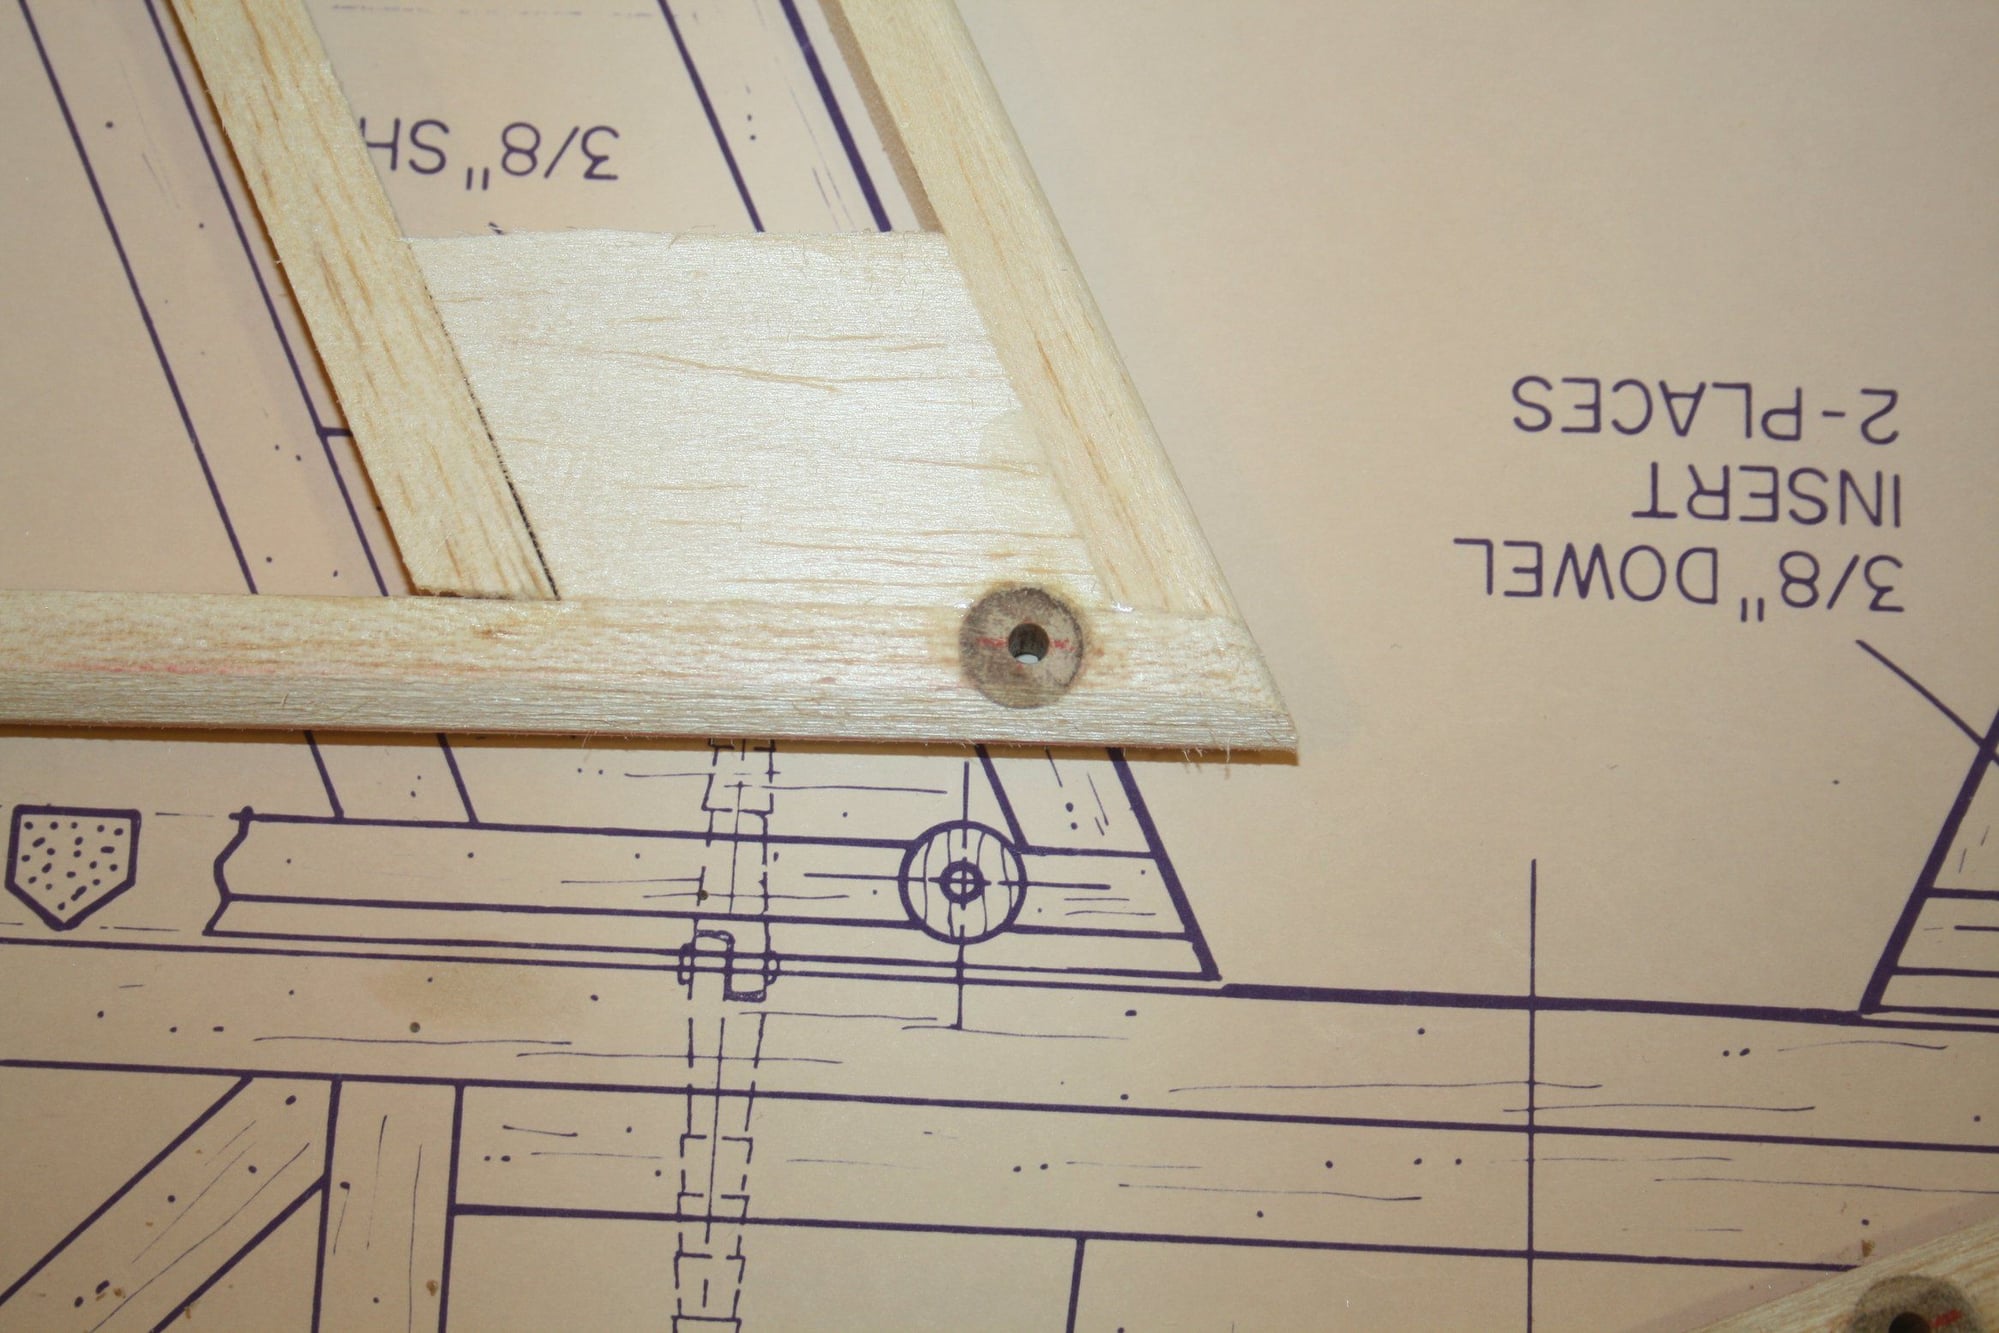
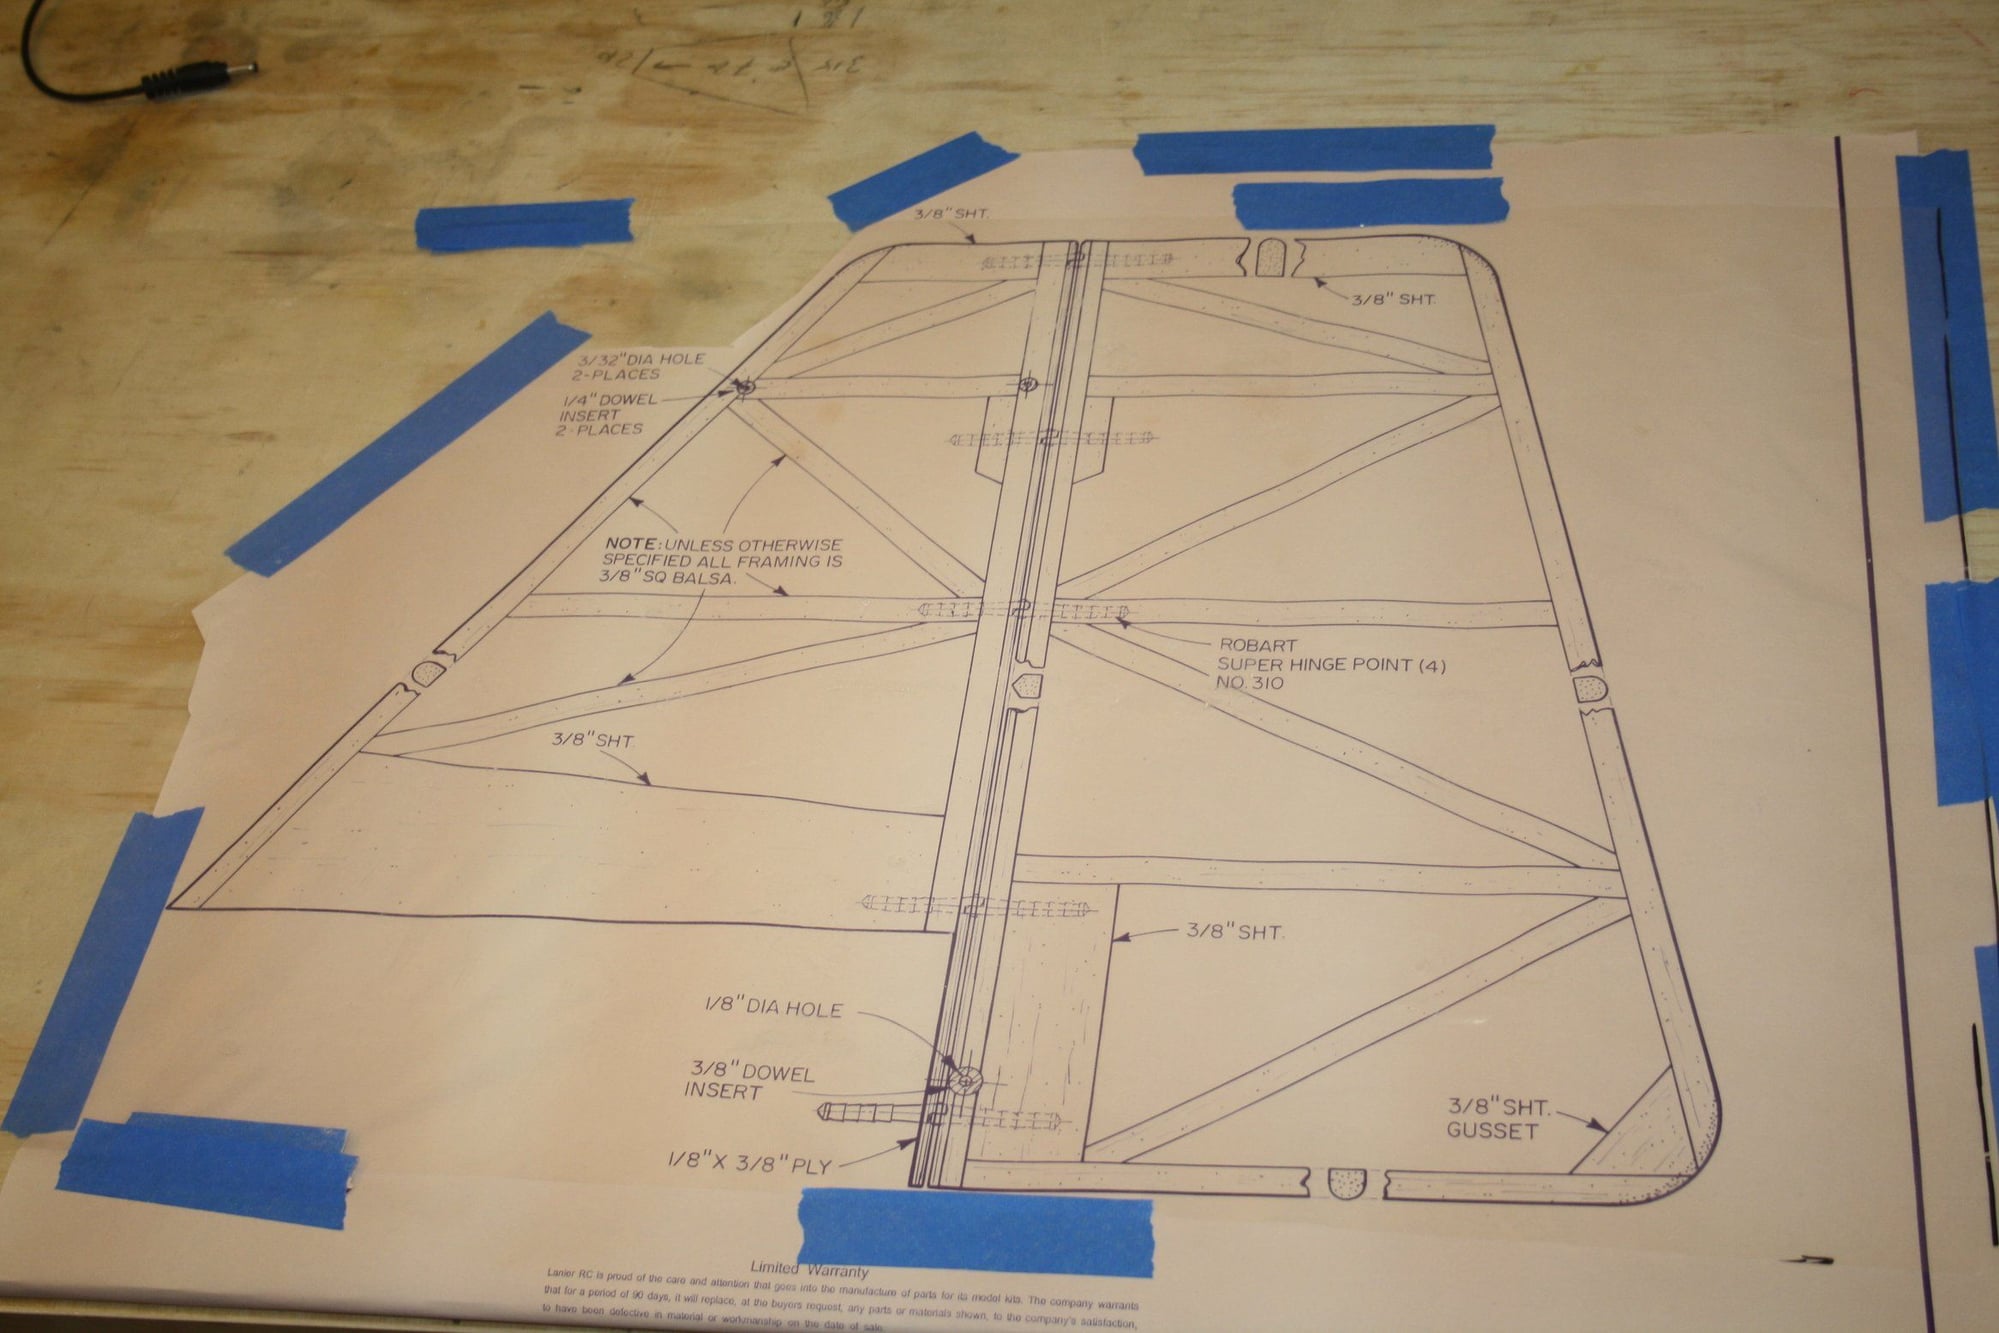
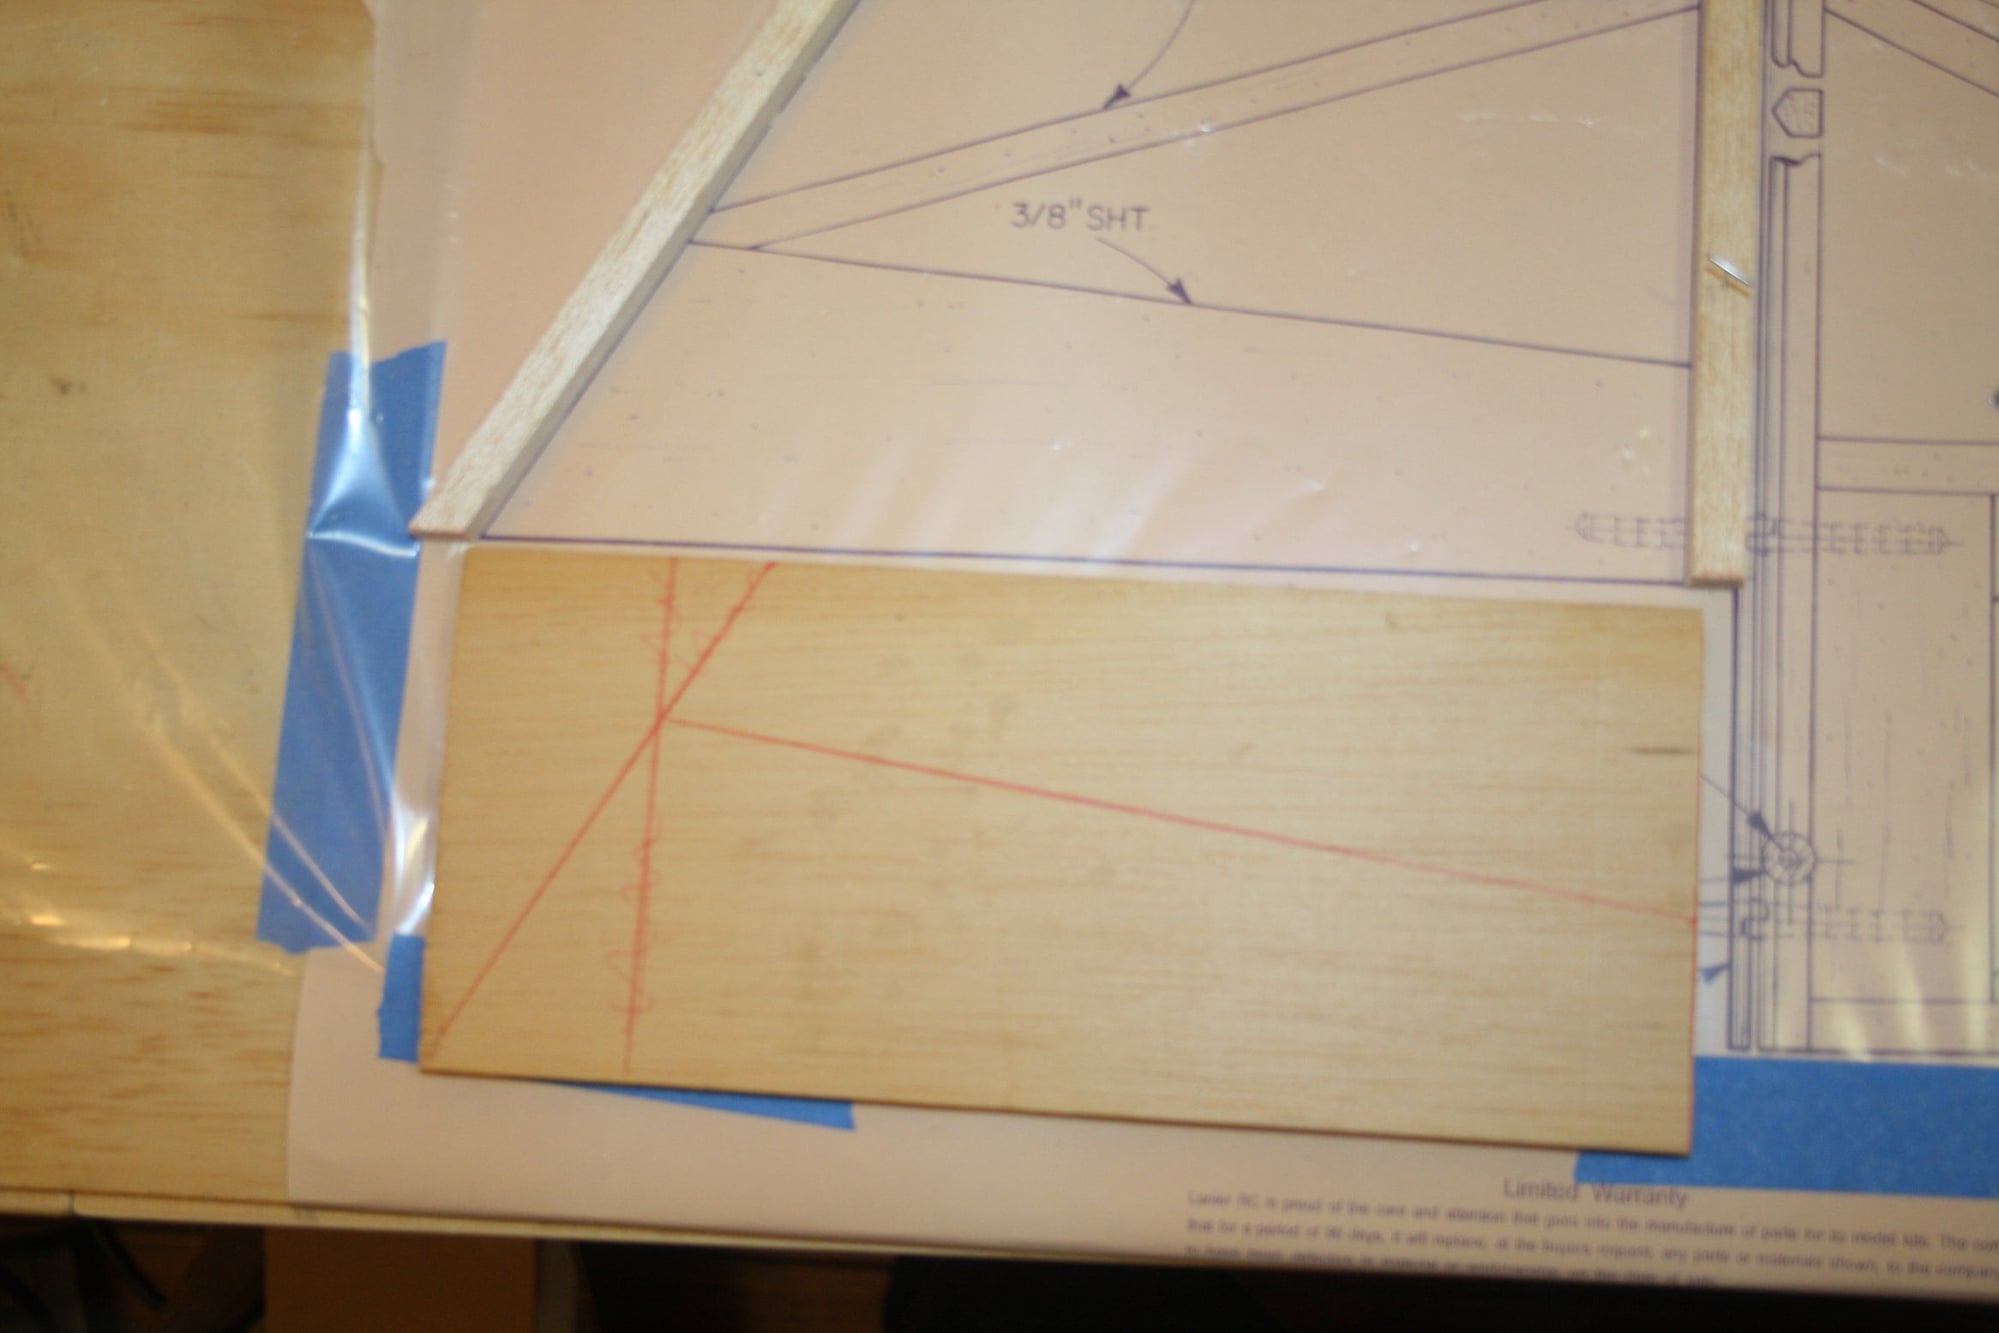
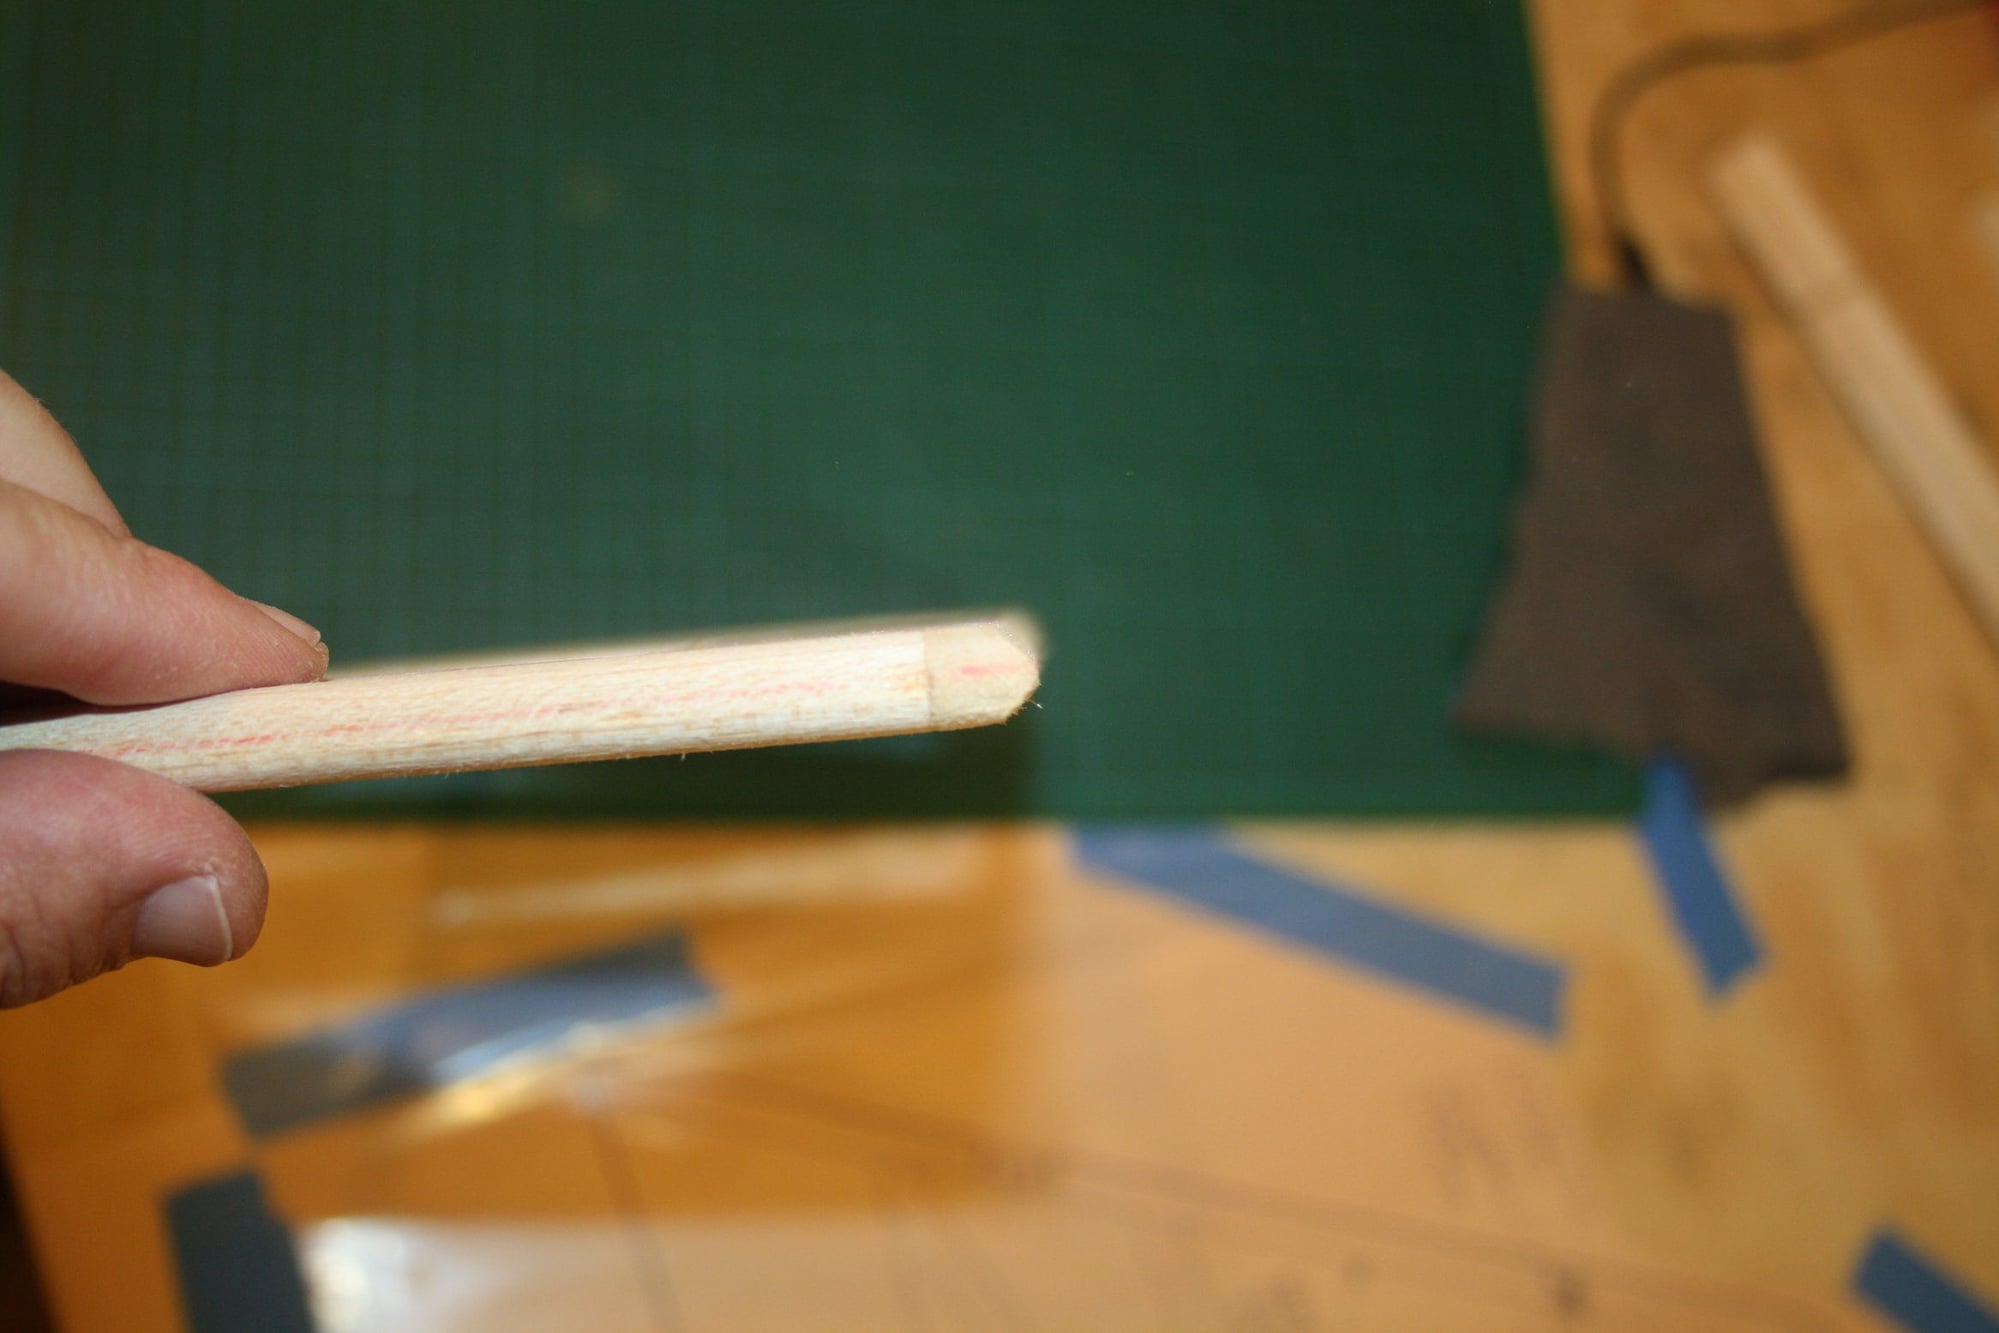
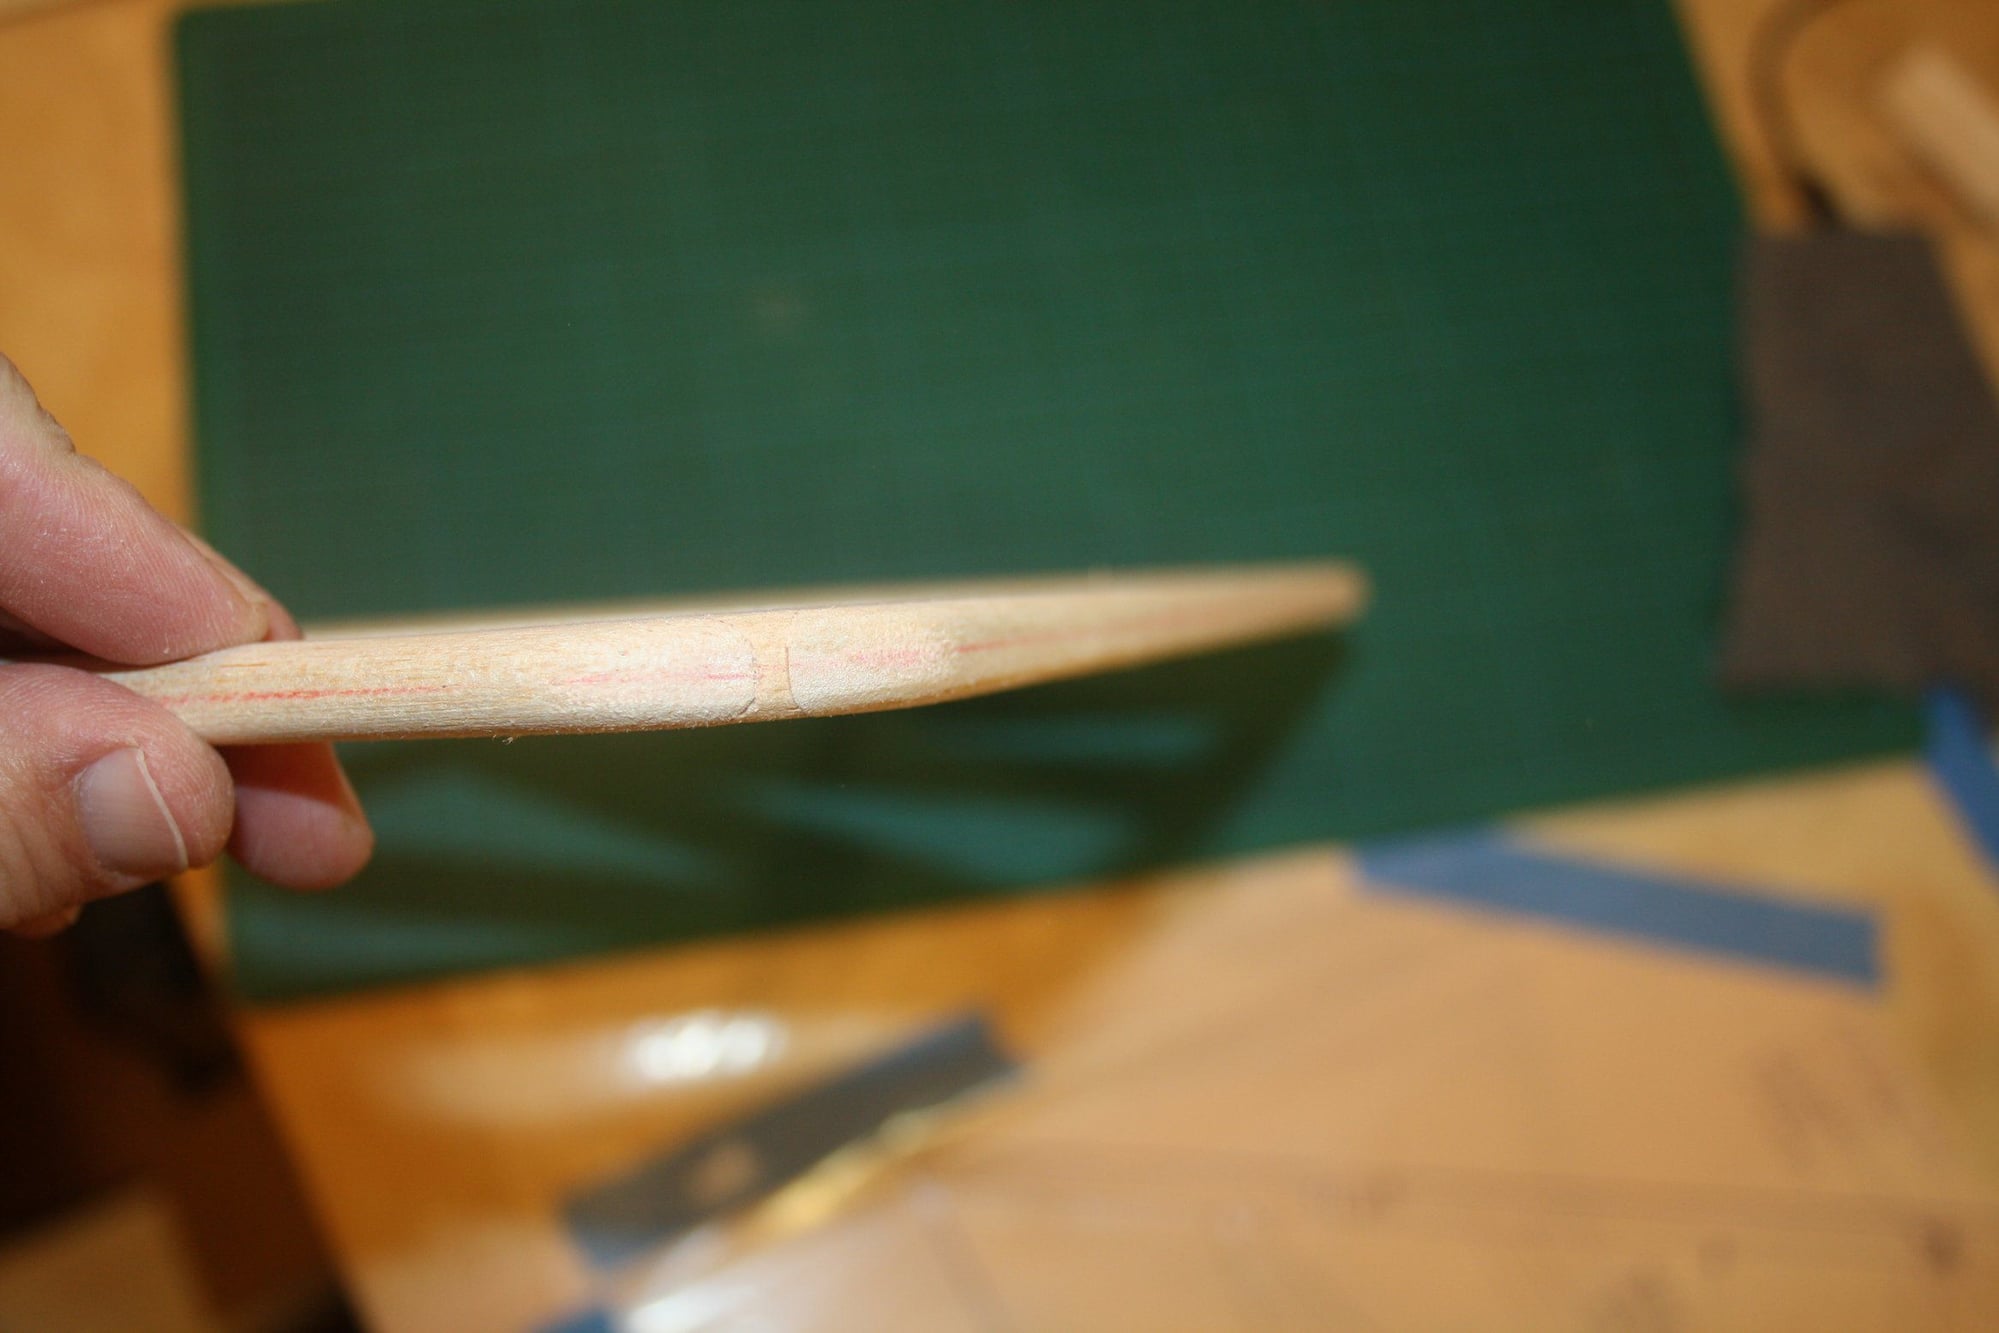
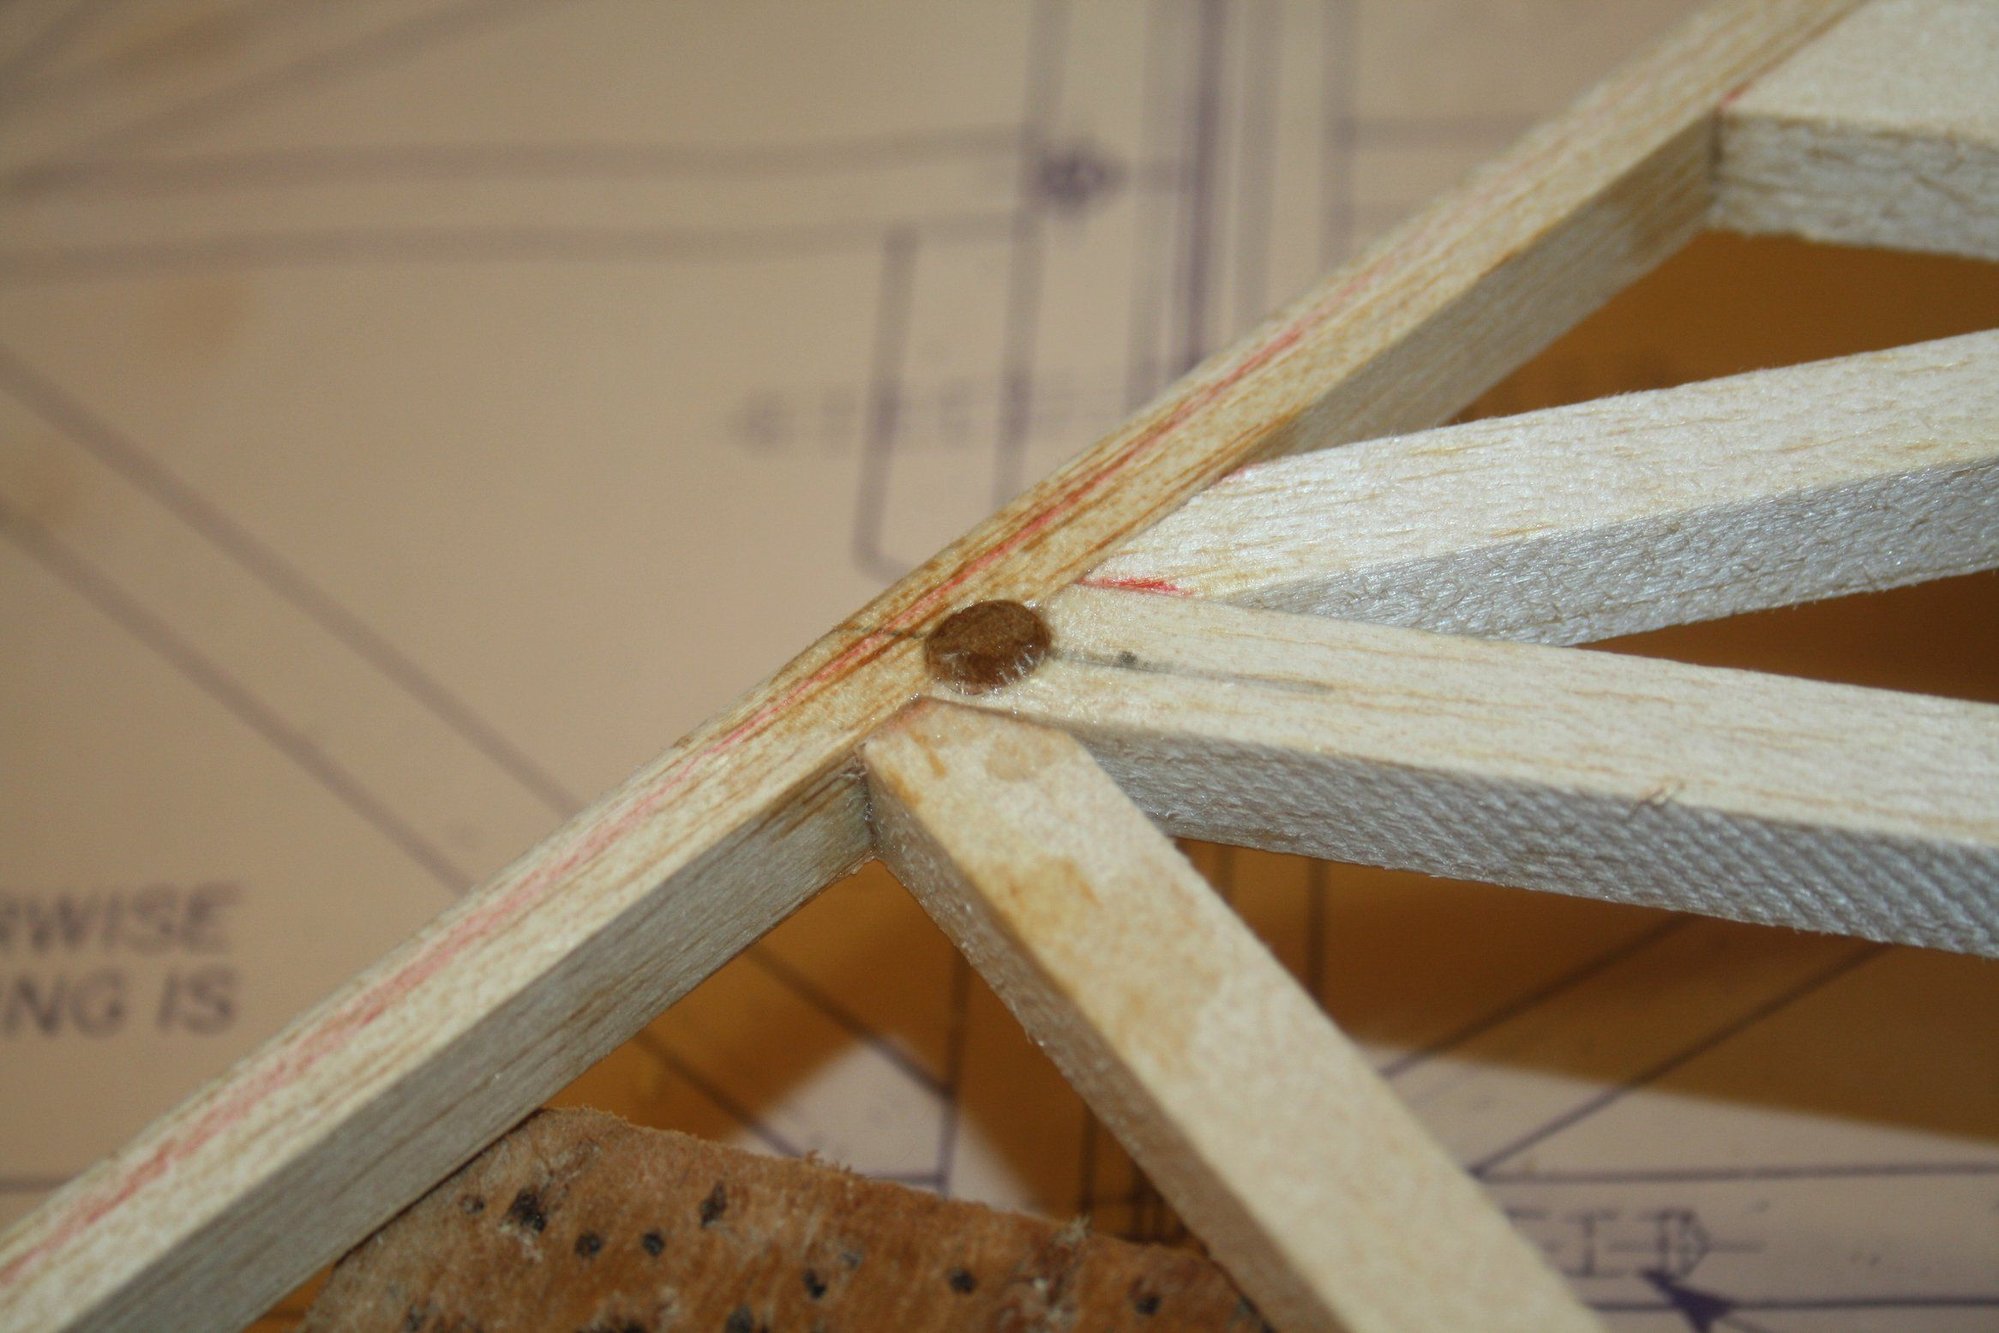
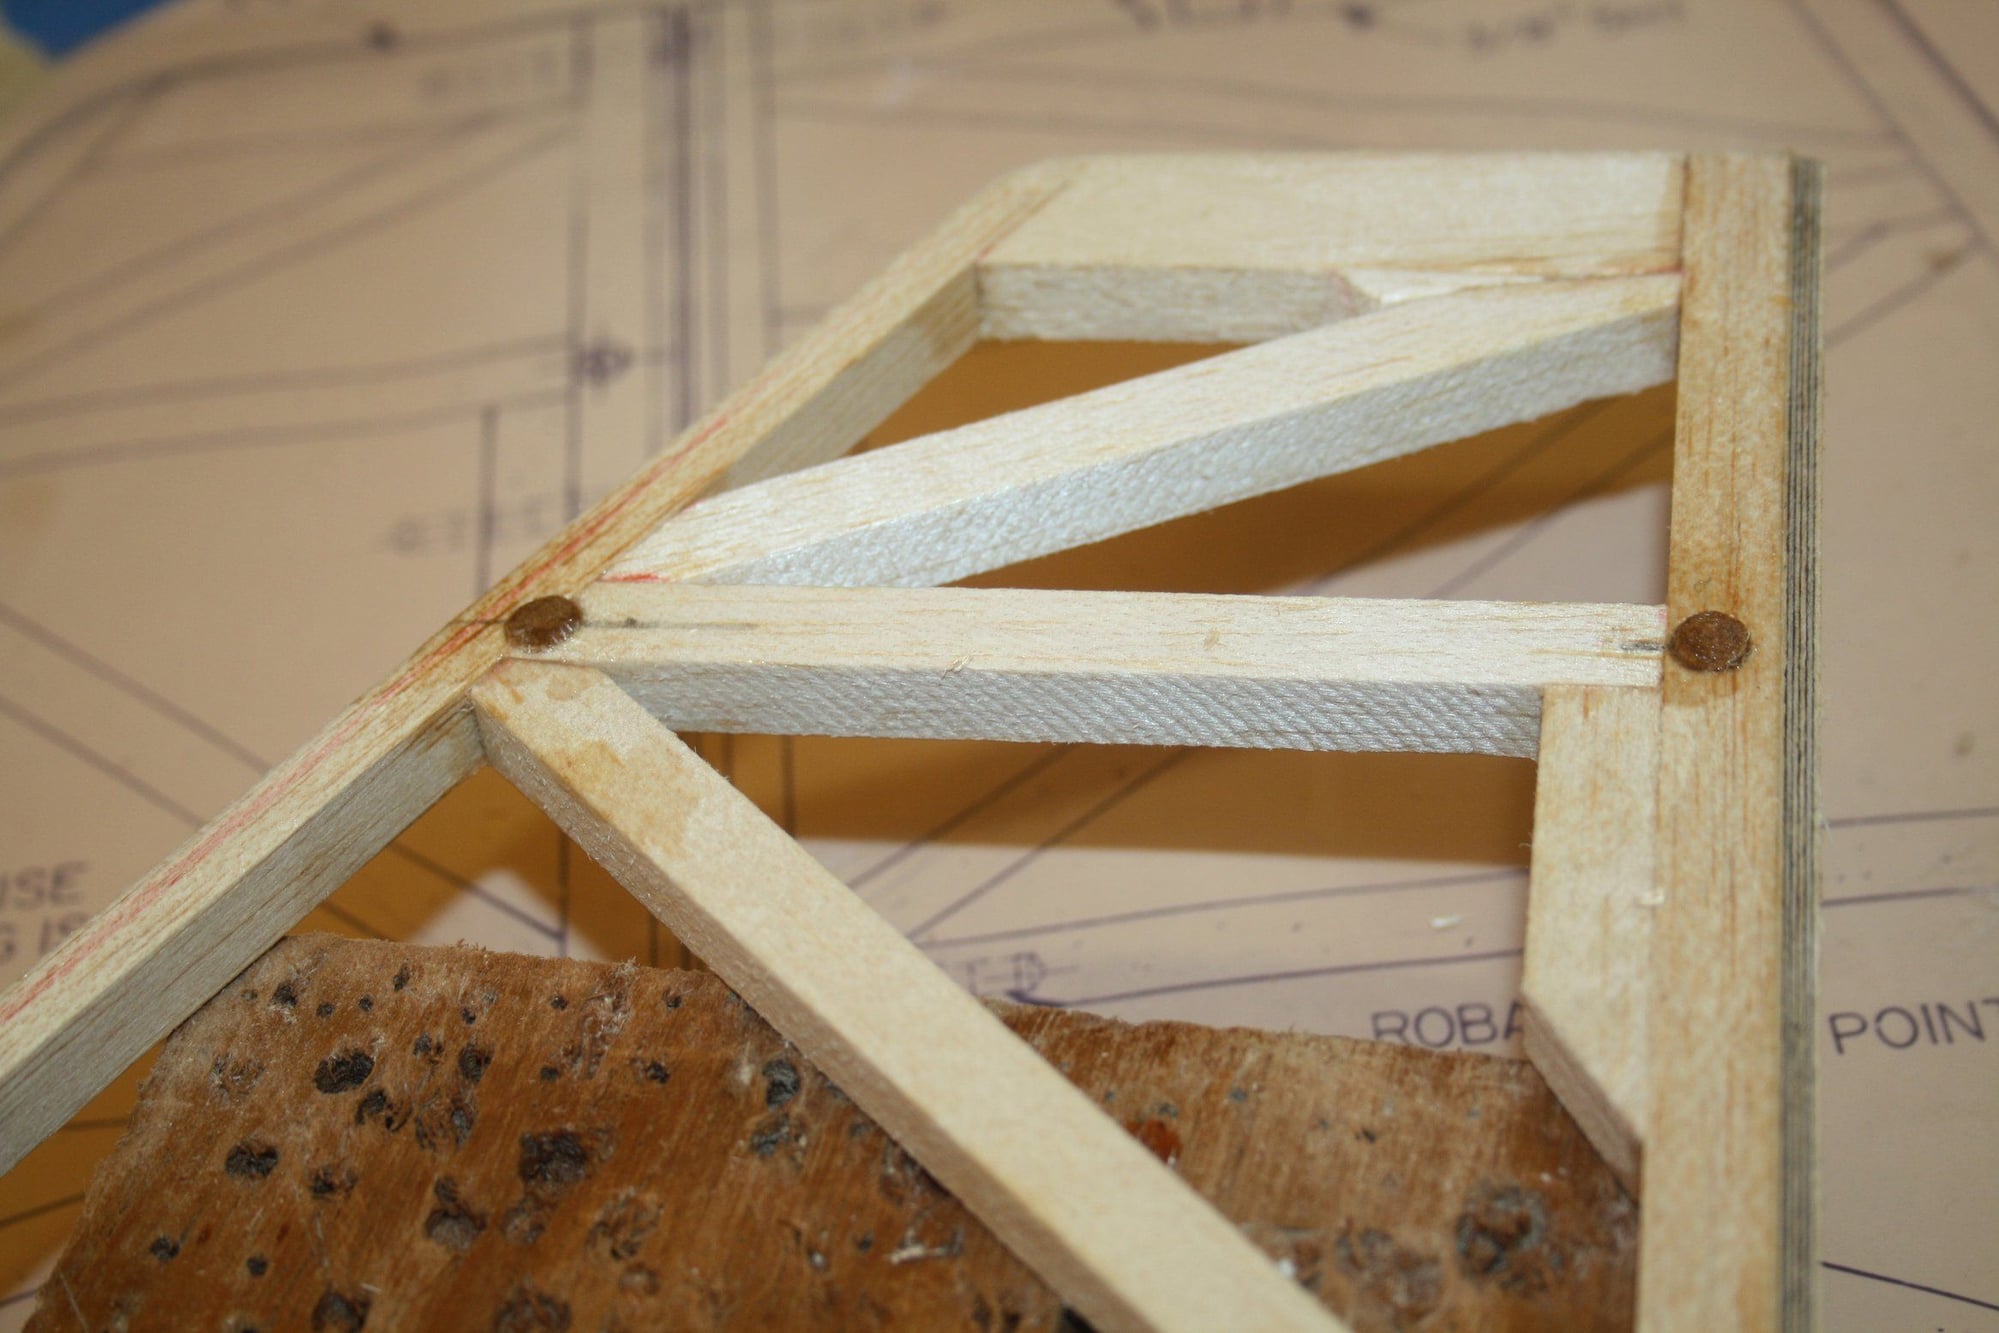
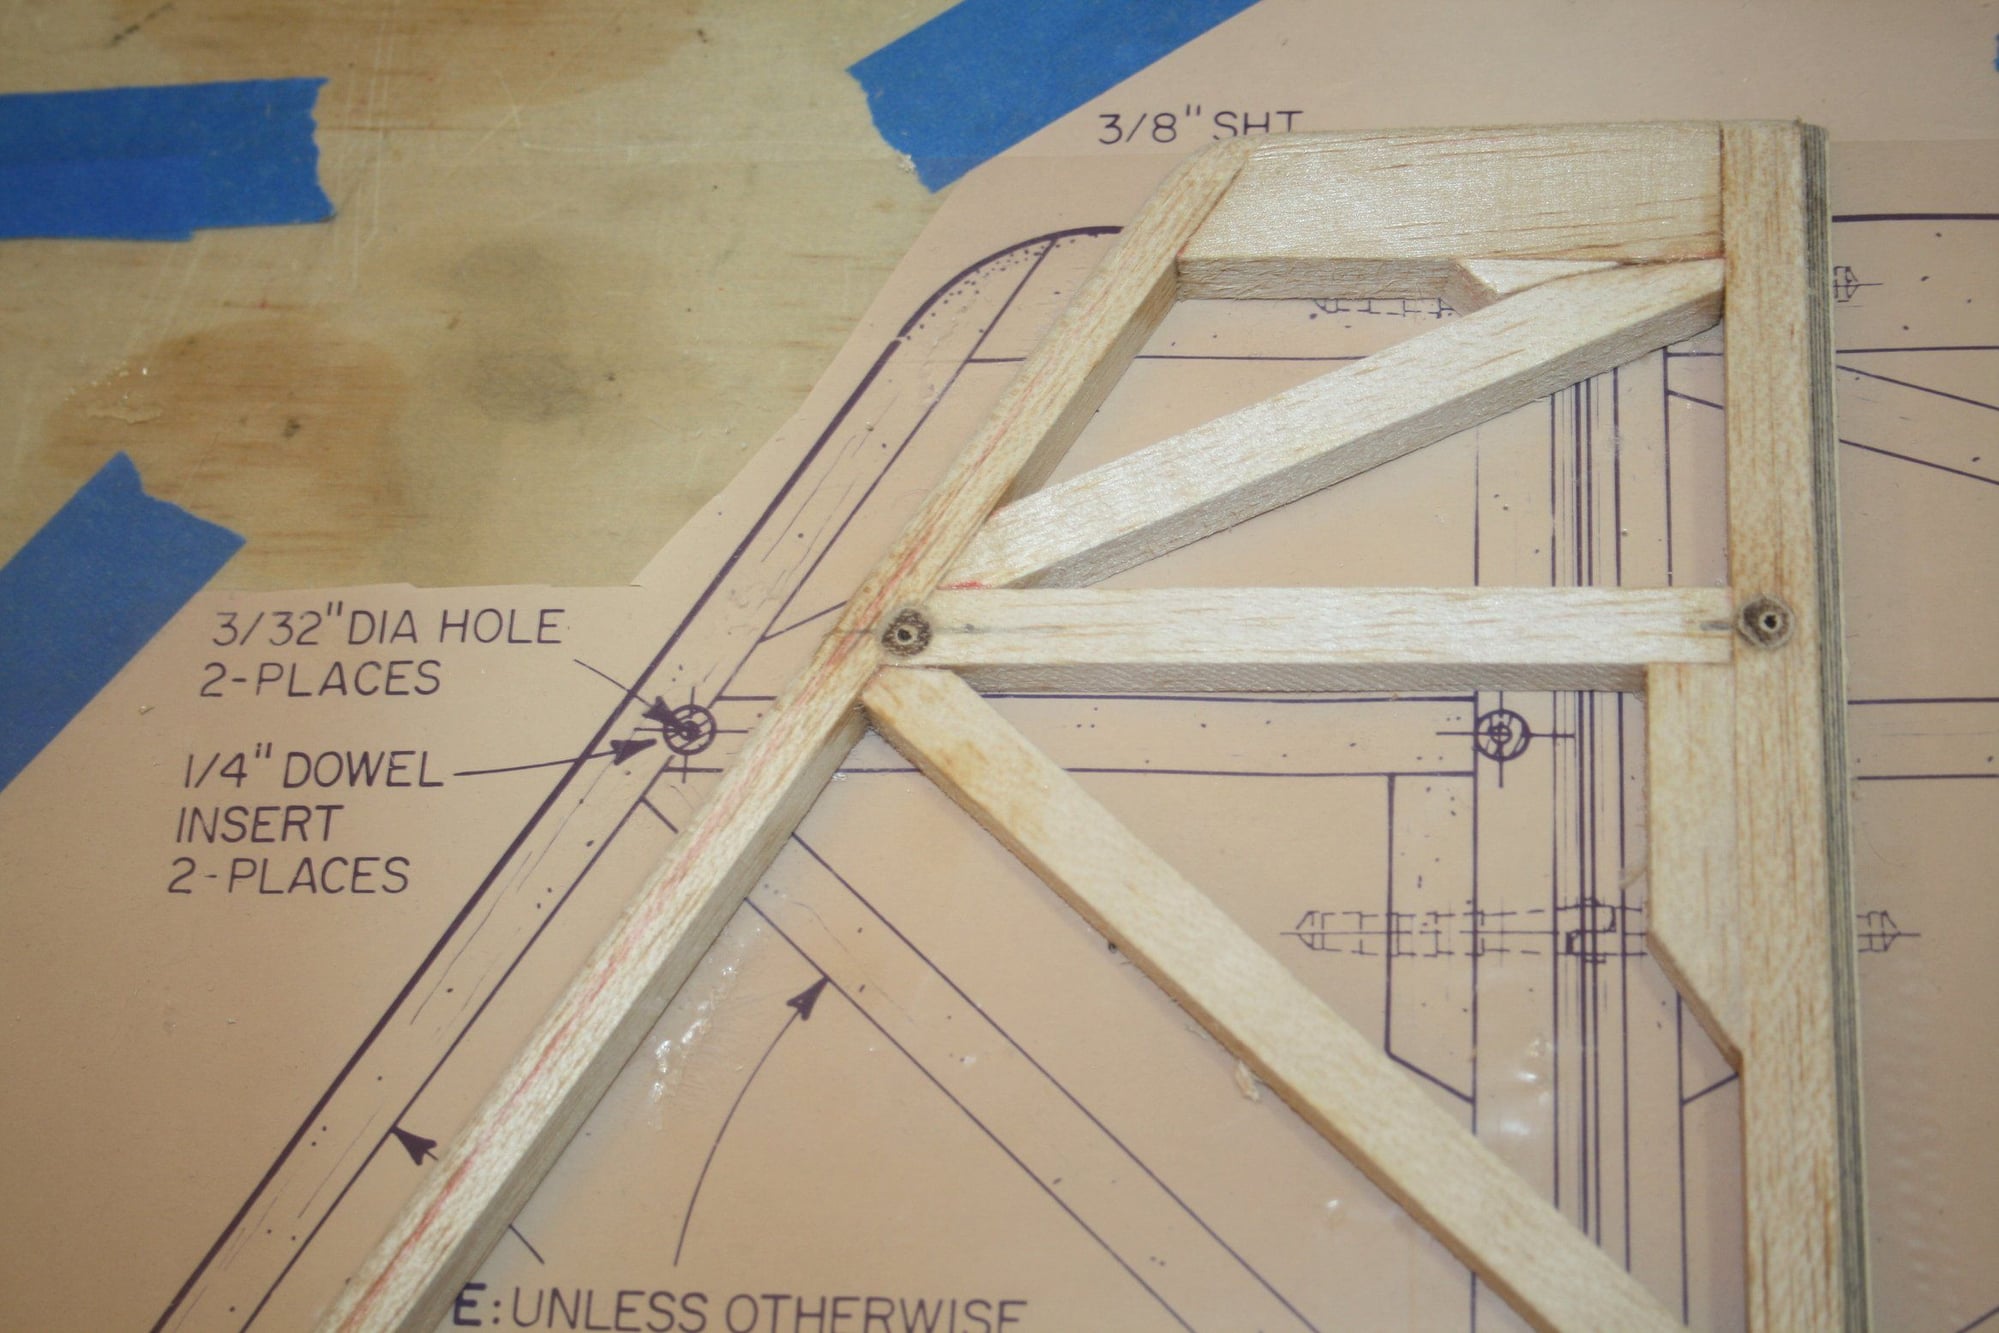
The Stinger has flying wires to strengthen the tail construction. The mounting for the flying wire hardware is through dowel inserts. The following photos showing the marking, drilling and gluing of the dowels to the tail surfaces.
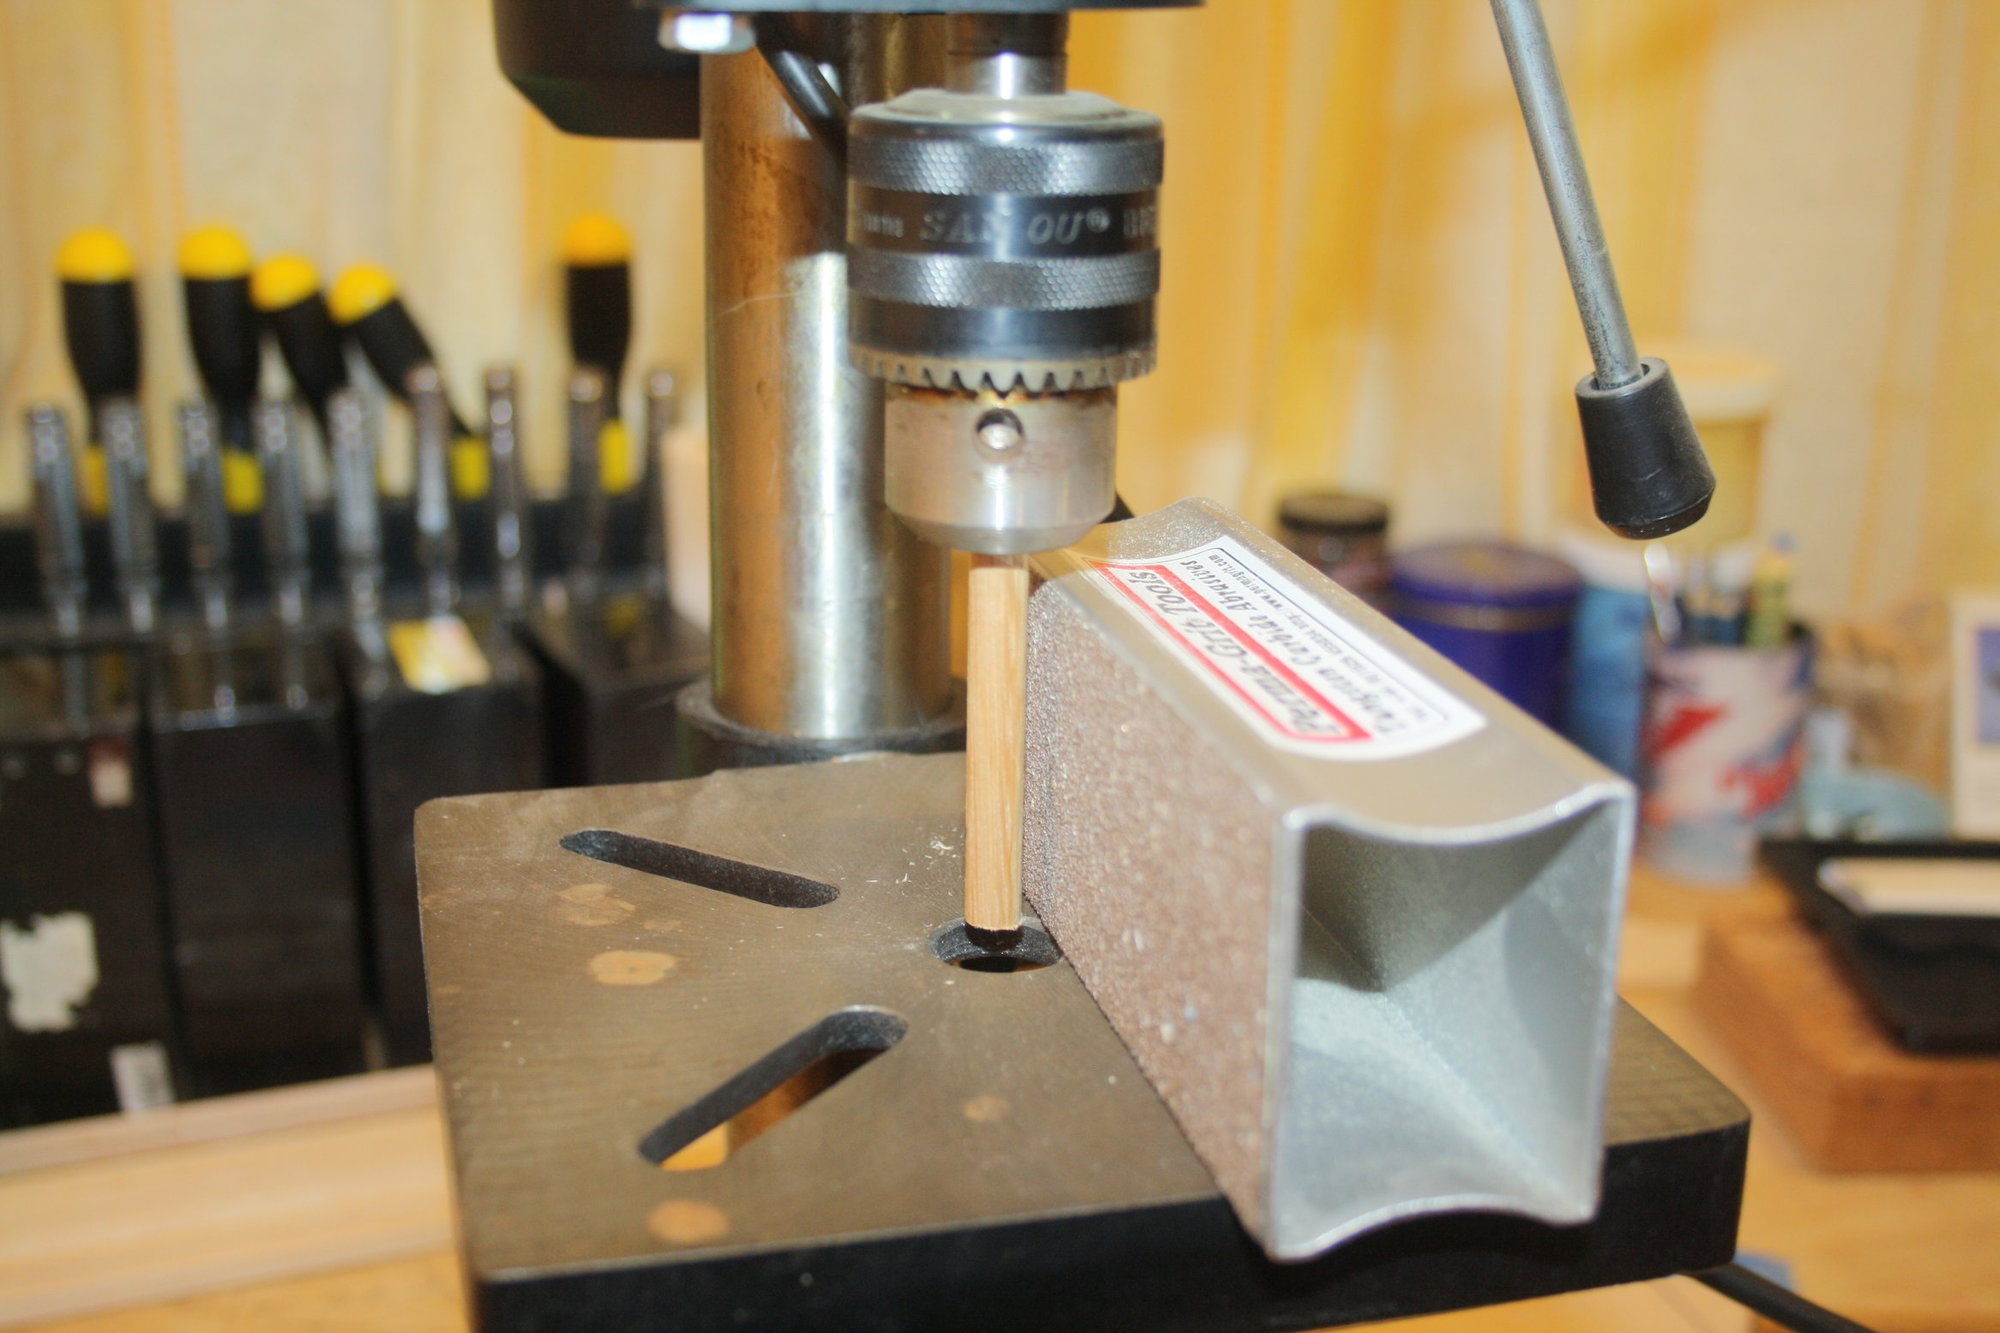
Since I didn't have the correct size dowel, I sanded a larger diameter dowel to size.
Cheers,
Eran
Since I didn't have the correct size dowel, I sanded a larger diameter dowel to size.
Cheers,
Eran

The following users liked this post:
RJStrickJR (09-25-2023)
10-12-2023, 08:07 PM
#41
Thread Starter
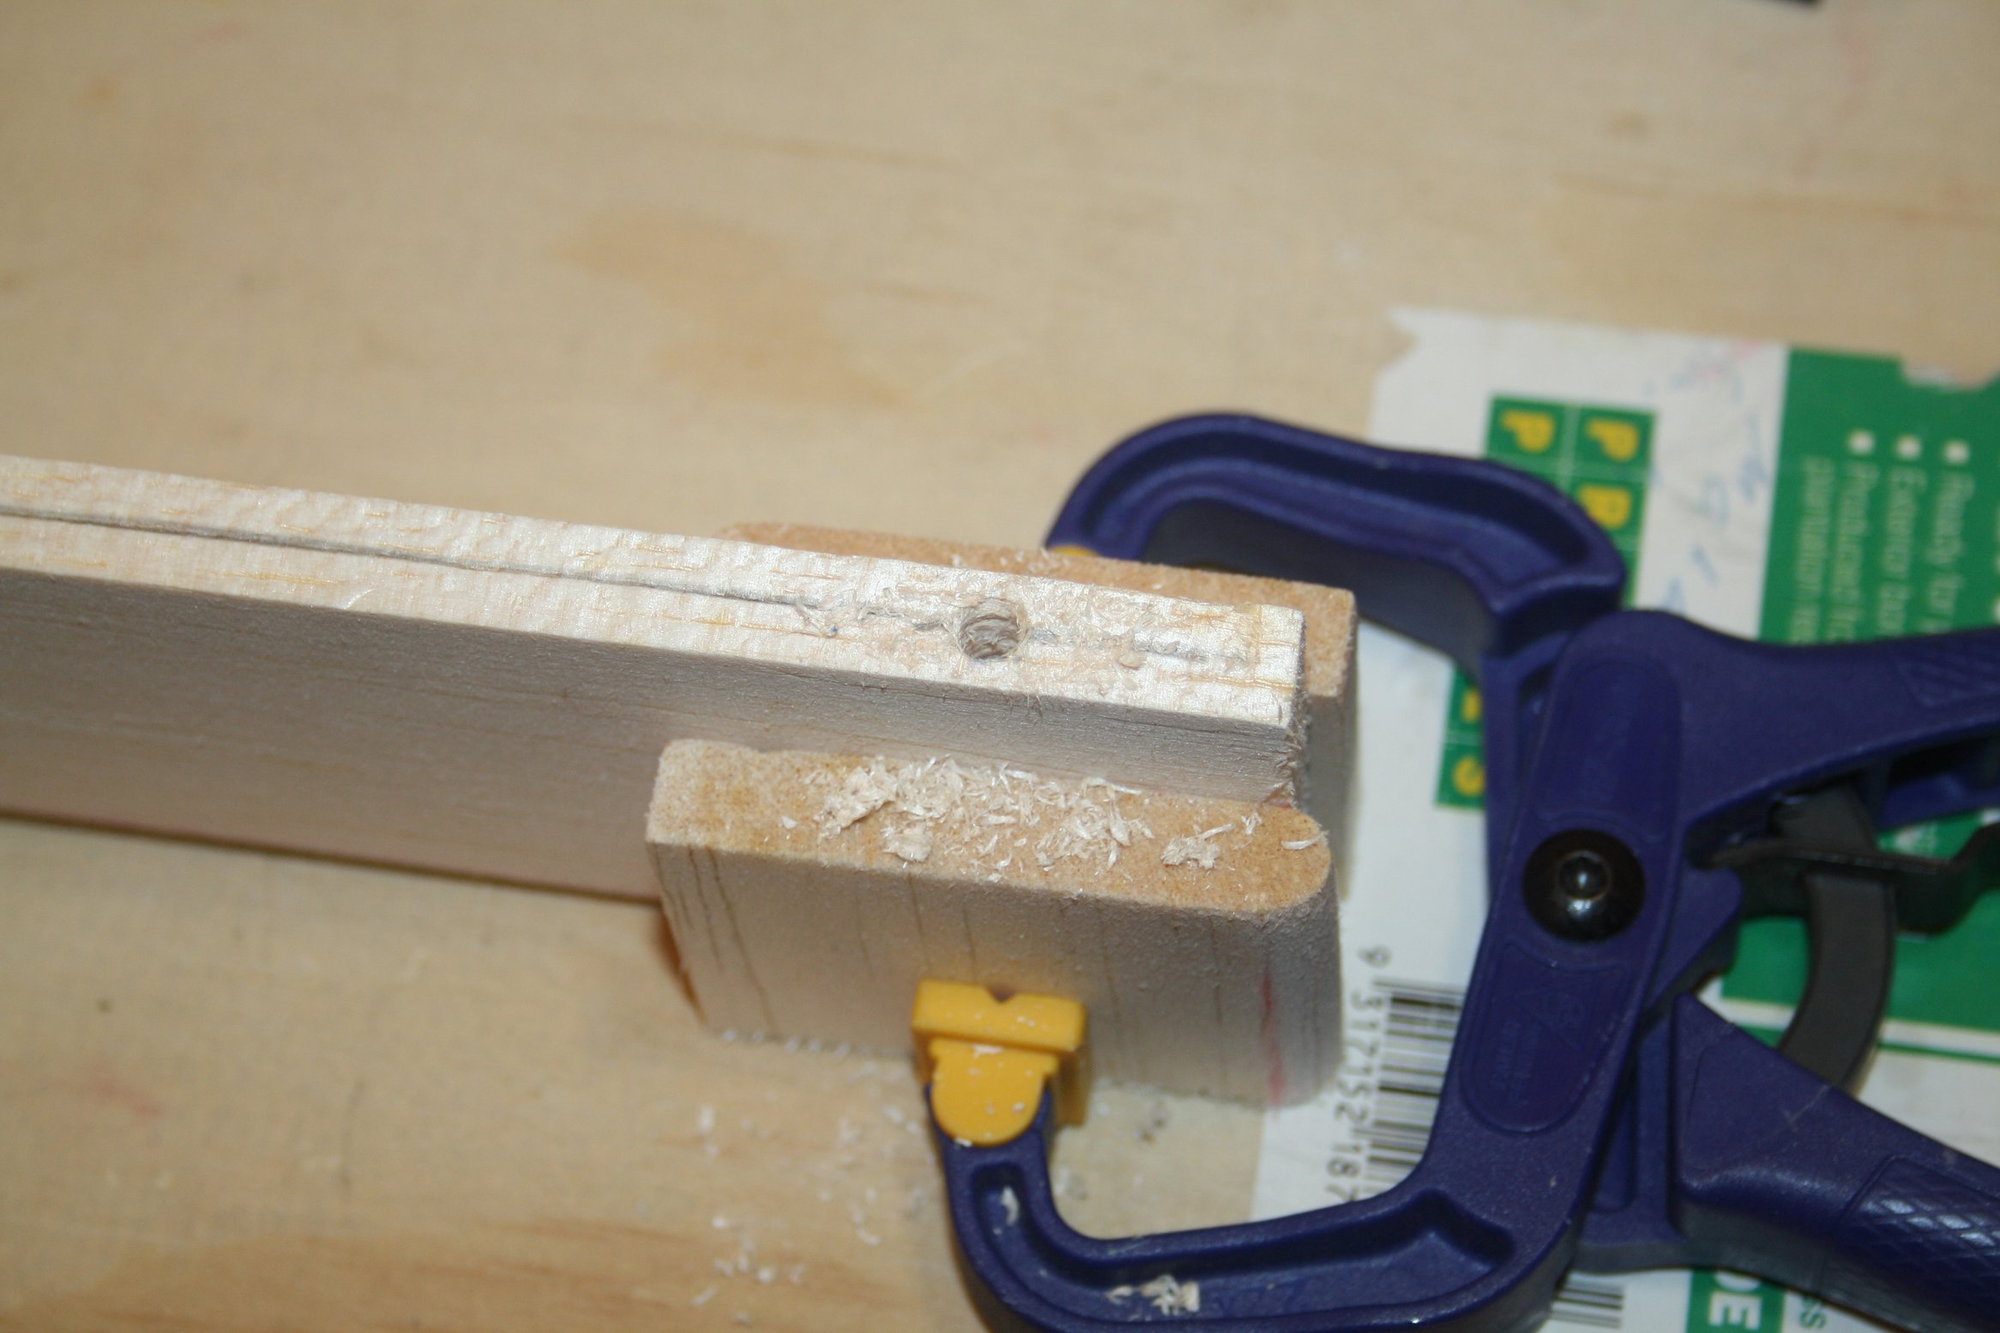
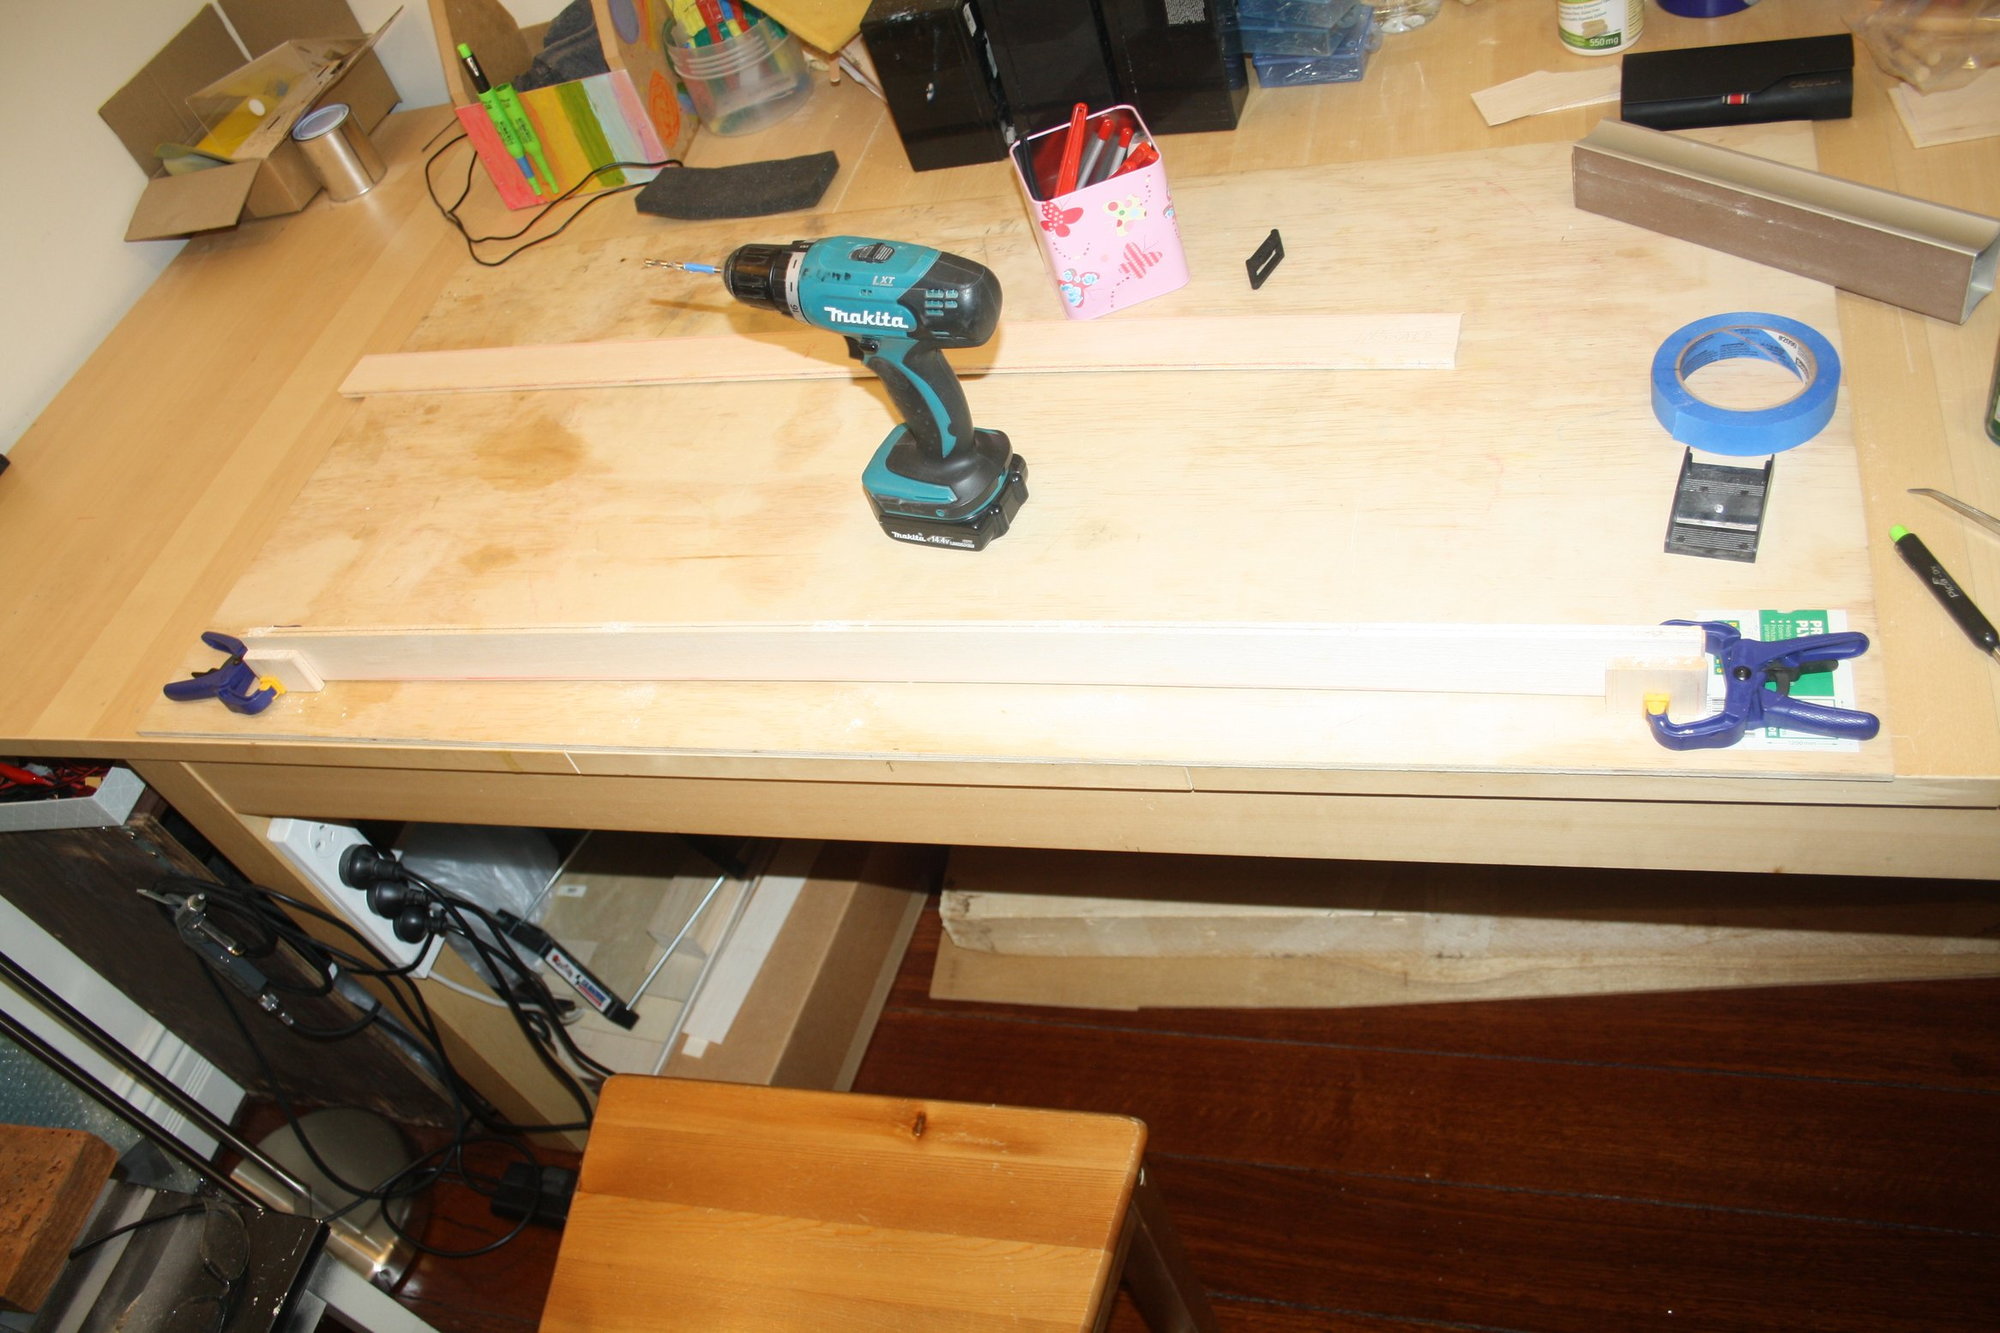
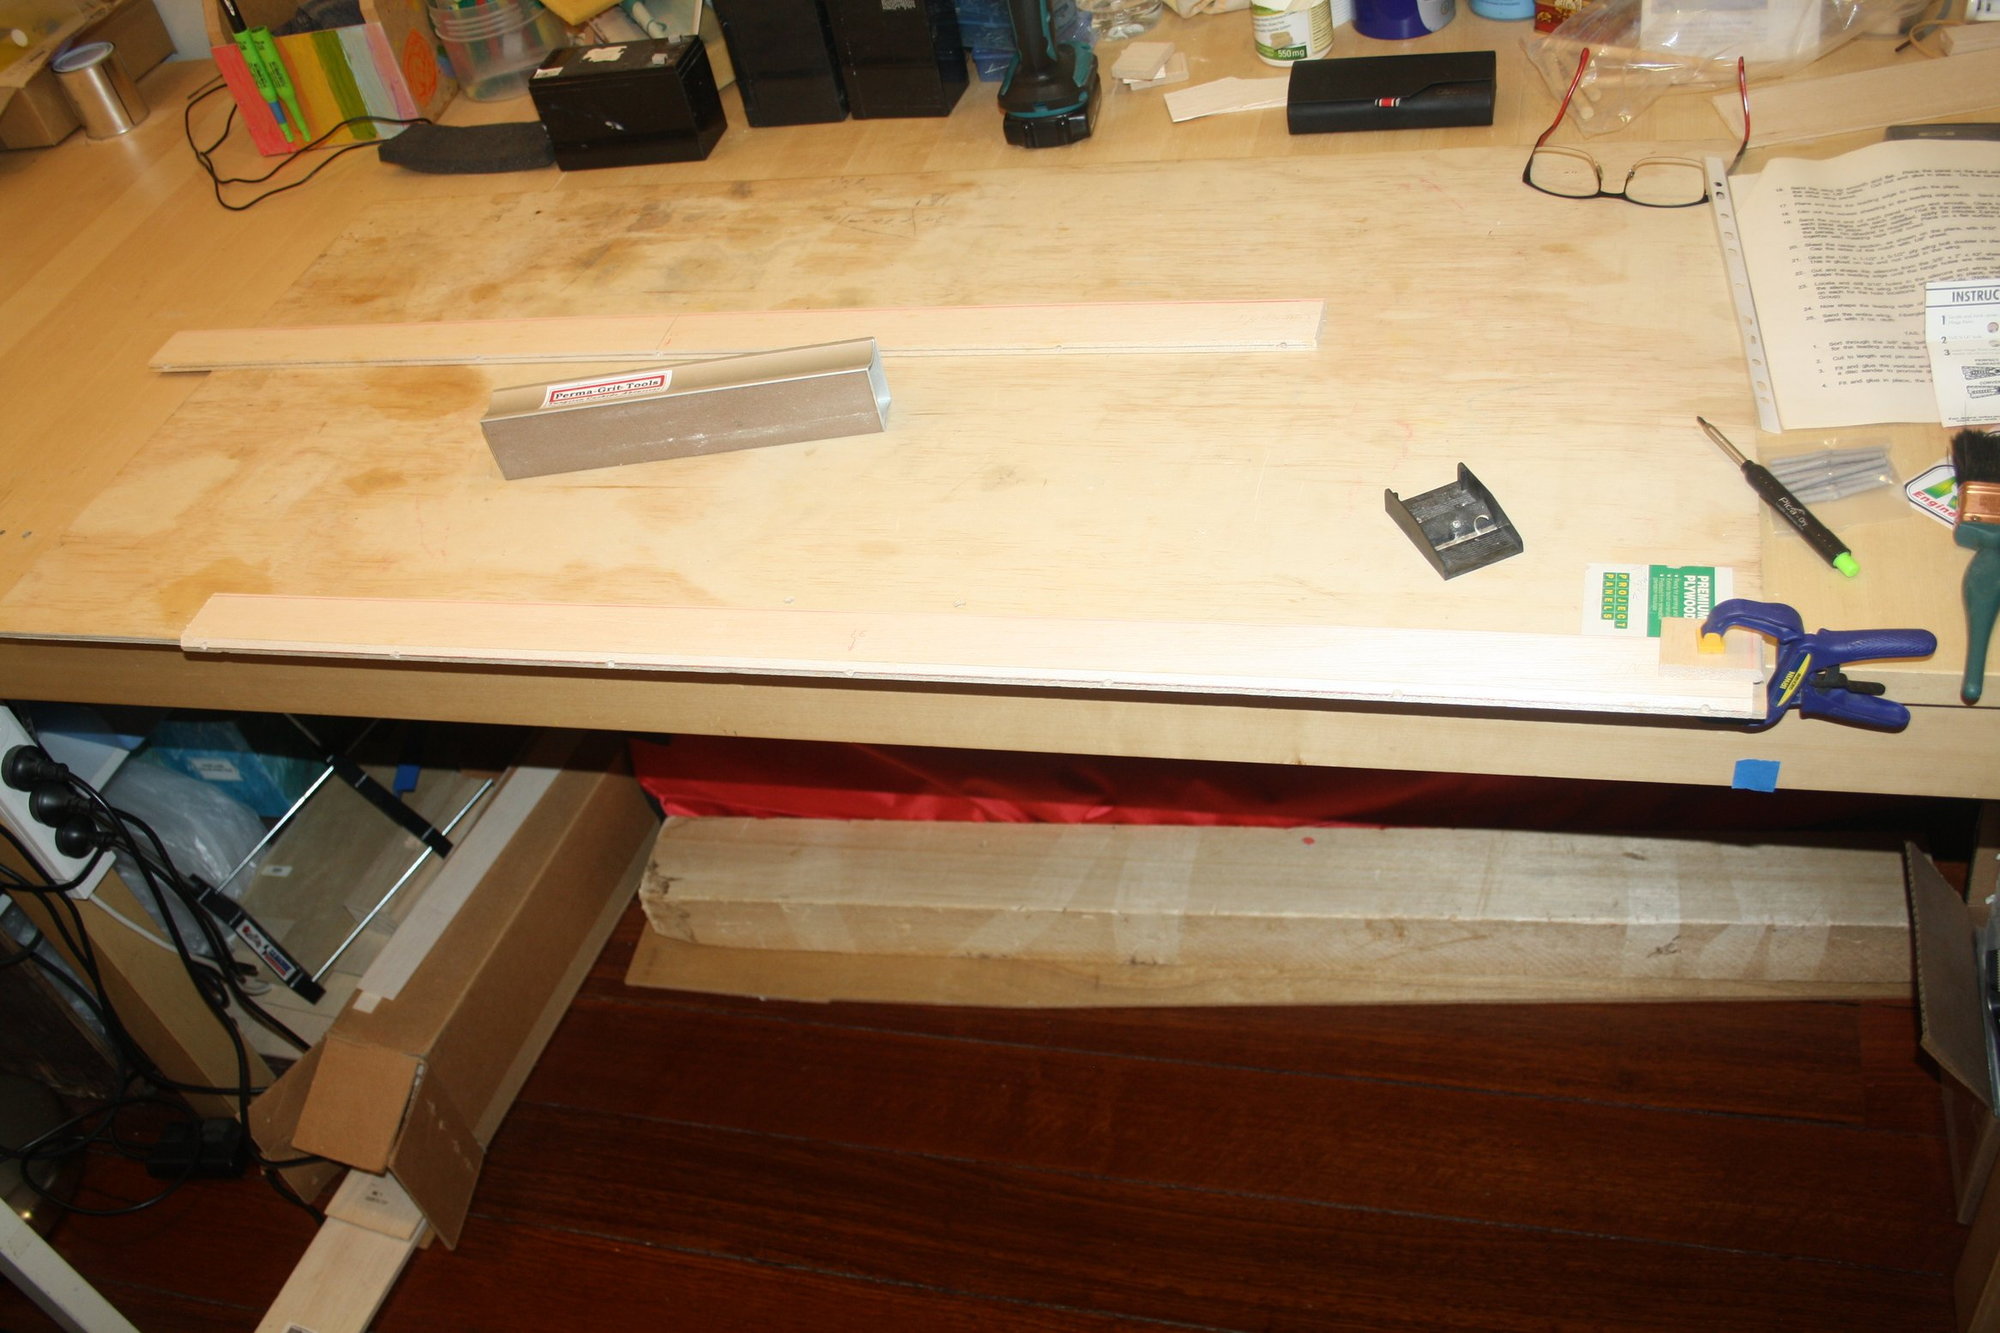
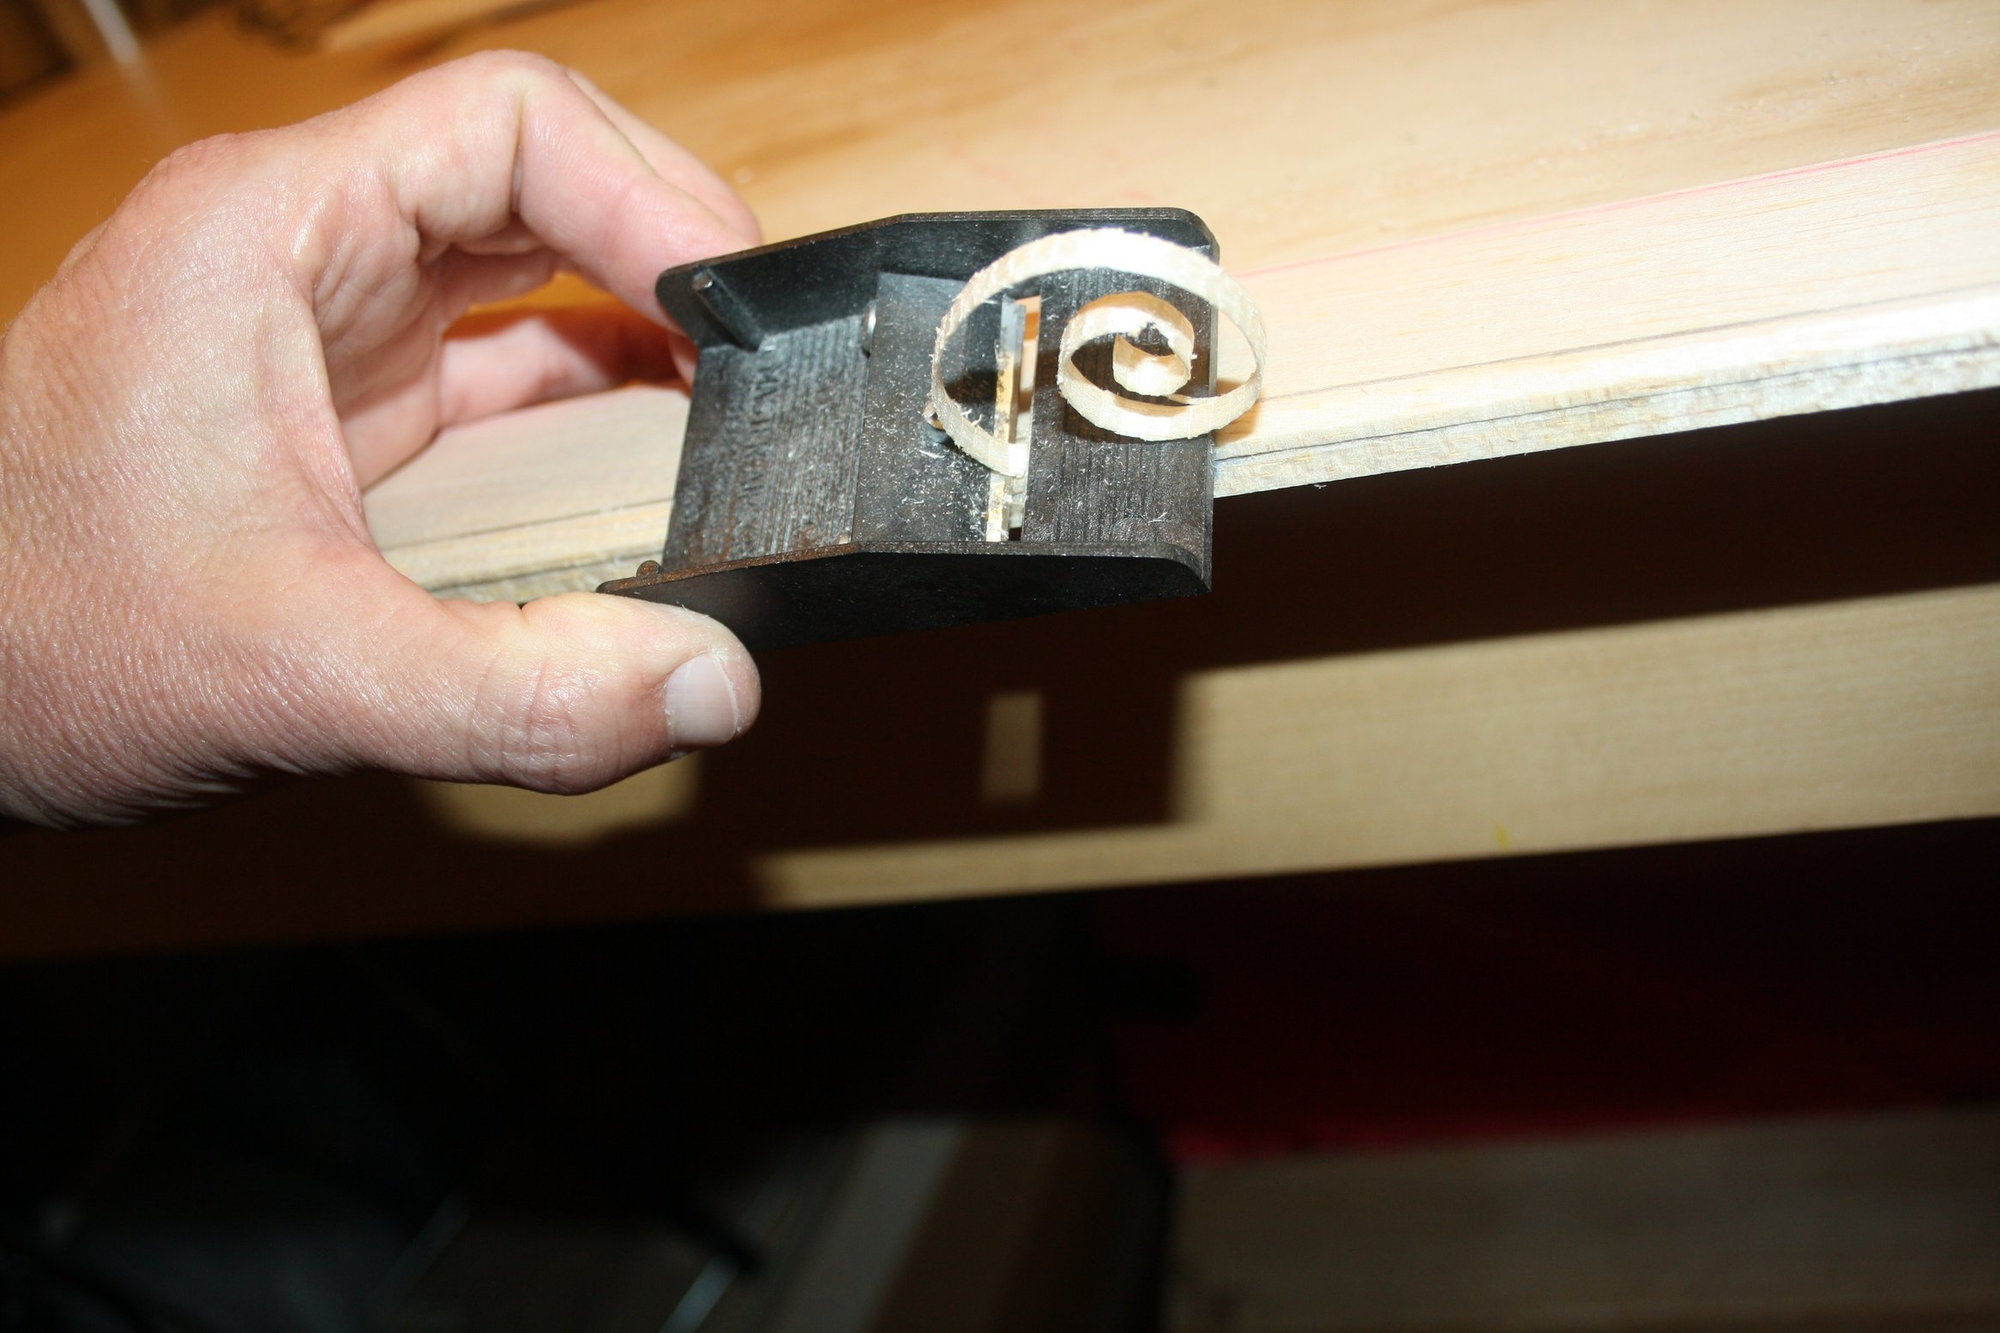
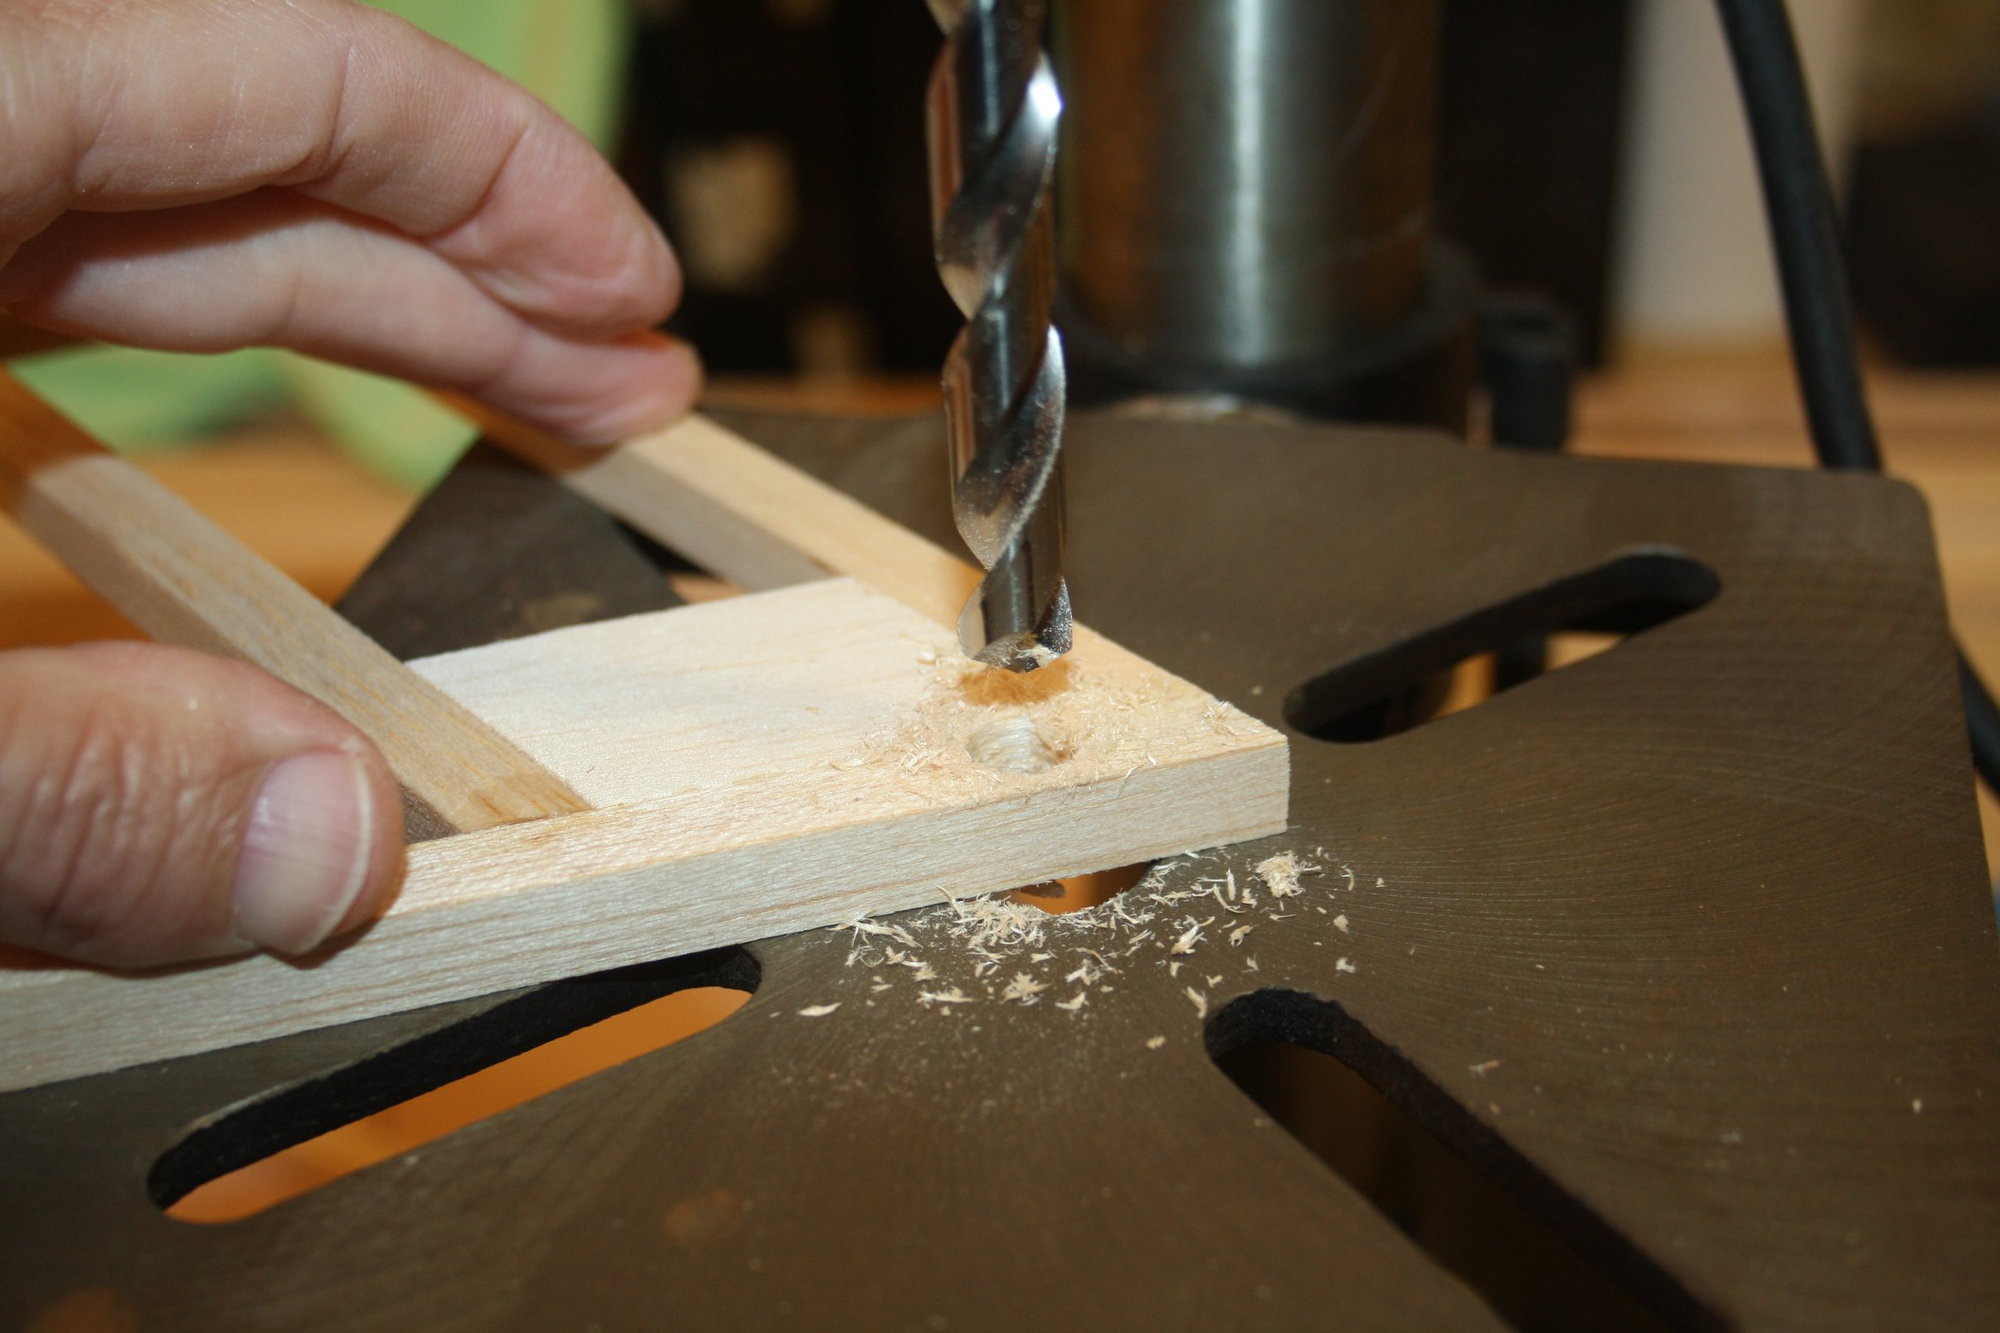
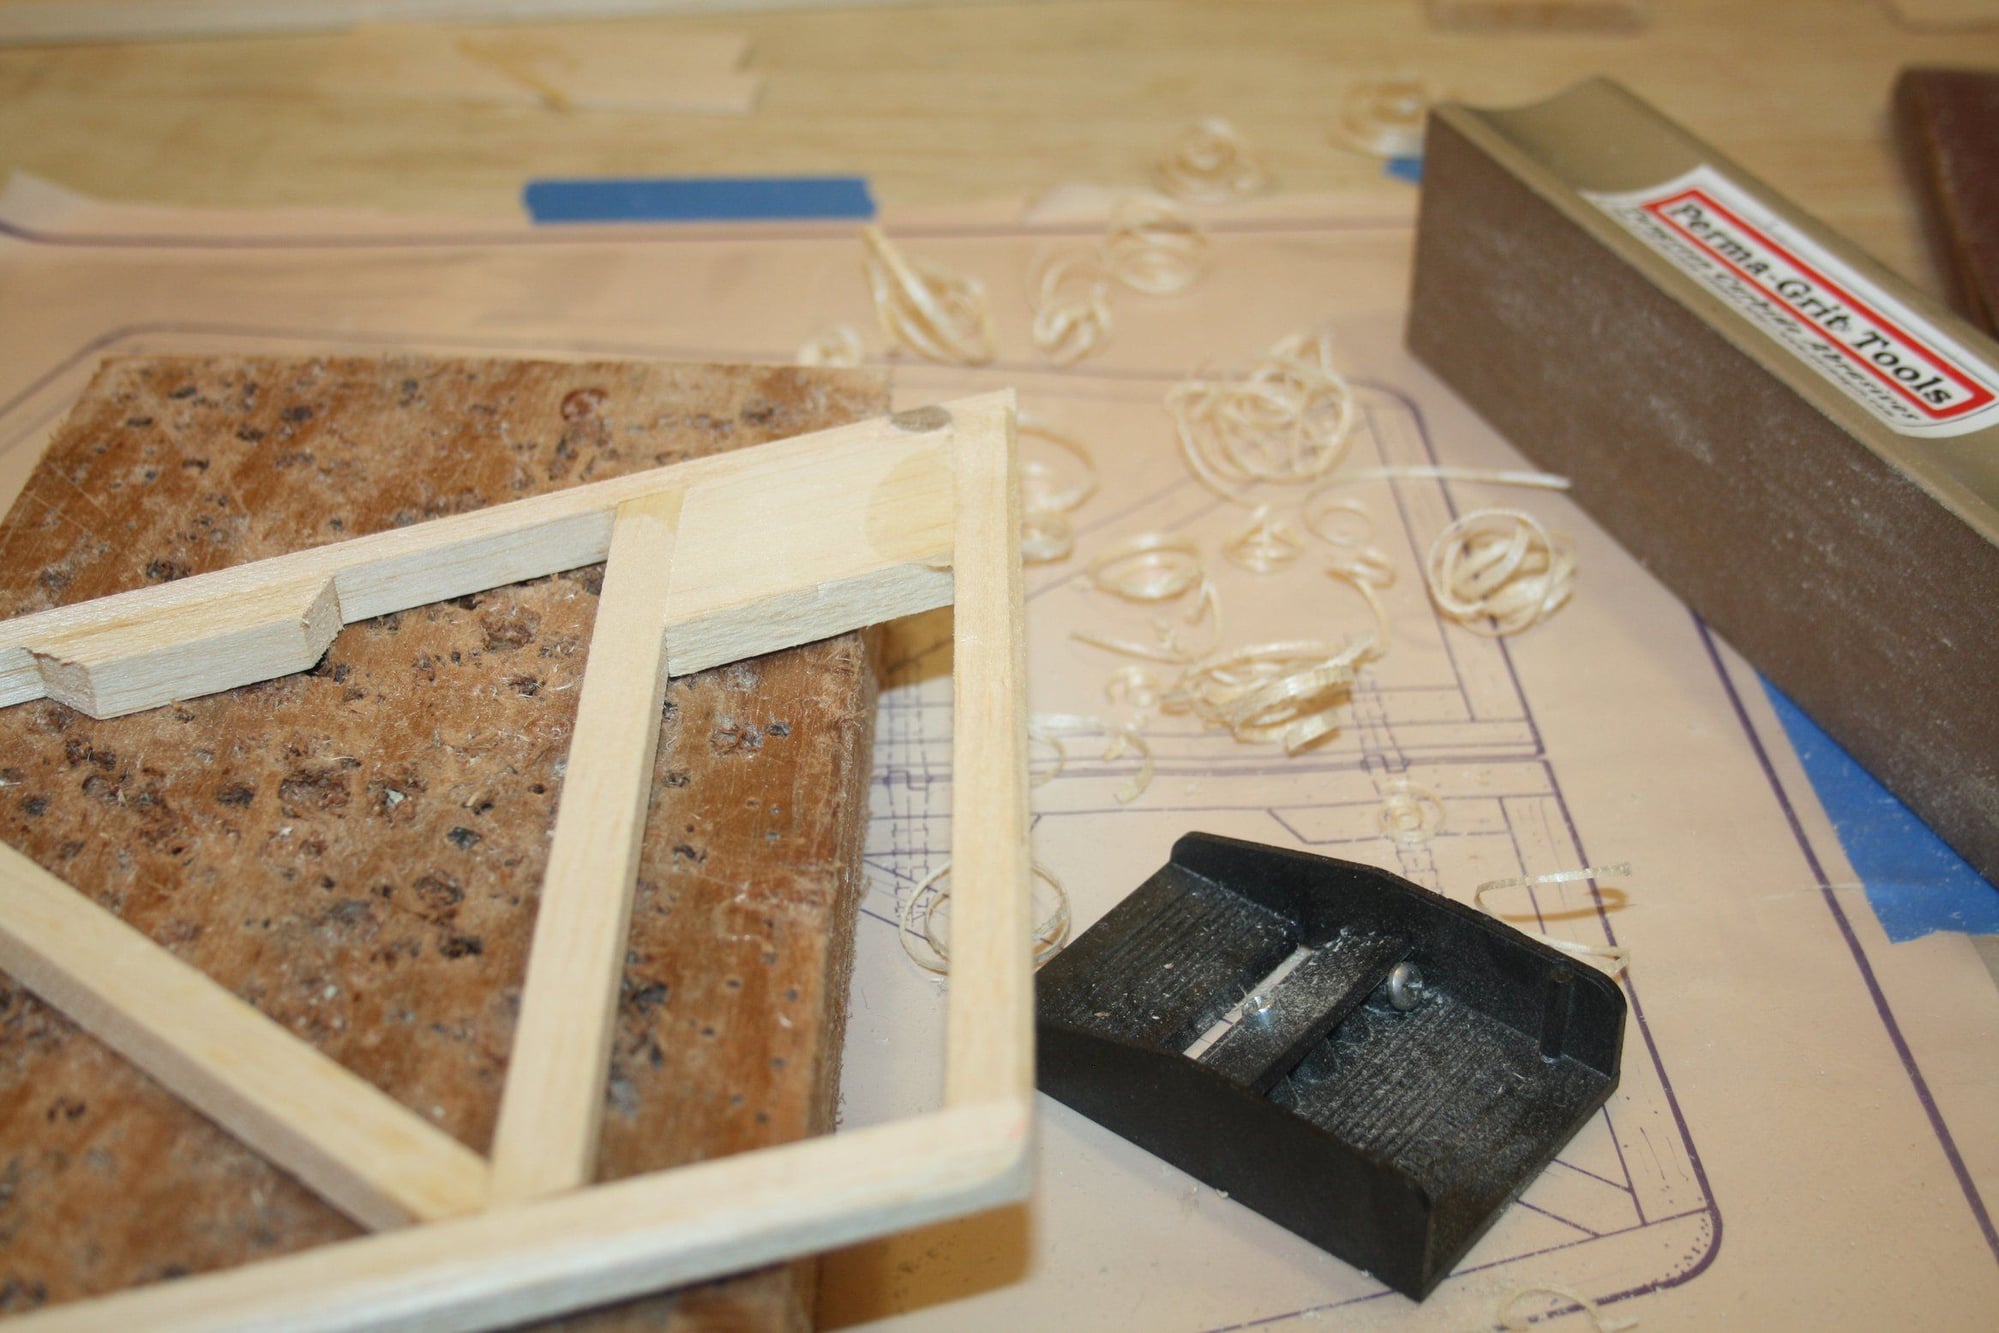
I sanded the elevators leading edge at ~45 degrees and rounded the trailing edges.
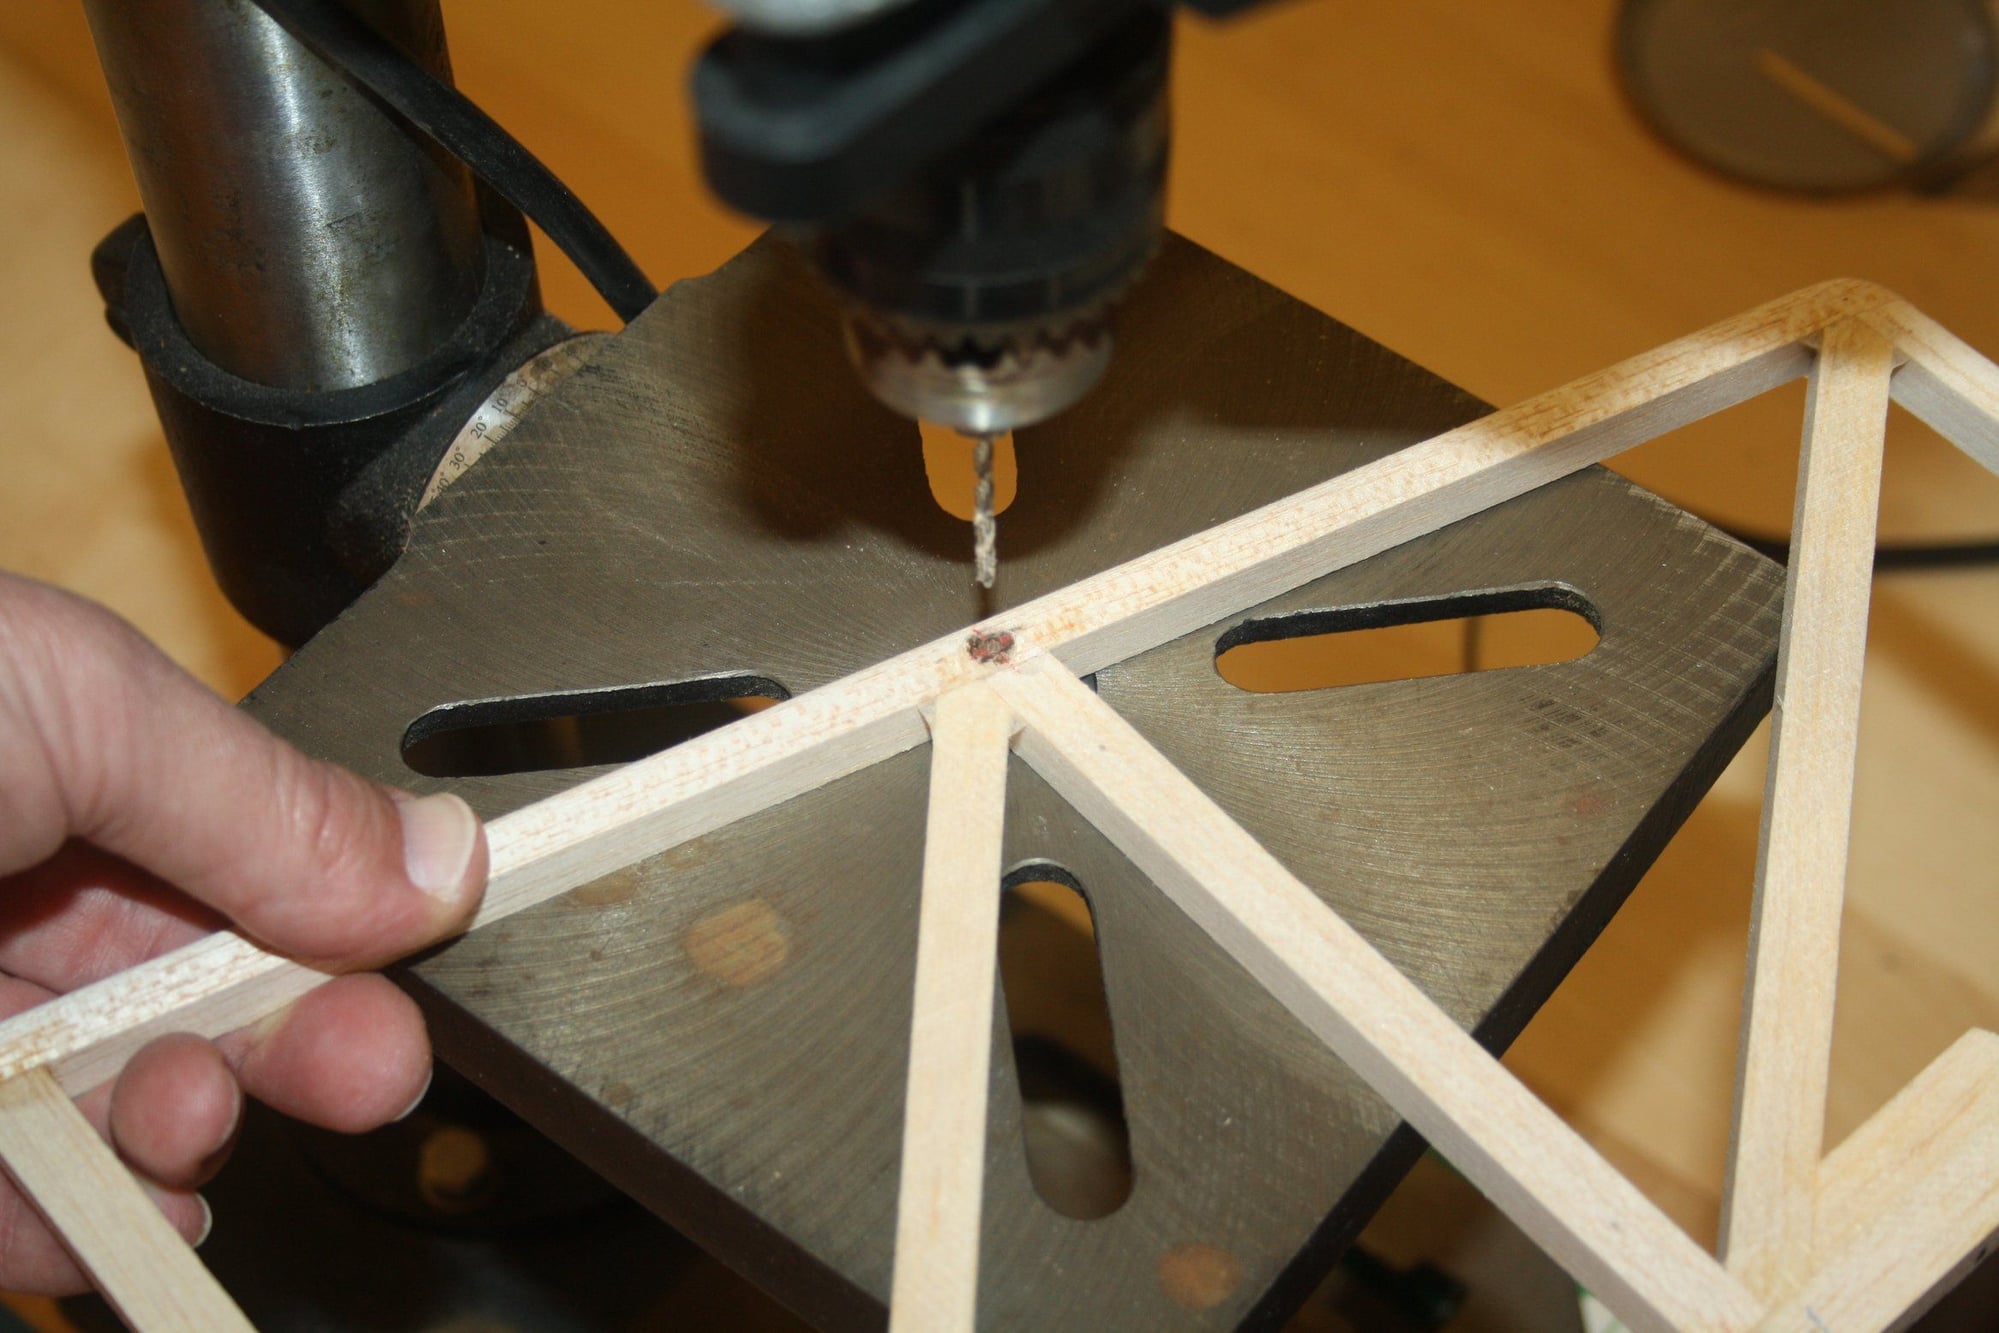
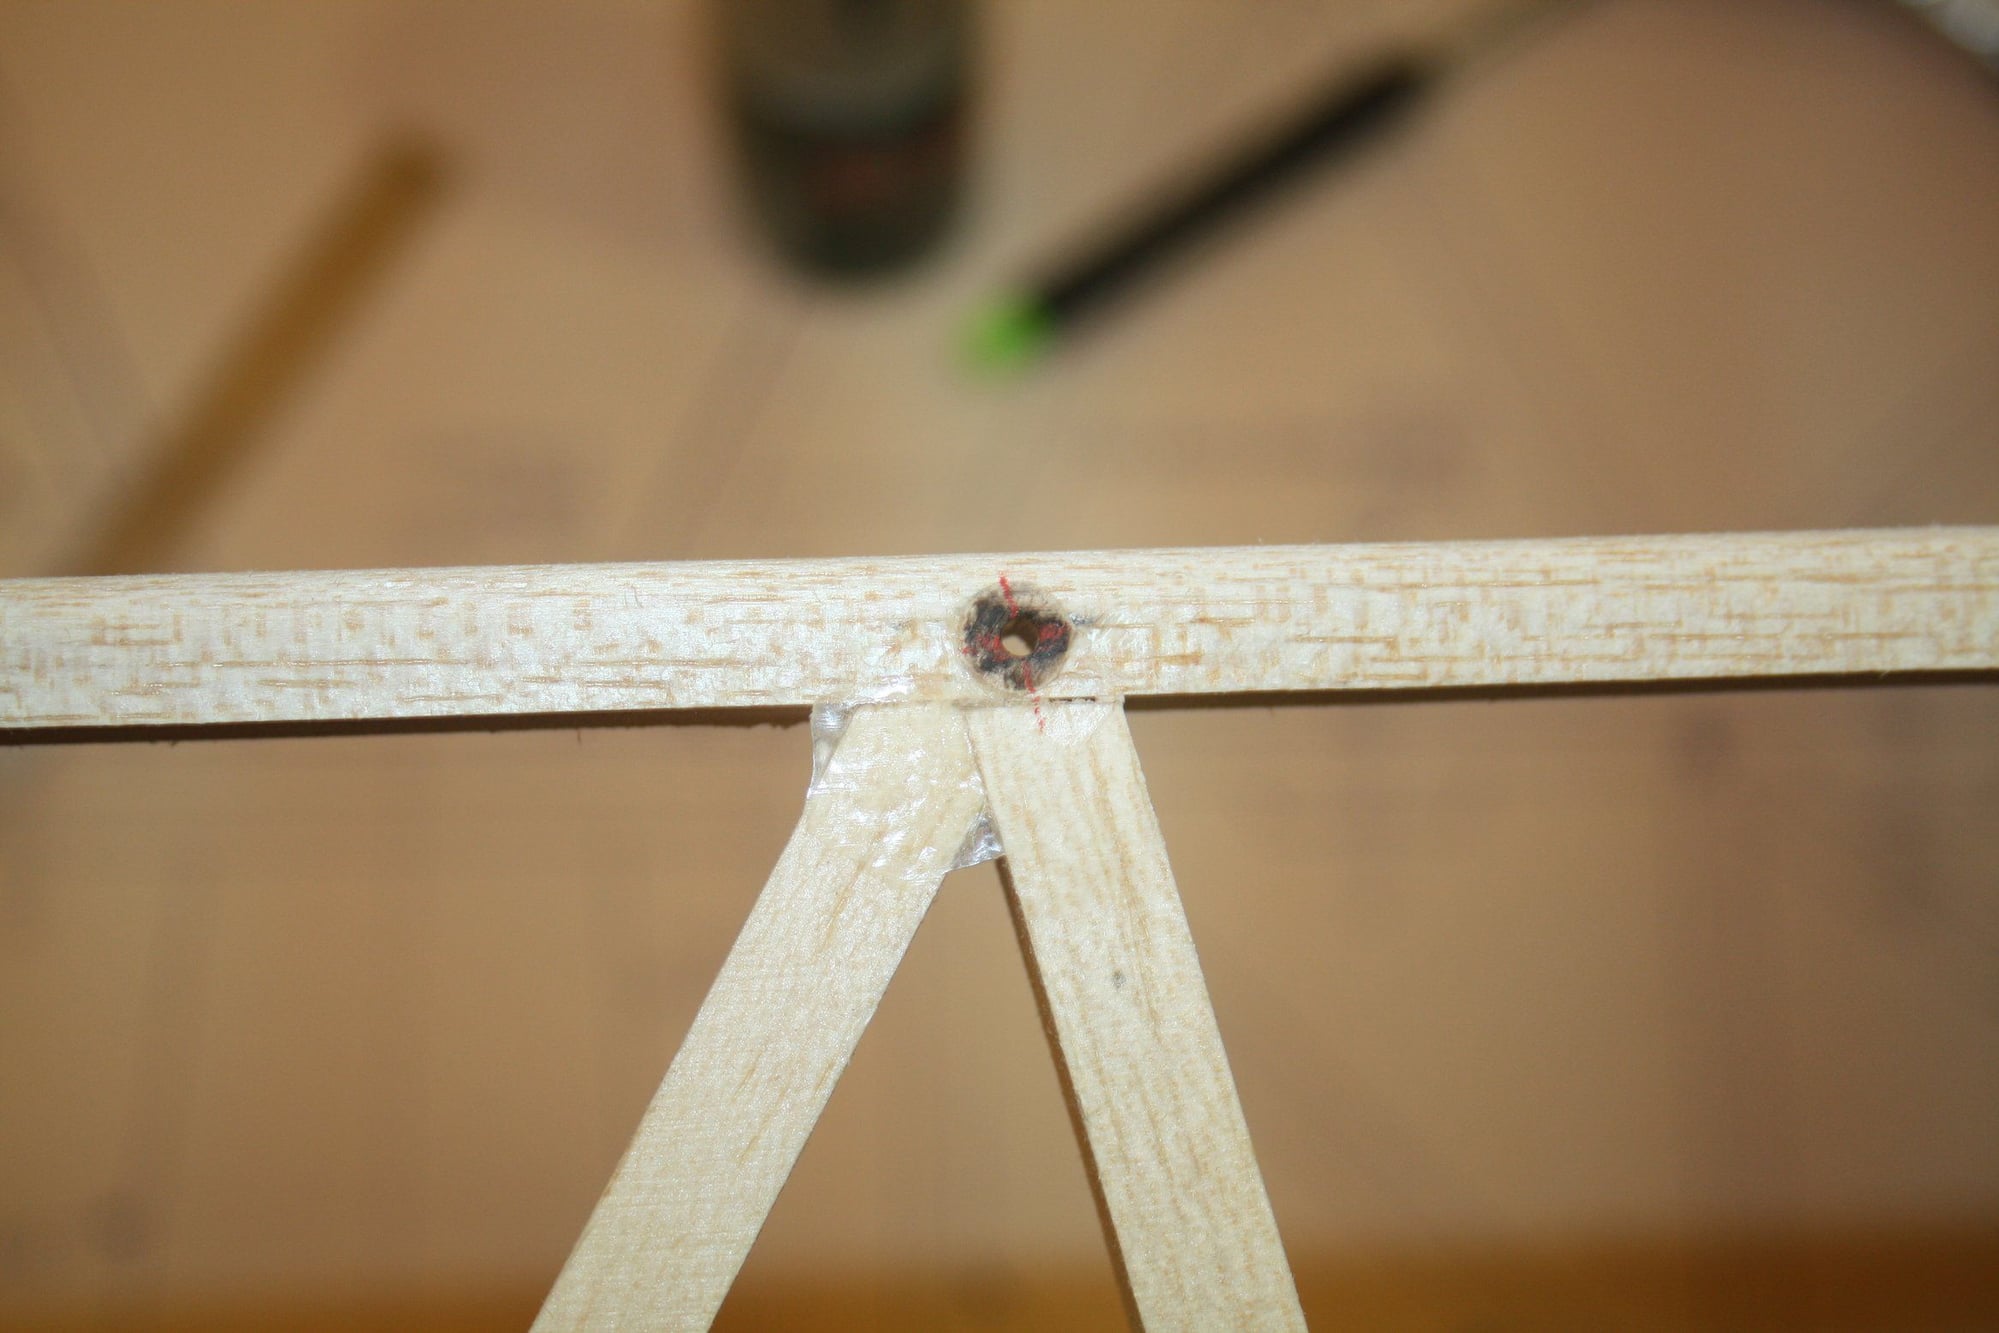
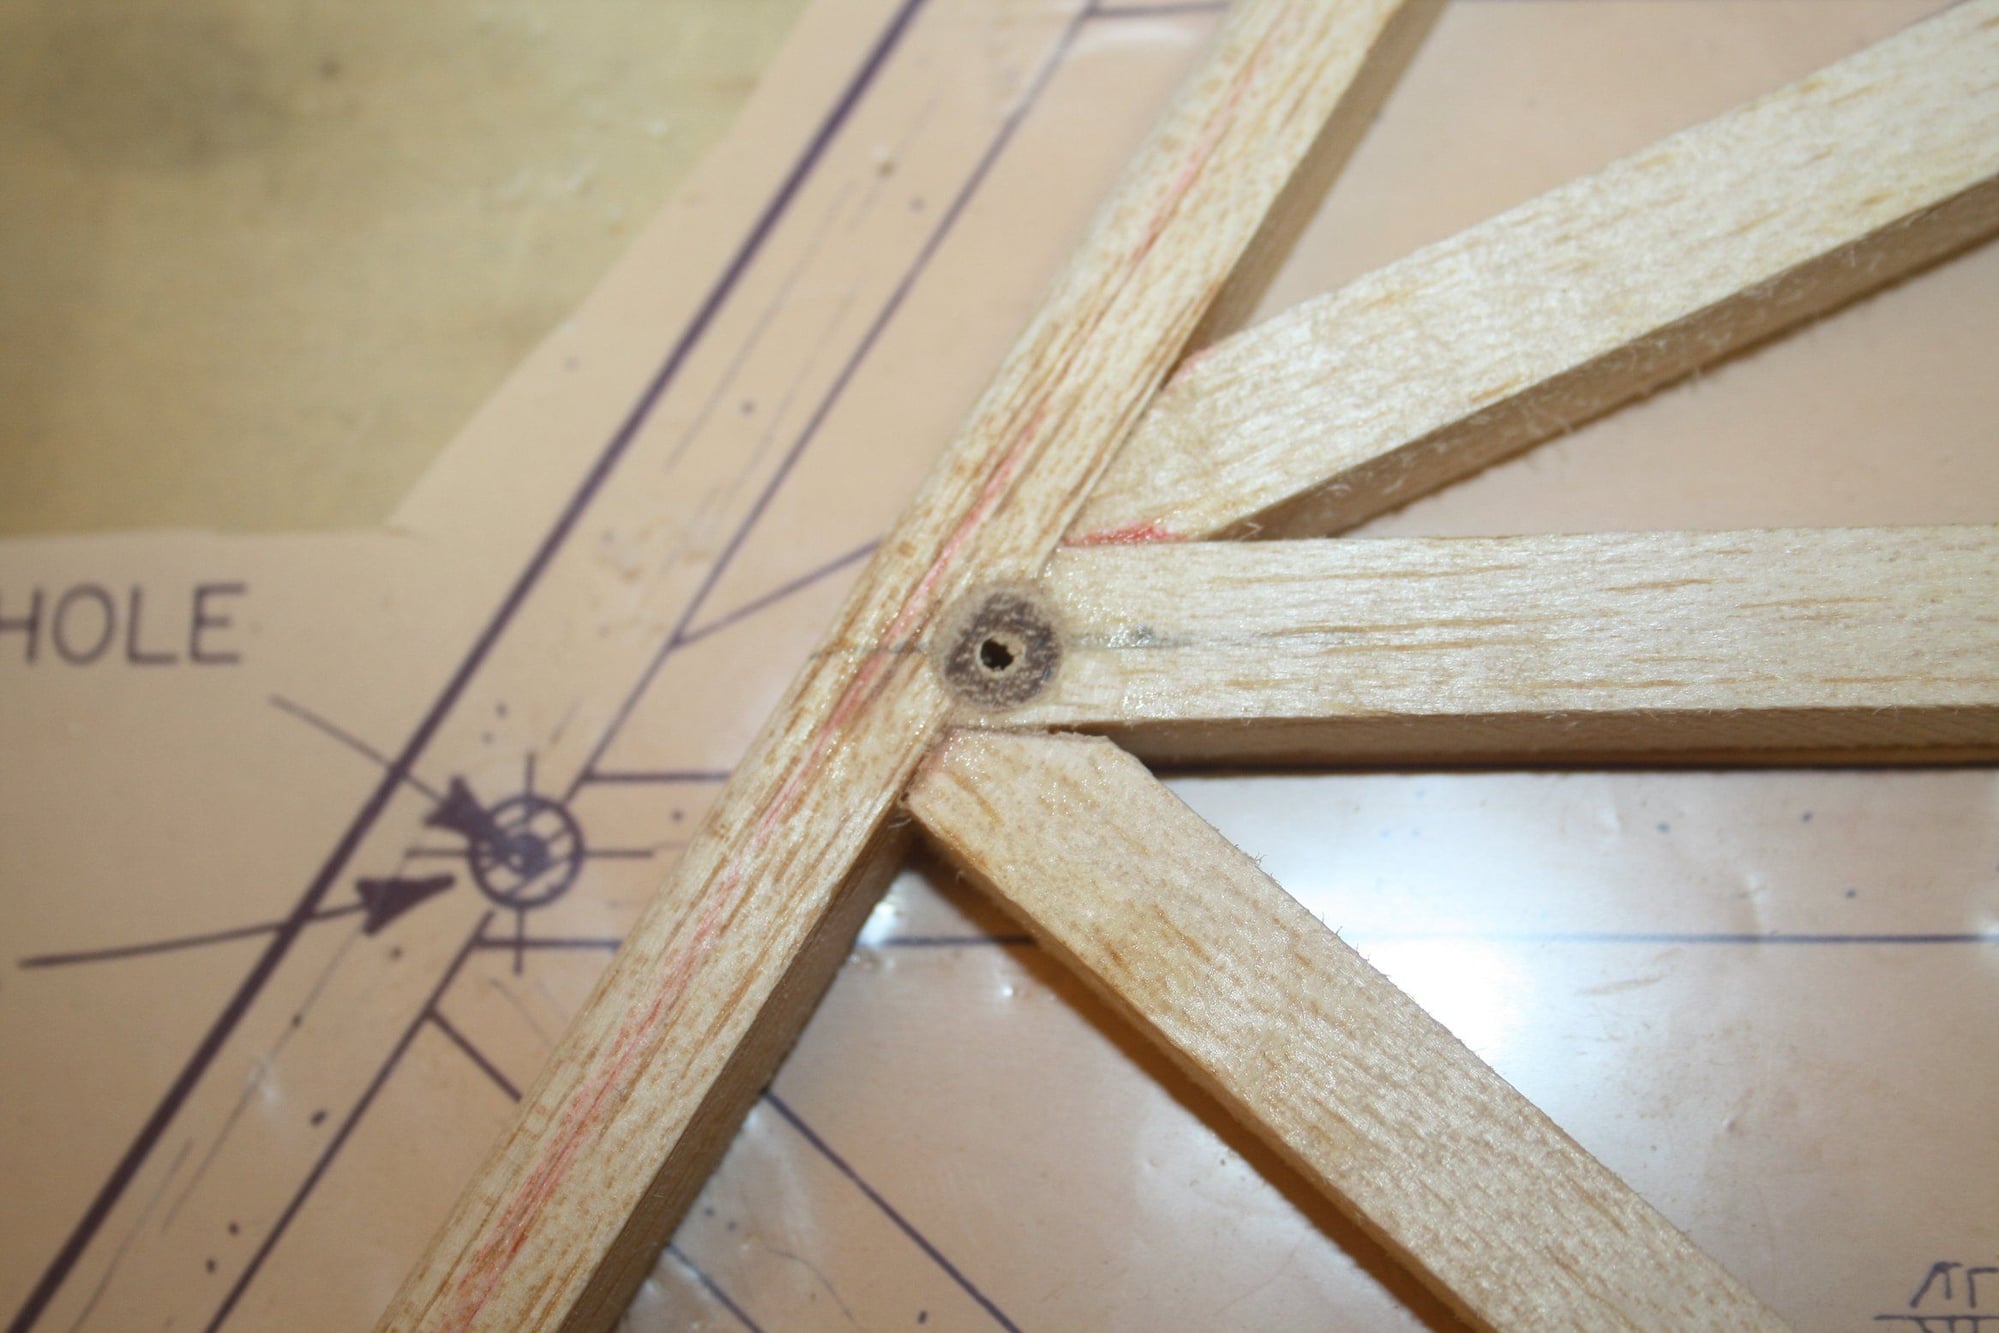
I then drilled the dowels to accept the control horns (on the elevators) and the flying wires attachments (on the Horizontal stabiliser).
Cheers,
Eran
I then drilled the dowels to accept the control horns (on the elevators) and the flying wires attachments (on the Horizontal stabiliser).
Cheers,
Eran


 11-03-2023, 03:18 AM
#47
Thread Starter
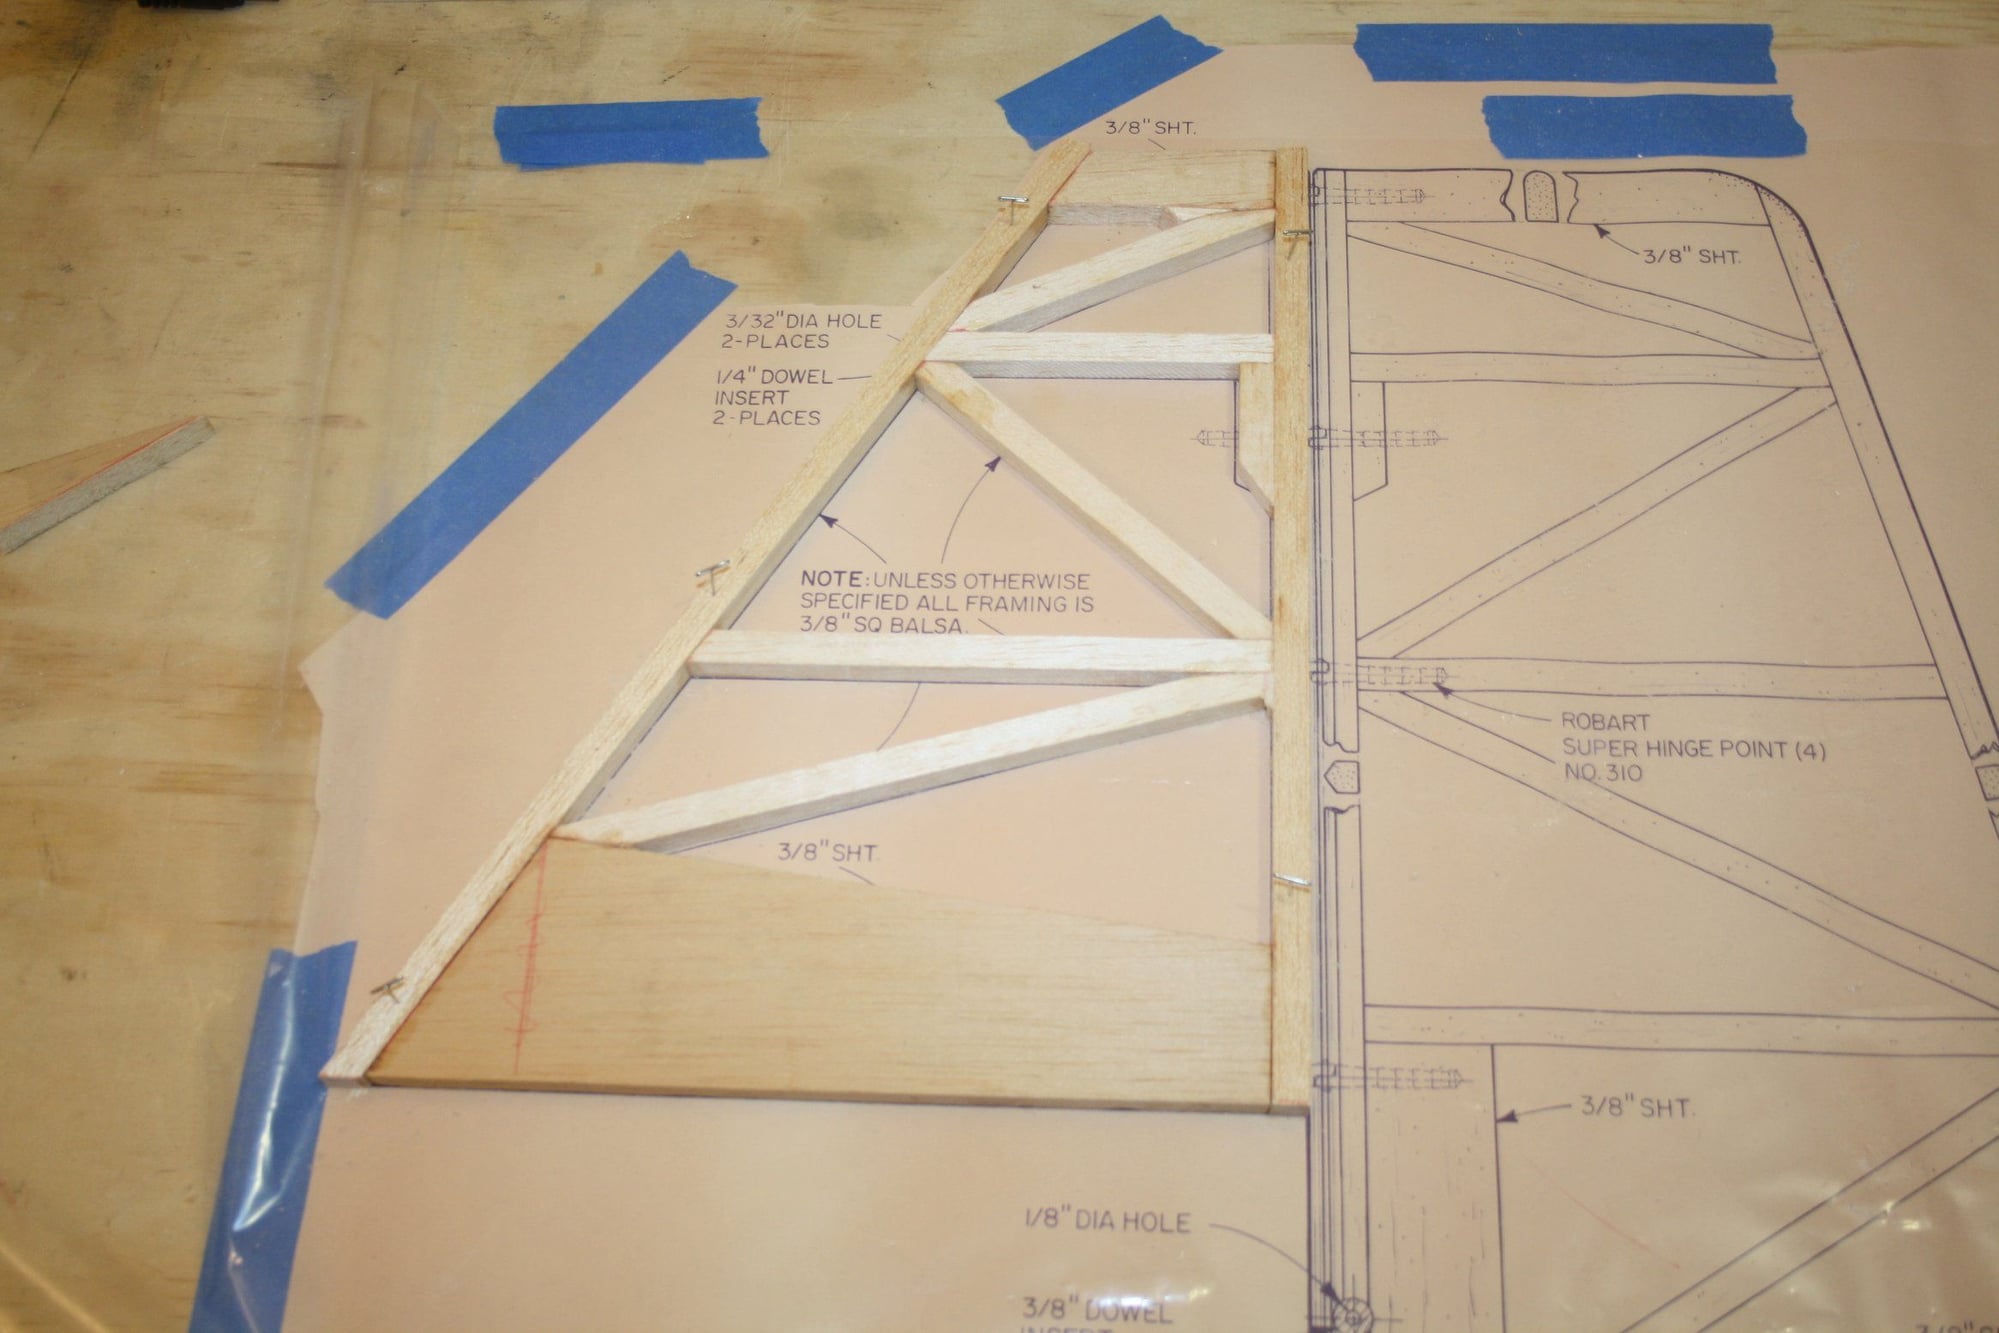
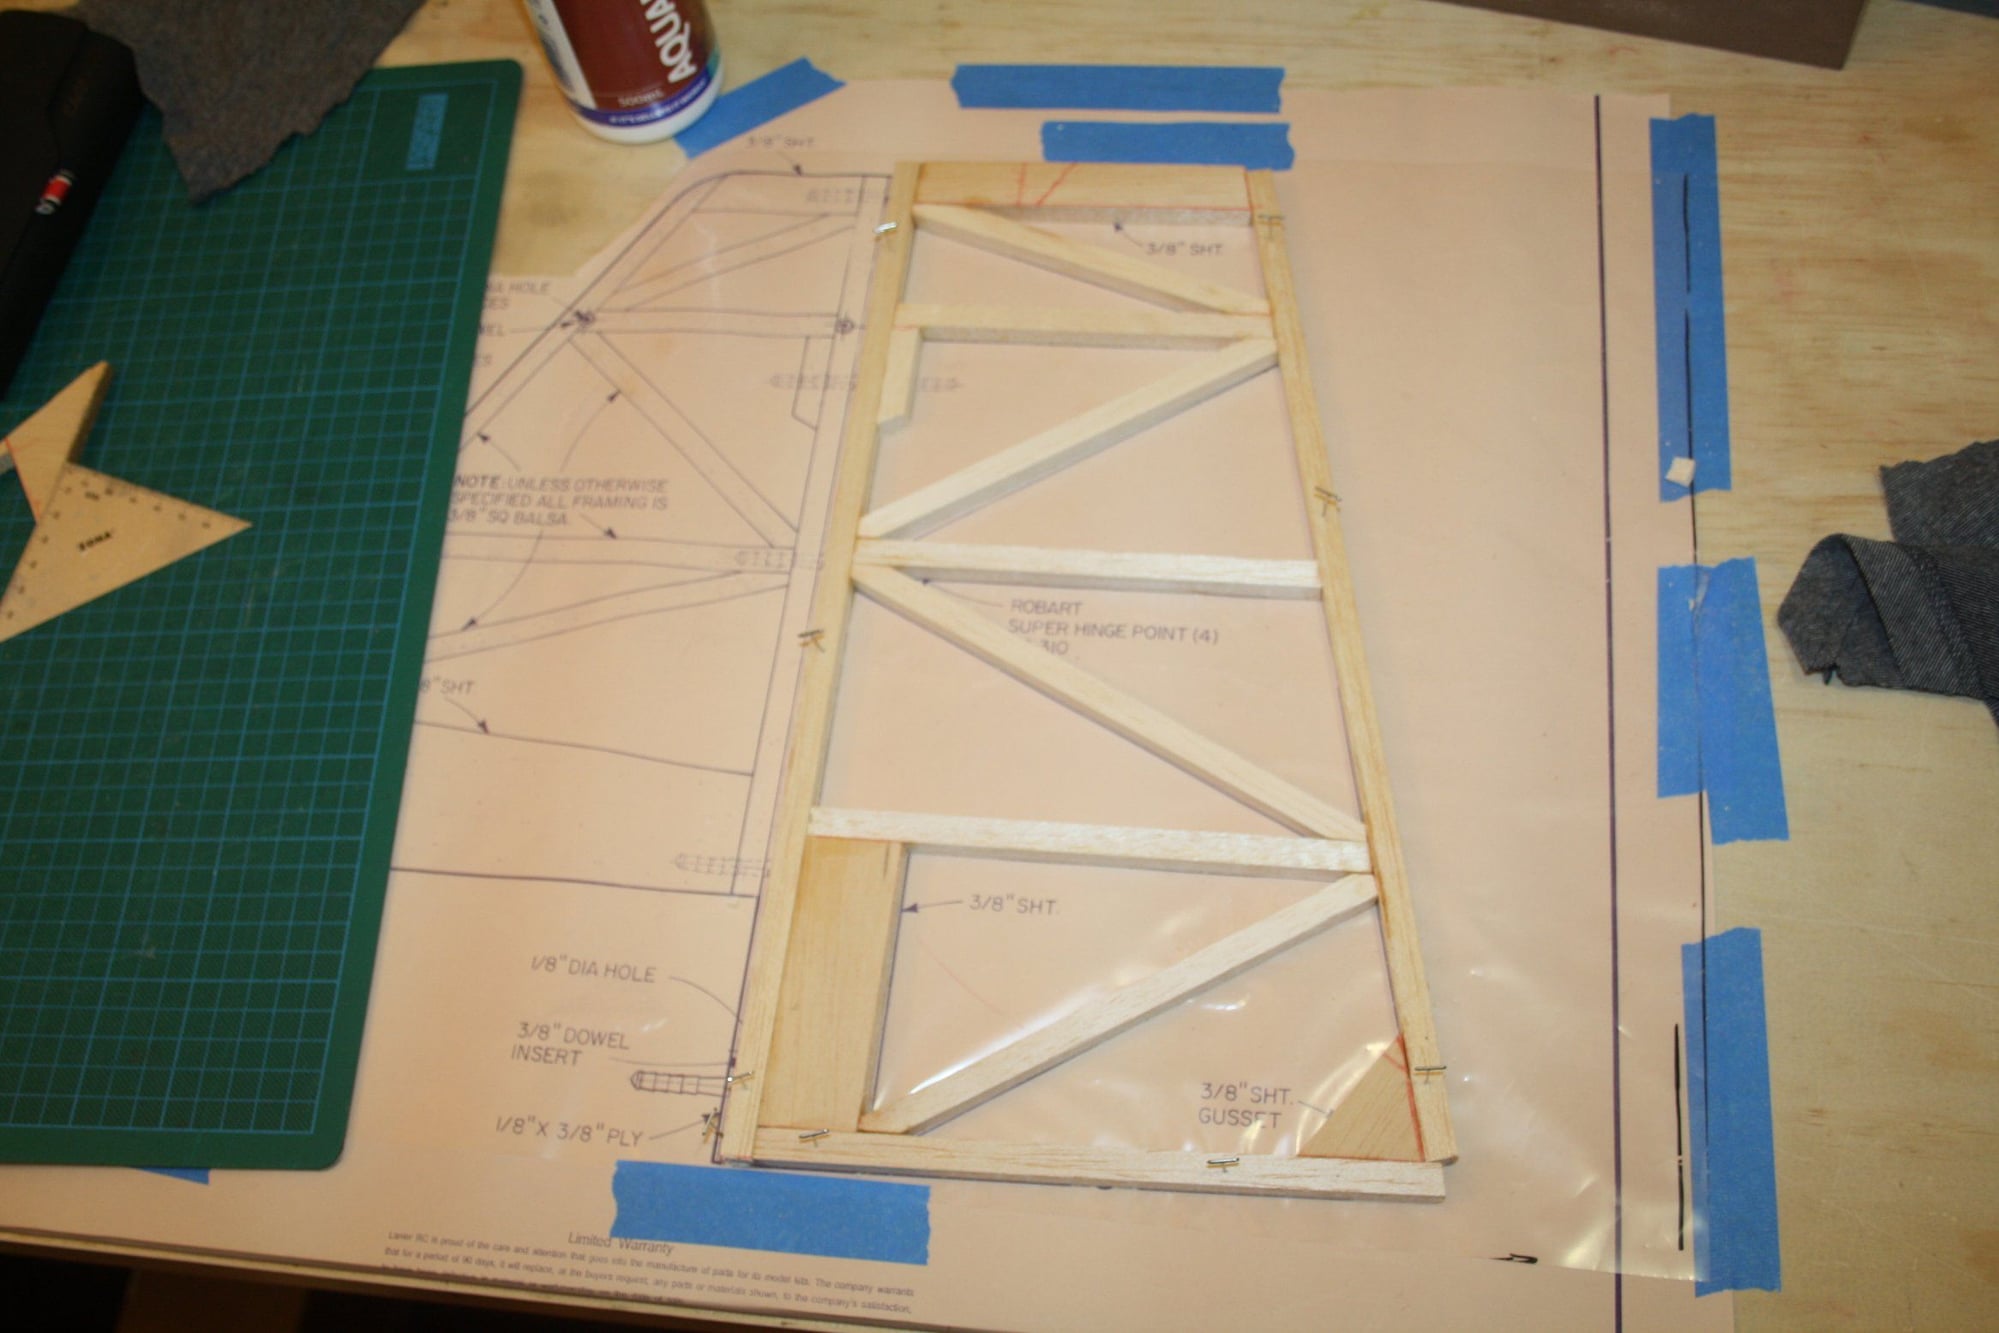
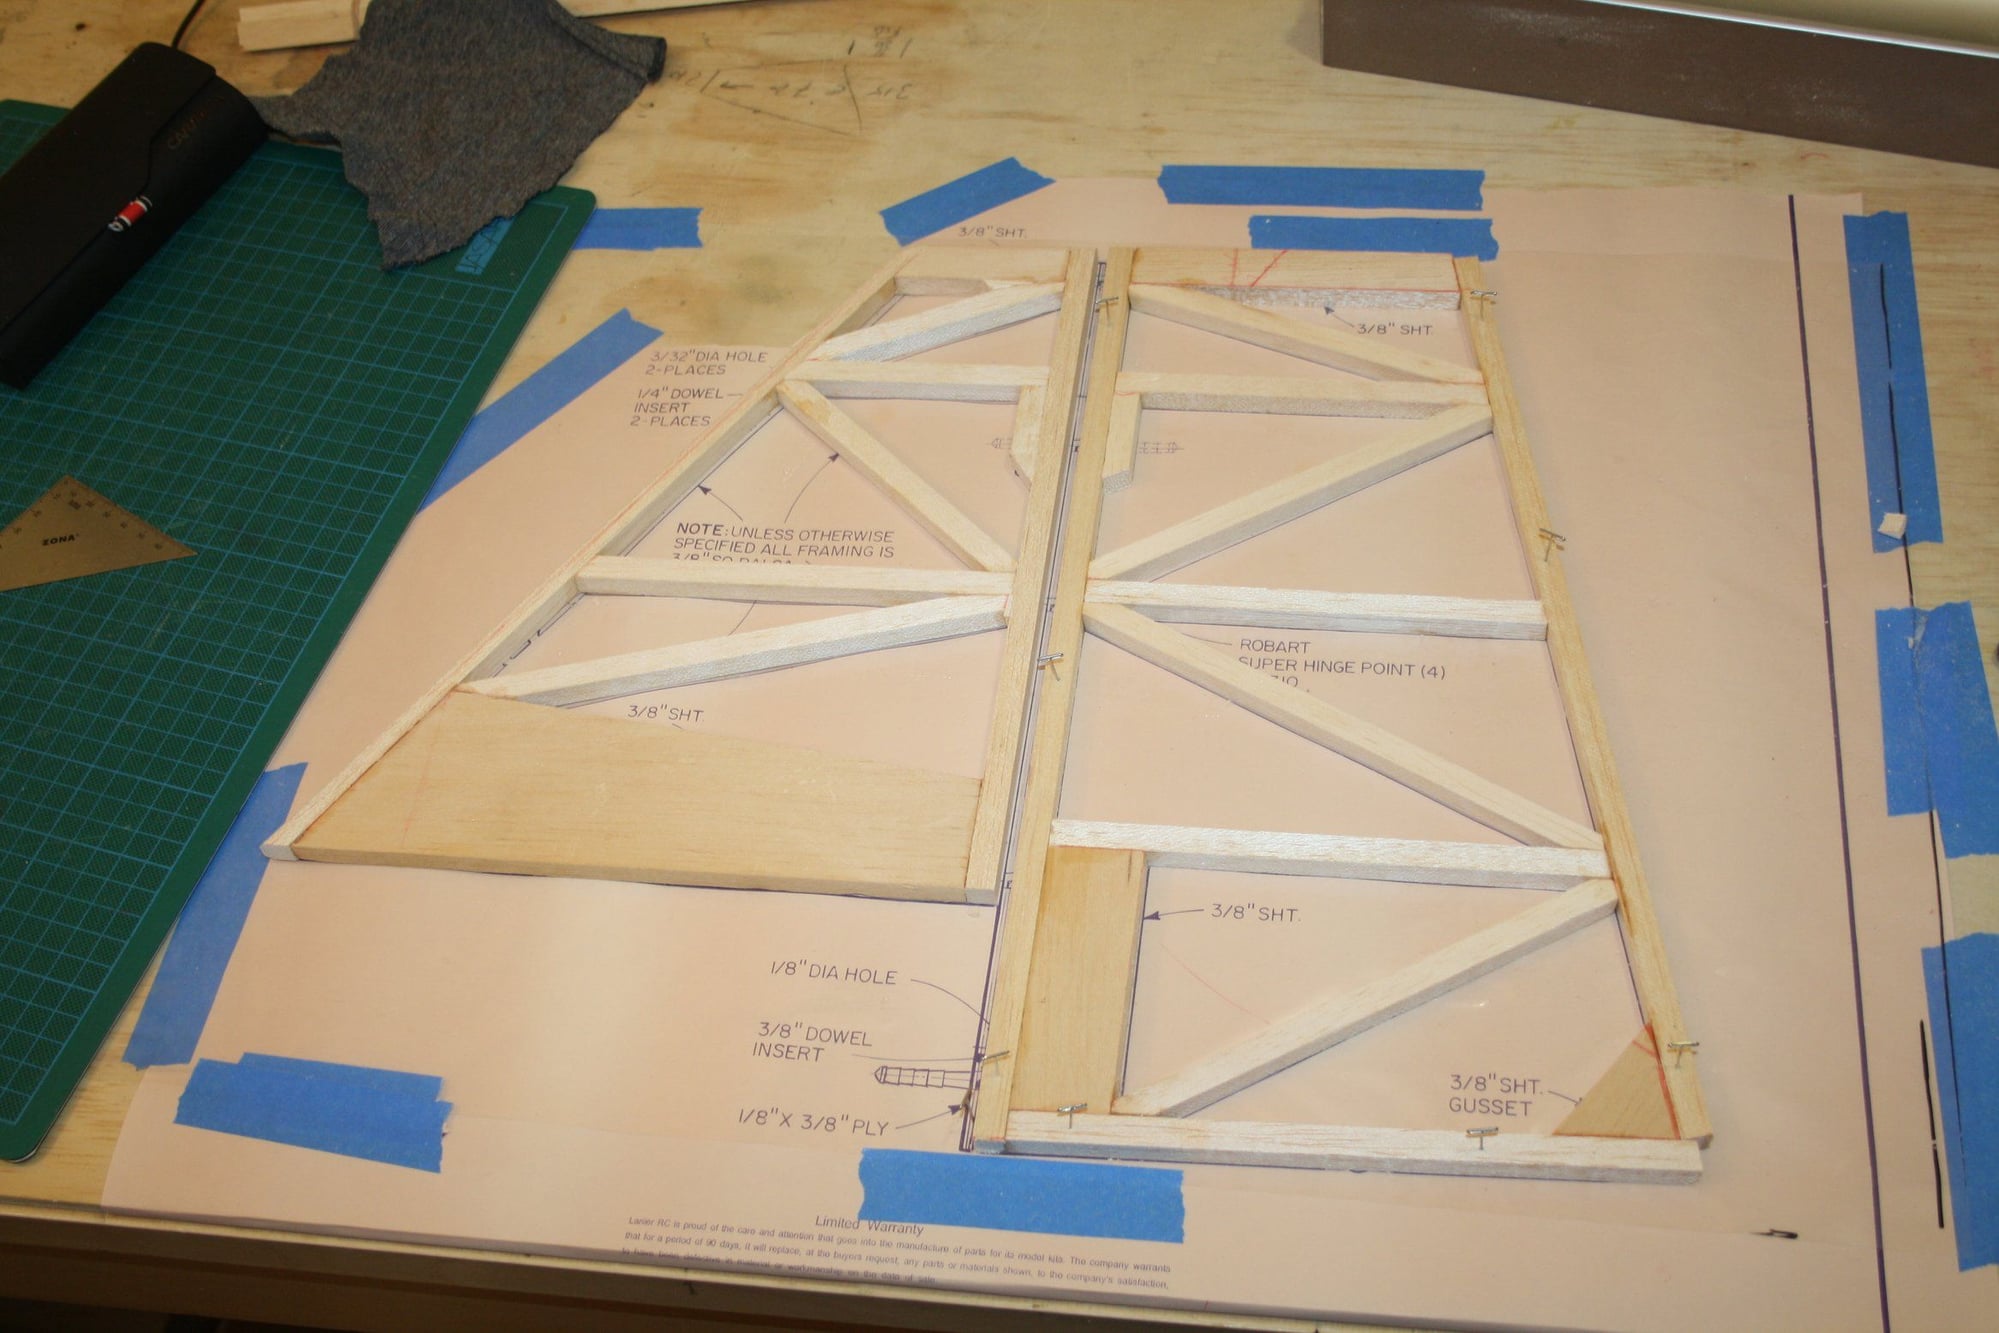
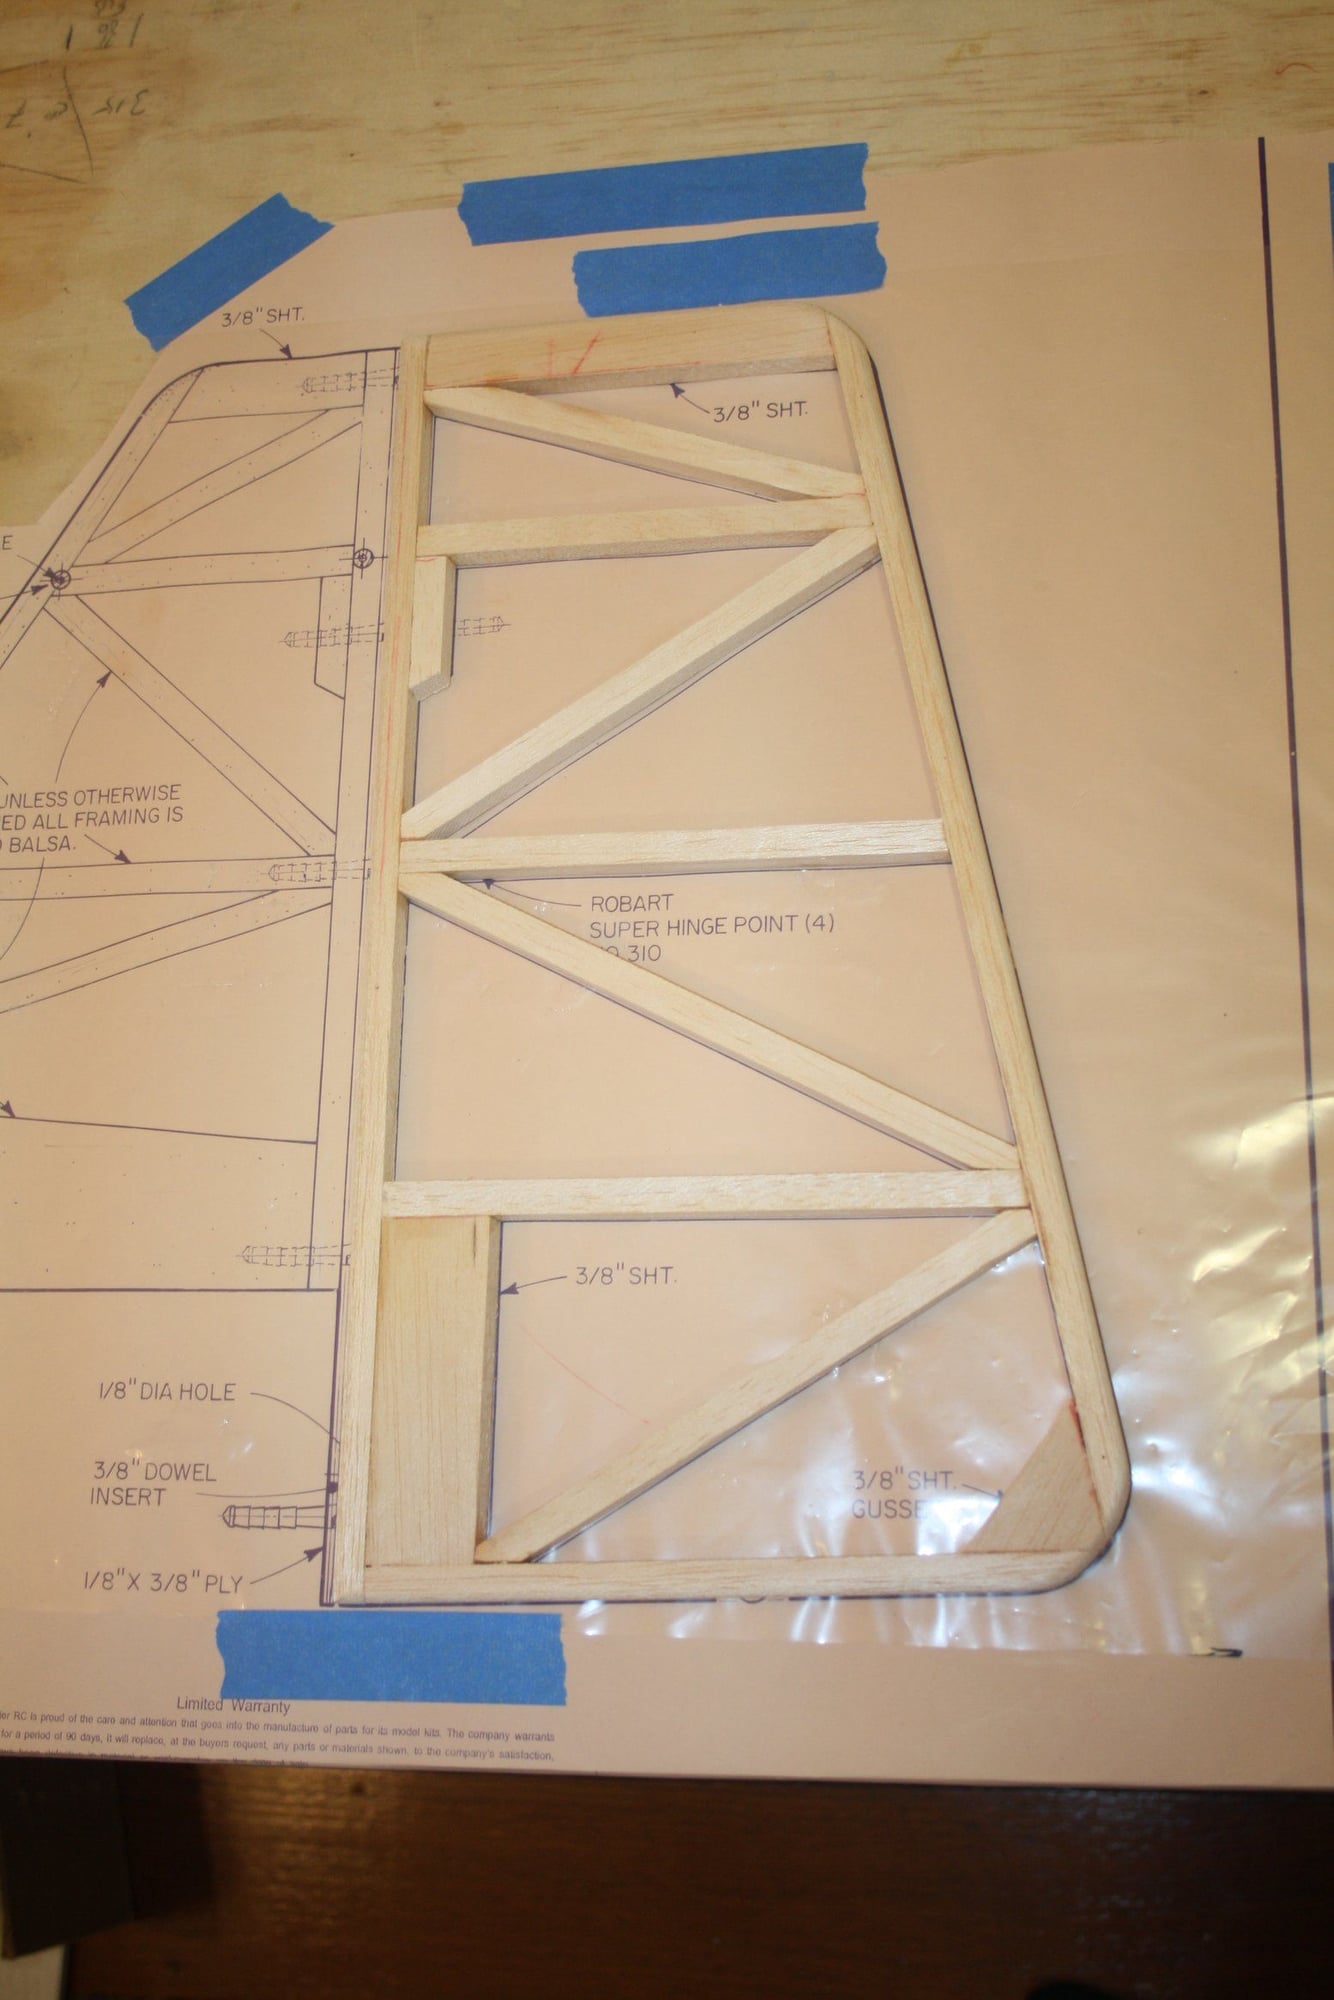
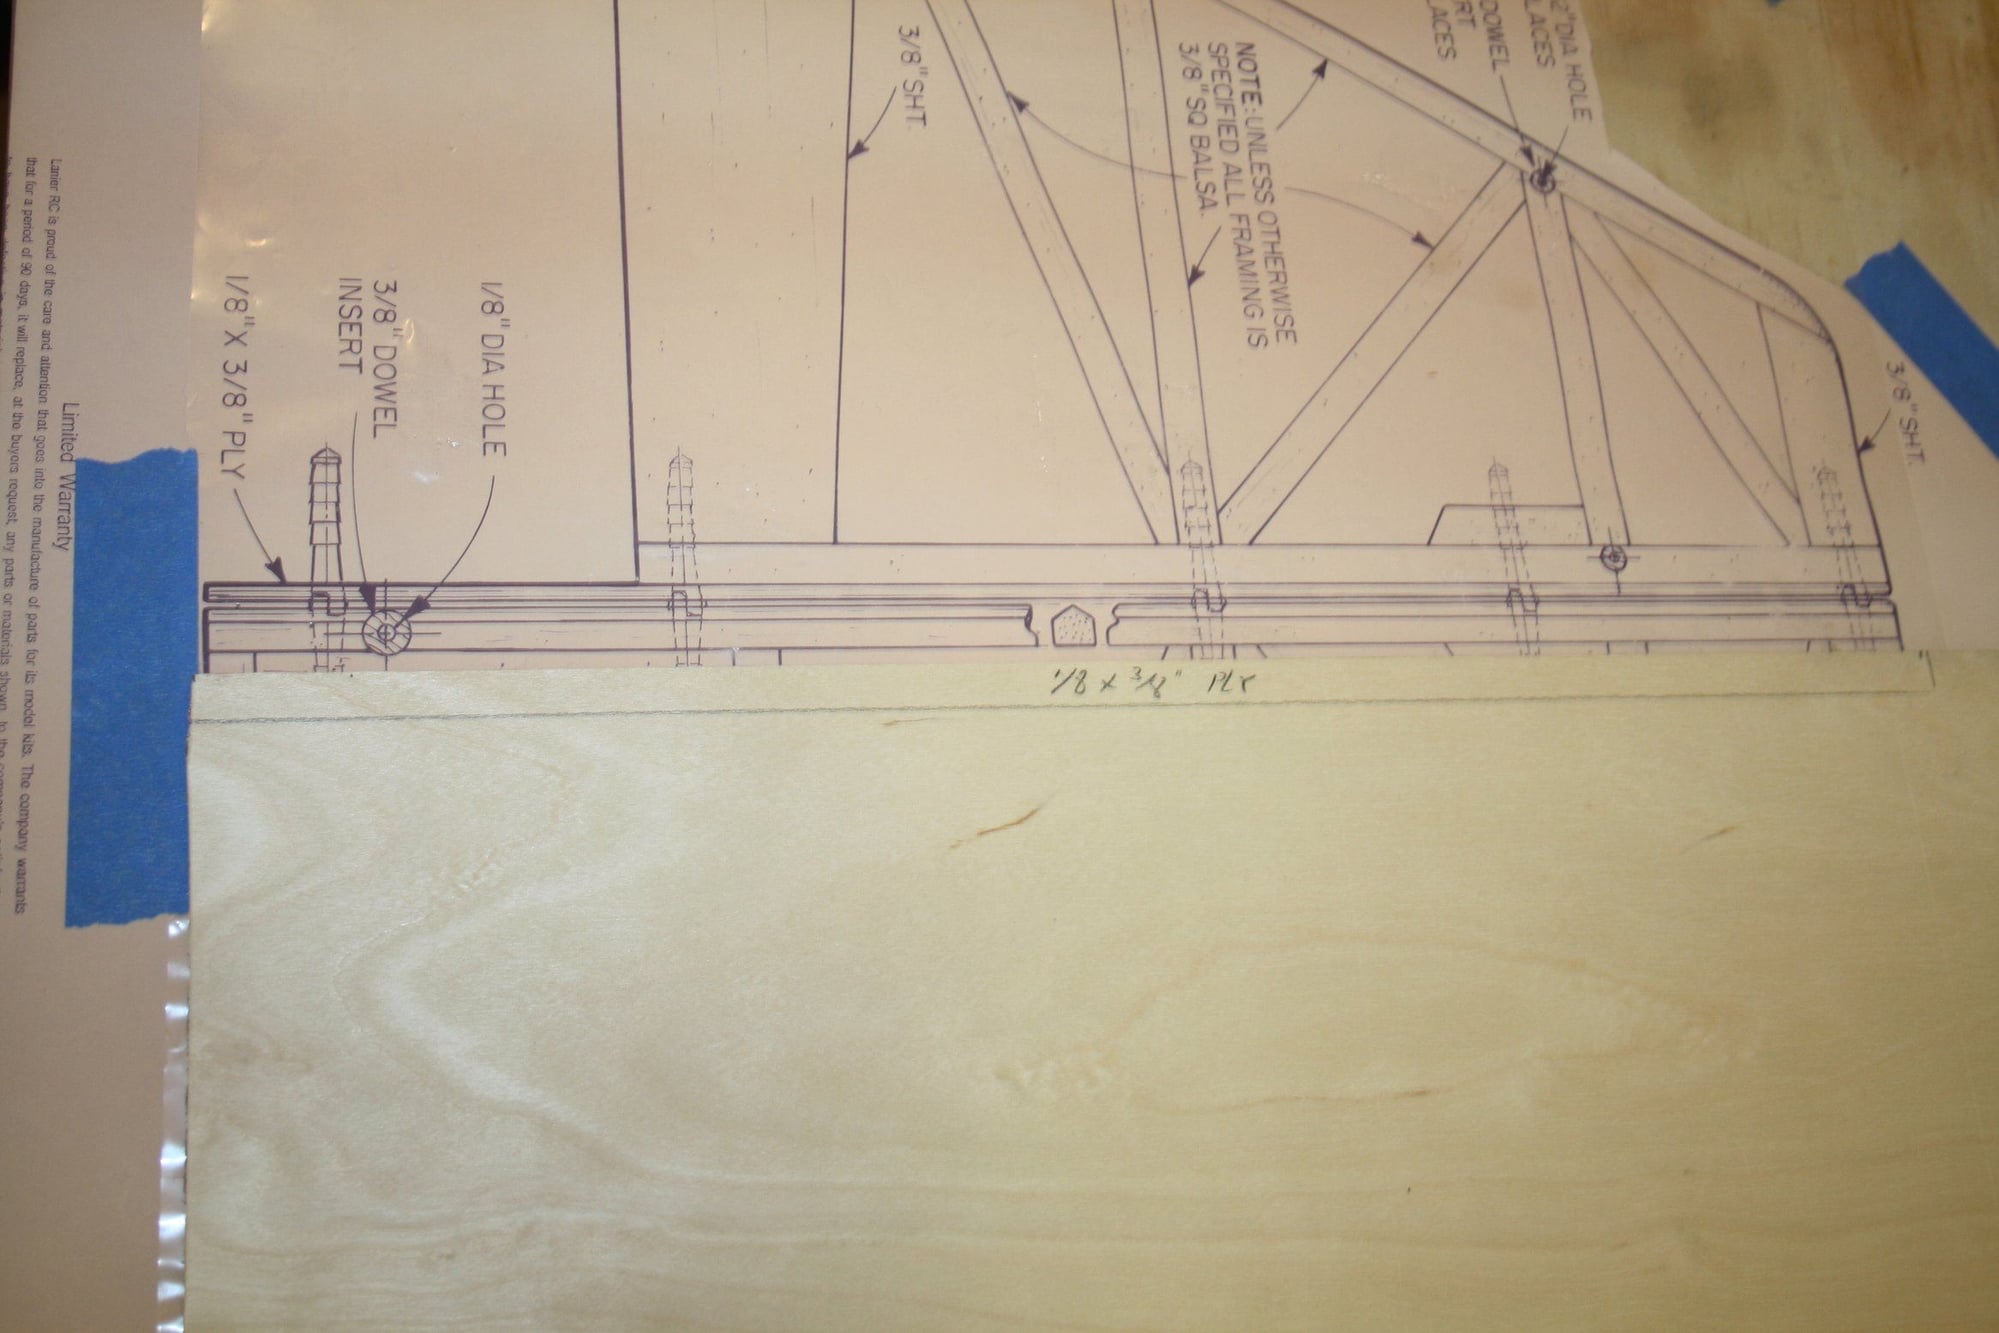
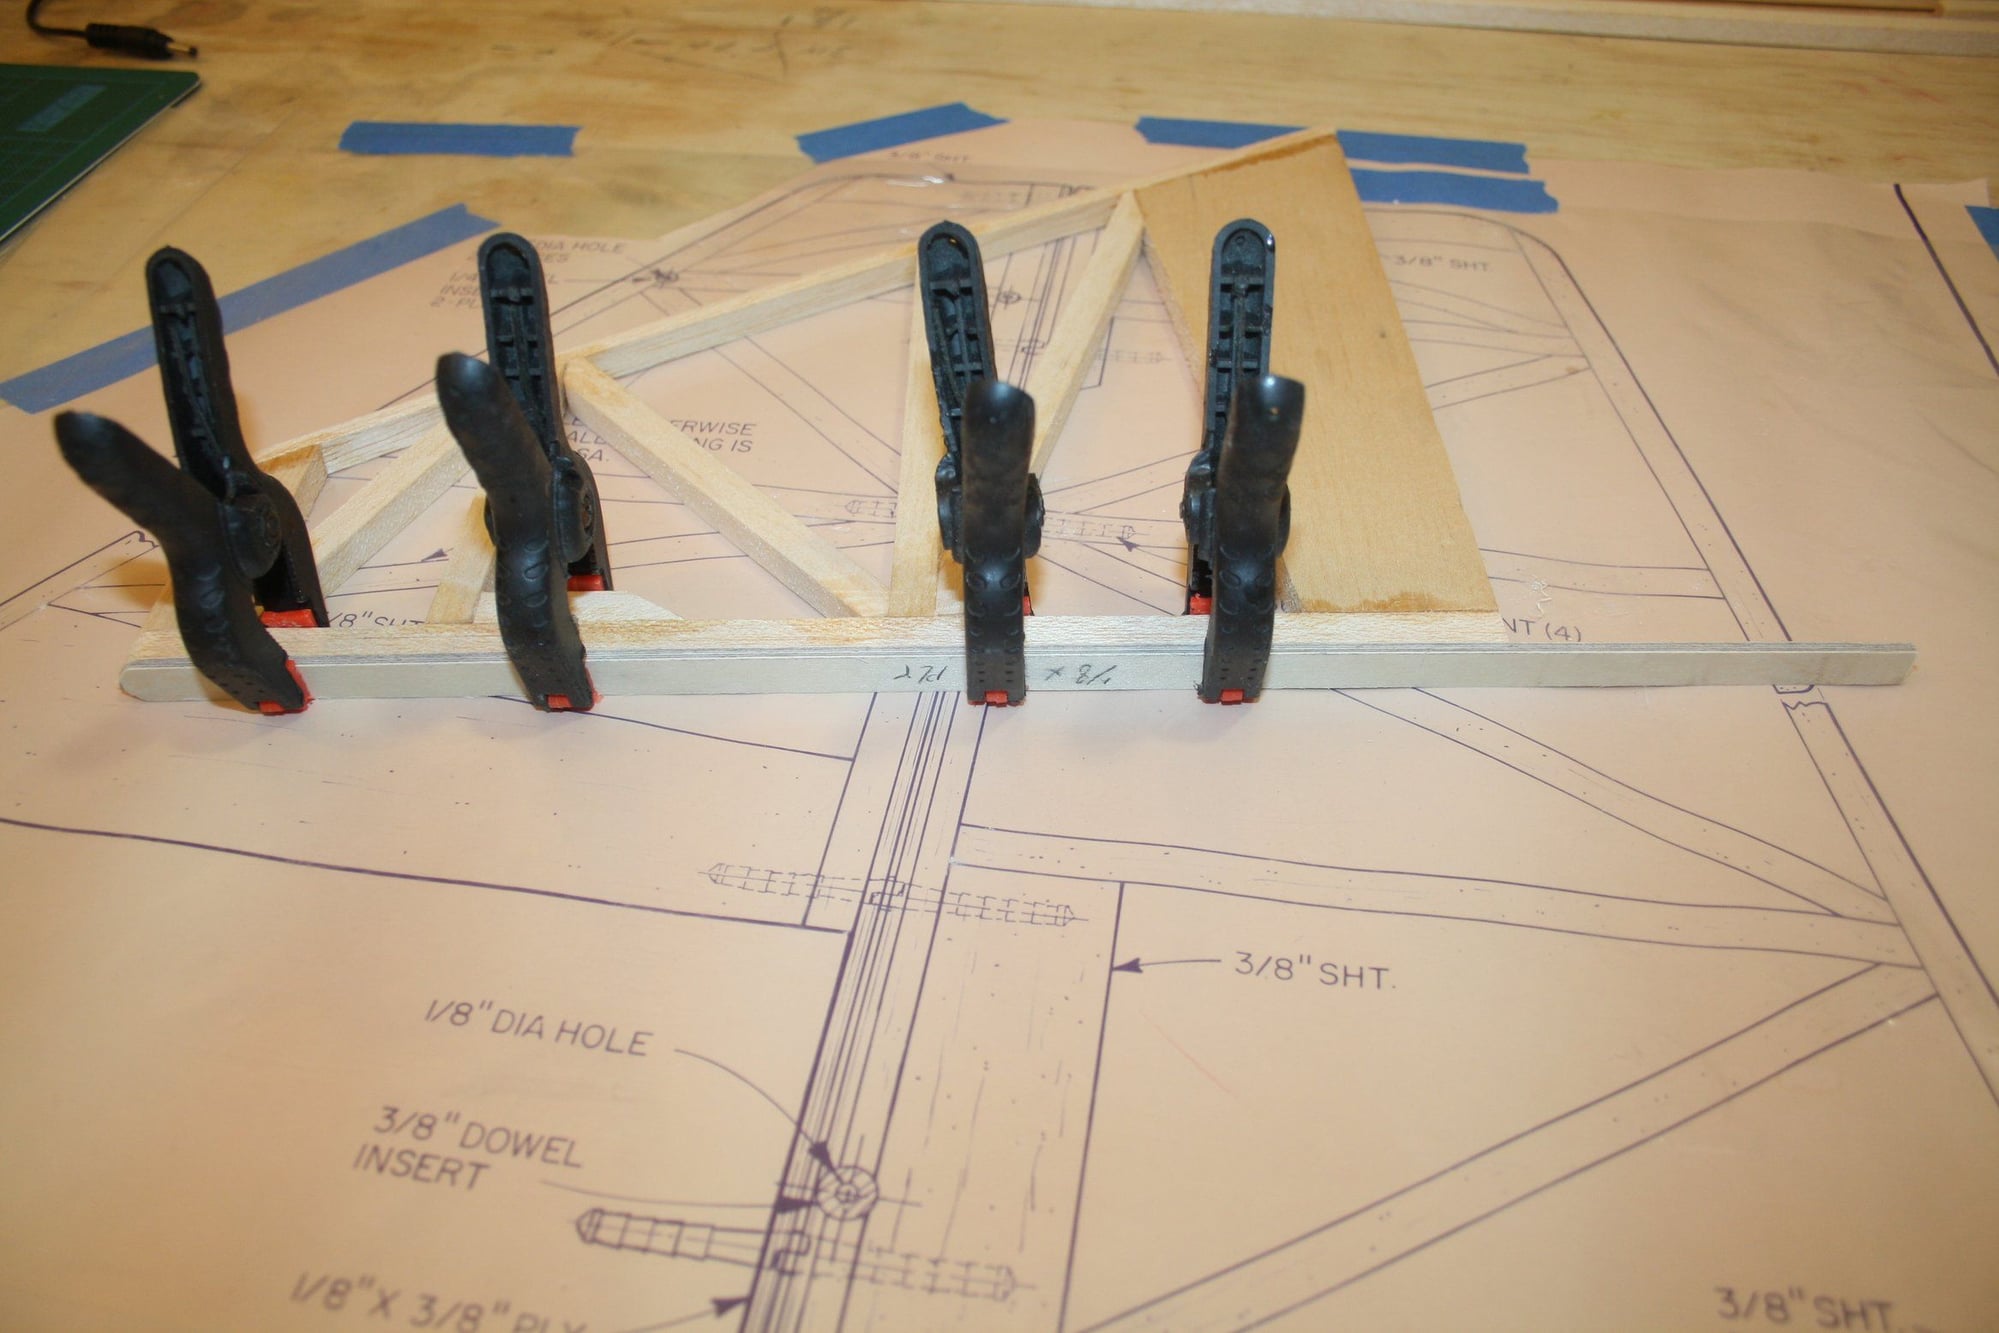
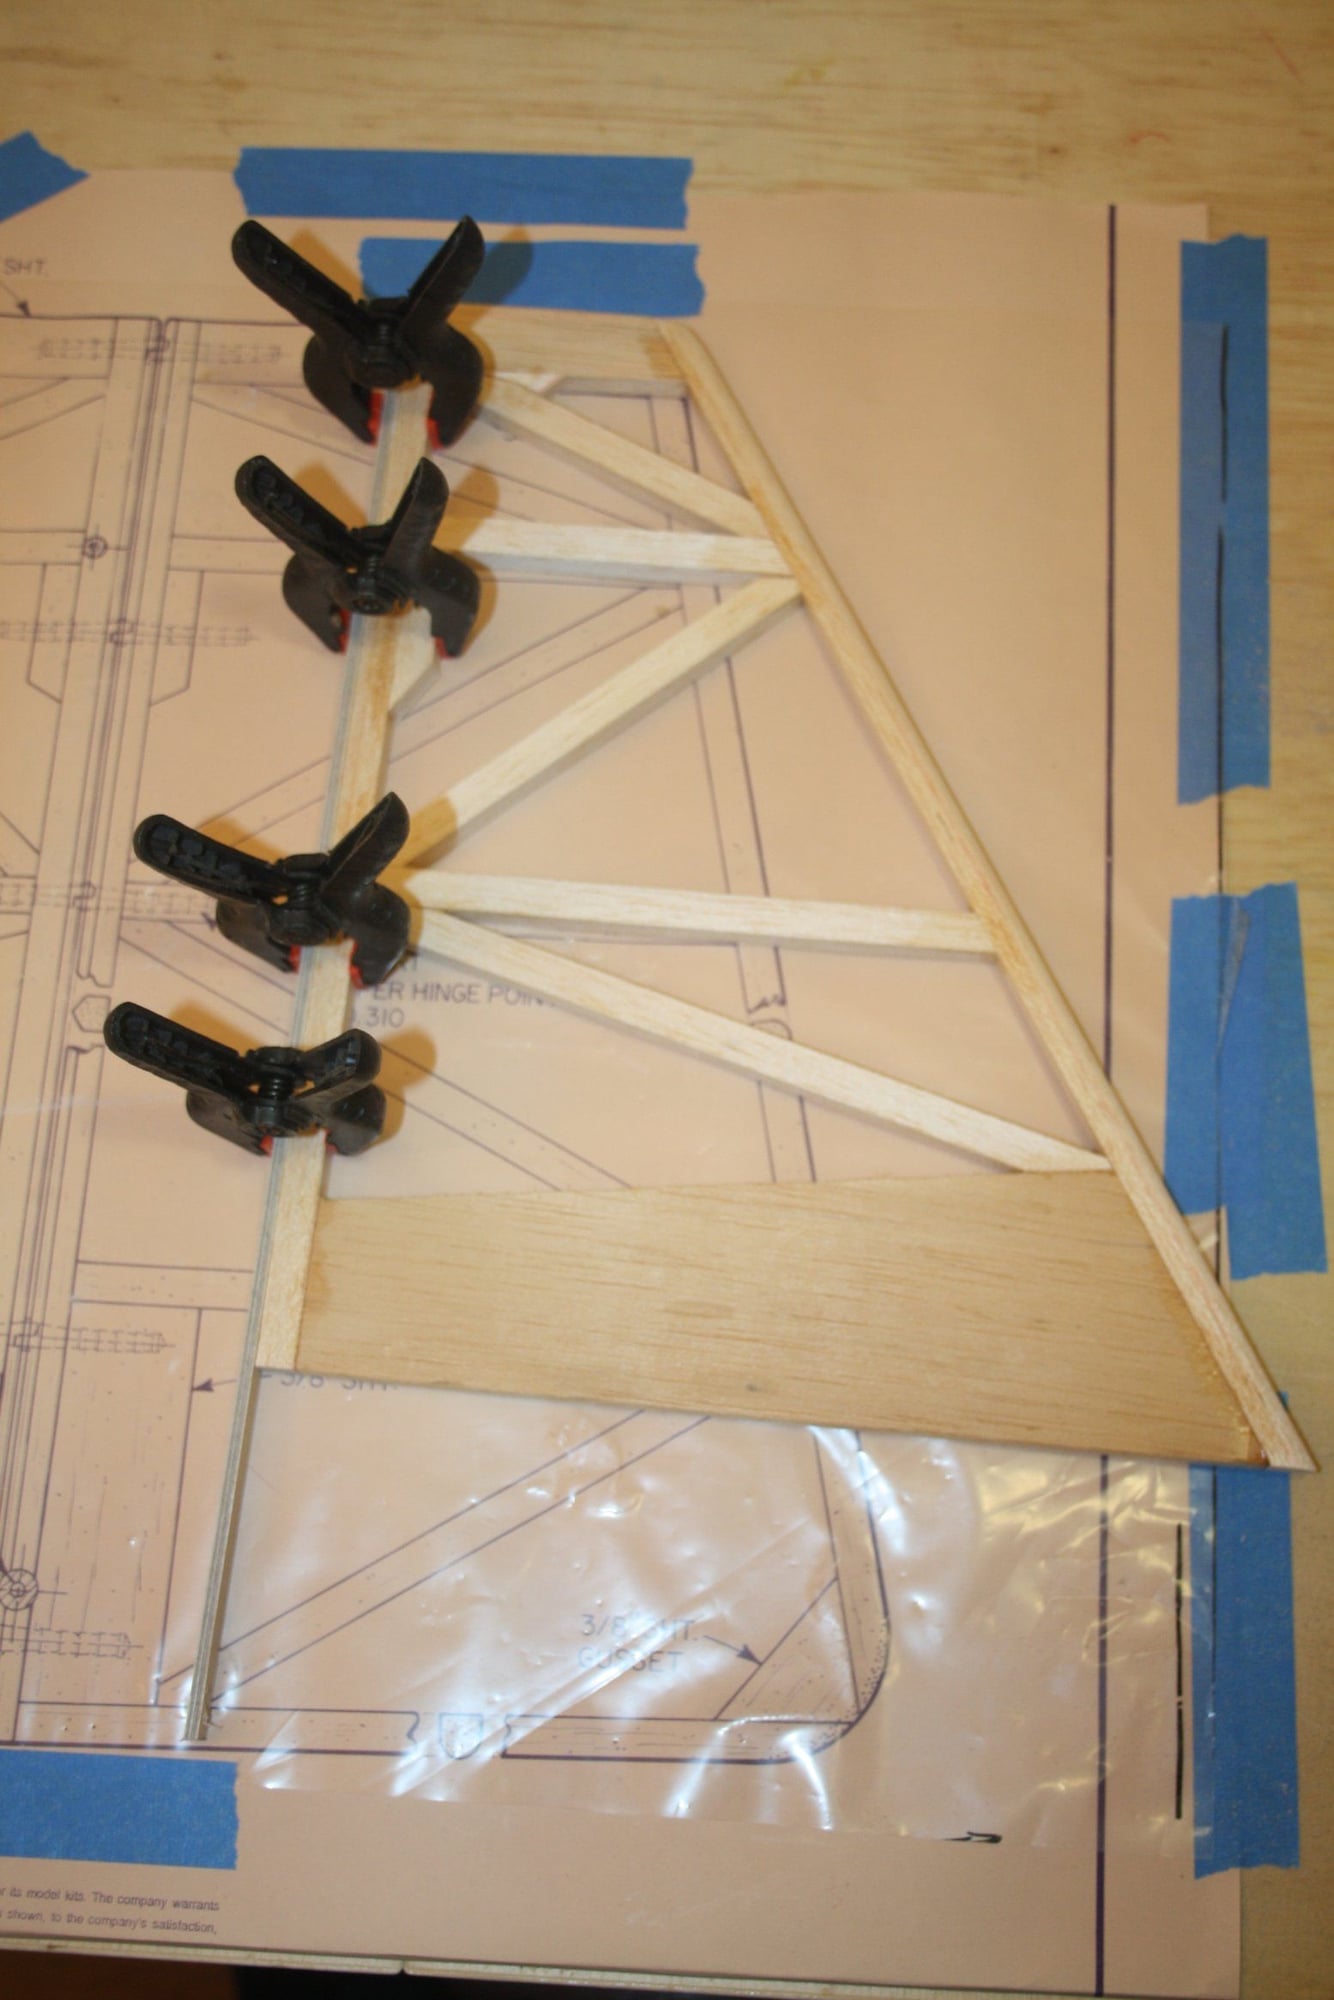
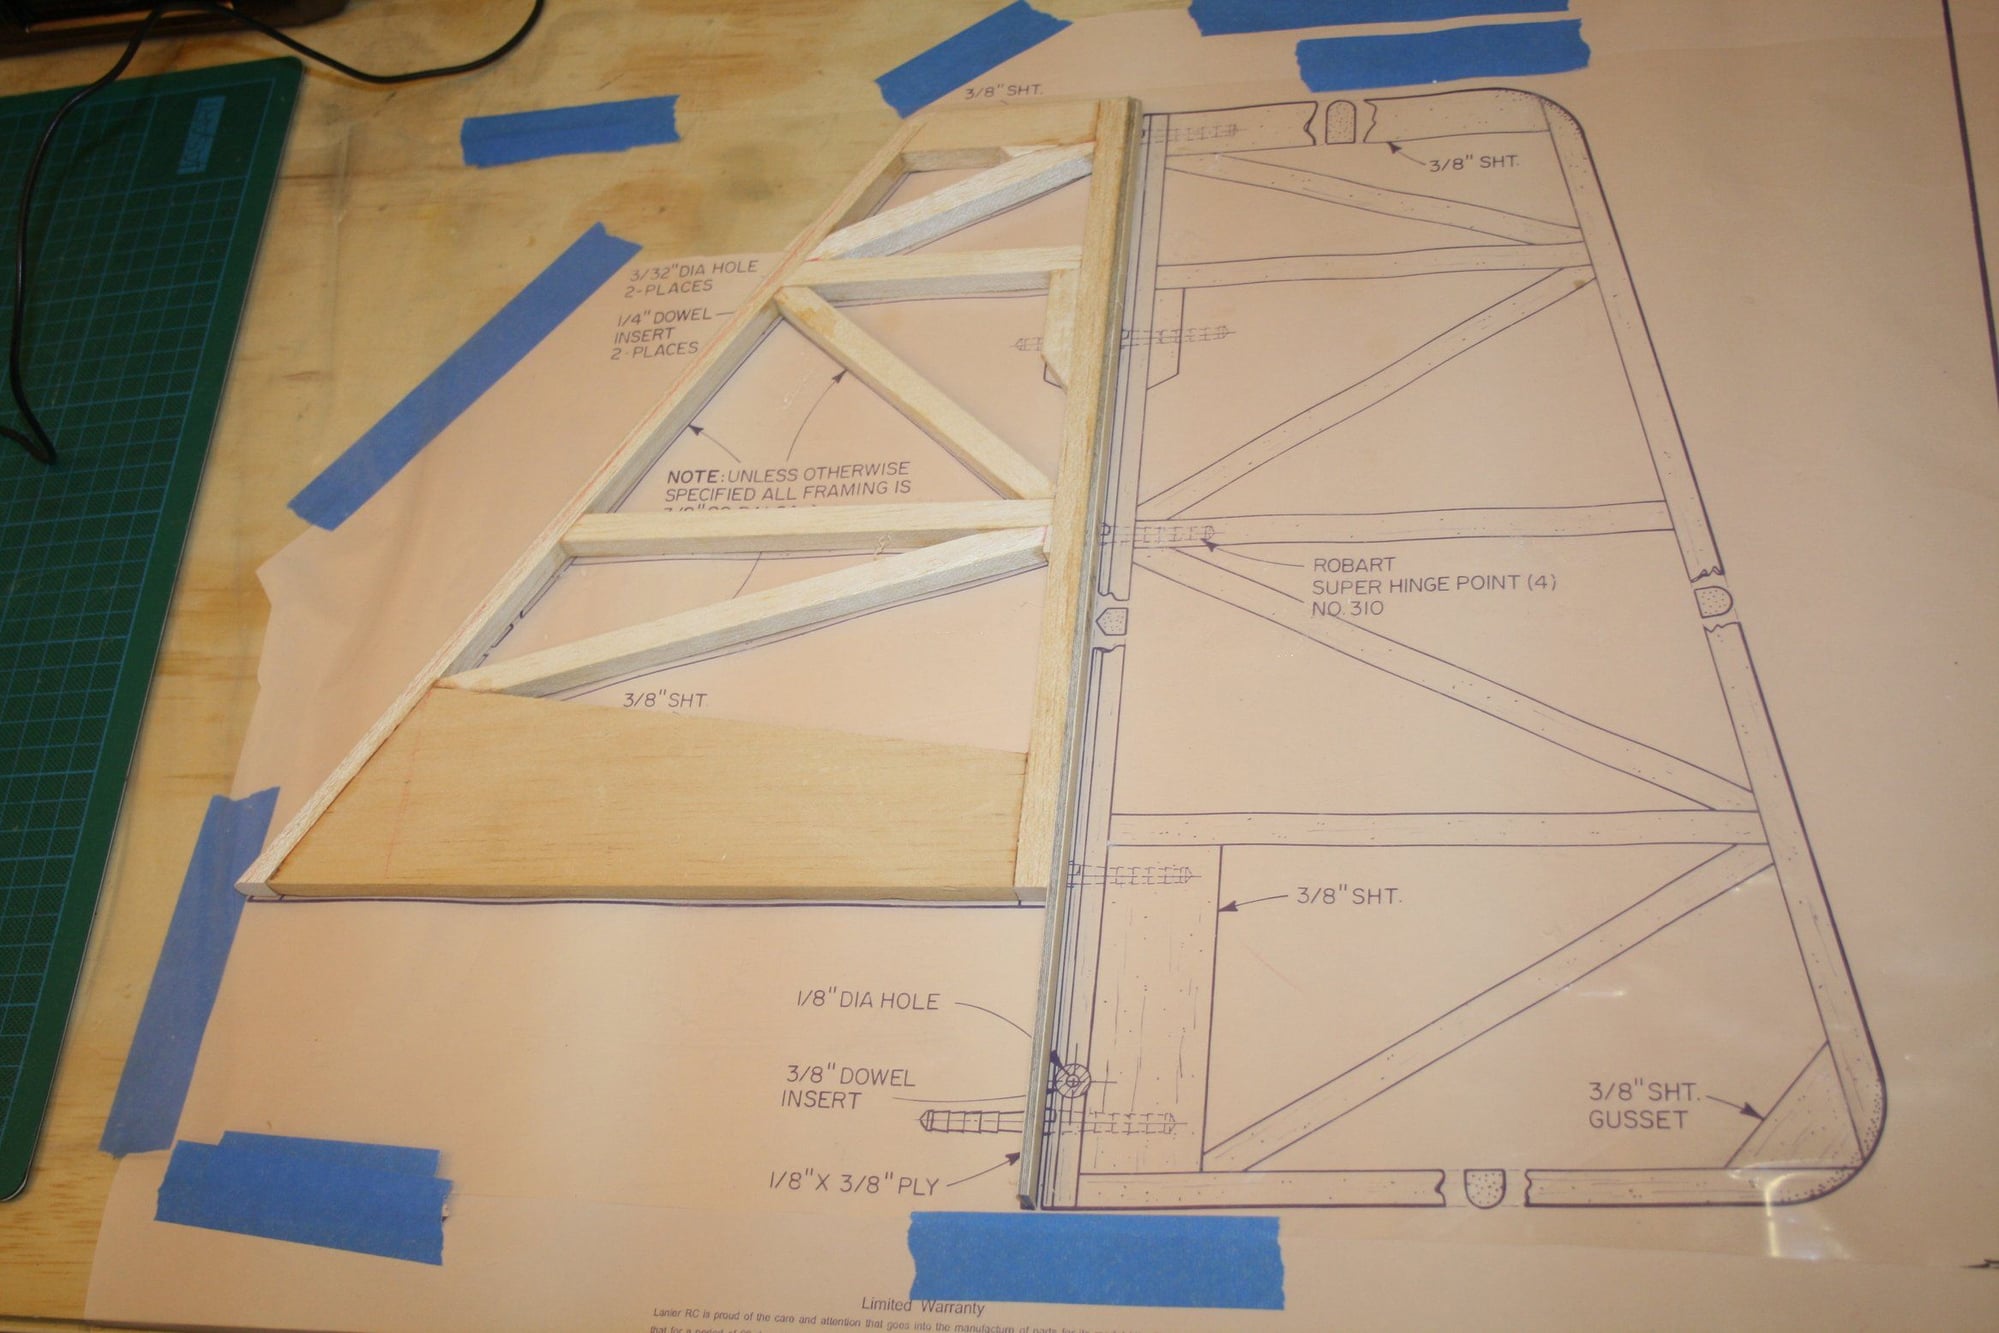
As with the horizontal stabiliser, I down-sized the dowel I had to 1/4" and made the inserts in the vertical stabiliser. I then drilled them creating the 3/32" hole.
Cheers,
Eran
Cheers,
Eran
11-09-2023, 09:38 PM
#48
Thread Starter
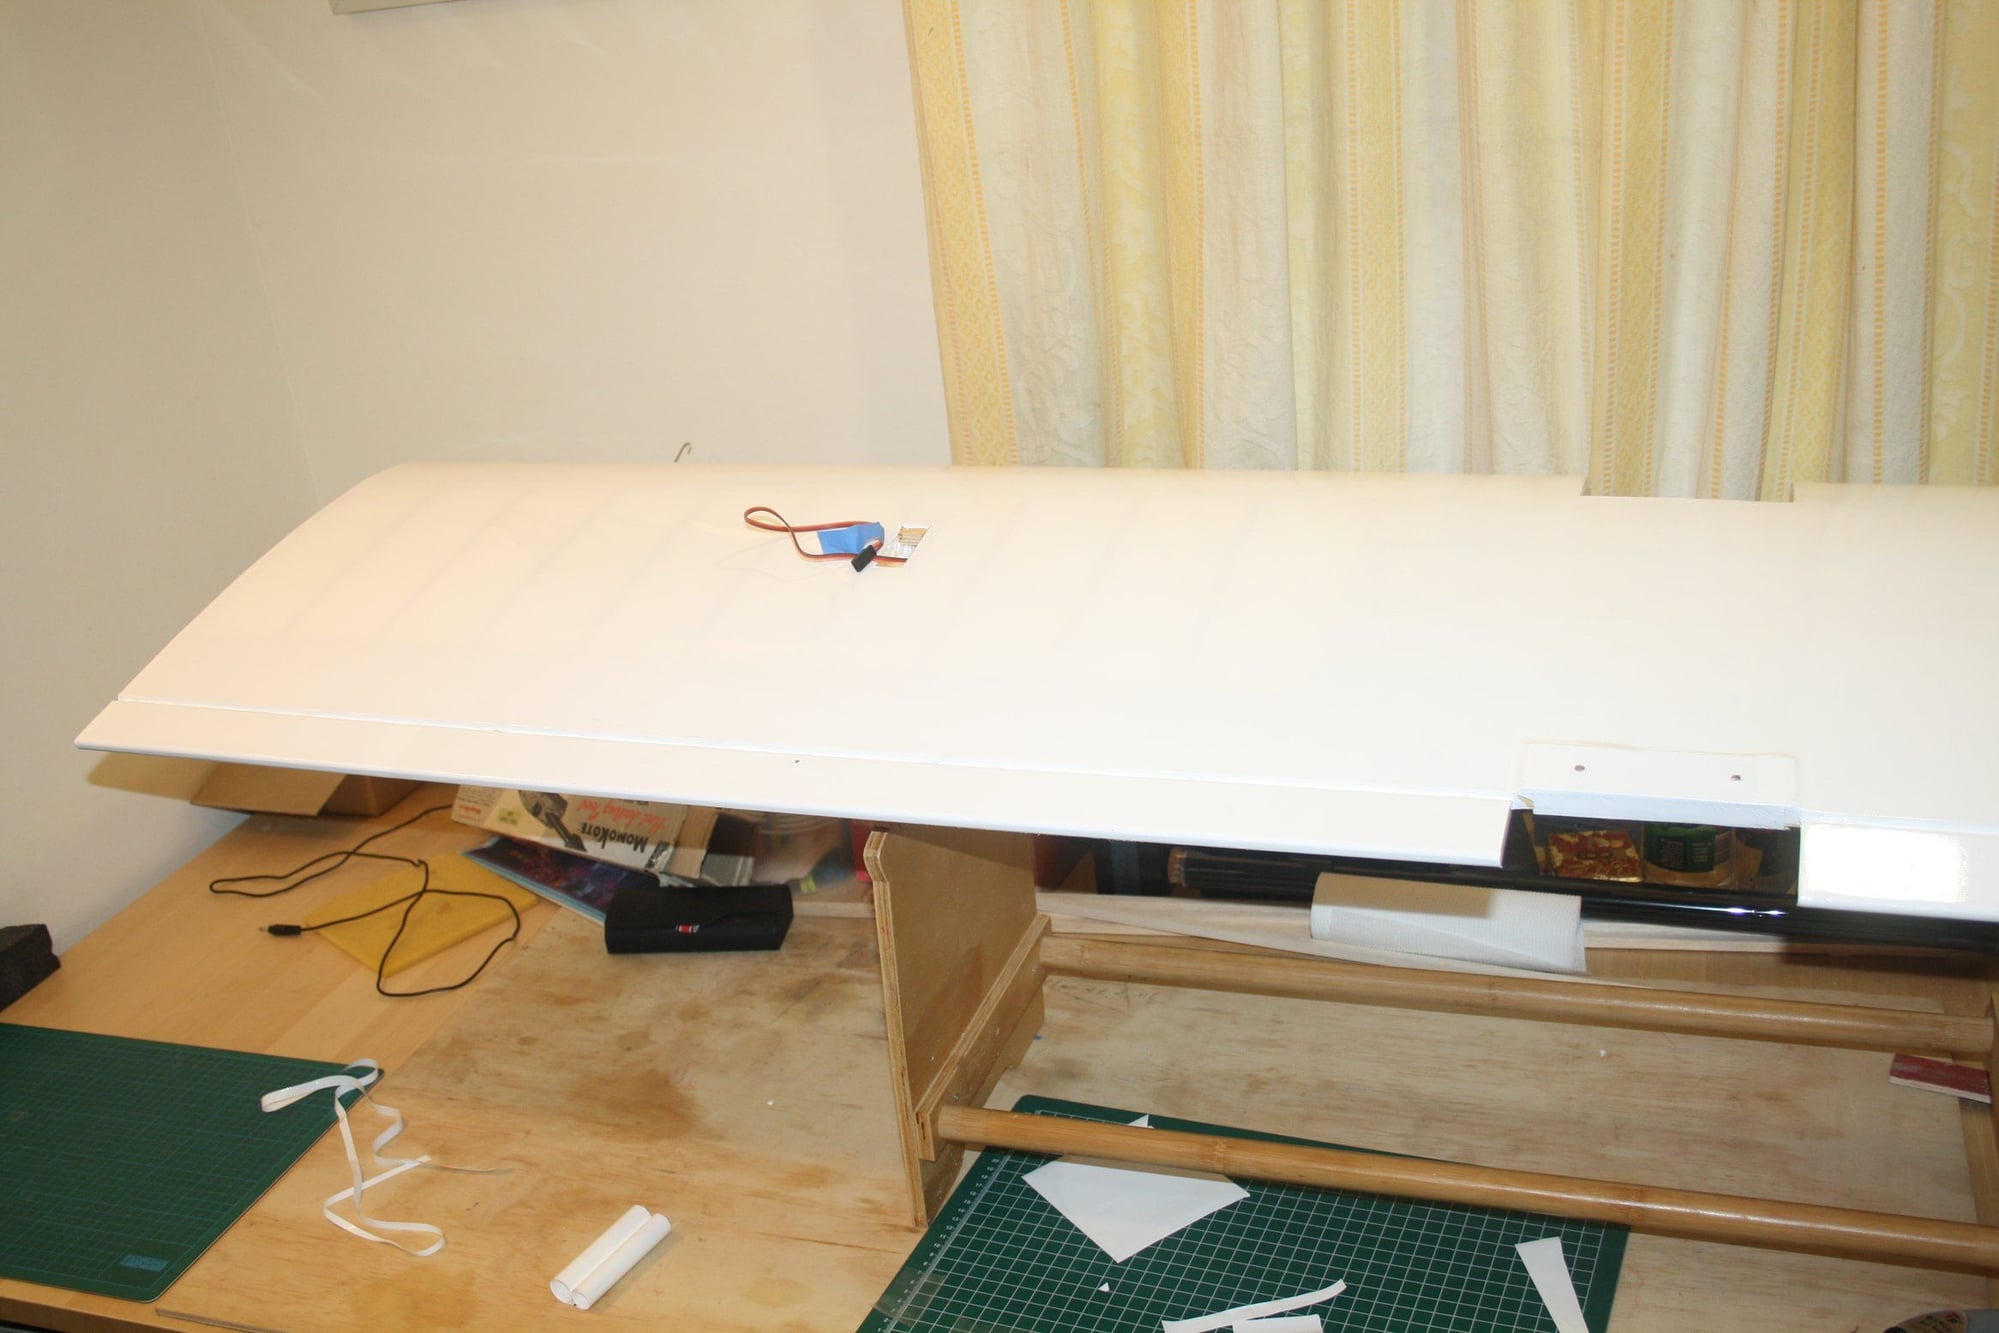
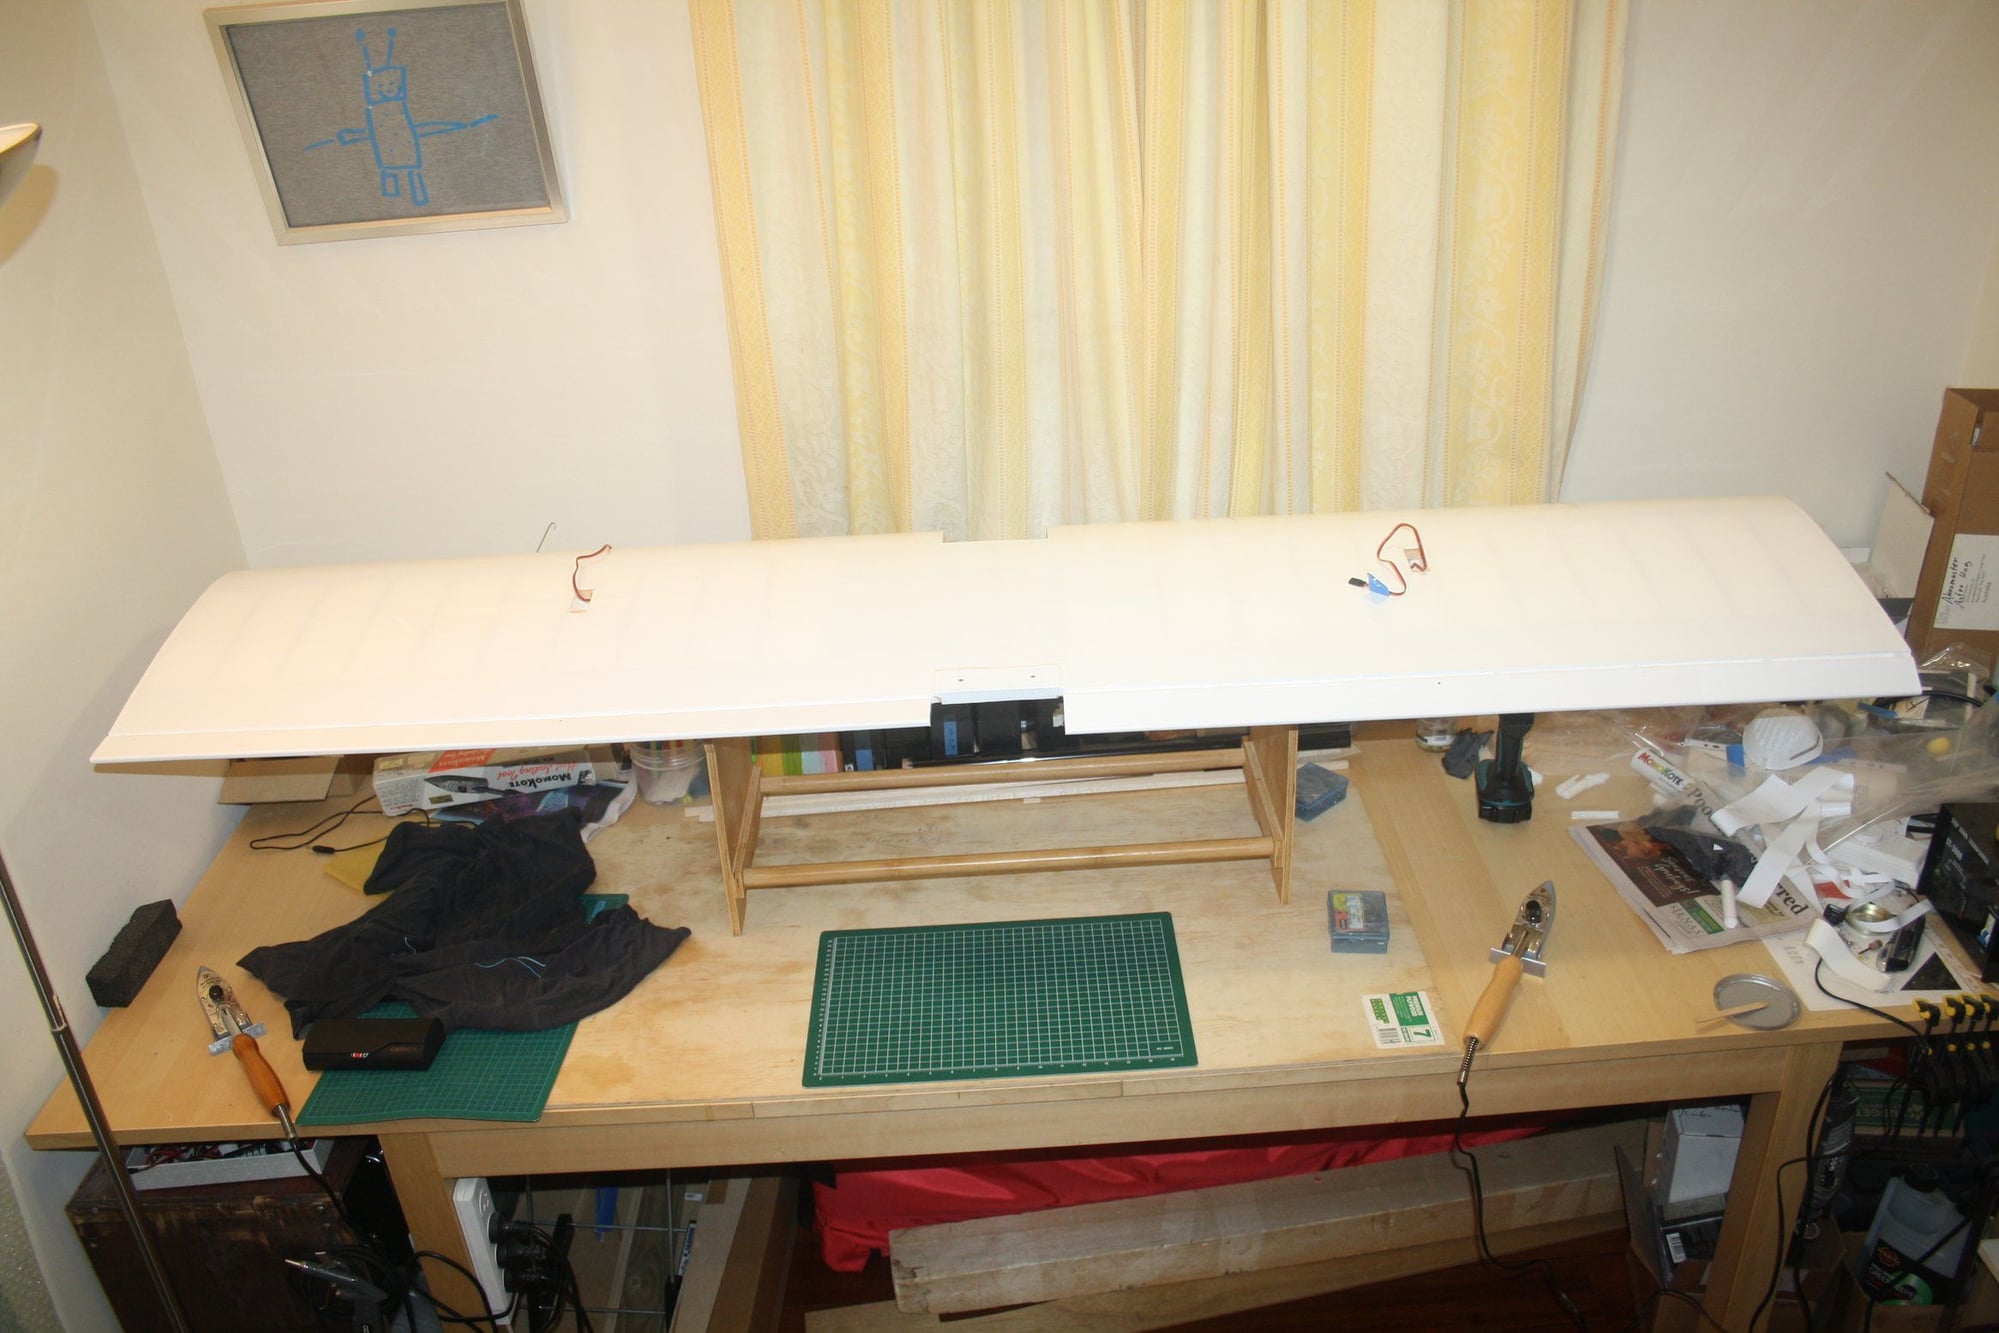
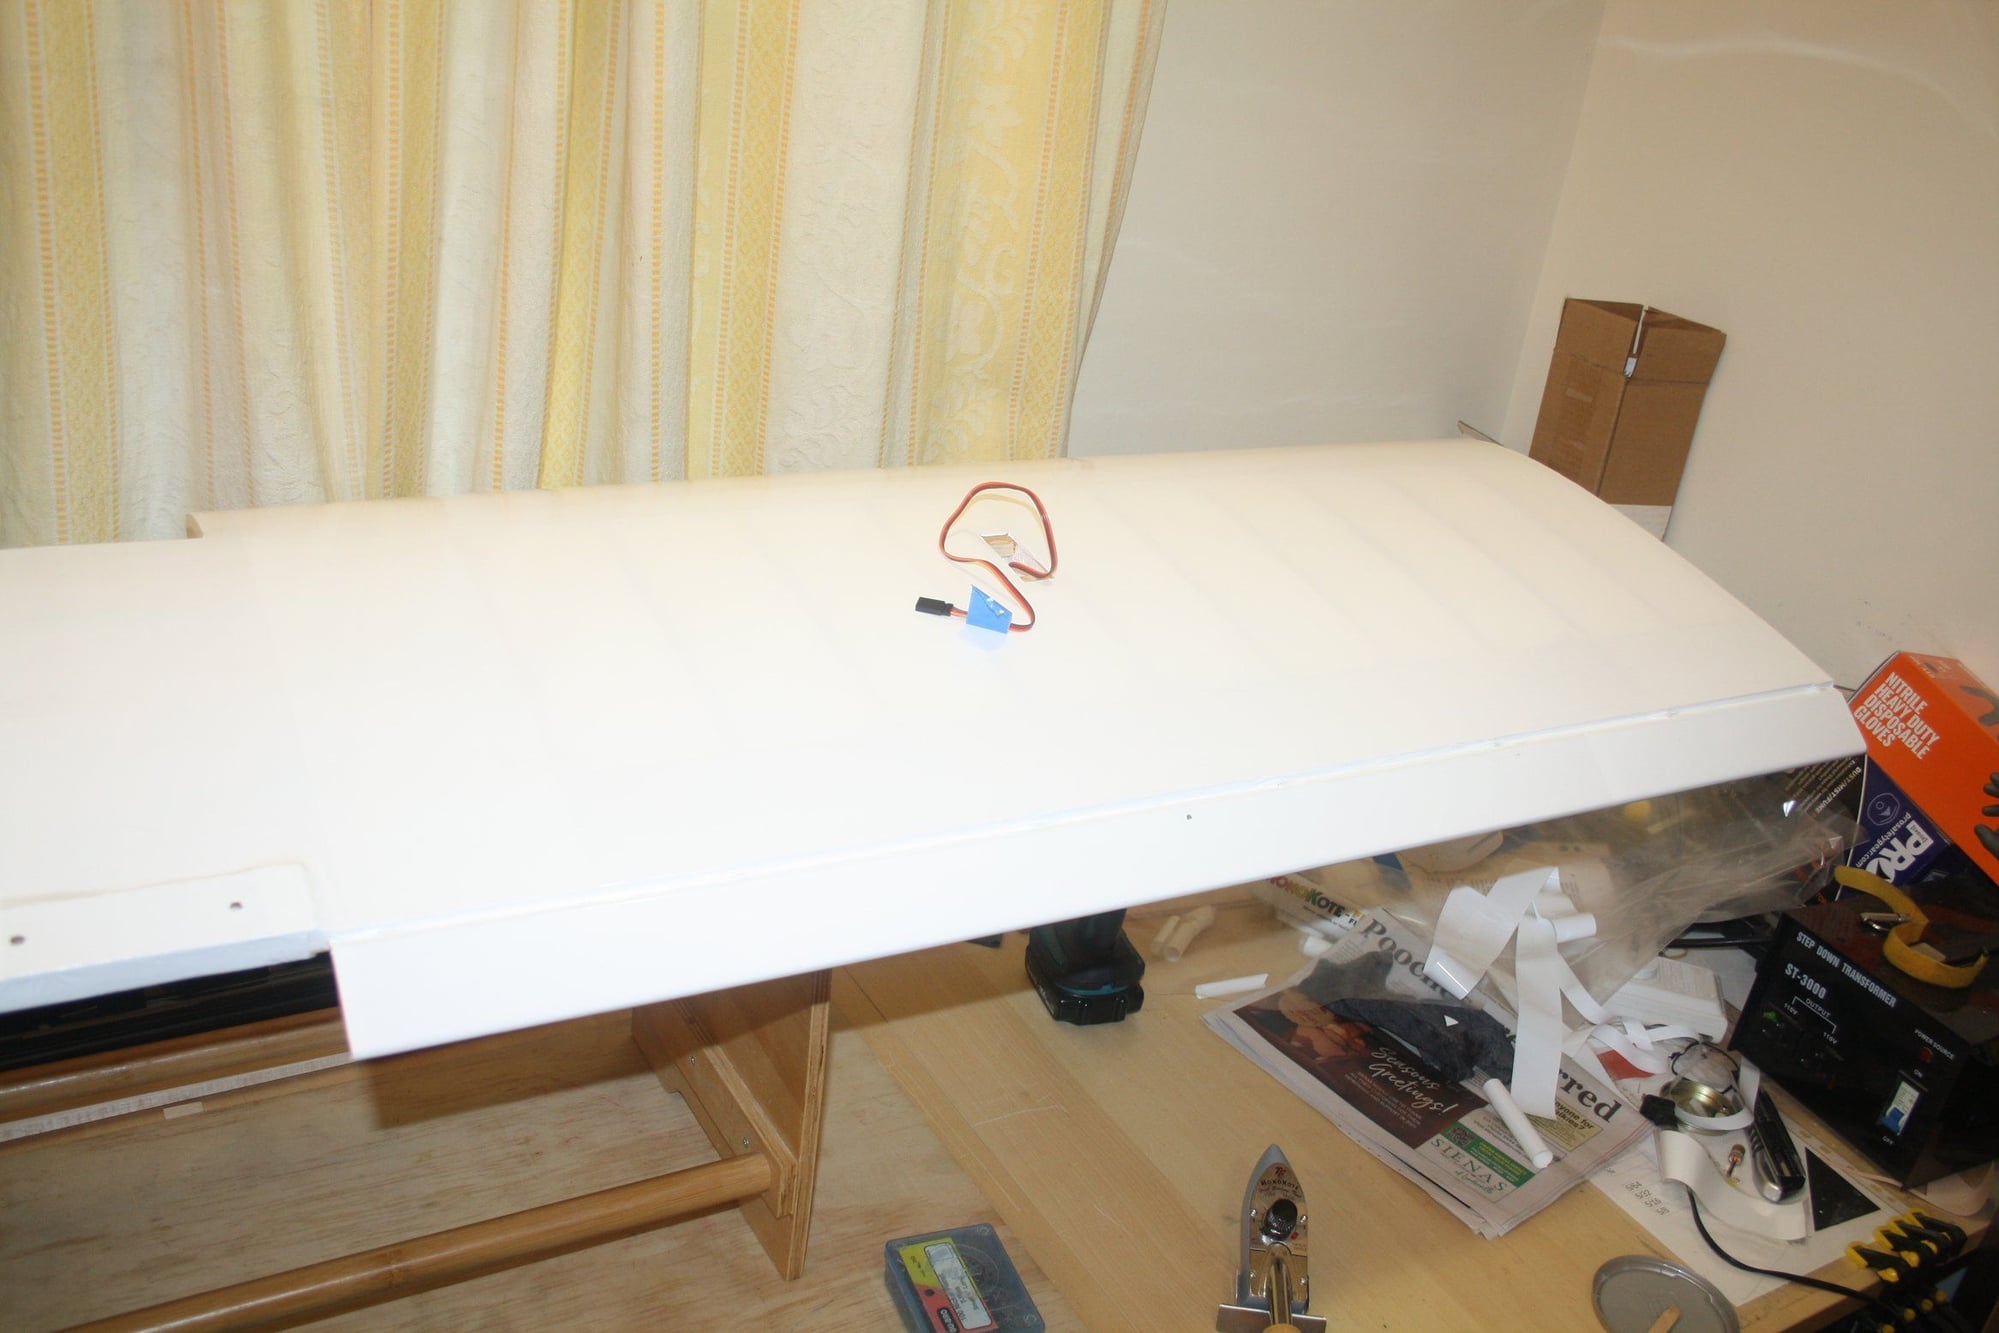
Back to the wing, I have just realised that I glued the wing bolt plywood piece to the wrong side (bottom) of the wing. Doh...
New piece fabricated and glued into place.
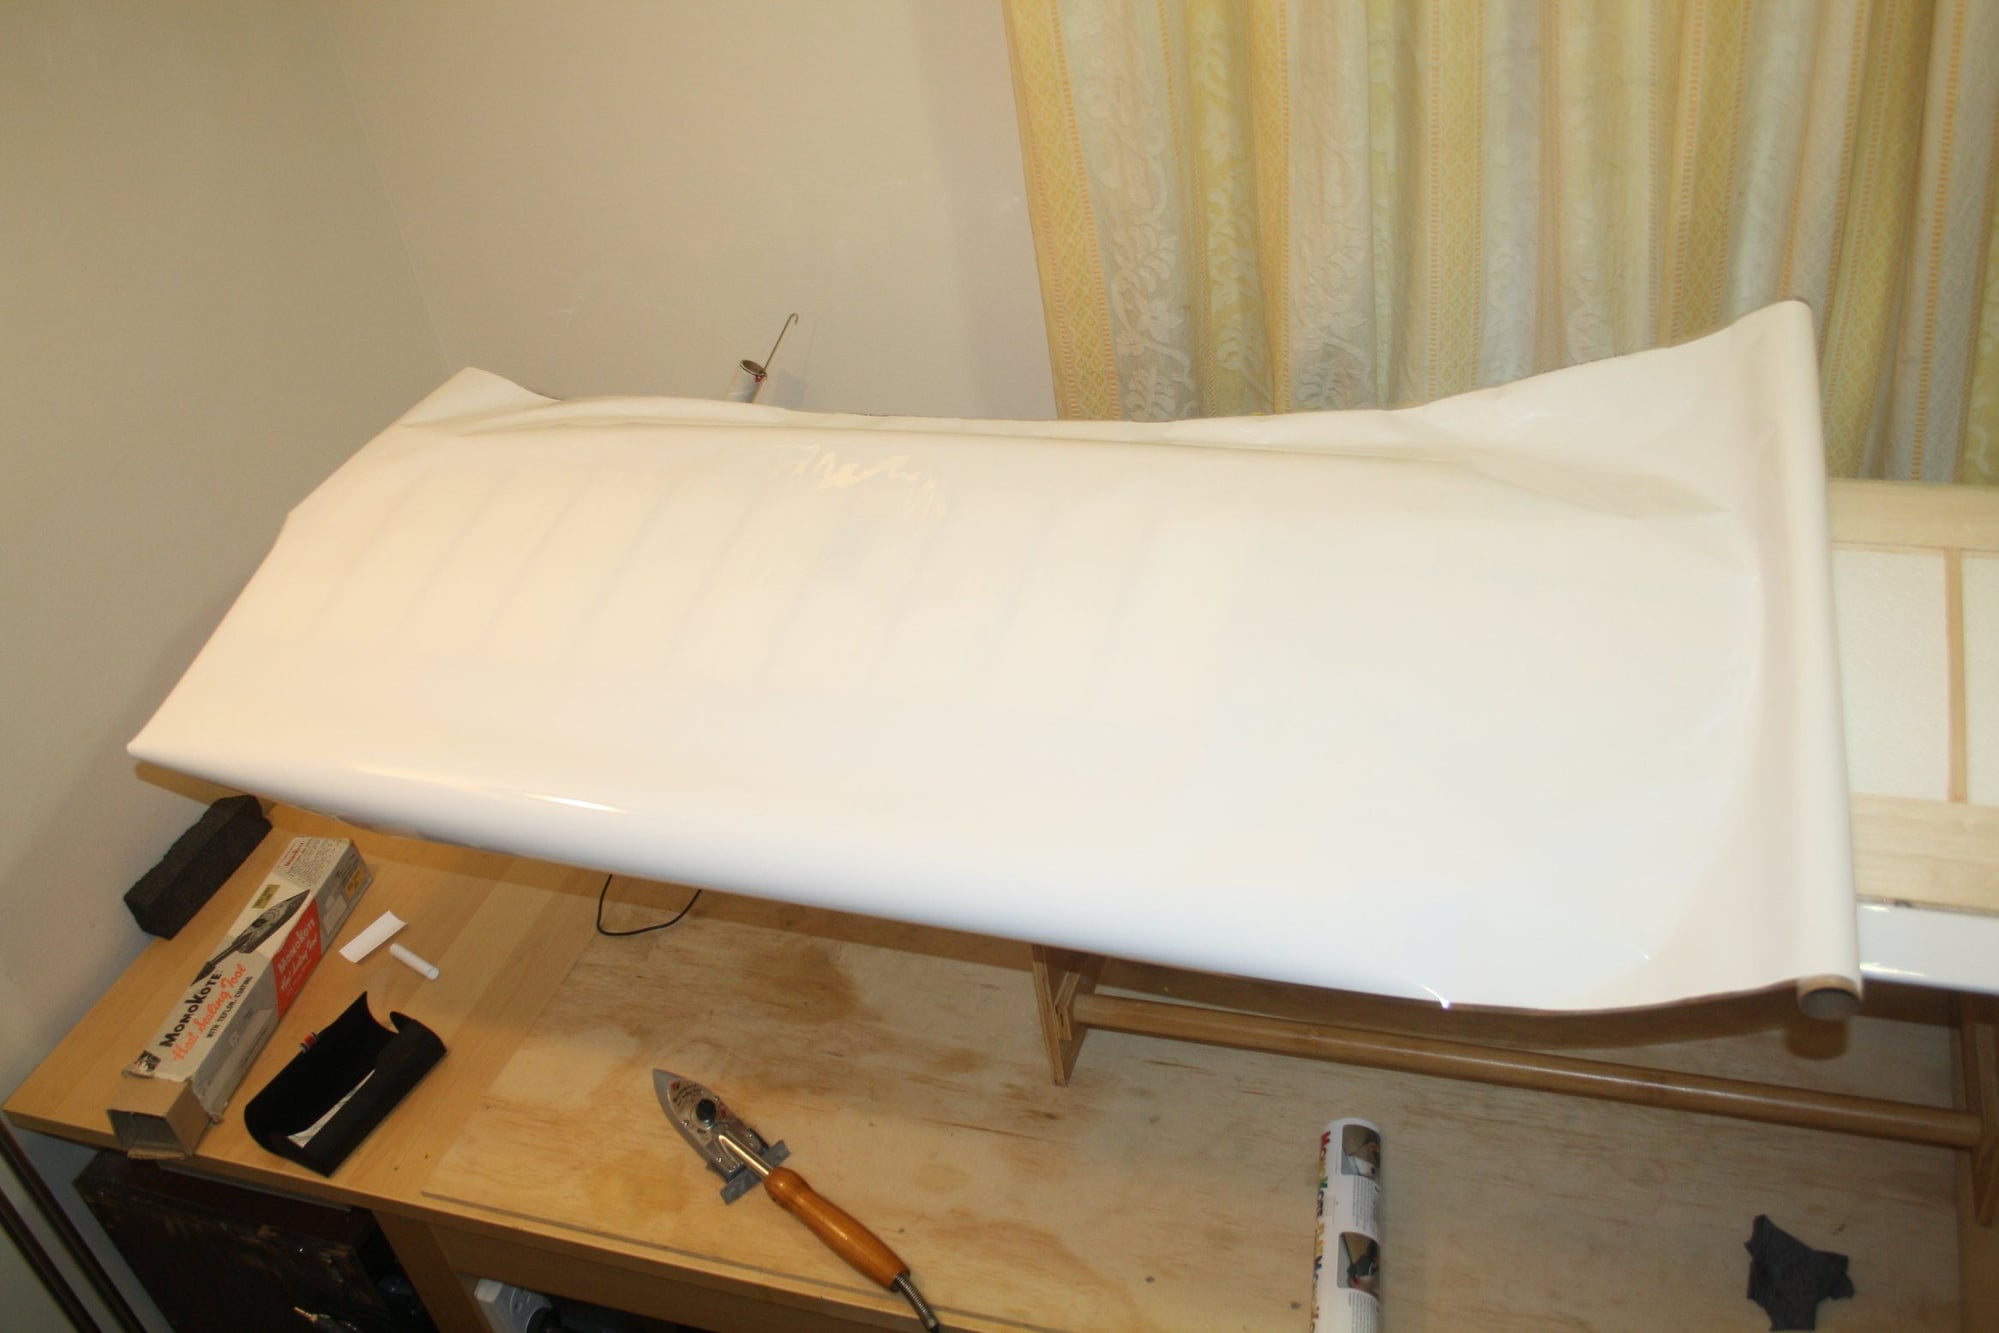
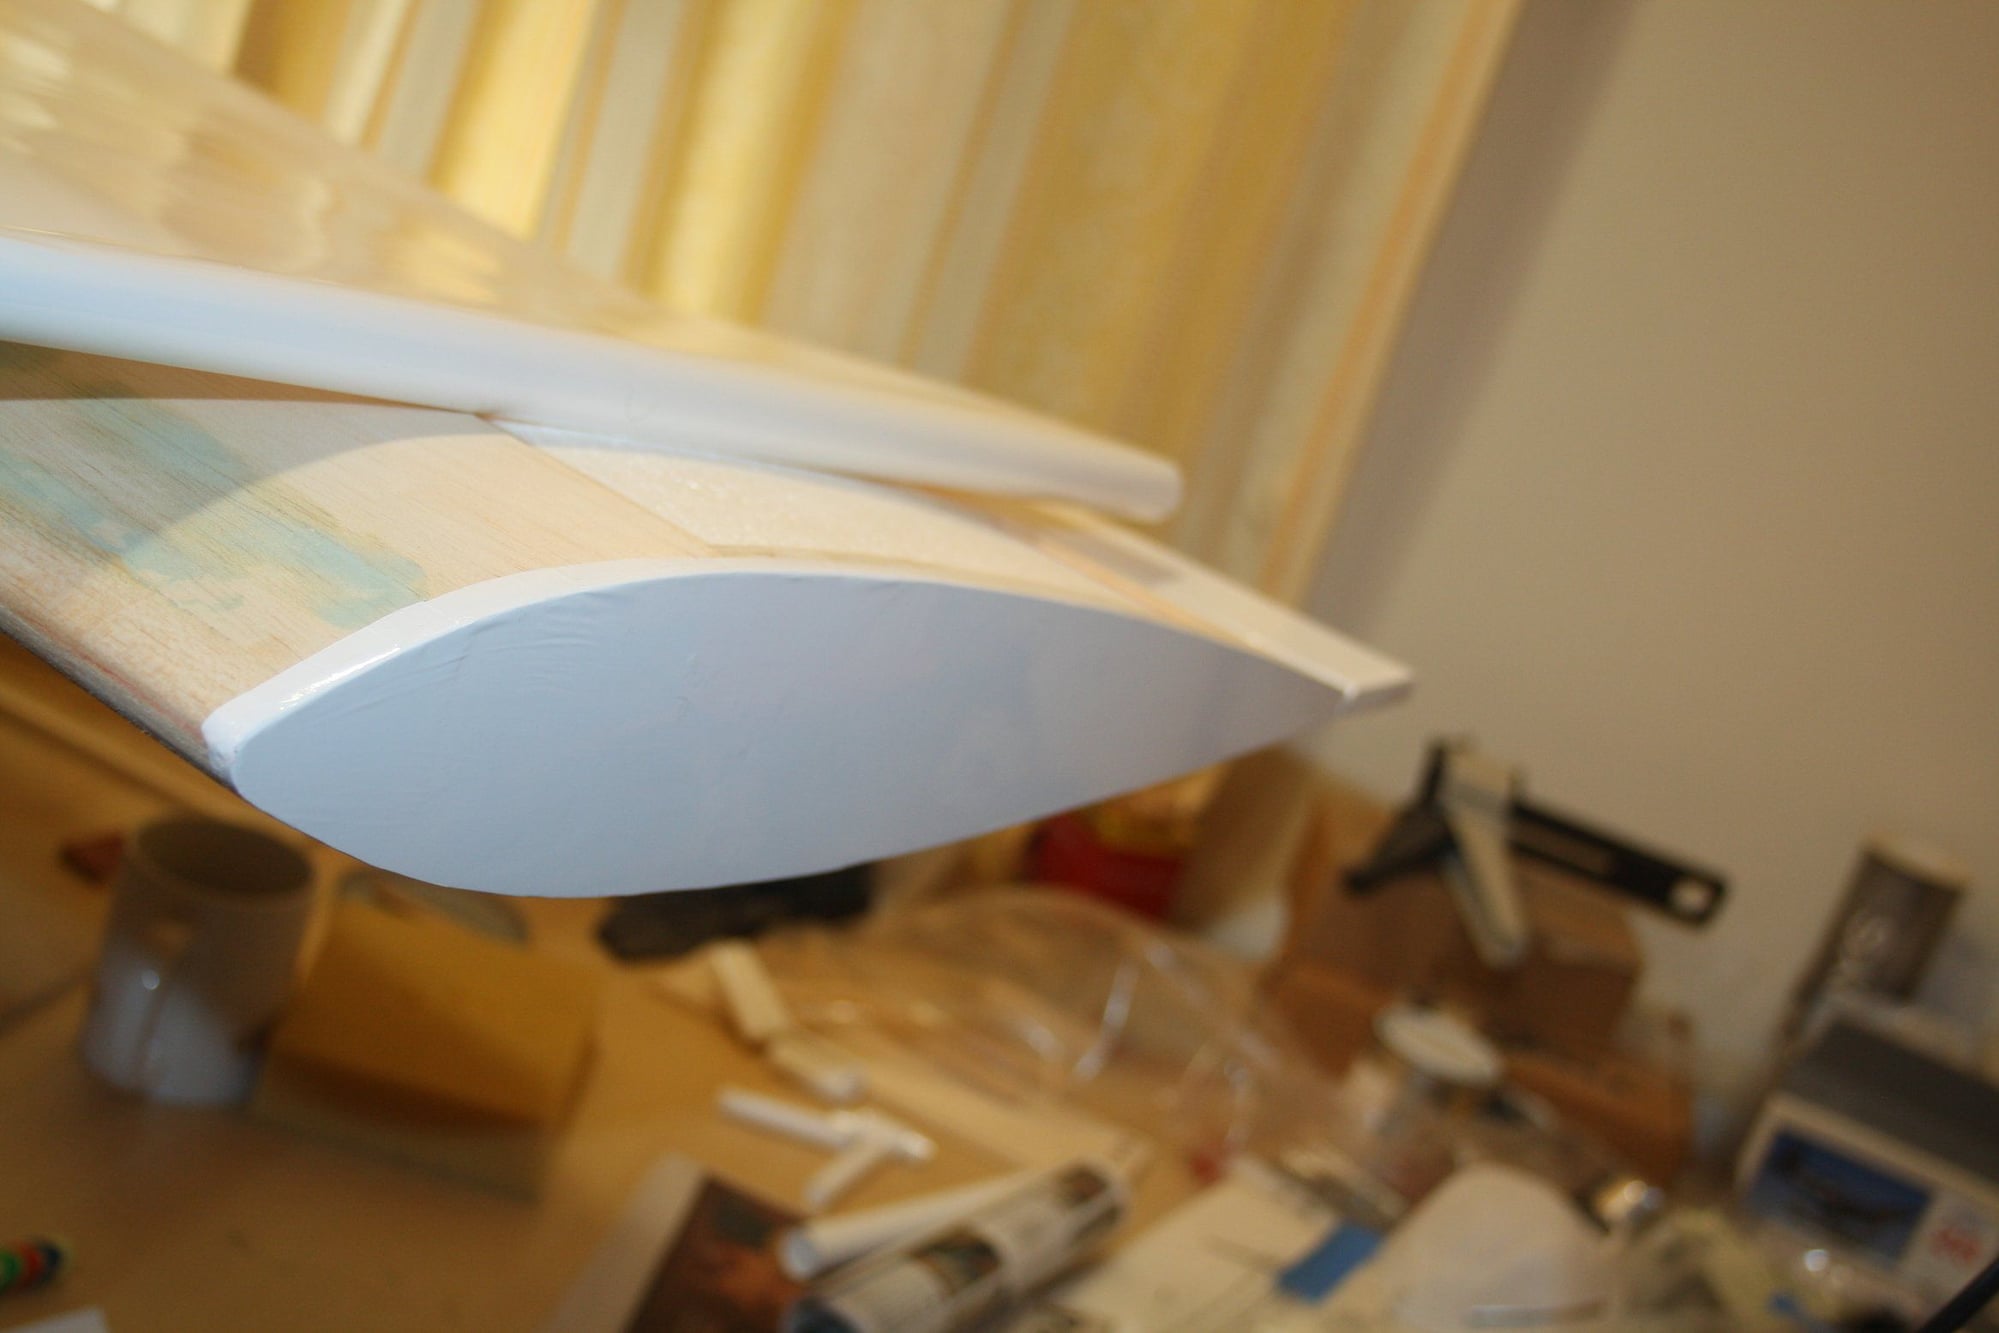
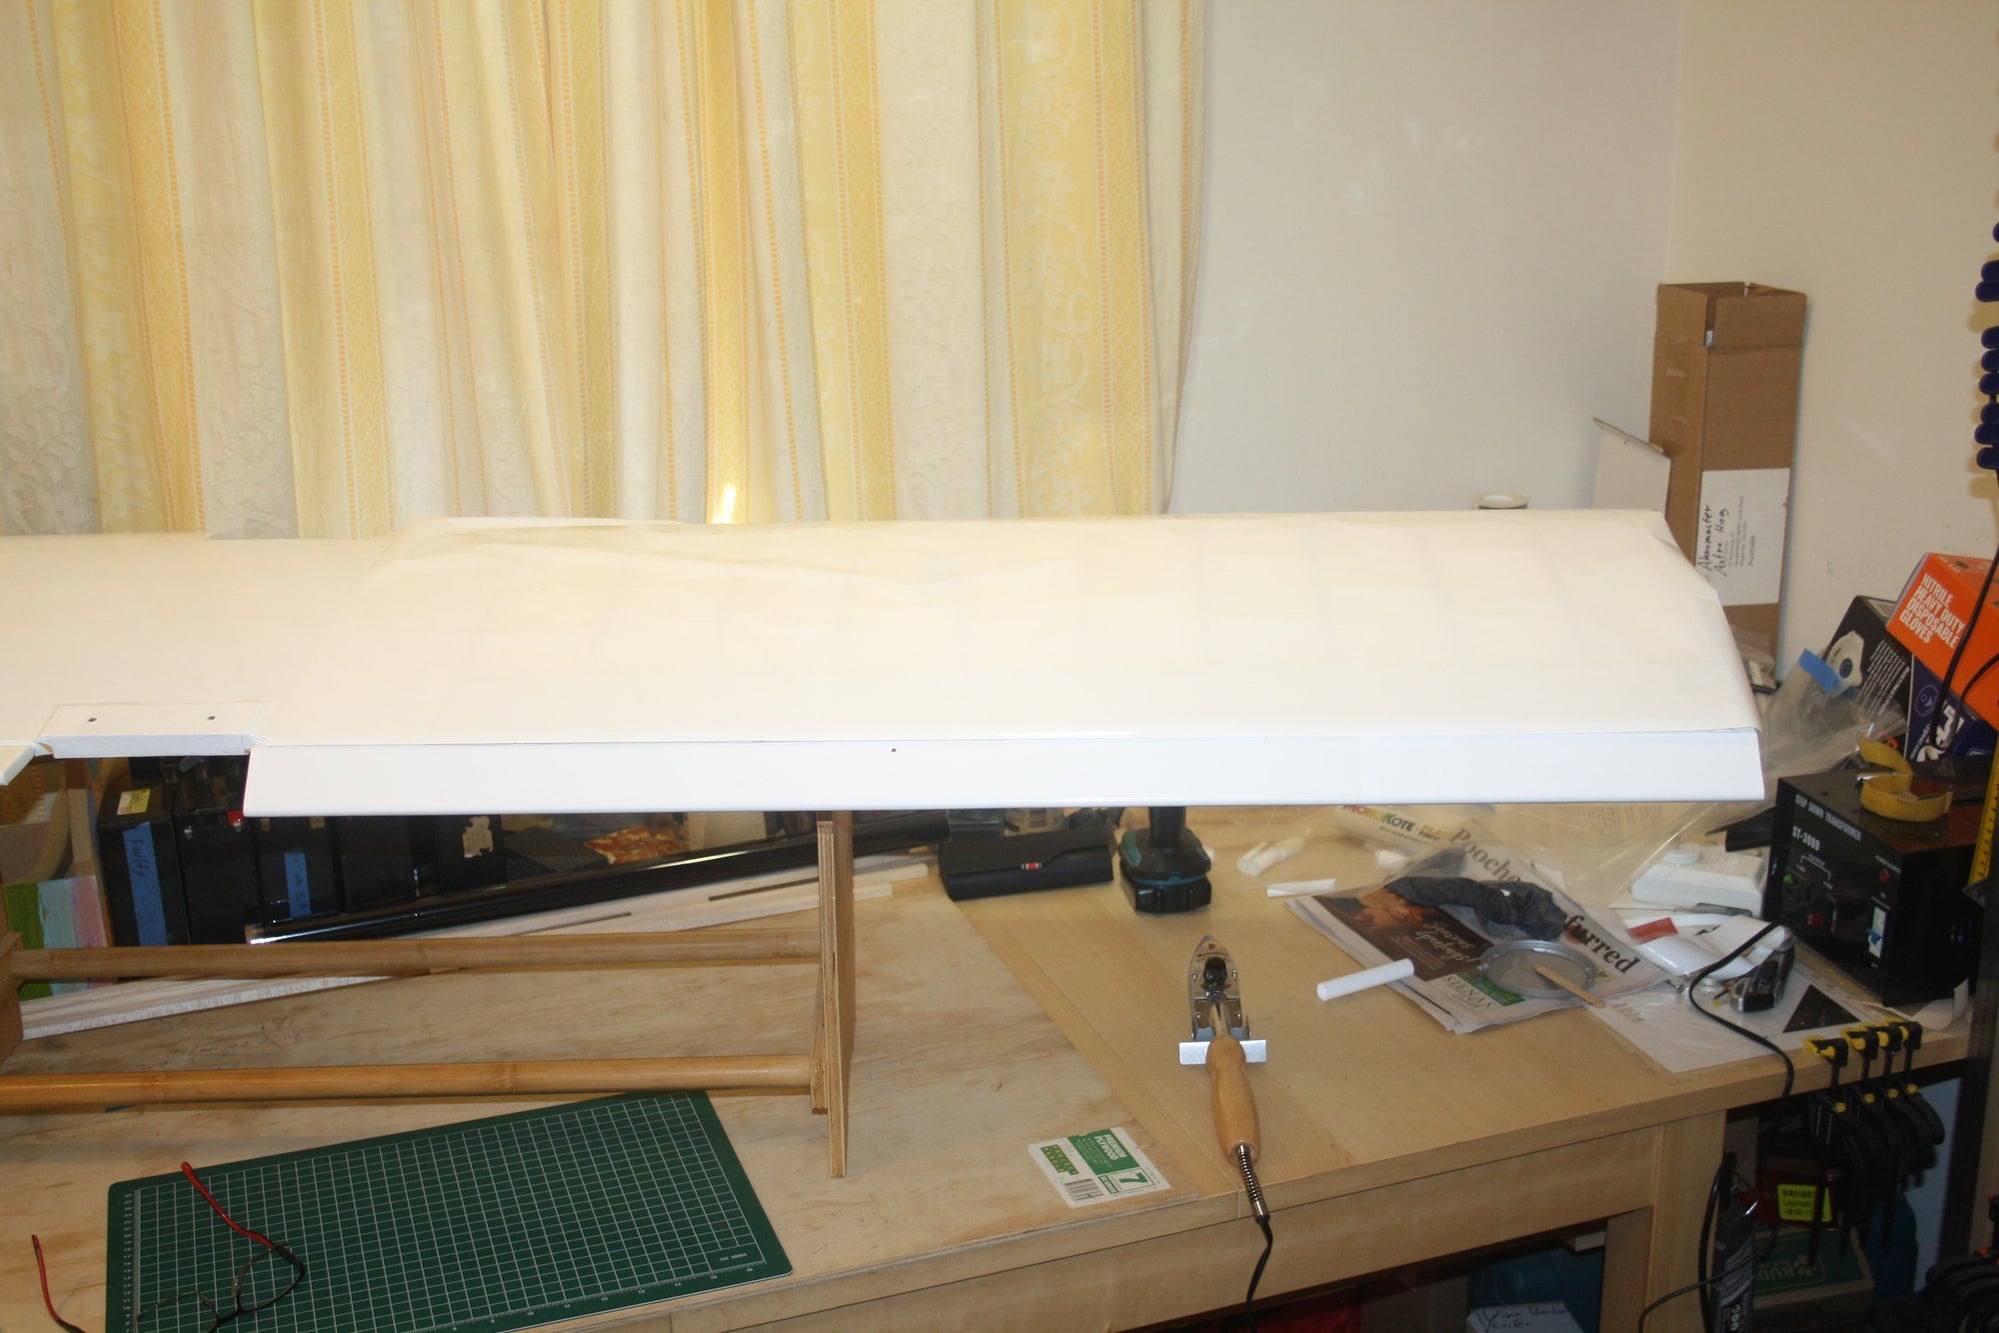
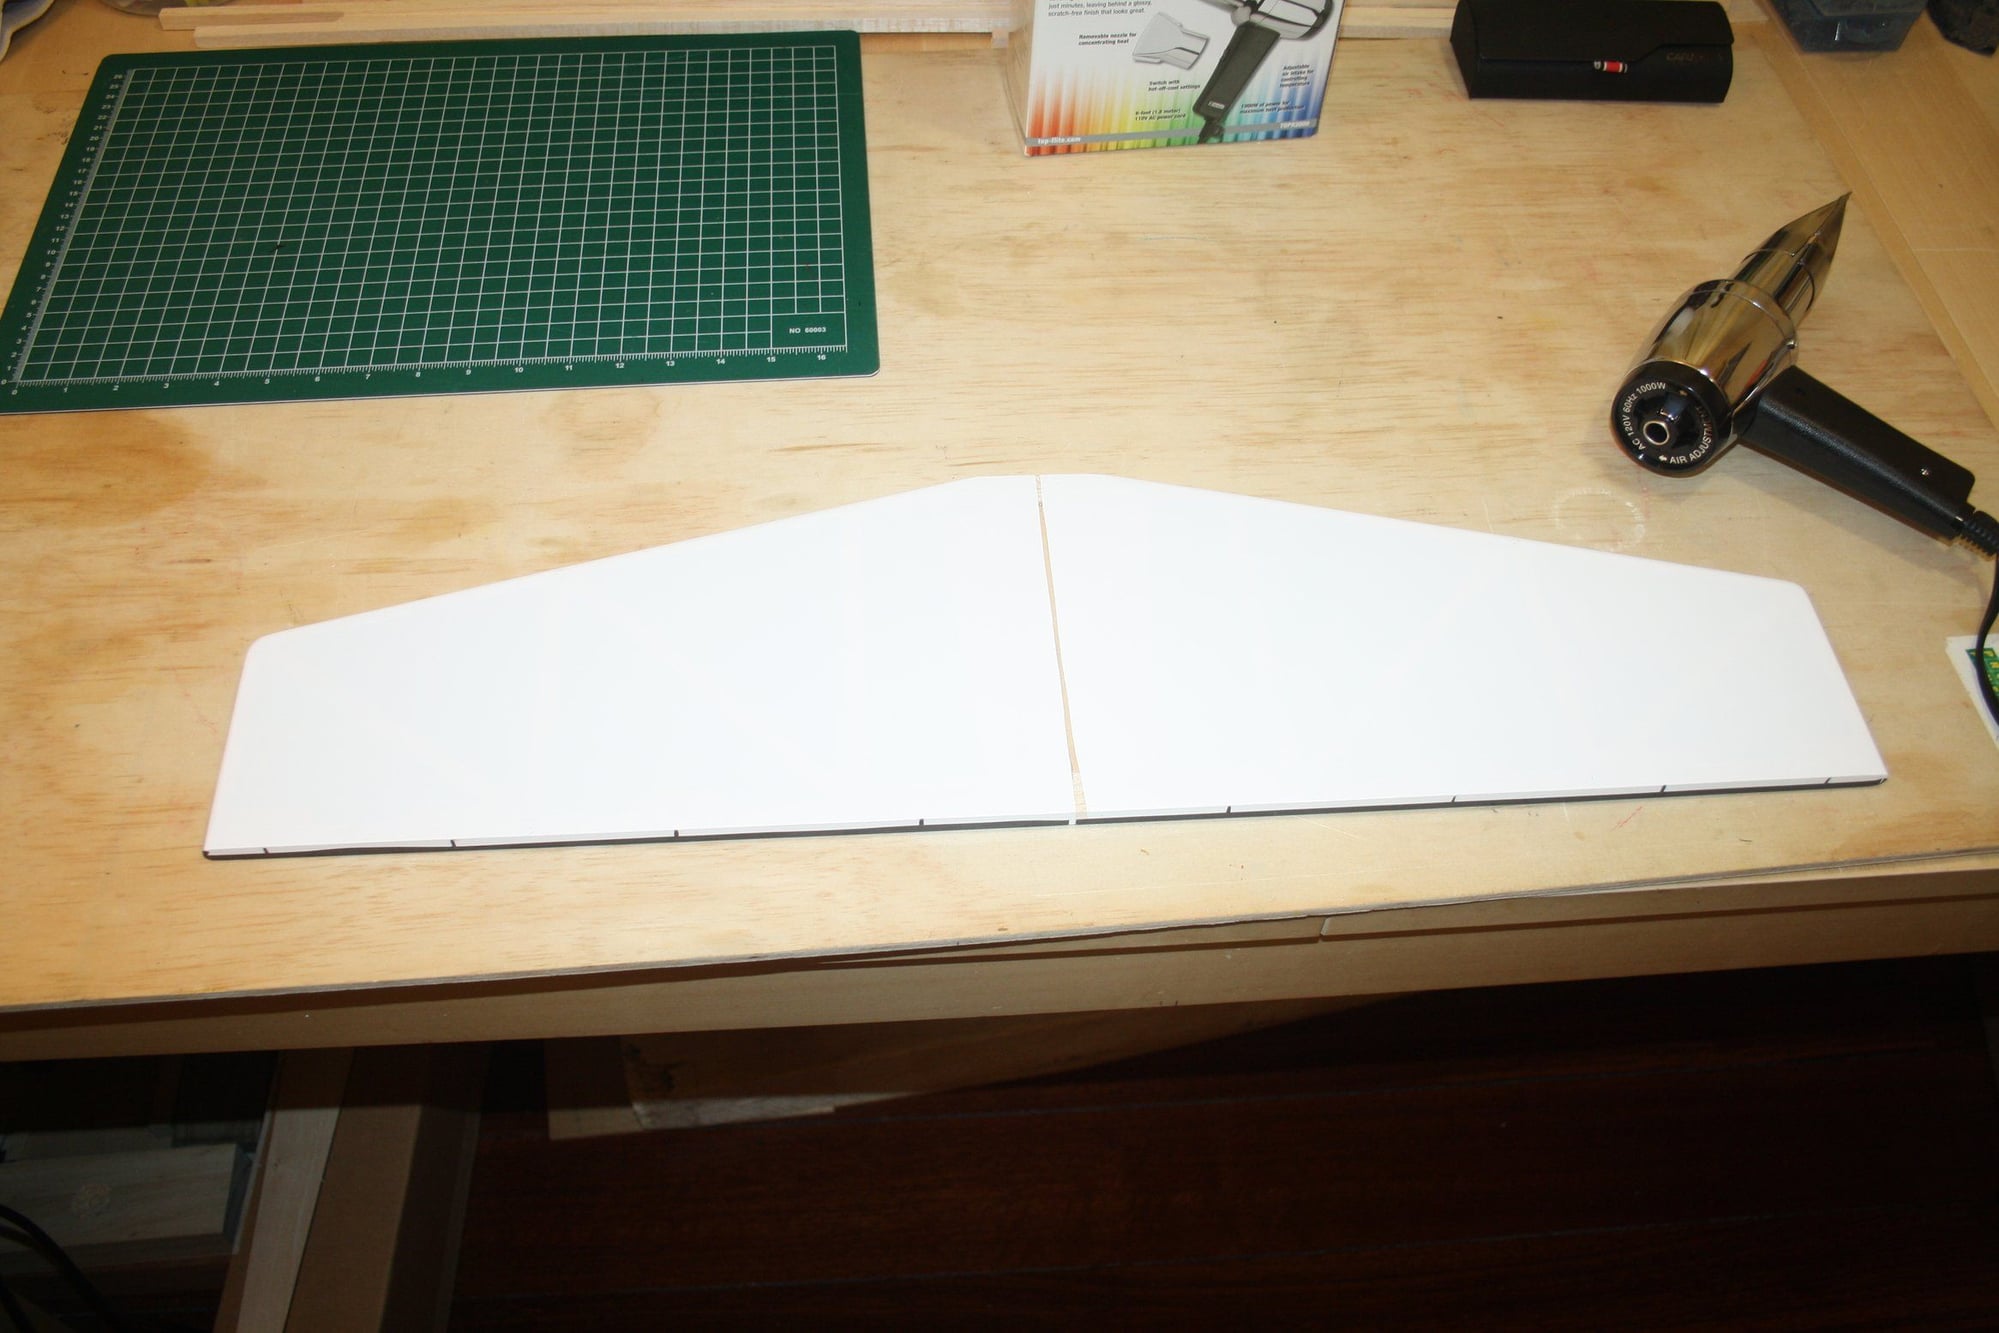
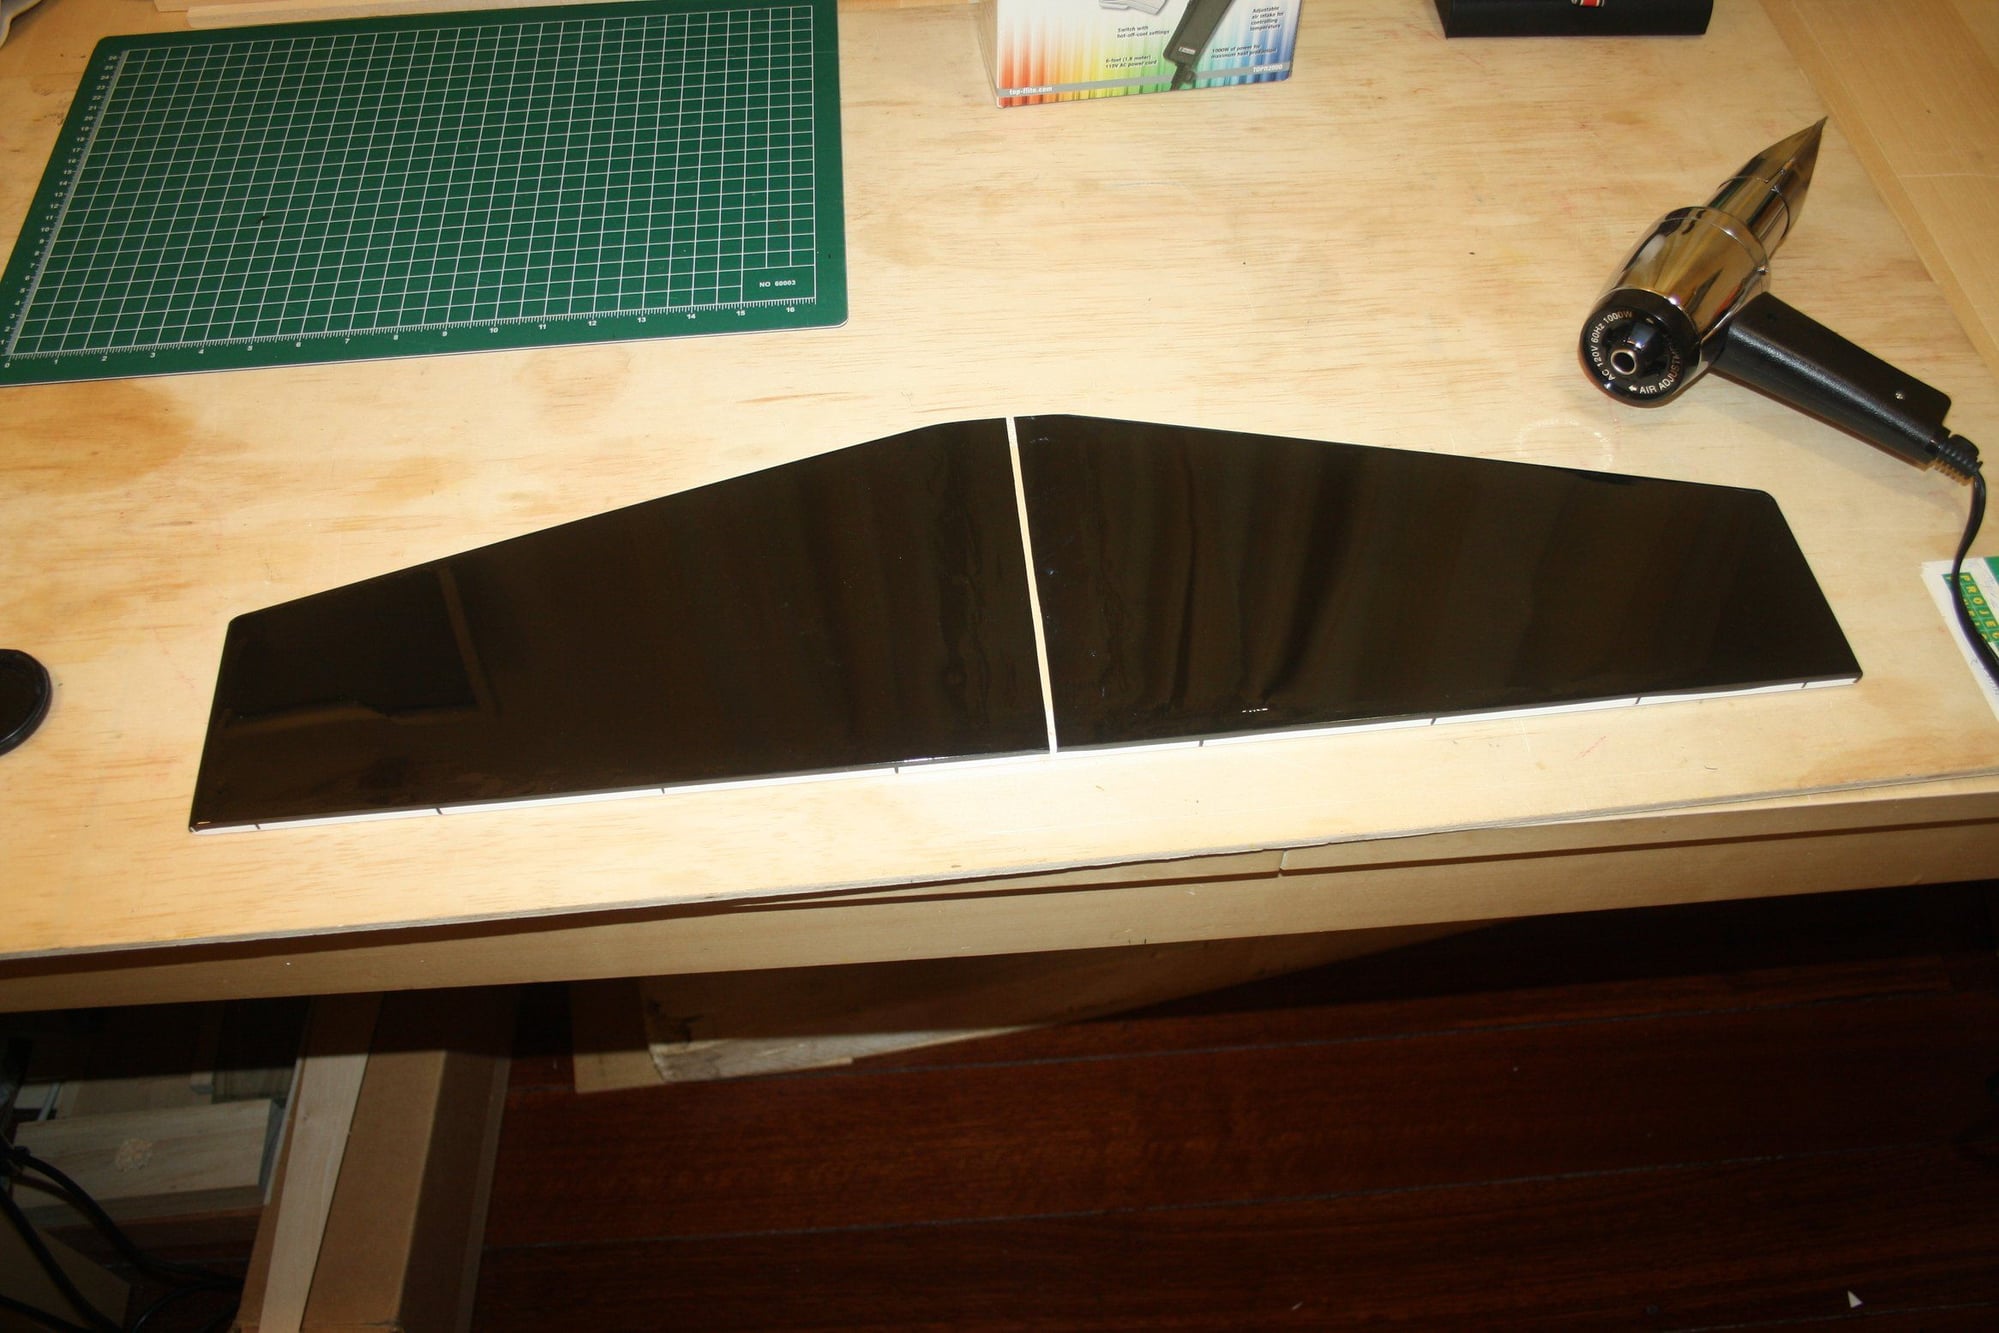
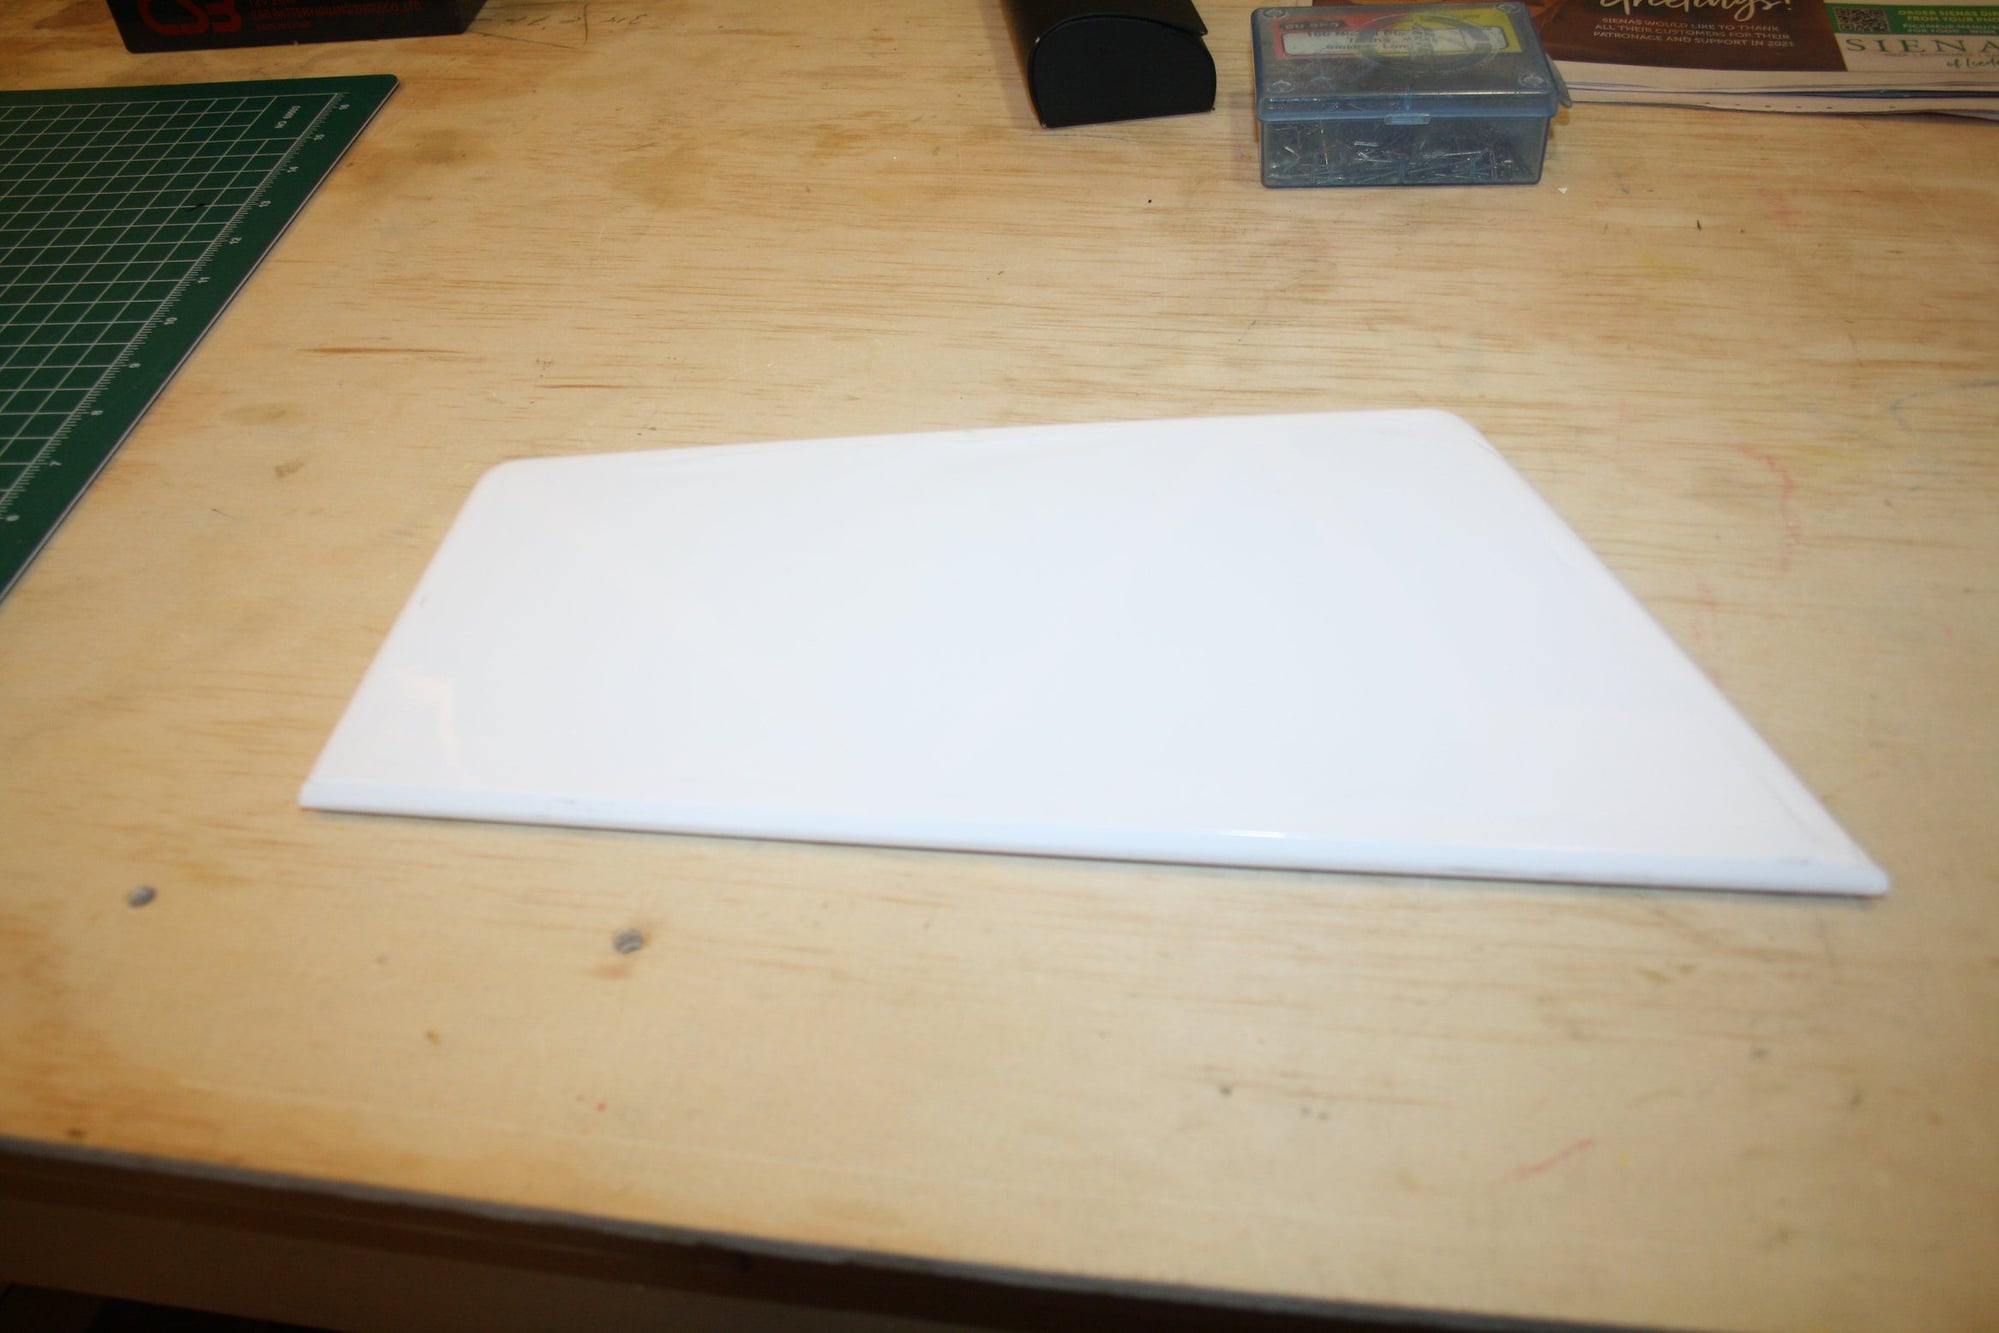
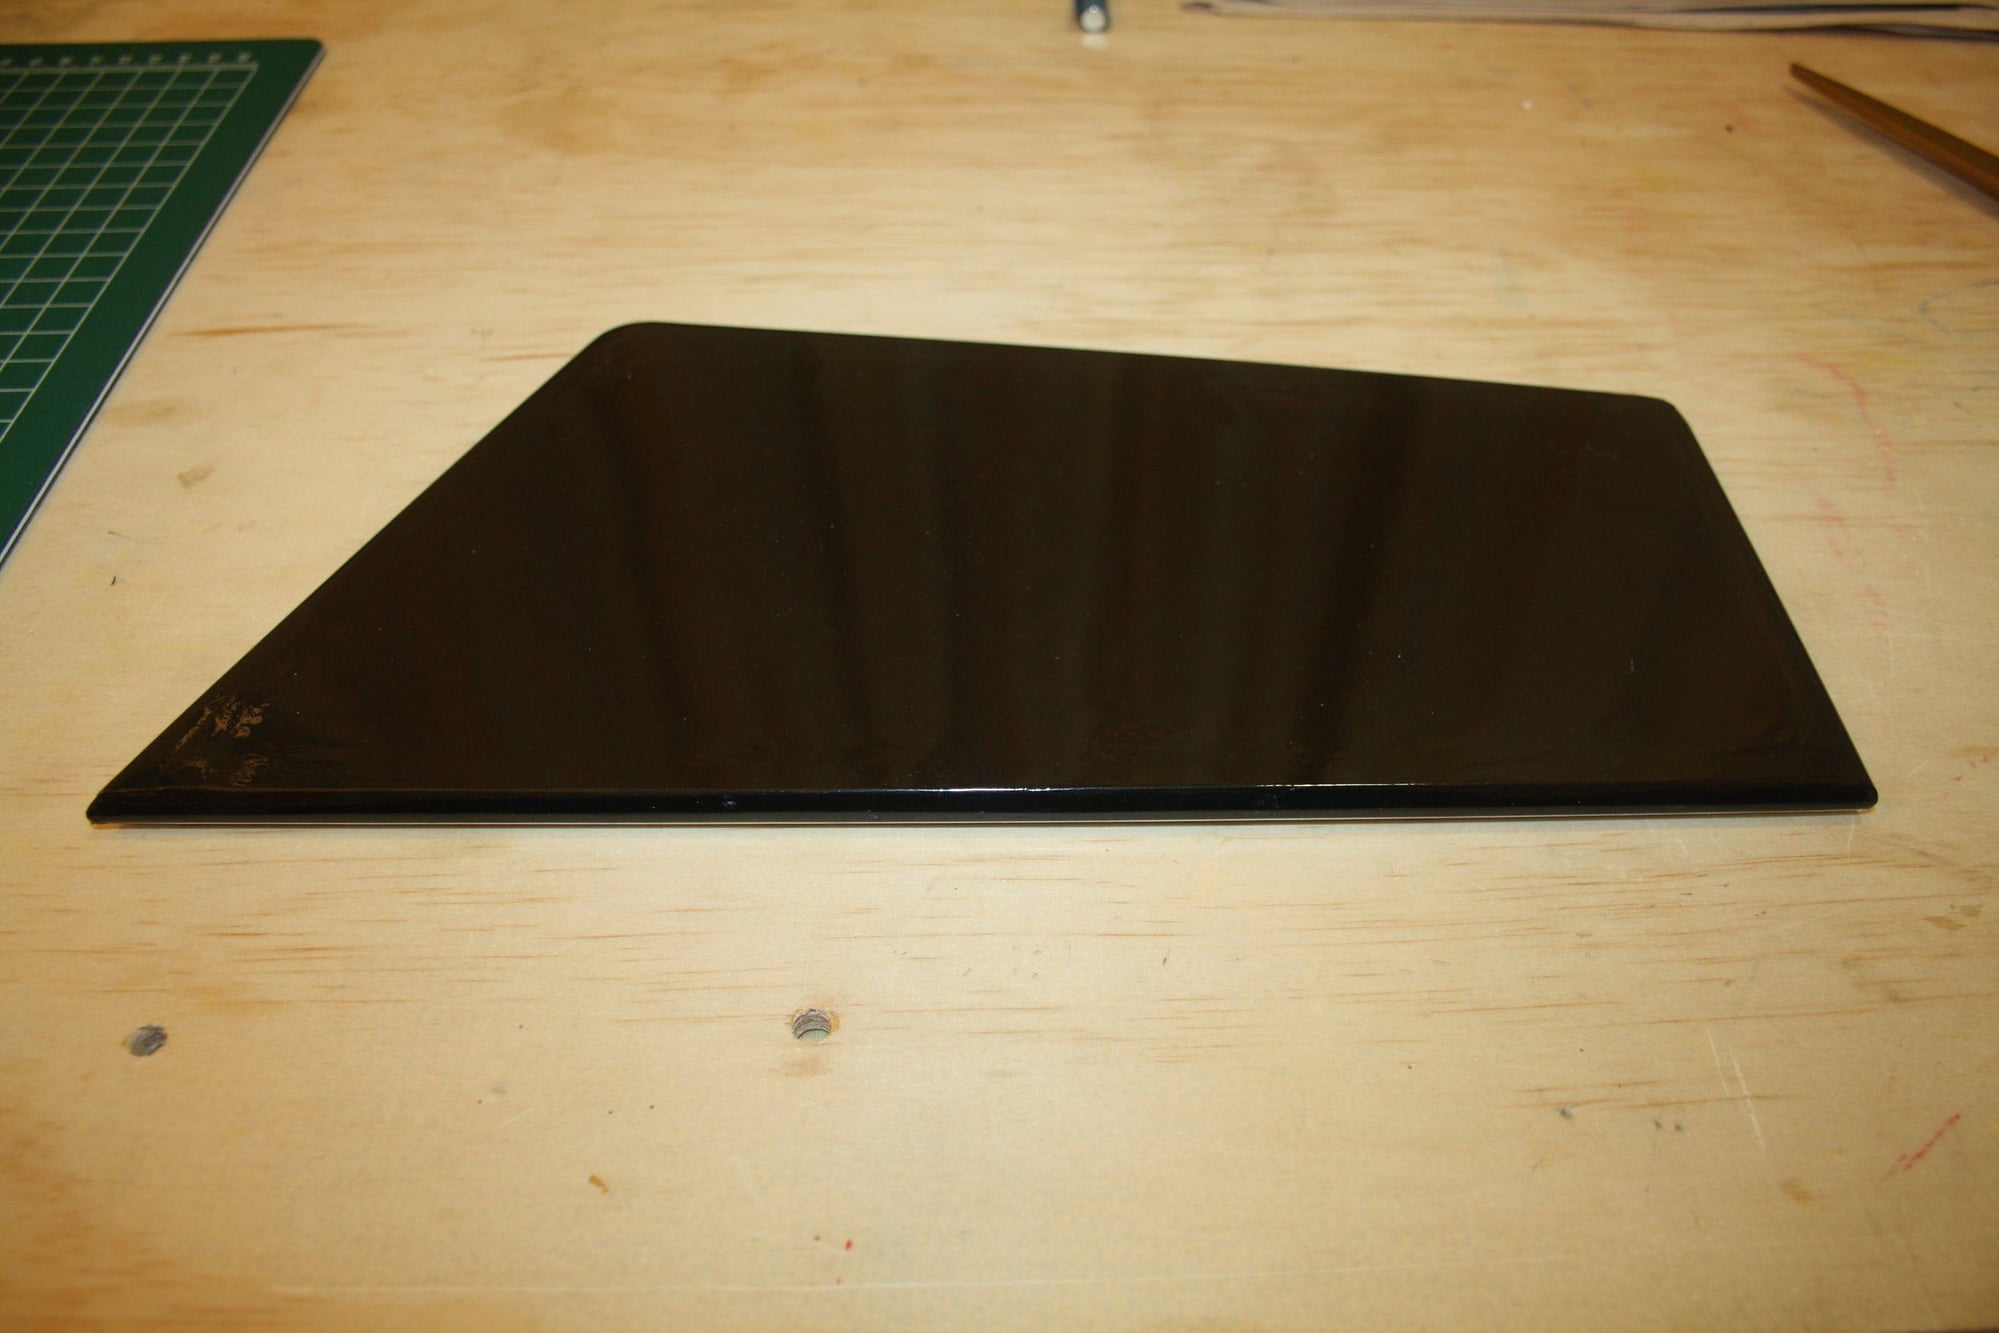
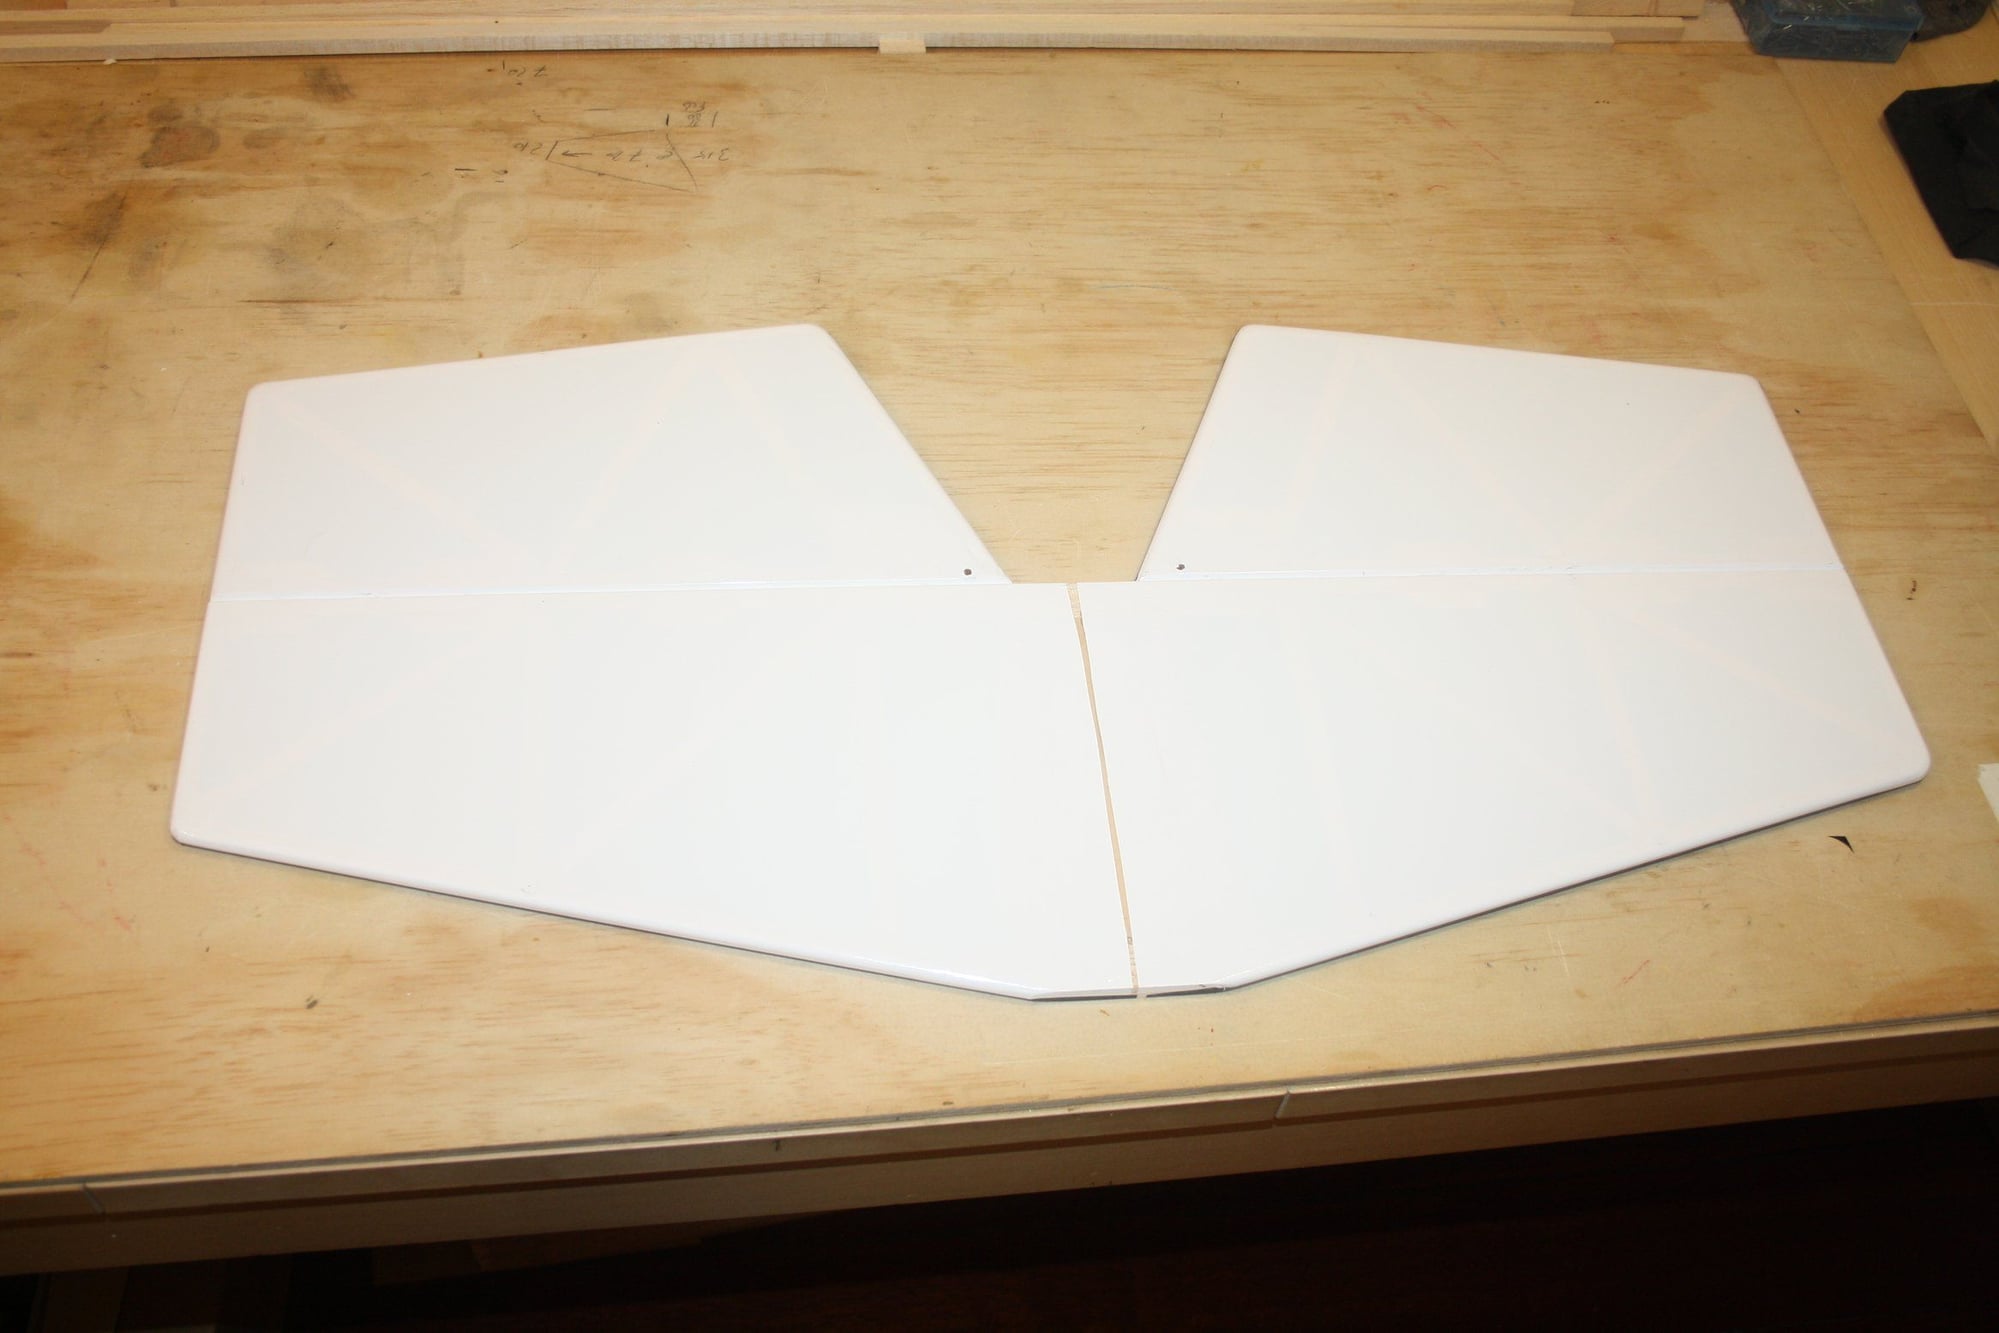
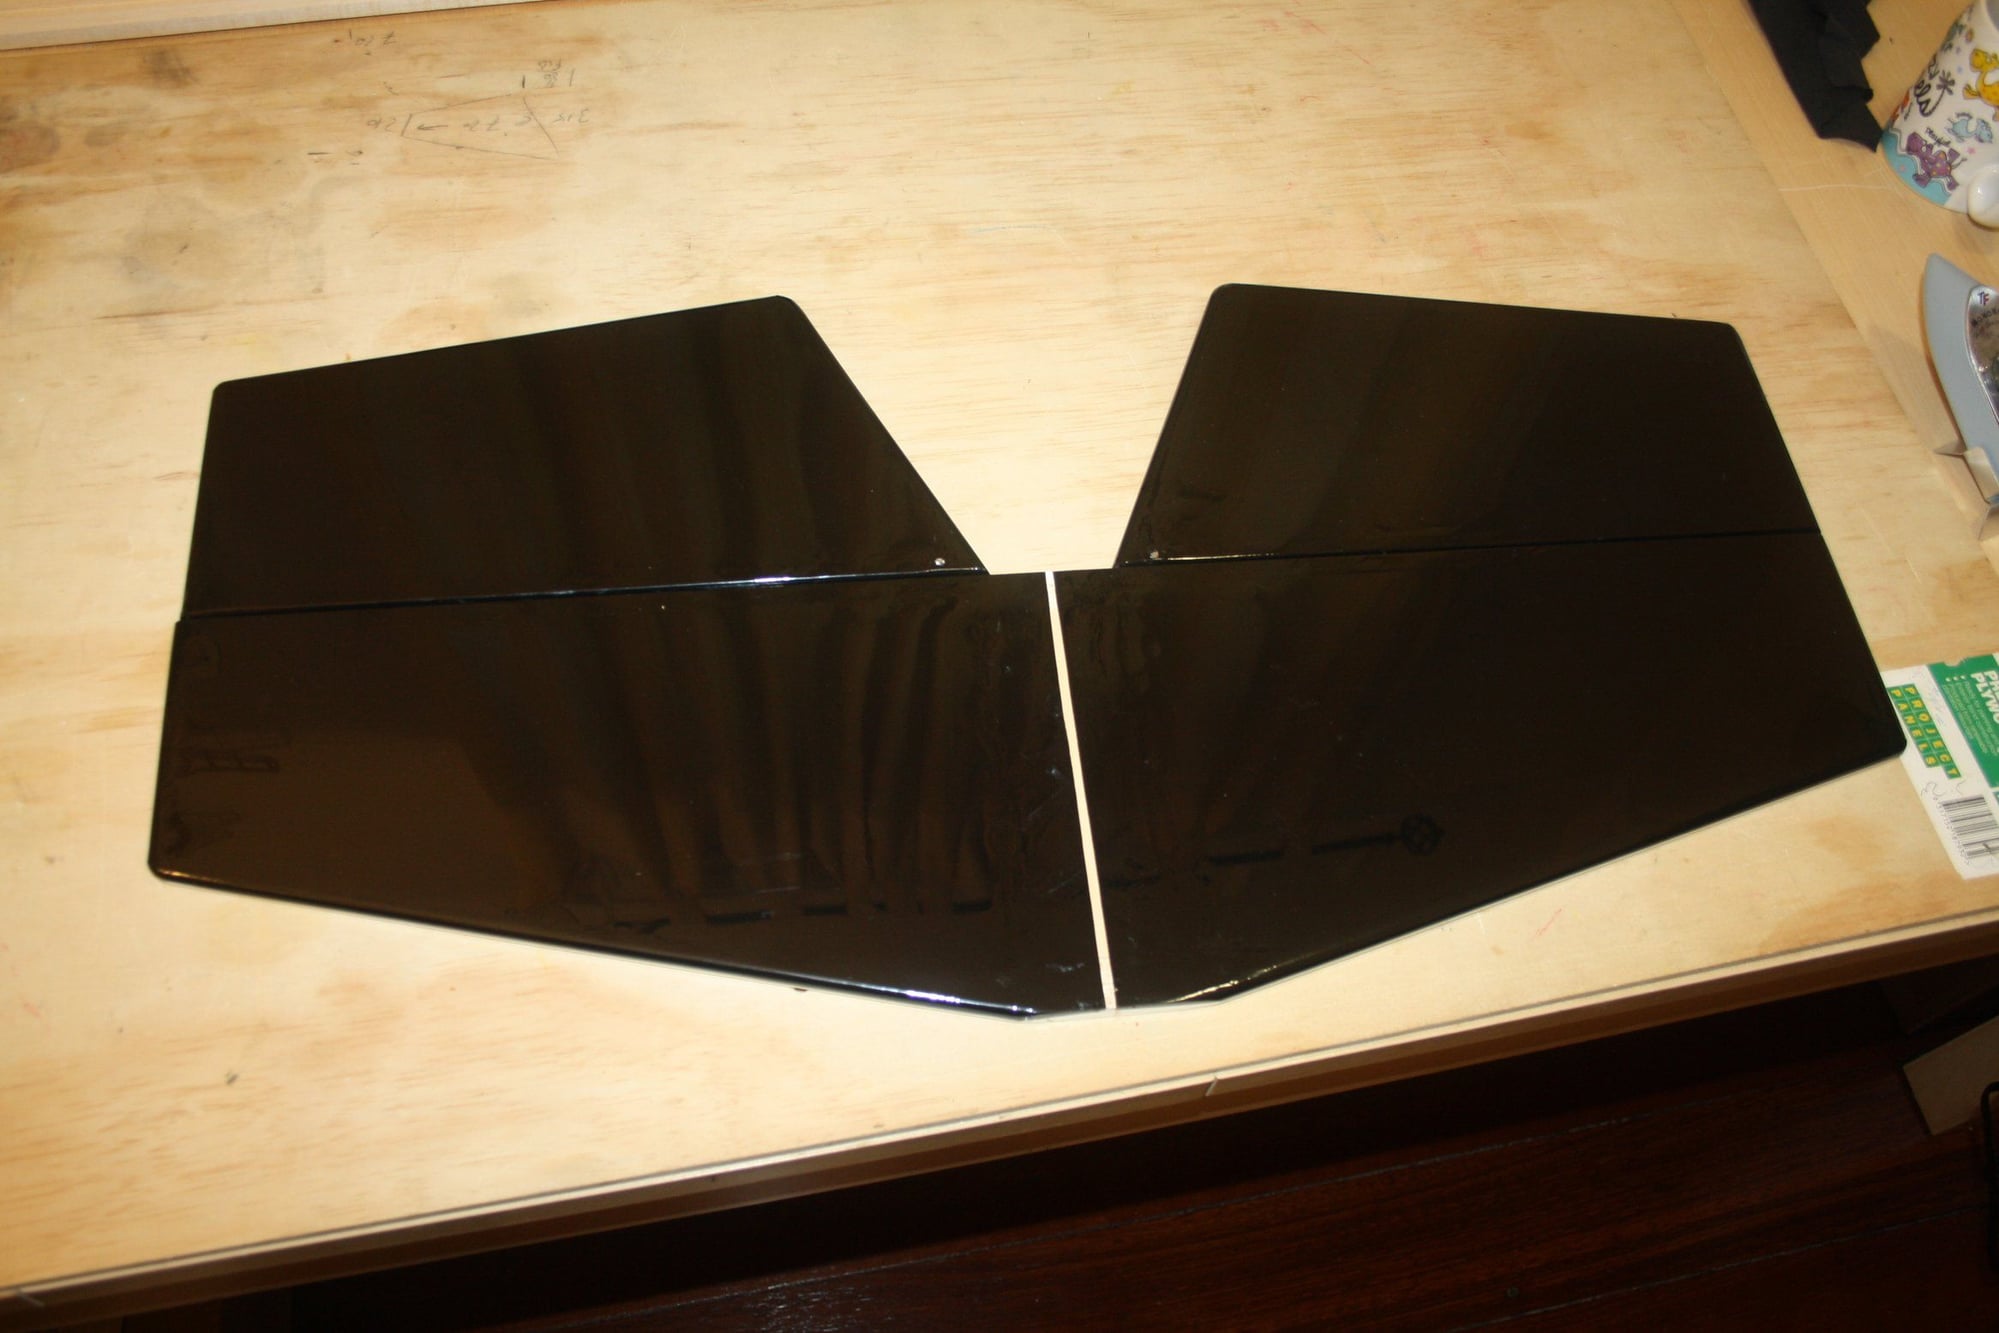
I then decided to take a break from construction and to do some covering. Starting with the ailerons.
I decided to go with main colours of white for the bottom and Black on the top side.

Cheers,
Eran
New piece fabricated and glued into place.
I then decided to take a break from construction and to do some covering. Starting with the ailerons.
I decided to go with main colours of white for the bottom and Black on the top side.
Cheers,
Eran
Last edited by erans; 11-09-2023 at 09:41 PM.