


48" Minimoa
 11-04-2010, 11:28 PM
#1
Member
Thread Starter
Join Date: Oct 2010
Location: the colony, TX
Posts: 35
Likes: 0
Received 0 Likes
on
0 Posts
Hi Guys,
I started this in the wrong place, (it was in the science section).
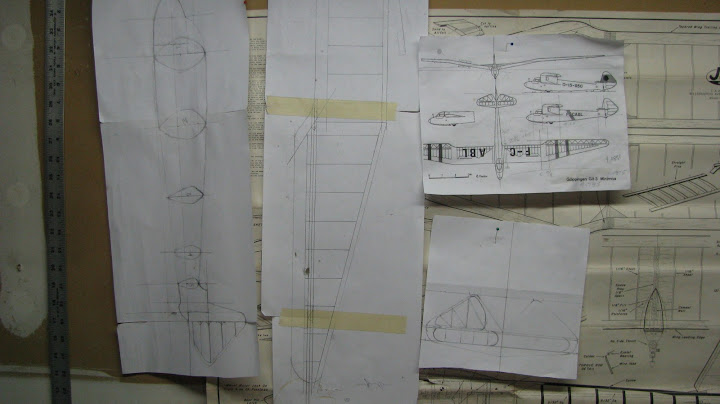
Anyway, here is a 48" Minimoa, I scratch built from a 3 view I found on the Net.
It uses 3 servos, 2 aileron and 1 elevator.
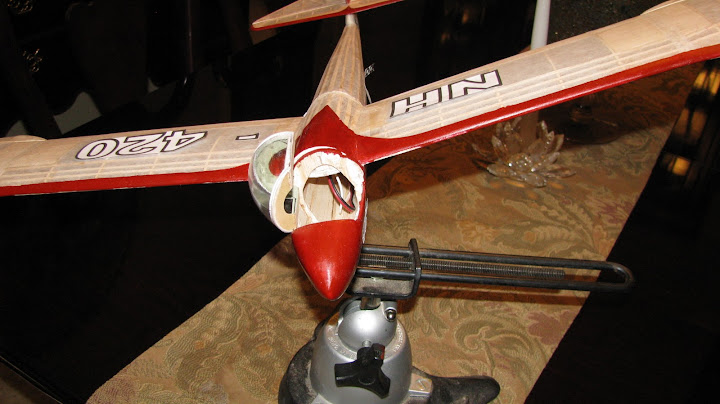
I still have to hook up the elevator, it is proving to be difficult due to the ideal exit point for the push rod is just a little low and inside.
Enjoy...
First my funky hand drawn plans, I came out with multiplying everything by something like 4.085, pretty goofy I know.
 11-04-2010, 11:33 PM
#2
Member
Thread Starter
Join Date: Oct 2010
Location: the colony, TX
Posts: 35
Likes: 0
Received 0 Likes
on
0 Posts
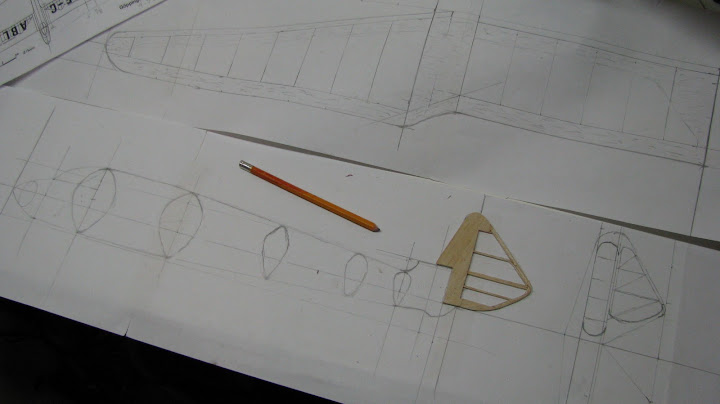
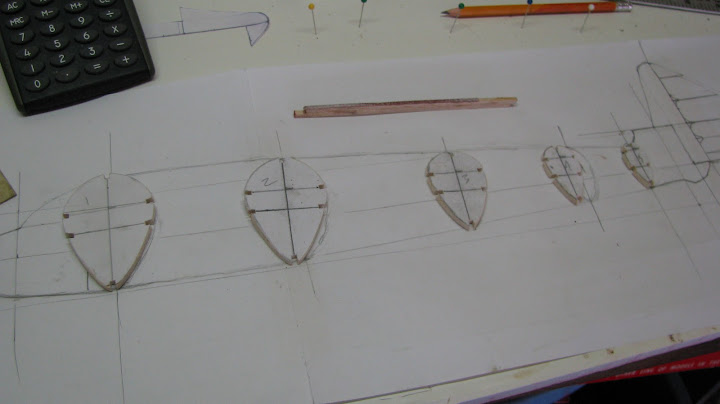
I fiddled around drawing bulkheads in a teardrop shape until I was happy, then I just took the biggest one and drew smaller ones keeping the keel and main side stringers the same. (I got to get a cad program...)
Fuse and rudder.
Fuse and rudder.
11-04-2010, 11:39 PM
#3
Member
Thread Starter
Join Date: Oct 2010
Location: the colony, TX
Posts: 35
Likes: 0
Received 0 Likes
on
0 Posts
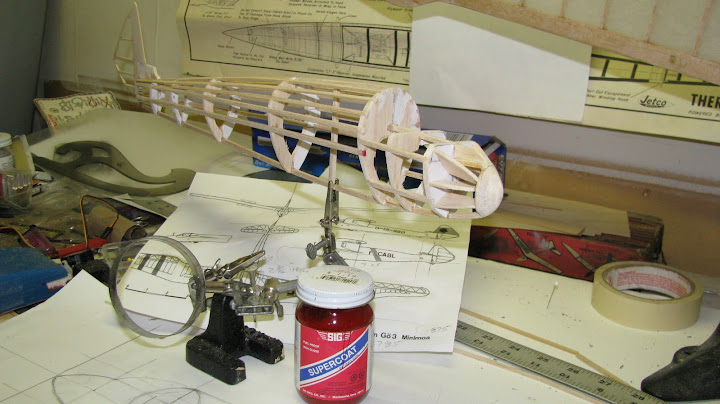
I haven't built in about 8 years. The leading and trailing edge was cut from some huge TE stock I had on hand from the old days. WOW, it looks heavy...
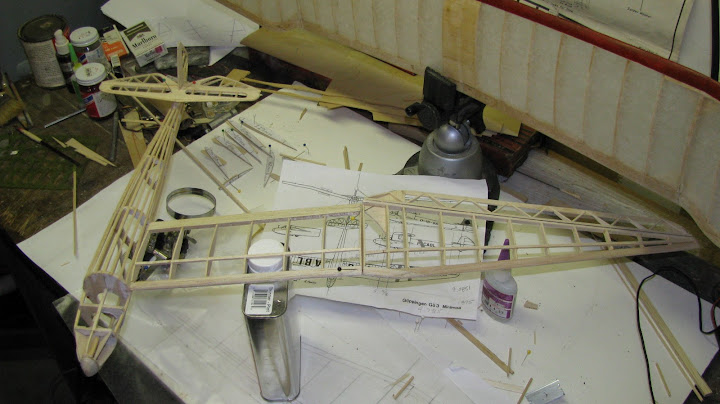
After some sanding I dont feel so bad, it is looking rather light.
After some sanding I dont feel so bad, it is looking rather light.
11-04-2010, 11:43 PM
#4
Member
Thread Starter
Join Date: Oct 2010
Location: the colony, TX
Posts: 35
Likes: 0
Received 0 Likes
on
0 Posts
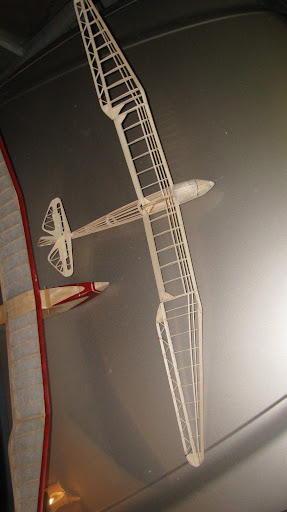
covered...still need to do the top of the fuse above the wing. Dope is still drying so it looks a little mottled.
This is why I built this thing, I love this look, just like a bird...
This is why I built this thing, I love this look, just like a bird...
11-04-2010, 11:57 PM
#5
Member
Thread Starter
Join Date: Oct 2010
Location: the colony, TX
Posts: 35
Likes: 0
Received 0 Likes
on
0 Posts
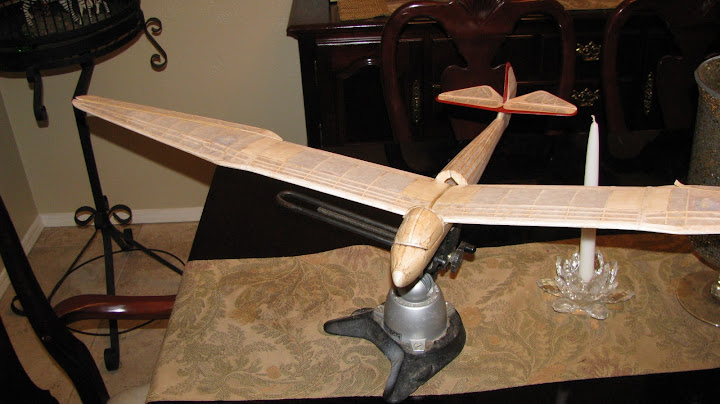
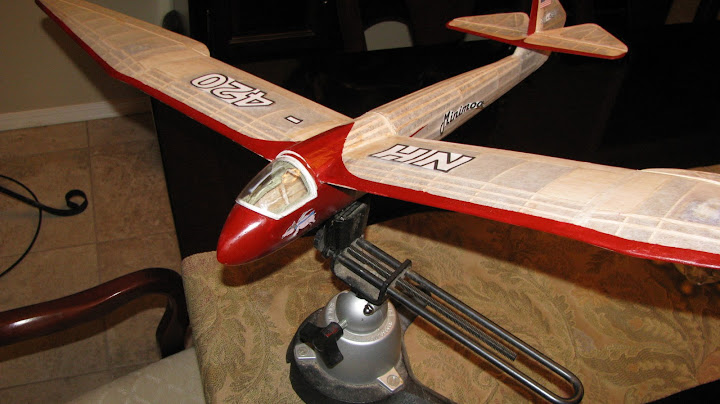
Still some more painting to go. Started playing with the printer, the markings are just tacked on for photo purposes. I have some old printer decal paper but I need to take it to some one who has a laser printer.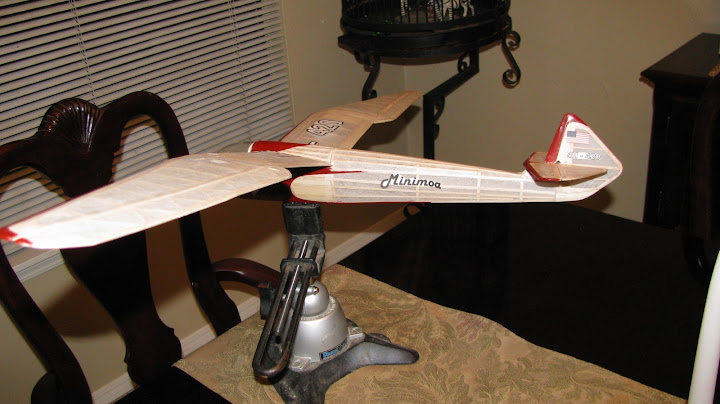
Those are my initials and birth date. Also note the flying Hog on the nose.
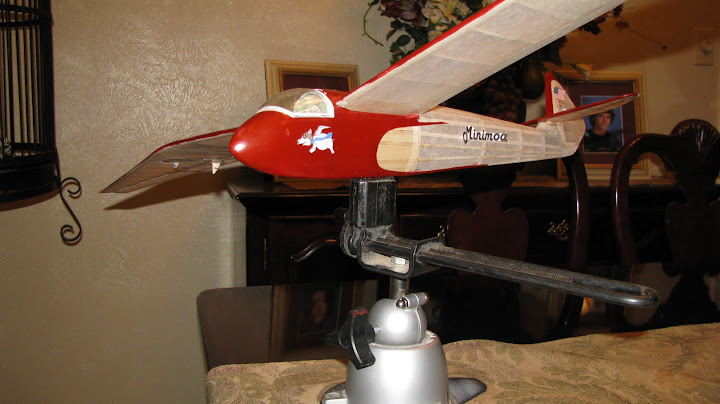
I also made the canopy hinged. I still need to figure out how to latch it.
I hope to fly it this weekend...I will put out an update.
Those are my initials and birth date. Also note the flying Hog on the nose.
I also made the canopy hinged. I still need to figure out how to latch it.
I hope to fly it this weekend...I will put out an update.
11-04-2010, 11:59 PM
#6
Member
Thread Starter
Join Date: Oct 2010
Location: the colony, TX
Posts: 35
Likes: 0
Received 0 Likes
on
0 Posts
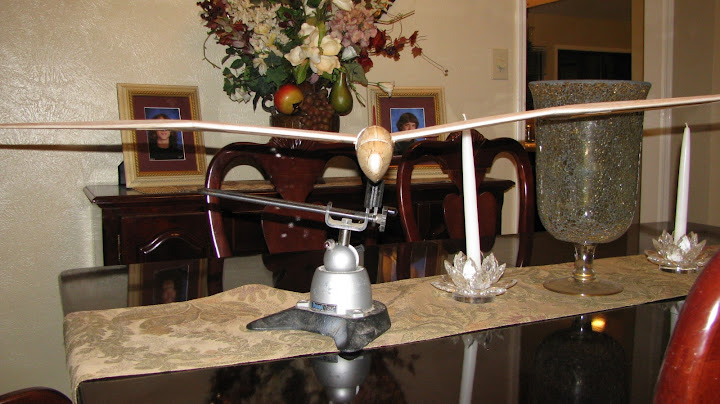
the canopy is a test pull using a cherry tomatoe container.
The airfoil is a Clark Y that I printed from the old original Profili program I still had.
I still have to paint the under side of the wing and do a little more touch up.
The airfoil is a Clark Y that I printed from the old original Profili program I still had.
I still have to paint the under side of the wing and do a little more touch up.
11-06-2010, 01:18 PM
#8
Member
Thread Starter
Join Date: Oct 2010
Location: the colony, TX
Posts: 35
Likes: 0
Received 0 Likes
on
0 Posts
Test flight last night. It was getting dark and I wasn't sure if I had the CG right. I will do more today and try to get better vids.
[youtube]http://www.youtube.com/watch?v=f-yanrVCWqM[/youtube]
[youtube]http://www.youtube.com/watch?v=f-yanrVCWqM[/youtube]
11-07-2010, 08:08 AM
#9


Join Date: May 2006
Location: Helena,
MT
Posts: 86
Likes: 0
Received 0 Likes
on
0 Posts
Looks like the balance is very close, but if you want to check it, compare it or find it for a new model please visit www.TailwindGliders.com and read and download "Sailplane Calc". It will always give you a safe location for a first test flight for a model design such as yours.
Any questions please don't hesitate to ask.
Curtis
Montana
Any questions please don't hesitate to ask.
Curtis
Montana
