A/D Mirage 2000 1/5 scale building thread
 12-01-2018, 11:07 AM
#26

Thread Starter
My Feedback: (44)

Join Date: Sep 2004
Location: Wilmette,
IL
Posts: 439
Likes: 0
Received 0 Likes
on
0 Posts

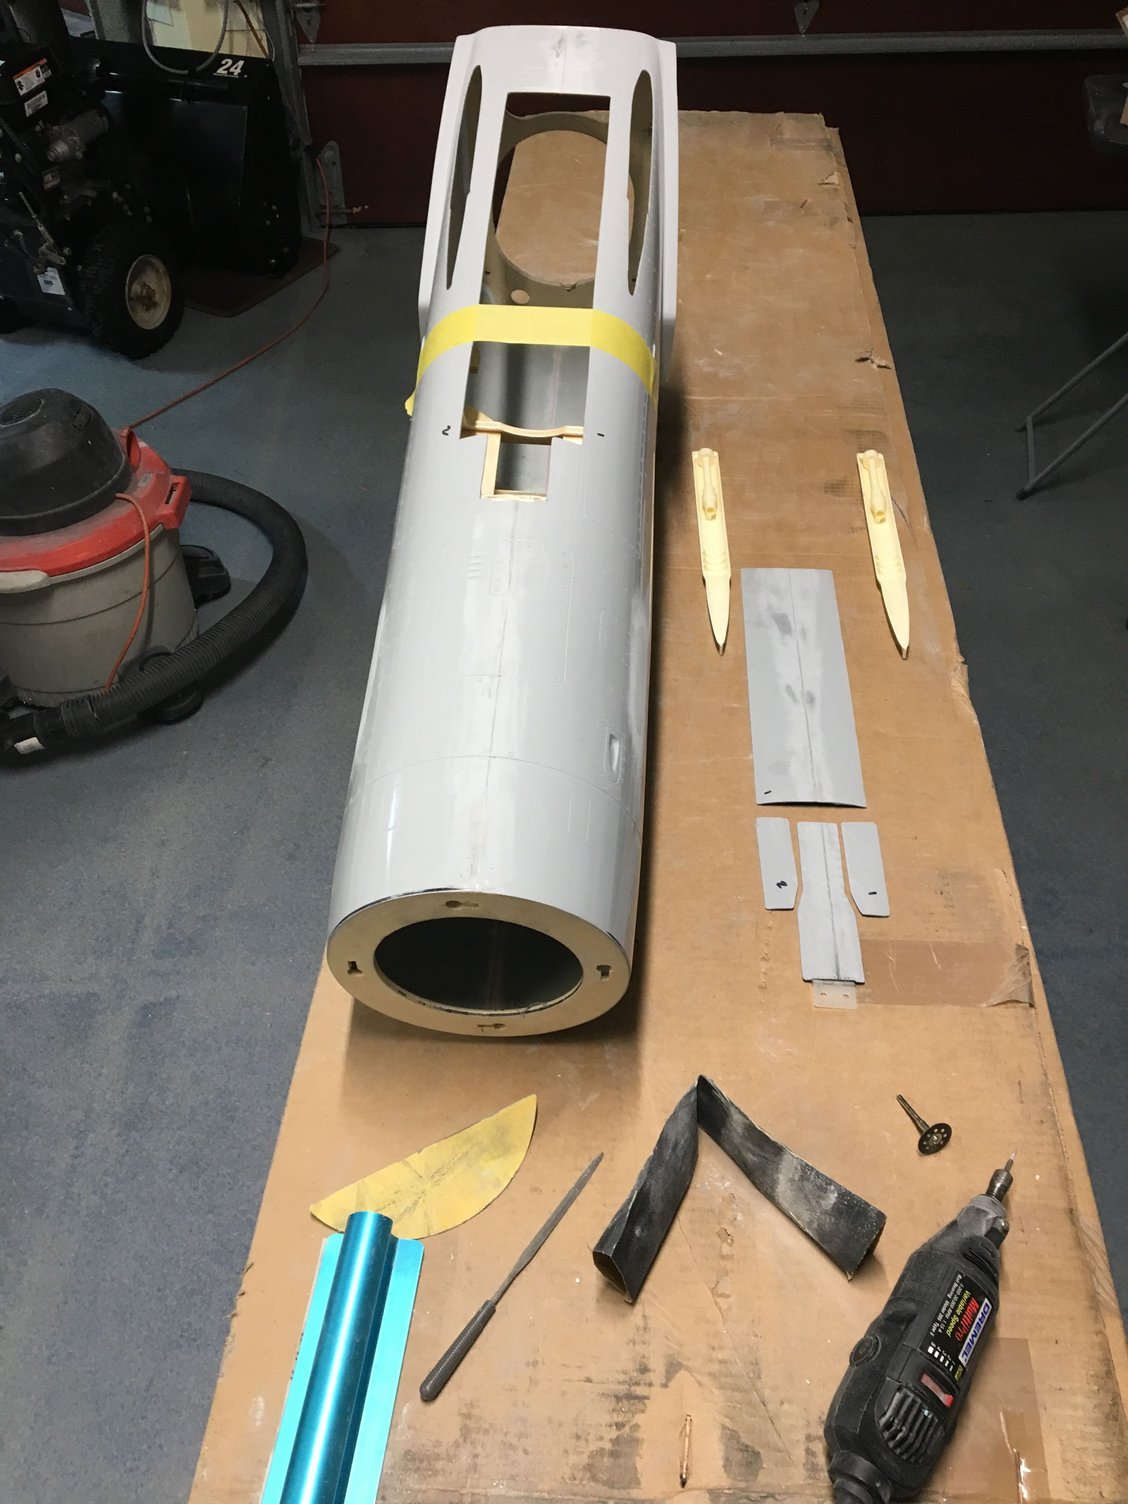
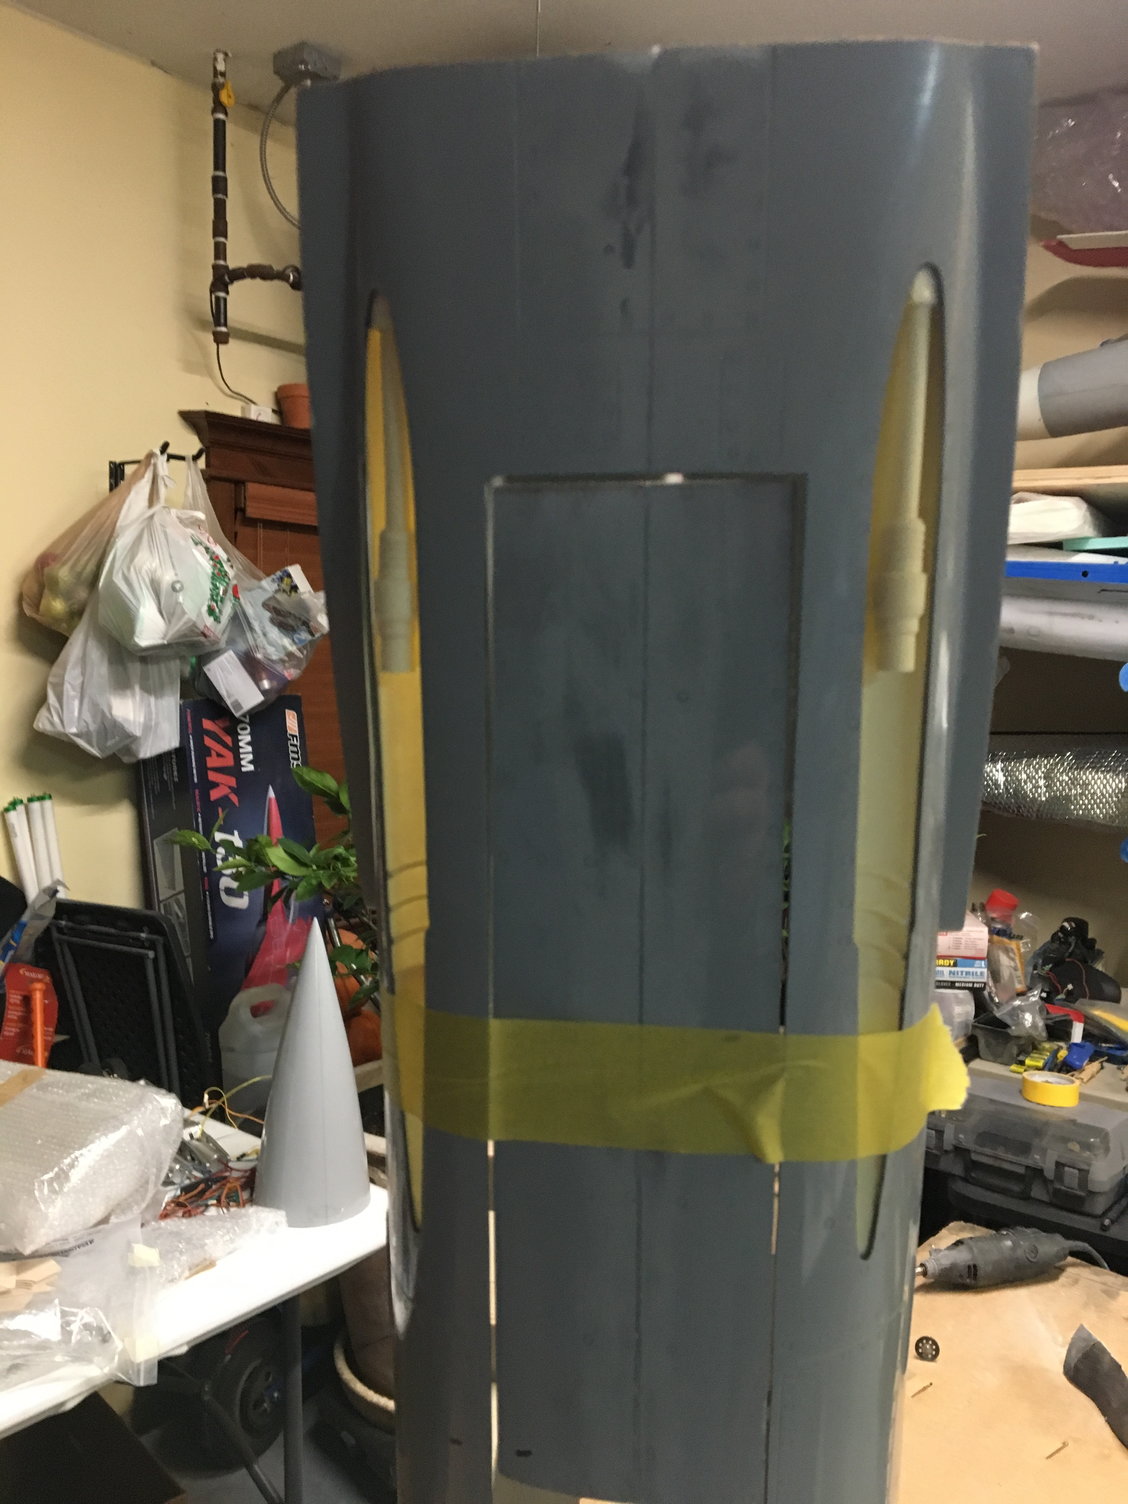
OK guys here’s some more progress of cutting all the openings including for the guns note once you cut You need to hold in place And support with tape to keep the openings in line and also after that once you glue it with CA you need to go over it with glass to keep the strength of the fuselage check out some of the pictures


 12-06-2018, 04:43 PM
#30
Thread Starter
My Feedback: (44)
Join Date: Sep 2004
Location: Wilmette,
IL
Posts: 439
Likes: 0
Received 0 Likes
on
0 Posts
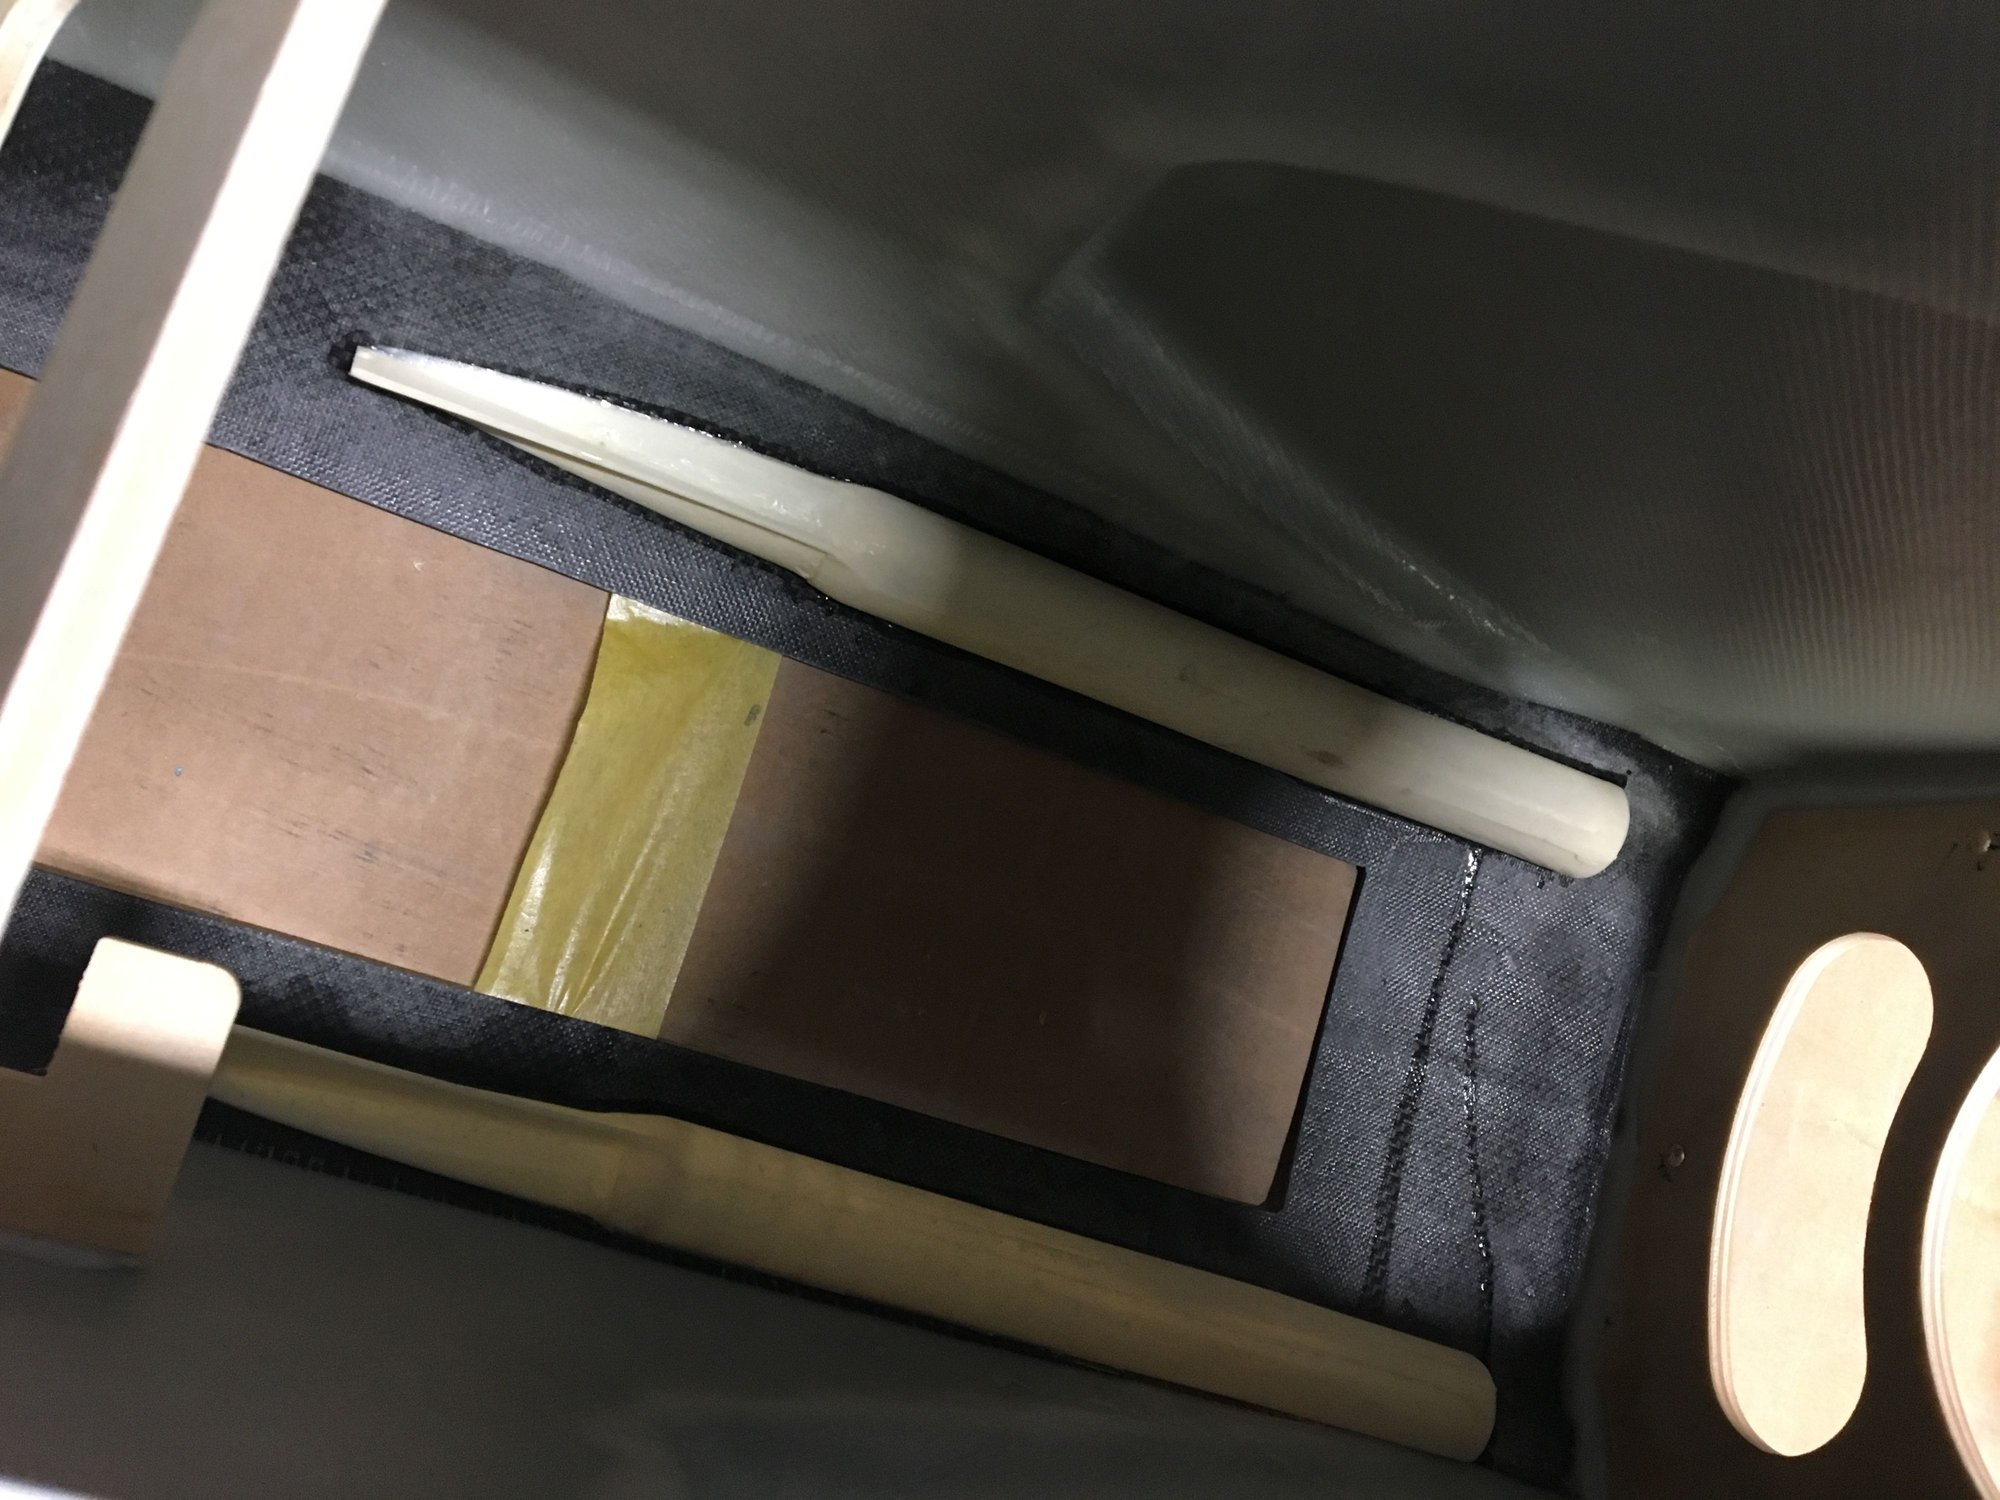
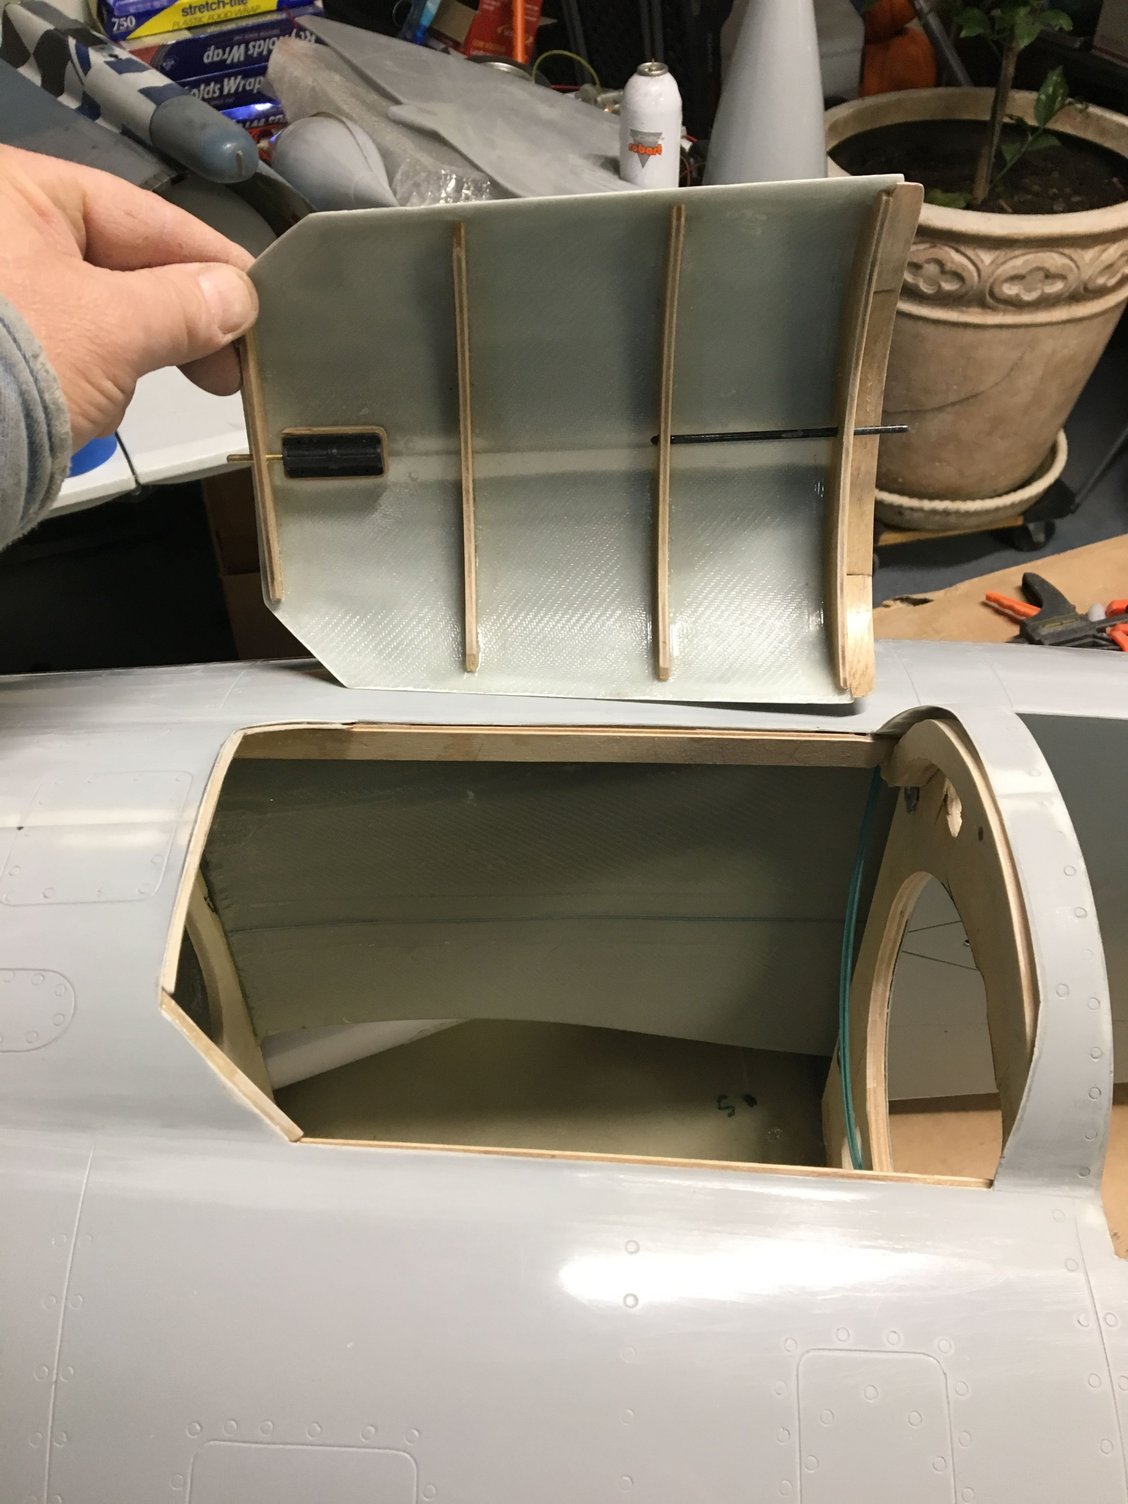
OK here are some more pictures of the access panel by supporting the sides with a 1/8 inch plywood strips all the way from the front former to the rear one 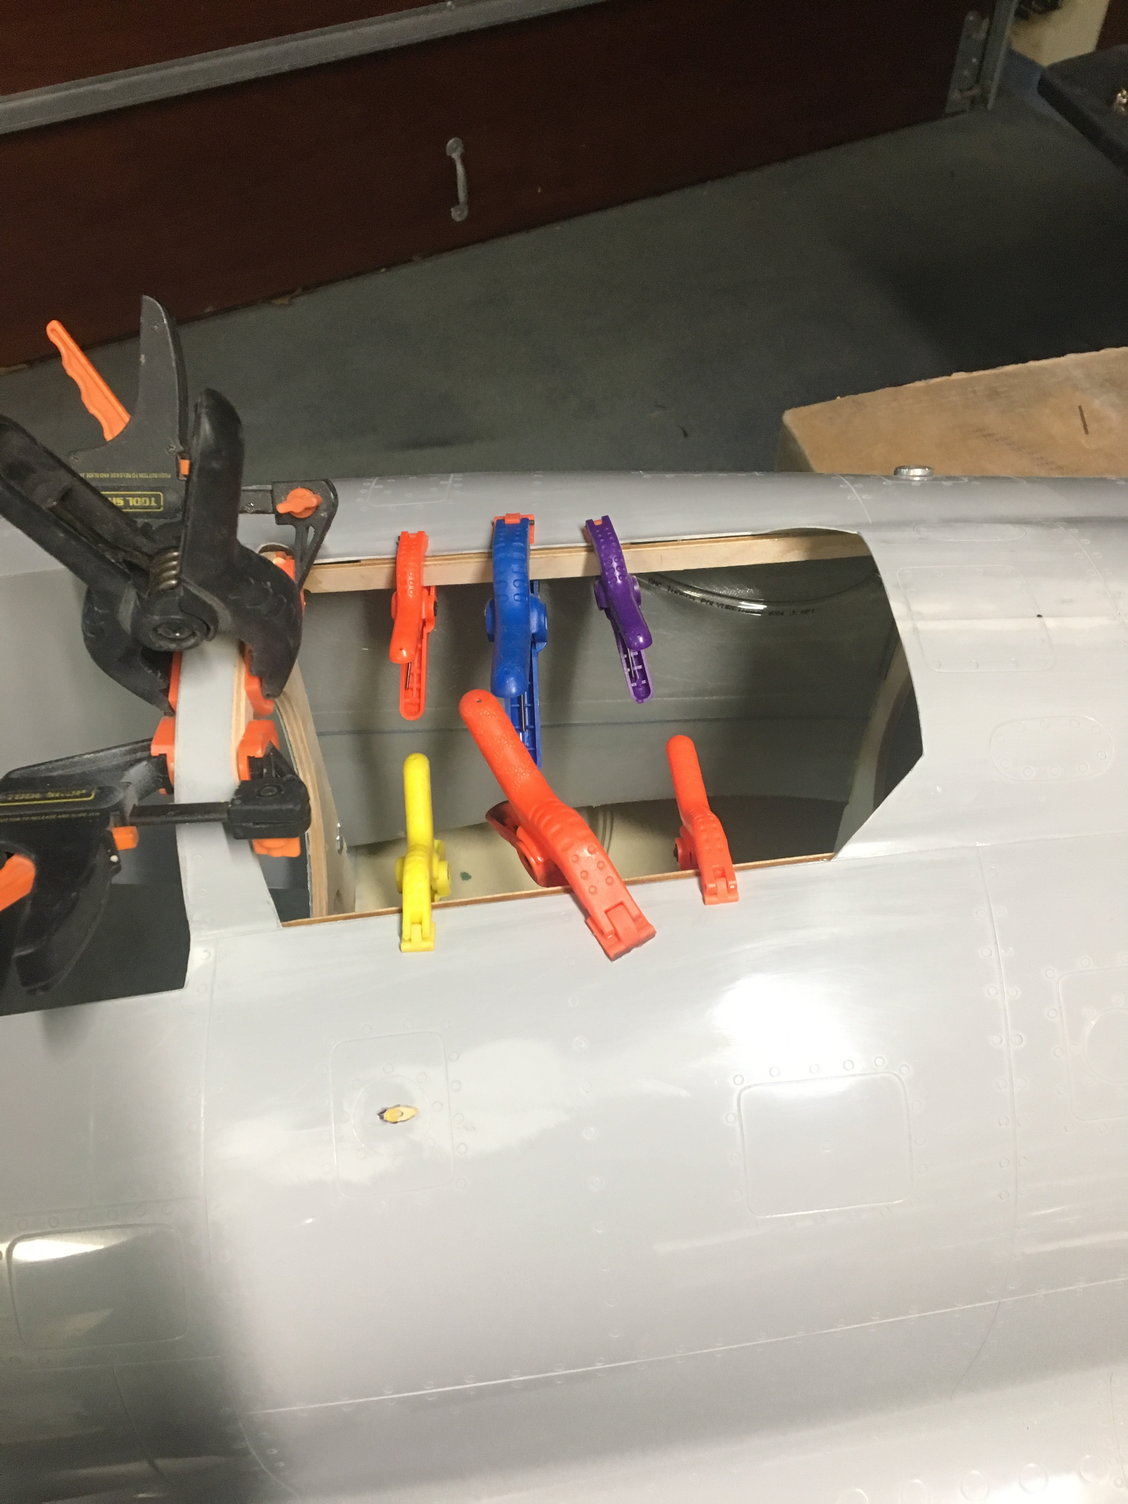
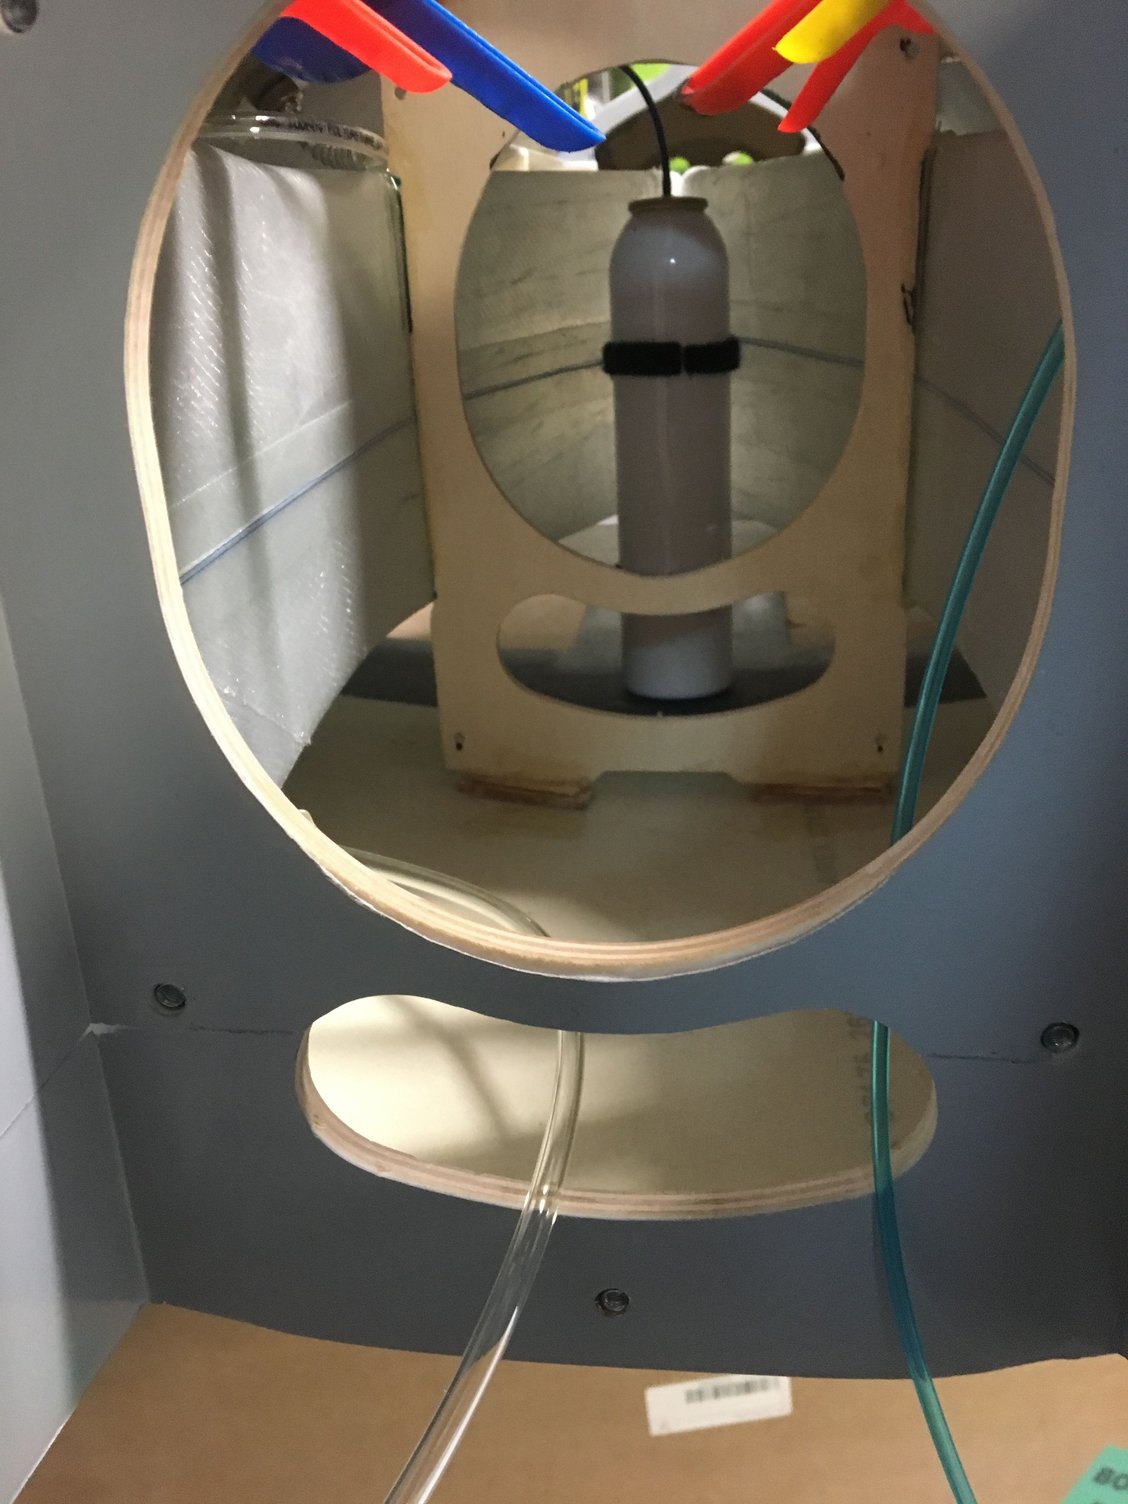
where the fuel tanks are resting
where the fuel tanks are resting


 12-20-2018, 08:46 AM
#34
Thread Starter
My Feedback: (44)
Join Date: Sep 2004
Location: Wilmette,
IL
Posts: 439
Likes: 0
Received 0 Likes
on
0 Posts
Hello Miltos ,
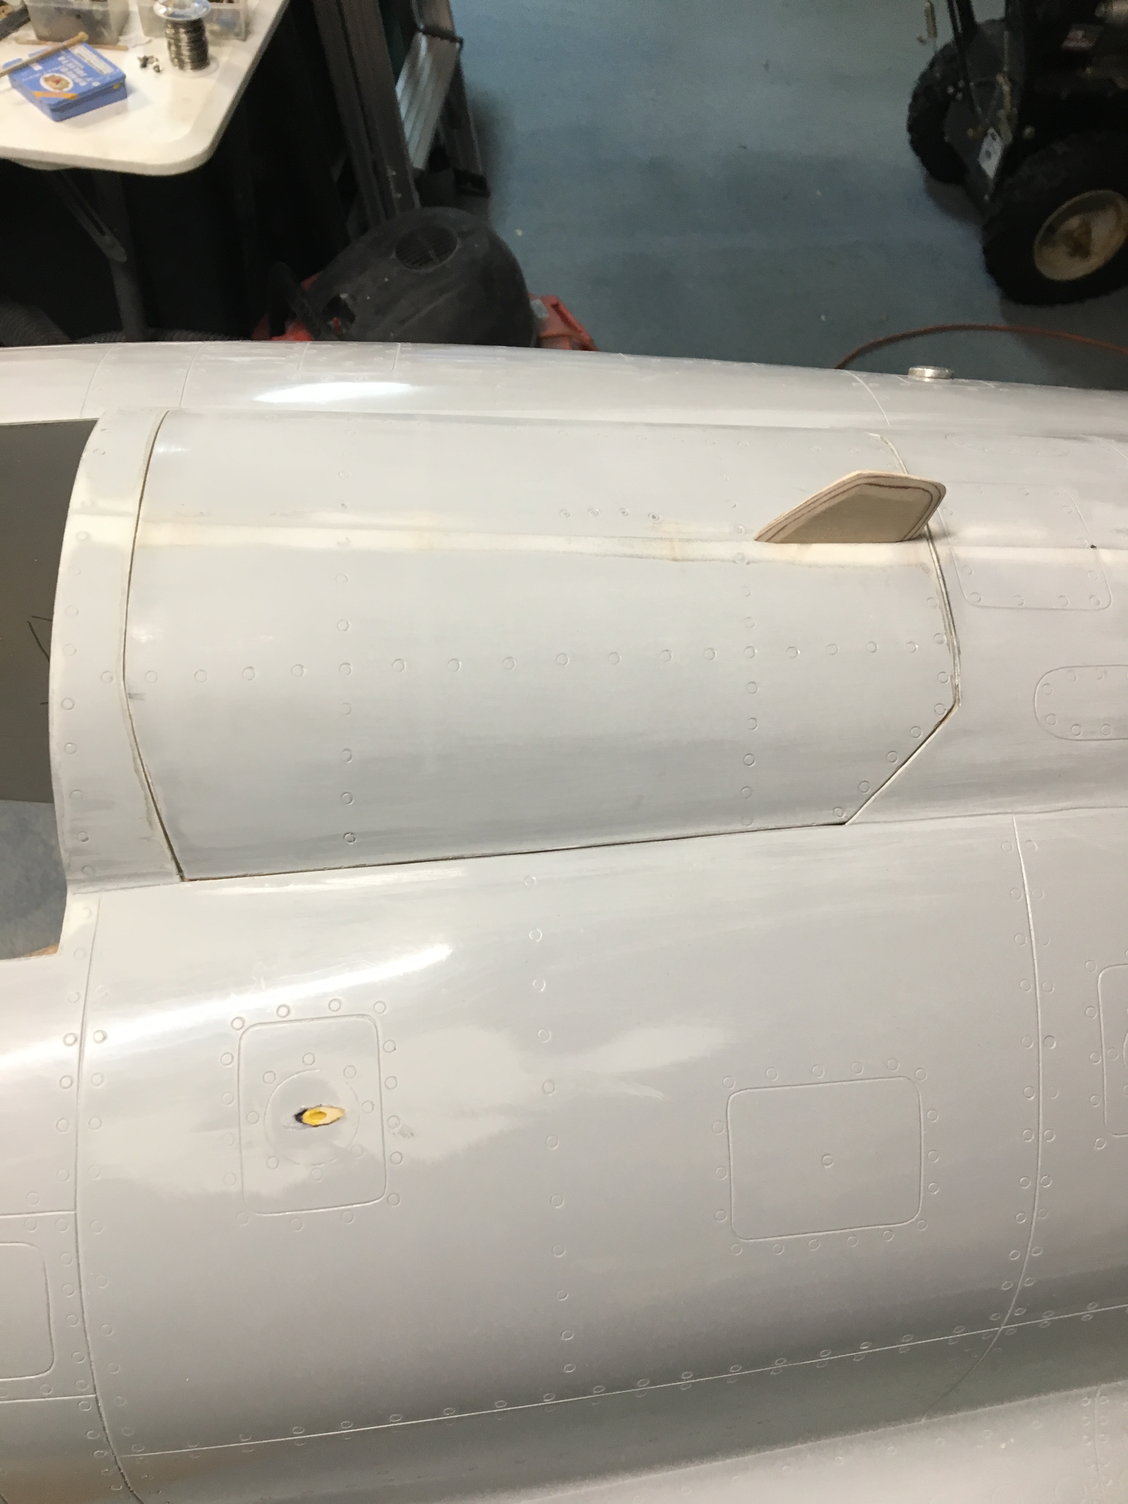
Nice to hear from you I have already installed all the doors and I will post more pictures over the weekend here’s one
Καλά Χριστούγεννα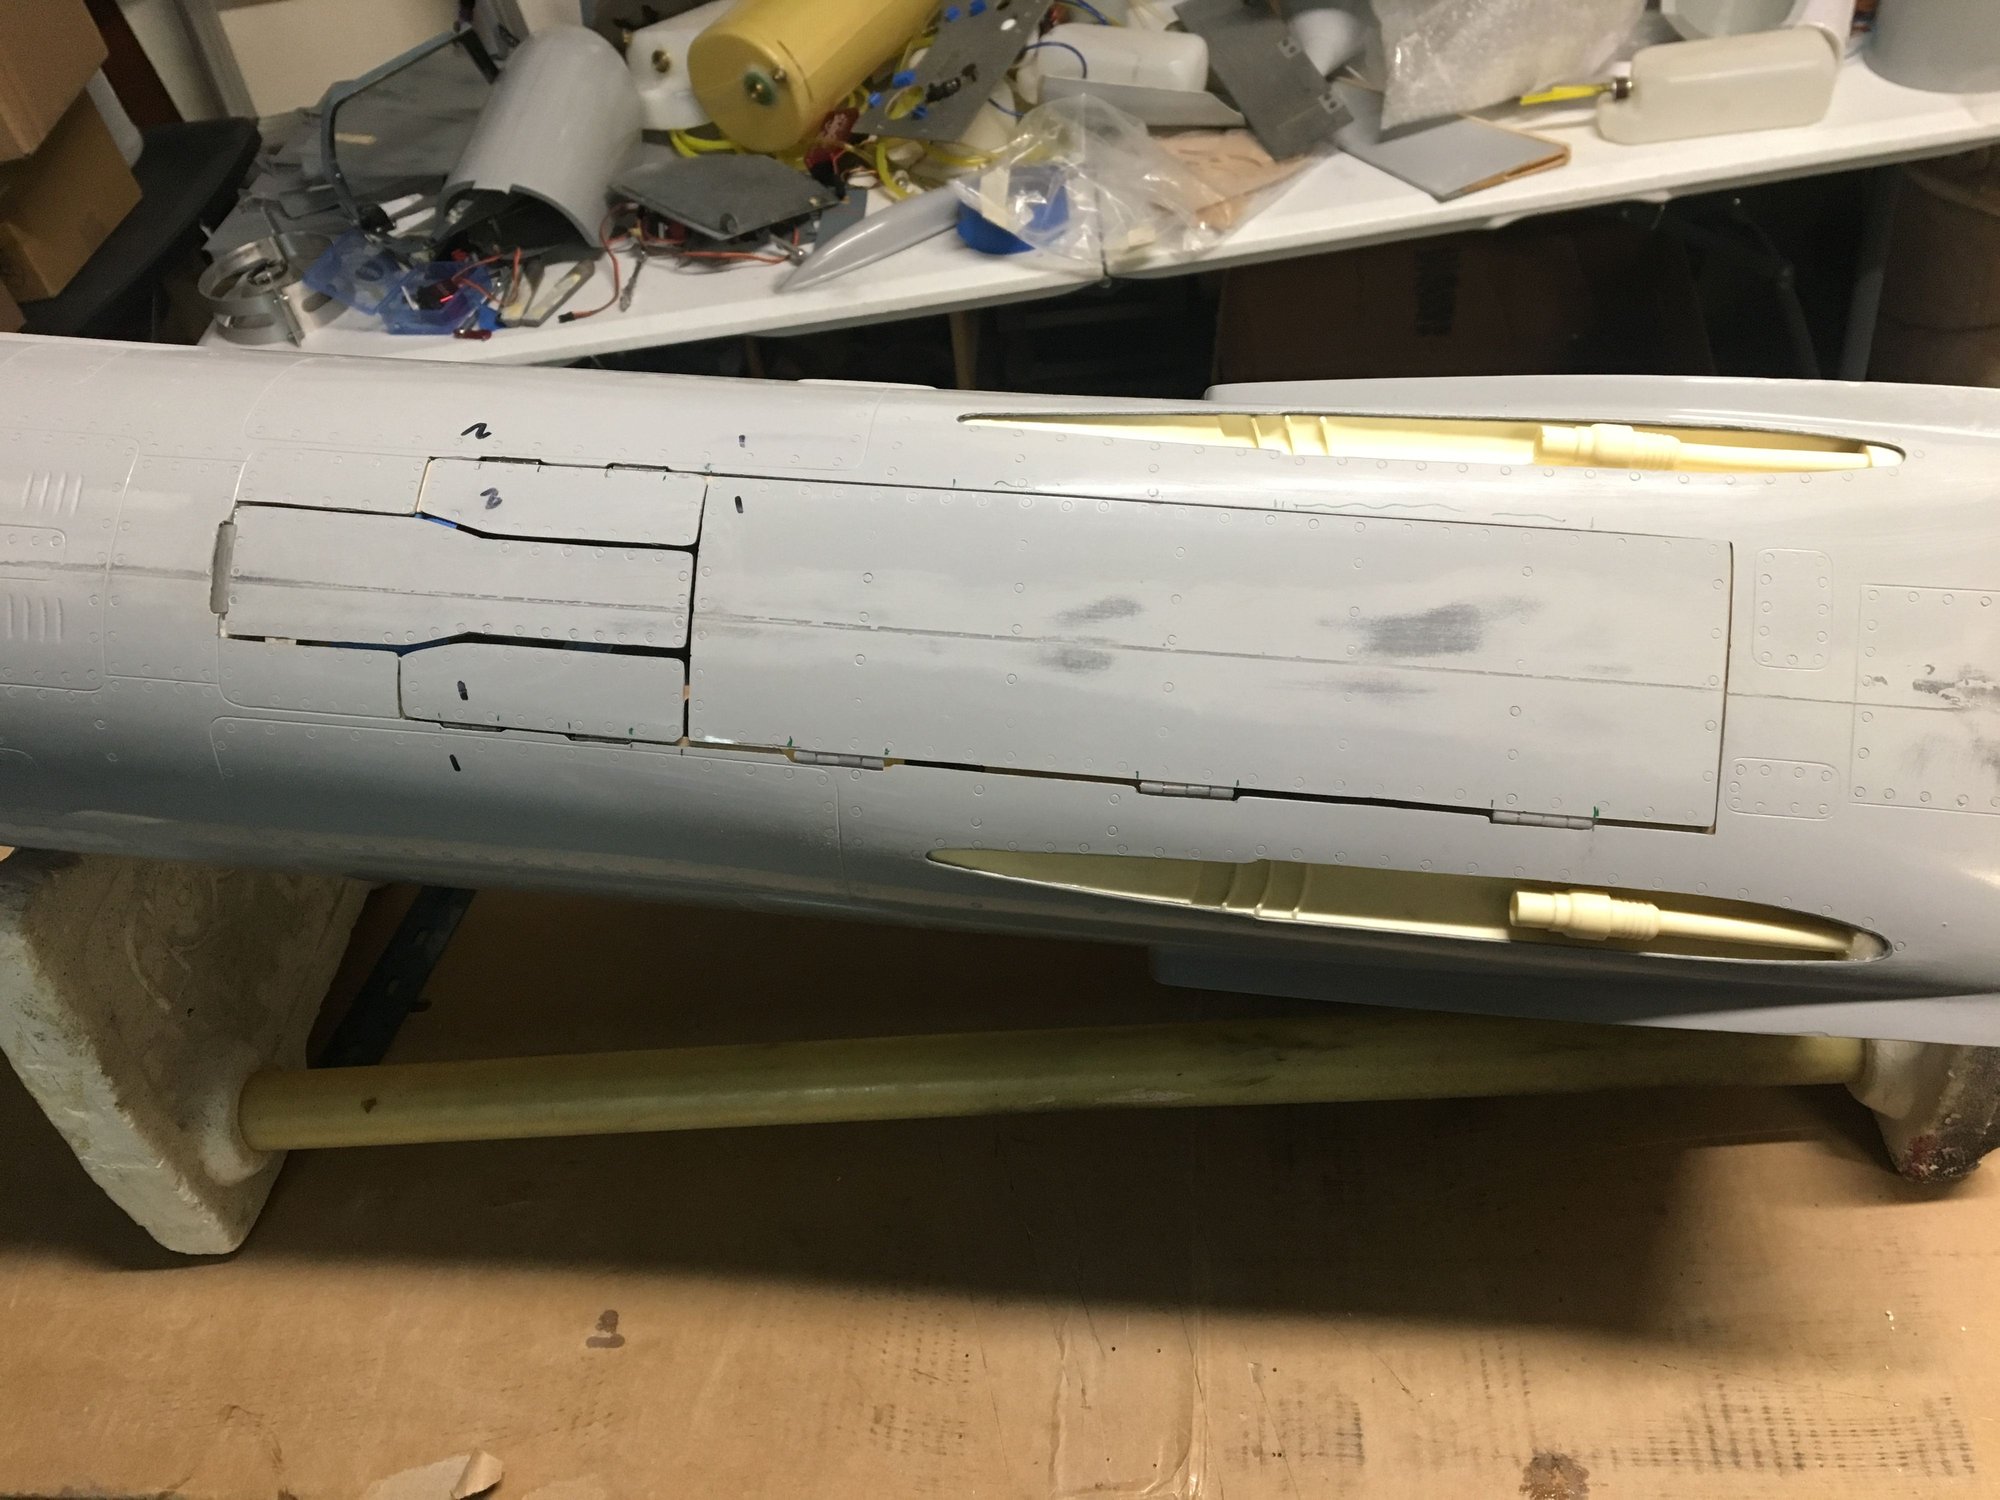
Nice to hear from you I have already installed all the doors and I will post more pictures over the weekend here’s one
Καλά Χριστούγεννα
12-26-2018, 07:30 PM
#35
Thread Starter
My Feedback: (44)
Join Date: Sep 2004
Location: Wilmette,
IL
Posts: 439
Likes: 0
Received 0 Likes
on
0 Posts
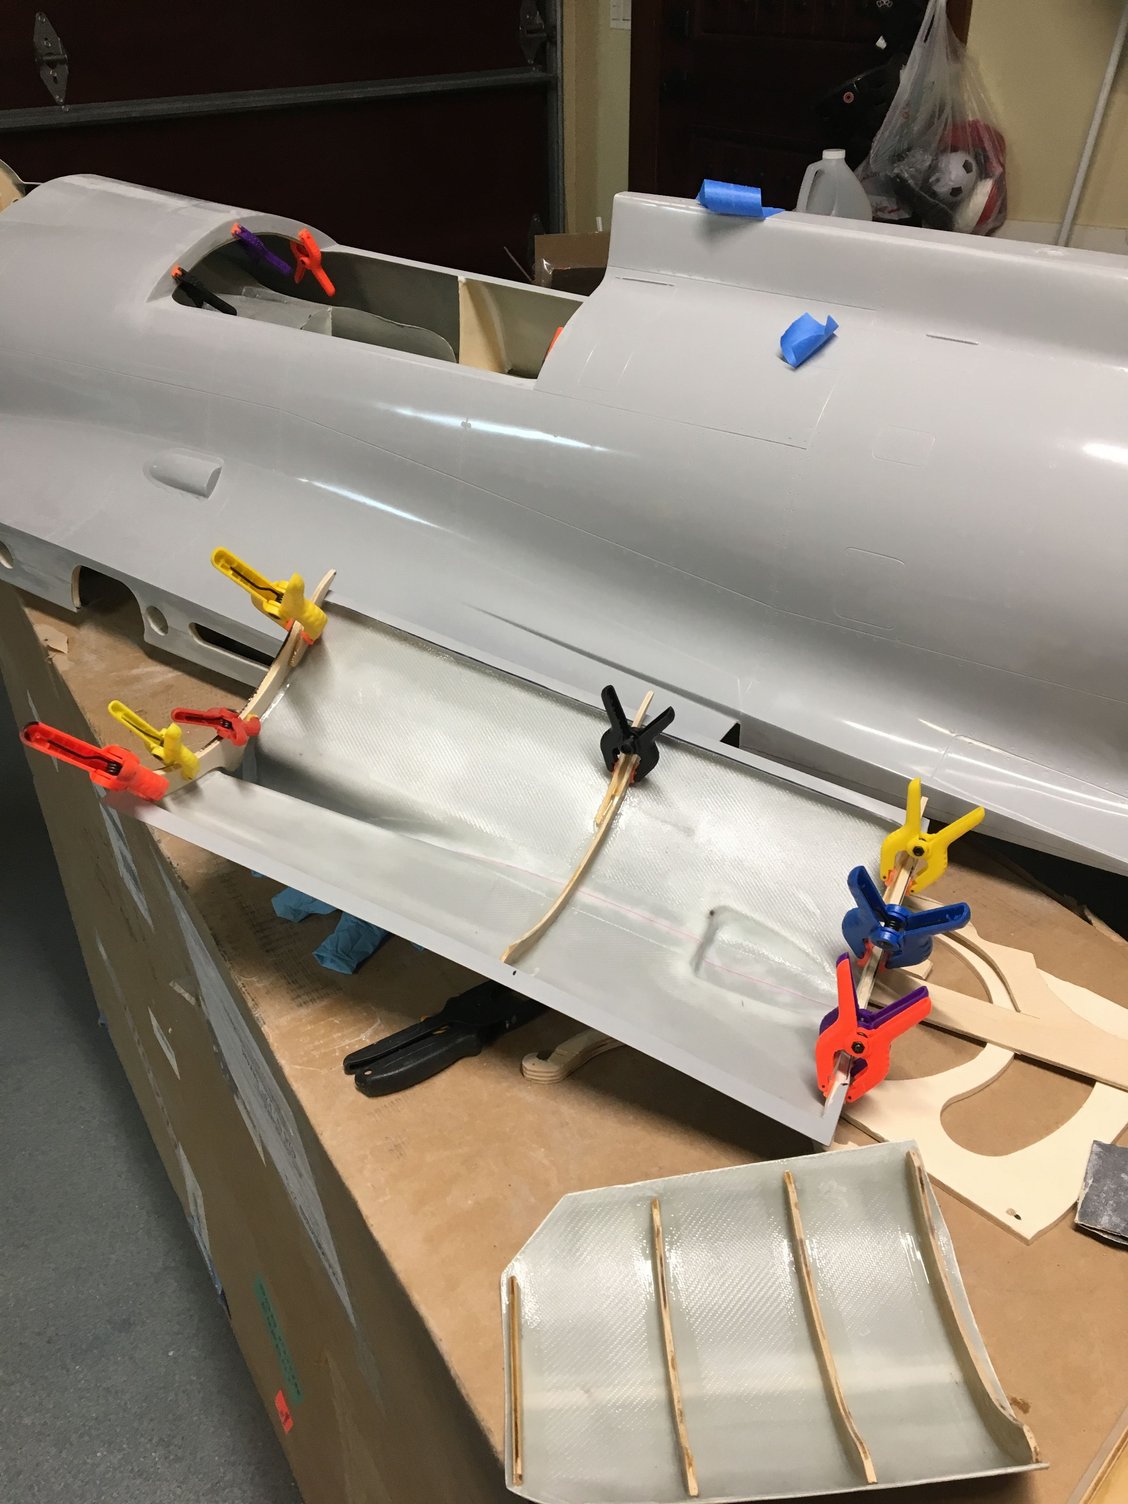
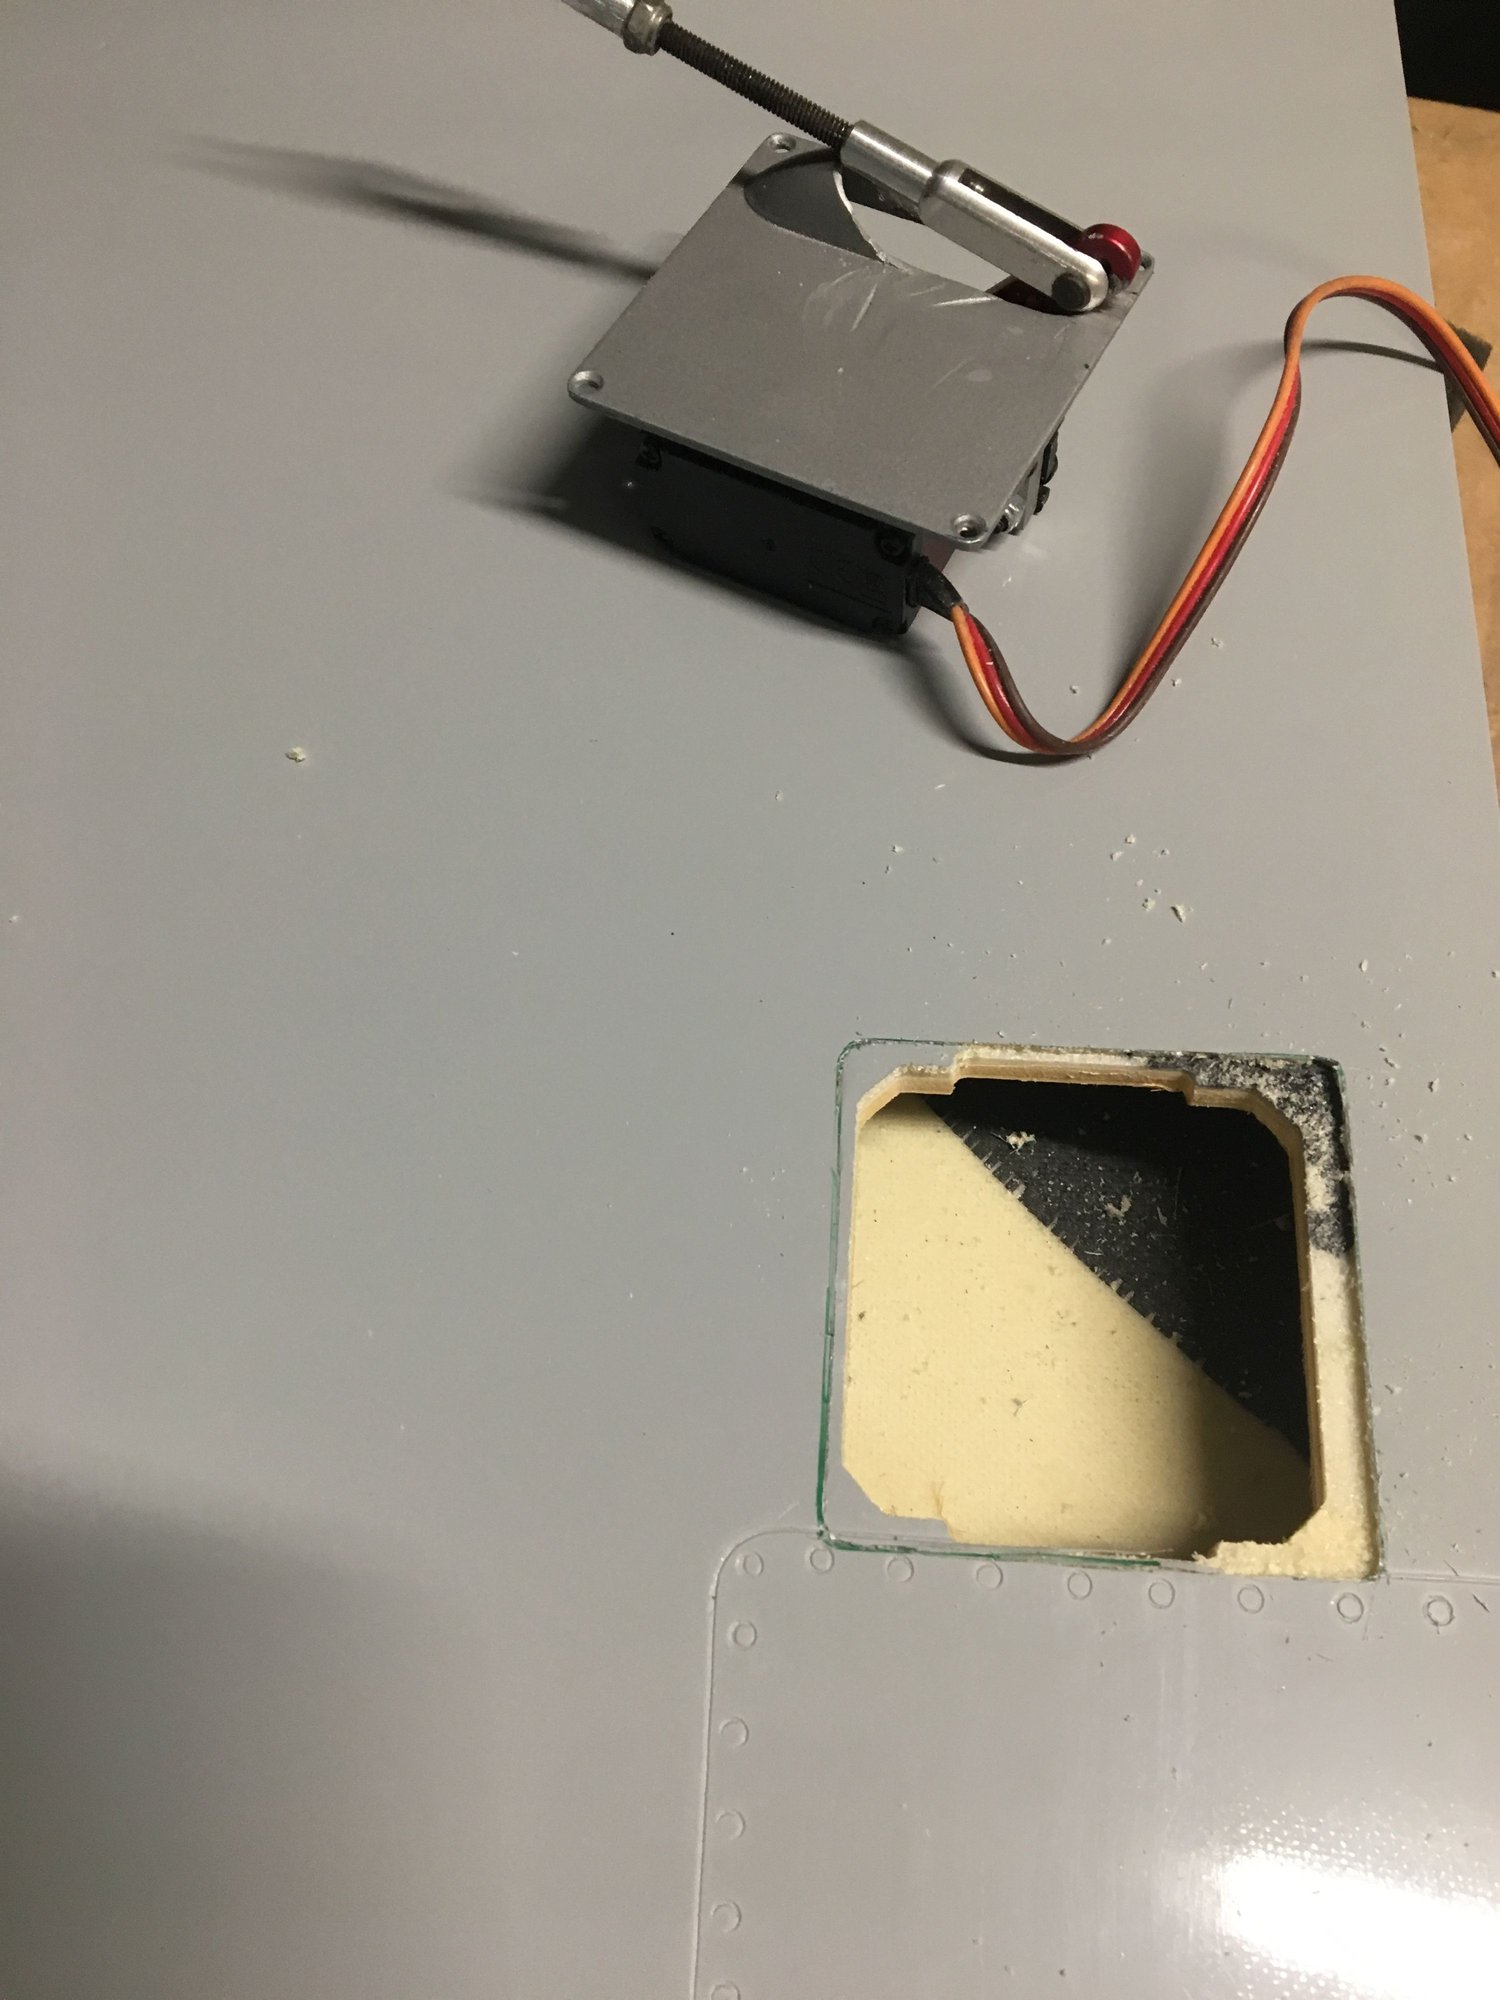
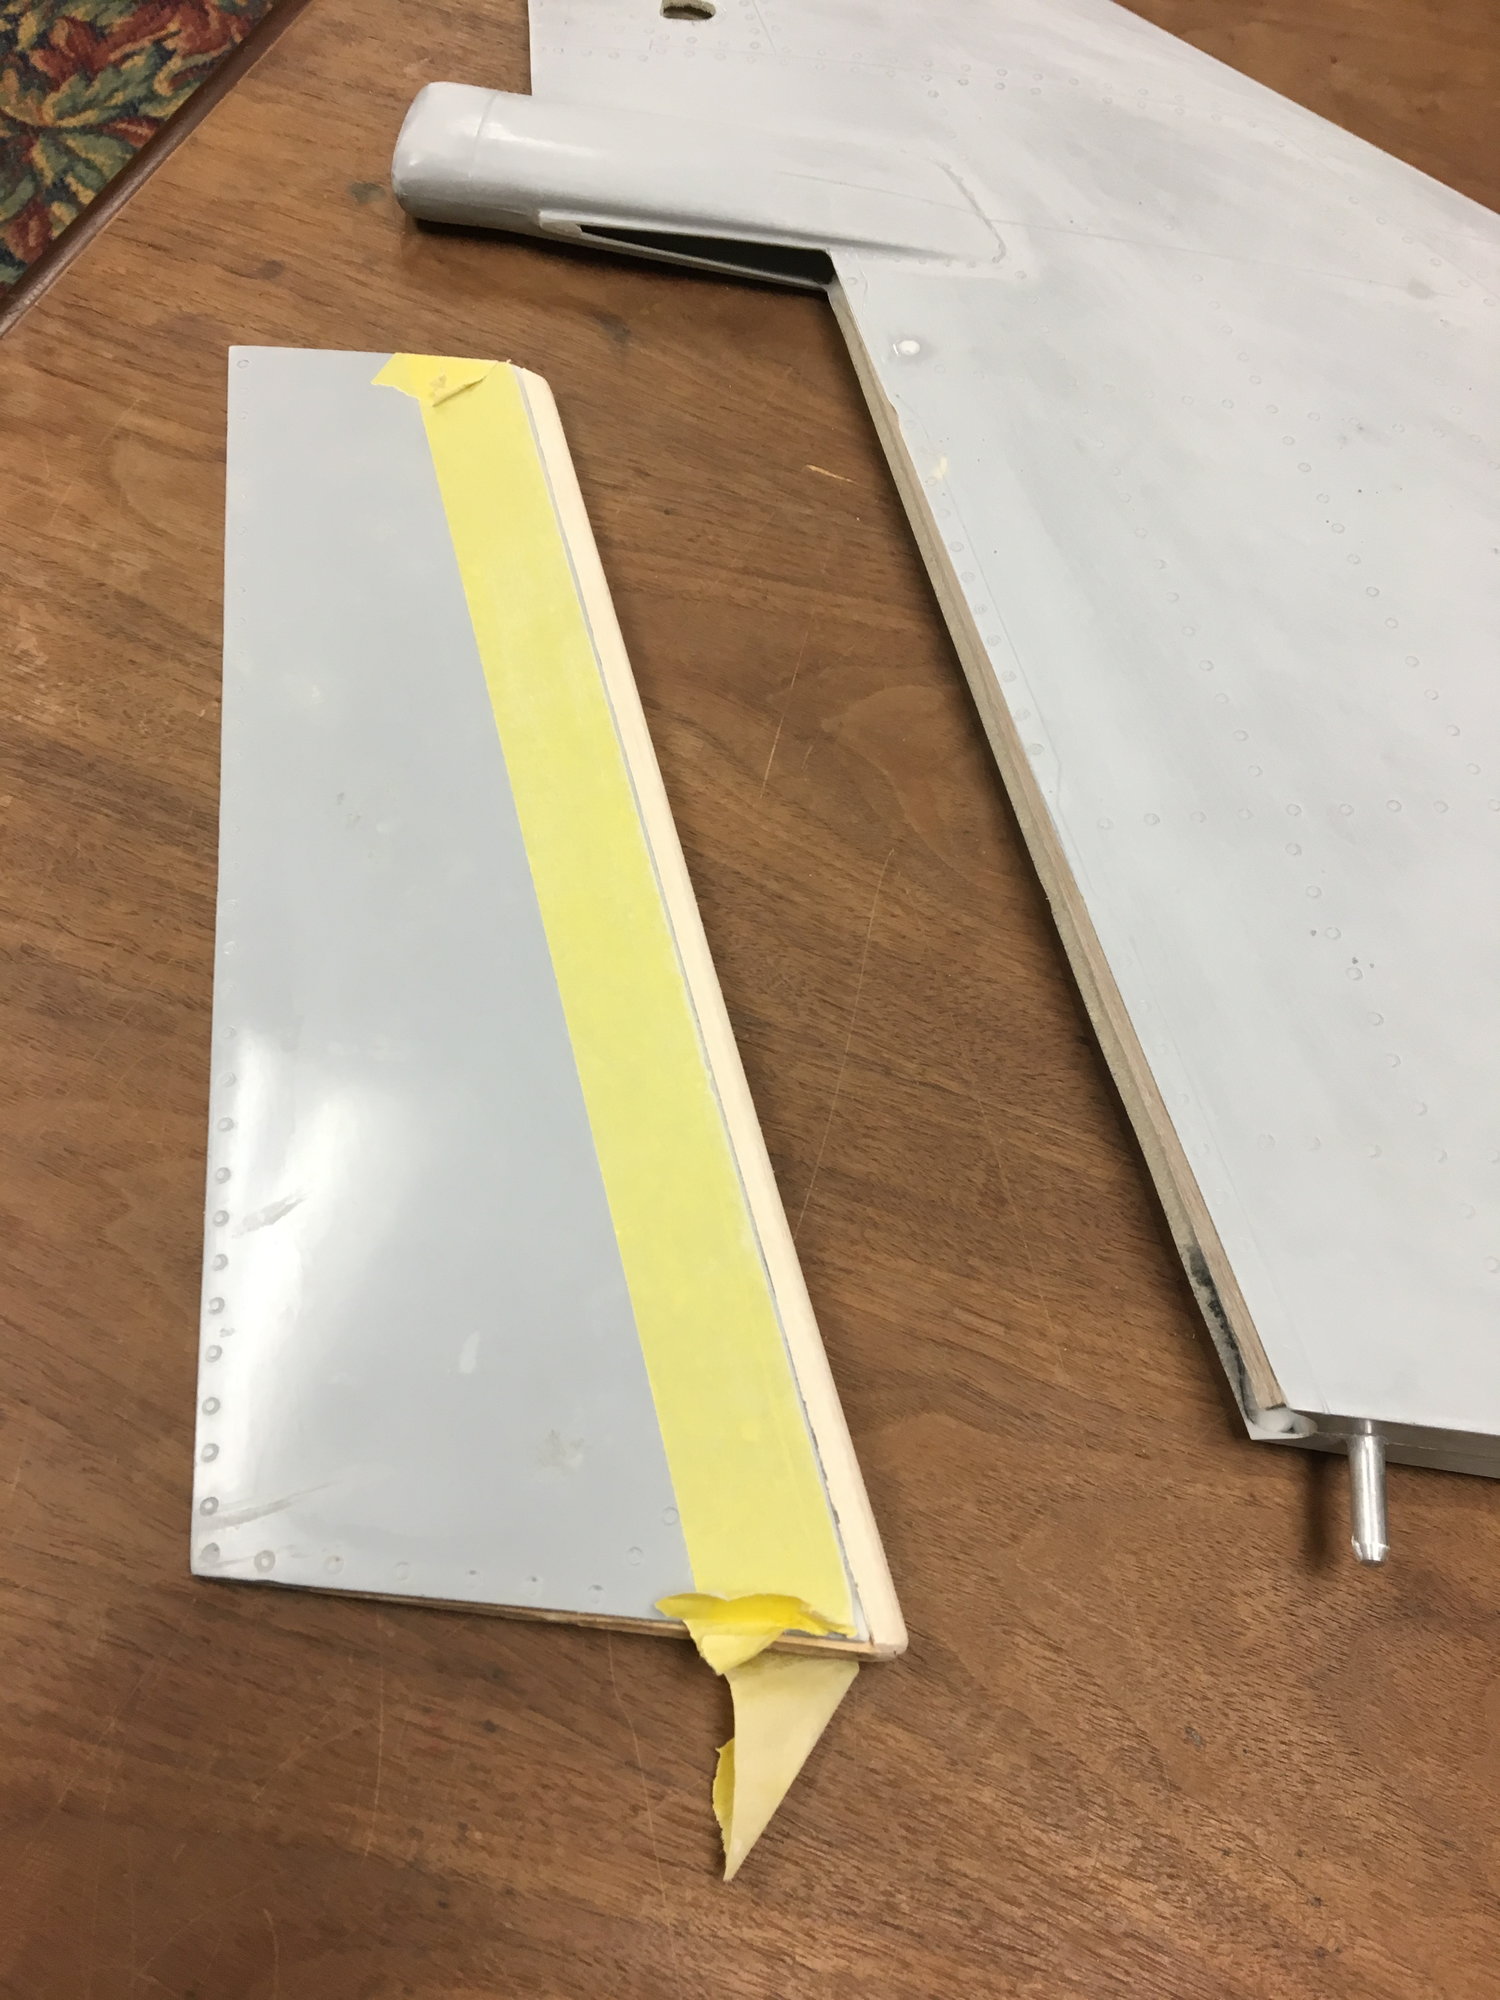
Here are some more pictures of the progress I have stalled the cylinders for the doors and the tension springs for the front small doors, cut the rudder used balsa to build up the contur and glassed it too, almost ready to install the hinges I have also cut to fit for the wings servos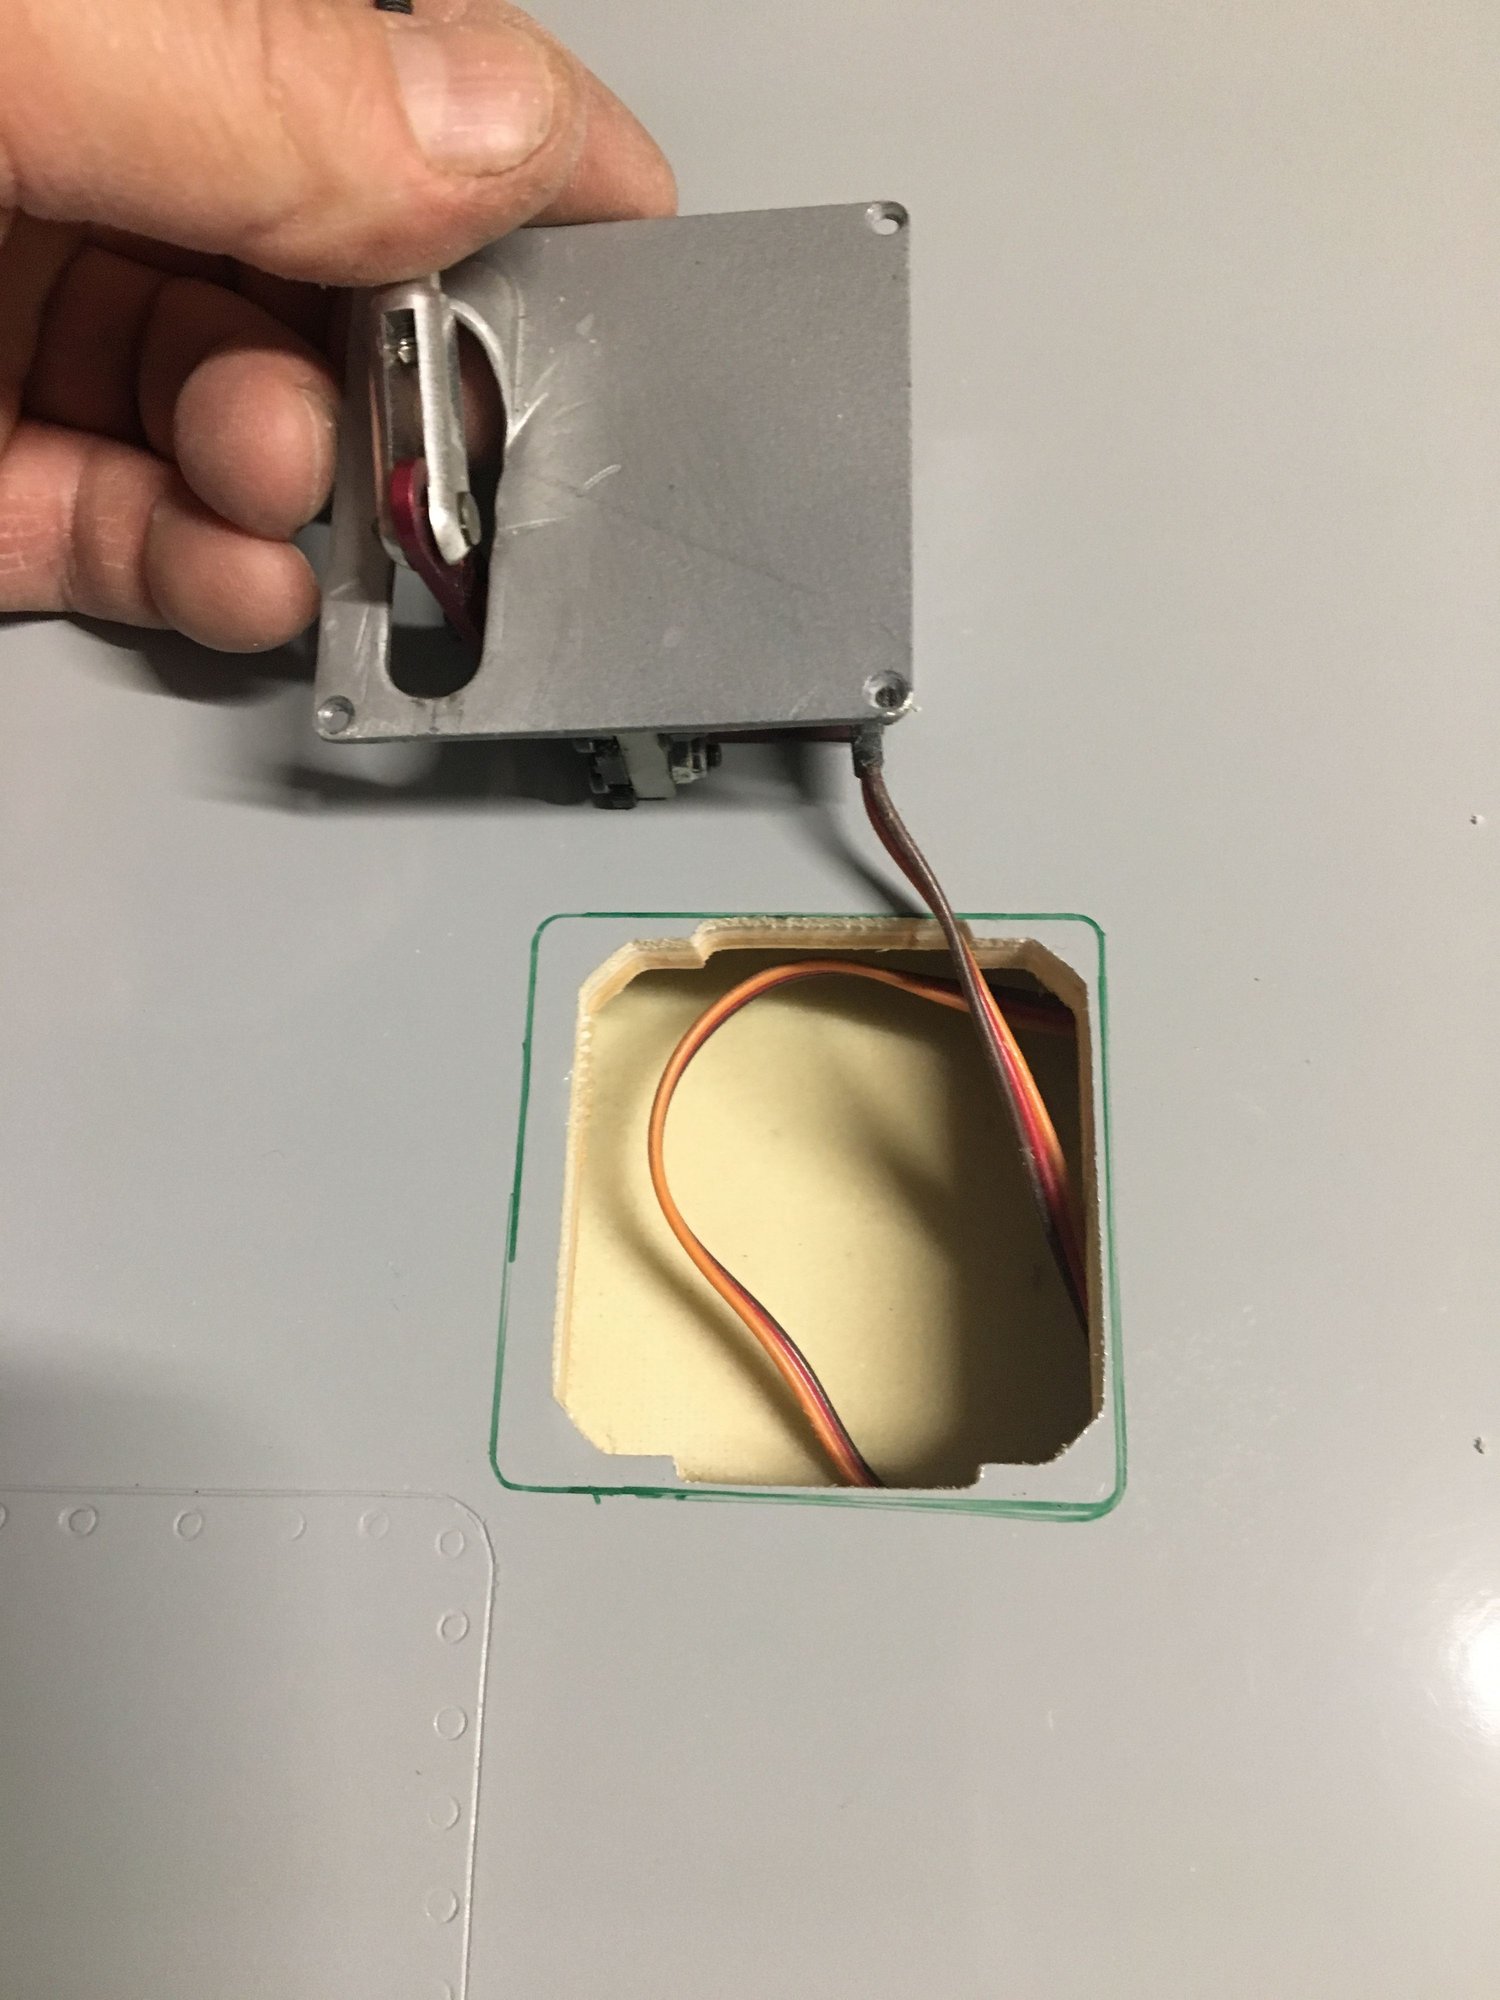


 Happy new year!
12-28-2018, 07:07 AM
Happy new year!
12-28-2018, 07:07 AM
#39
Thread Starter
My Feedback: (44)
Join Date: Sep 2004
Location: Wilmette,
IL
Posts: 439
Likes: 0
Received 0 Likes
on
0 Posts
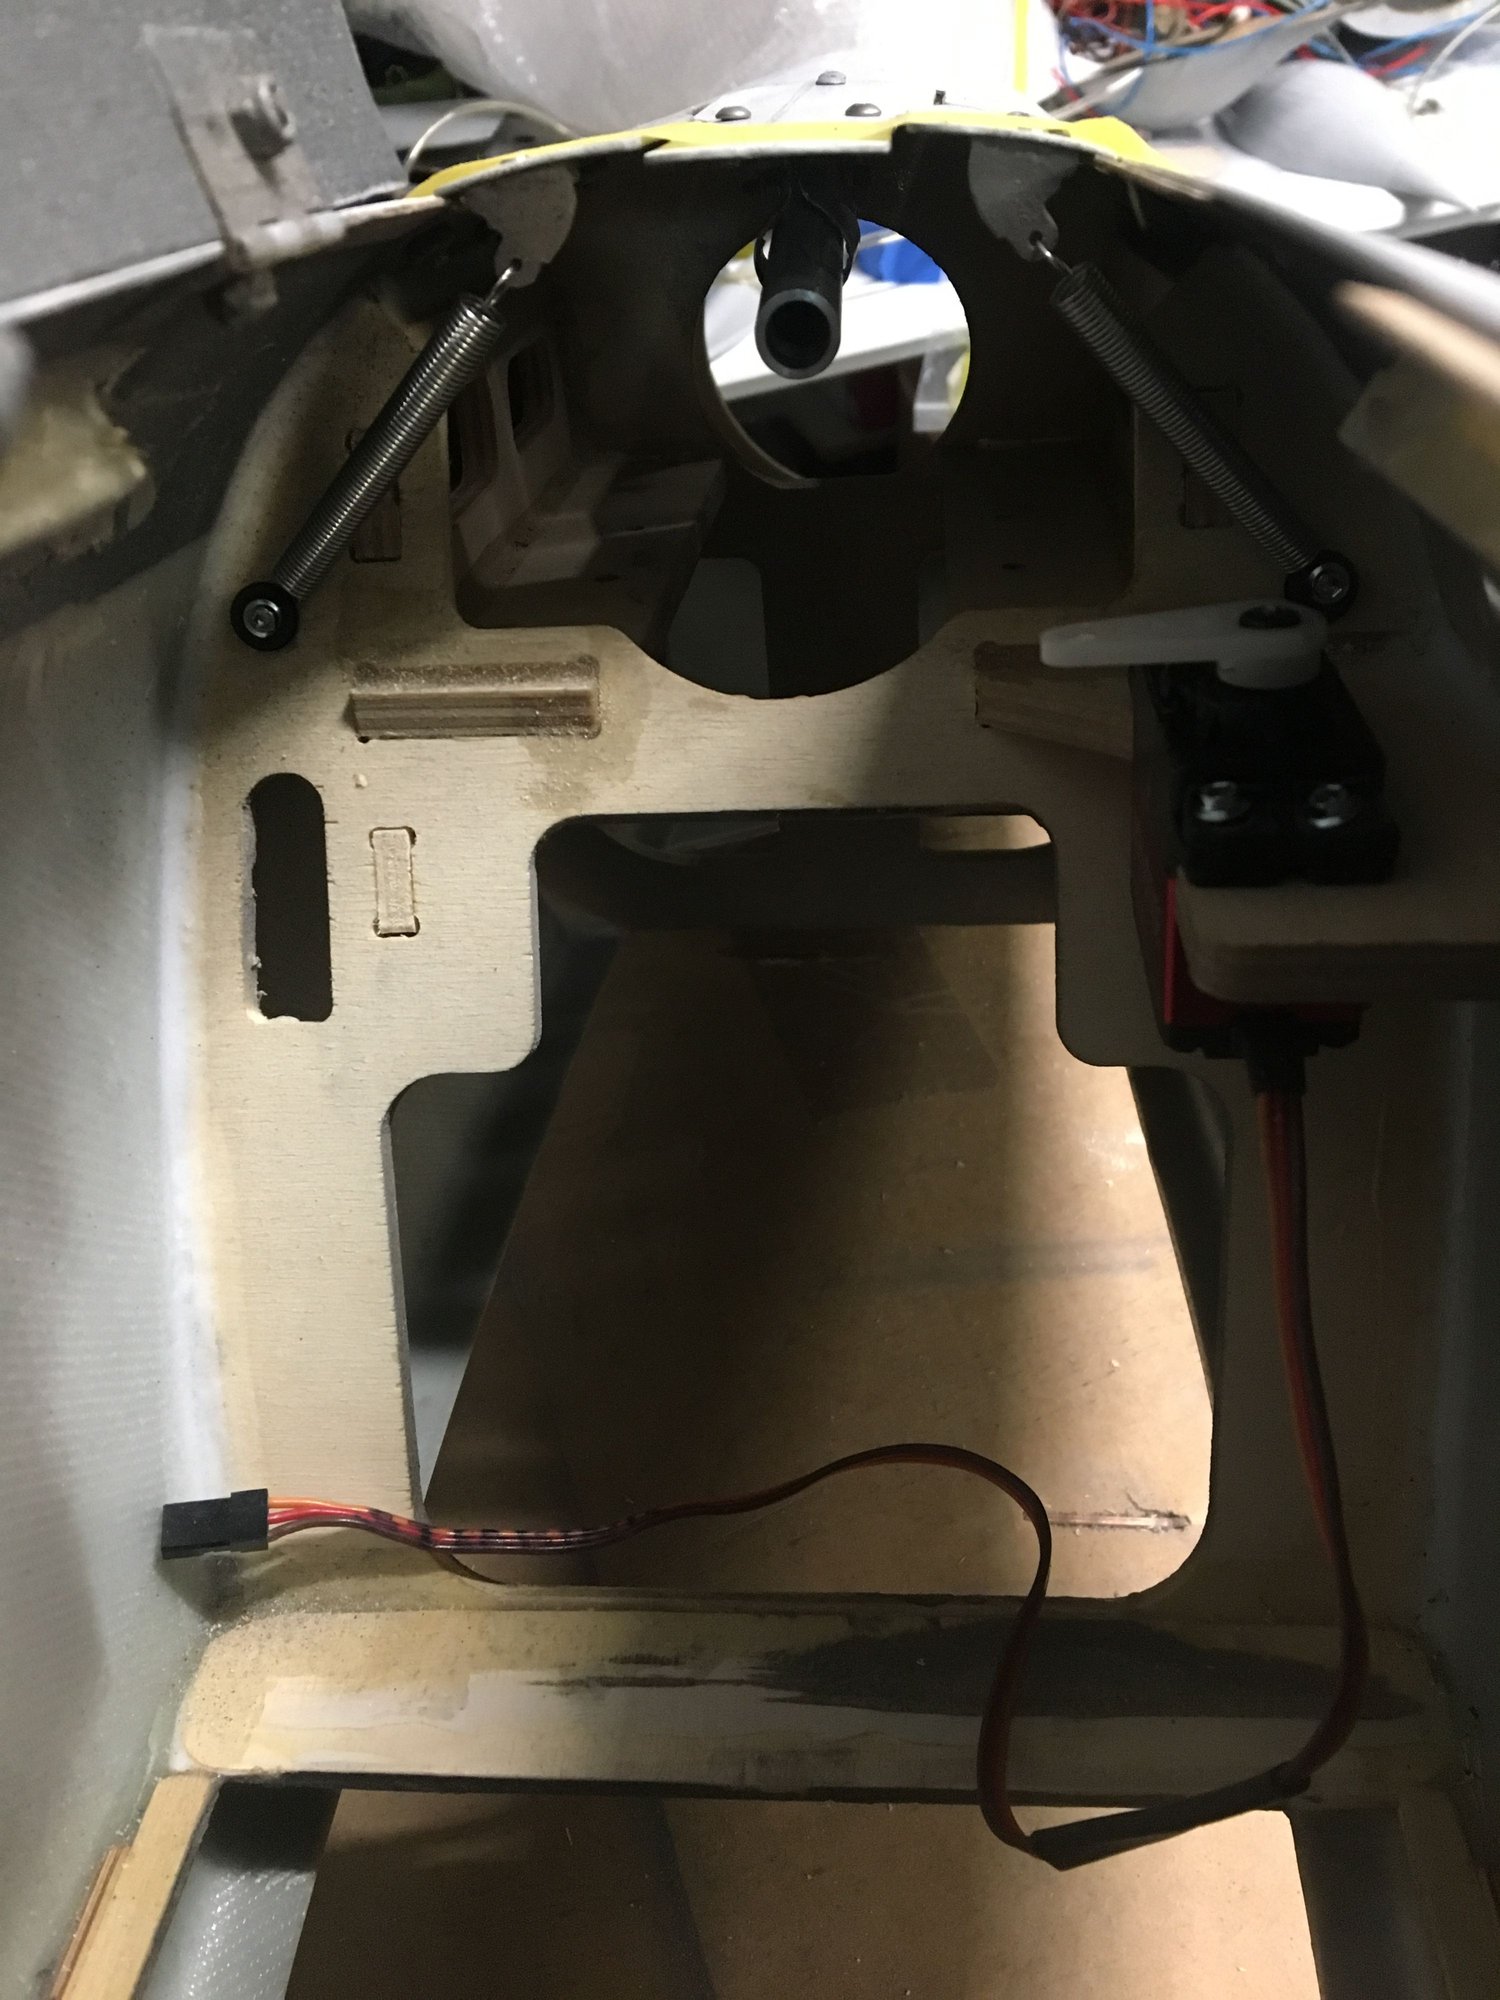
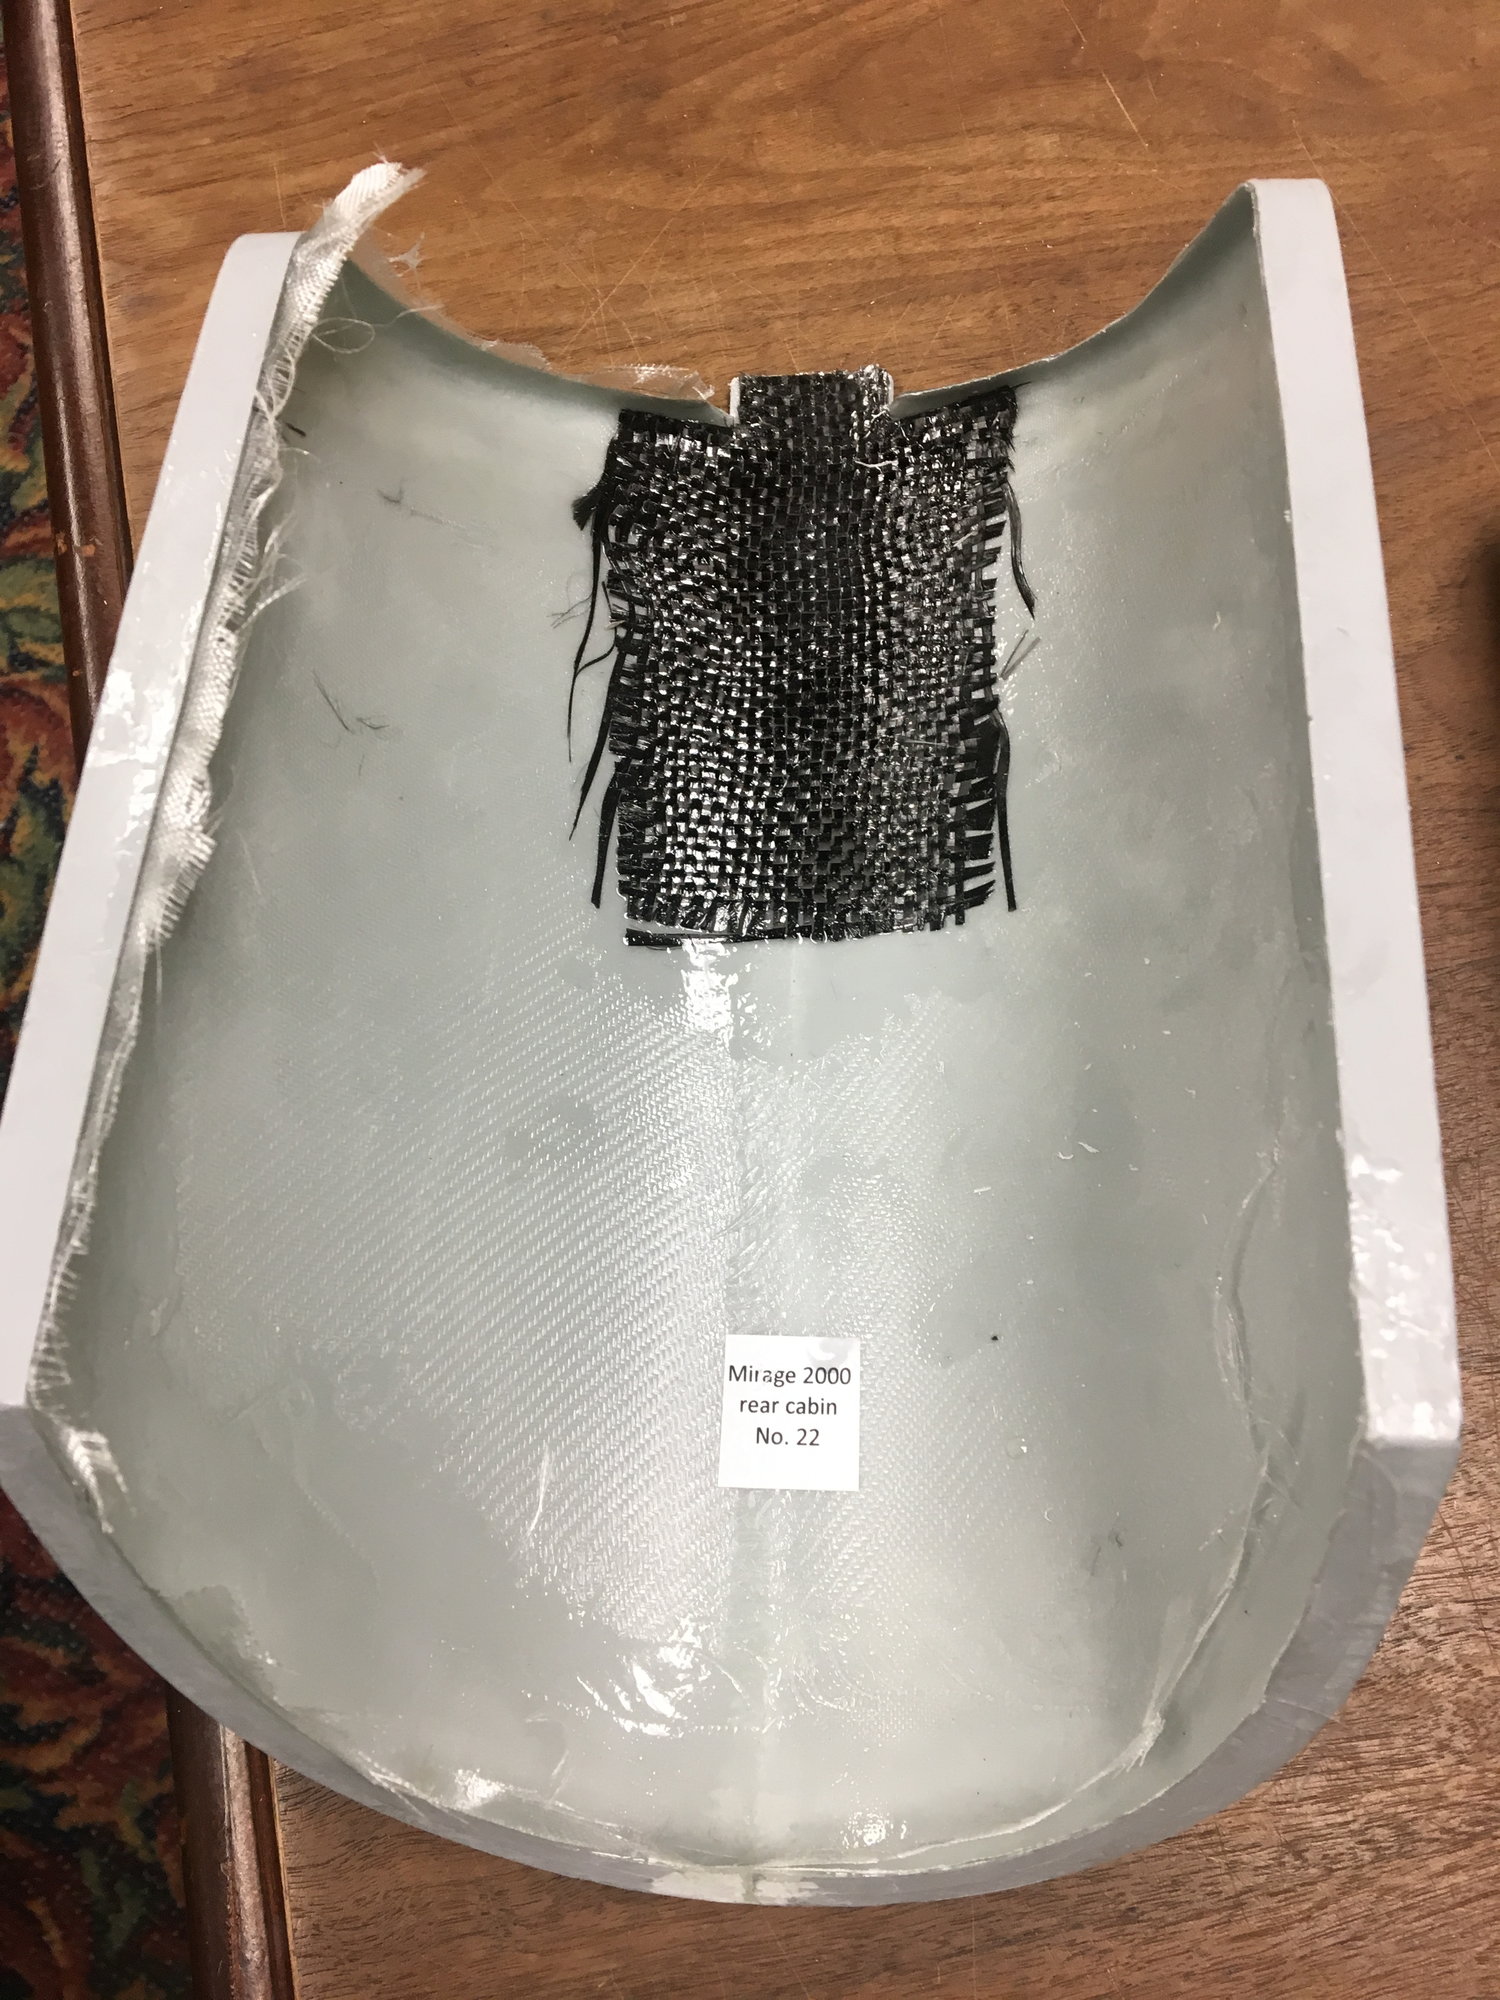
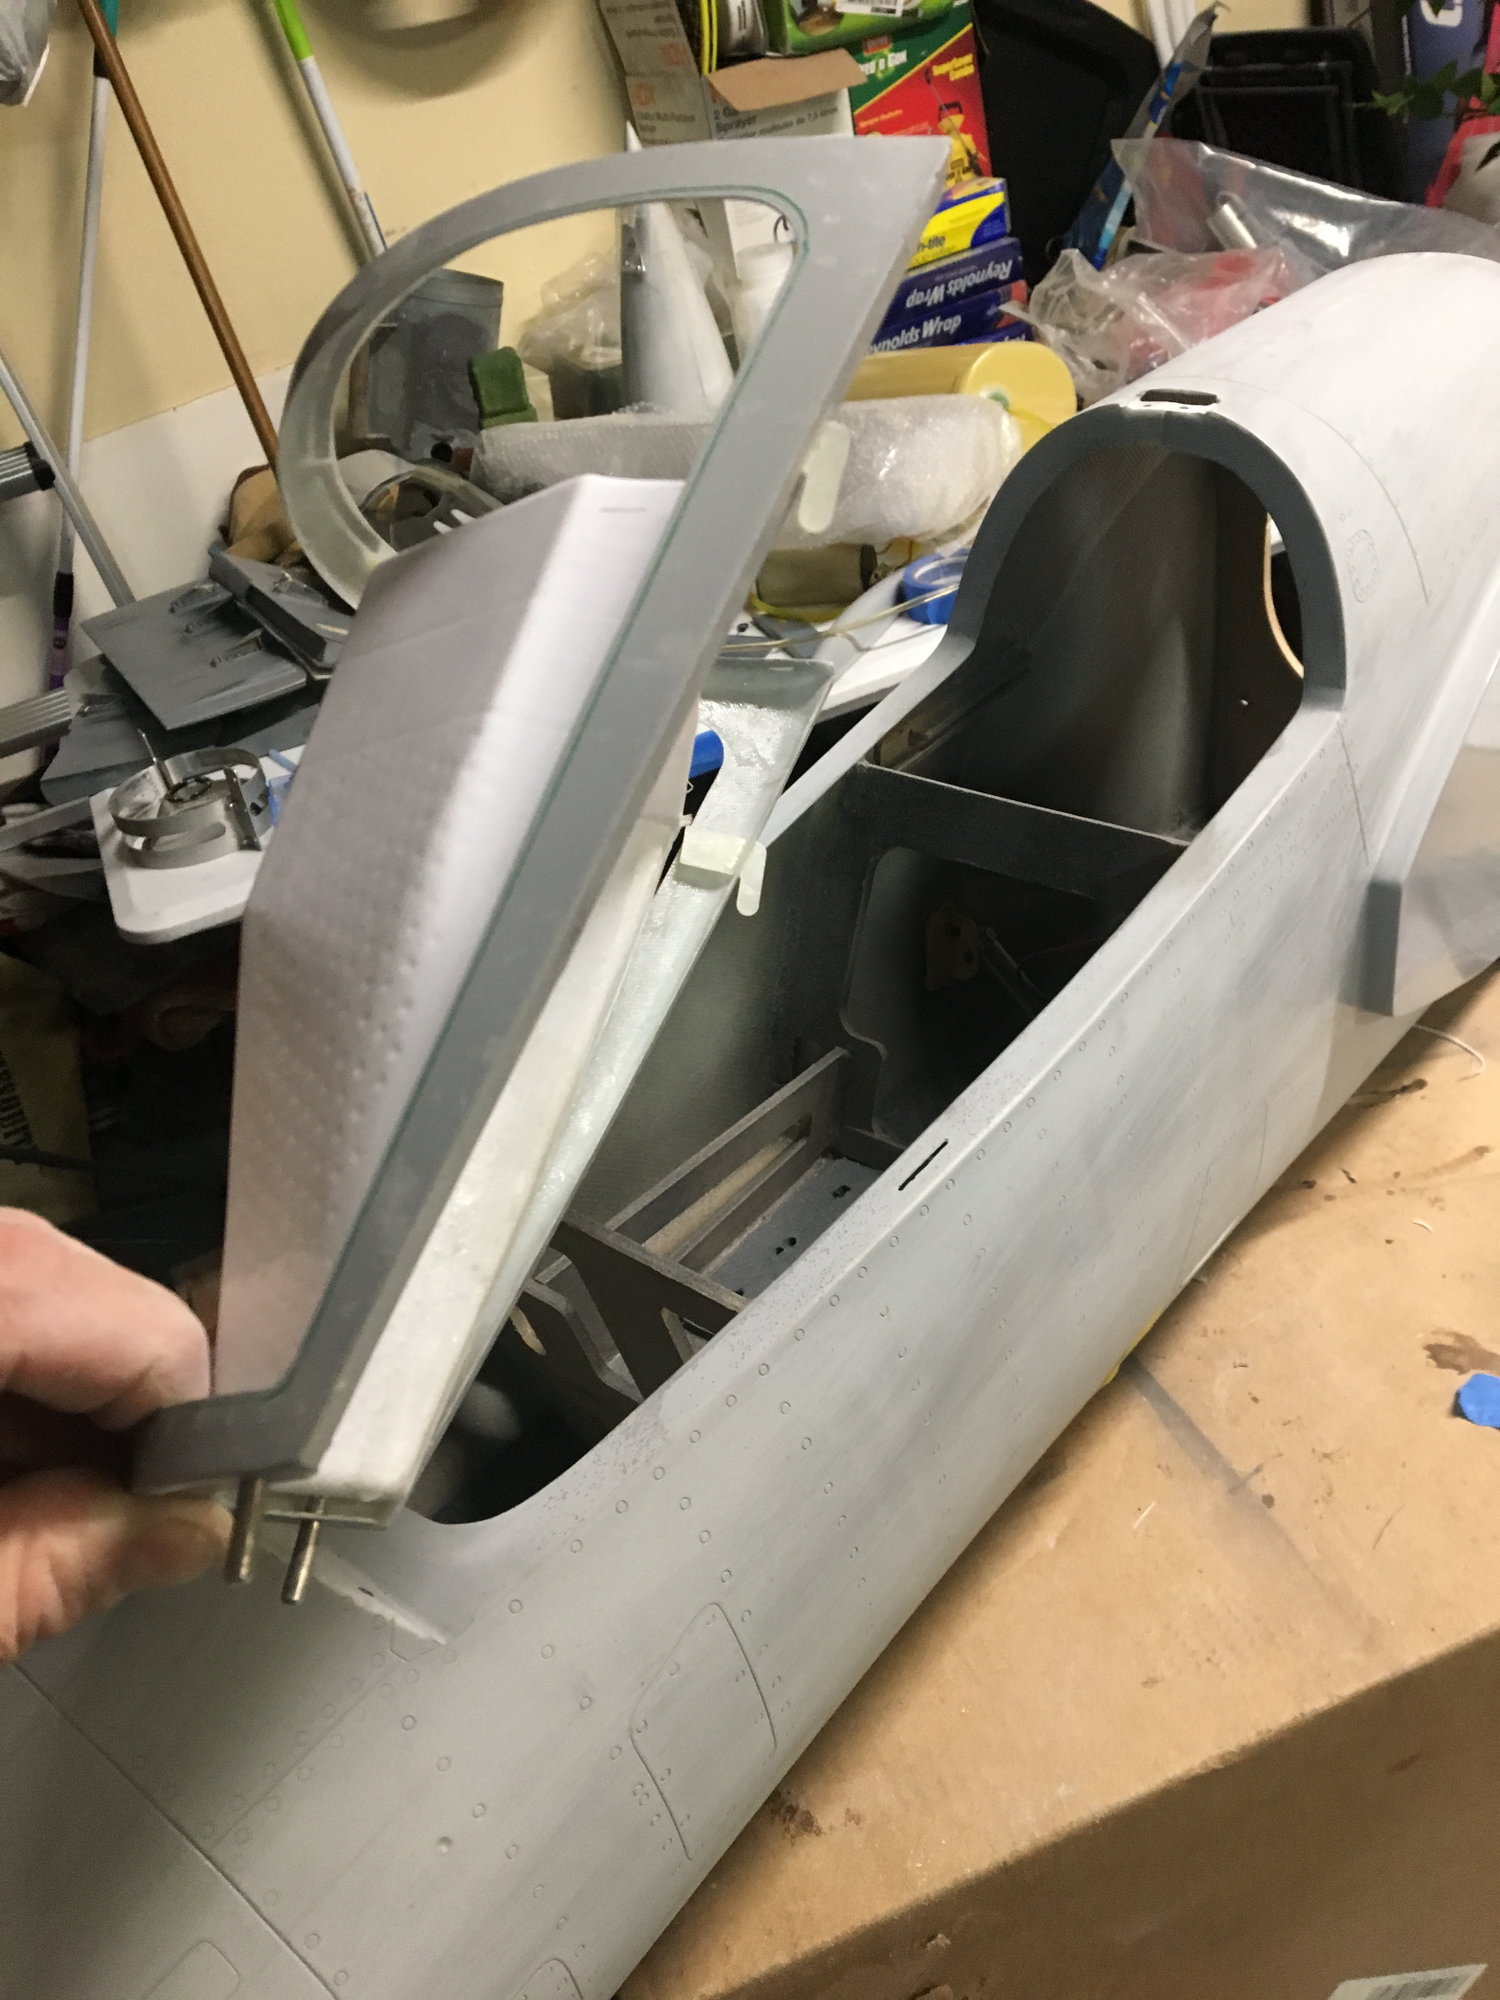
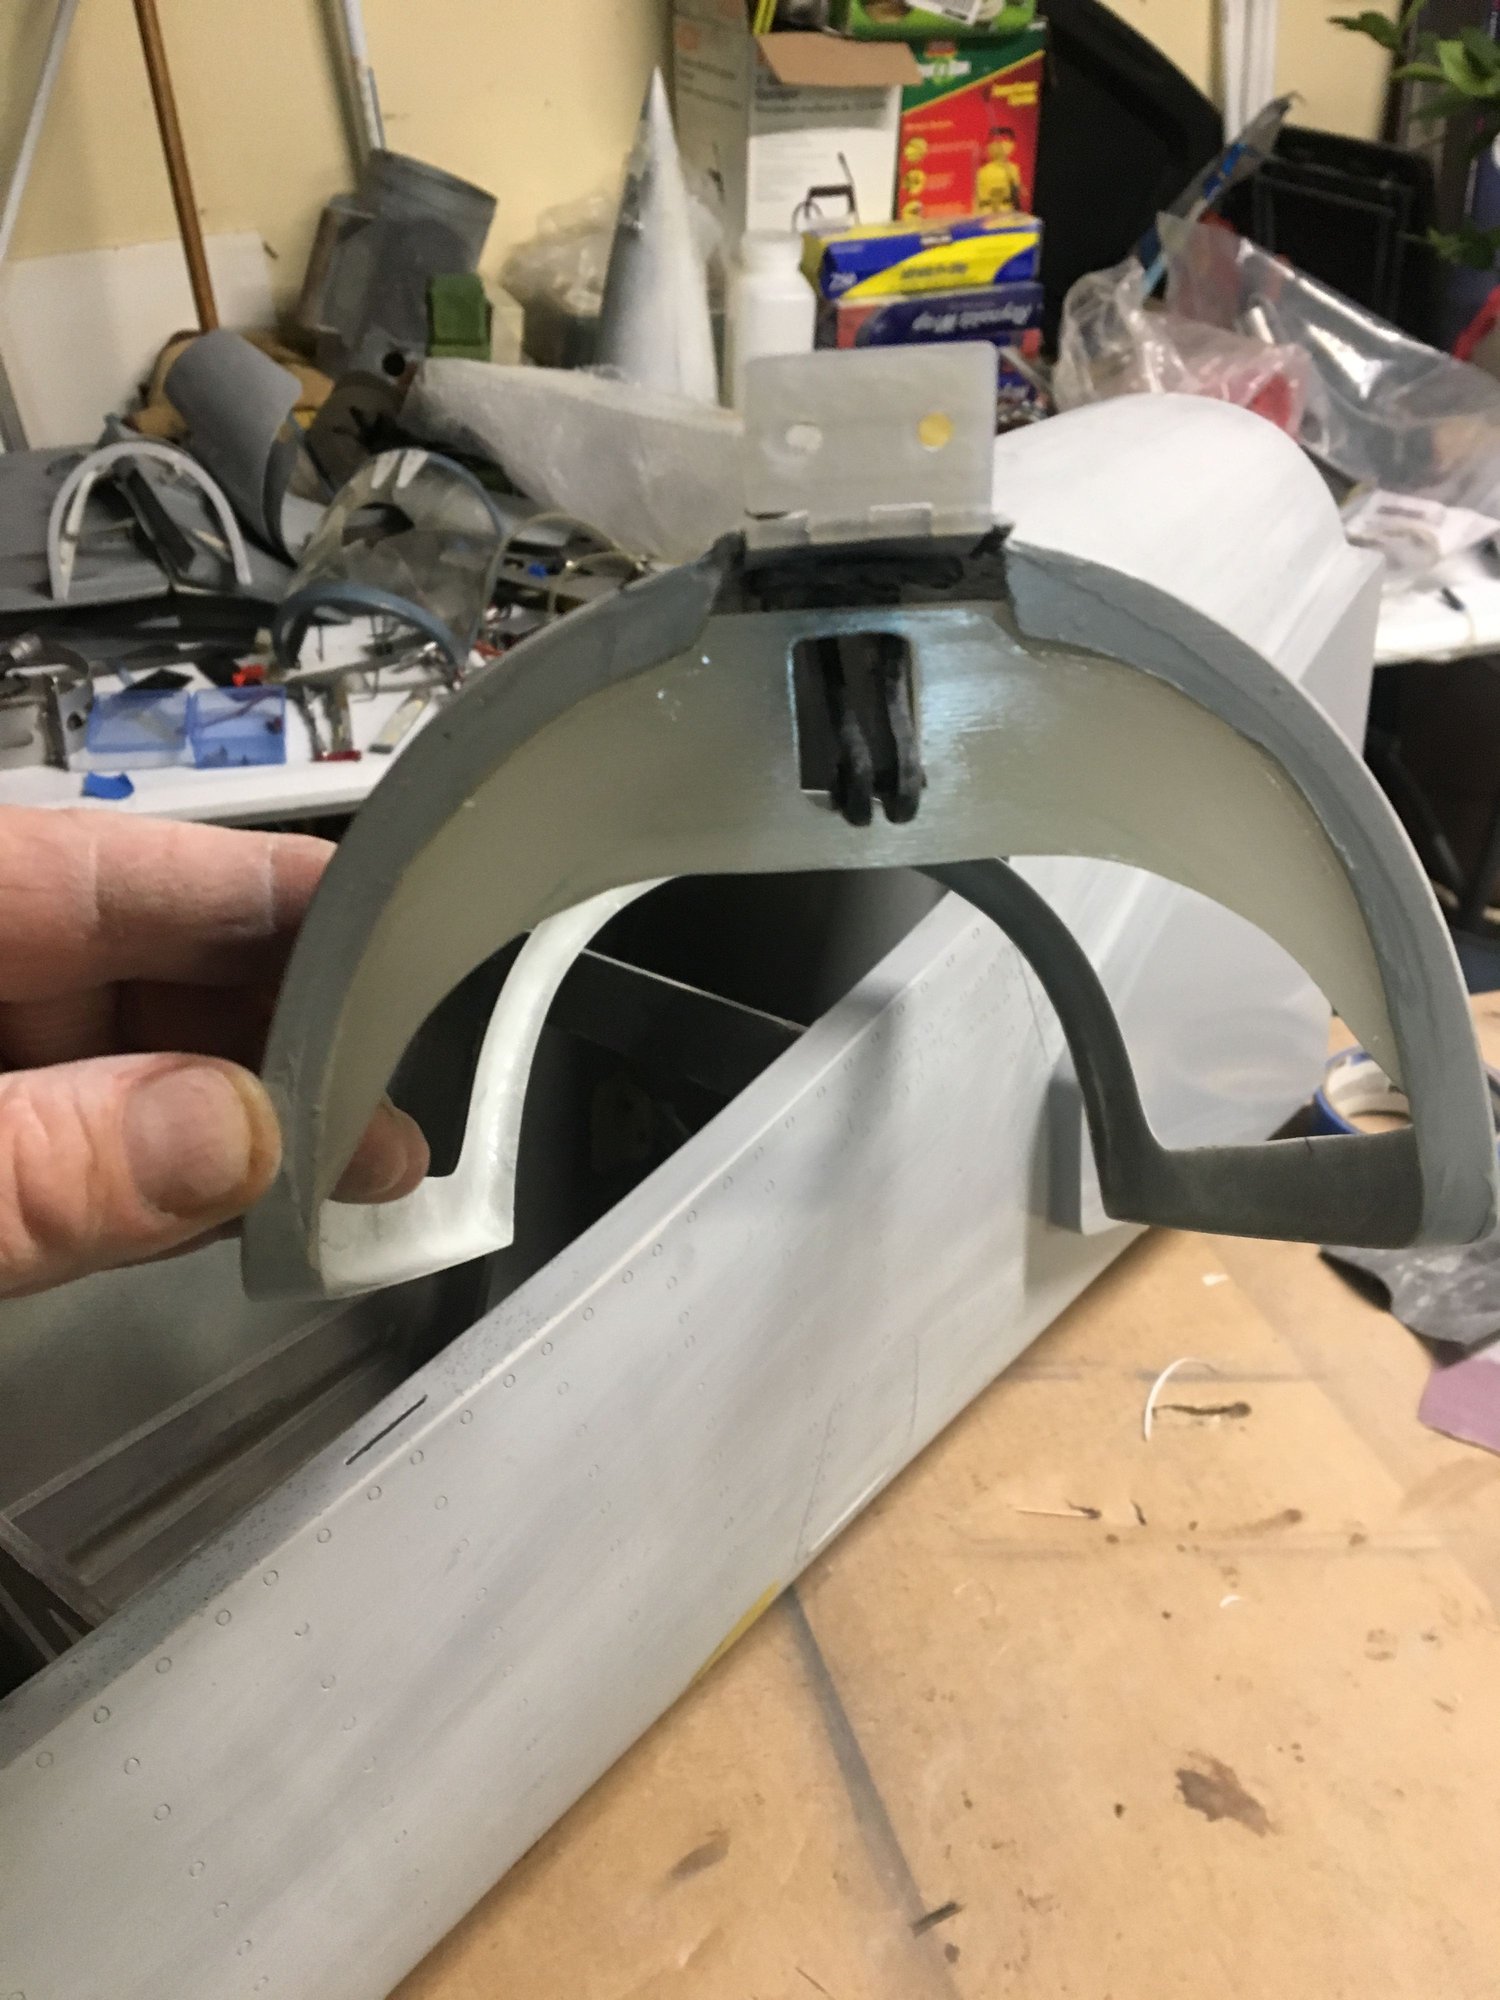
OK now let’s move to the canopy first what I did was that I laid some glass from the inside around the corners and also right by where I’m gonna put the air cylinders control arm I laid it with carbon fiber 


 12-28-2018, 07:23 AM
#42
Thread Starter
My Feedback: (44)
Join Date: Sep 2004
Location: Wilmette,
IL
Posts: 439
Likes: 0
Received 0 Likes
on
0 Posts
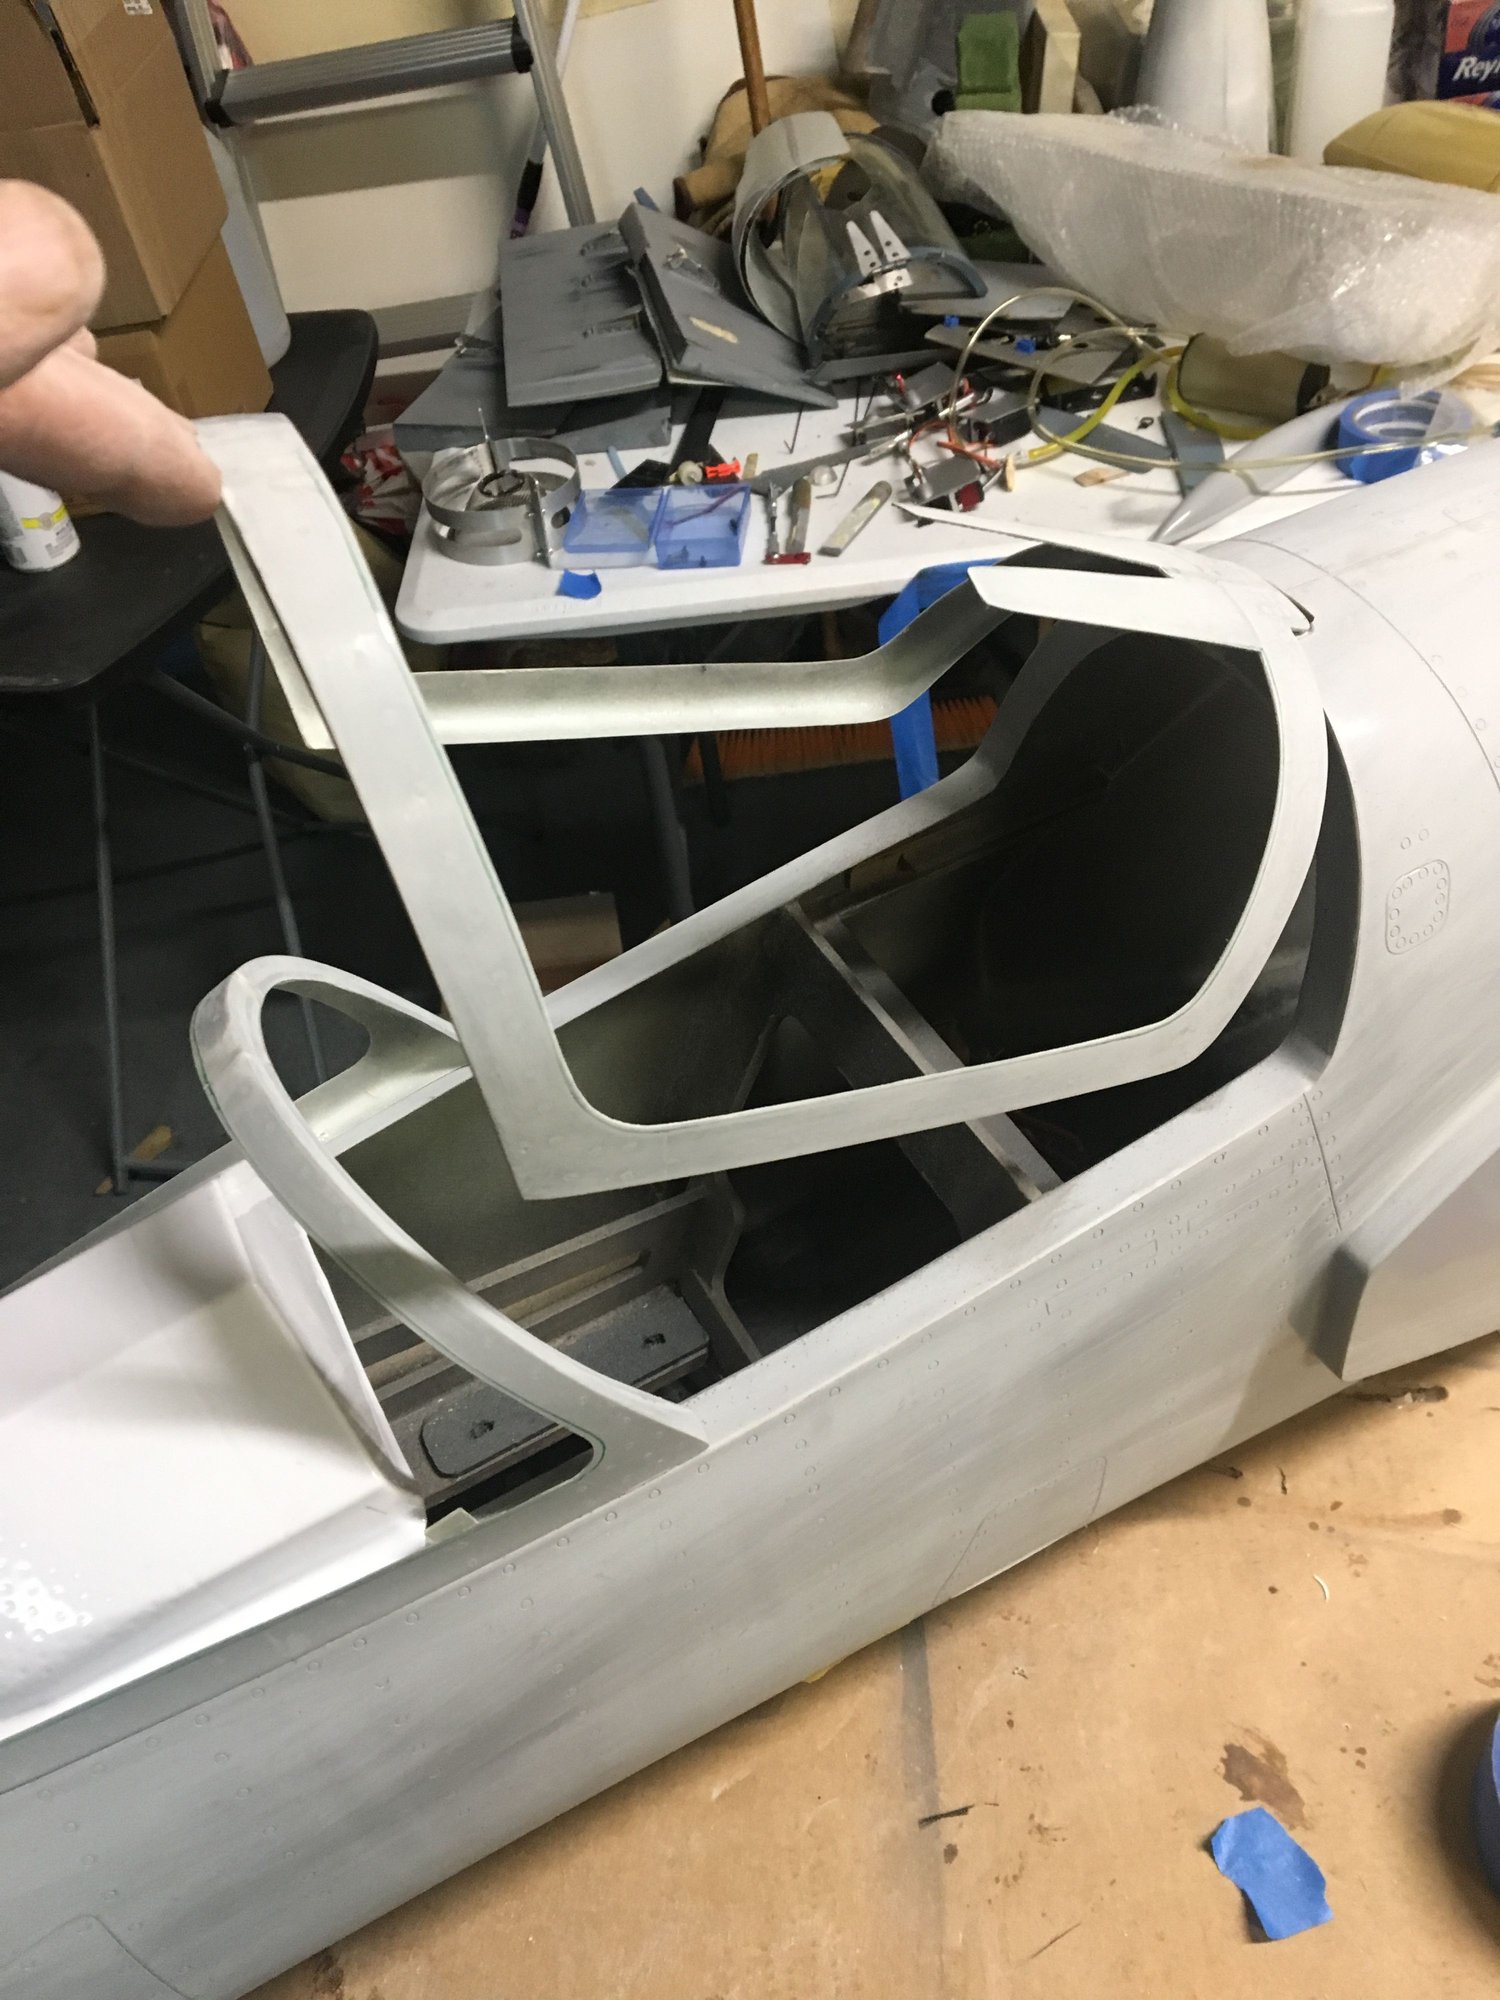
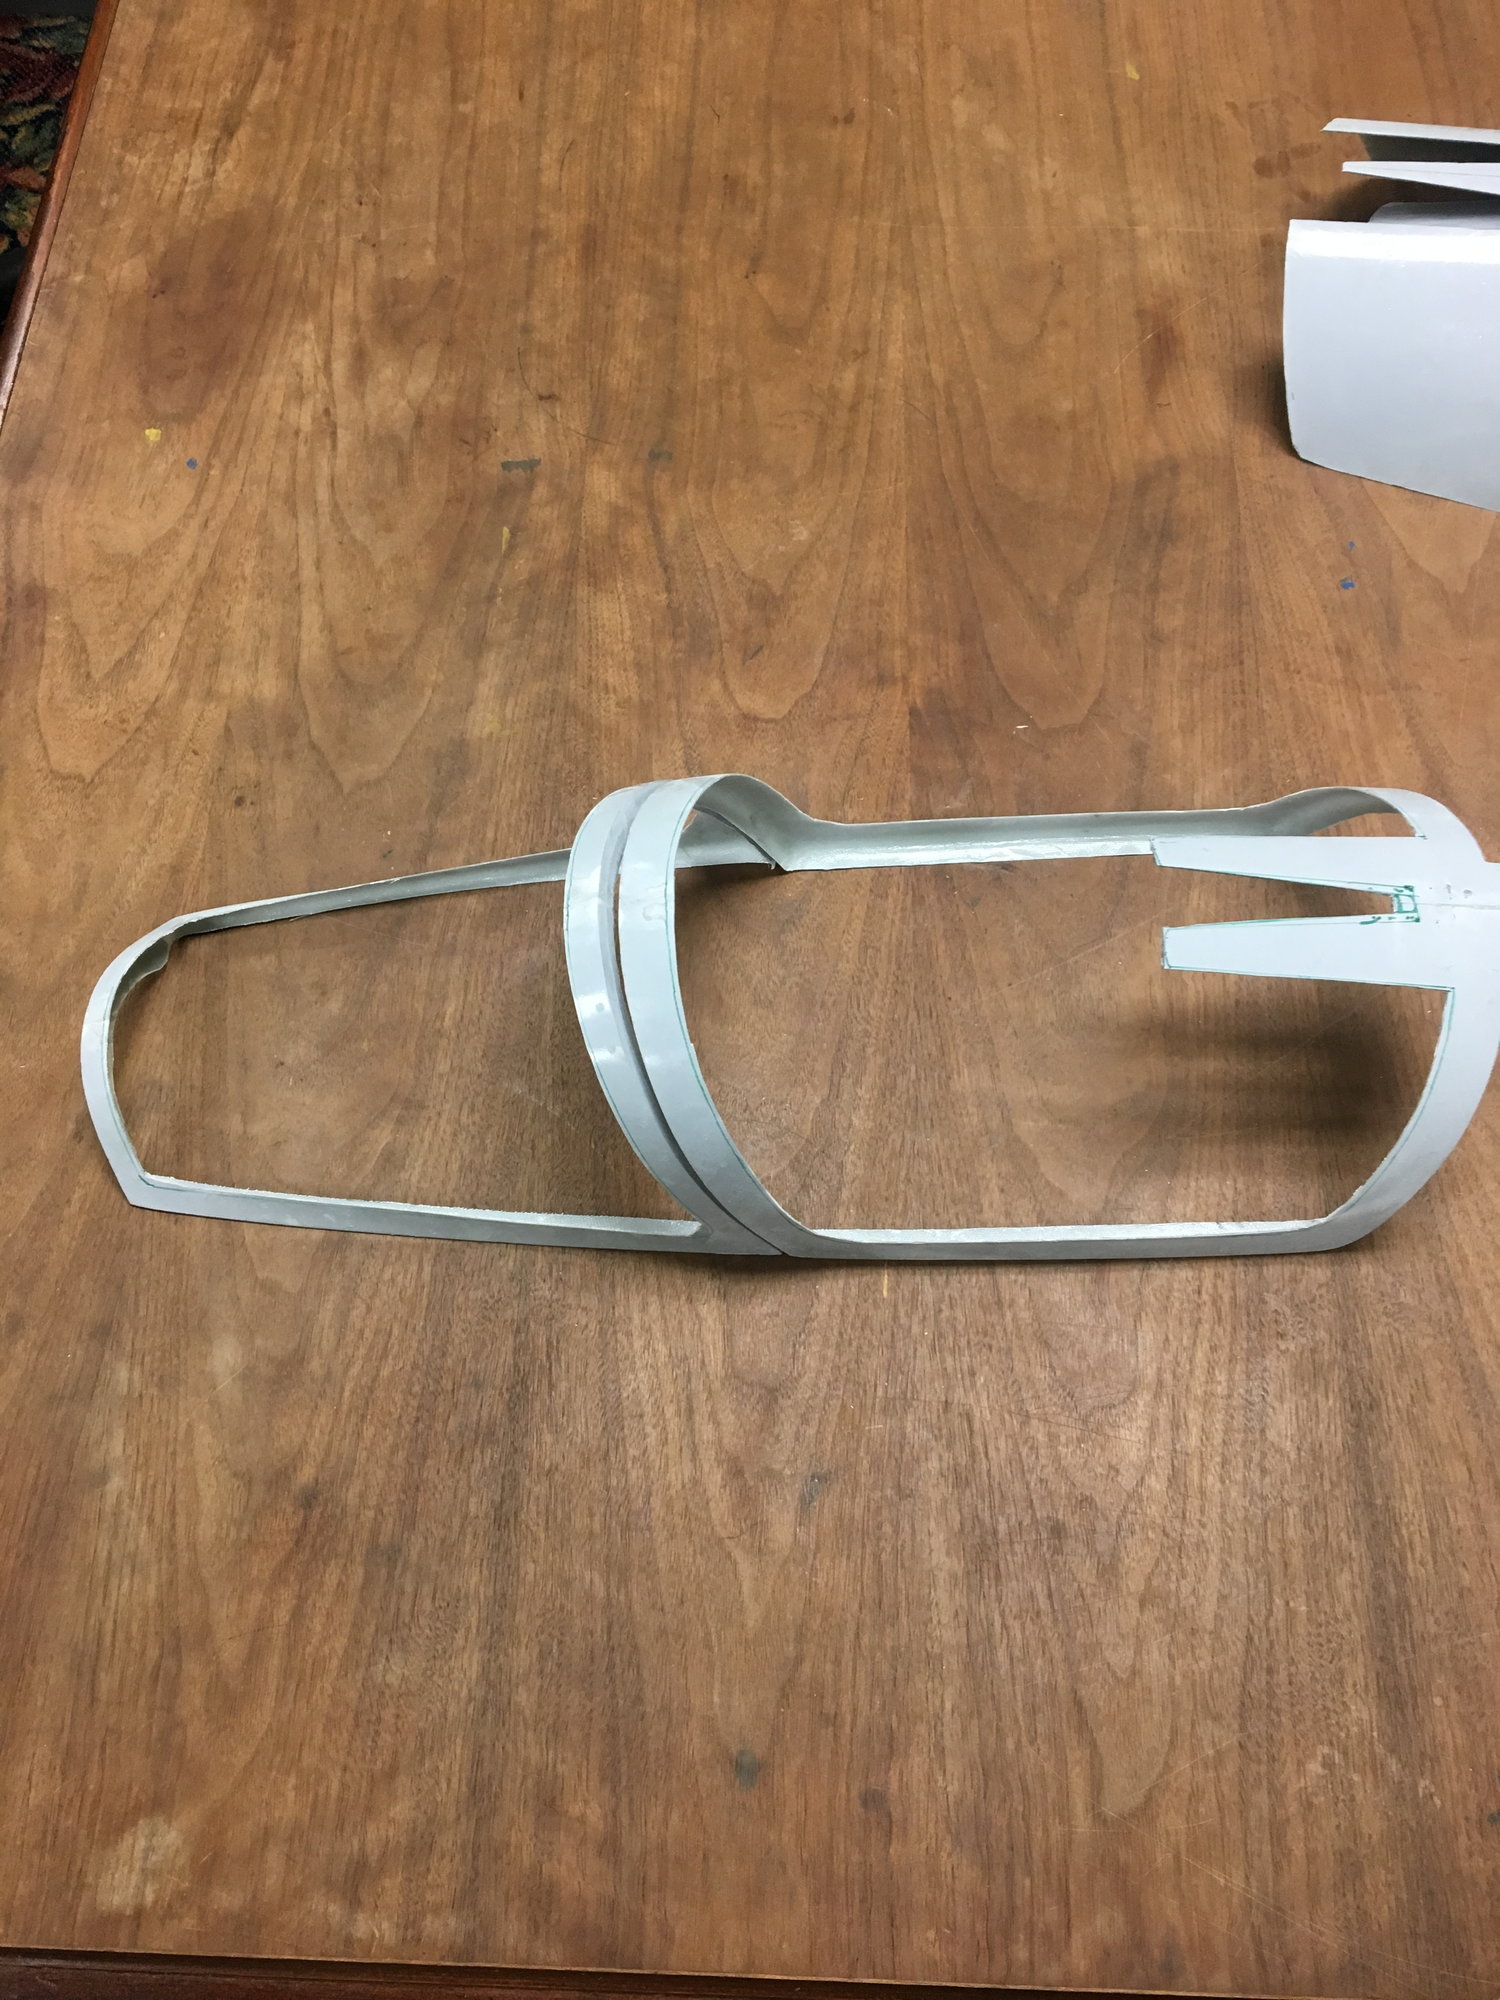
I also made the front part of the canopy removable for easy access.
how I did the front pins, is that I drilled in place and then I tack it with CA before using epoxy.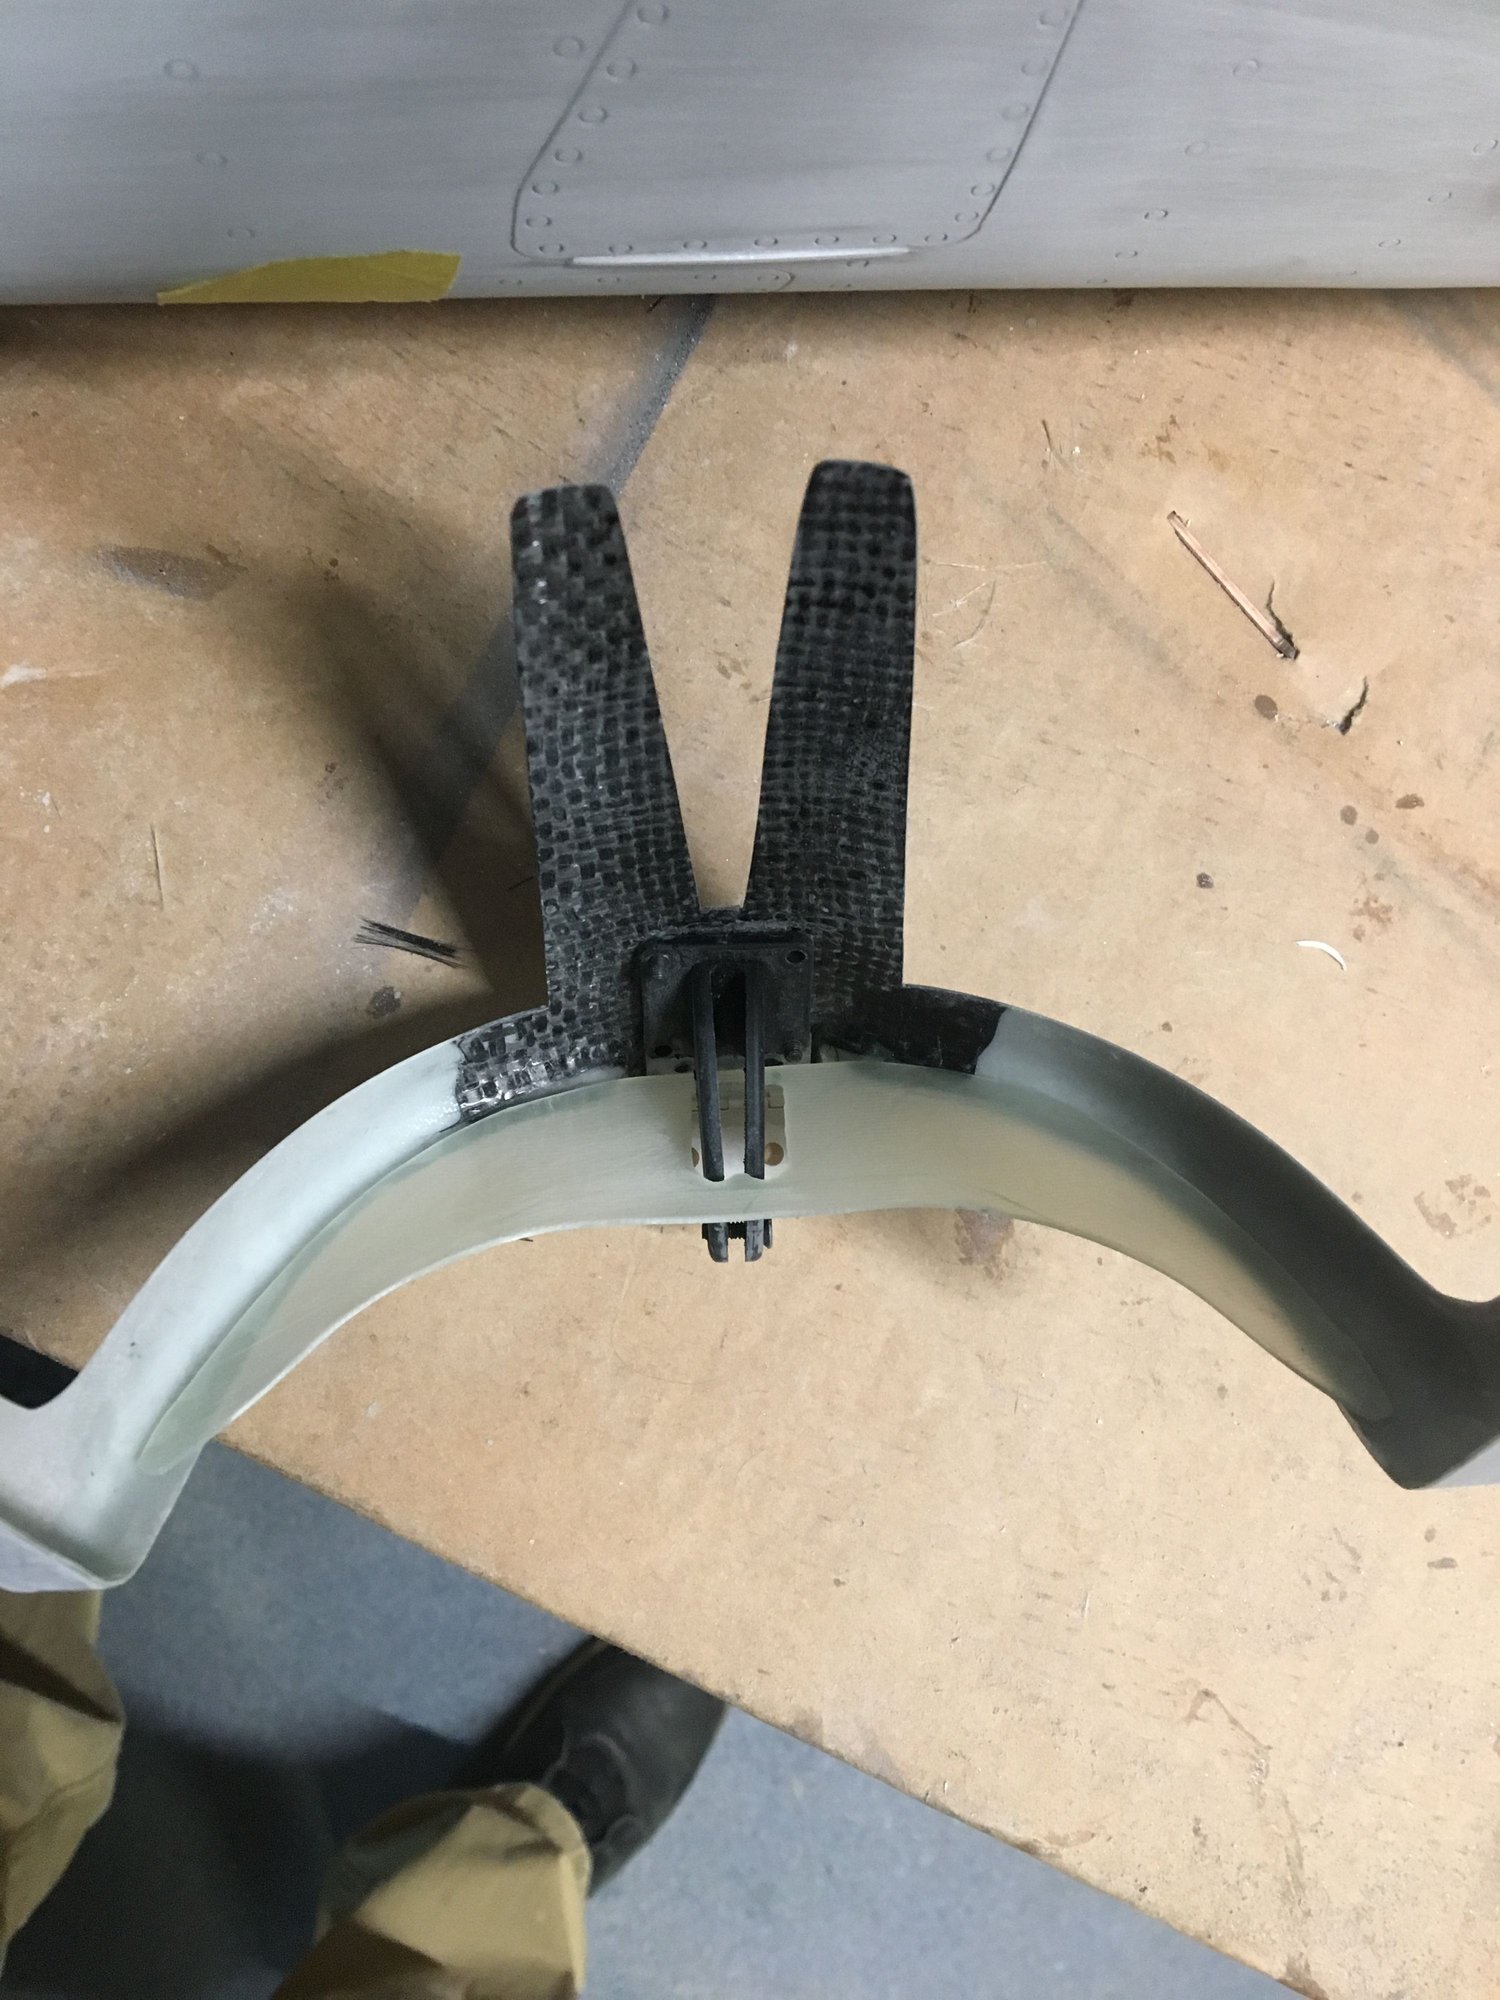

how I did the front pins, is that I drilled in place and then I tack it with CA before using epoxy.

 12-31-2018, 11:32 AM
#44
Thread Starter
My Feedback: (44)
Join Date: Sep 2004
Location: Wilmette,
IL
Posts: 439
Likes: 0
Received 0 Likes
on
0 Posts
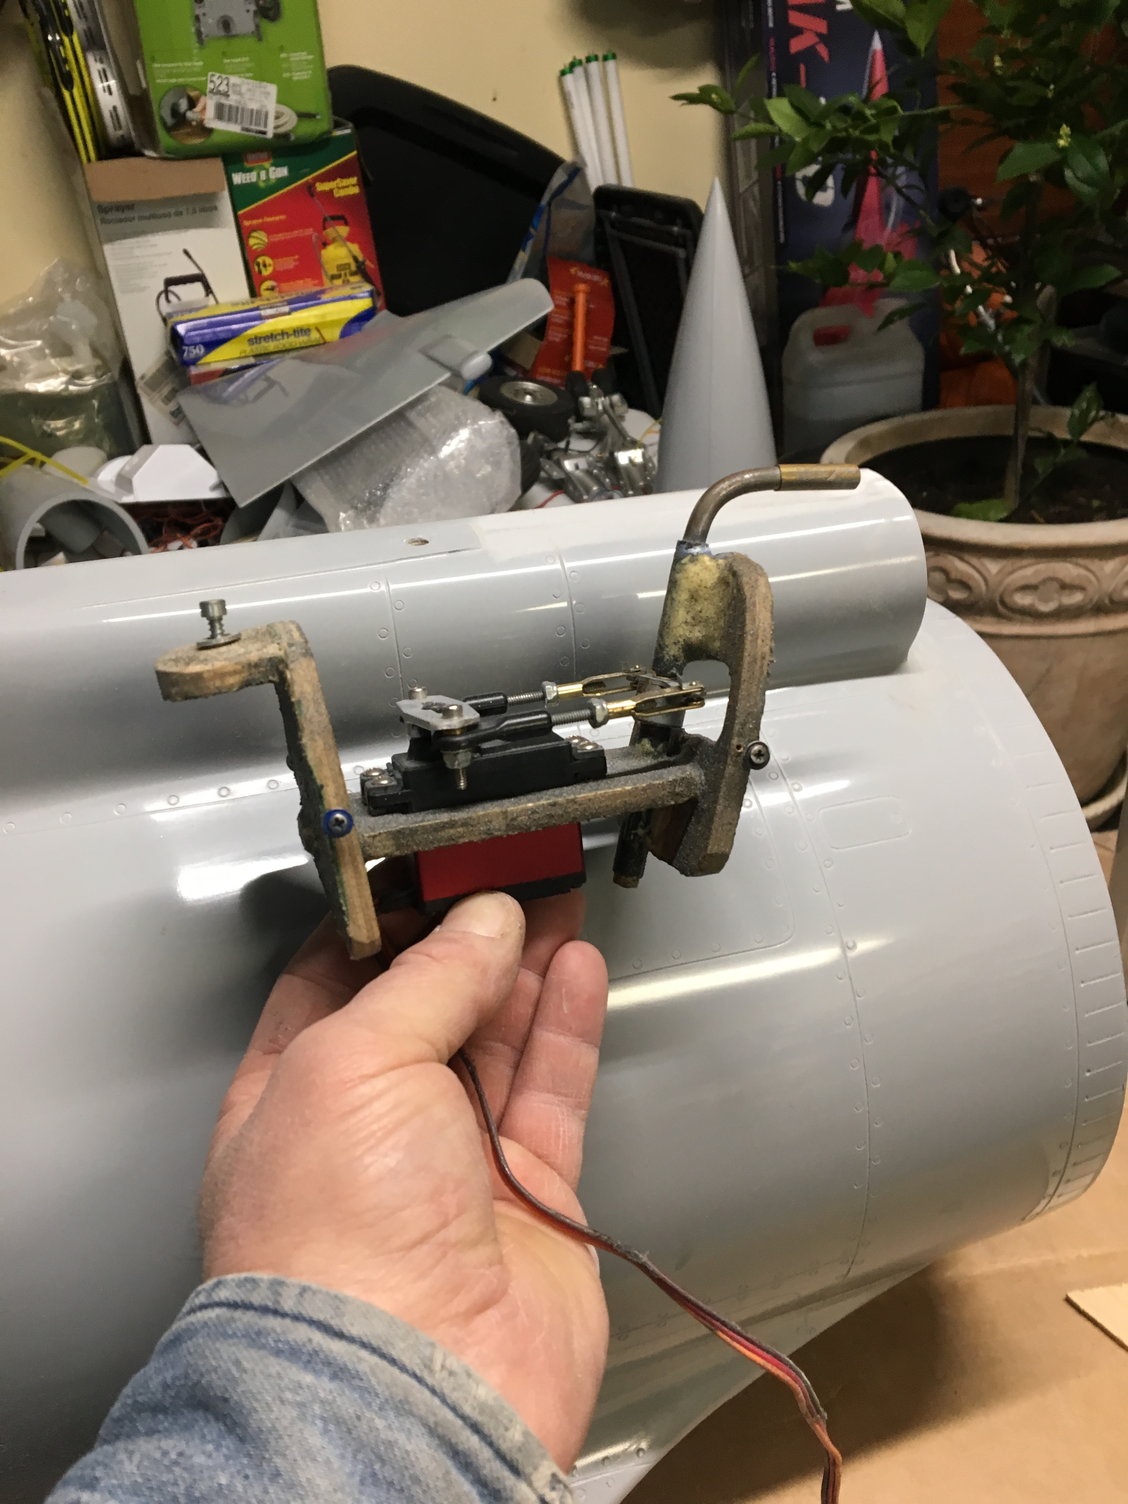
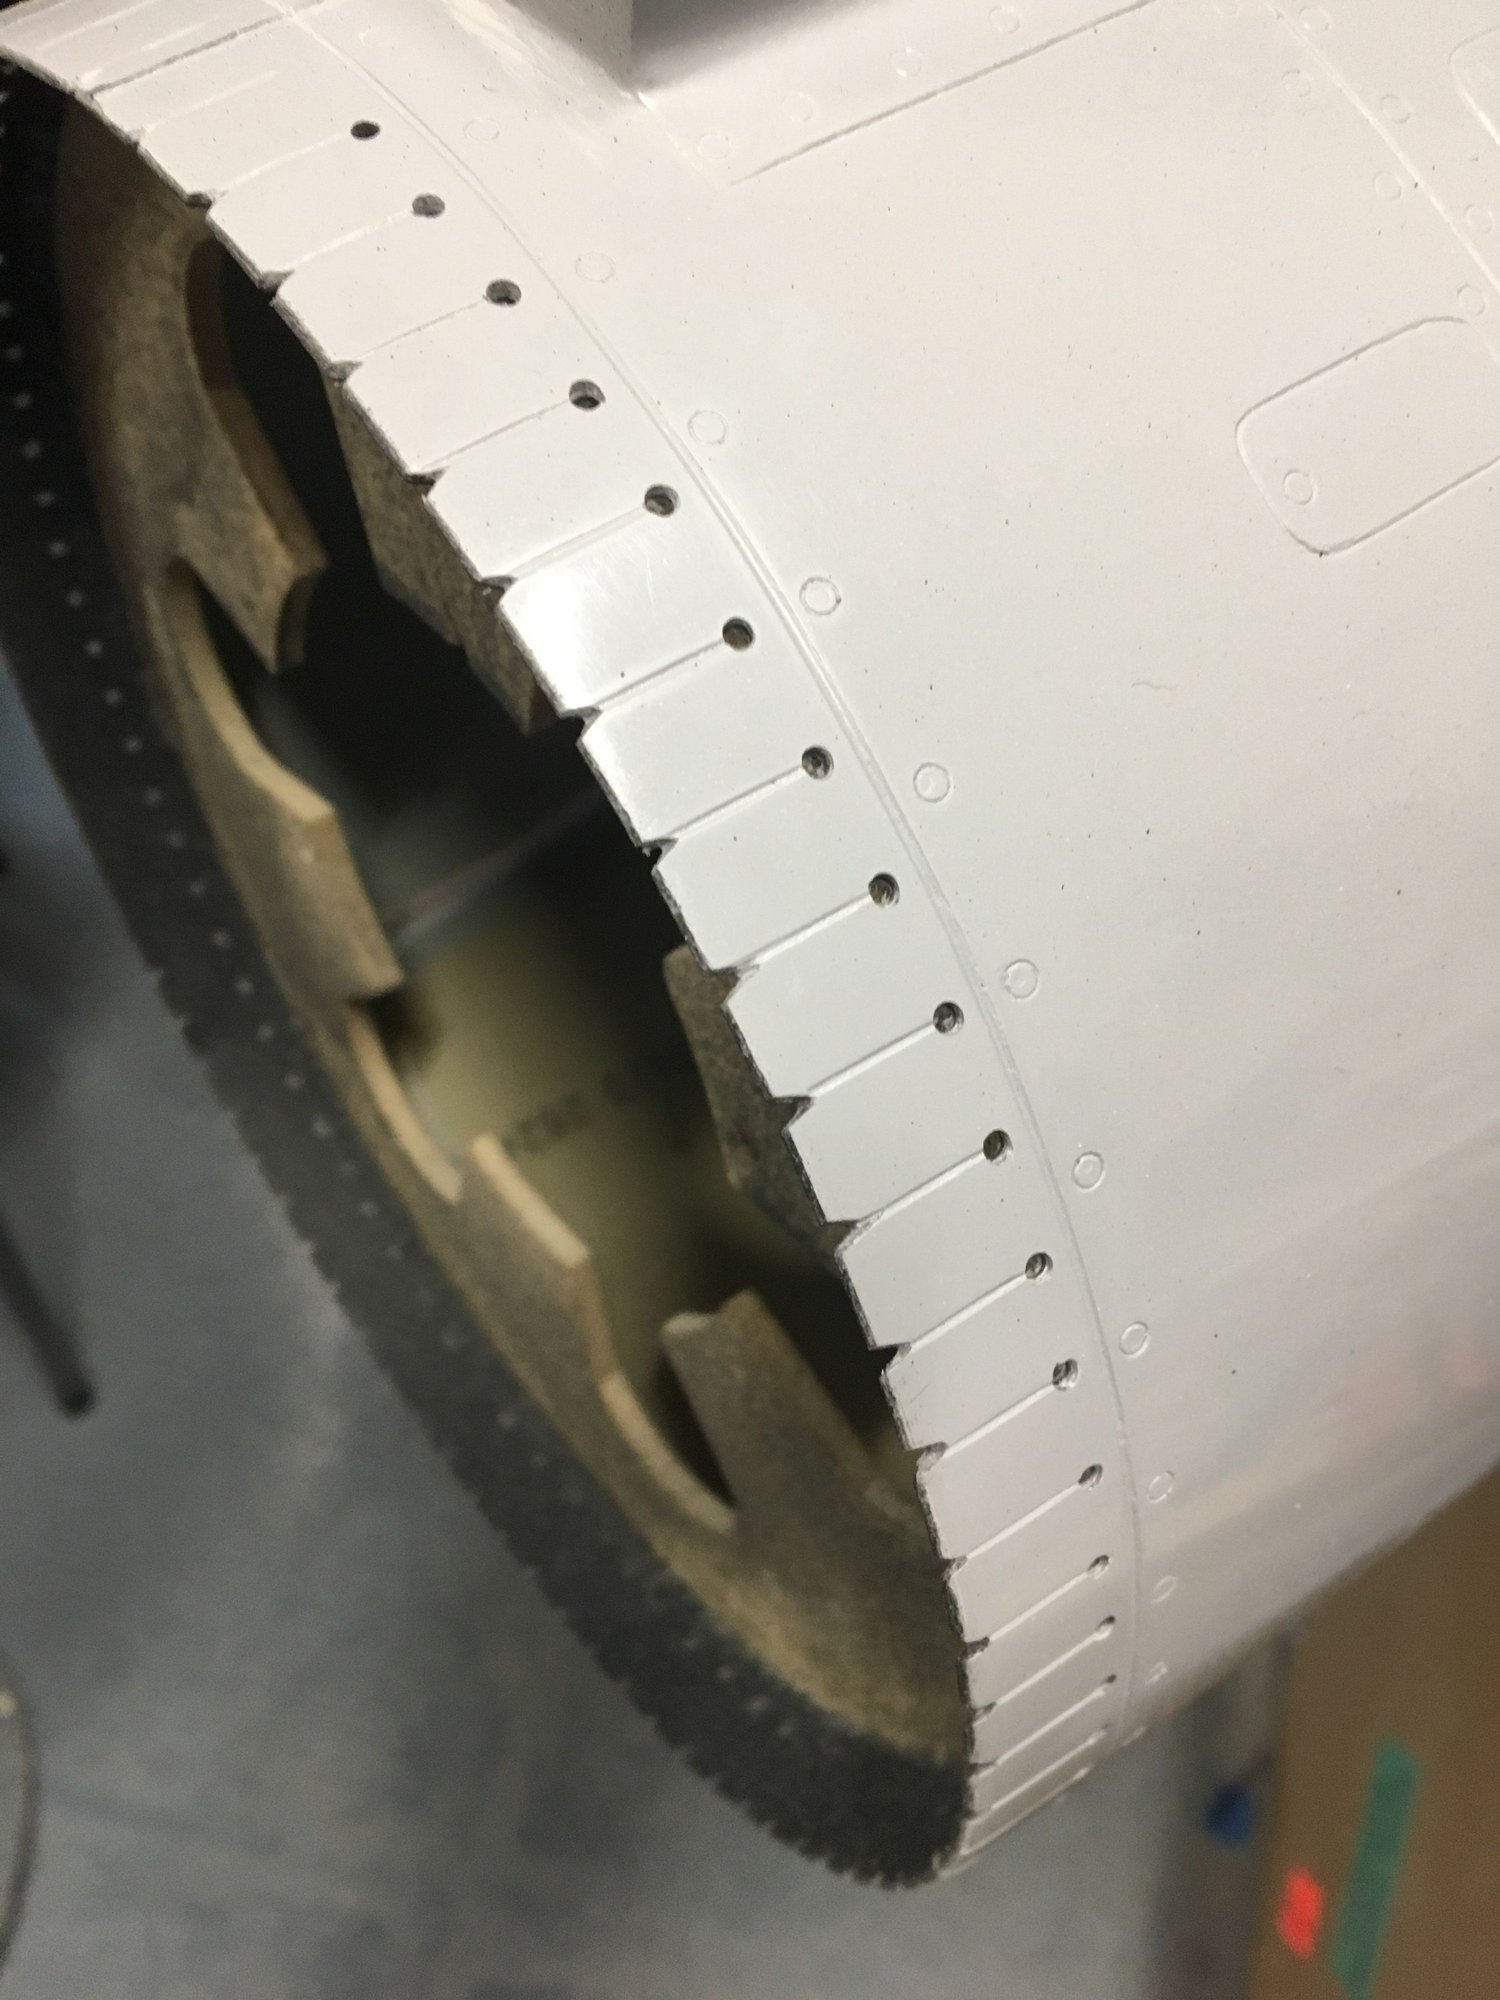
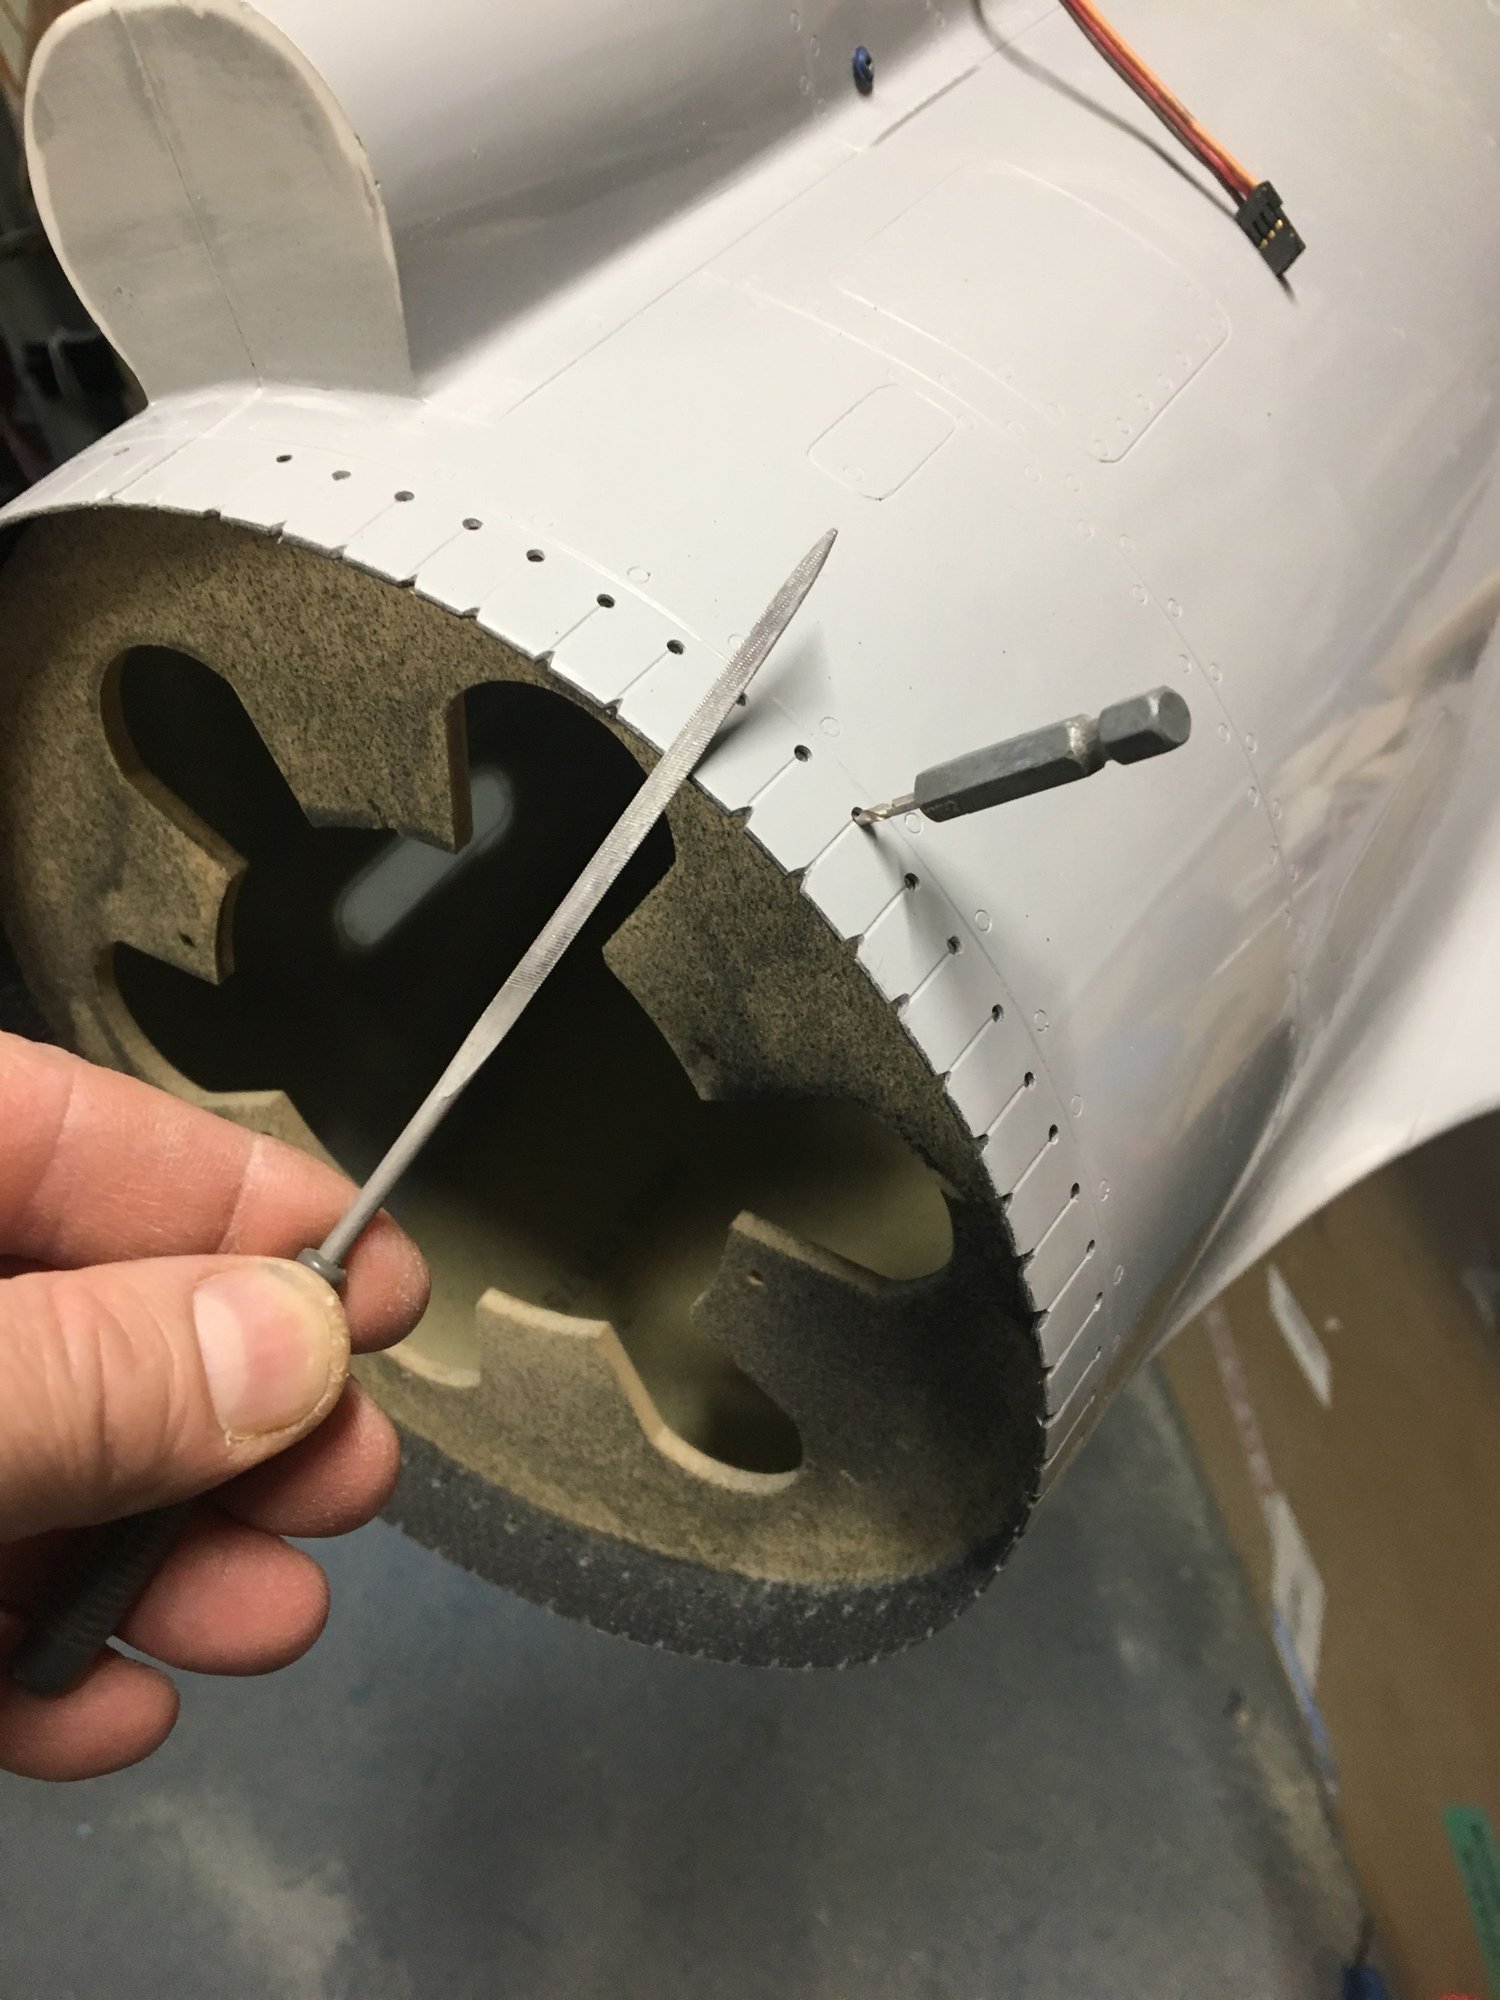
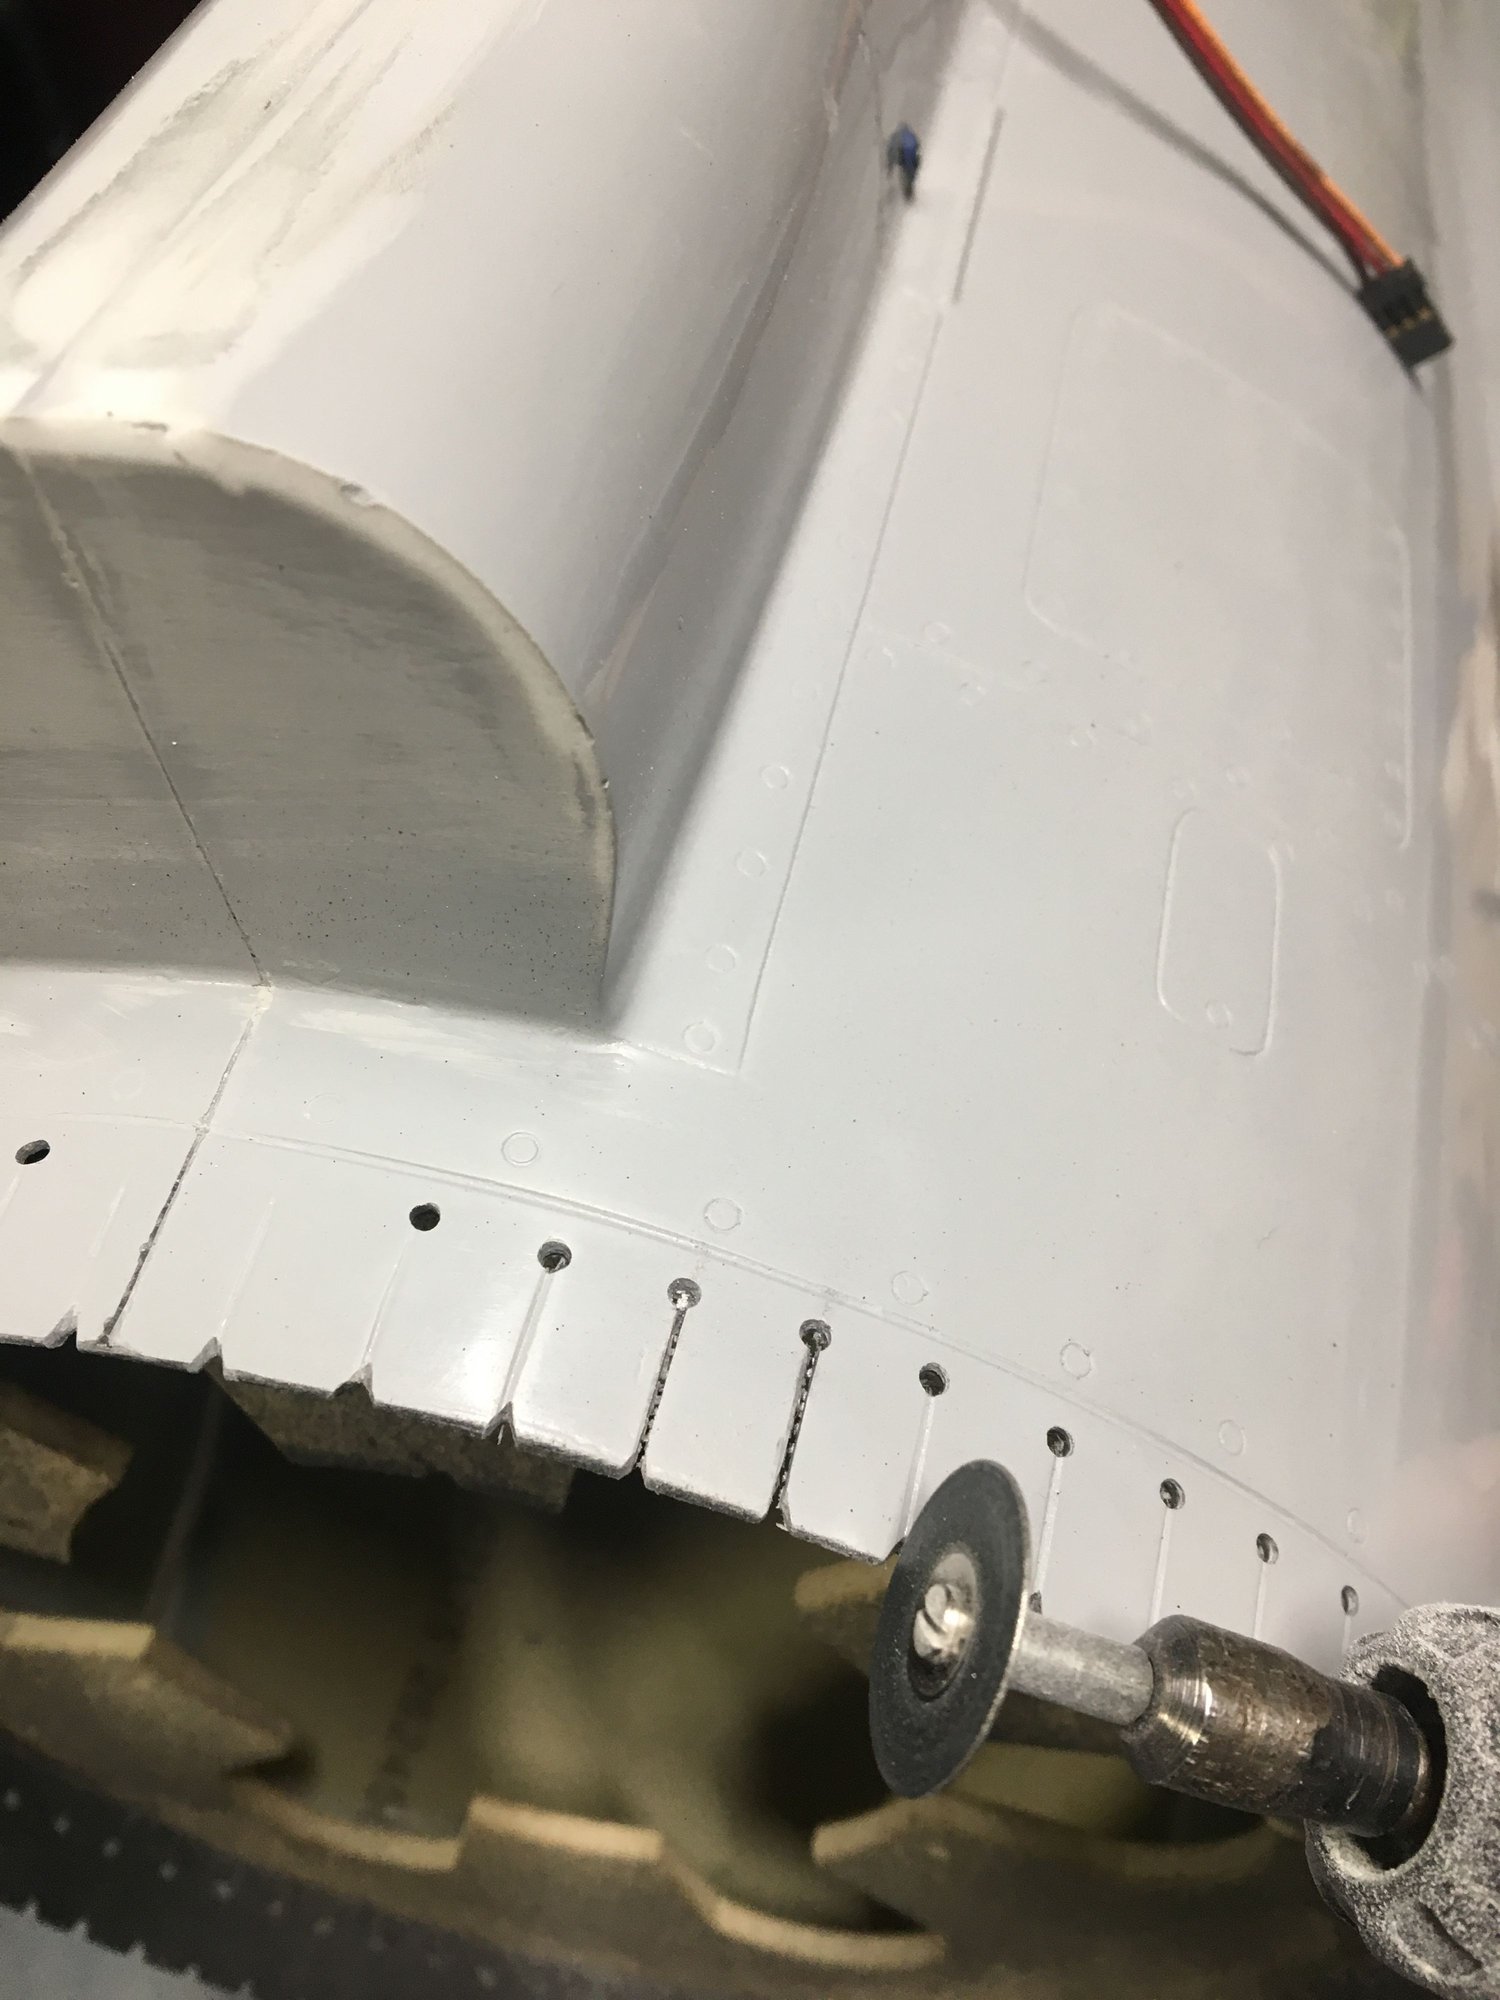
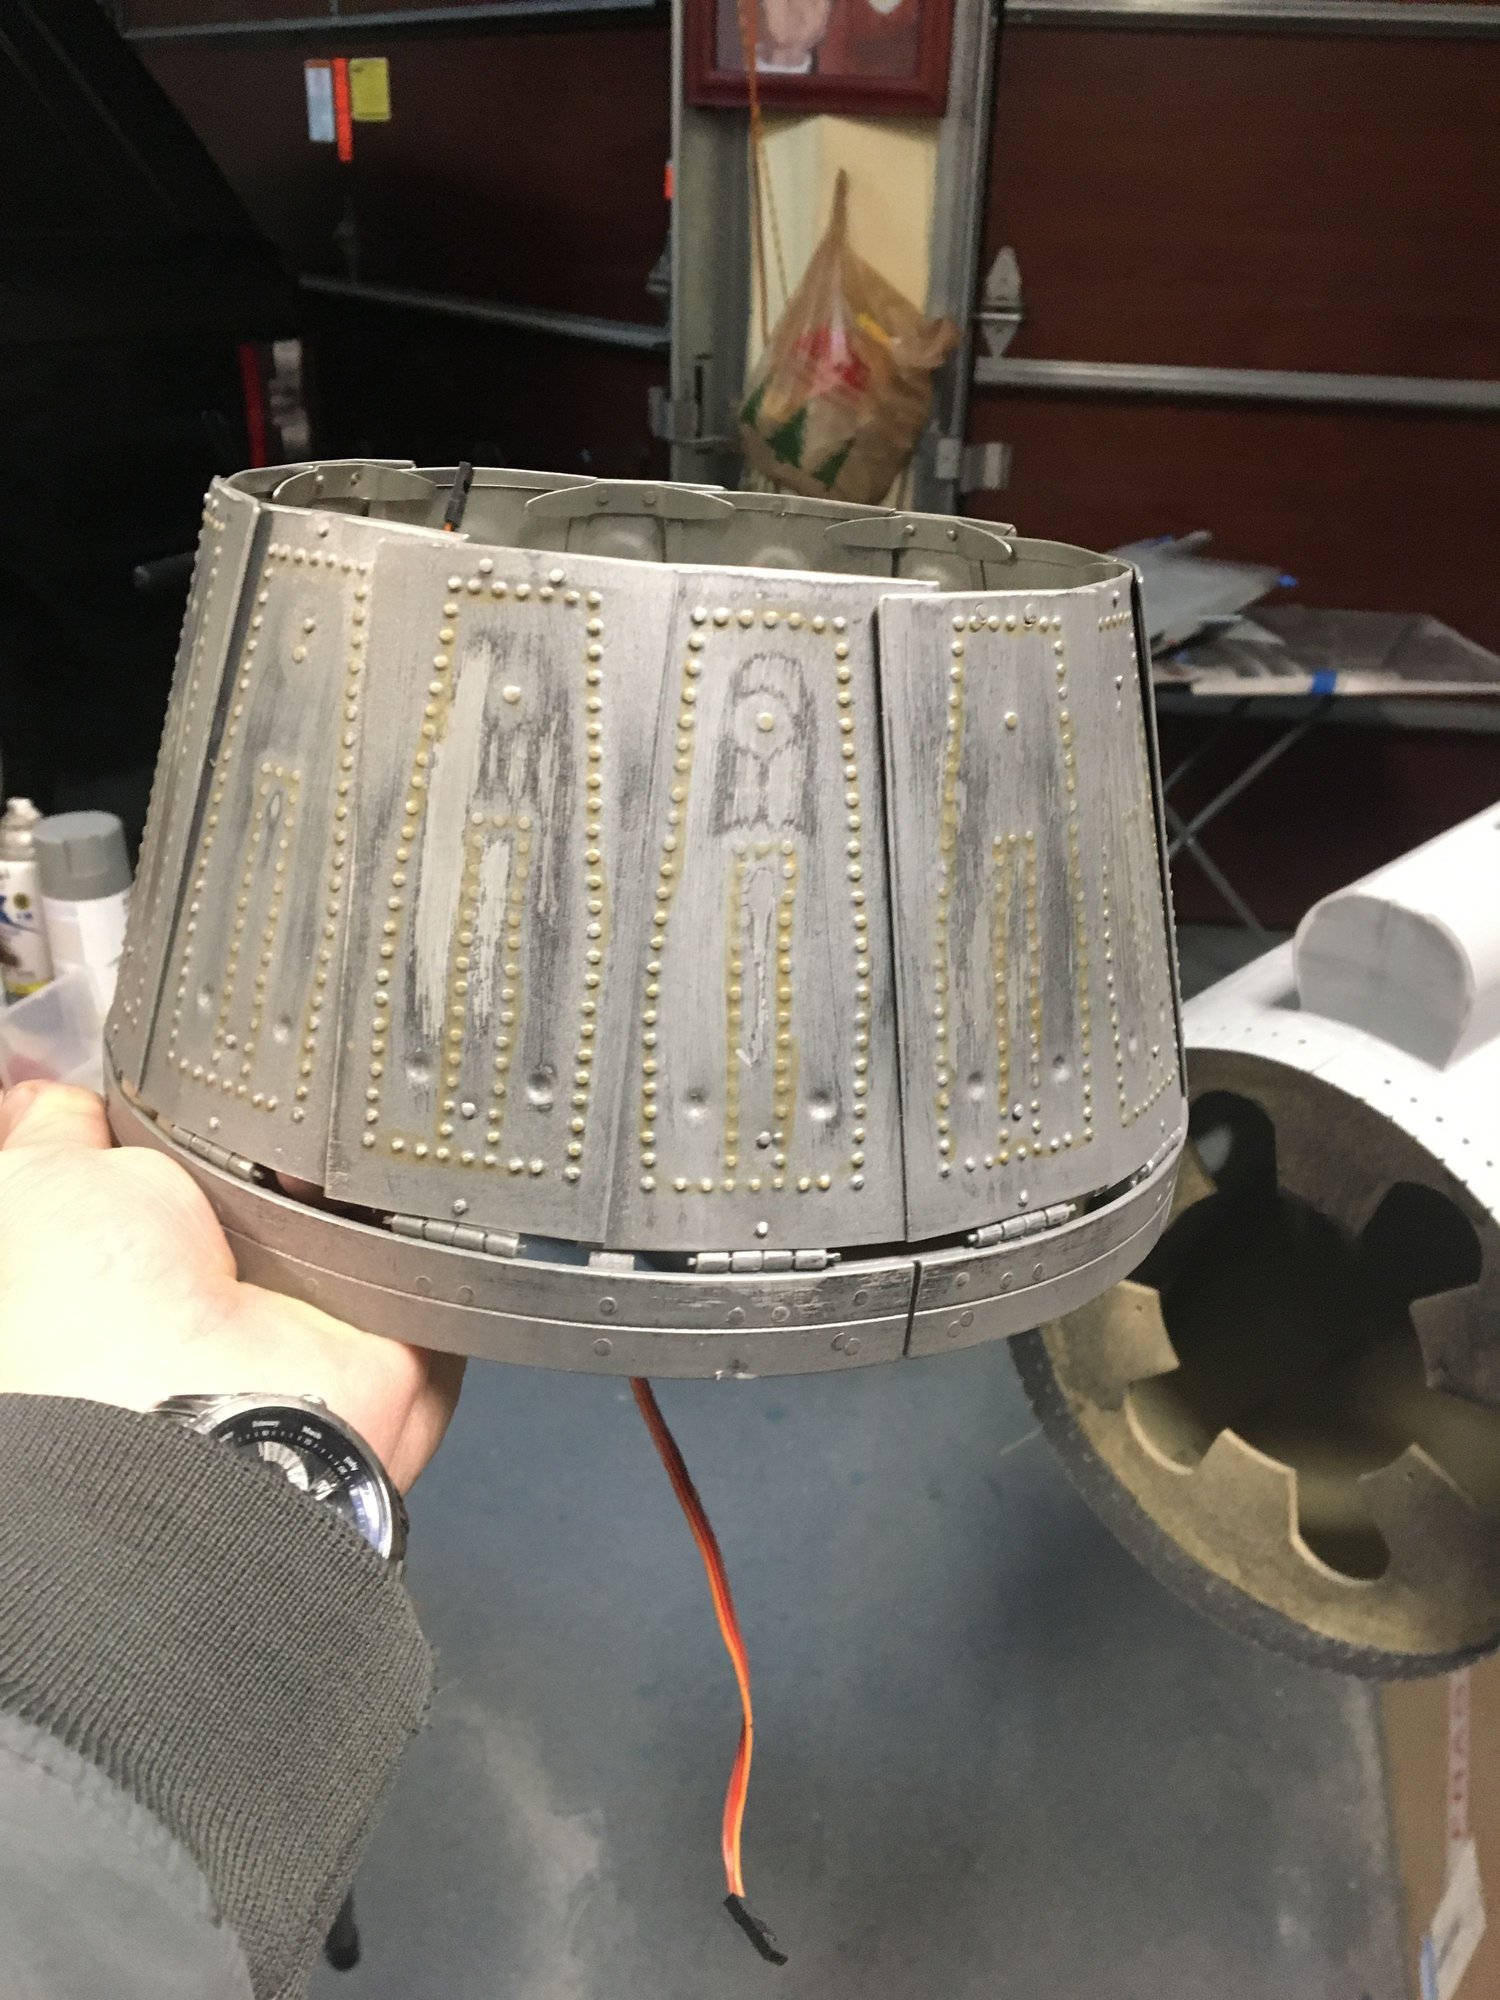
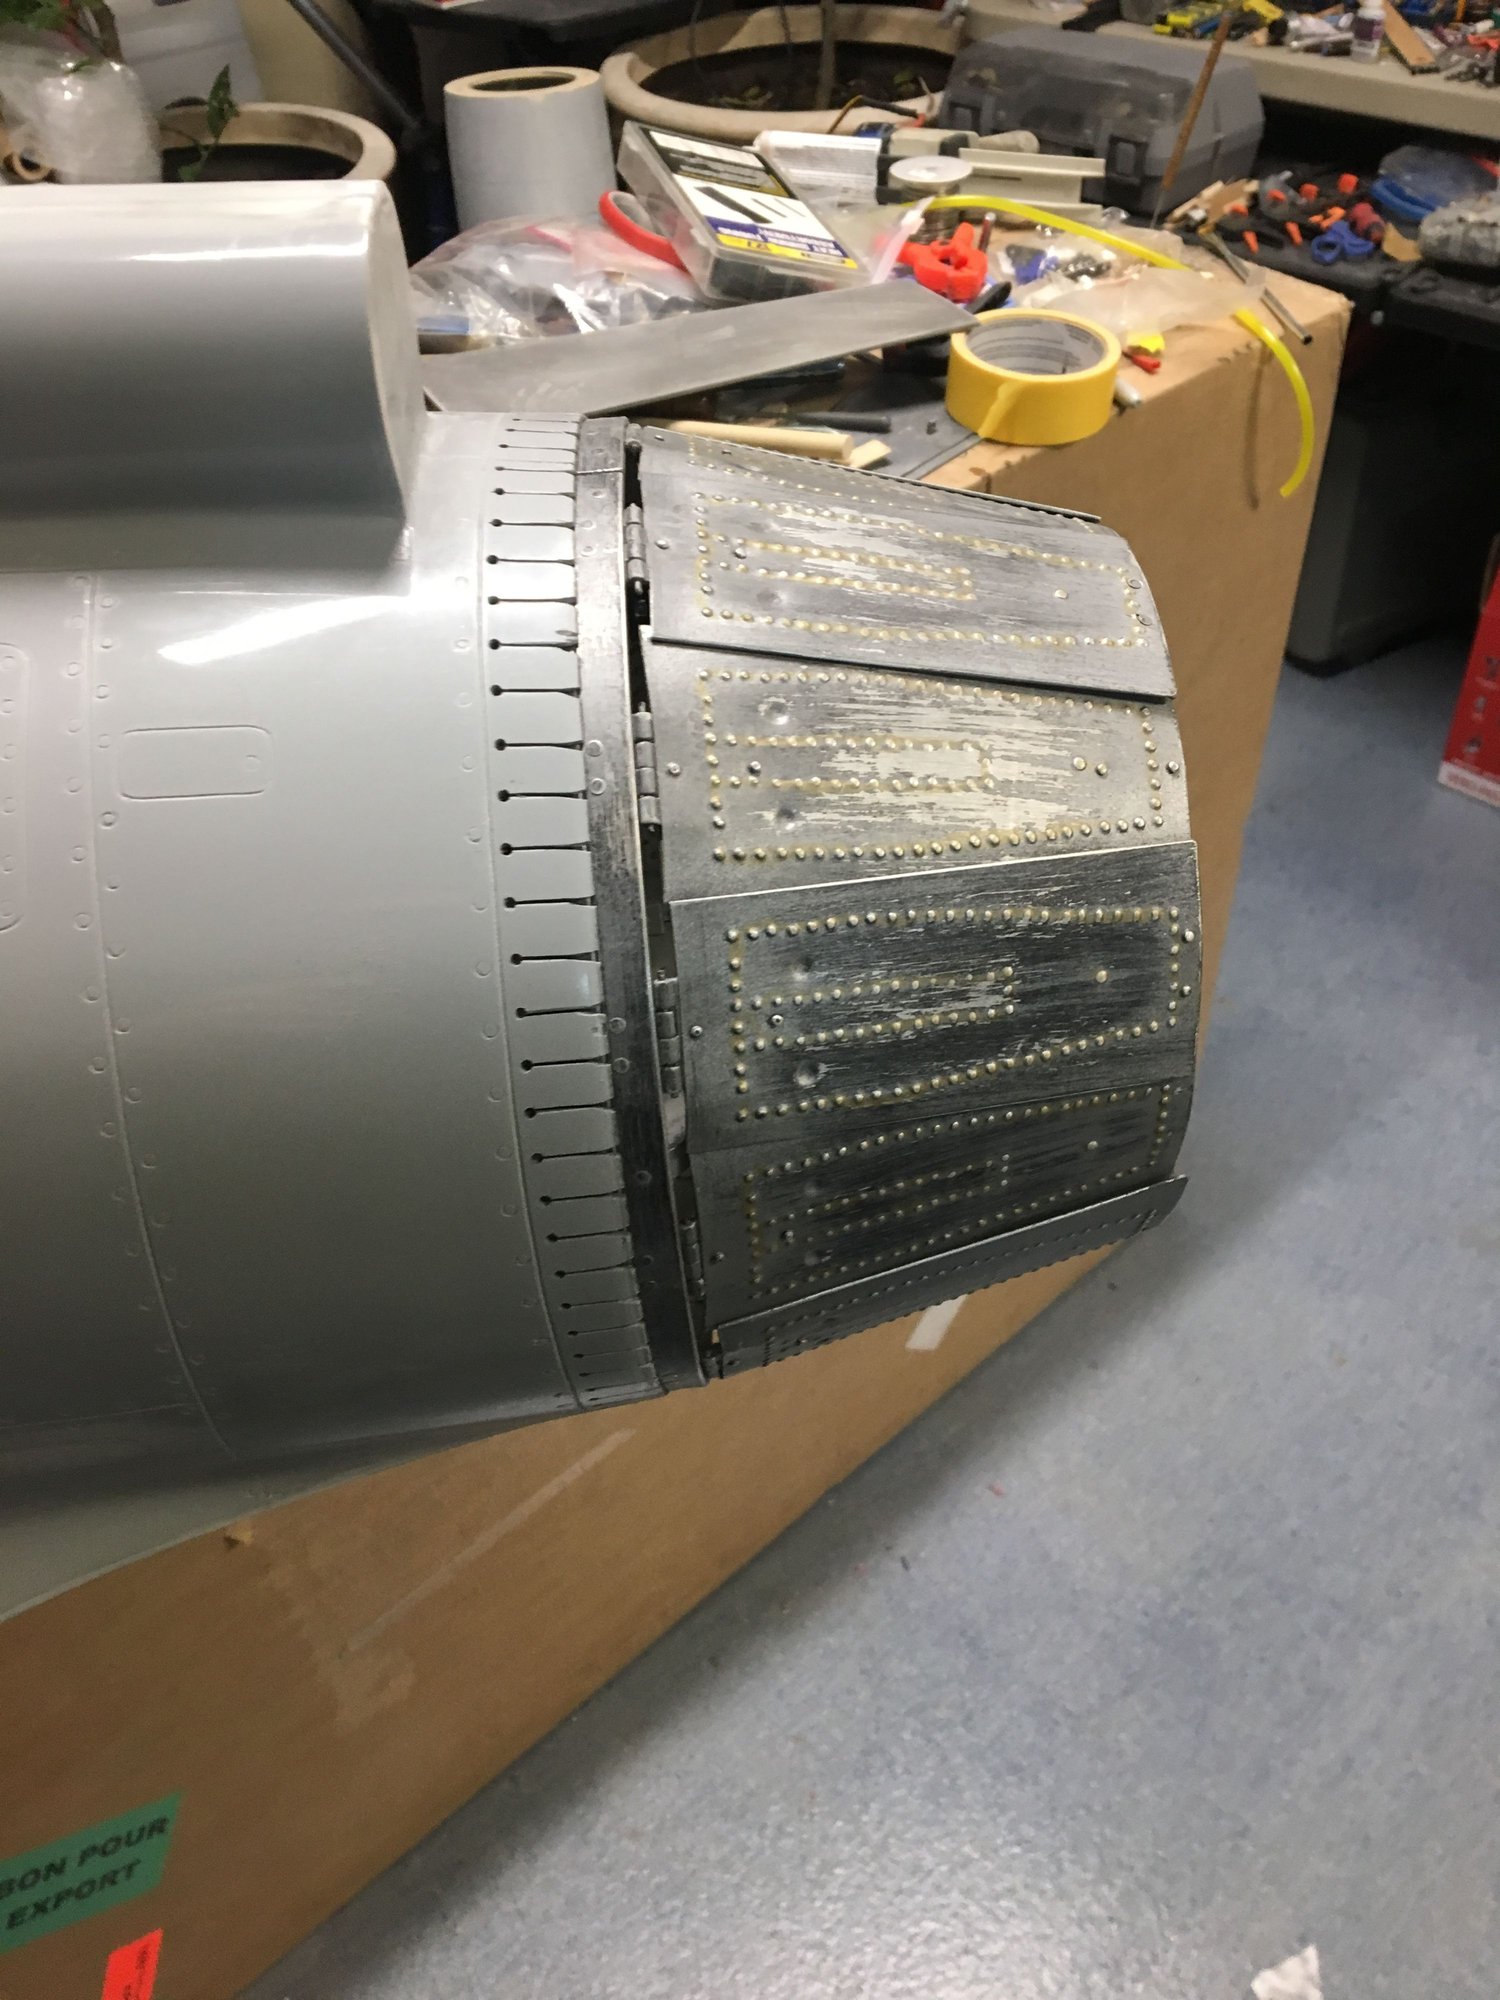
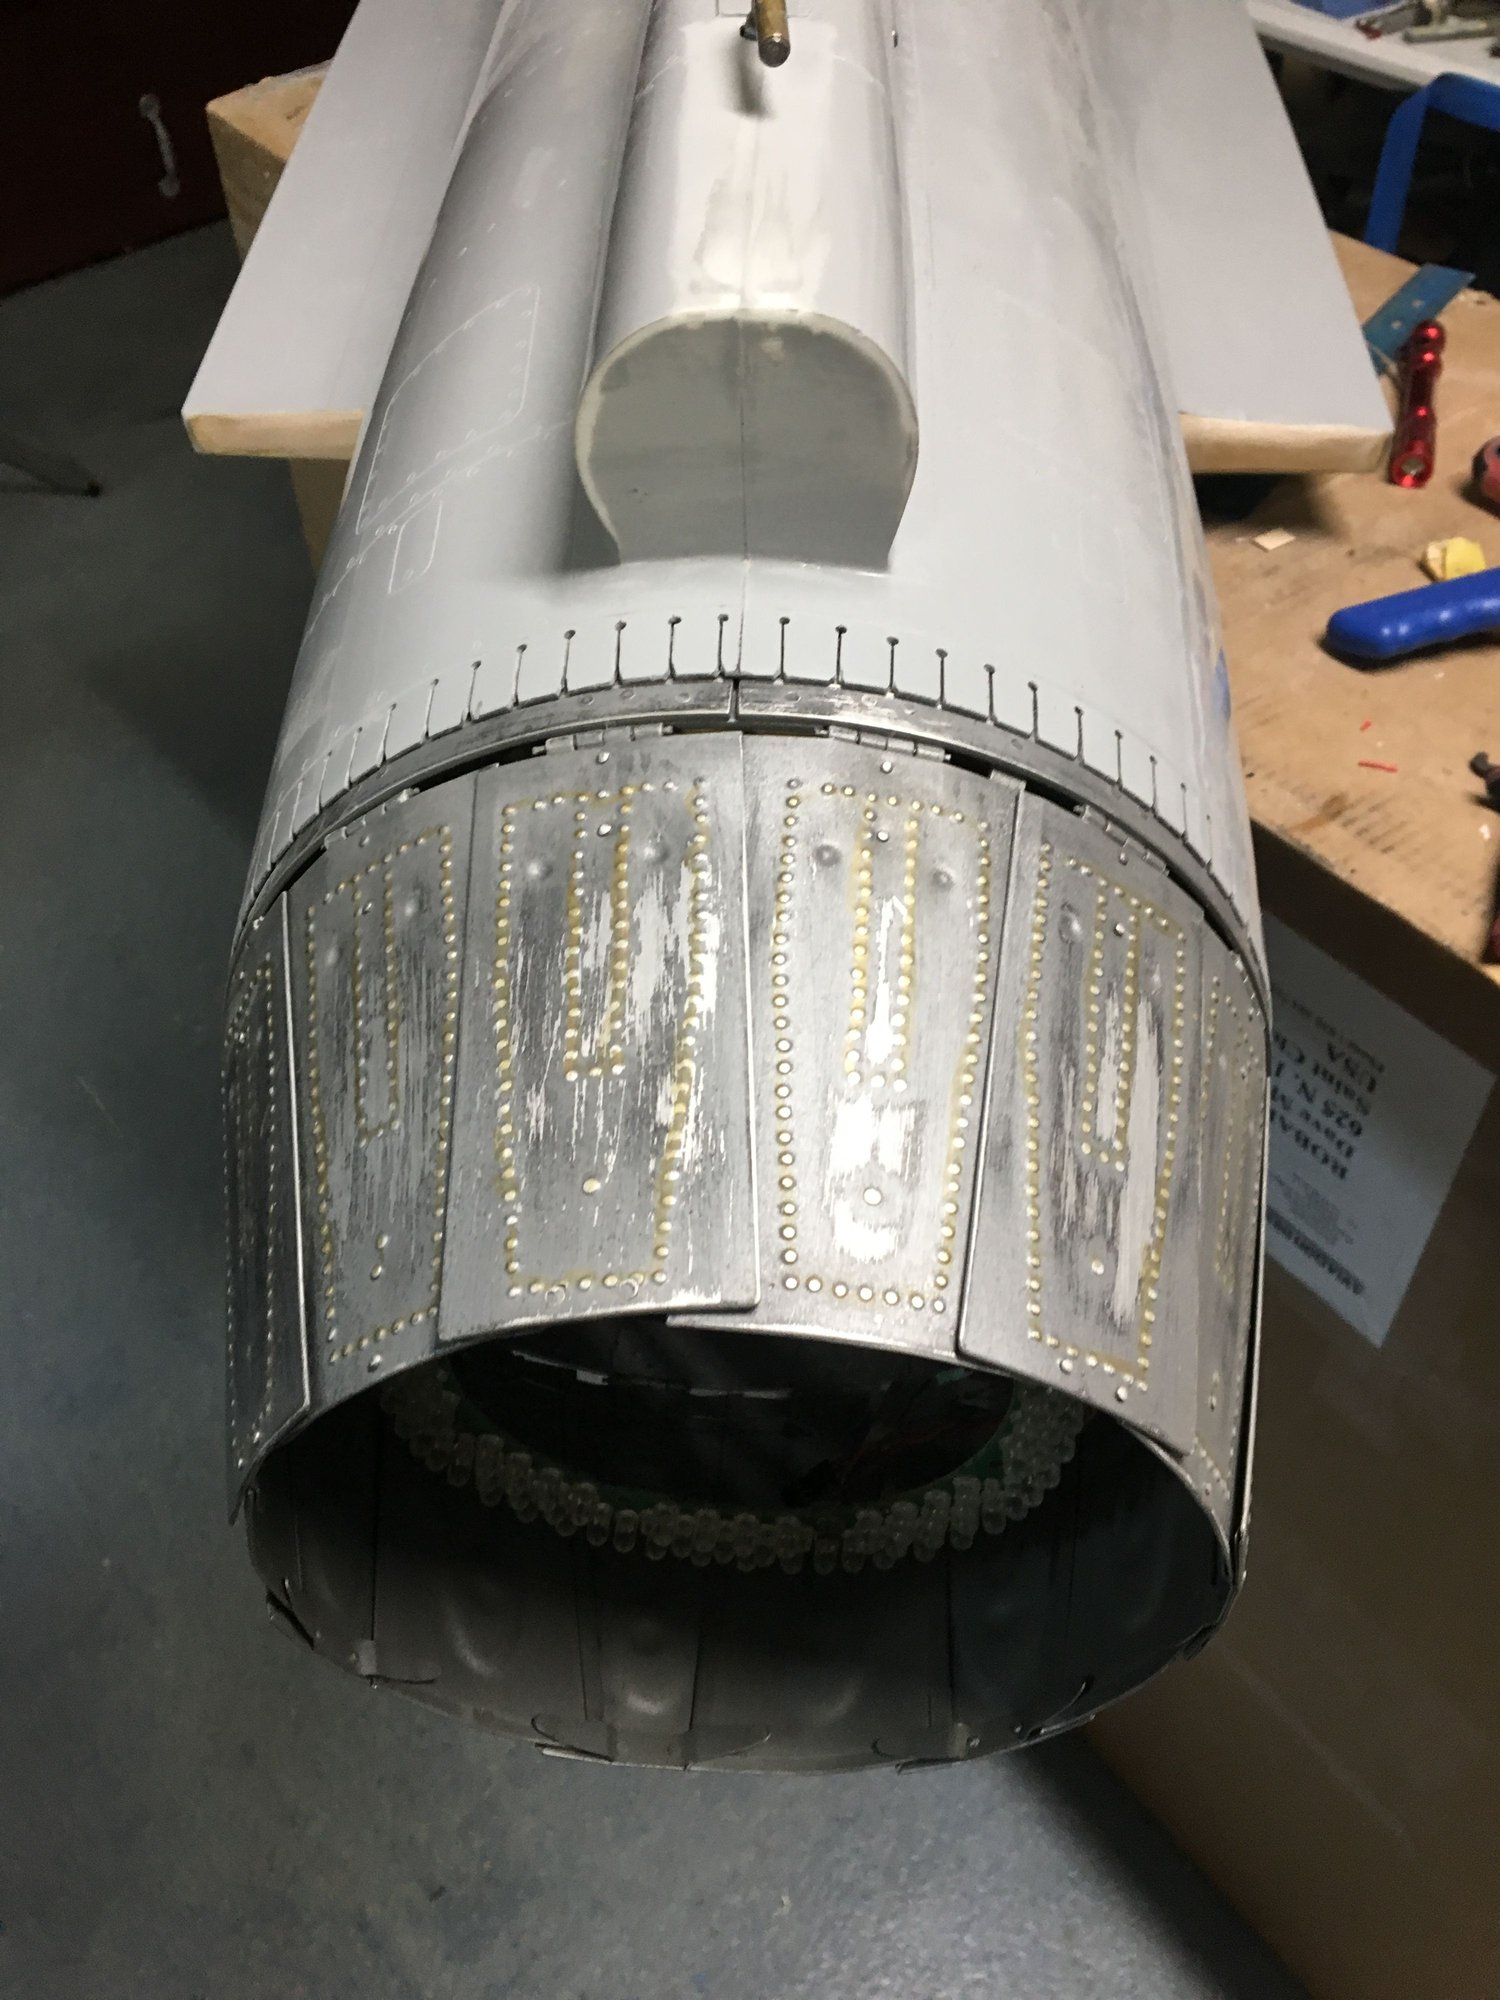
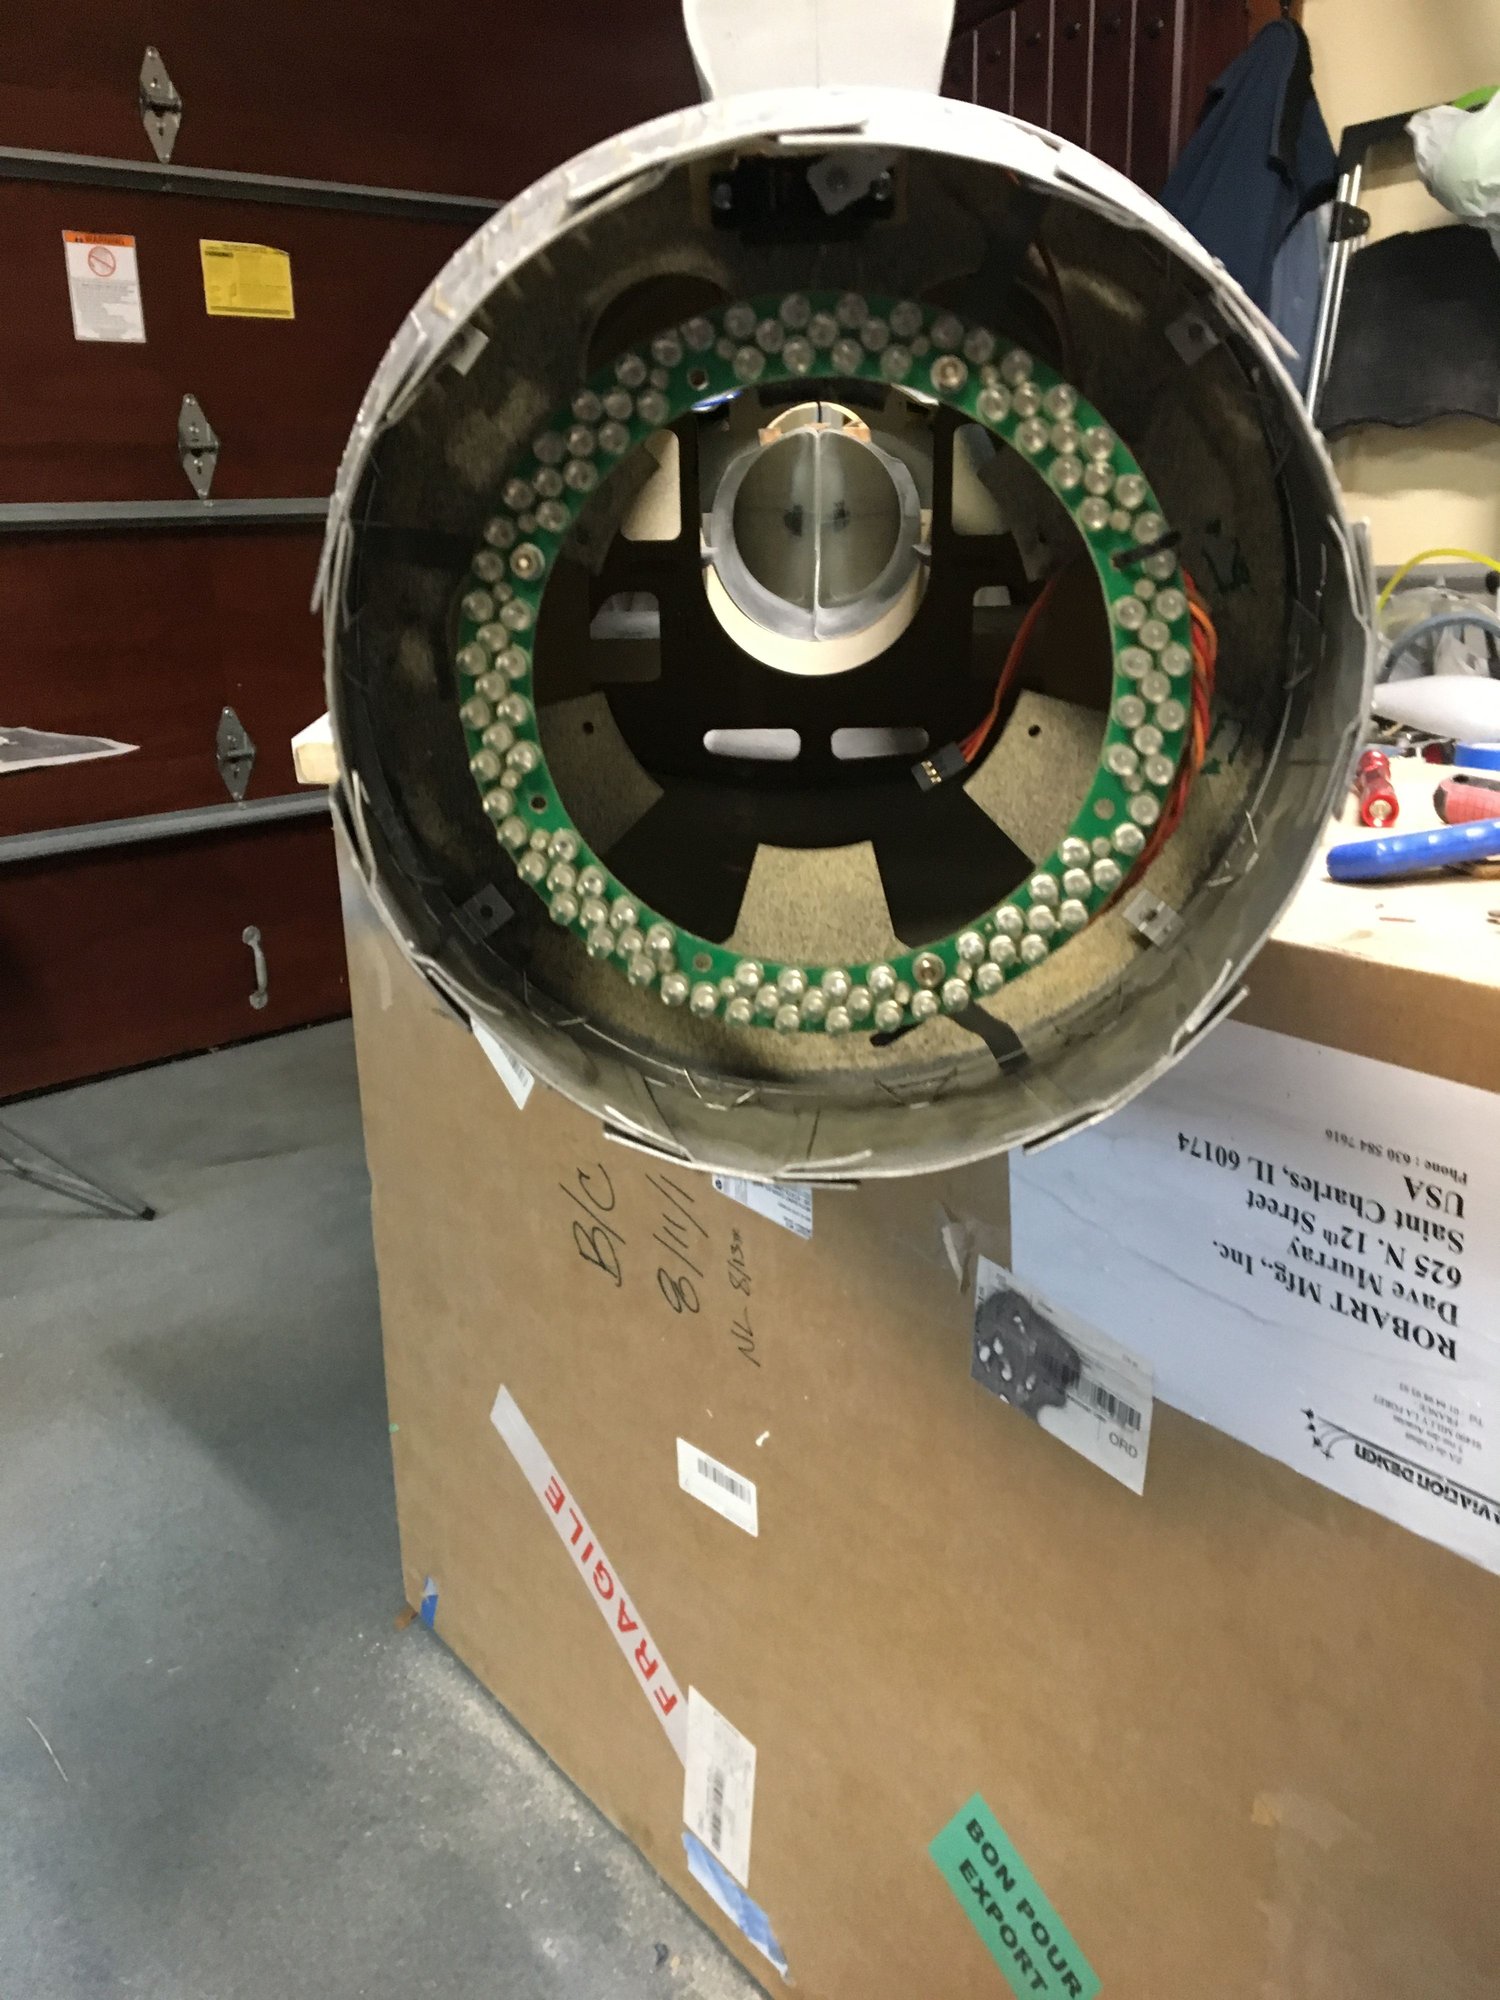
For my exhaust: I’m using the custom servo operated unit, for it to fit in place you must drill and then slice with a Dremel diamond blade the back part of it’ll be just a little bit flexible or else it will not go in to place.
Check the pictures.
Check the pictures.
12-31-2018, 11:33 AM
#45
Thread Starter
My Feedback: (44)
Join Date: Sep 2004
Location: Wilmette,
IL
Posts: 439
Likes: 0
Received 0 Likes
on
0 Posts
For my exhaust: I’m using the custom servo operated unit, for it to fit in place you must drill and then slice with a Dremel diamond blade the back part of it’ll be just a little bit flexible or else it will not go in to place.
Check the pictures.
 01-08-2019, 07:59 AM
#48
Thread Starter
My Feedback: (44)
Join Date: Sep 2004
Location: Wilmette,
IL
Posts: 439
Likes: 0
Received 0 Likes
on
0 Posts
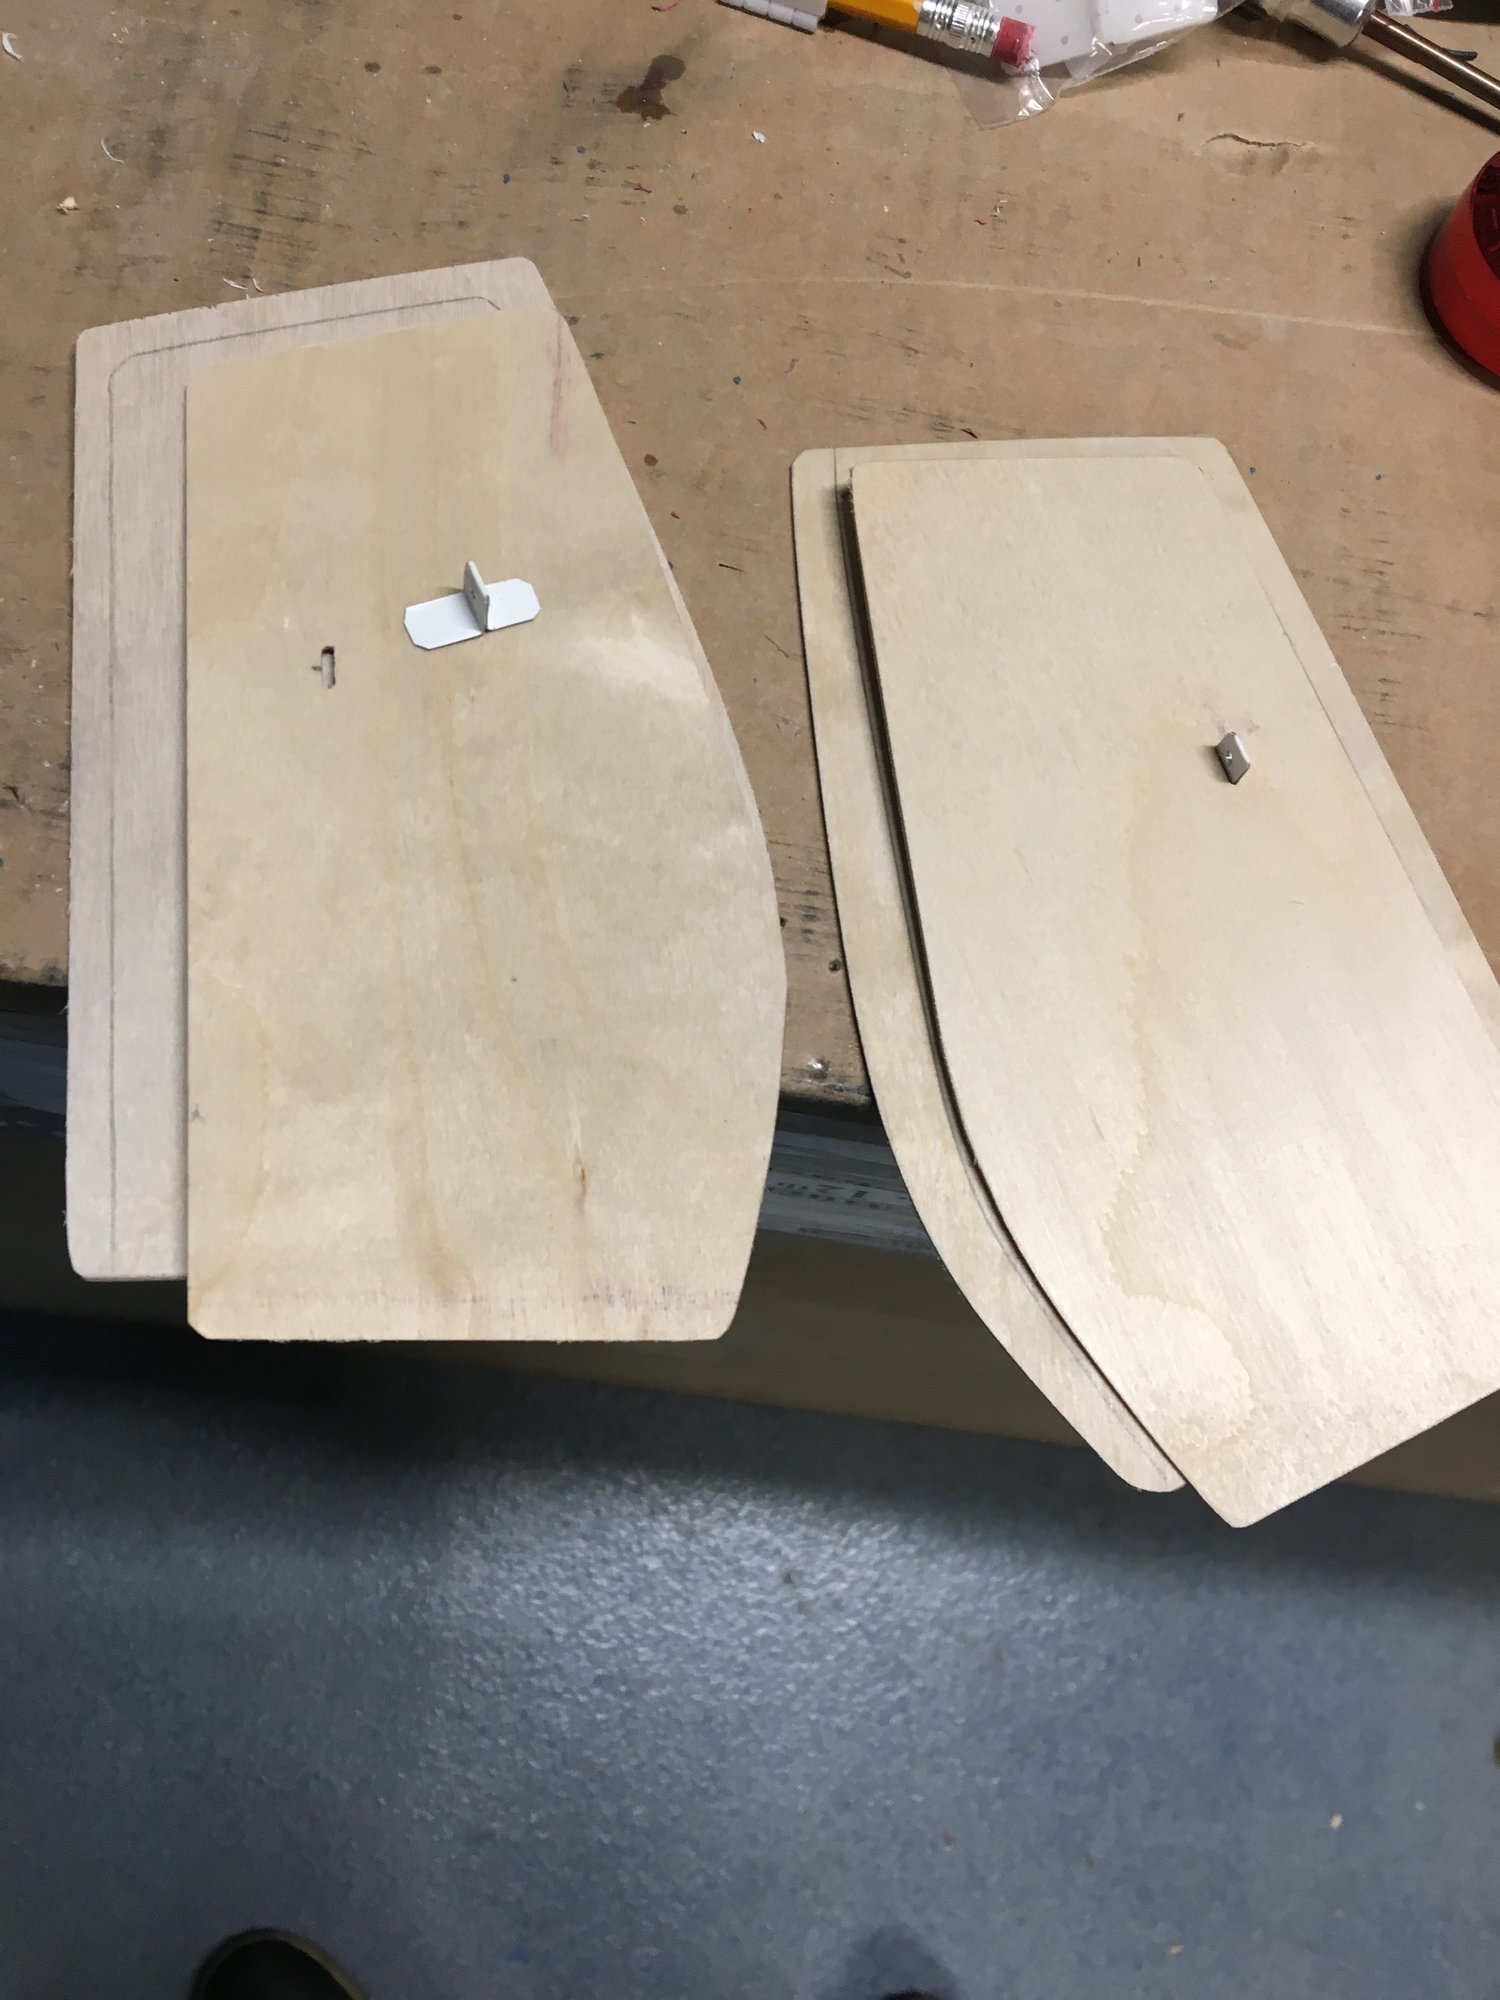
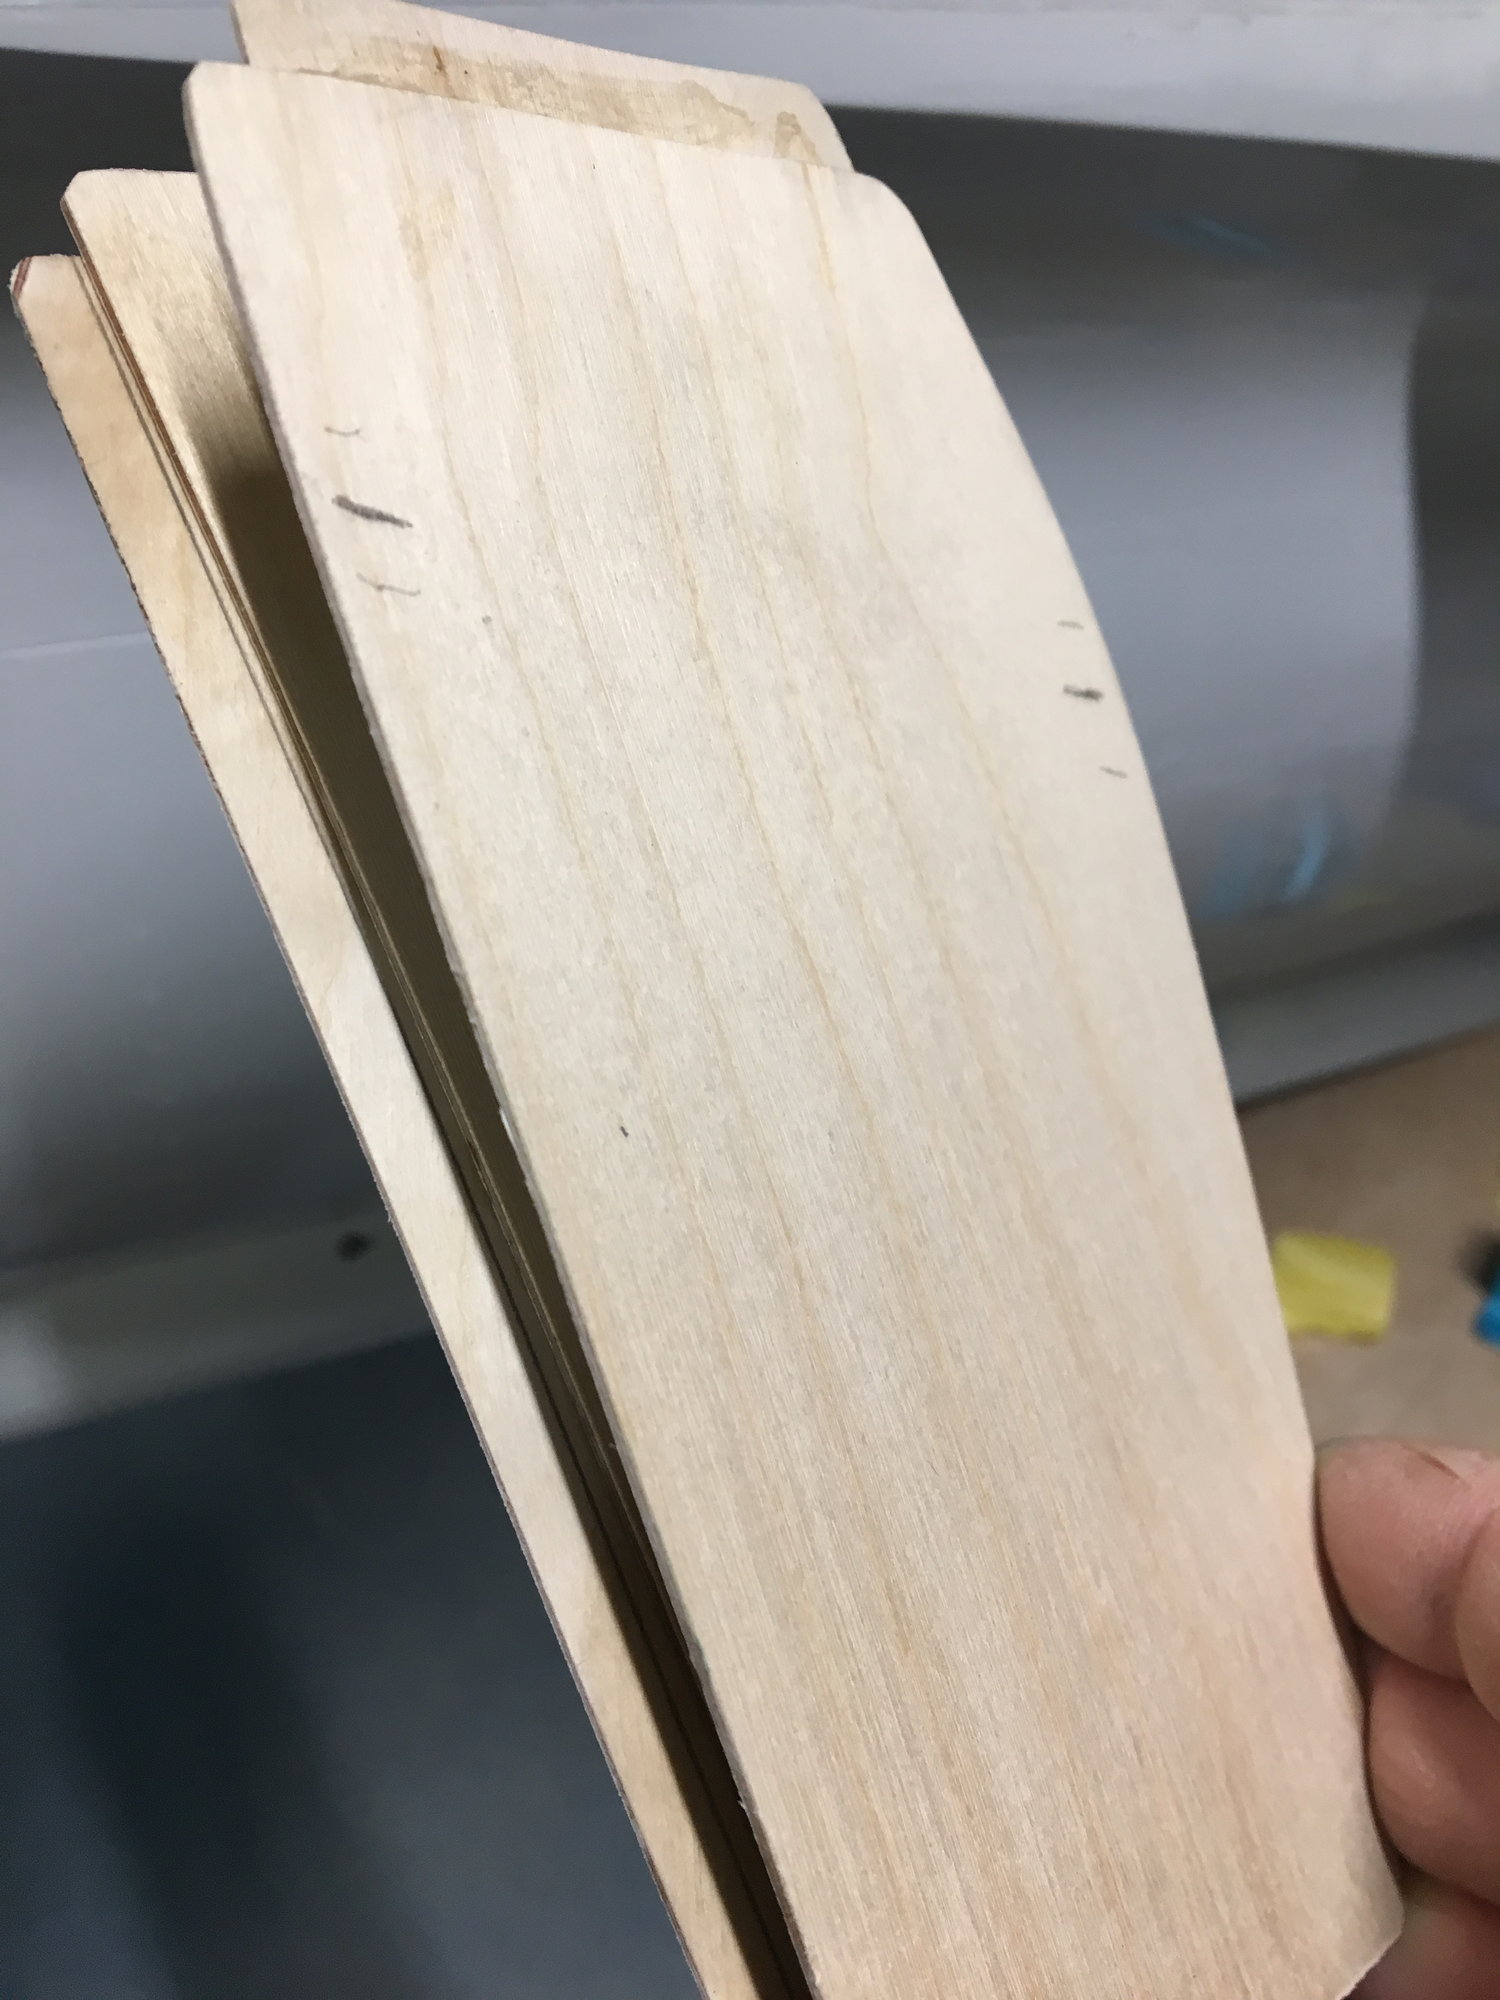
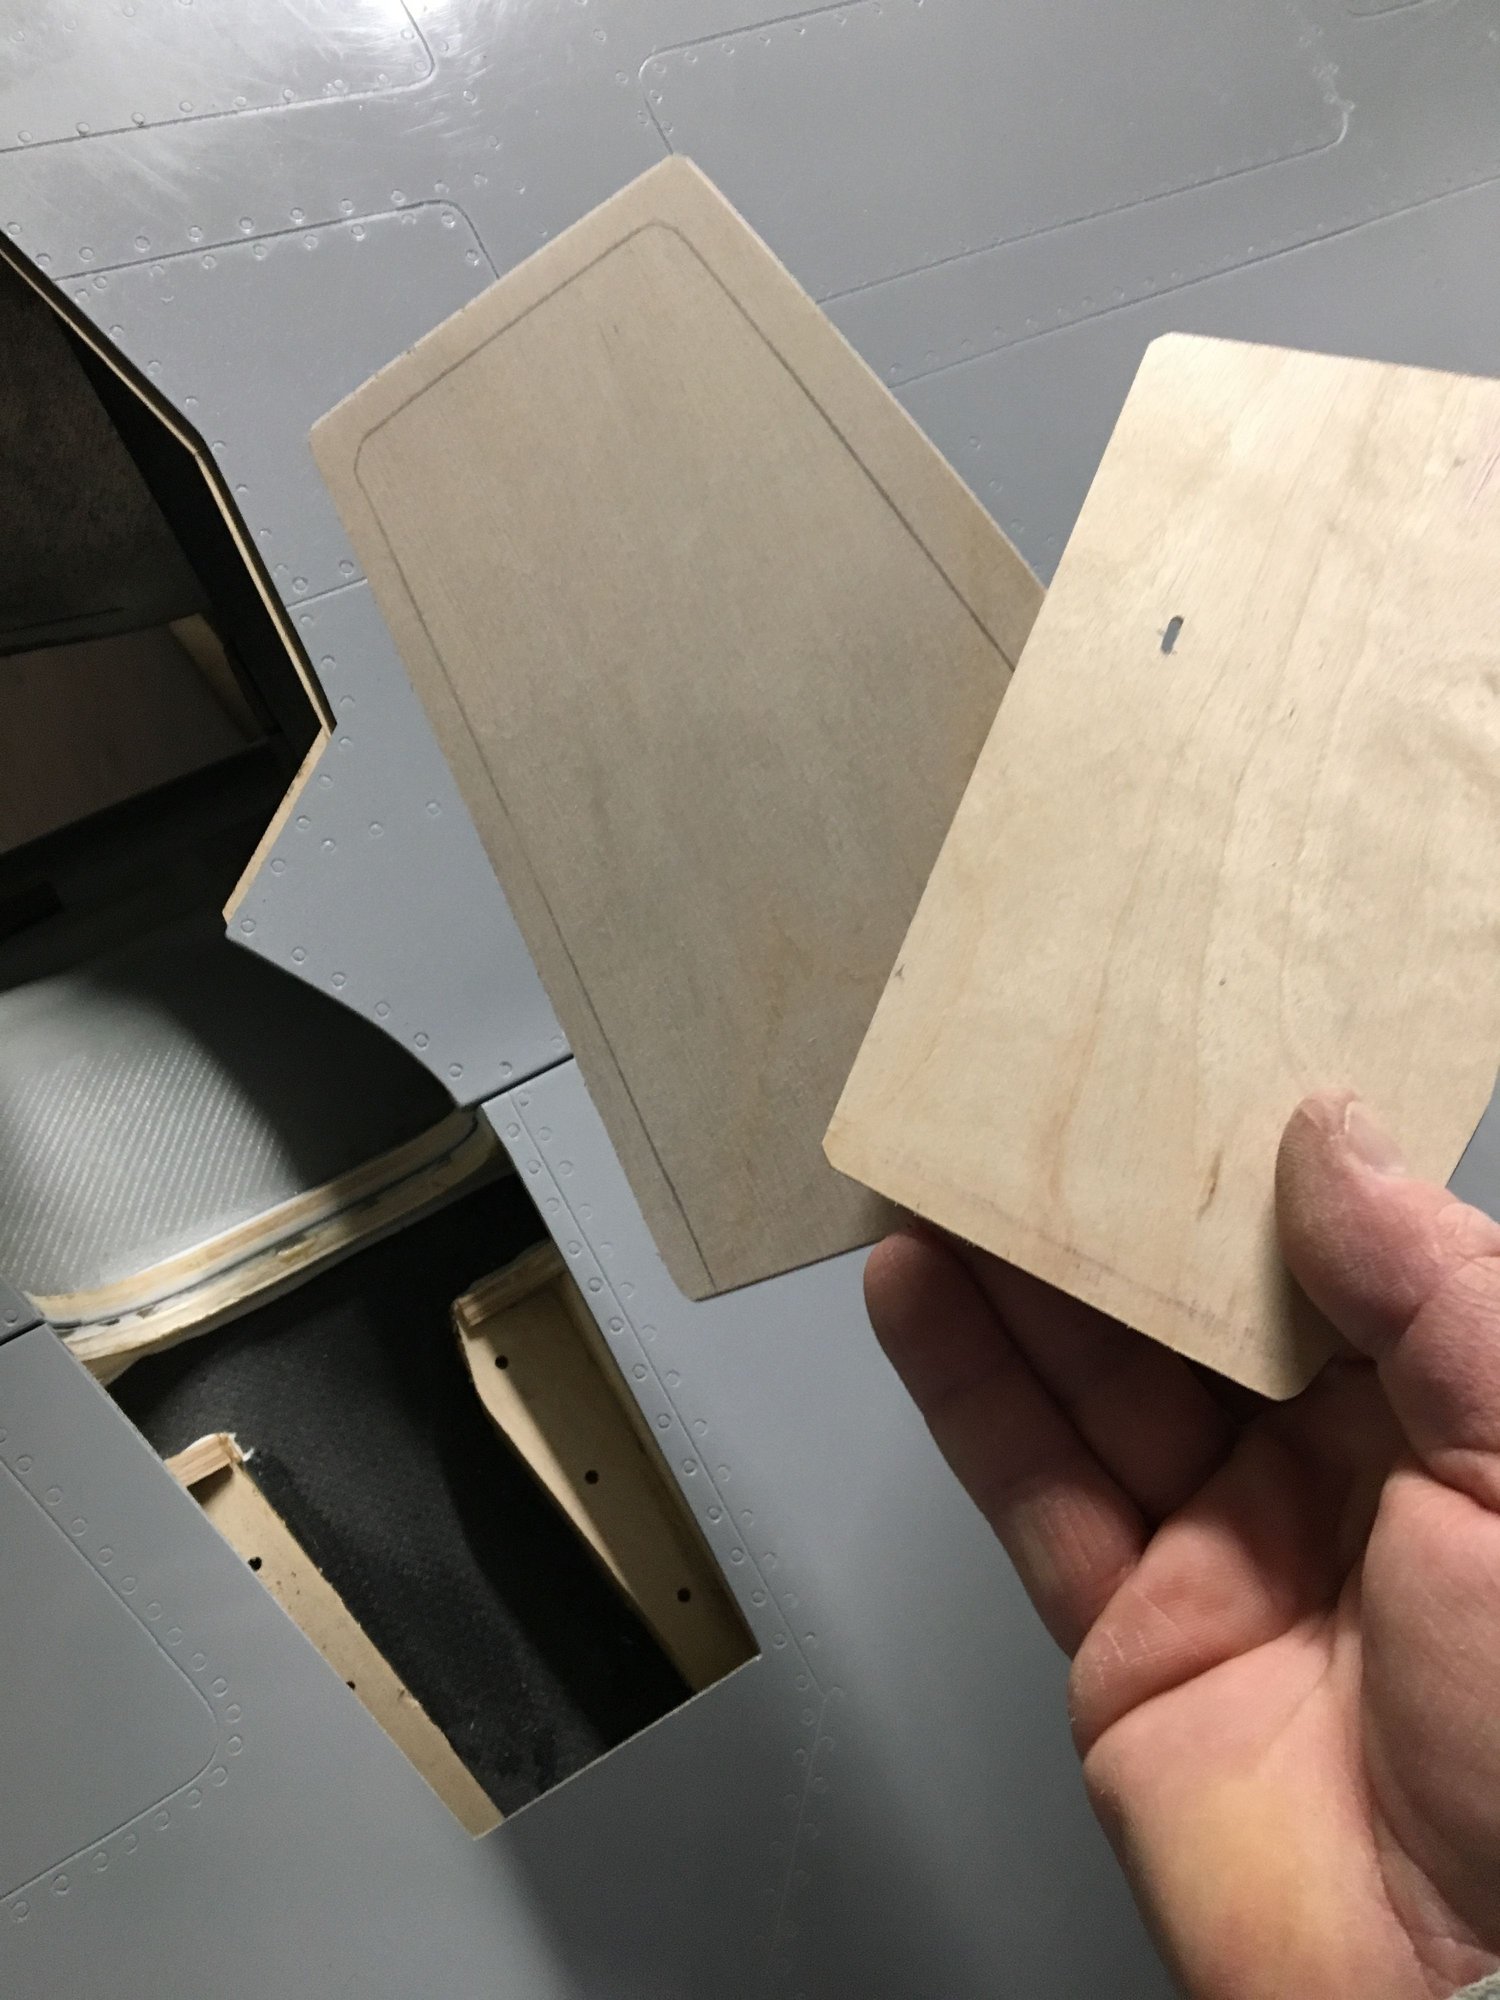
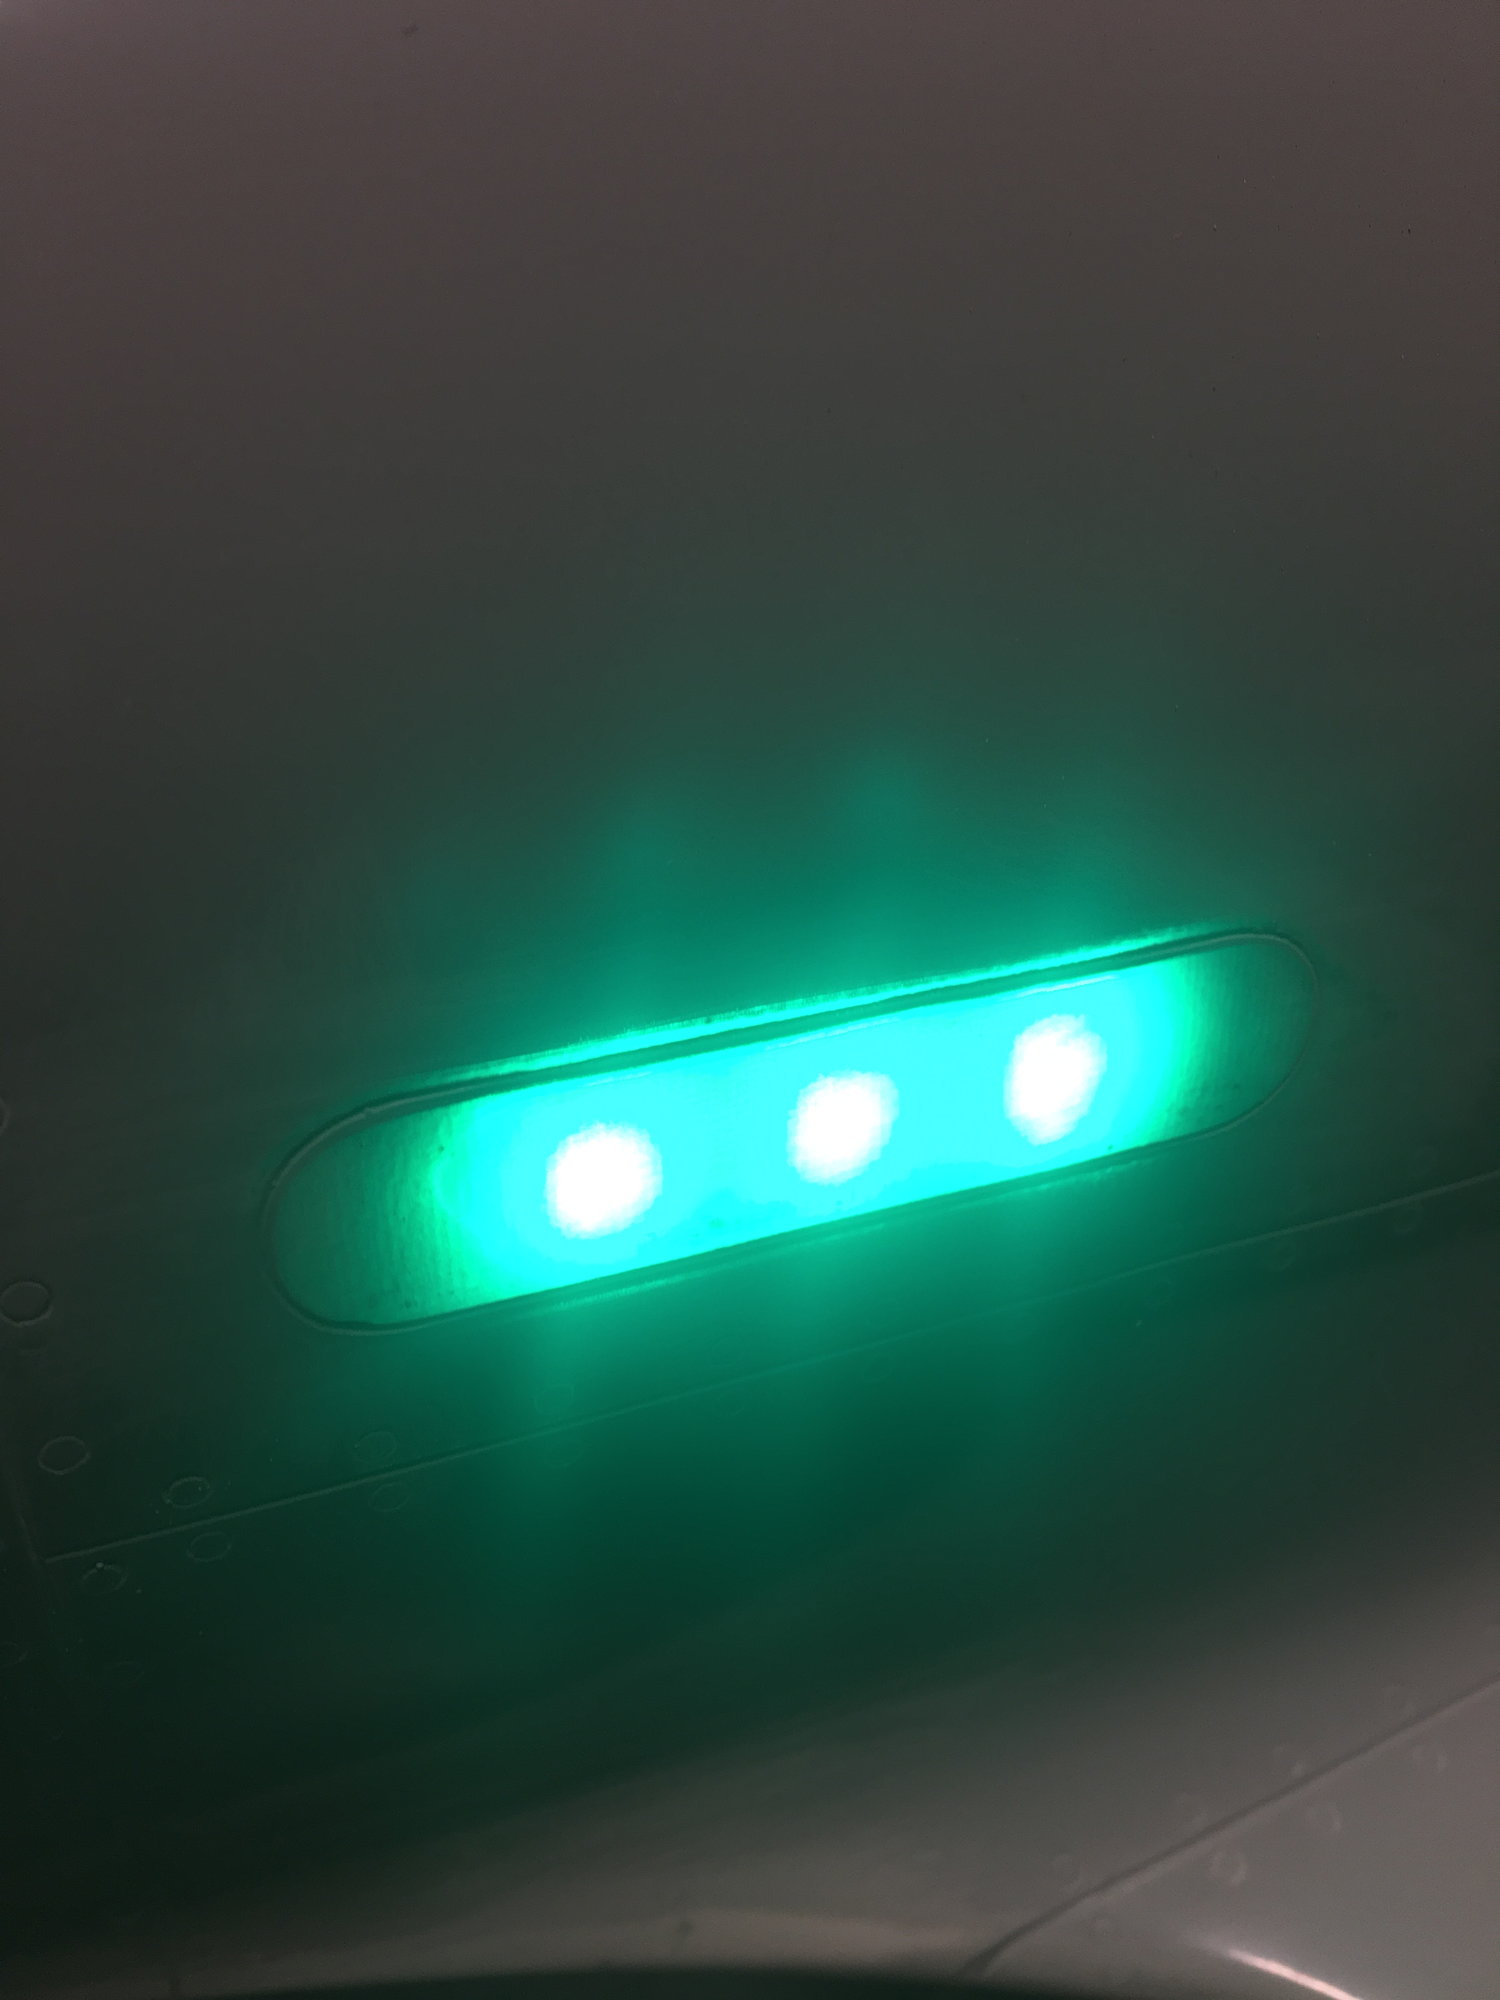
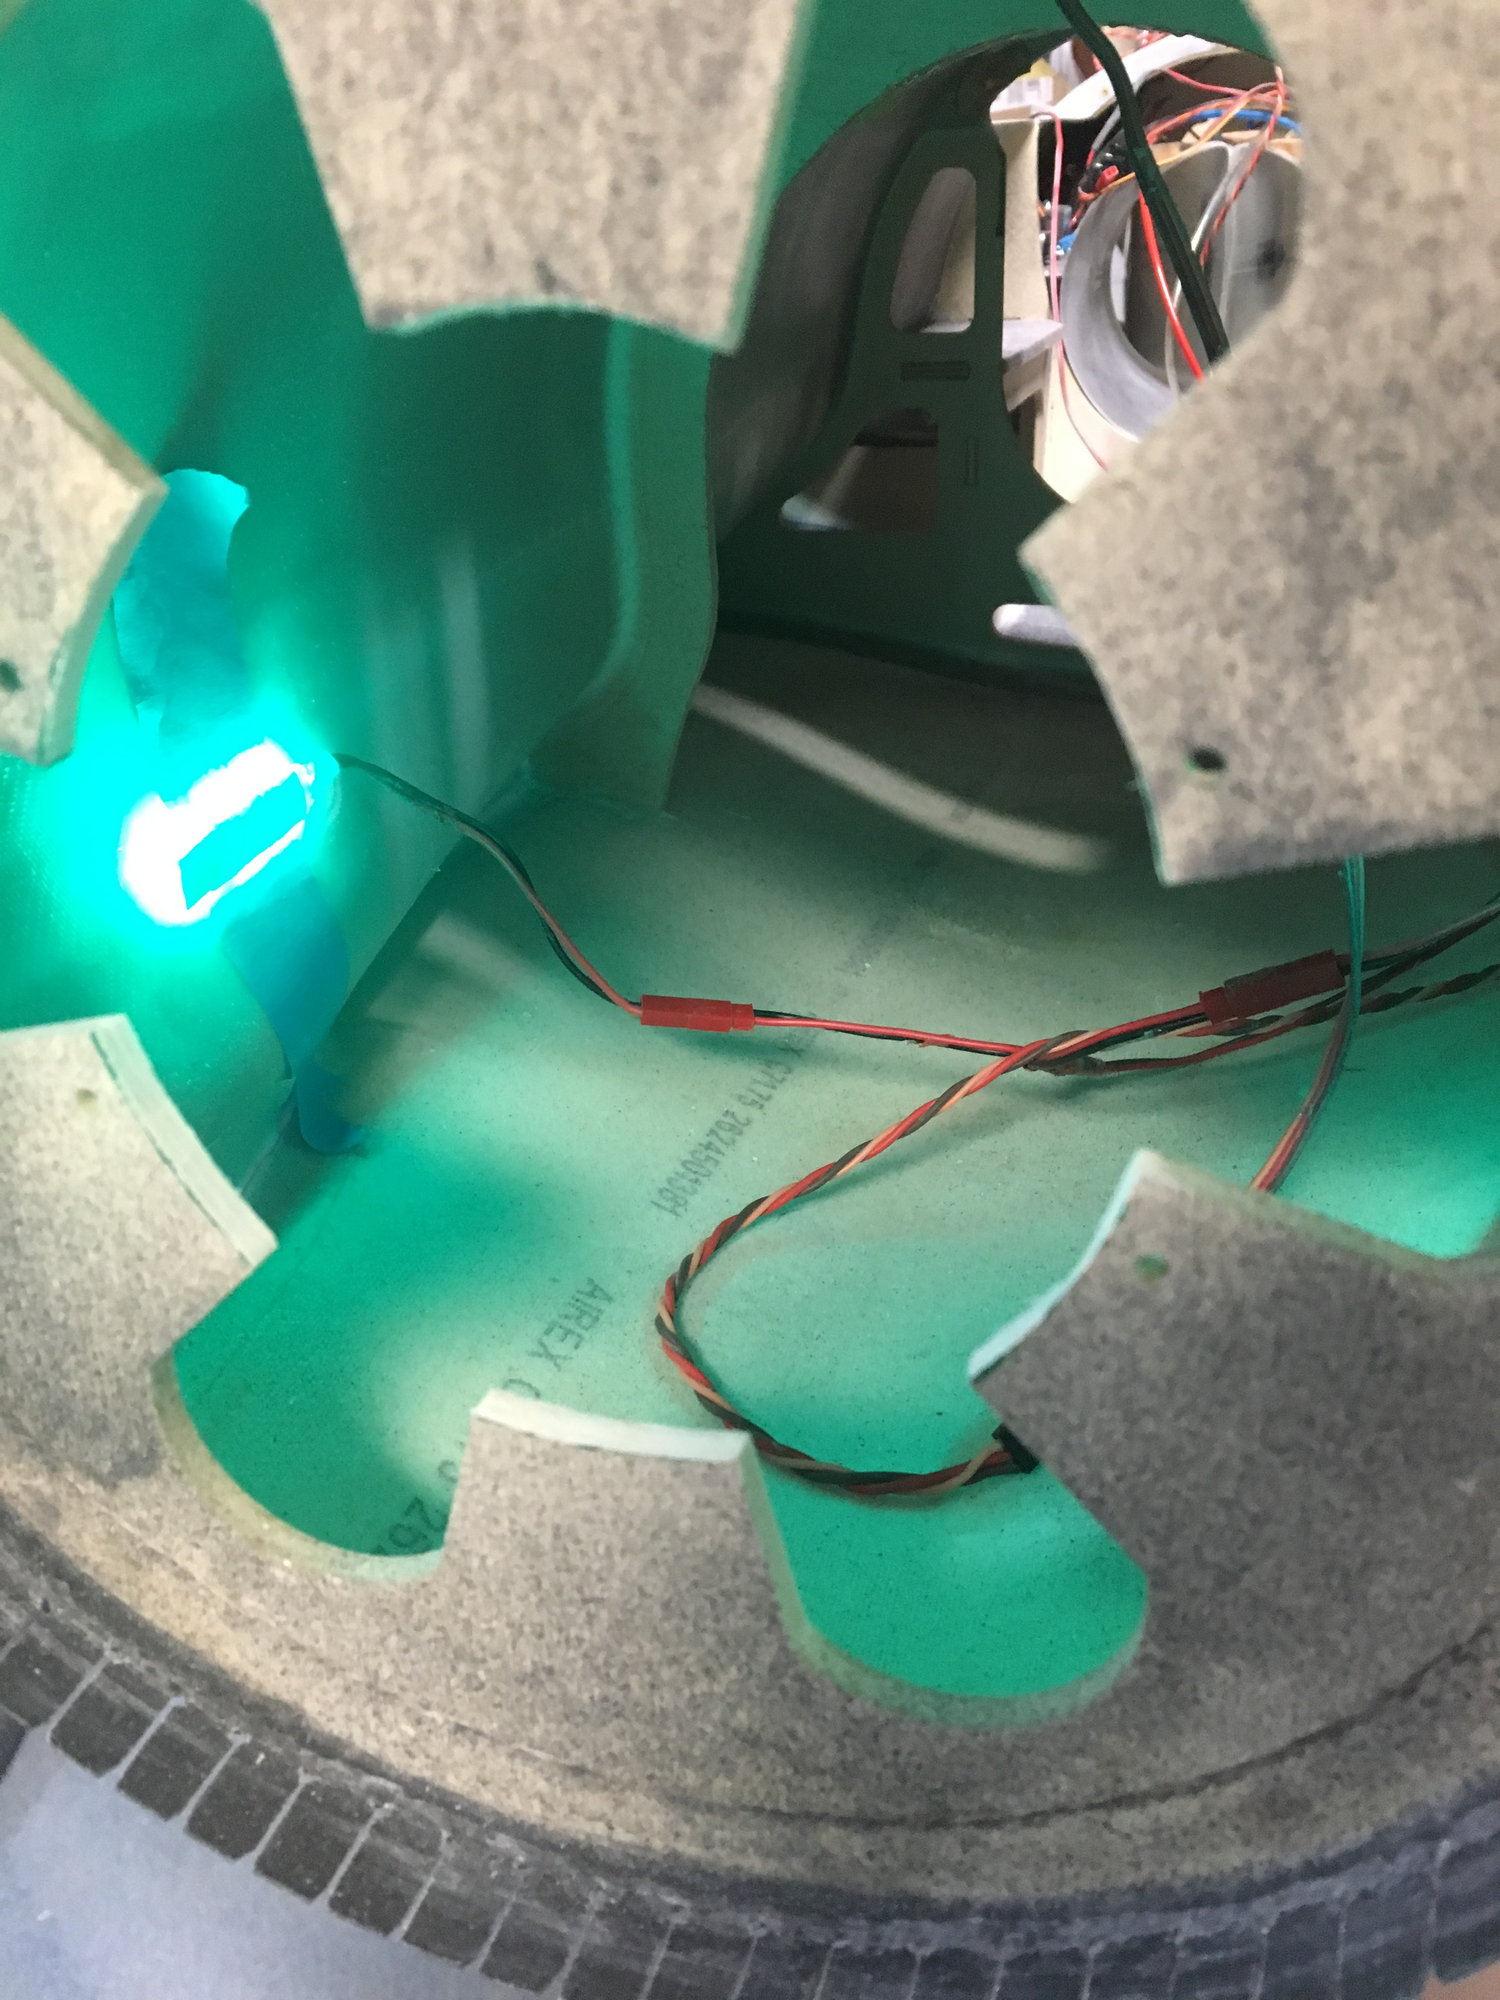
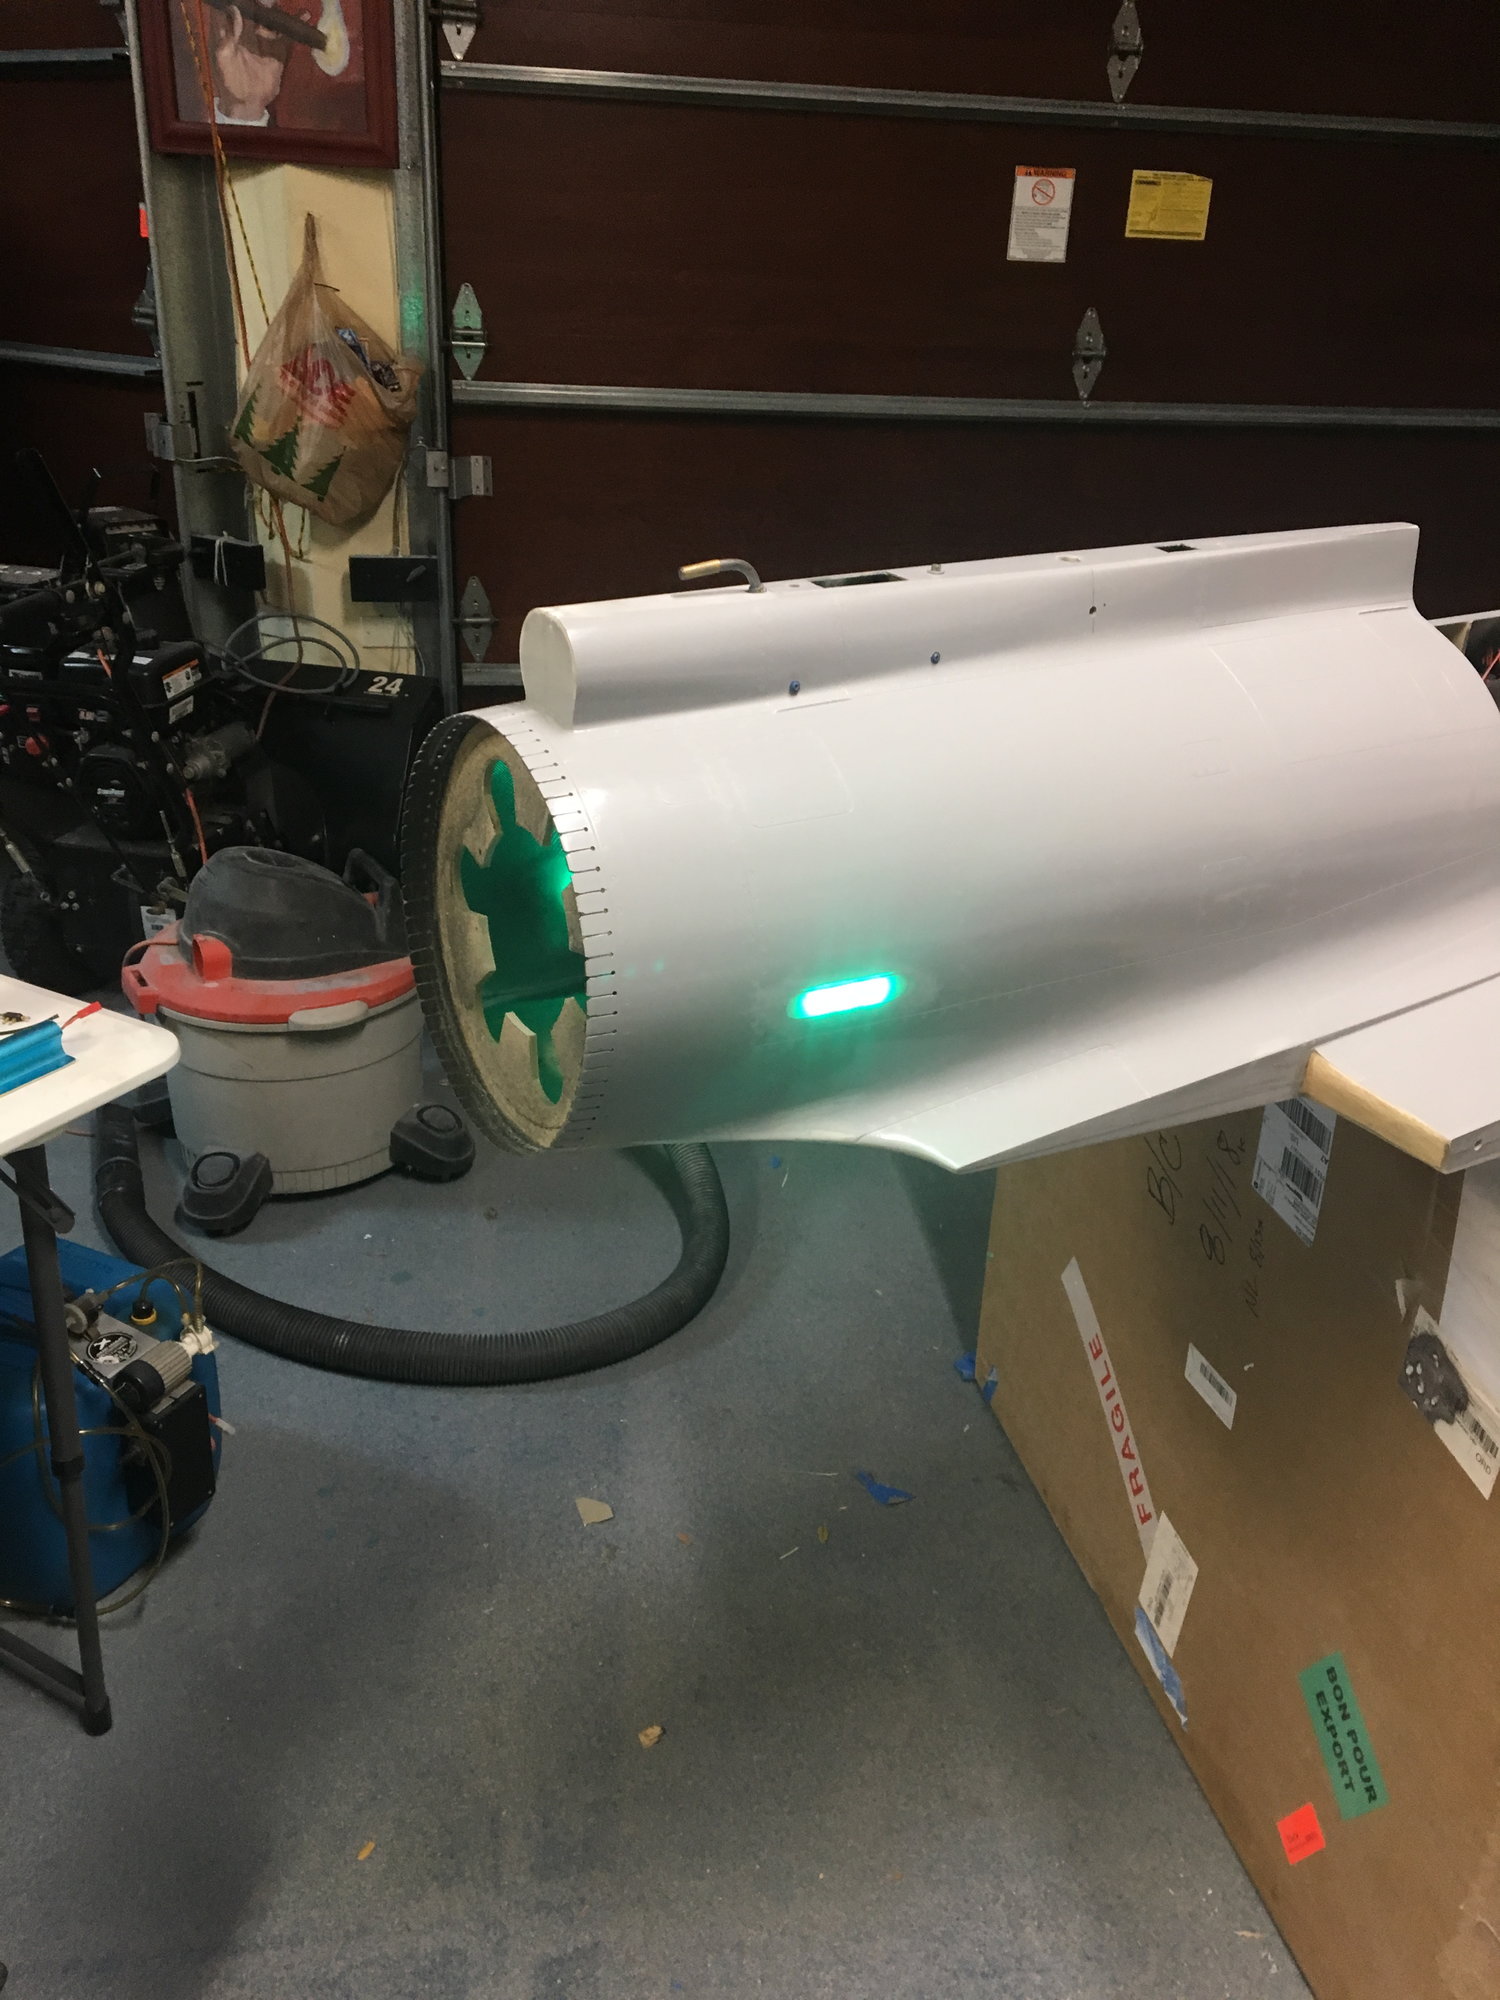
Another update that I just finished the strut wheel doors, which I needed to cut from a very thin plywood and build them myself They did not come in with the kit and also I installed The fuselage lights.