


BajaHobby Arowana 1.7m Sport jet
 11-23-2019, 10:33 PM
#1

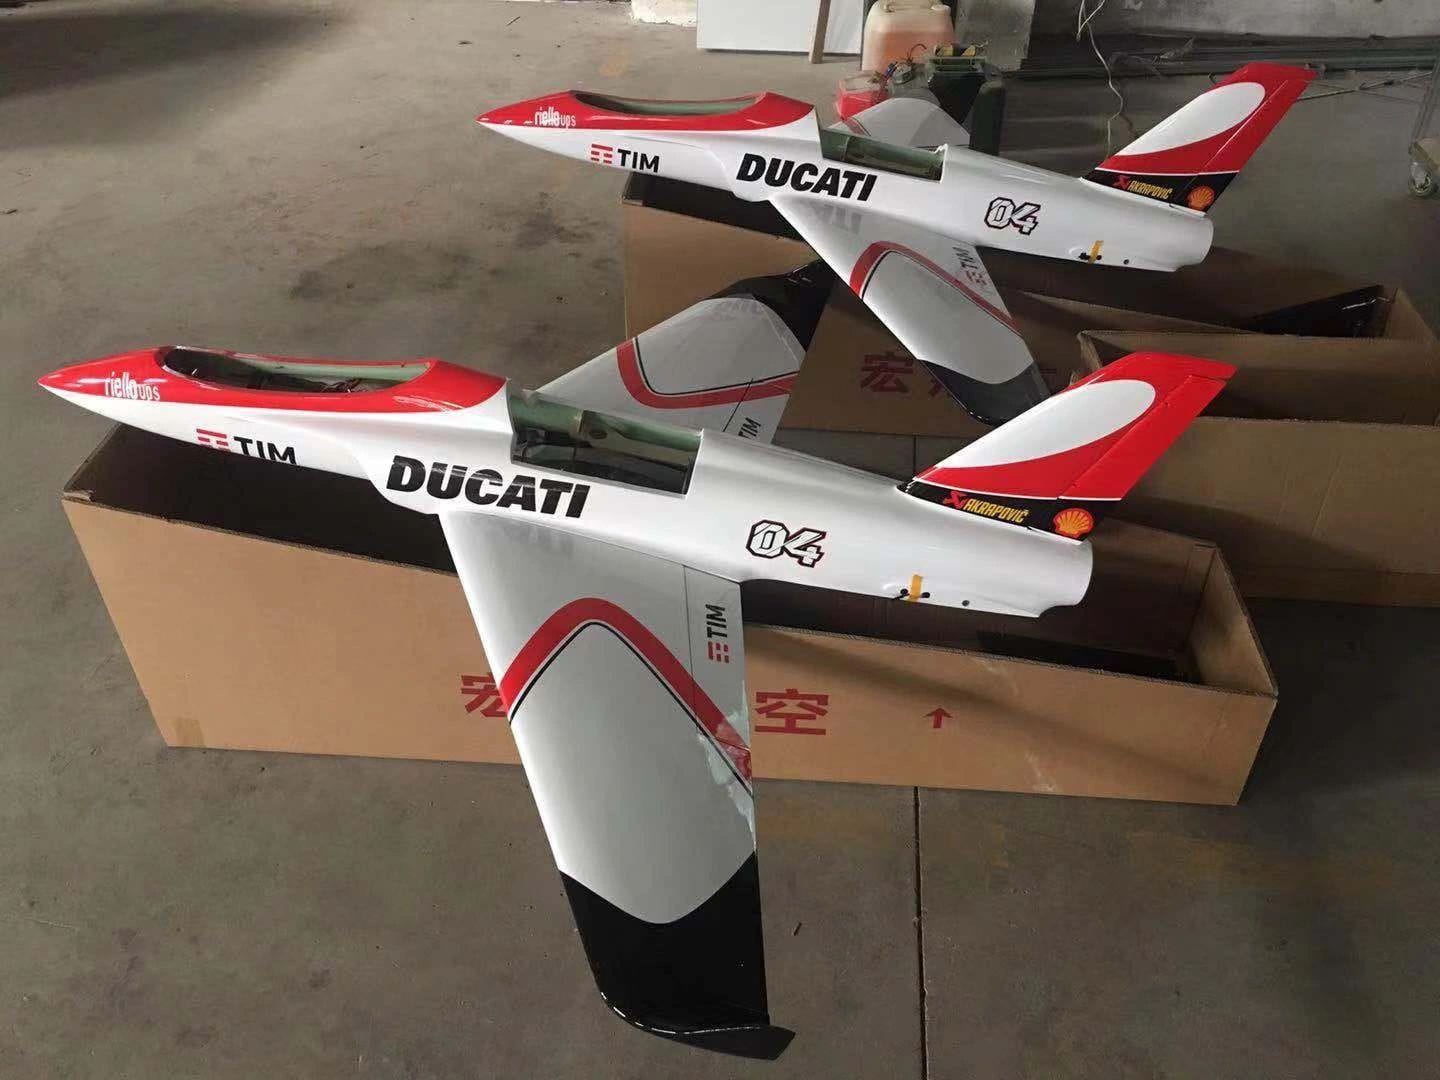
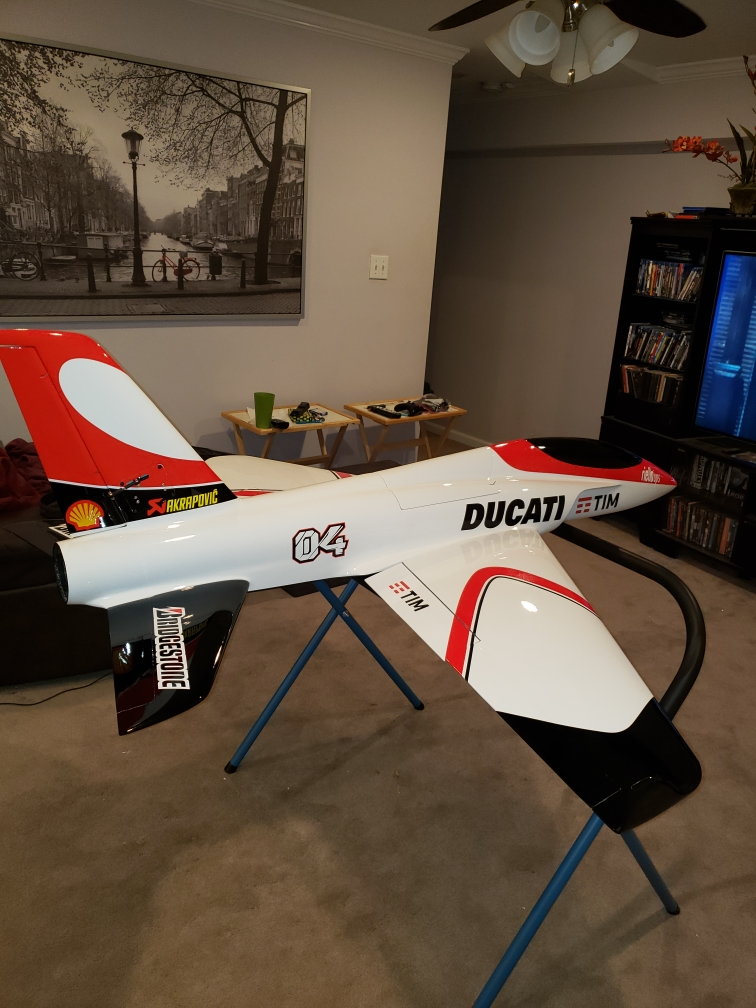
I decided to try something new and pick one of these up to replace my crashed Xcalibur. The introductory Black Friday price is $1700 for a PNP composite jet which is hard to pass up. Price wise it's on the lower end of the composite scale so I was a little skeptical when I bought it, but Peter from Bajahobby is a good guy so I gave it a shot. I was pleasantly surprised at the quality of the PNP kit. They did a good job. And with the sleek it should be fast and fly very well.
For anyone interested, the dimensions this jet is 66.5 inches long and has a wingspan of 68 inches.. it is all Airex construction comes with a dual battery supply, and digital metal gear full size servos. The fuselage is made in one piece and the rudder has been molded in as well. The wing tube and elevator tubes are aluminum and very robust. All control surface have live hinging except the rudder which has traditional hinging. It comes with a 1500cc file tank but I am planning on purchasing a 60oz dubro for my flying. There are 8 pin mpx connectors for the wings and regular servo connectors for the tail. The tail wires are wrapped and protected with aluminum tape. Thrust tube cones installed and tank and UAT are plumbed as well. I have included some pics. If anyone has previous experience with this kit please chime in and let me know.
Tone
Last edited by Agrav8ed; 11-23-2019 at 10:38 PM.


 11-28-2019, 07:00 PM
#4
One thing I like to do is go over everything. While the rudder is molded in and felt secure, when I removed the thrust tube to check the wiring and mounts I notices that there were some voids near the bottom of the wood bulkhead where the glue met the sides. To remedy this I coated both sides of the support with a liberal amount of hysol. Like I said, it was not loose by any means but I do not like to take chances. You can see the wood support with the additional glue and also notice the robust clamps for the elevators. In this pic you can also see the foil sheet used to protect the wiring. The thrust tube is double walled so this is not technically necessary but I like the caution. I have posted opposite view of the same part. I personally decided to wrap the rudder servo in snakeskin before replacing the foil tape. But it is not strictly necessary. I double checked the wings and rest of the frame and the glue joint are good. I should also add that I have built 8 composite jets and this is a fairly standard practice. Always check your glue joints. An ounce of prevention is worth several pounds of cure. One other thing I would like to point out is that the Arowana uses rounded steel rods in the wings and elevators that go in the clamps. They are solid and an really be cranked down on for security. The also use nylock nuts on the clam screws so that you never have to worry about them backing out.
Tone
Tone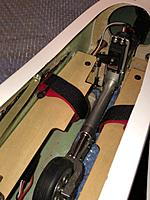
Just some pics of the inside of the jet.
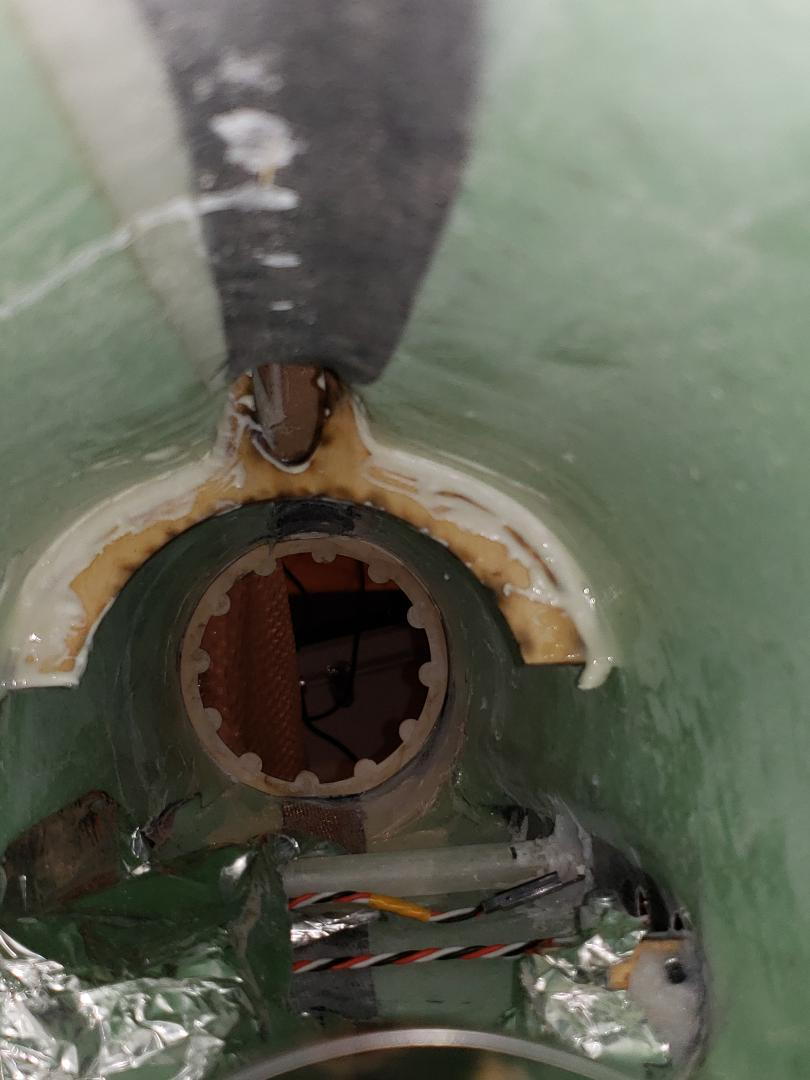
The rudder support where glue was added. Notice the foil shielding.
In this pic you can see how the wiring was pre run and 8 pin MPX connectors were used.
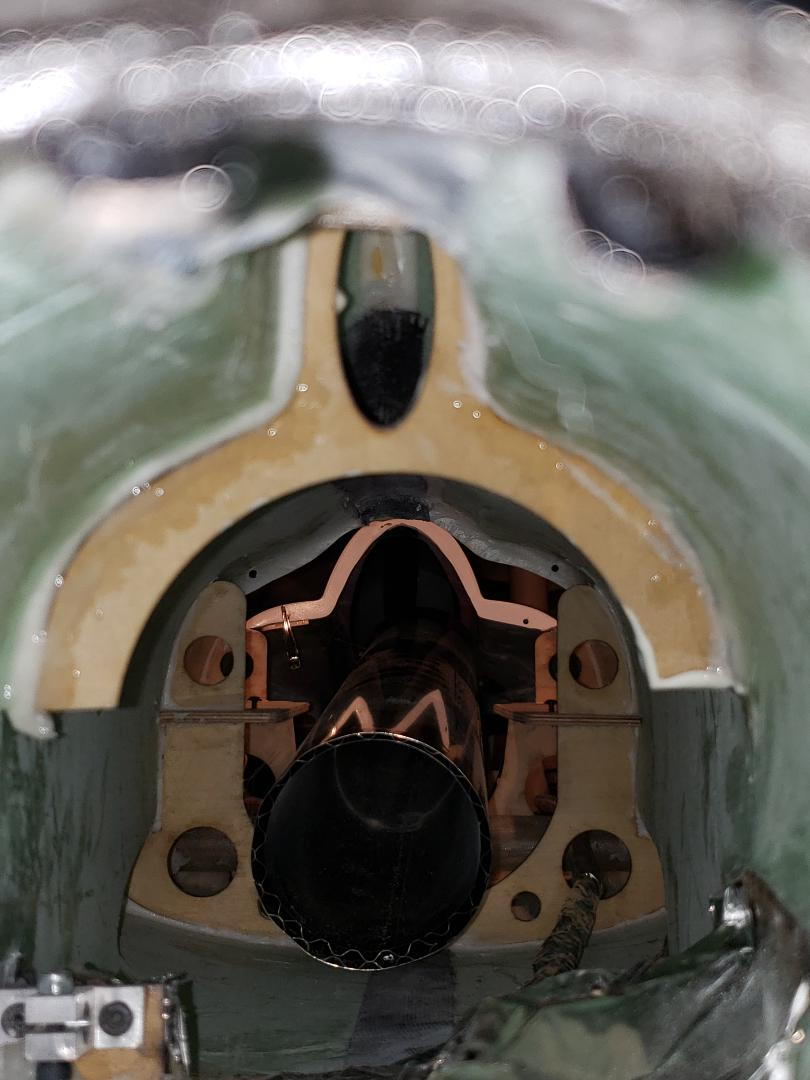
Posterior view of the rudder support. Notice the robust clamp for the elevators.
Tone
Tone
Just some pics of the inside of the jet.
The rudder support where glue was added. Notice the foil shielding.
In this pic you can see how the wiring was pre run and 8 pin MPX connectors were used.
Posterior view of the rudder support. Notice the robust clamp for the elevators.
11-28-2019, 07:36 PM
#5
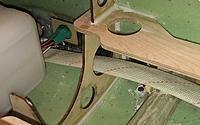
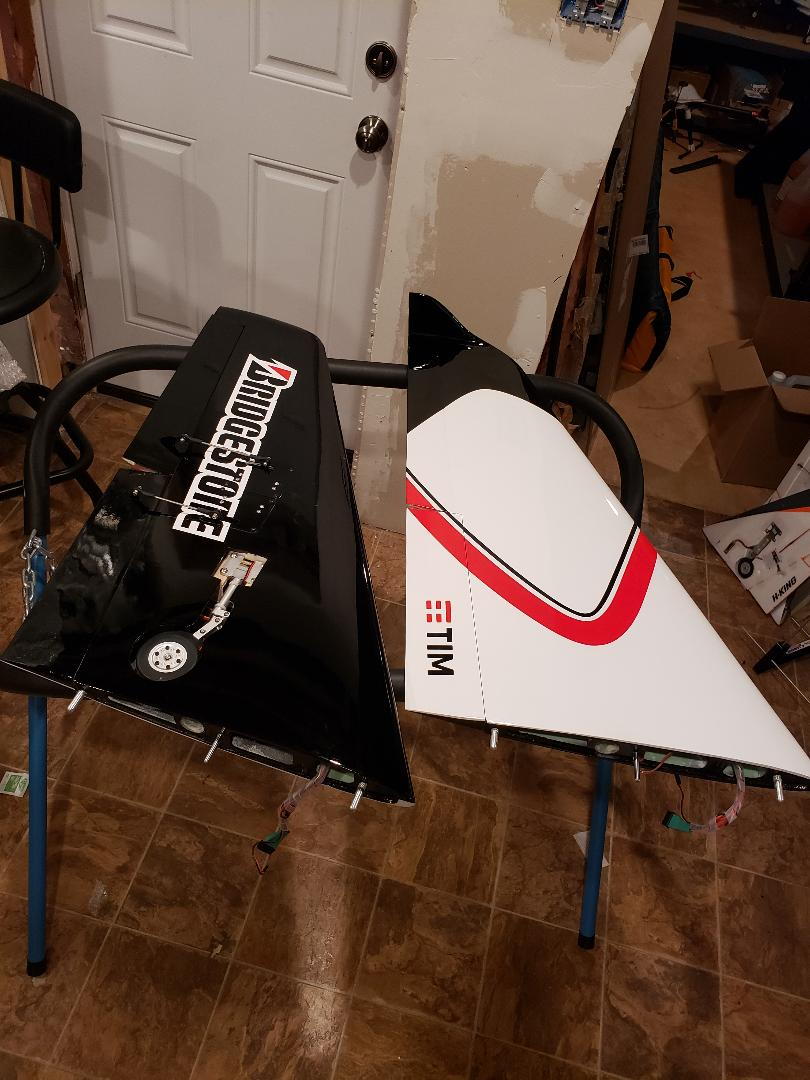
Here you can see the wing alignment and metal mounting post. Pardon the mess, I was trying to get the pics before leaving town. It is also a good view of what the bottom of the wings look like.
Tone
Tone
01-21-2021, 04:11 PM
#7
I flew it all summer and fall. It flew great, no issues that come to mind other than I moved the thrust tube back about 6mm so that it rested on the pipe spacer instead of just the outer tube. Also, I did put a bit larger tank in mine than stock but that was preference only, not required or an issue. Its a great flyer and I cant wait for the weather to warm up so I can get it back into the air.
Tone
Tone
