


CARF Ultra Flash Evo build thread +
 01-19-2023, 08:34 AM
#501

Tom,
it was me who was asking. So I have to run a servo wire to the rx and a power wire if it is in the wing, and the belly light--3 wires to plug in. But if I put it in the fuse I have to plug in two landing lights and two wingtip lights--4 wires to plug in.
I haven't even opened mine up yet so I may be waaay off base on how it even works....
Thanks.

The following users liked this post:
AEROSHELDON (01-19-2023)

 01-30-2023, 09:33 AM
#503
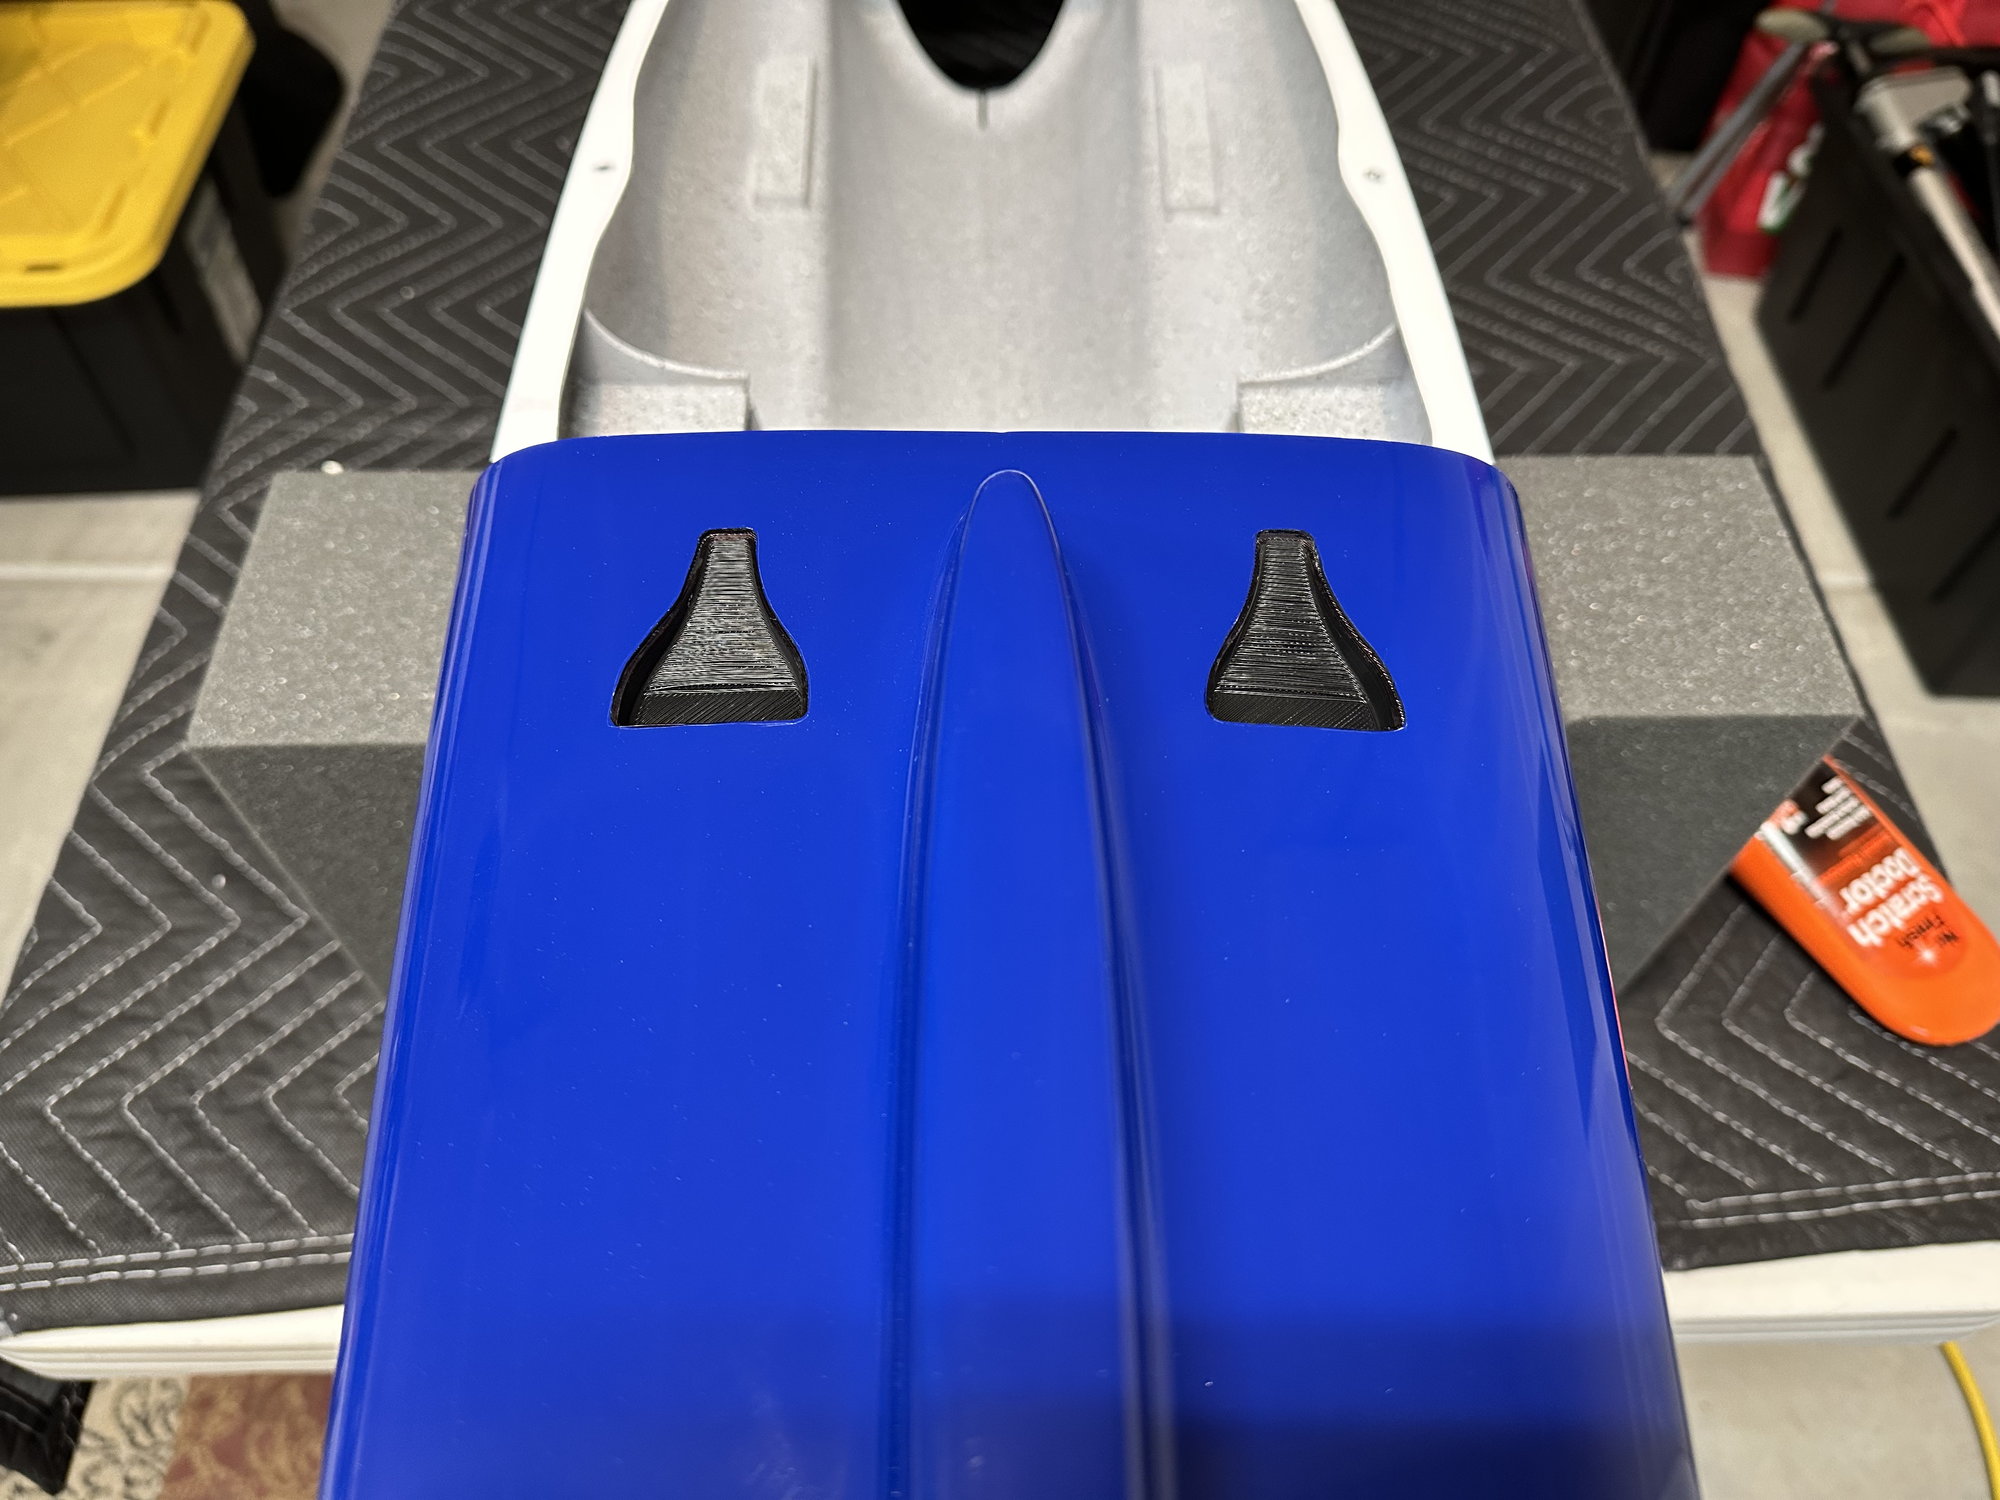
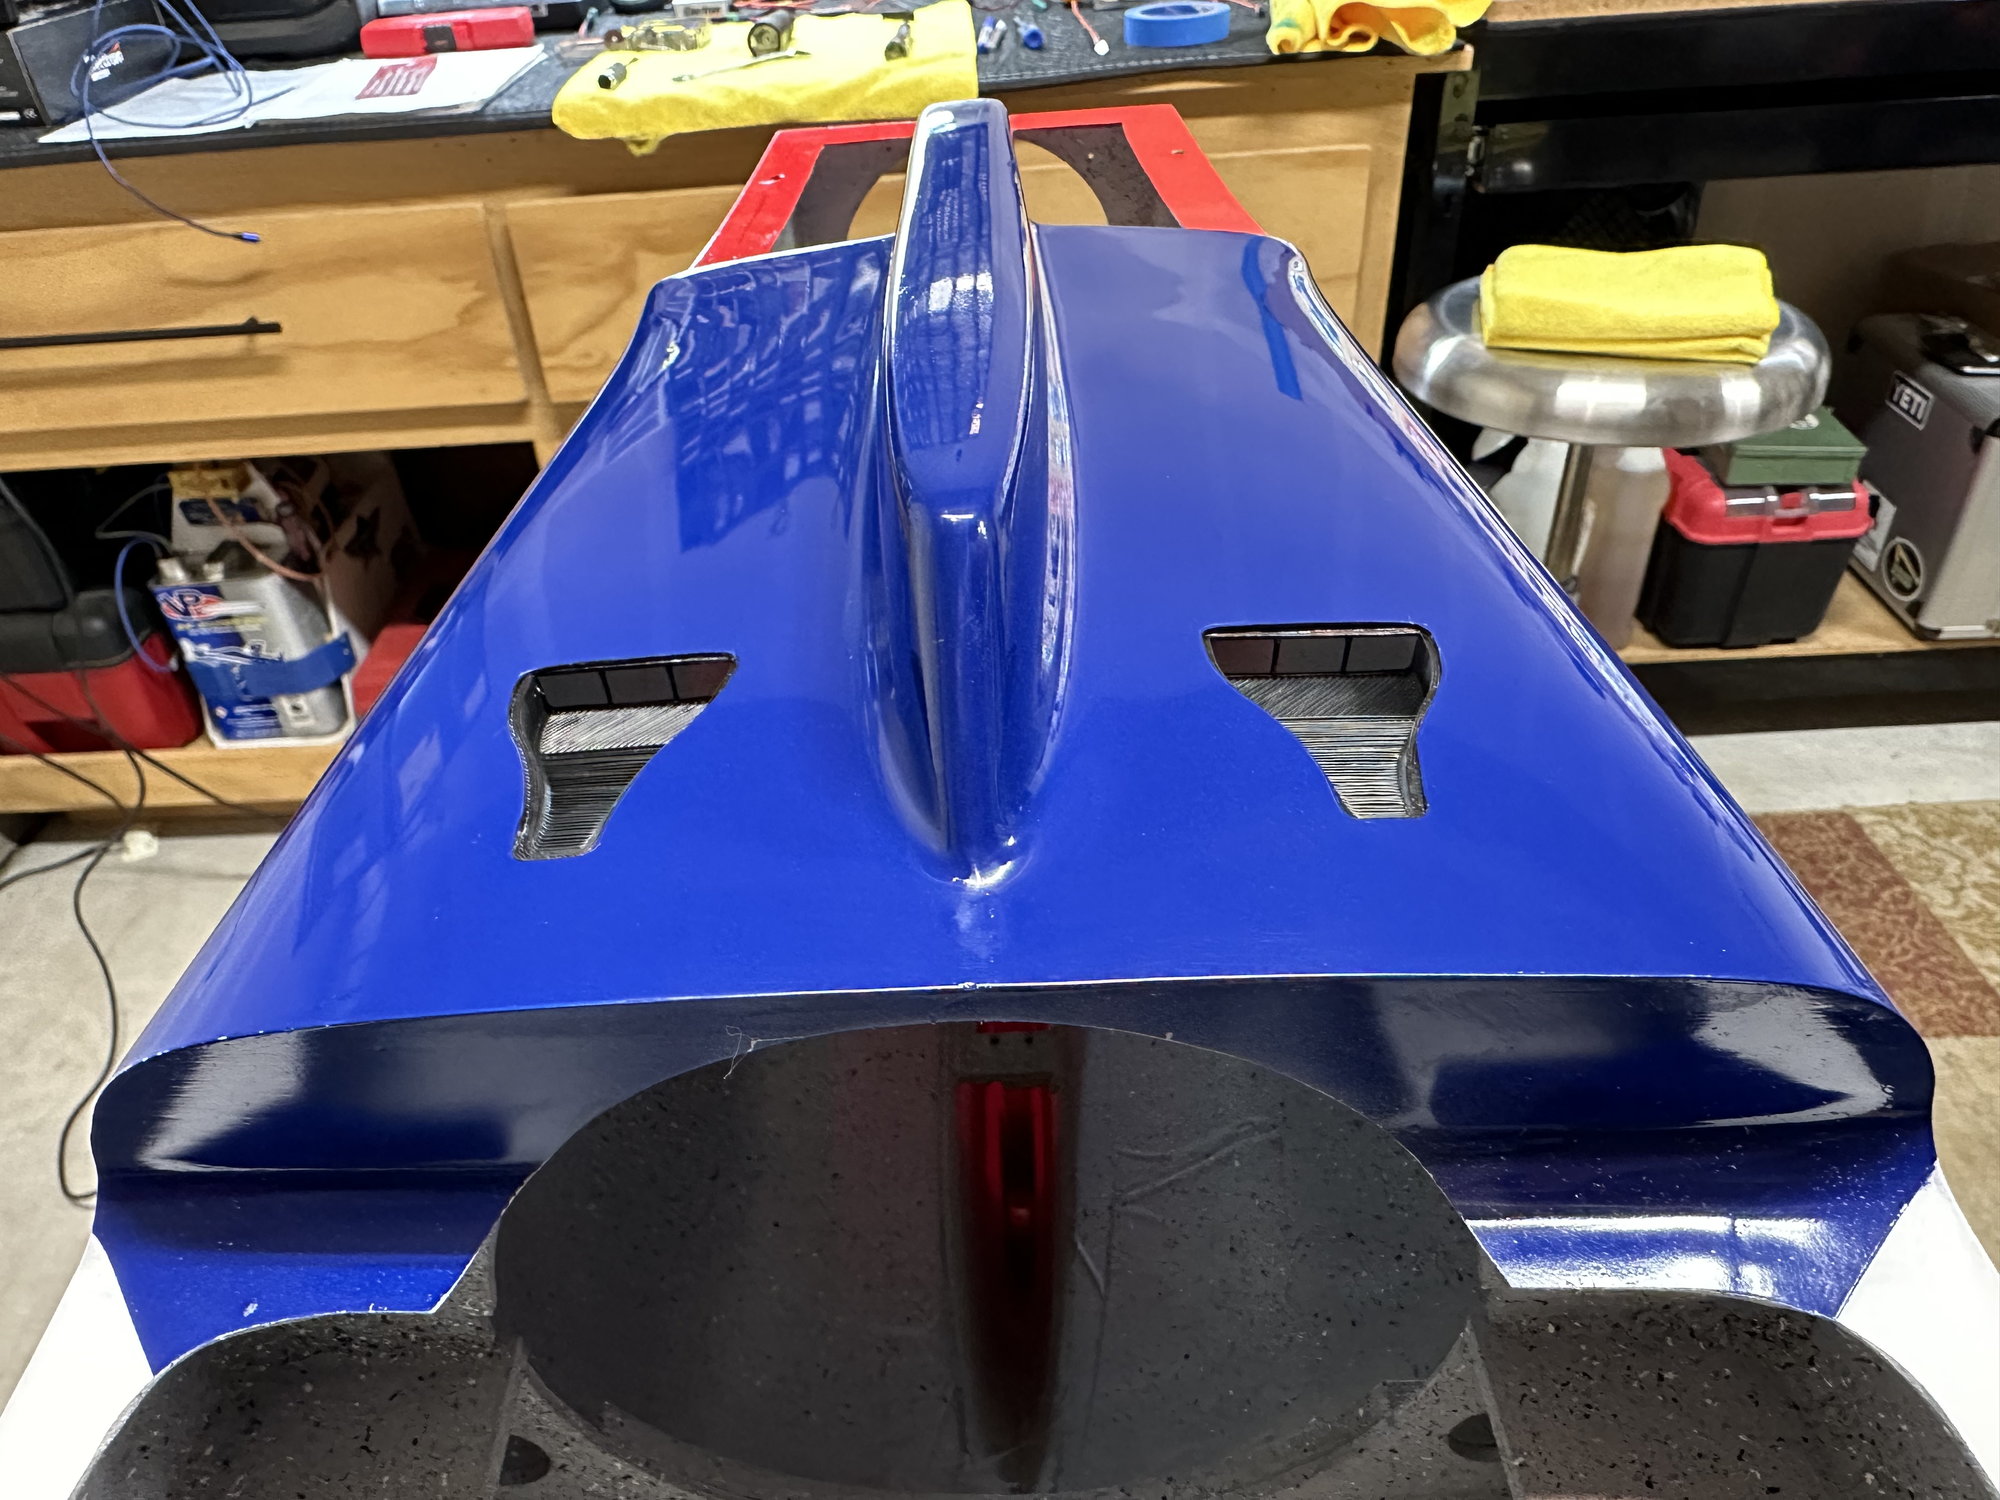
Spent yesterday working on the rudder servo install and naca ducts.
I was trying to go for a more finished look rather than just cutting the naca shape into the bottom of the fuse so I 3D printed some actual naca ducts. I don�t really like using 3D printed parts because I don�t like how you can see the lines but I think it does look a little more �finished� and hopefully works as well or at least as well as just cutting the shape.
I think they look nicer in person than the pics show.
Next I need to revisit the nose gear install, the door is catching on the front of the electron gear. Need to add a block or something to the door. Luckily I didn�t break the door off the first time I extended the gear.
01-30-2023, 12:45 PM
#504

My Feedback: (53)

Spent yesterday working on the rudder servo install and naca ducts.
I was trying to go for a more finished look rather than just cutting the naca shape into the bottom of the fuse so I 3D printed some actual naca ducts. I don�t really like using 3D printed parts because I don�t like how you can see the lines but I think it does look a little more �finished� and hopefully works as well or at least as well as just cutting the shape.
I think they look nicer in person than the pics show.
Next I need to revisit the nose gear install, the door is catching on the front of the electron gear. Need to add a block or something to the door. Luckily I didn�t break the door off the first time I extended the gear.
The following users liked this post:
camss69 (01-30-2023)
 01-30-2023, 02:40 PM
#507

Thread Starter
Nah. My Rebel Hot and UF Evo fly on grass and tarmac, hundreds of flights-Zero maintenance.
They have certainly made it difficult for themselves, in Europe the price is now not much less than Electron and we know which one people are going to chose. I don’t land at Mach 3 and apply brakes like some, so the variable brakes don’t really cause me an issue.
They have certainly made it difficult for themselves, in Europe the price is now not much less than Electron and we know which one people are going to chose. I don’t land at Mach 3 and apply brakes like some, so the variable brakes don’t really cause me an issue.
01-31-2023, 04:04 PM
#508
Spent yesterday working on the rudder servo install and naca ducts.
I was trying to go for a more finished look rather than just cutting the naca shape into the bottom of the fuse so I 3D printed some actual naca ducts. I don�t really like using 3D printed parts because I don�t like how you can see the lines but I think it does look a little more �finished� and hopefully works as well or at least as well as just cutting the shape.
I think they look nicer in person than the pics show.
Next I need to revisit the nose gear install, the door is catching on the front of the electron gear. Need to add a block or something to the door. Luckily I didn�t break the door off the first time I extended the gear.
I was trying to go for a more finished look rather than just cutting the naca shape into the bottom of the fuse so I 3D printed some actual naca ducts. I don�t really like using 3D printed parts because I don�t like how you can see the lines but I think it does look a little more �finished� and hopefully works as well or at least as well as just cutting the shape.
I think they look nicer in person than the pics show.
Next I need to revisit the nose gear install, the door is catching on the front of the electron gear. Need to add a block or something to the door. Luckily I didn�t break the door off the first time I extended the gear.
01-31-2023, 09:06 PM
#509
I downloaded it off thingiverse and then resized it to what I wanted. I think I went 25% or whatever it was to come out to 2" in length. If you use Ultimaker Cura it's super easy to resize and they weigh practically nothing.
Here's the link hopefully it works.
Thing files for Naca duct for hood of a car by ipop07 - Thingiverse
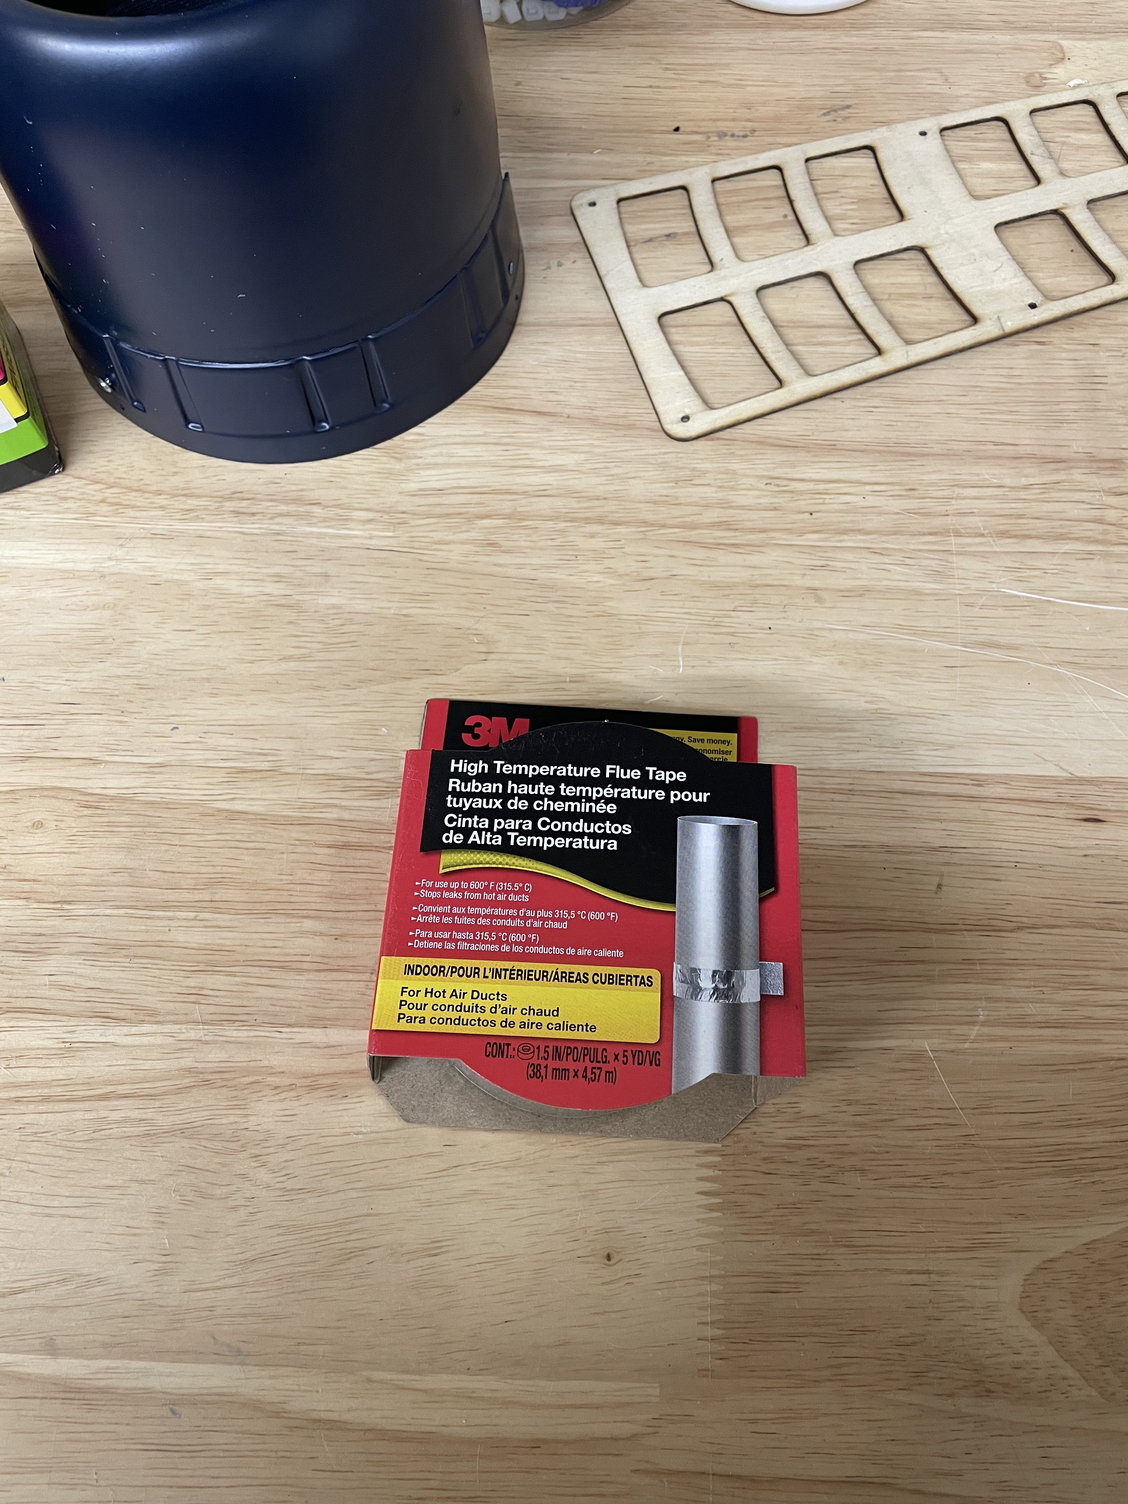
I need to order some of the heat reflective tape, anybody have a link? Amazon or McMaster Carr?
Last edited by camss69; 01-31-2023 at 09:41 PM.
02-01-2023, 06:02 AM
#510
Thanks!
I downloaded it off thingiverse and then resized it to what I wanted. I think I went 25% or whatever it was to come out to 2" in length. If you use Ultimaker Cura it's super easy to resize and they weigh practically nothing.
Here's the link hopefully it works.
Thing files for Naca duct for hood of a car by ipop07 - Thingiverse
I need to order some of the heat reflective tape, anybody have a link? Amazon or McMaster Carr?
The following users liked this post:
camss69 (02-05-2023)
02-05-2023, 12:55 PM
#511
Ok couple more questions..
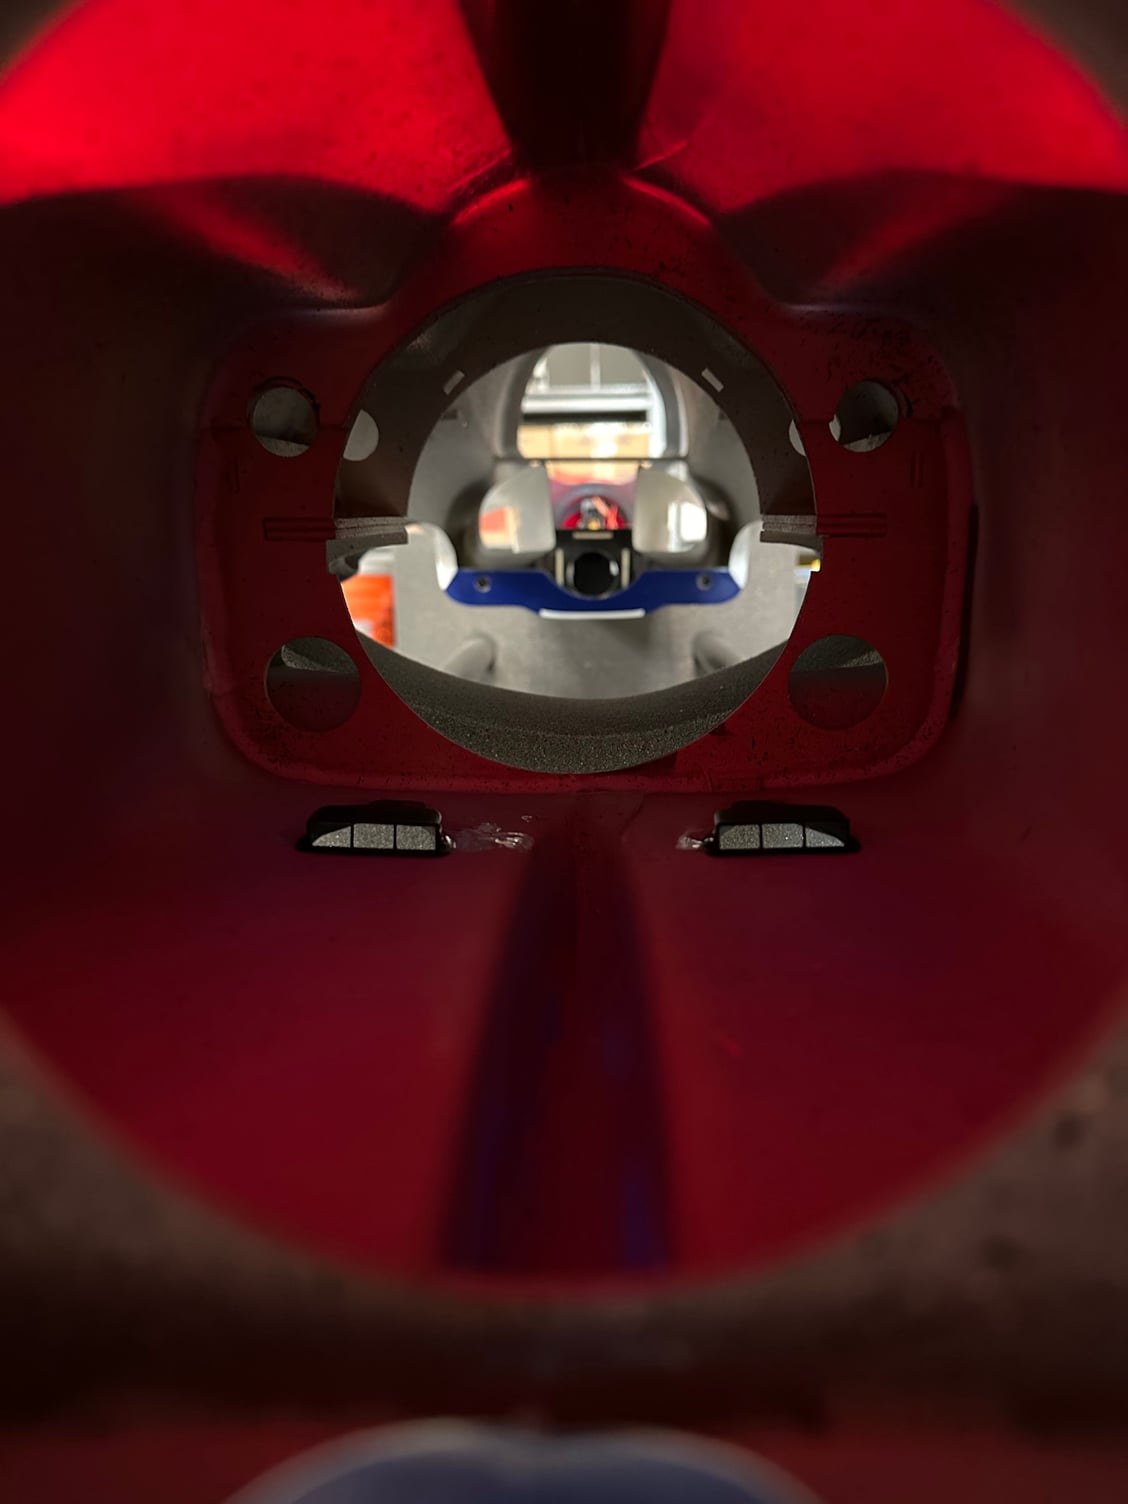
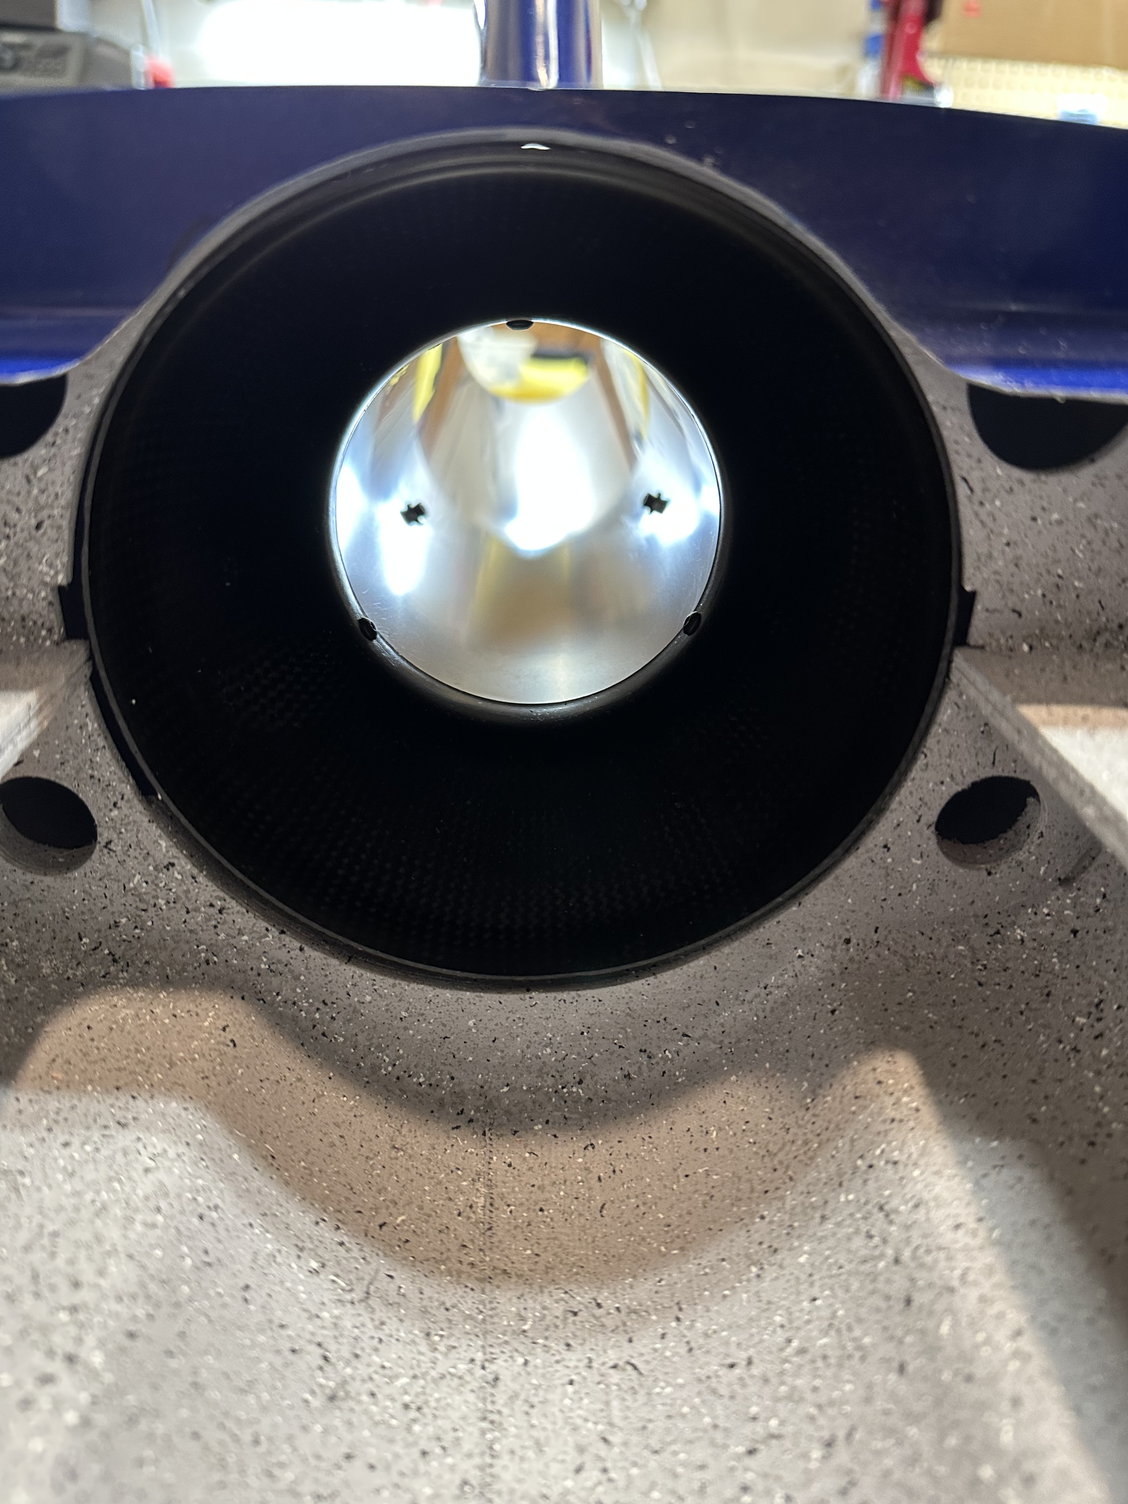
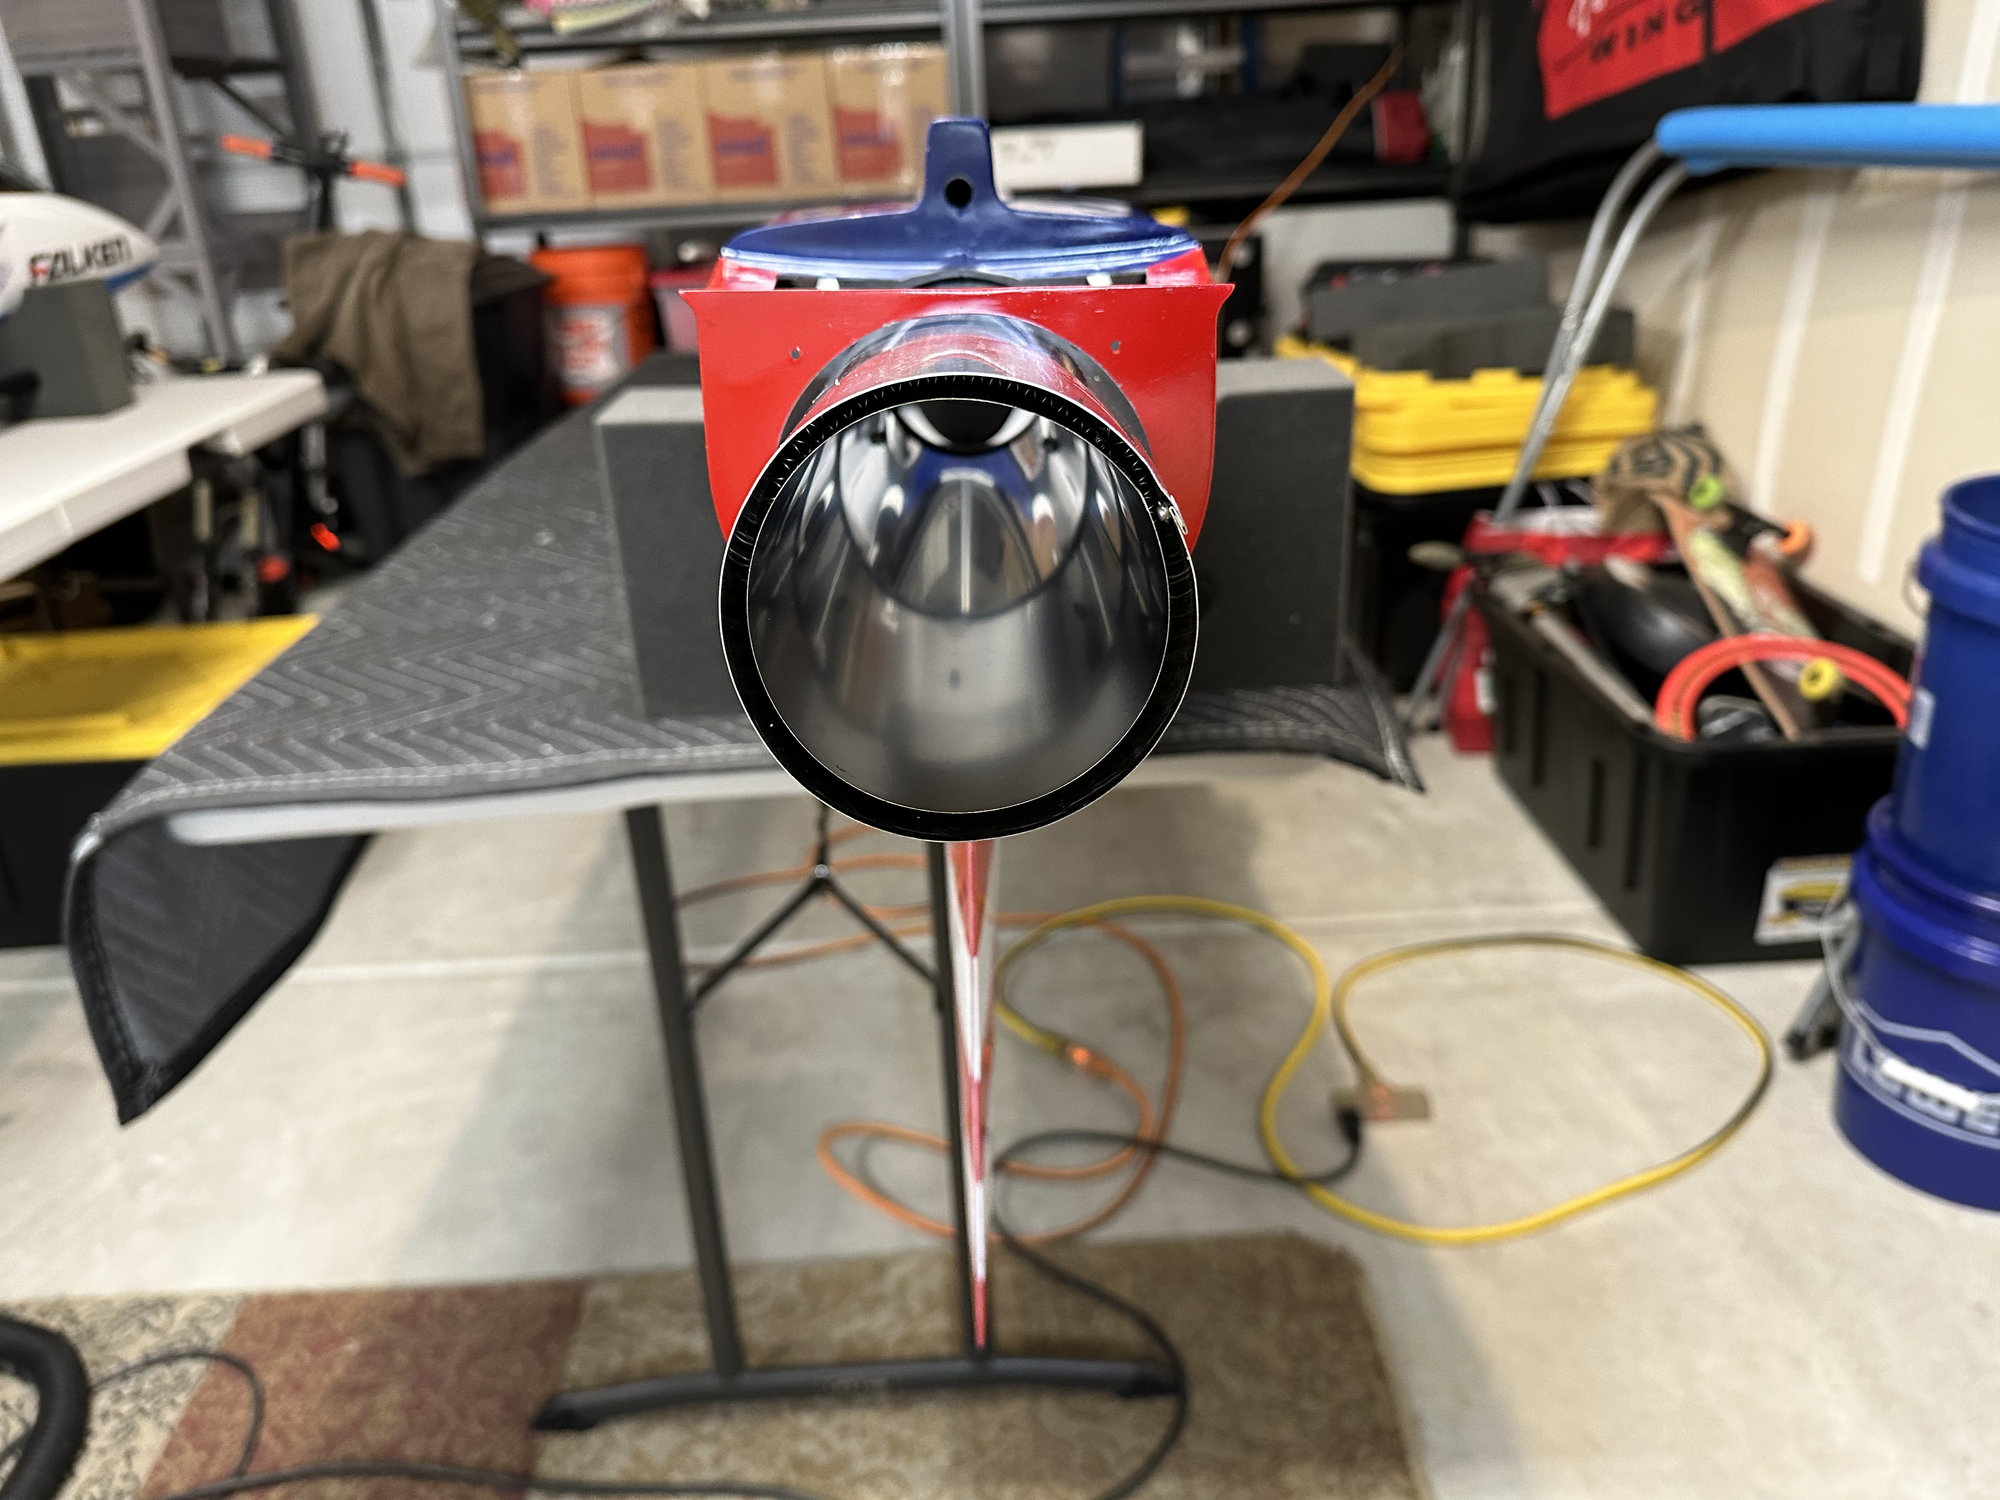
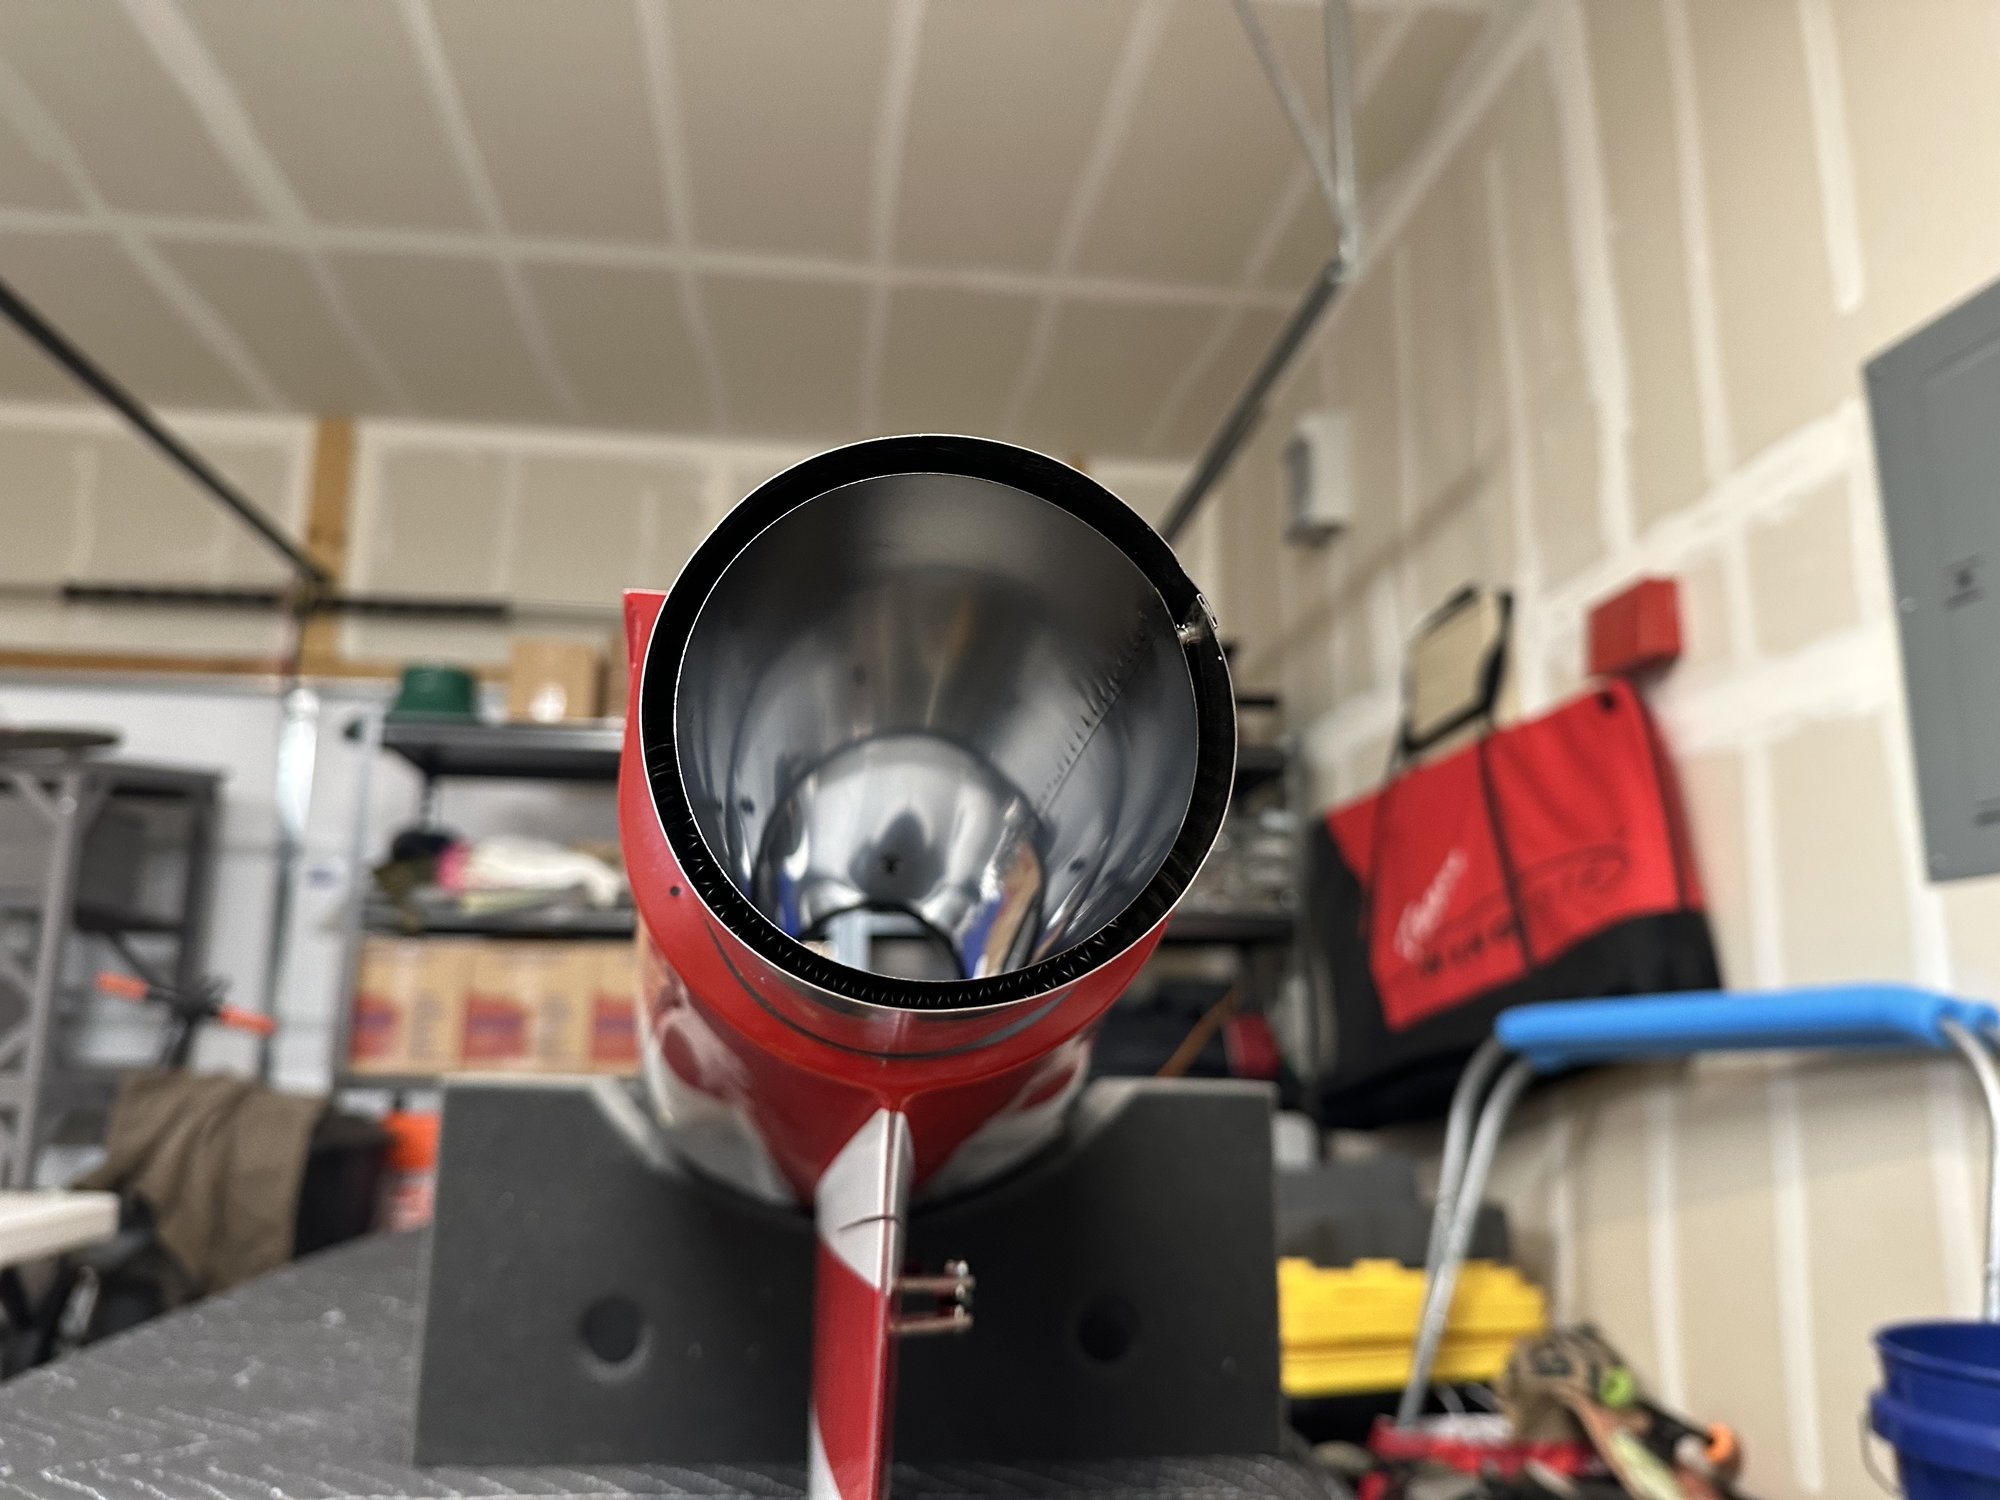
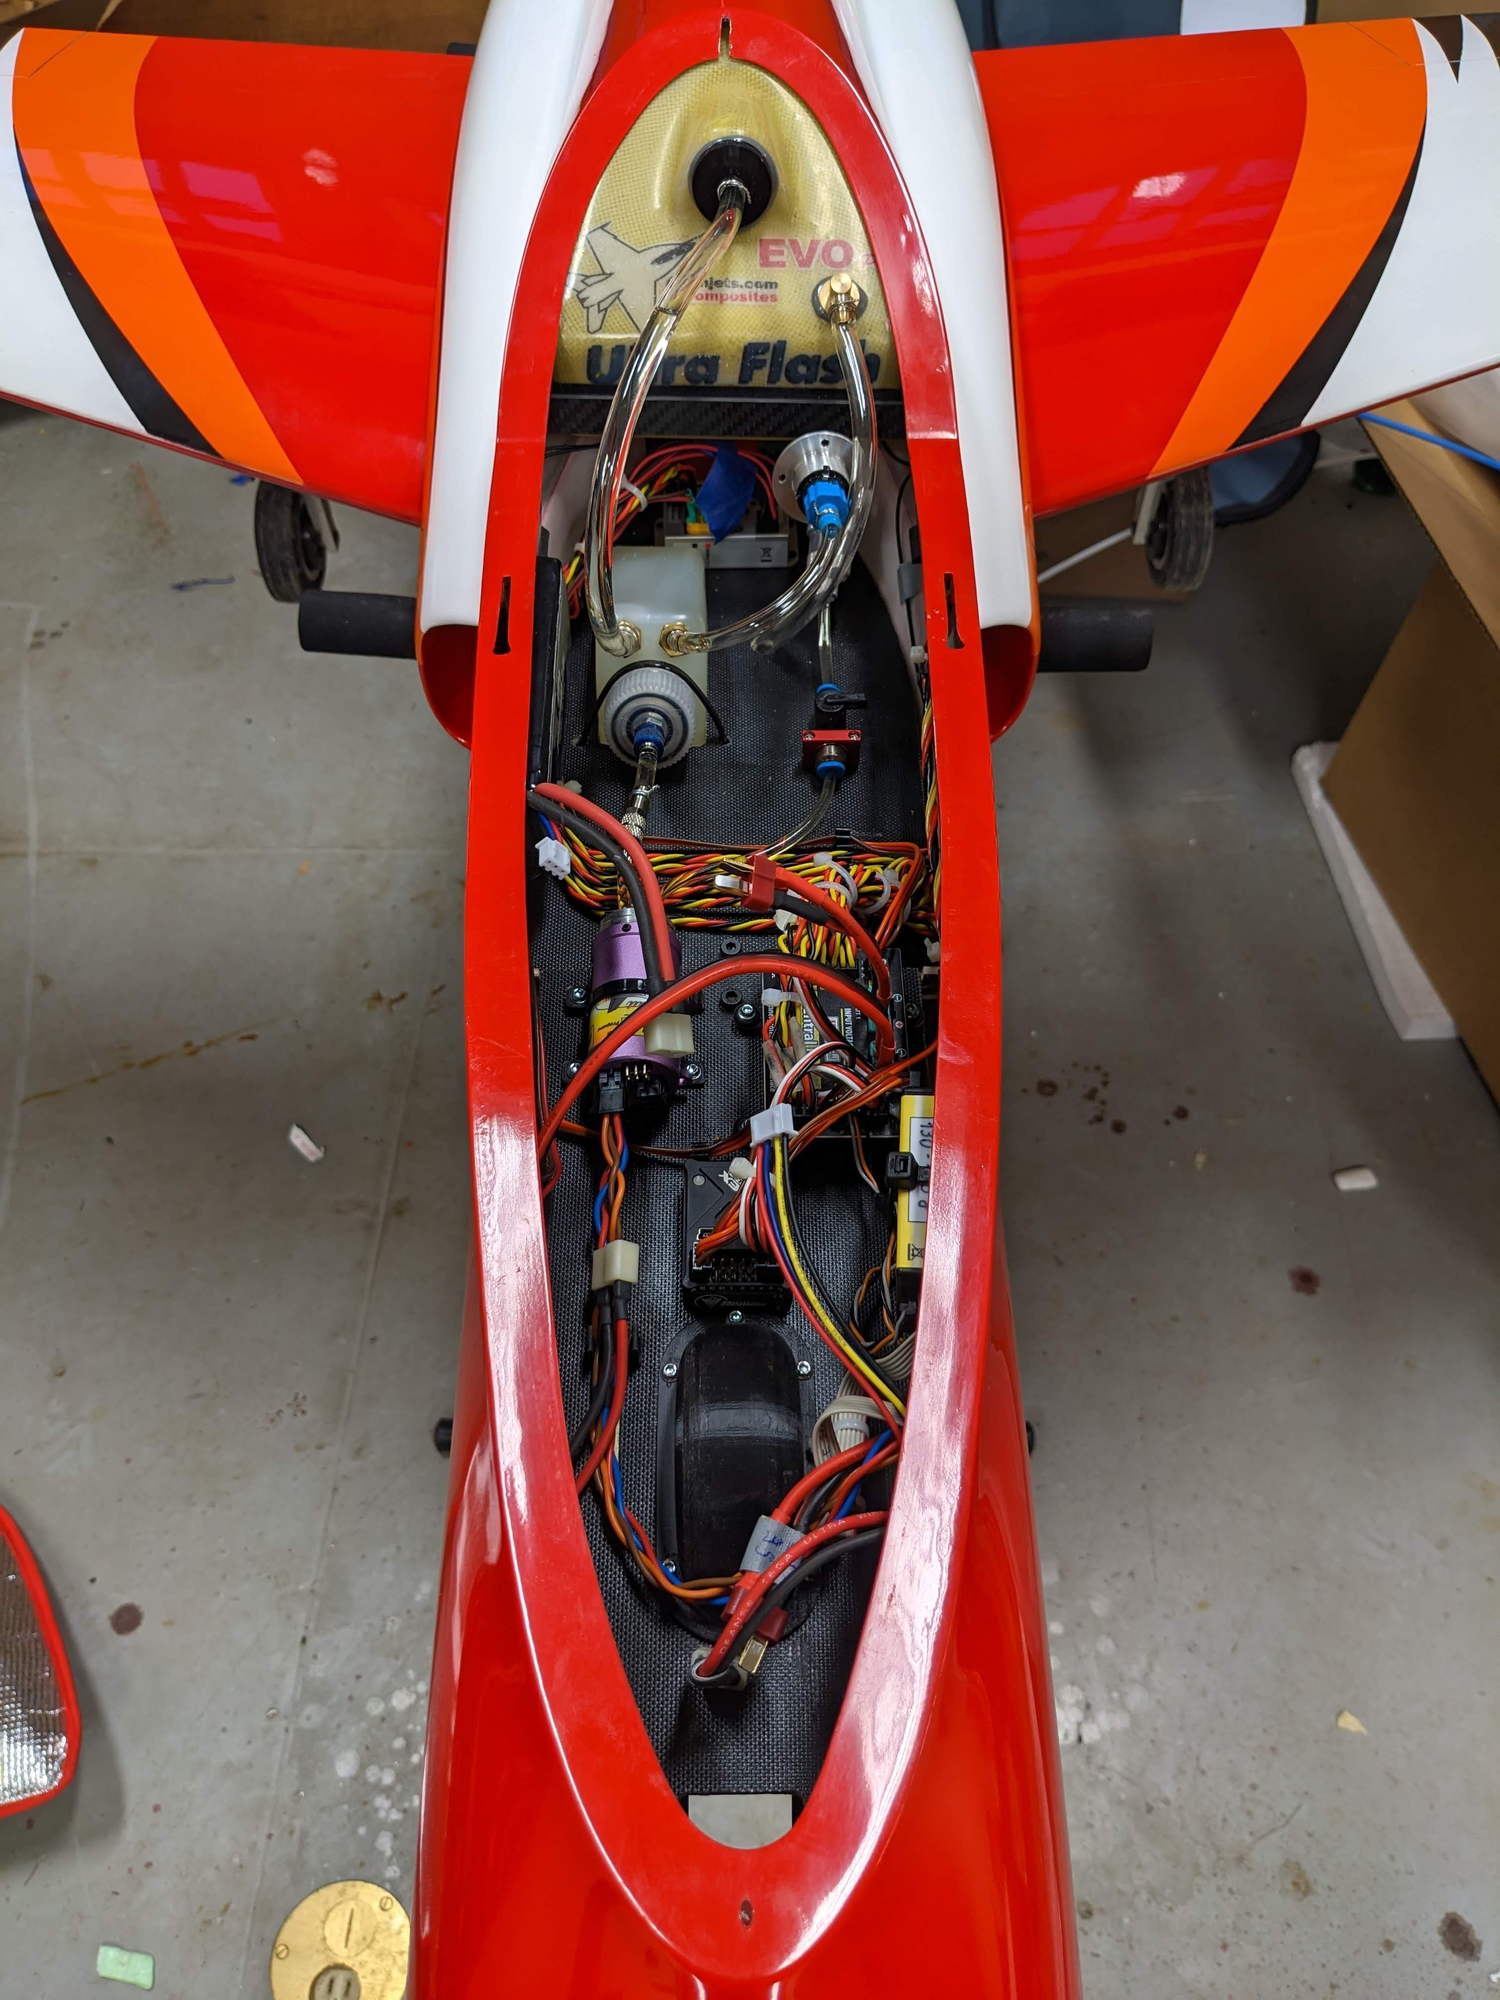
Dave mentioned having to clearance the rear of the fuse for the pipe? I have quite a bit of space around the bell-mouth and the former.. probably somewhere between 1/16 and 1/8 in, should I try to center it in the former as best as possible then mount the tail cone and clearance the back of the fuse so the pipe clears it with the tail cone secured?
Next question, I know it says to glue the heat shield over the rudder servo but you aren�t getting that servo out again without cutting that heat shield out, is that what everyone is doing?
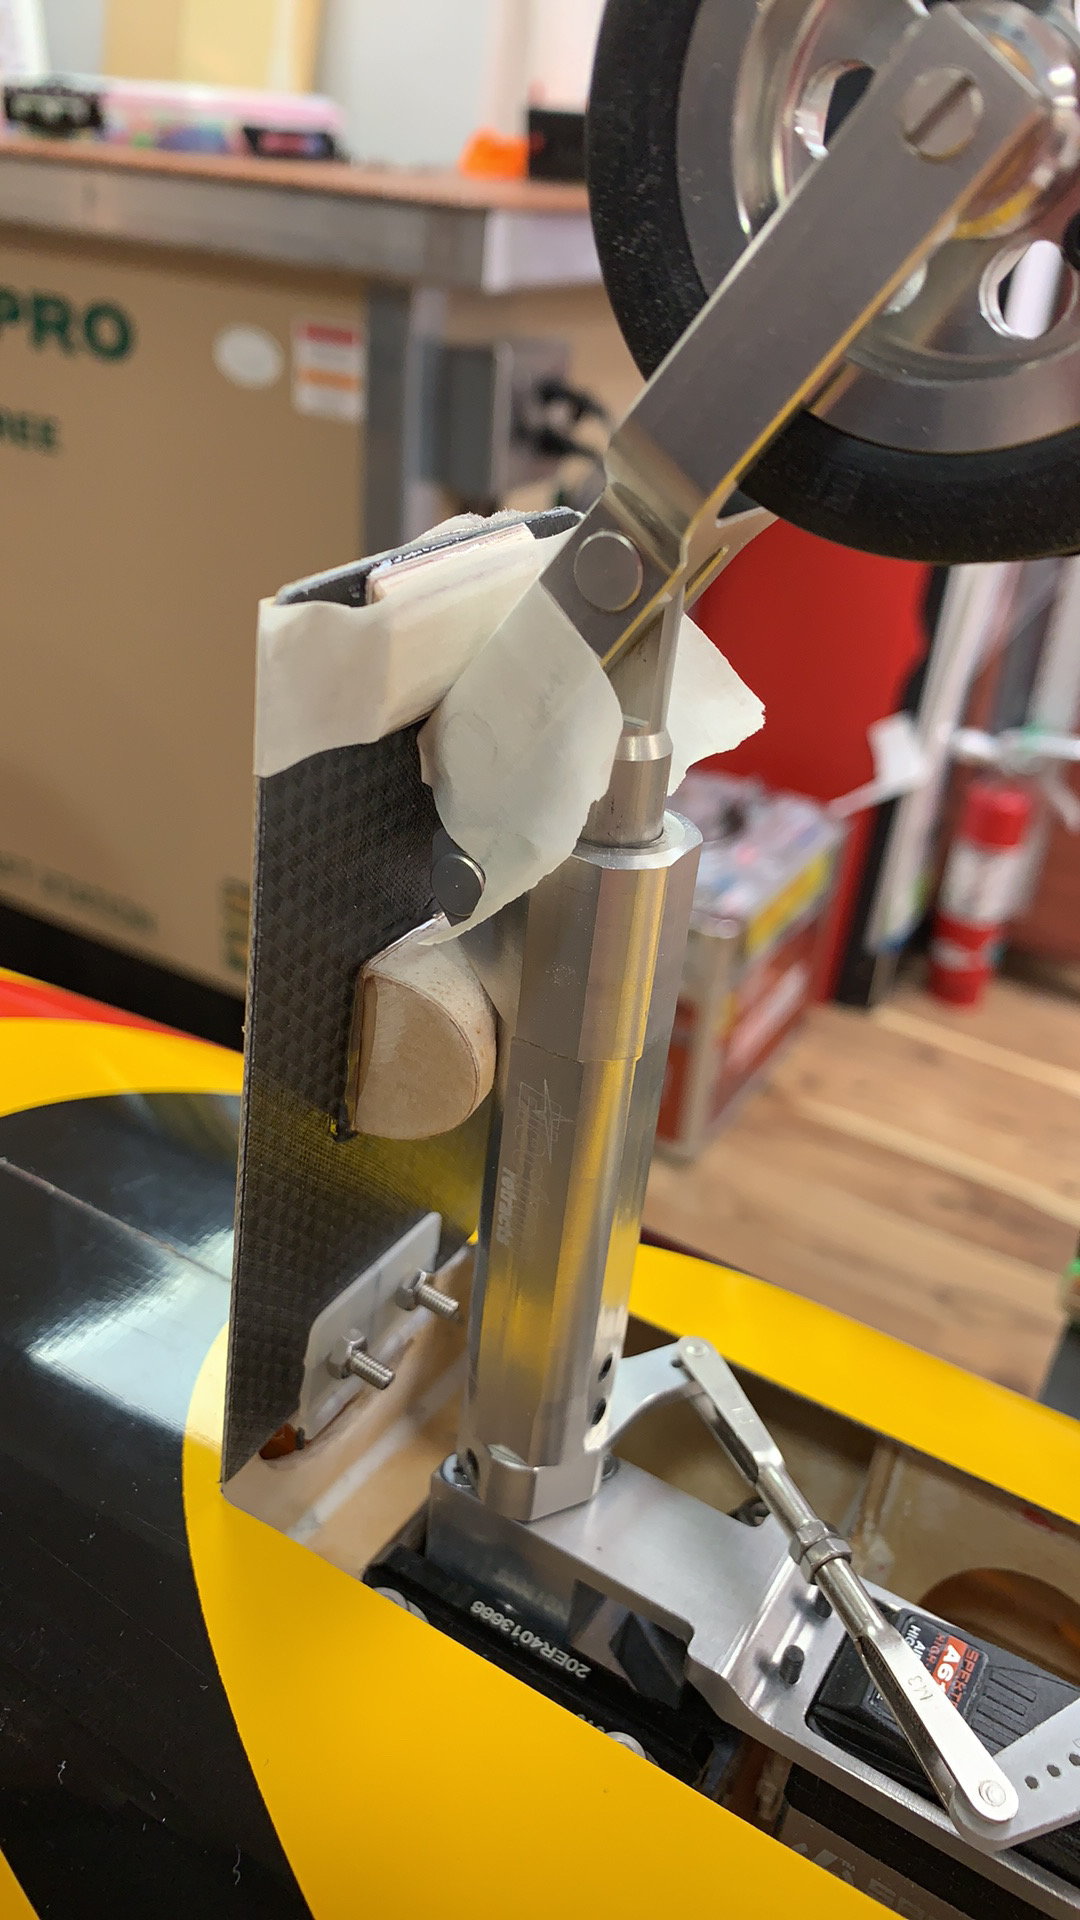
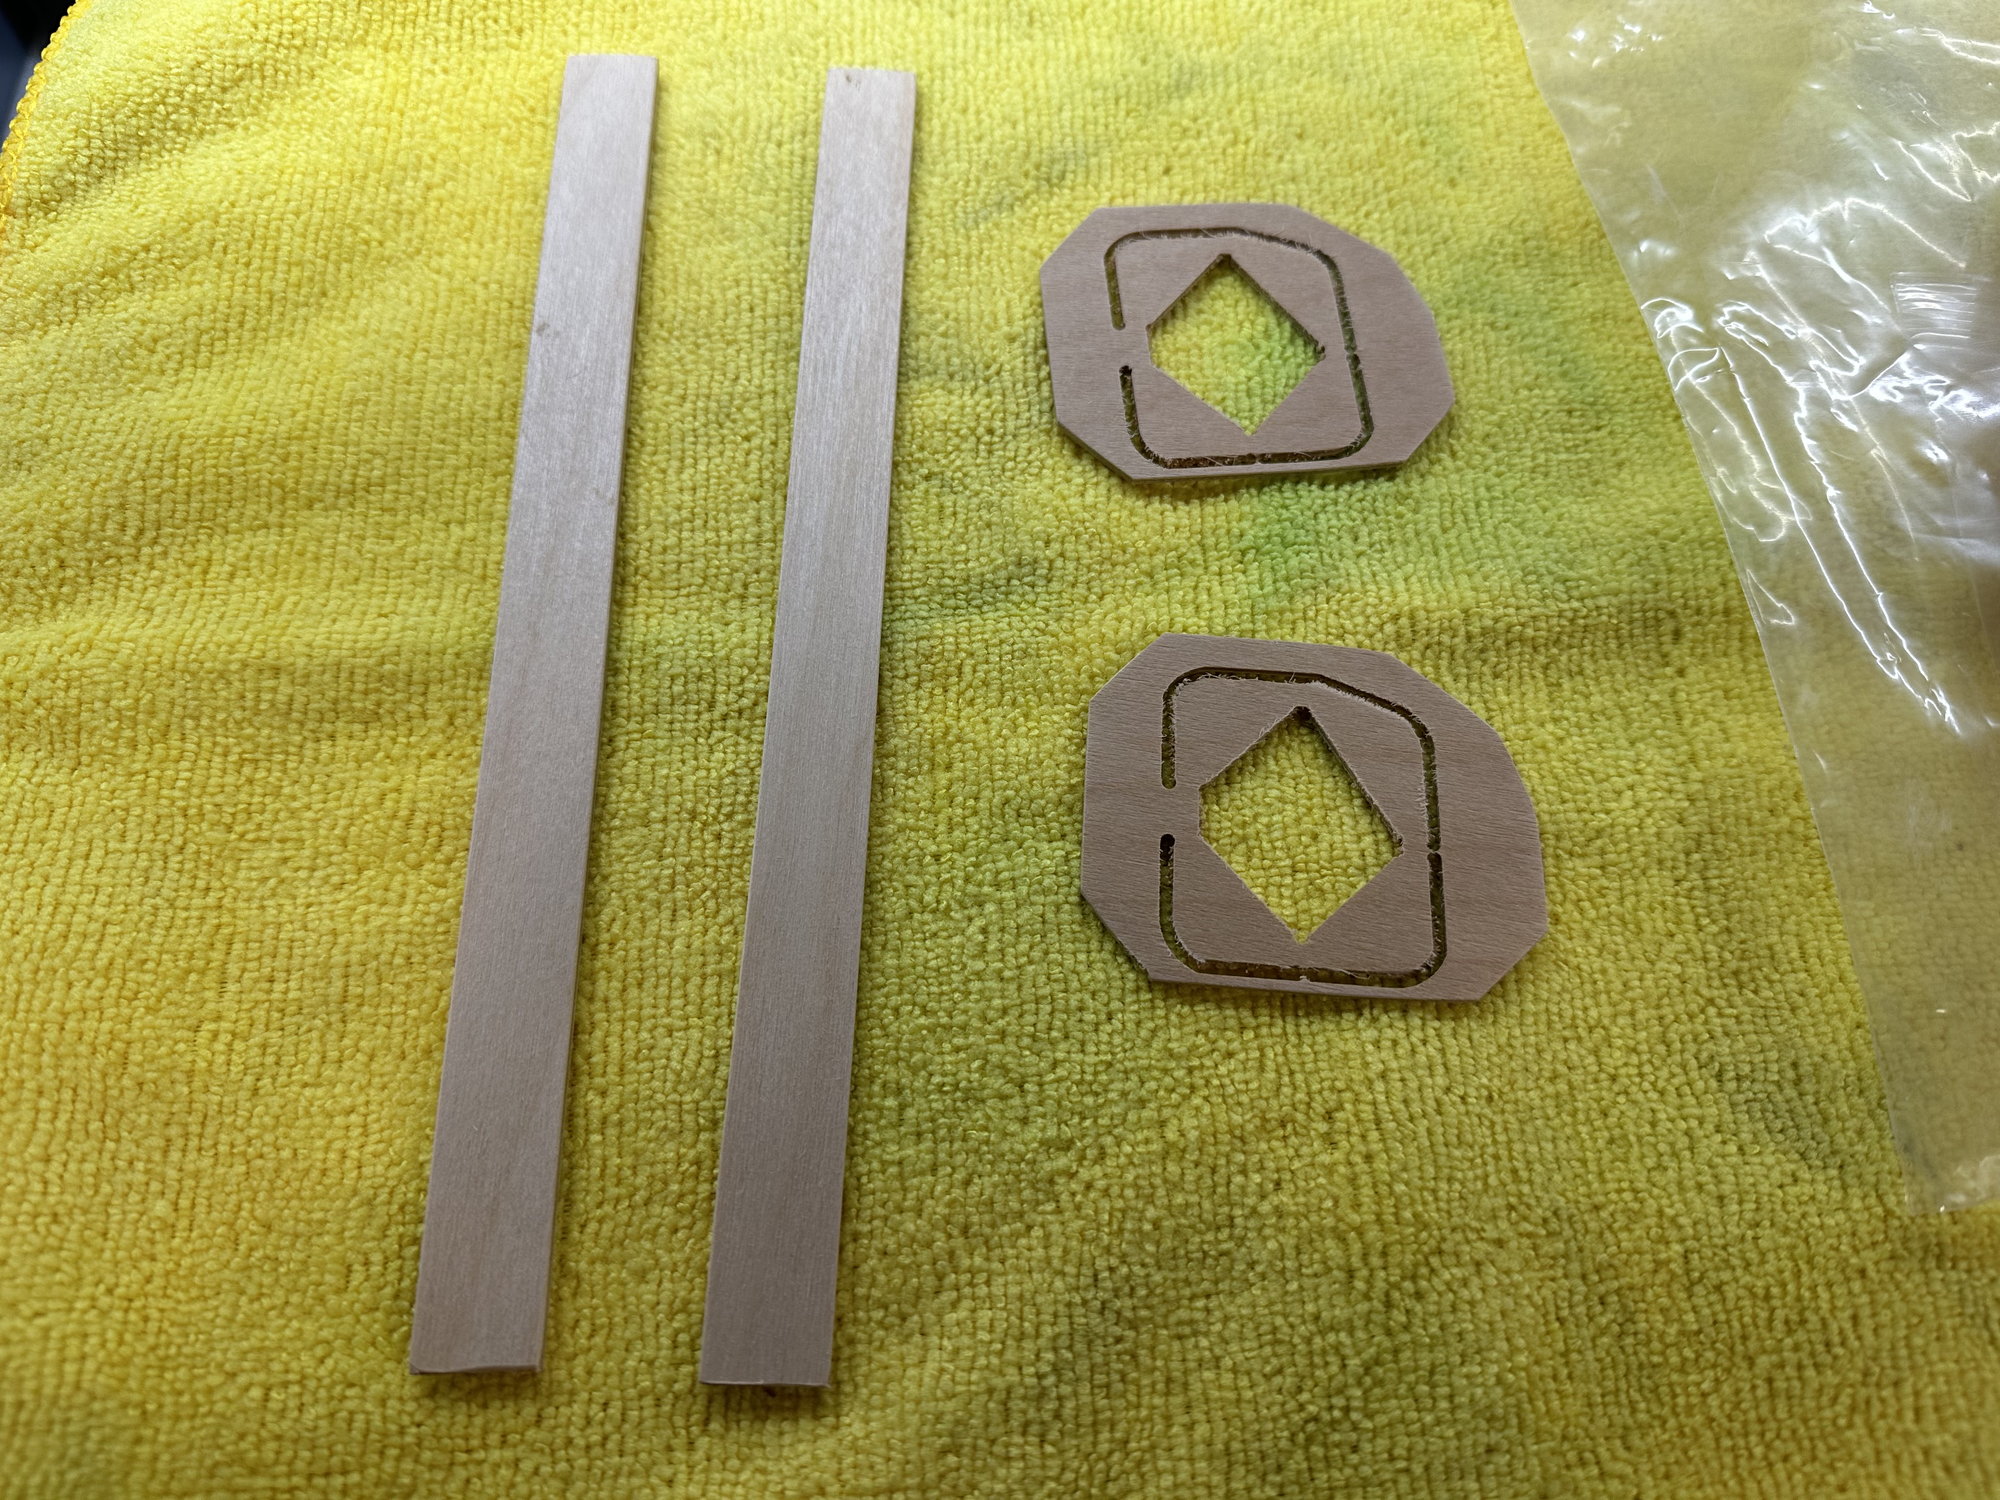
What are these wood parts for?
Dave mentioned having to clearance the rear of the fuse for the pipe? I have quite a bit of space around the bell-mouth and the former.. probably somewhere between 1/16 and 1/8 in, should I try to center it in the former as best as possible then mount the tail cone and clearance the back of the fuse so the pipe clears it with the tail cone secured?
Next question, I know it says to glue the heat shield over the rudder servo but you aren�t getting that servo out again without cutting that heat shield out, is that what everyone is doing?
What are these wood parts for?
02-05-2023, 01:21 PM
#512
Thread Starter
Screw the cone to the bottom of the opening. The Evo likes a little up thrust.
The rectangle thin plywood is to pack down the elevator servo plates if you were fitting ‘wide’ elevator servos.
The plywood strips are for any packing (I pack the nose retract lower) making support plate cross braces…etc
The rectangle thin plywood is to pack down the elevator servo plates if you were fitting ‘wide’ elevator servos.
The plywood strips are for any packing (I pack the nose retract lower) making support plate cross braces…etc
The following users liked this post:
camss69 (02-05-2023)
02-10-2023, 05:22 PM
#513
My Feedback: (1)
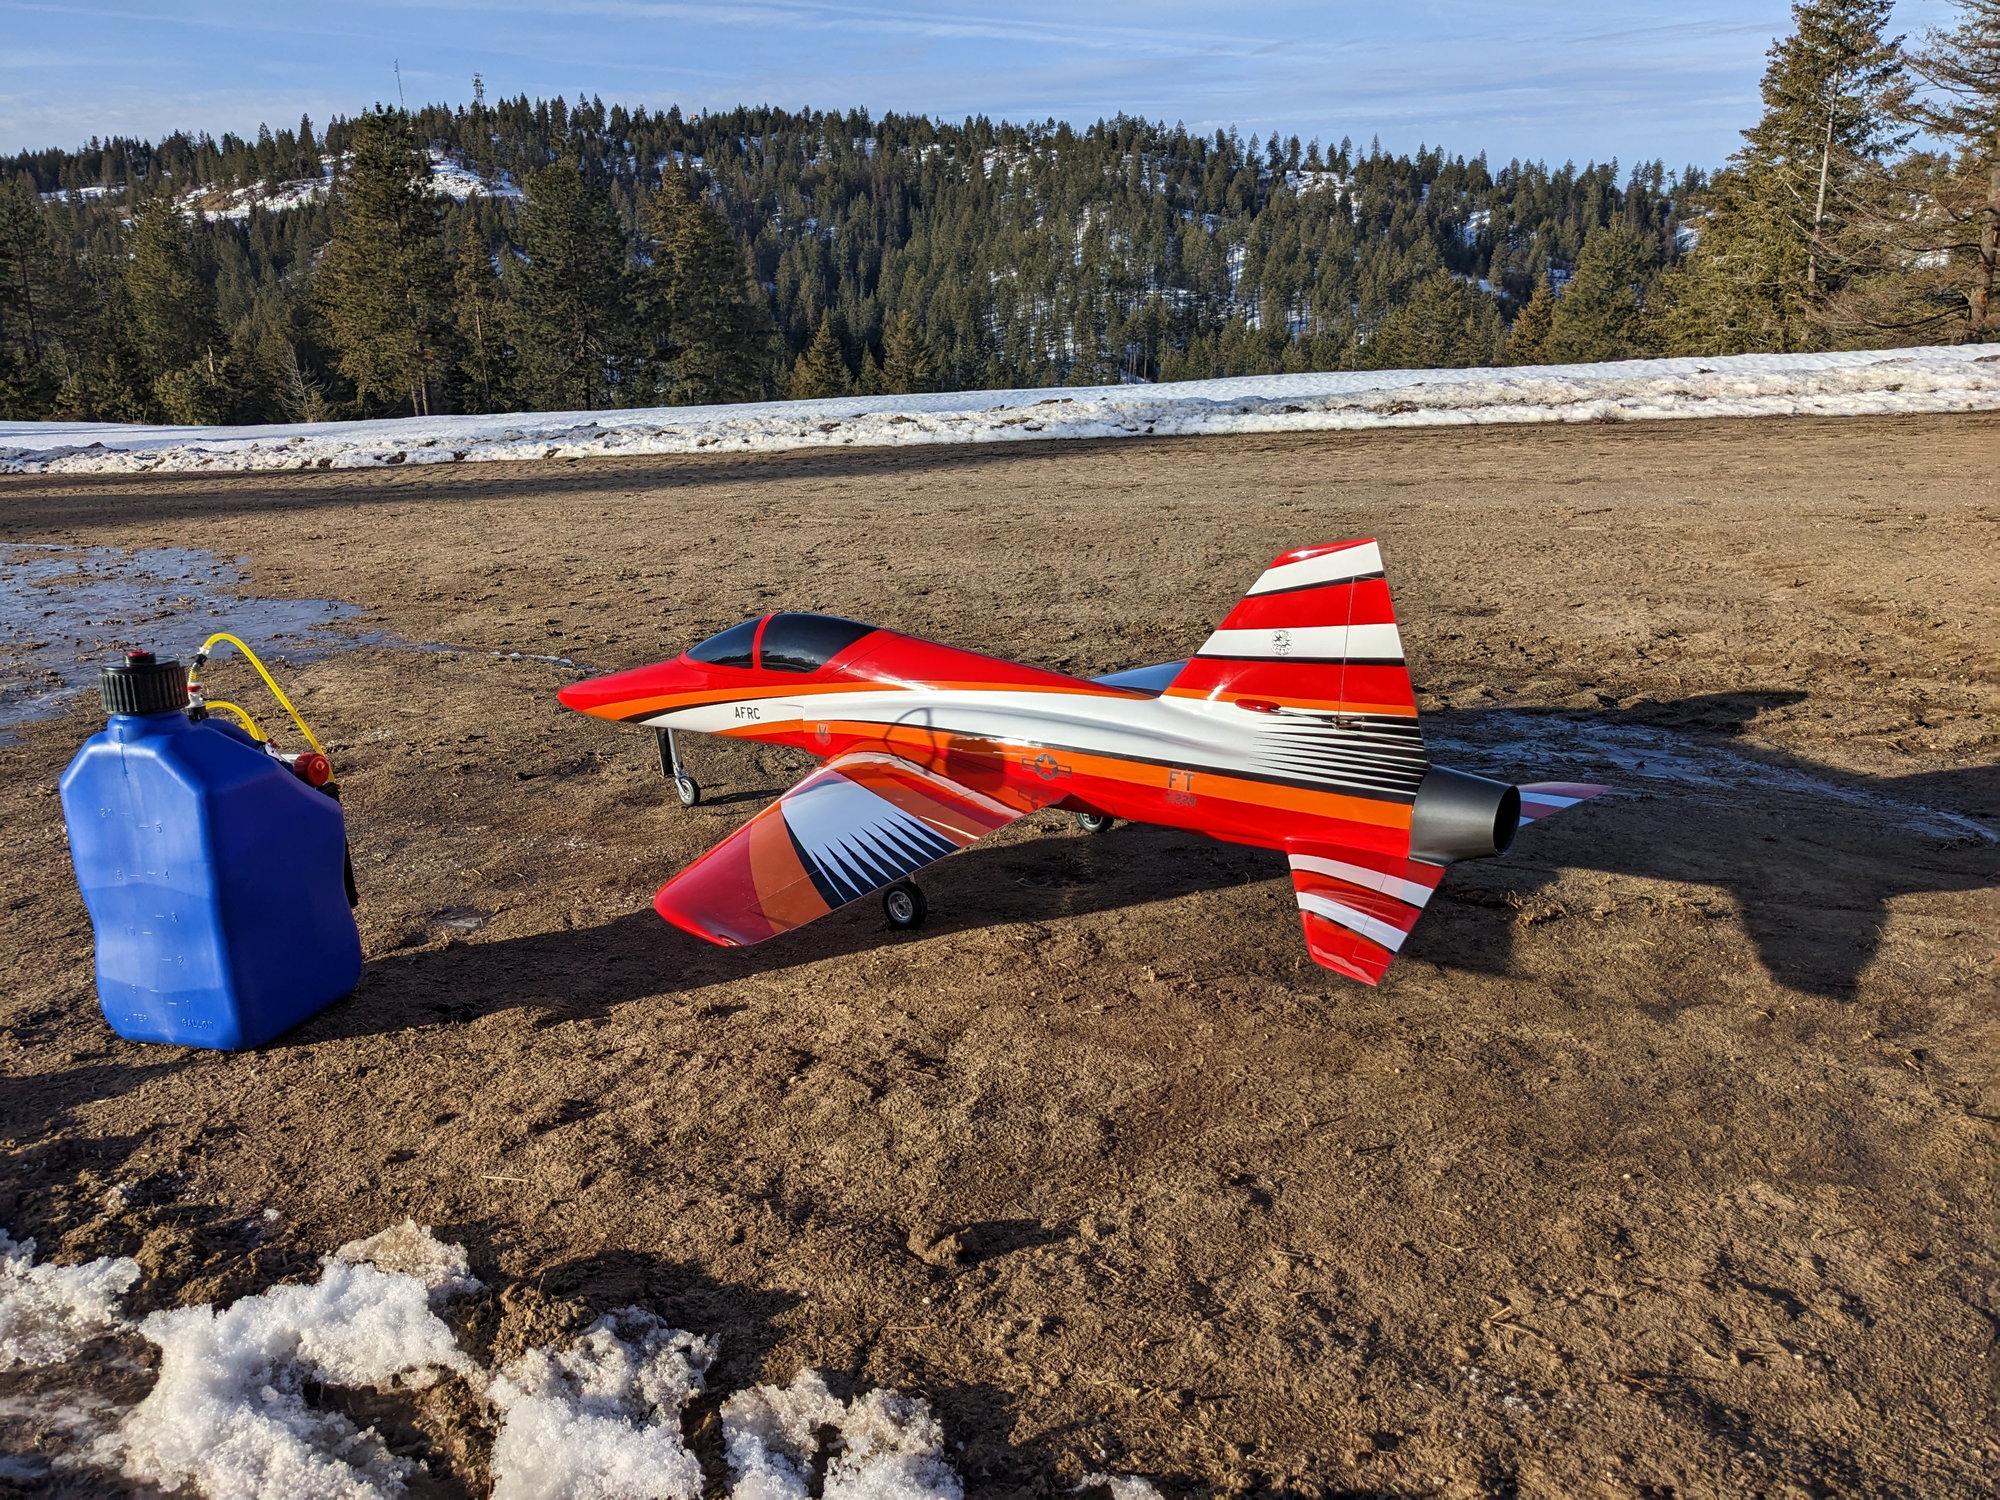
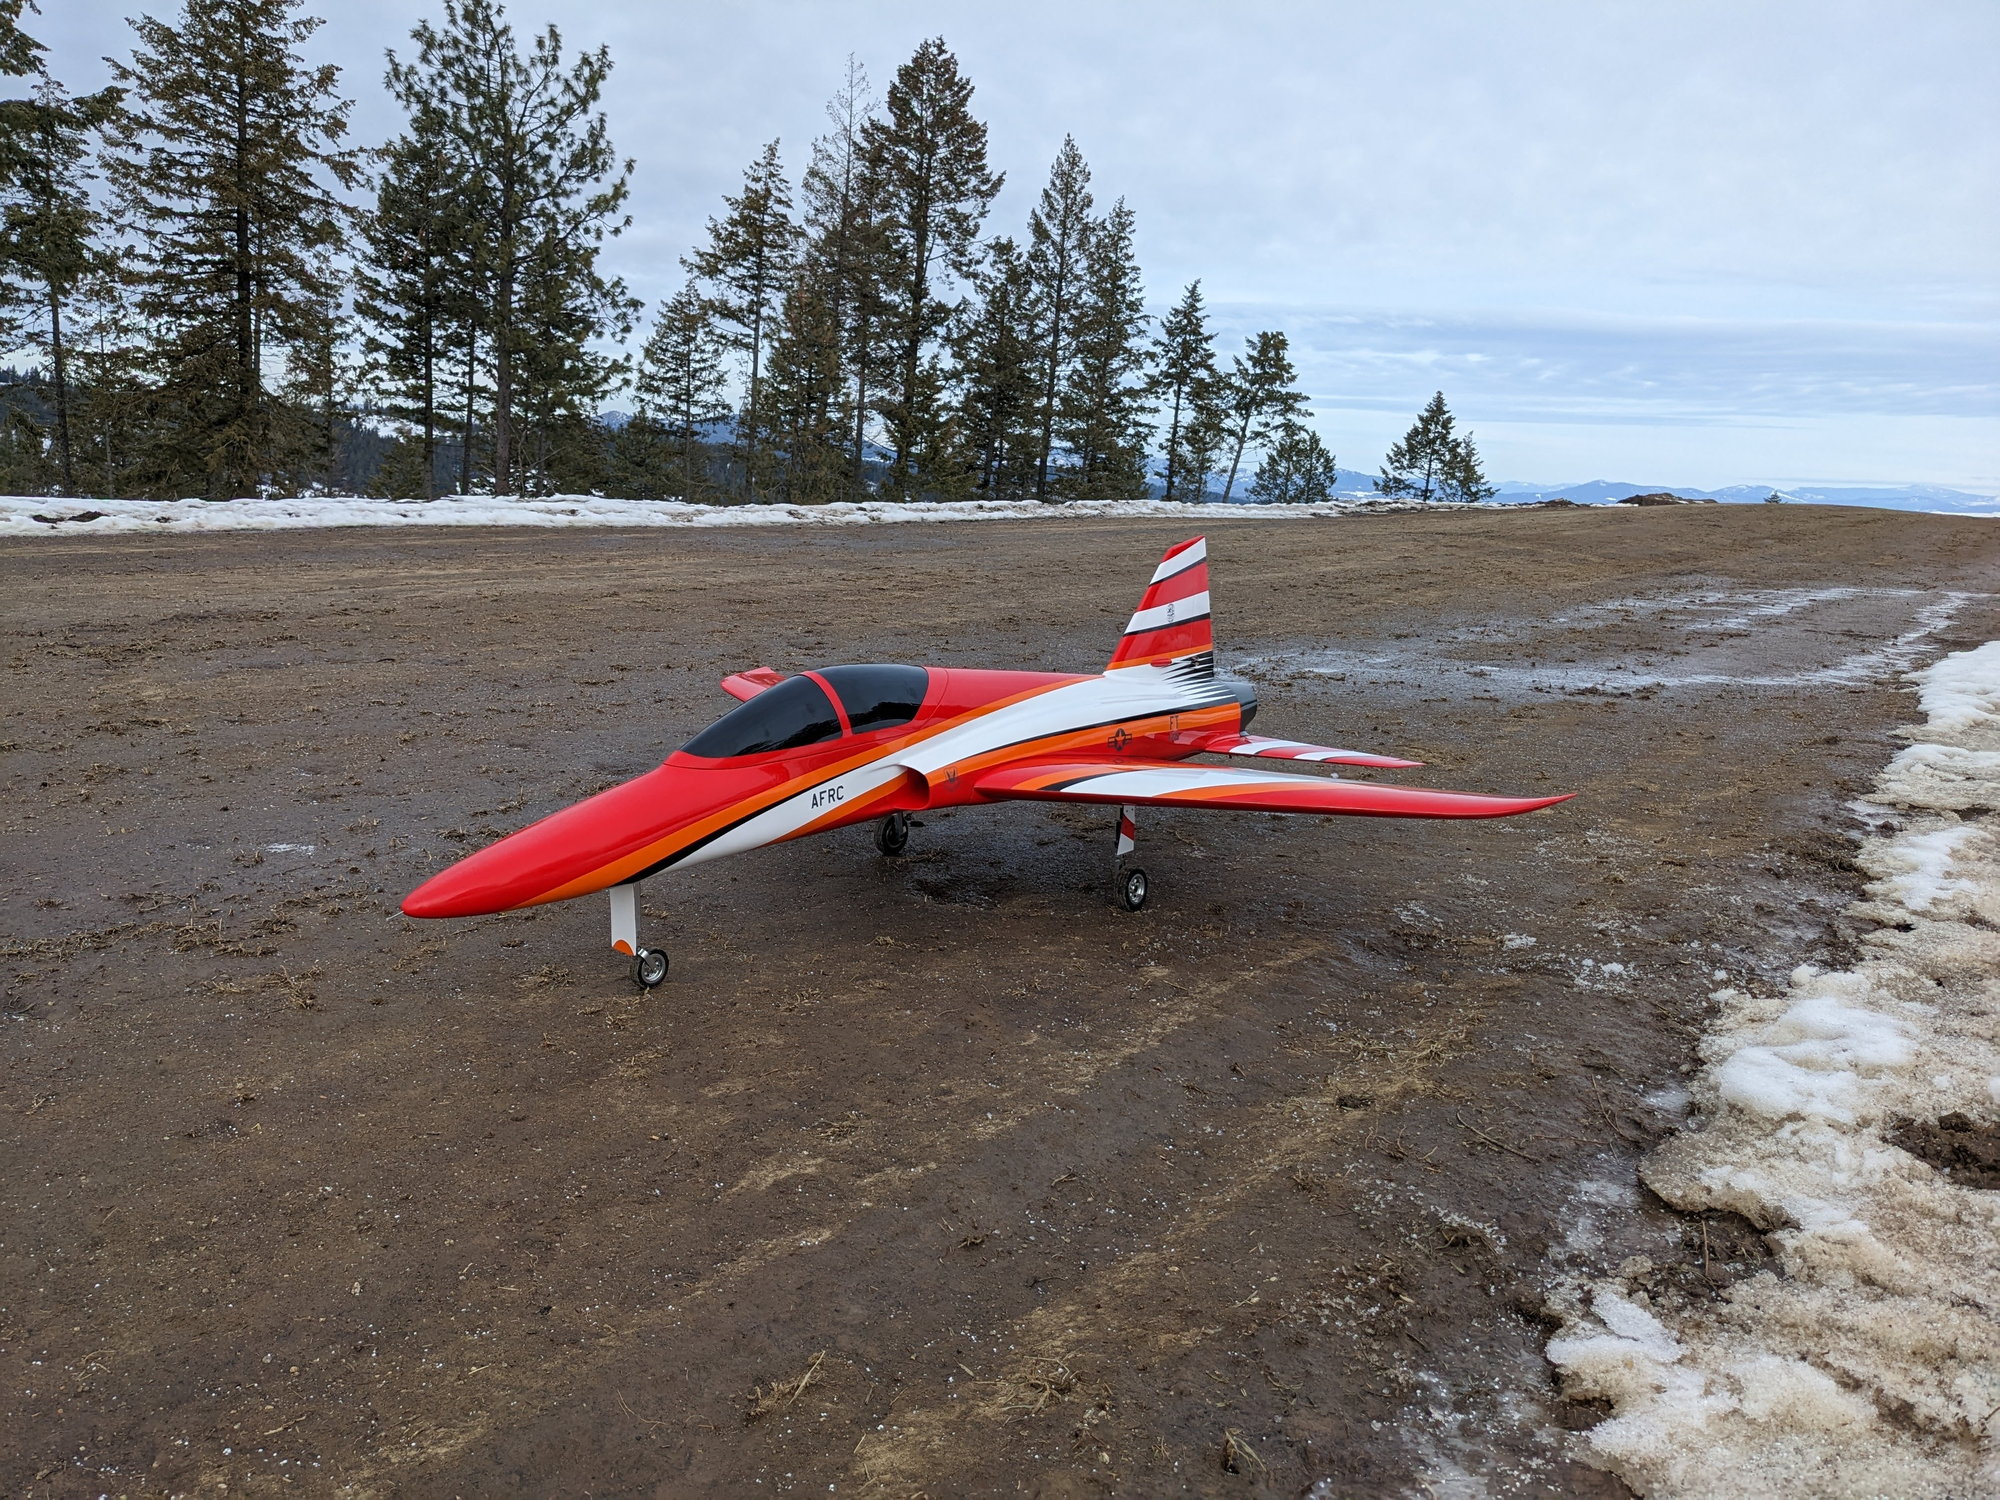
My Ultra Flash EVO finally flew today. I finished the plane a few months ago but screwed up the canopy cutting and glueing and so I had to wait for a new canopy from CARF. I used some earth magnets to glue the canopy this time and also cut it under the central hoop. That helped a lot. Then the weather in WA wasn't supportive. Yesterday was perfect but of course a moose left huge foot prints on the runway delaying the maiden to today.
The plane is awesome and super fast with the Jetcat 130rx. It only needed a little bit of up trim and requires some push when inverted. I will start moving the CG back slowly. I started in the middle of the range... Landing is pretty straightforward. I haven't tried the slight crow mix yet but I'm not sure it needs it.
Anyway, thanks all for all the great information in this thread. If you are building one, you will love it!
The following users liked this post:
paulhat (02-10-2023)
The following users liked this post:
Ricardo Forte (02-11-2023)
02-11-2023, 07:14 AM
#516
My Feedback: (1)
Sure thing. Unfortunately, I can't attach it here but the following link should work. Let me know if it doesn't.
https://drive.google.com/file/d/163T...ew?usp=sharing
And of course, use at your own risk, [insert usual legal disclaimer]
https://drive.google.com/file/d/163T...ew?usp=sharing
And of course, use at your own risk, [insert usual legal disclaimer]
The following users liked this post:
camss69 (02-14-2023)
02-11-2023, 05:30 PM
#518

My Ultra Flash EVO finally flew today. I finished the plane a few months ago but screwed up the canopy cutting and glueing and so I had to wait for a new canopy from CARF. I used some earth magnets to glue the canopy this time and also cut it under the central hoop. That helped a lot. Then the weather in WA wasn't supportive. Yesterday was perfect but of course a moose left huge foot prints on the runway delaying the maiden to today. The plane is awesome and super fast with the Jetcat 130rx. It only needed a little bit of up trim and requires some push when inverted. I will start moving the CG back slowly. I started in the middle of the range... Landing is pretty straightforward. I haven't tried the slight crow mix yet but I'm not sure it needs it. Anyway, thanks all for all the great information in this thread. If you are building one, you will love it! 
02-11-2023, 05:46 PM
#519
My Feedback: (1)
After more flights today I moved the CG to 234mm from LE with just the UAT full. The plane needs 2 clicks of up trim with the tank full and a couple of clicks of down trim as the tank empties itself. This said, I have the same situation where I have maybe 1mm of up trims in cruise mode and excluding the 2 clicks due to tank full... I think this is explained by the fact that the fuel tank is mostly ahead of the CG. I have 3000ml tank from CMJets and land with 1000ml left. That is still moving the CG forward by quite a bit. This doesn't bother me too much as the plane feels very neutral to me and is plenty fast.
When you say it is hard to land with the cg far back, how far back did you go and what difficulties do you see when landing? I'm tempted to move the CG back further but I'm obviously concerned about going too far.
When you say it is hard to land with the cg far back, how far back did you go and what difficulties do you see when landing? I'm tempted to move the CG back further but I'm obviously concerned about going too far.
02-11-2023, 06:13 PM
#520
After more flights today I moved the CG to 234mm from LE with just the UAT full. The plane needs 2 clicks of up trim with the tank full and a couple of clicks of down trim as the tank empties itself. This said, I have the same situation where I have maybe 1mm of up trims in cruise mode and excluding the 2 clicks due to tank full... I think this is explained by the fact that the fuel tank is mostly ahead of the CG. I have 3000ml tank from CMJets and land with 1000ml left. That is still moving the CG forward by quite a bit. This doesn't bother me too much as the plane feels very neutral to me and is plenty fast. When you say it is hard to land with the cg far back, how far back did you go and what difficulties do you see when landing? I'm tempted to move the CG back further but I'm obviously concerned about going too far.
02-11-2023, 08:24 PM
#521
My Feedback: (1)
Just to be clear. In cruise mode with the tank less than 50% full, my elevator control surface bottom is flush with the stab top. Looks like about 1mm up. Right after take off I have to add 2 clicks of up trim on my Jeti tx. That's probably another 1mm. I'm not sure how it would be possible that we have a different incidence. As far as I know they are all from the same mold. I got mine about 9 months ago or so.
02-12-2023, 12:11 AM
#522
Thread Starter
Mine flies with a little up trim too. There is a bigger shift in balance over the original UF because of the tank shape. The CARF tank is around 3.4ltrs, when the fuel level goes down the fuel all moves back into the ‘sump’ part of the tank. I balanced mine with the fuel just showing in the top part of the tank (sump full + a bit) at 235mm gear down.
Did you screw the carbon bell mouth to the top or bottom of the opening? (Sitting on its wheels) It needs to be hard against the lower part near the wing seat or you are adding a tiny bit of down thrust.
DW
Did you screw the carbon bell mouth to the top or bottom of the opening? (Sitting on its wheels) It needs to be hard against the lower part near the wing seat or you are adding a tiny bit of down thrust.
DW
02-12-2023, 09:29 AM
#523
Mine flies with a little up trim too. There is a bigger shift in balance over the original UF because of the tank shape. The CARF tank is around 3.4ltrs, when the fuel level goes down the fuel all moves back into the �sump� part of the tank. I balanced mine with the fuel just showing in the top part of the tank (sump full + a bit) at 235mm gear down.
Did you screw the carbon bell mouth to the top or bottom of the opening? (Sitting on its wheels) It needs to be hard against the lower part near the wing seat or you are adding a tiny bit of down thrust.
DW
Did you screw the carbon bell mouth to the top or bottom of the opening? (Sitting on its wheels) It needs to be hard against the lower part near the wing seat or you are adding a tiny bit of down thrust.
DW
02-12-2023, 11:30 AM
#524
Thread Starter
My level above is pretty clear, if you chose to go away from the CARF tank is will vary from empty anyway.
next time I have it out I’ll see what the balance change is full to empty.
next time I have it out I’ll see what the balance change is full to empty.