


CARF Ultra Flash Evo build thread +


 04-10-2023, 12:35 PM
#579
Hope that helps!
Last edited by camss69; 04-10-2023 at 04:41 PM.
The following users liked this post:
AEROSHELDON (04-10-2023)
04-19-2023, 07:41 AM
#580

My Feedback: (11)
Still working on my flash EVO, I ended getting a good deal on a K130g4. Im going to give it a try I hope its has some speed! My 142 is going in to my new f-86.
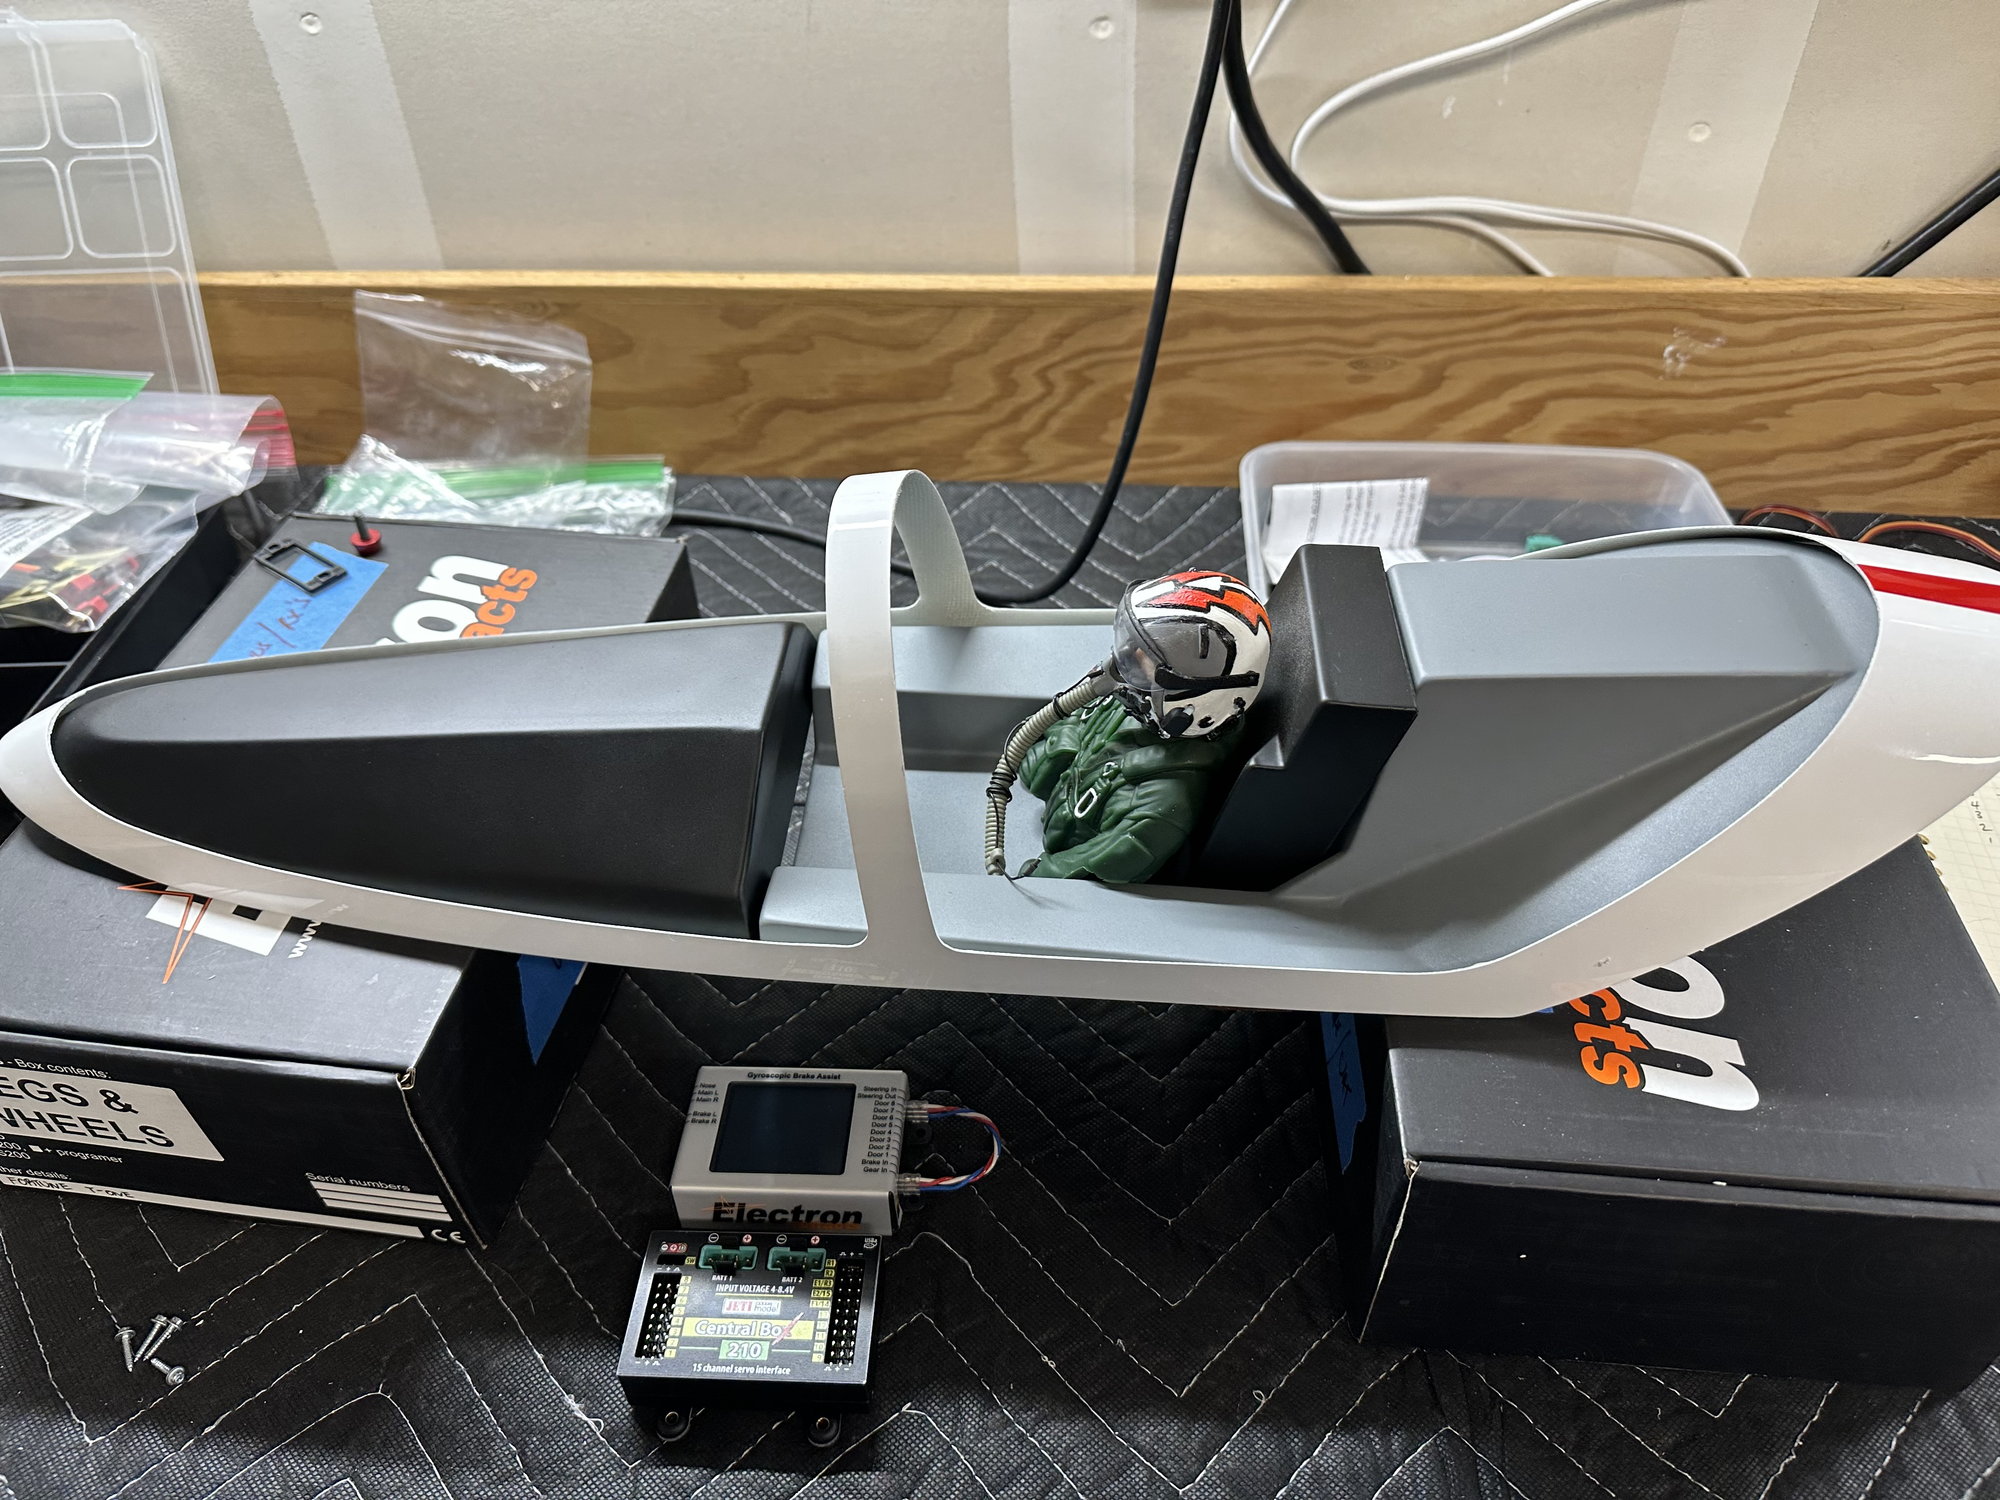
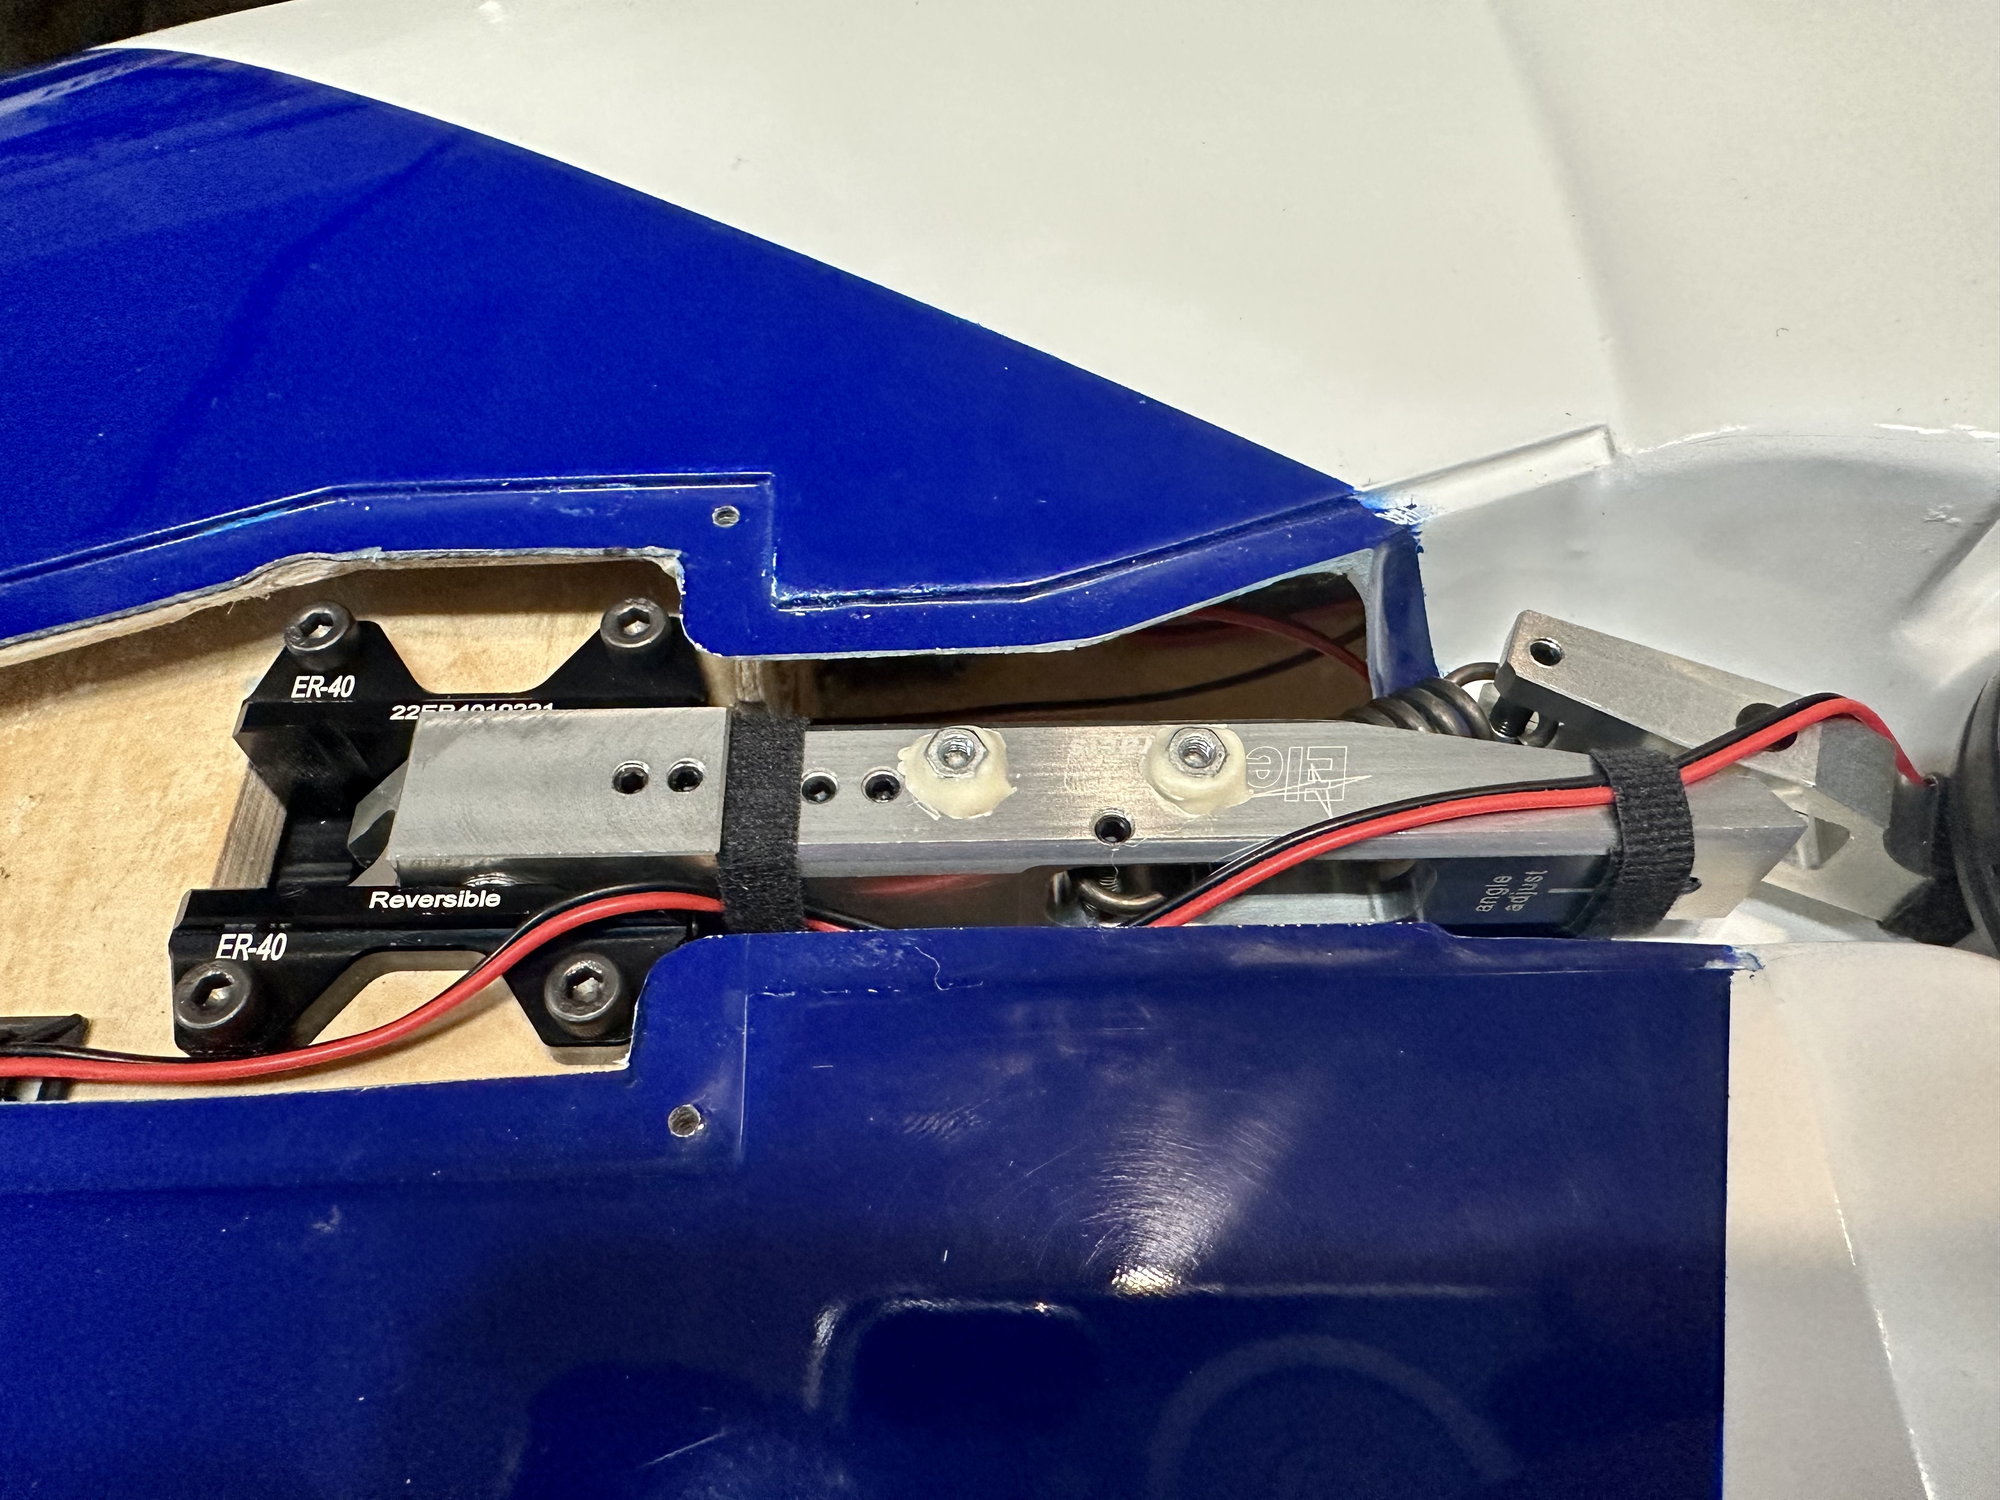
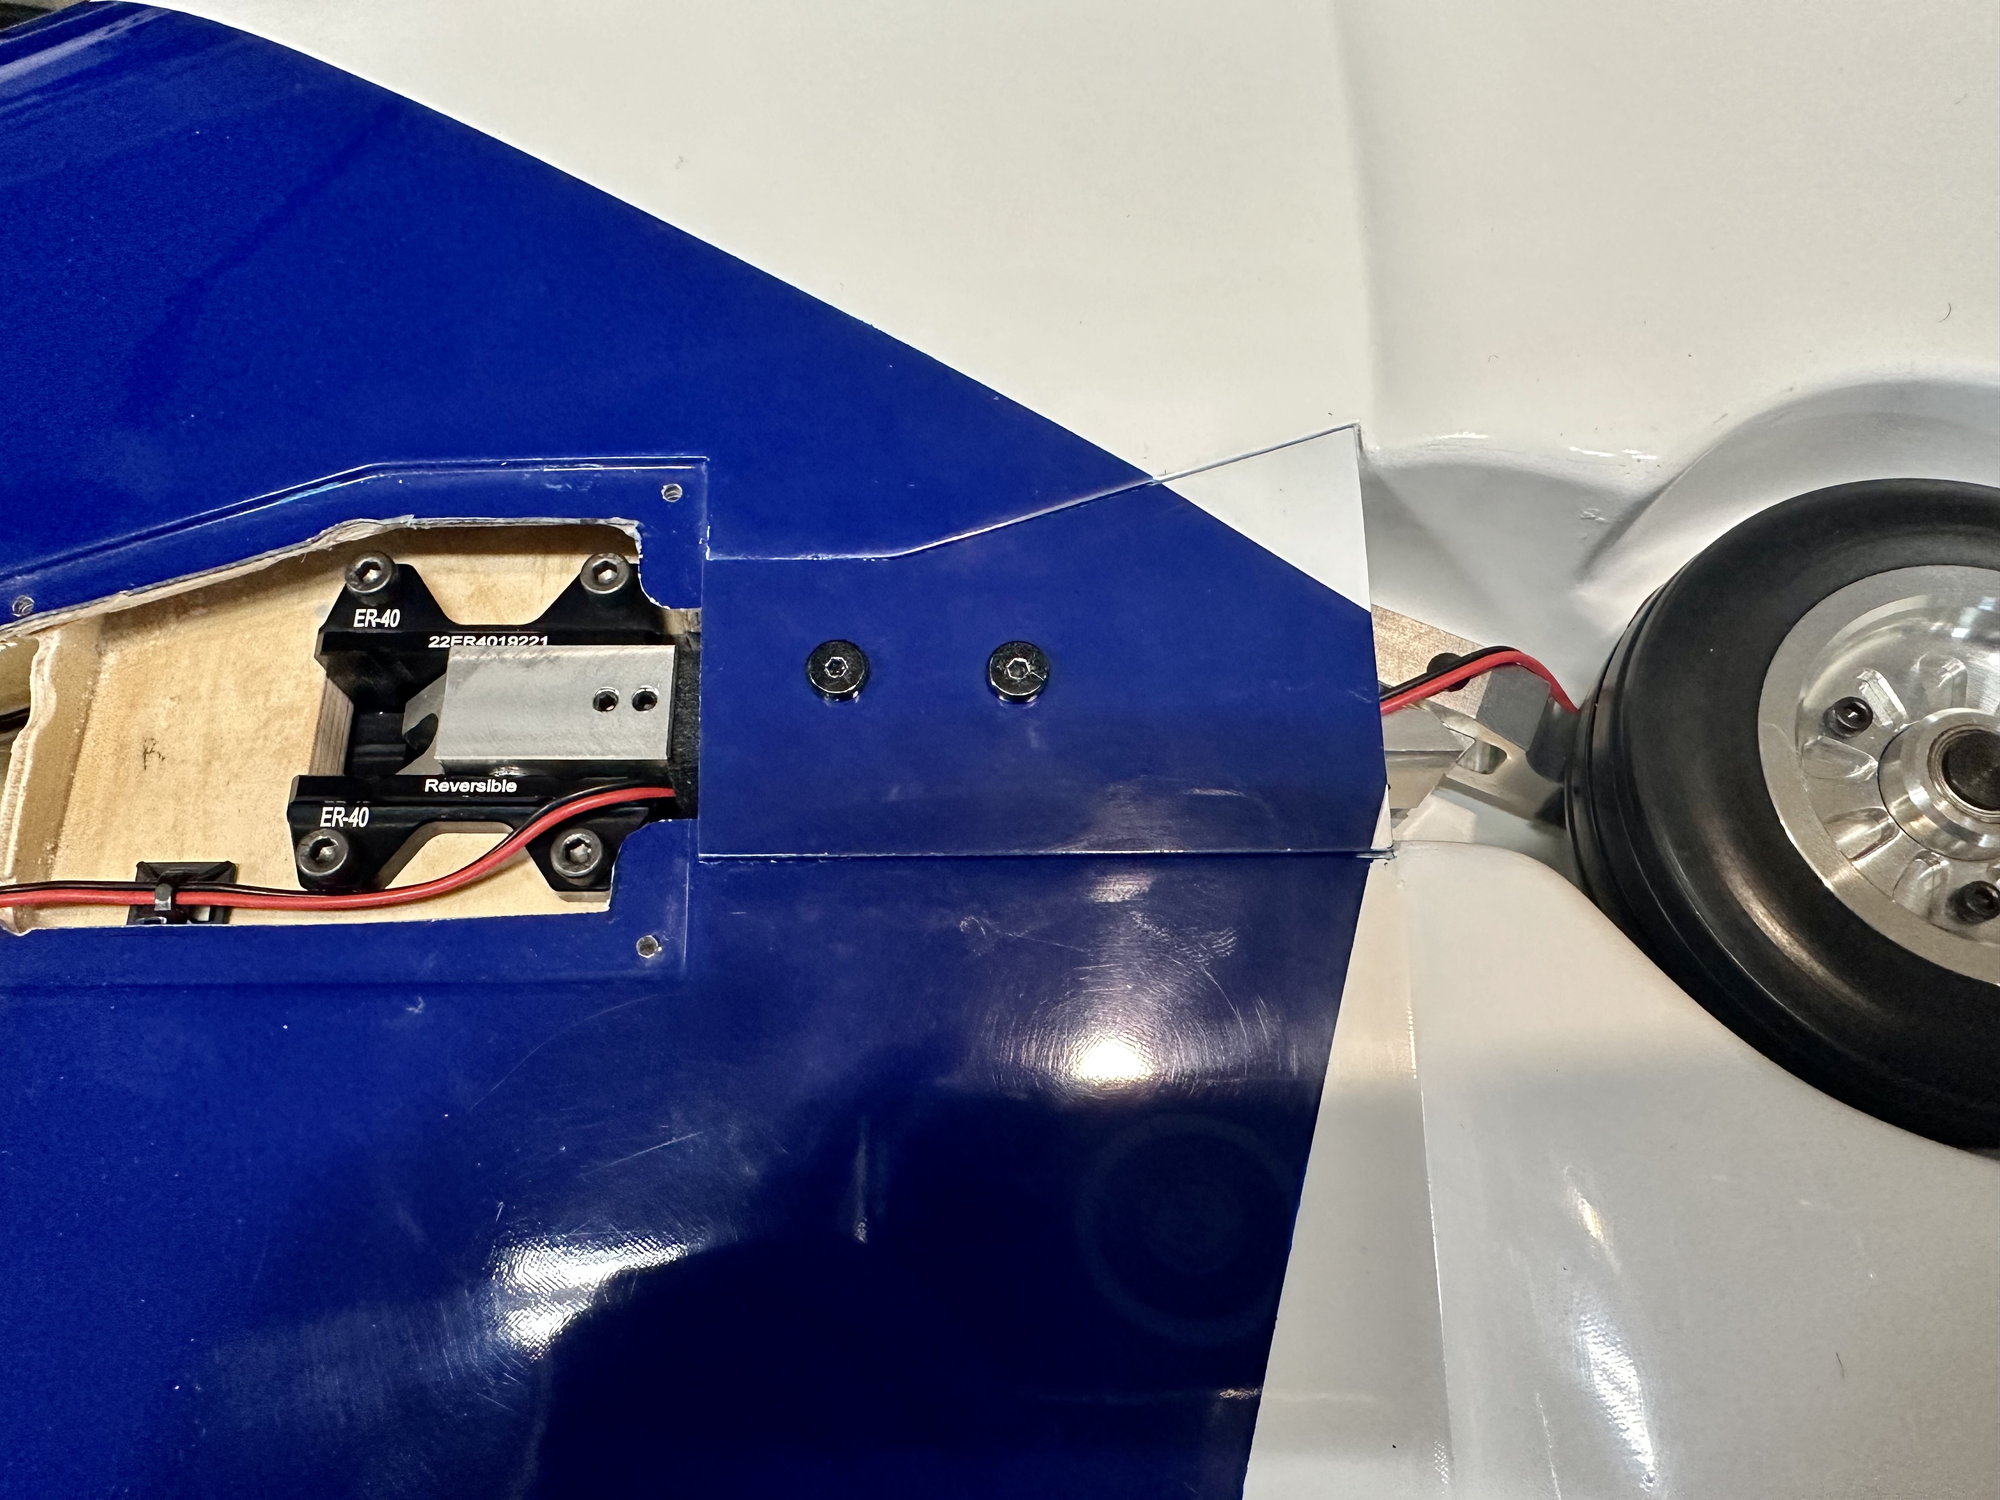
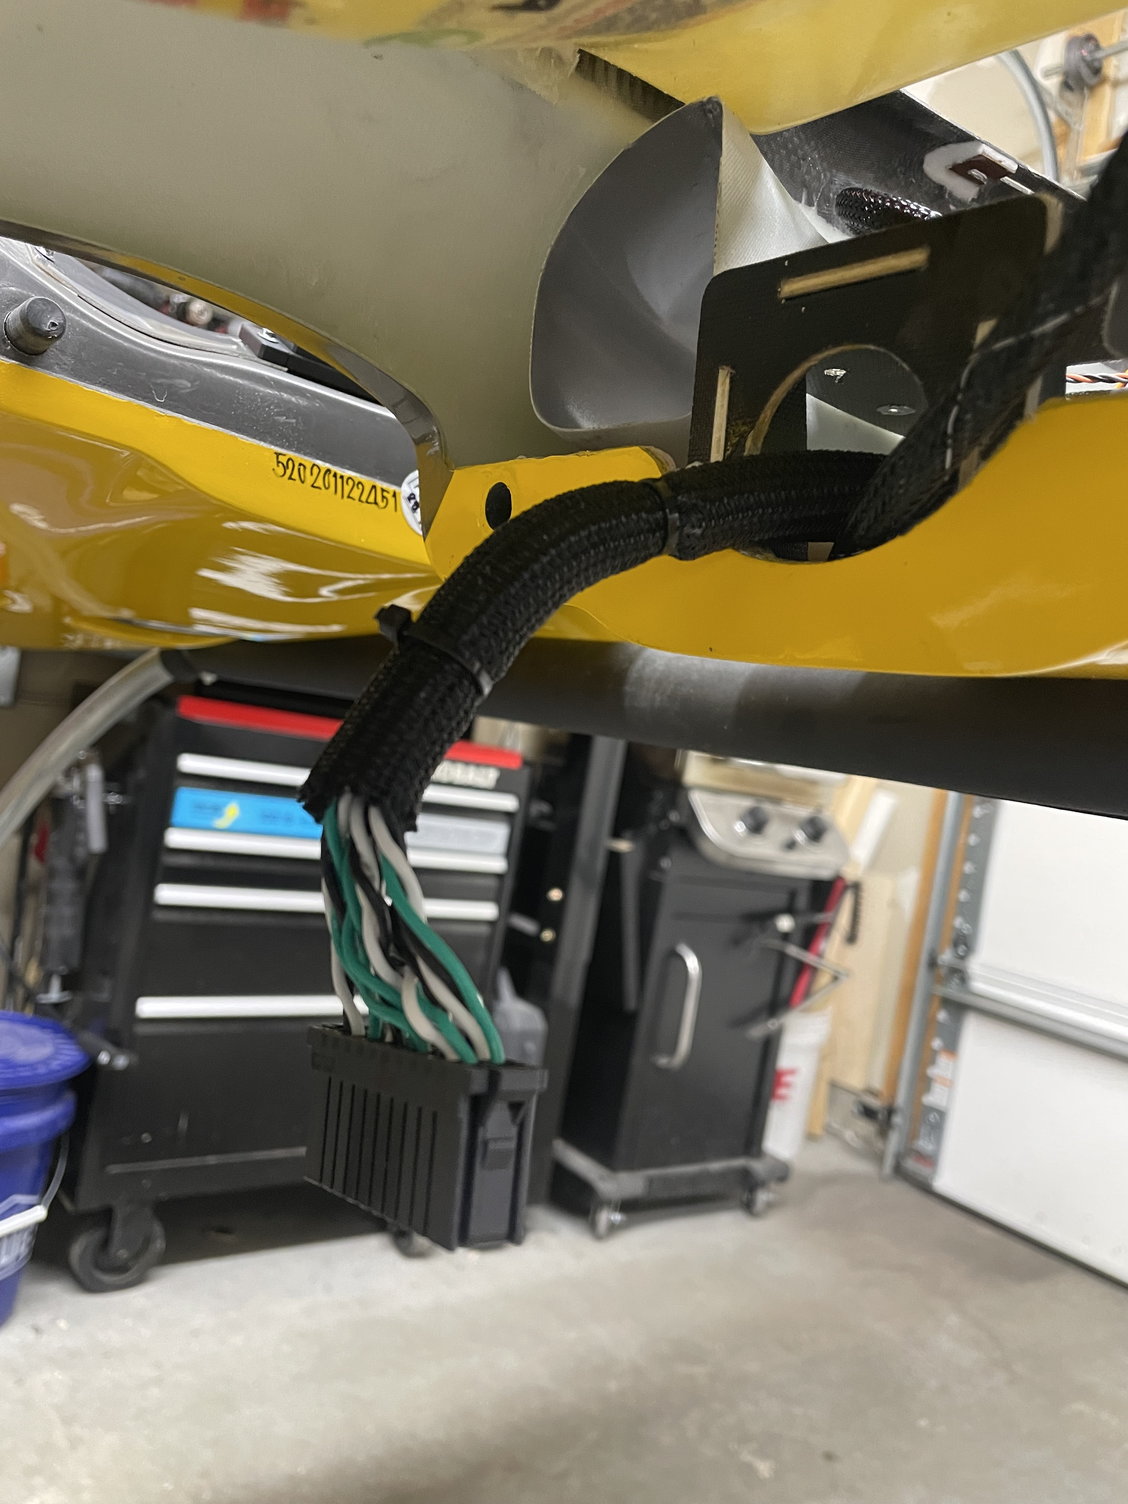
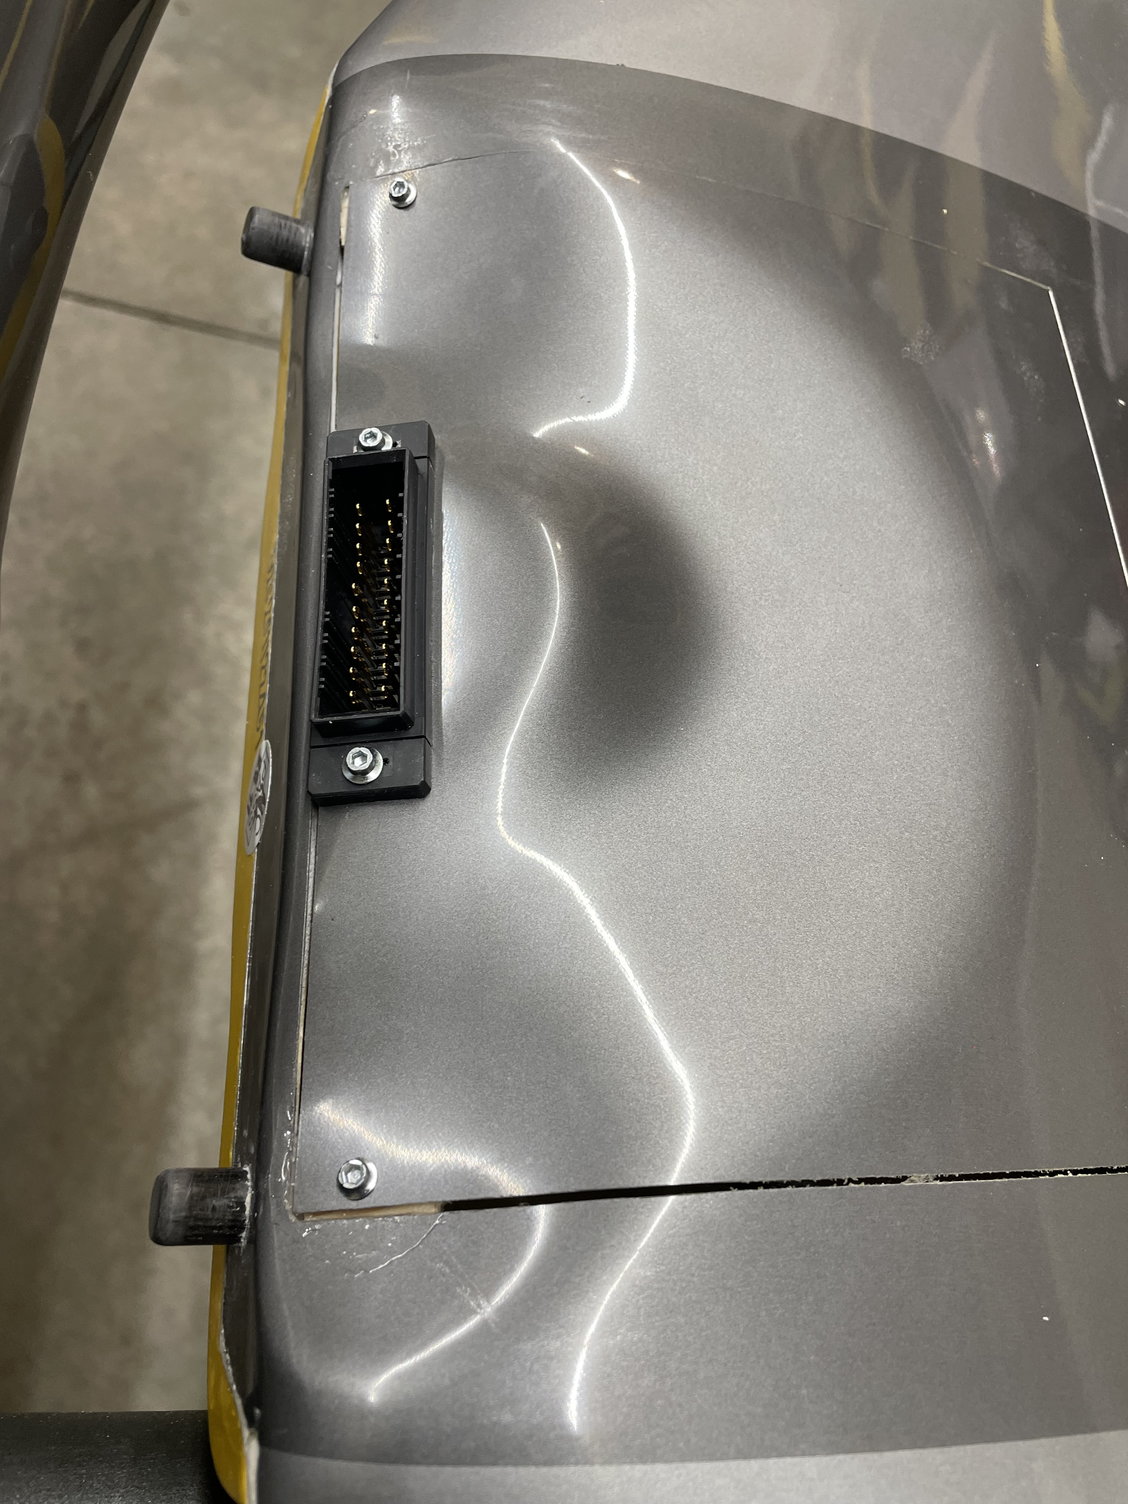
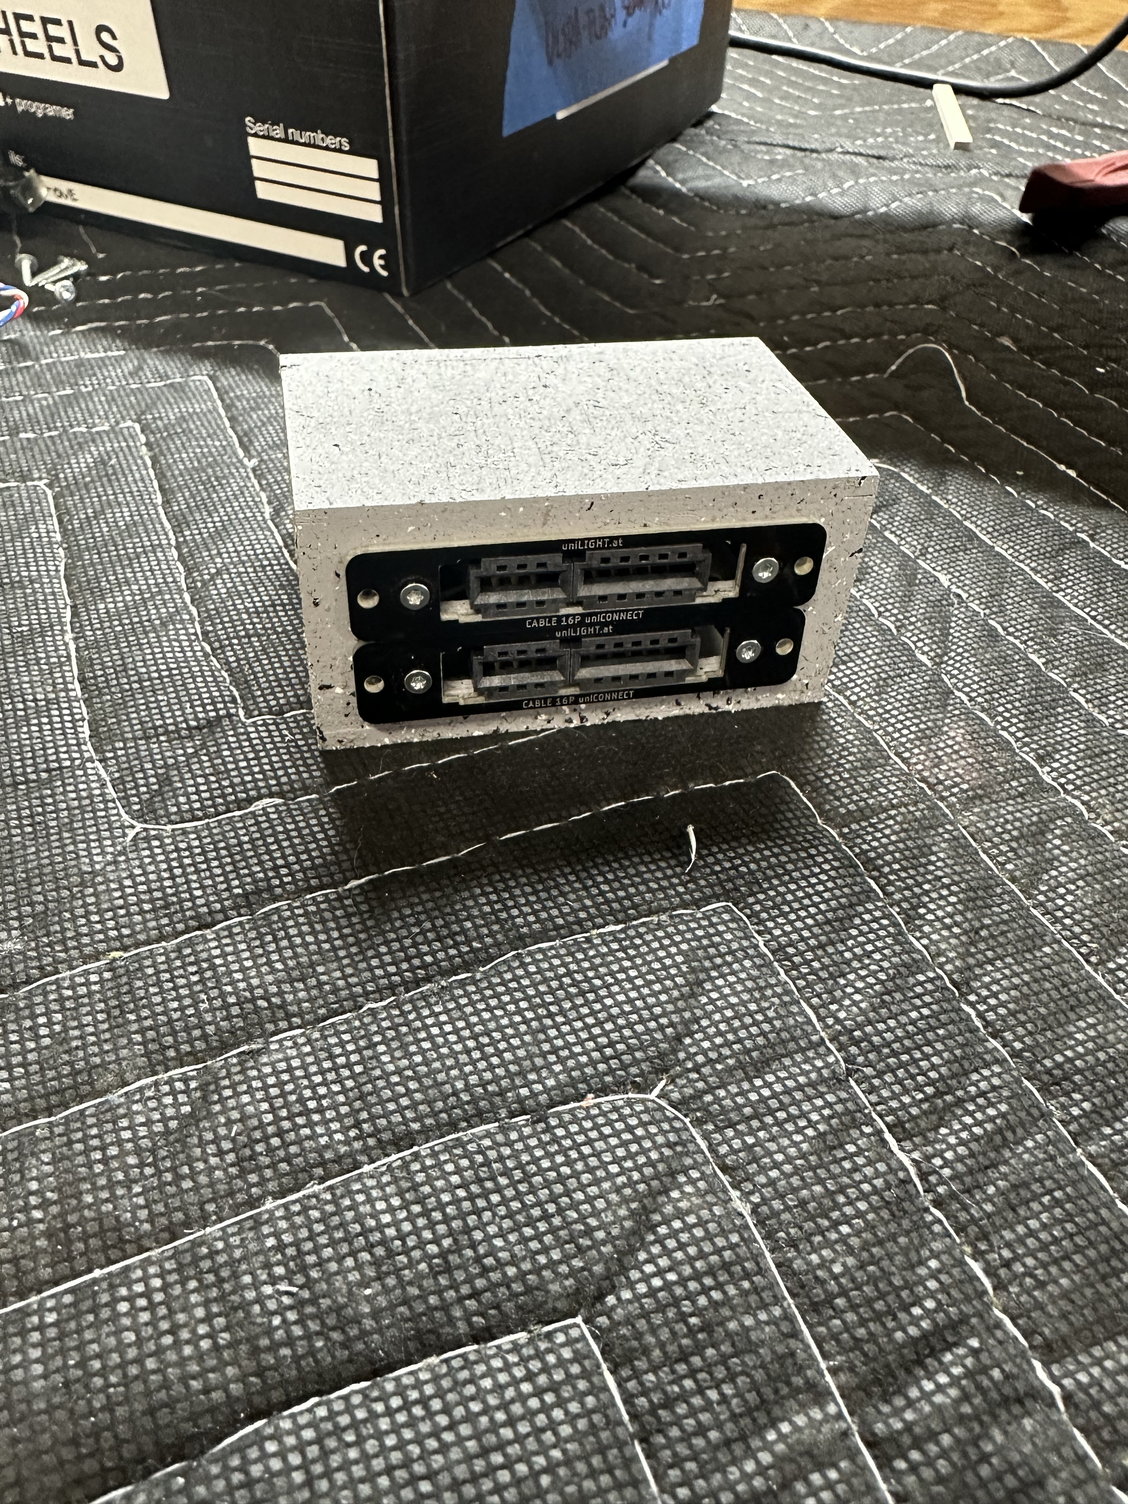
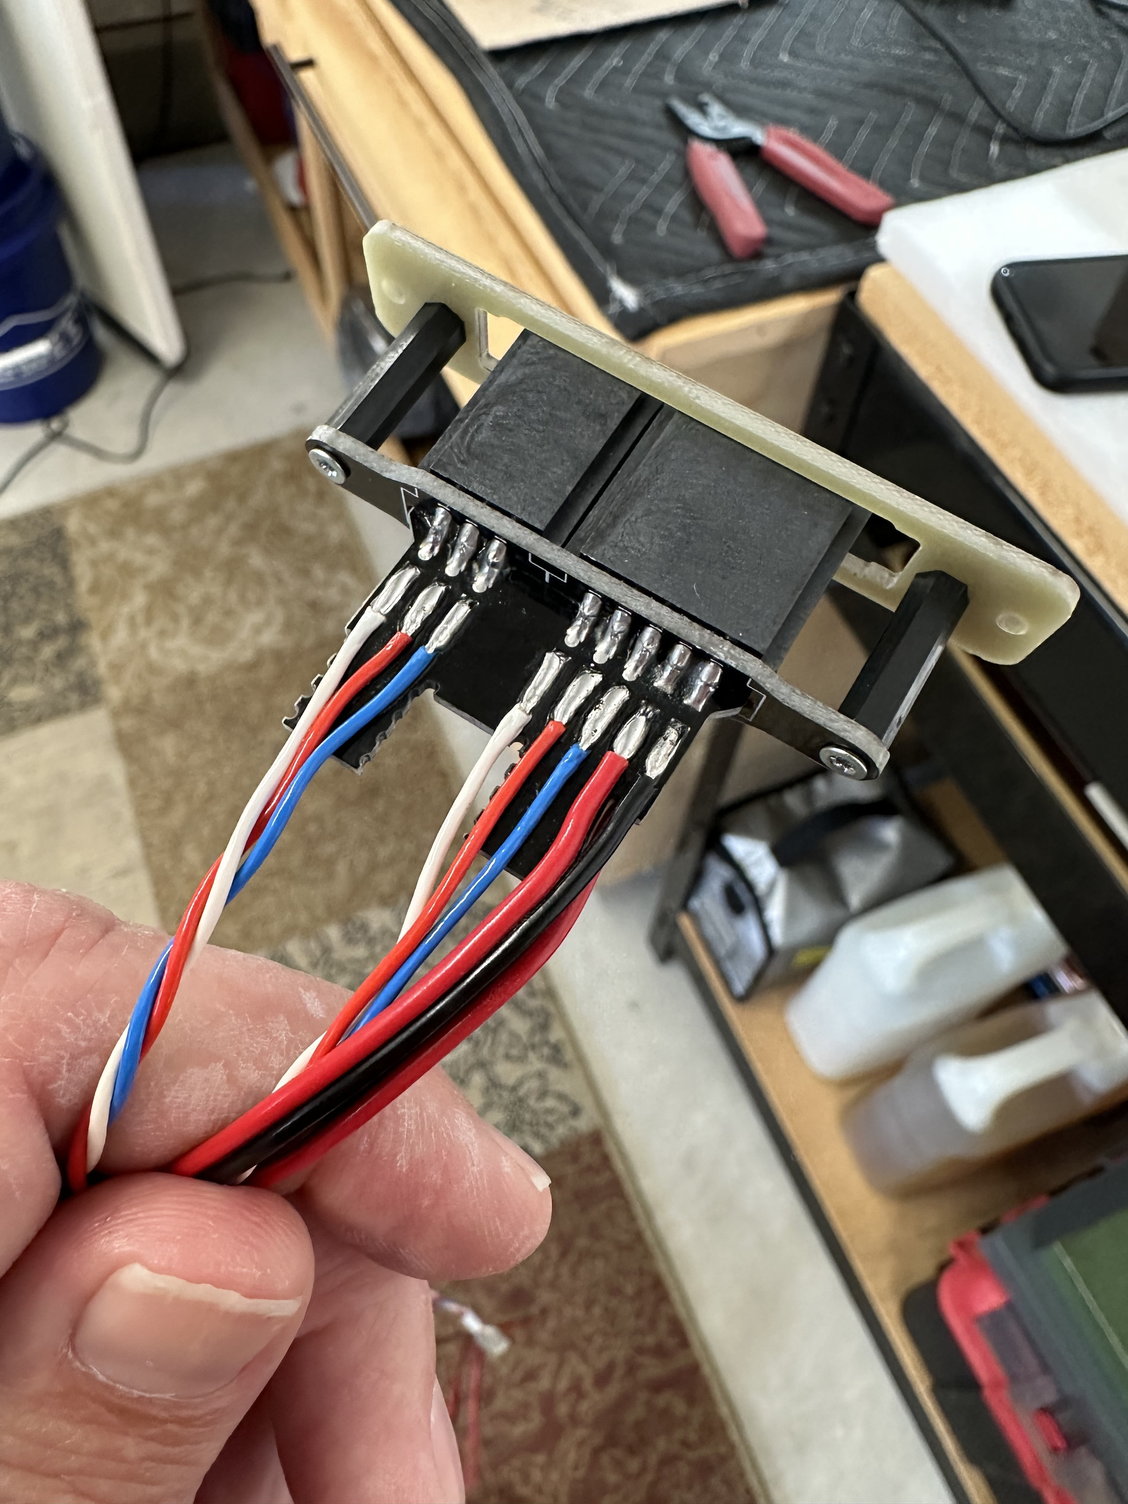
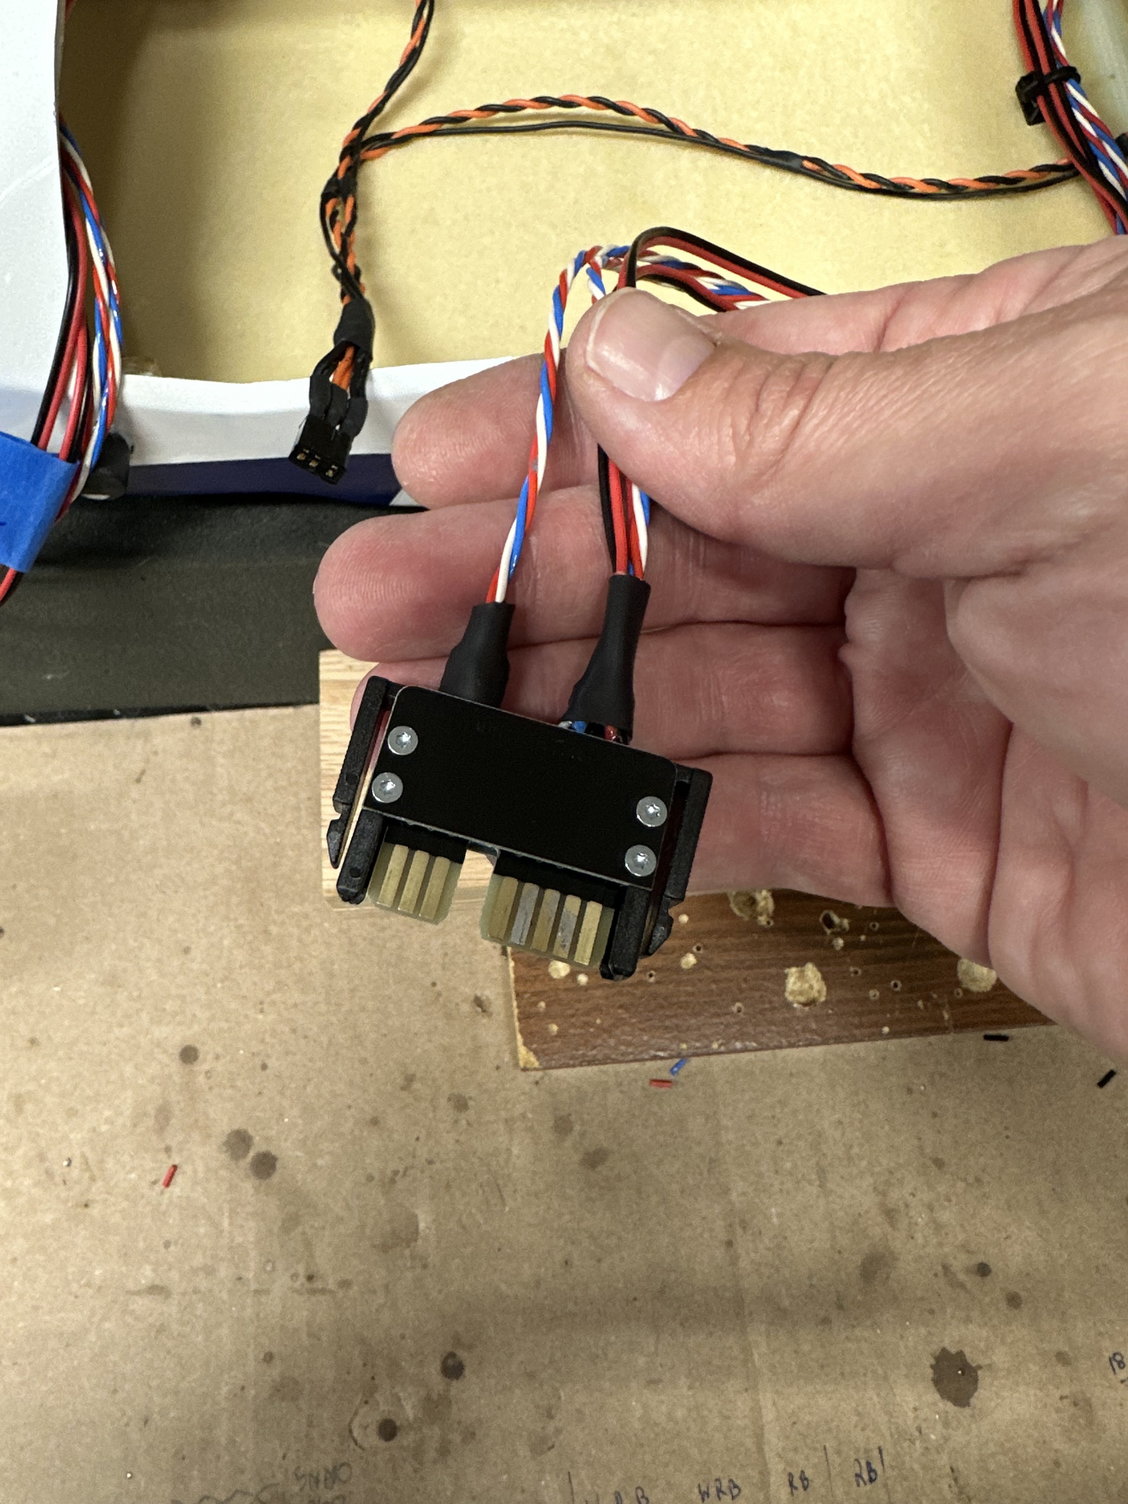
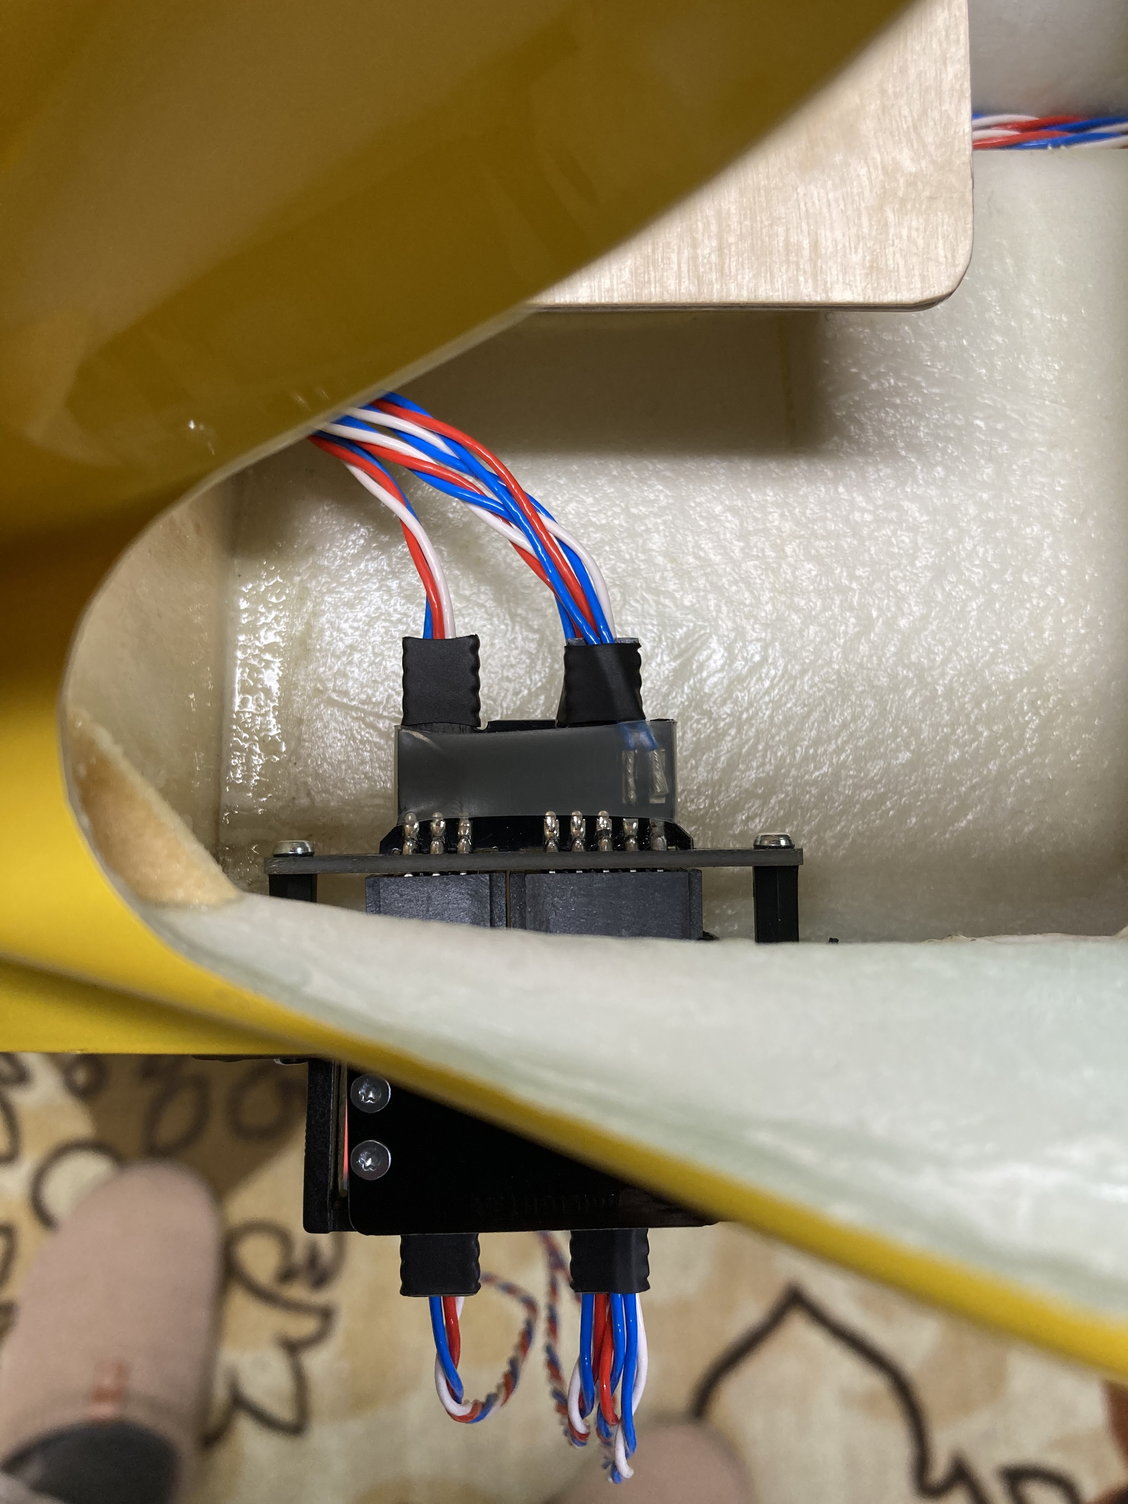
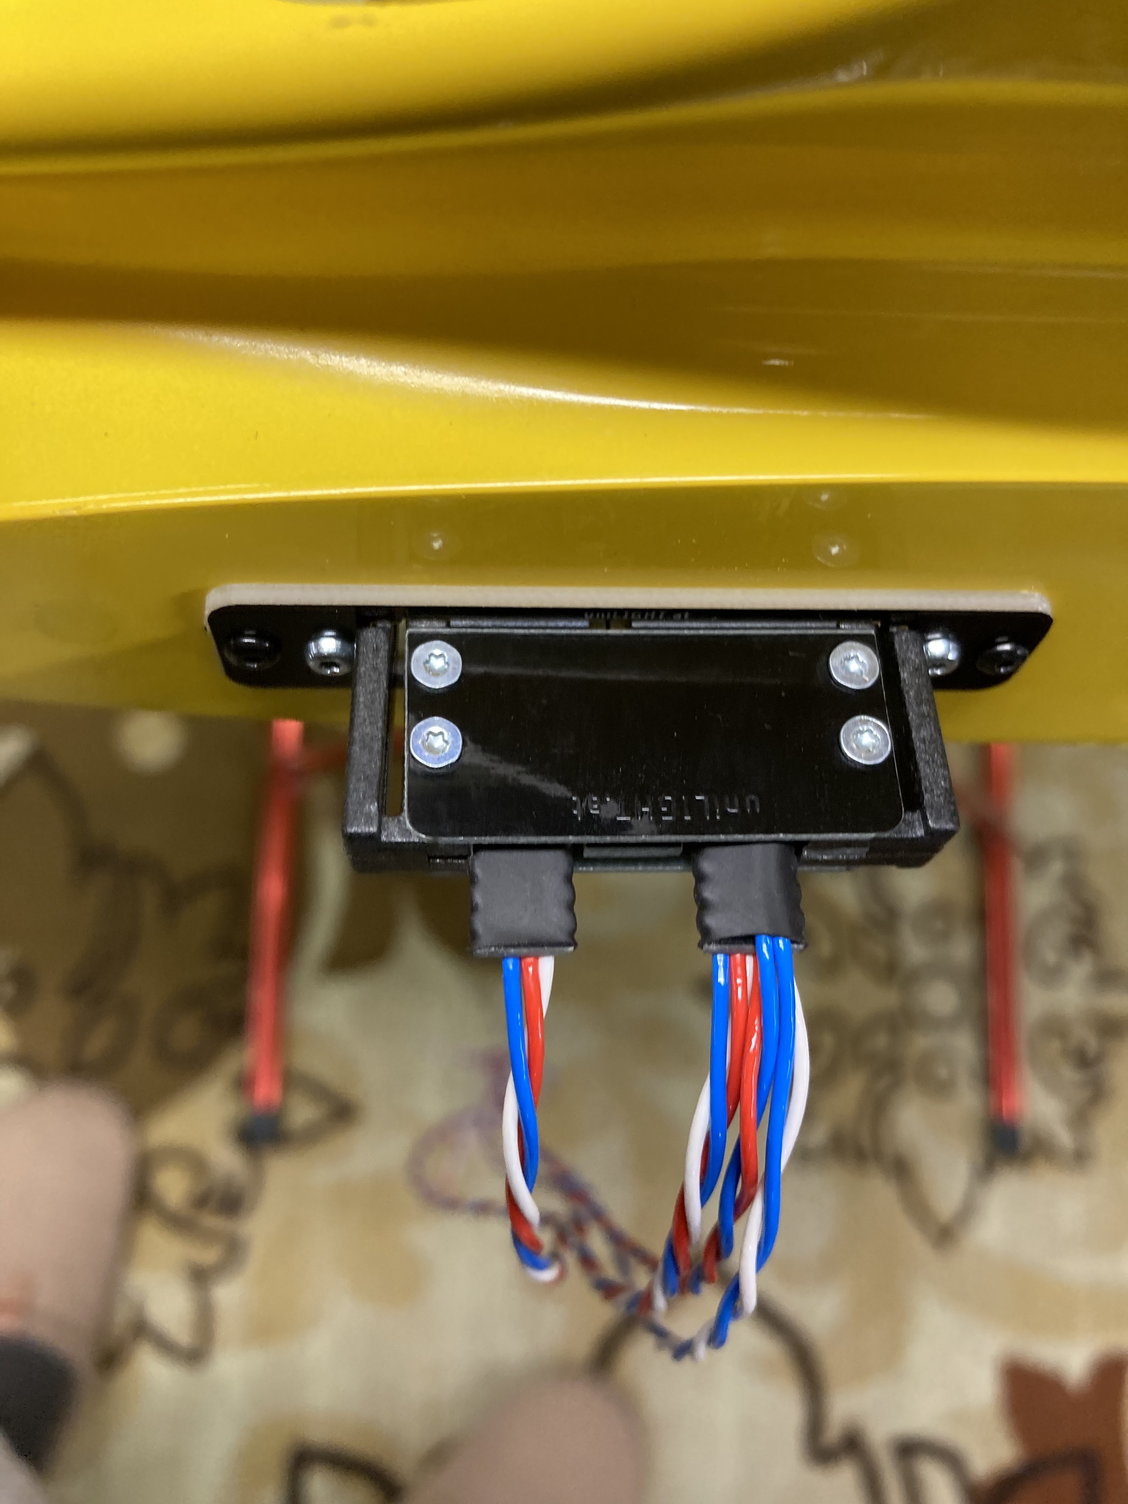
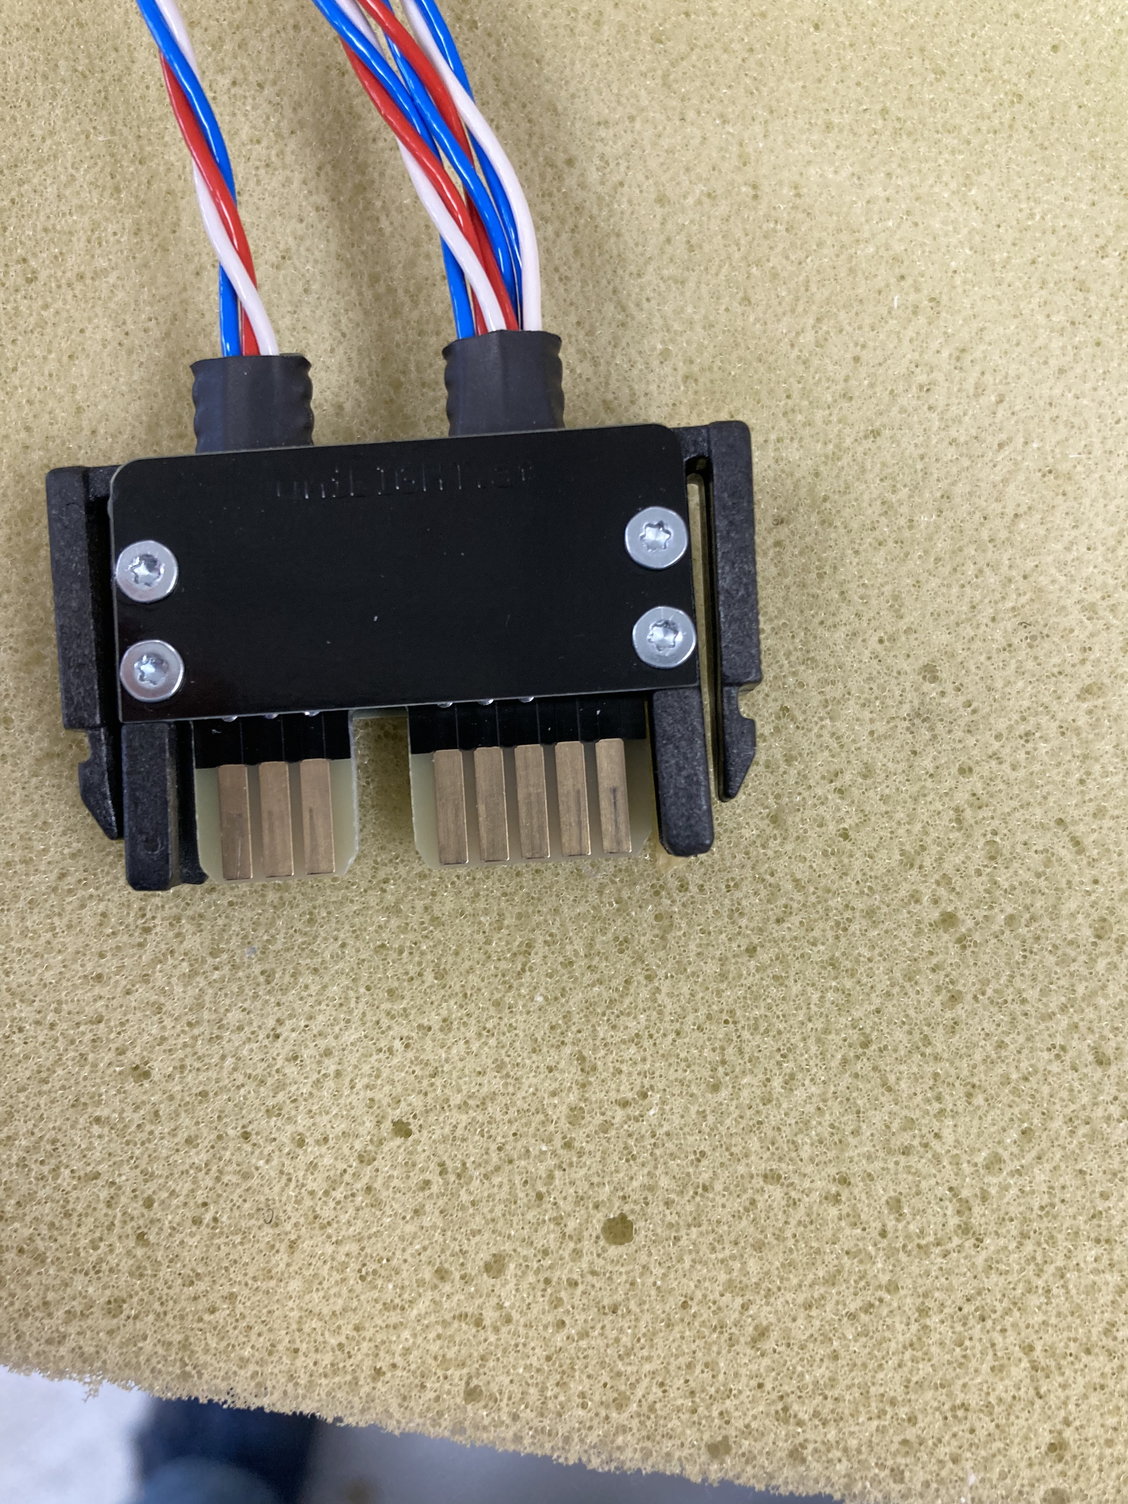
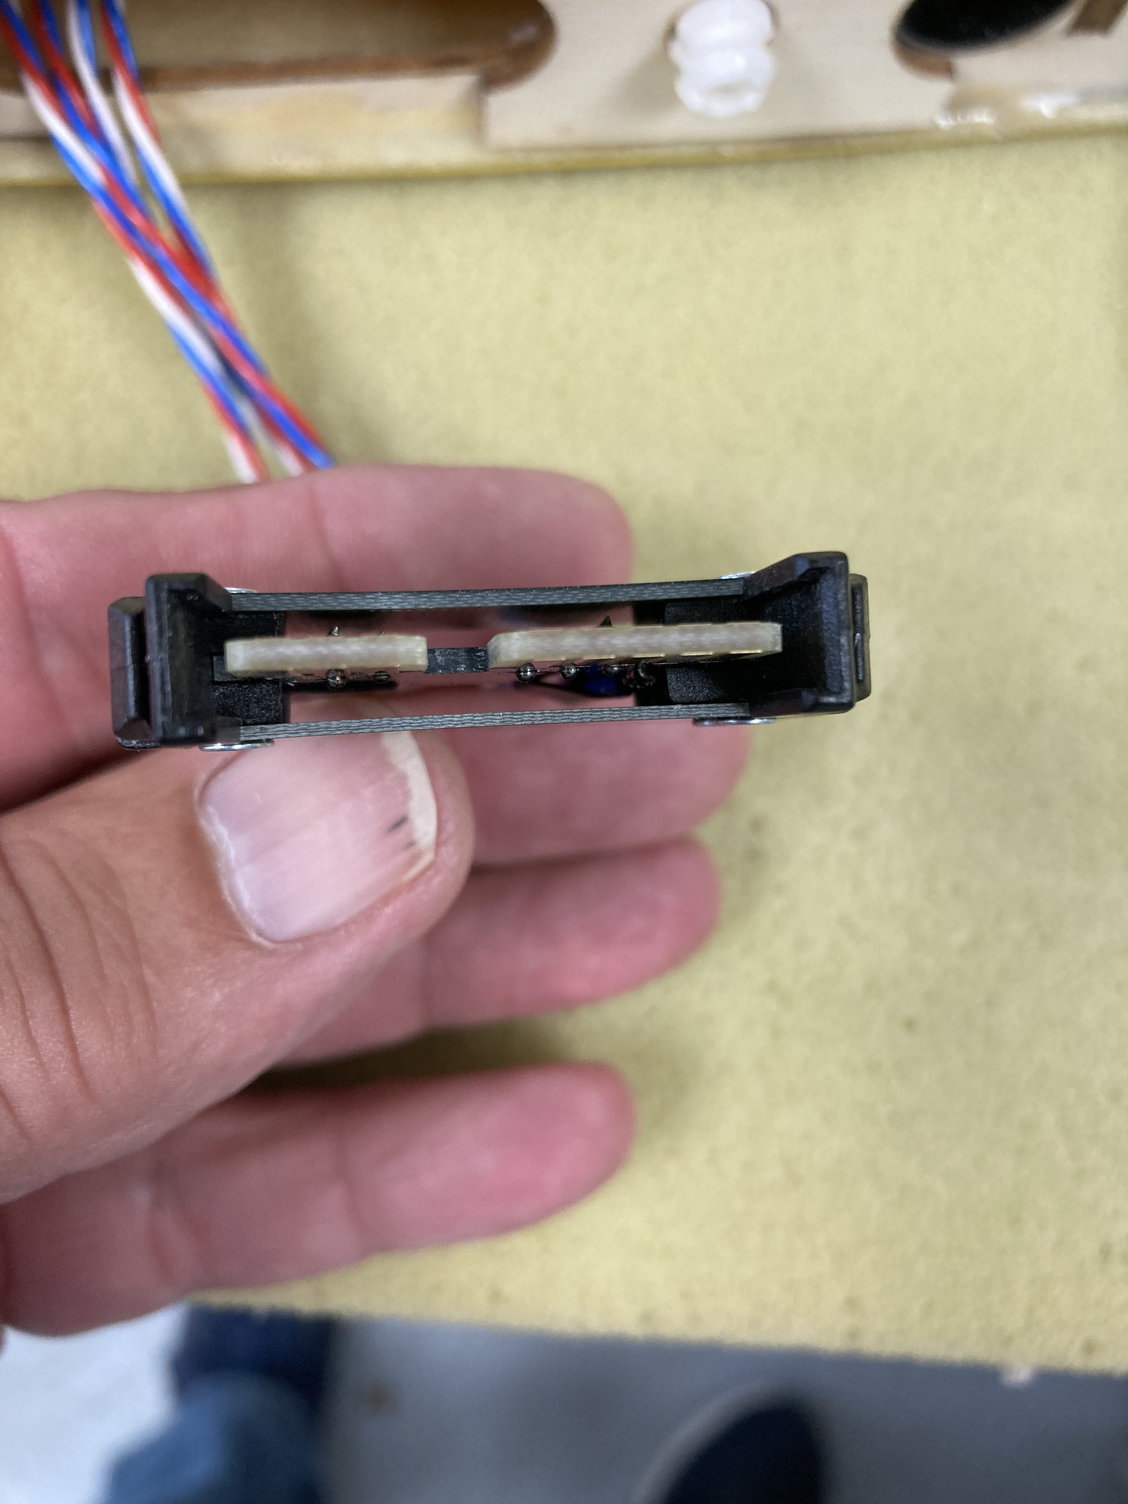
Would be interested in seeing how you guys setup the wing connectors for the gear and servos. Need to be pluggable without the wires being allowed to flop around.
Would be interested in seeing how you guys setup the wing connectors for the gear and servos. Need to be pluggable without the wires being allowed to flop around.
04-19-2023, 07:53 AM
#581
Still working on my flash EVO, I ended getting a good deal on a K130g4. Im going to give it a try I hope its has some speed! My 142 is going in to my new f-86.
Would be interested in seeing how you guys setup the wing connectors for the gear and servos. Need to be pluggable without the wires being allowed to flop around.
Would be interested in seeing how you guys setup the wing connectors for the gear and servos. Need to be pluggable without the wires being allowed to flop around.
 04-21-2023, 09:59 PM
#585
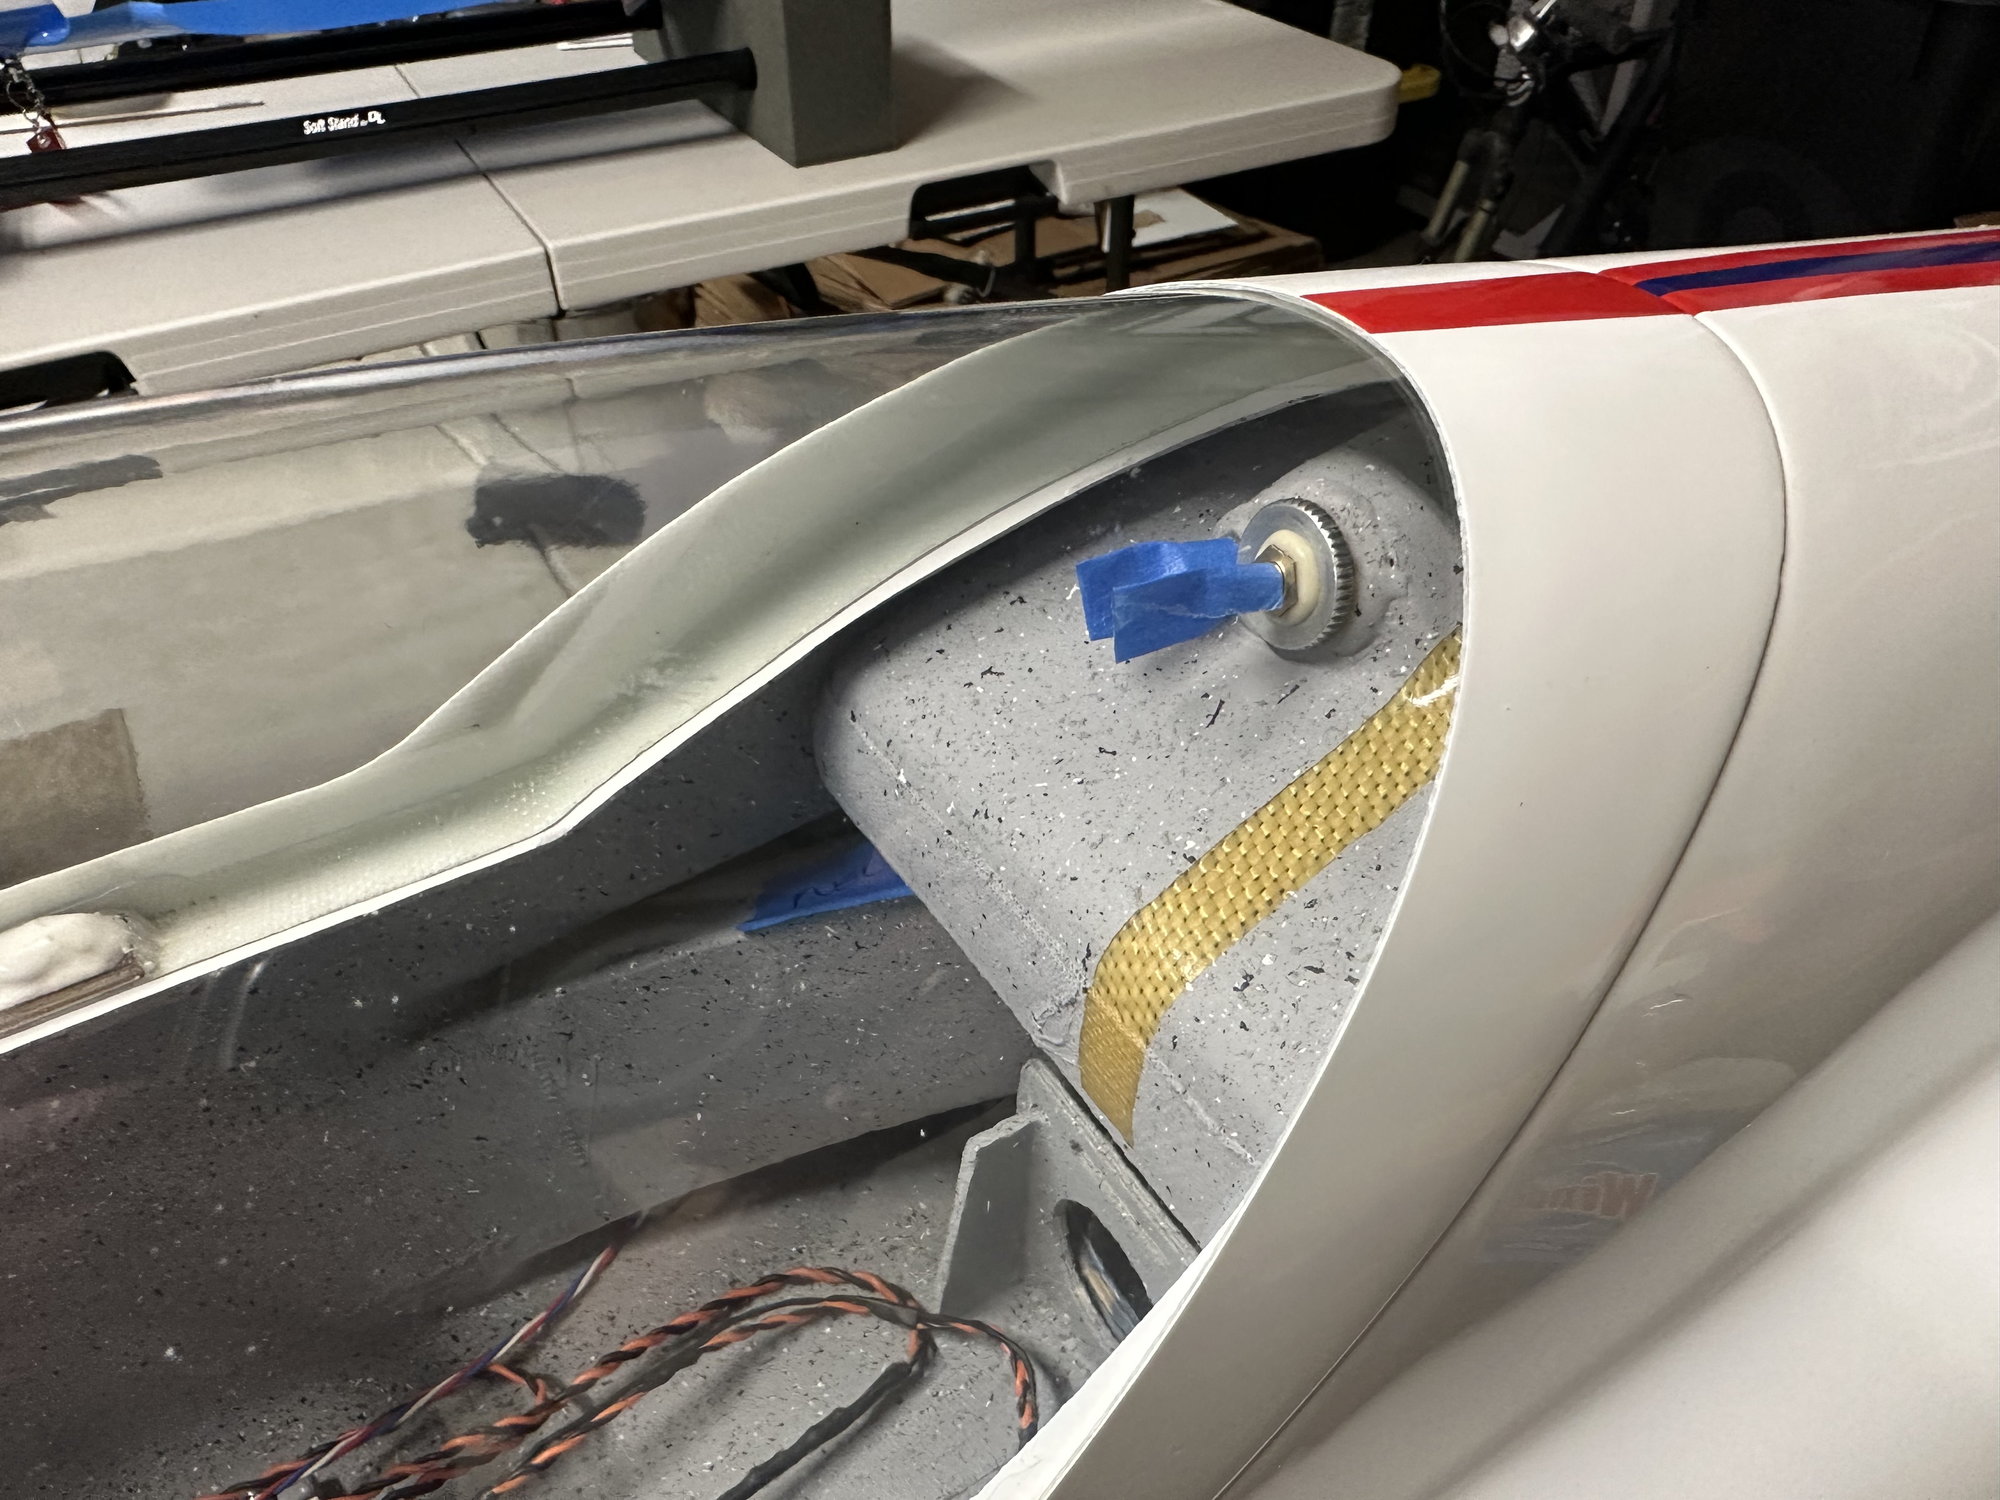
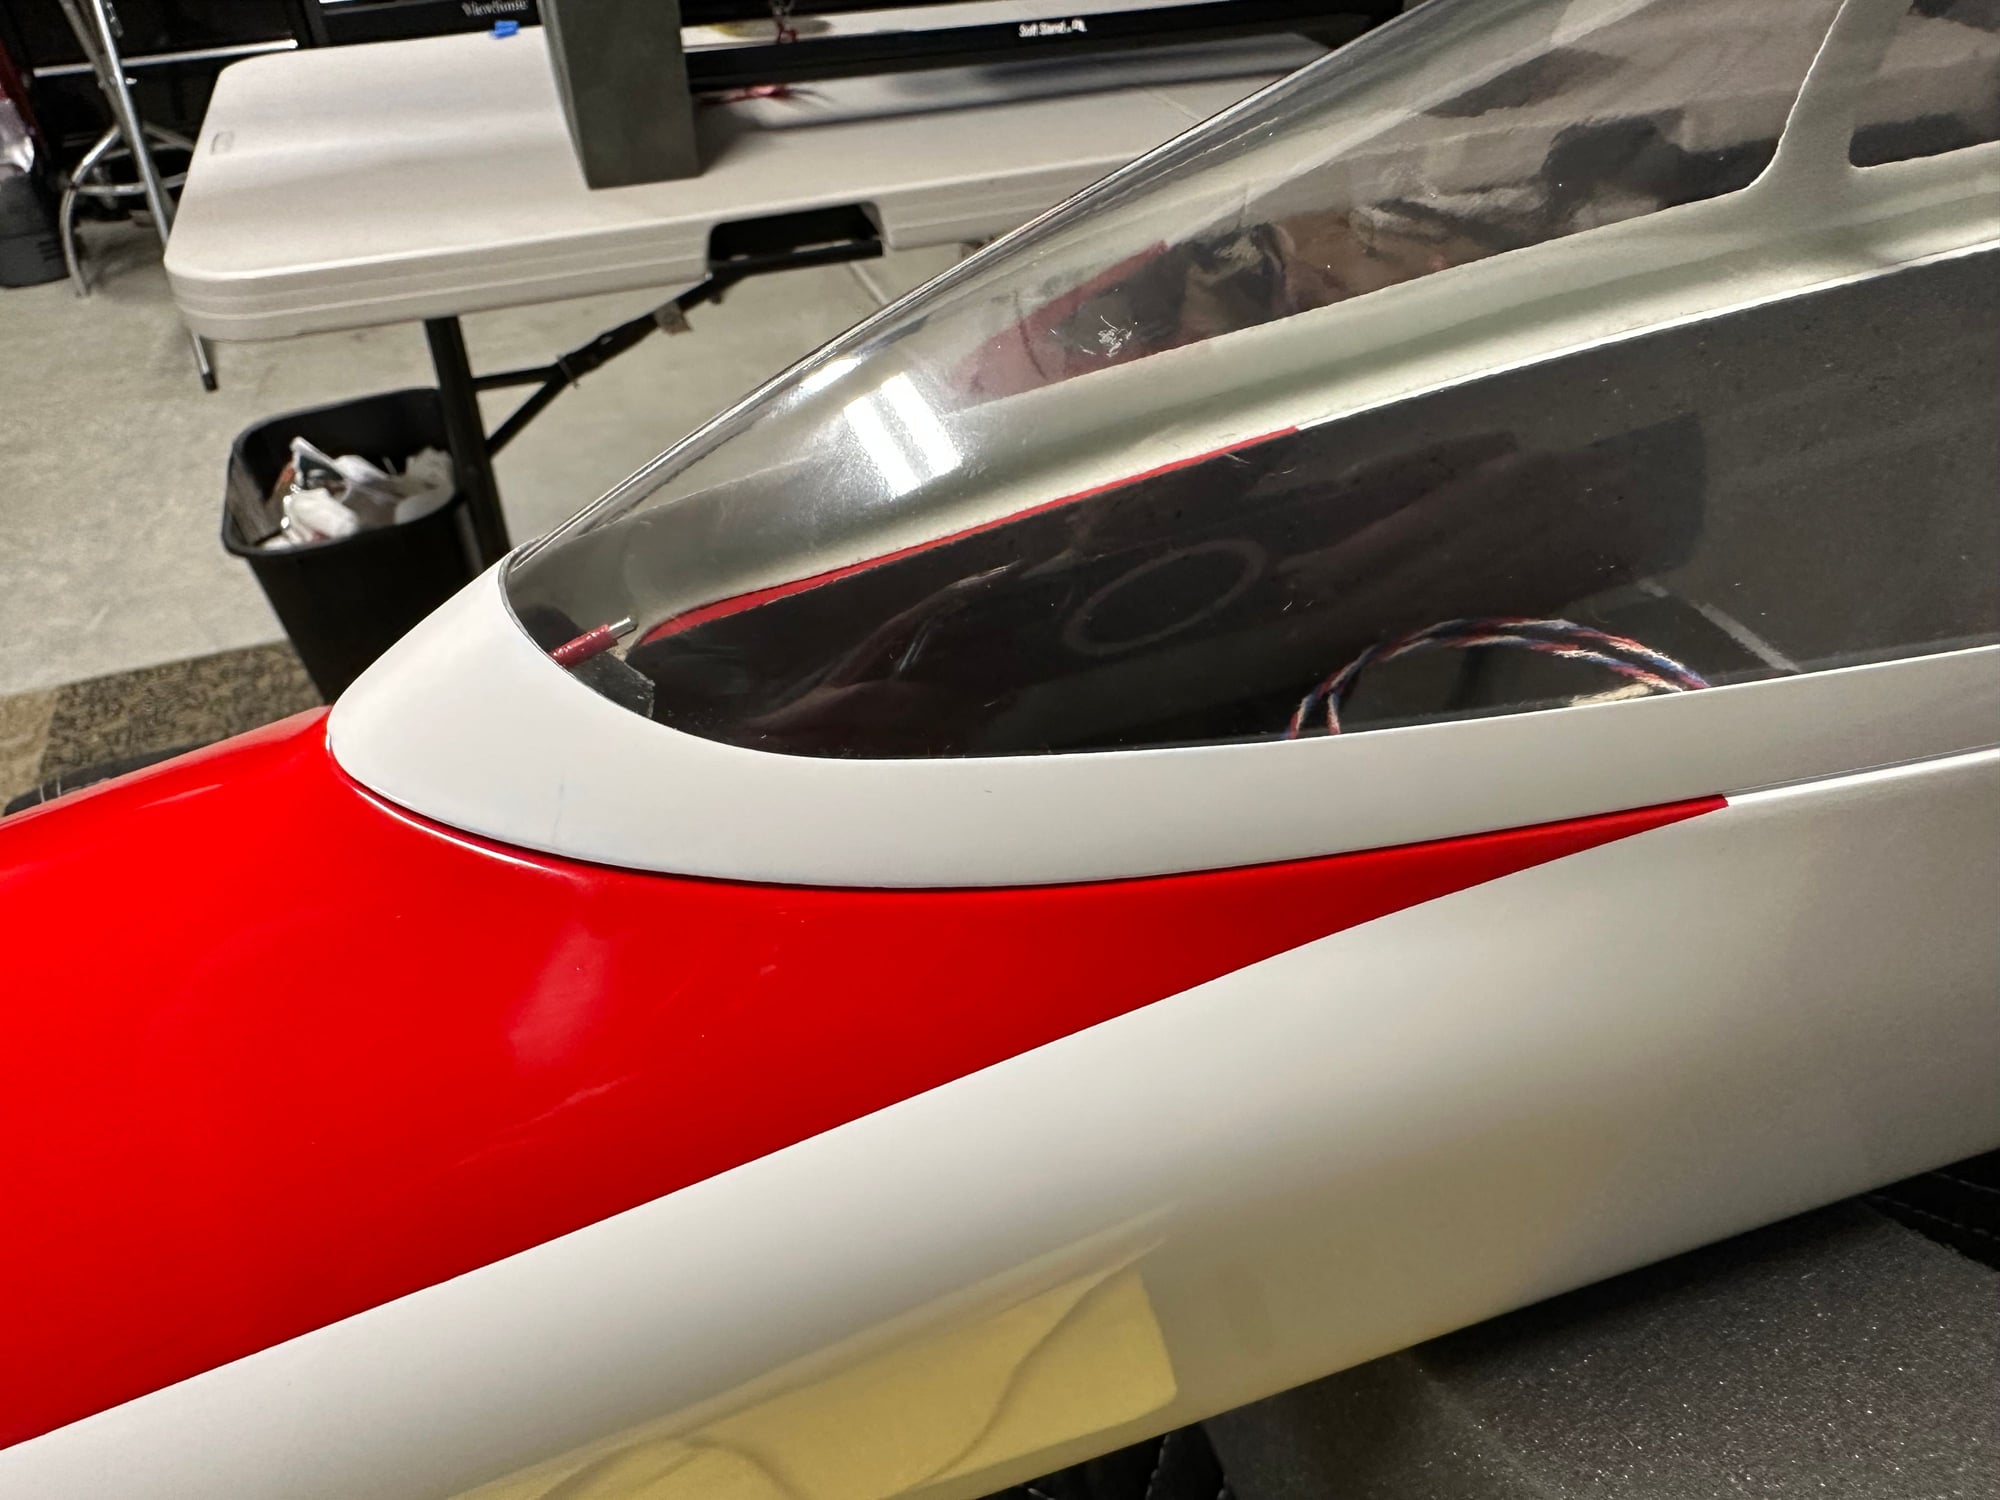
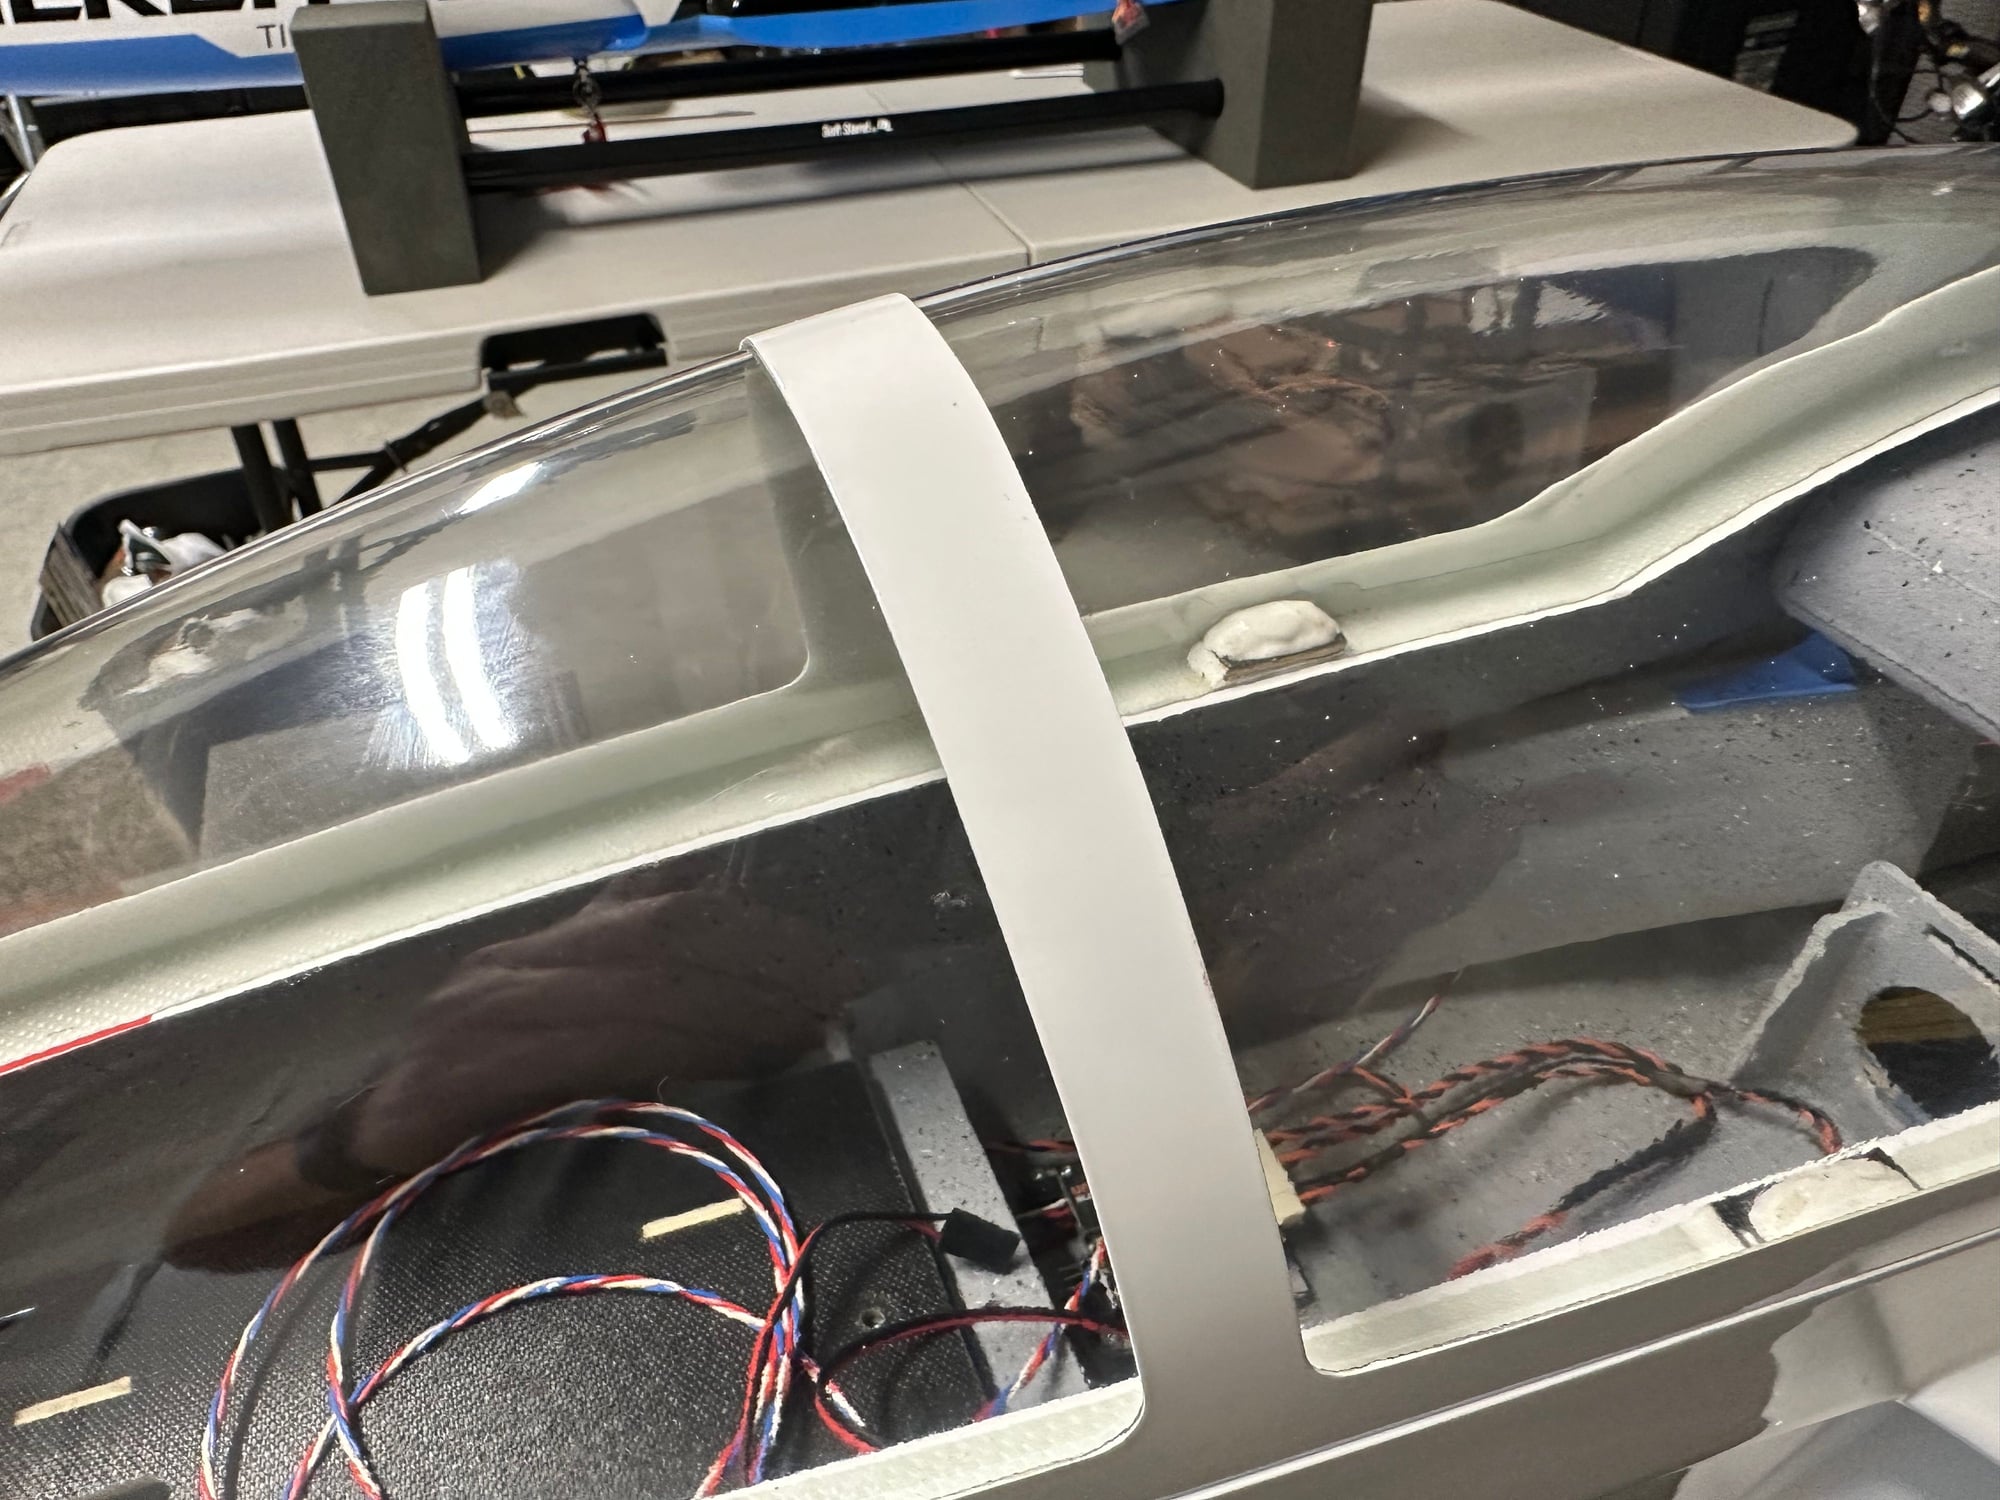
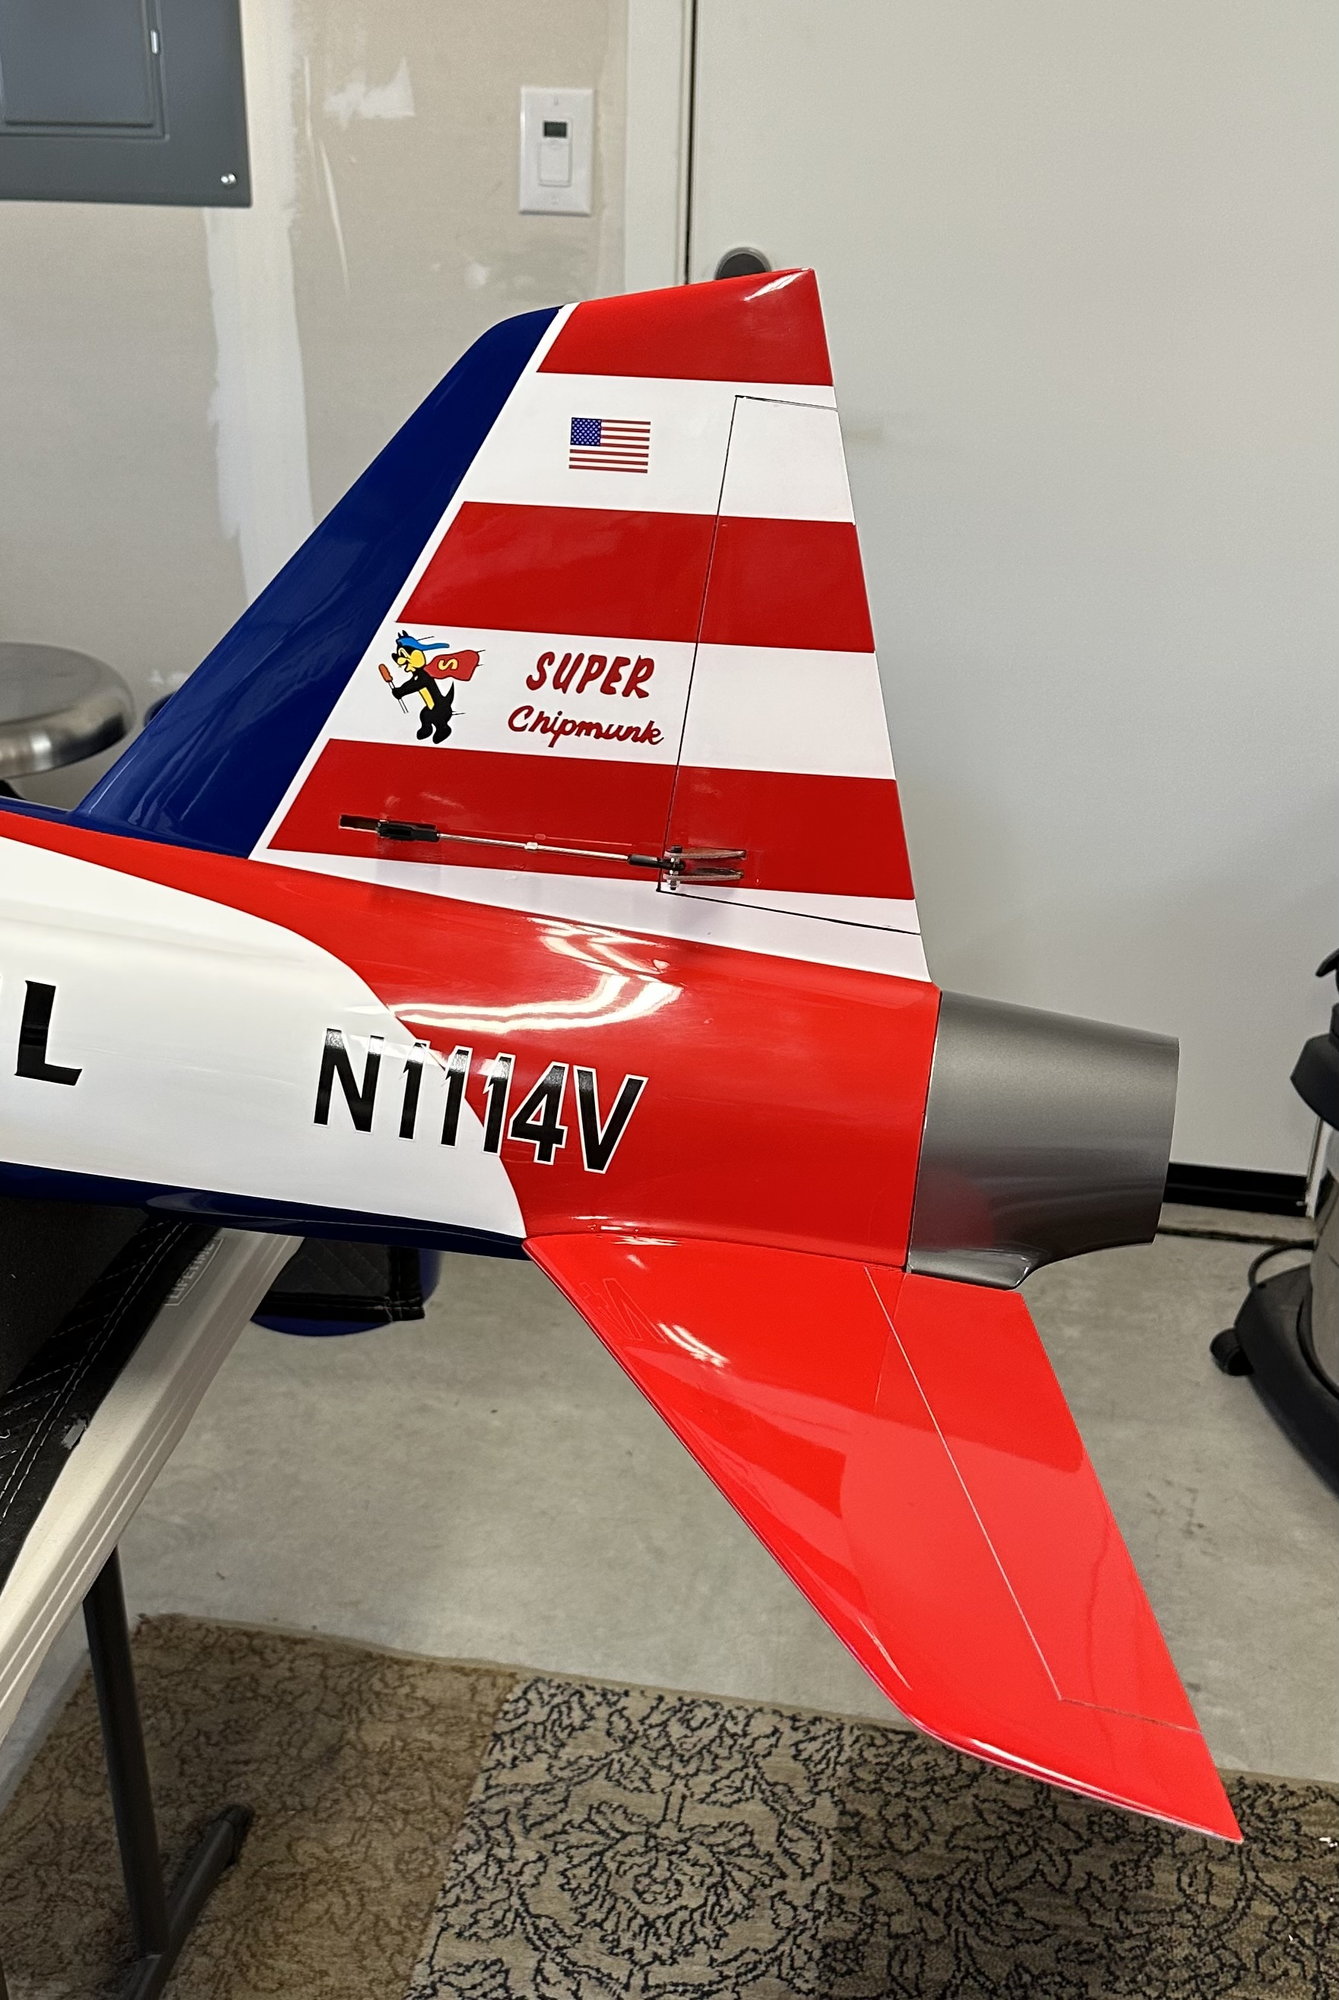
So I decided tonight was the night to finish up trimming the glass. Don’t know if it was beginners luck but I’m extremely happy with how it came out. Fit almost as good as DW!
So the pics here are without glue or magnets or anything and it fits the frame snug, it doesn’t move at all. I’m going to use the RC56 canopy glue, which I’ve only used one time before a long time ago. I remember it was really runny… So should I just put it in the joint between the glass and frame along the inside of the frame? Then along the hoop on the outside?
Or do I go along the joint on the entire outside? Don’t want to screw it up now.. I also don’t think I need to use the 100 magnets I bought…
04-21-2023, 10:30 PM
#586

Thread Starter
Do you have a new bottle of the RC56? Once it’s been open a few months I won’t use it again for canopies, I use it for other jobs.
A new bottle needs shaking before use….
Its difficult to see in the pictures but if you have an edge you can get to, just run the glue on that edge, a little flexing of the glass with a finger pushing it away from the frame will start the capillary action of the glue being pulled between the glass and frame. Once it starts leave it as it will continue it’s journey.
Take your time! There is no rush with PT-560 and you can add more as you go.
D
04-21-2023, 10:33 PM
#587
Do you have a new bottle of the RC56? Once it�s been open a few months I won�t use it again for canopies, I use it for other jobs.
A new bottle needs shaking before use�.
Its difficult to see in the pictures but if you have an edge you can get to, just run the glue on that edge, a little flexing of the glass with a finger pushing it away from the frame will start the capillary action of the glue being pulled between the glass and frame. Once it starts leave it as it will continue it�s journey.
Take your time! There is no rush with PT-560 and you can add more as you go.
D
 05-04-2023, 12:20 AM
#591
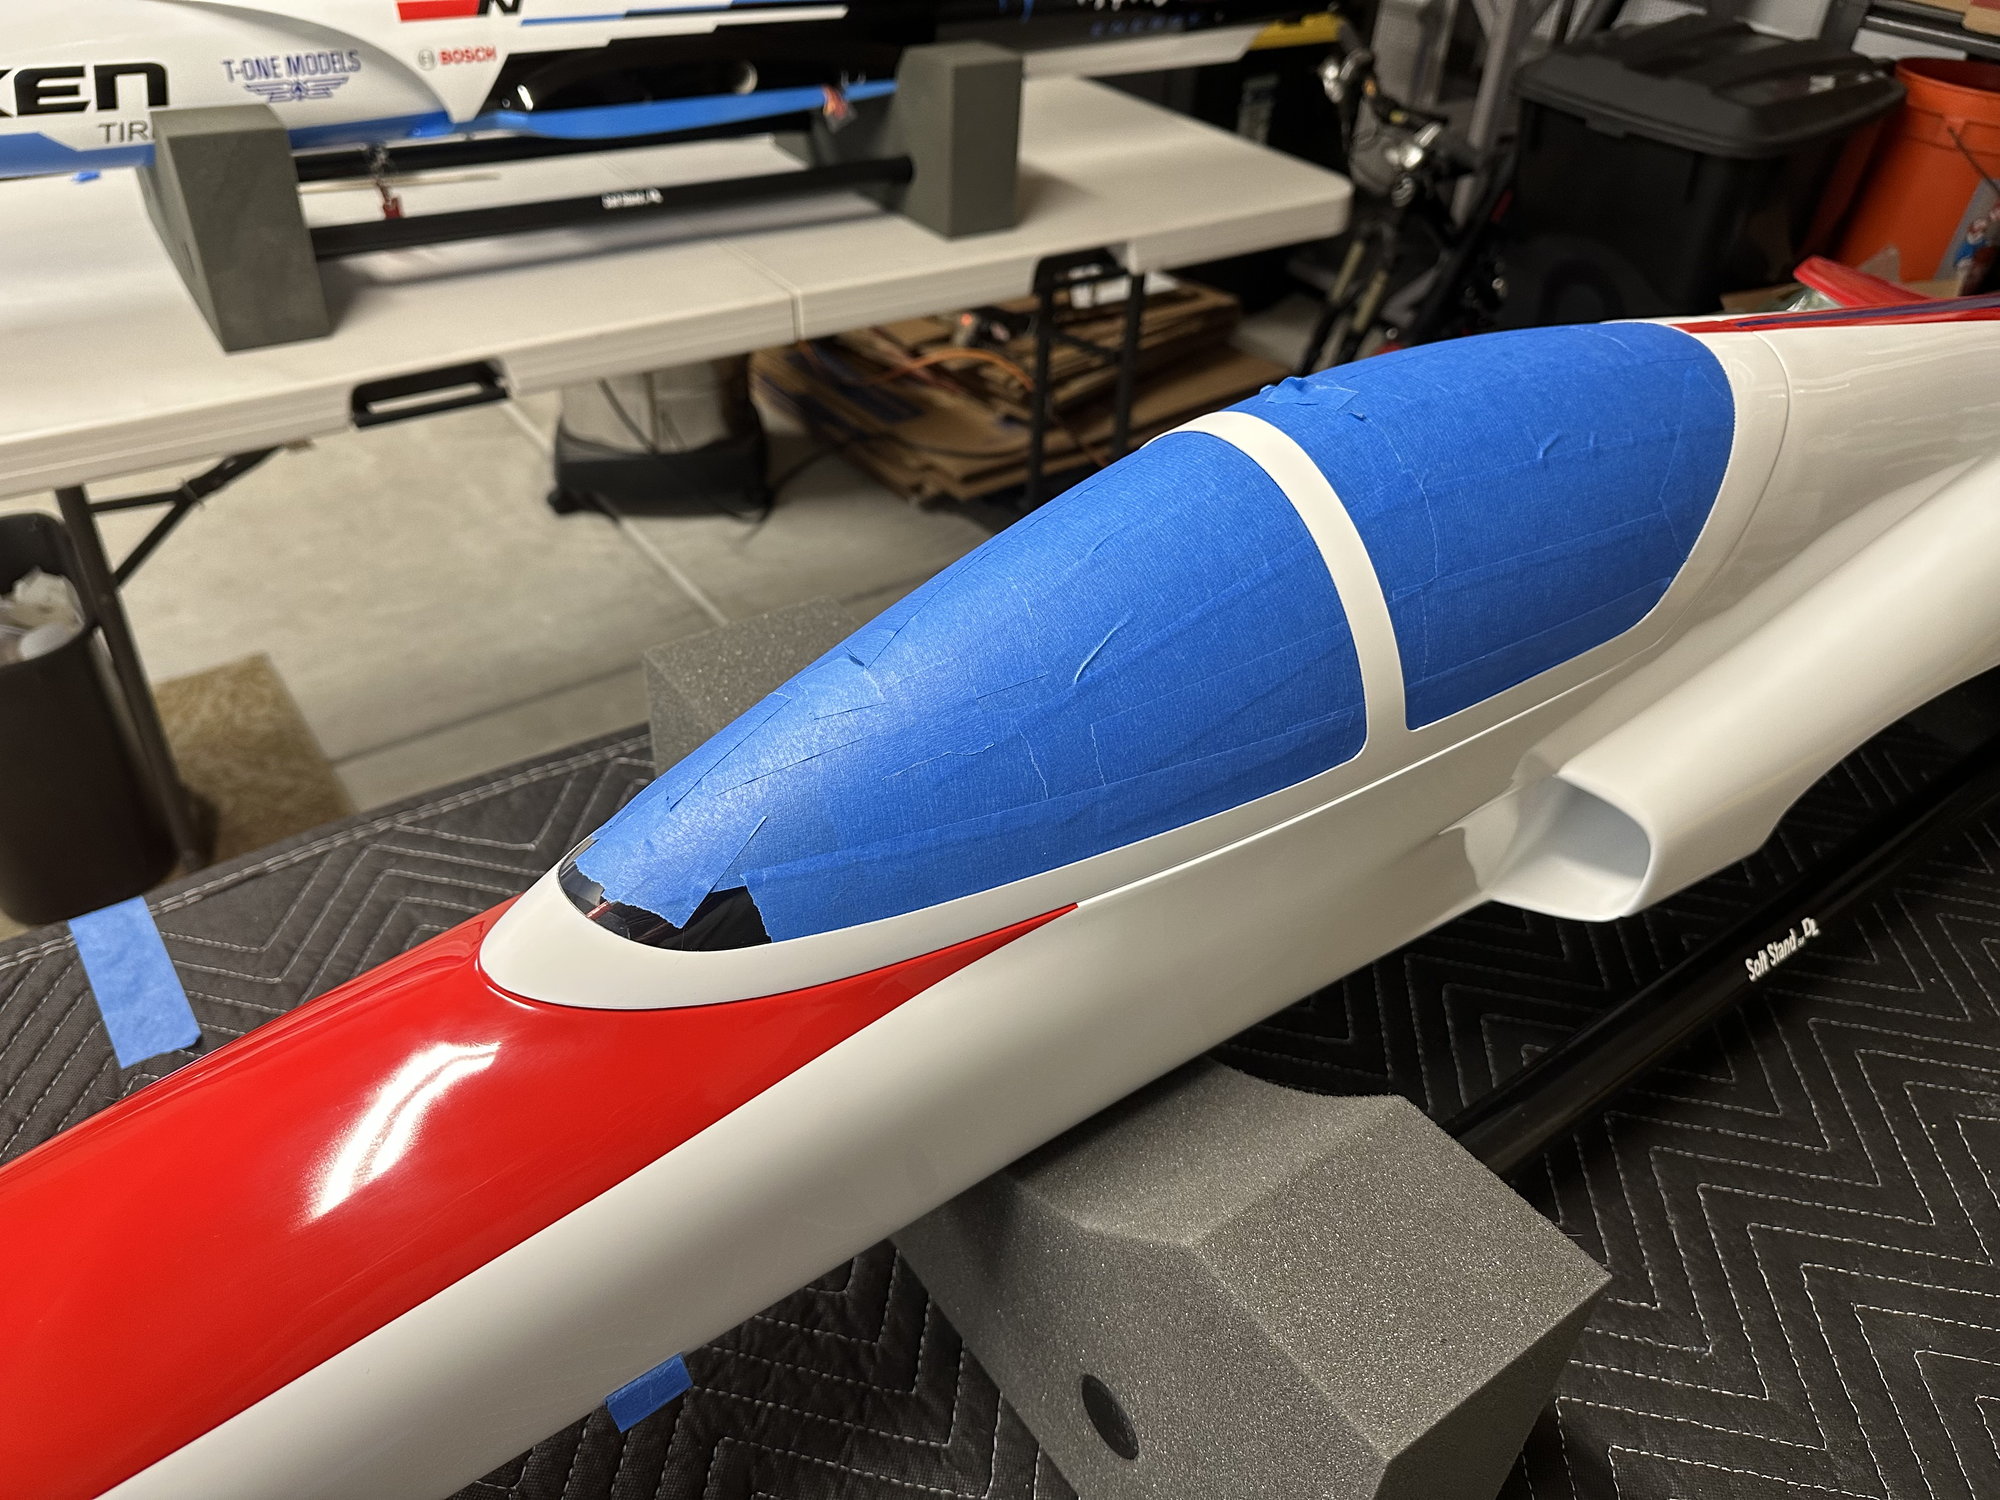
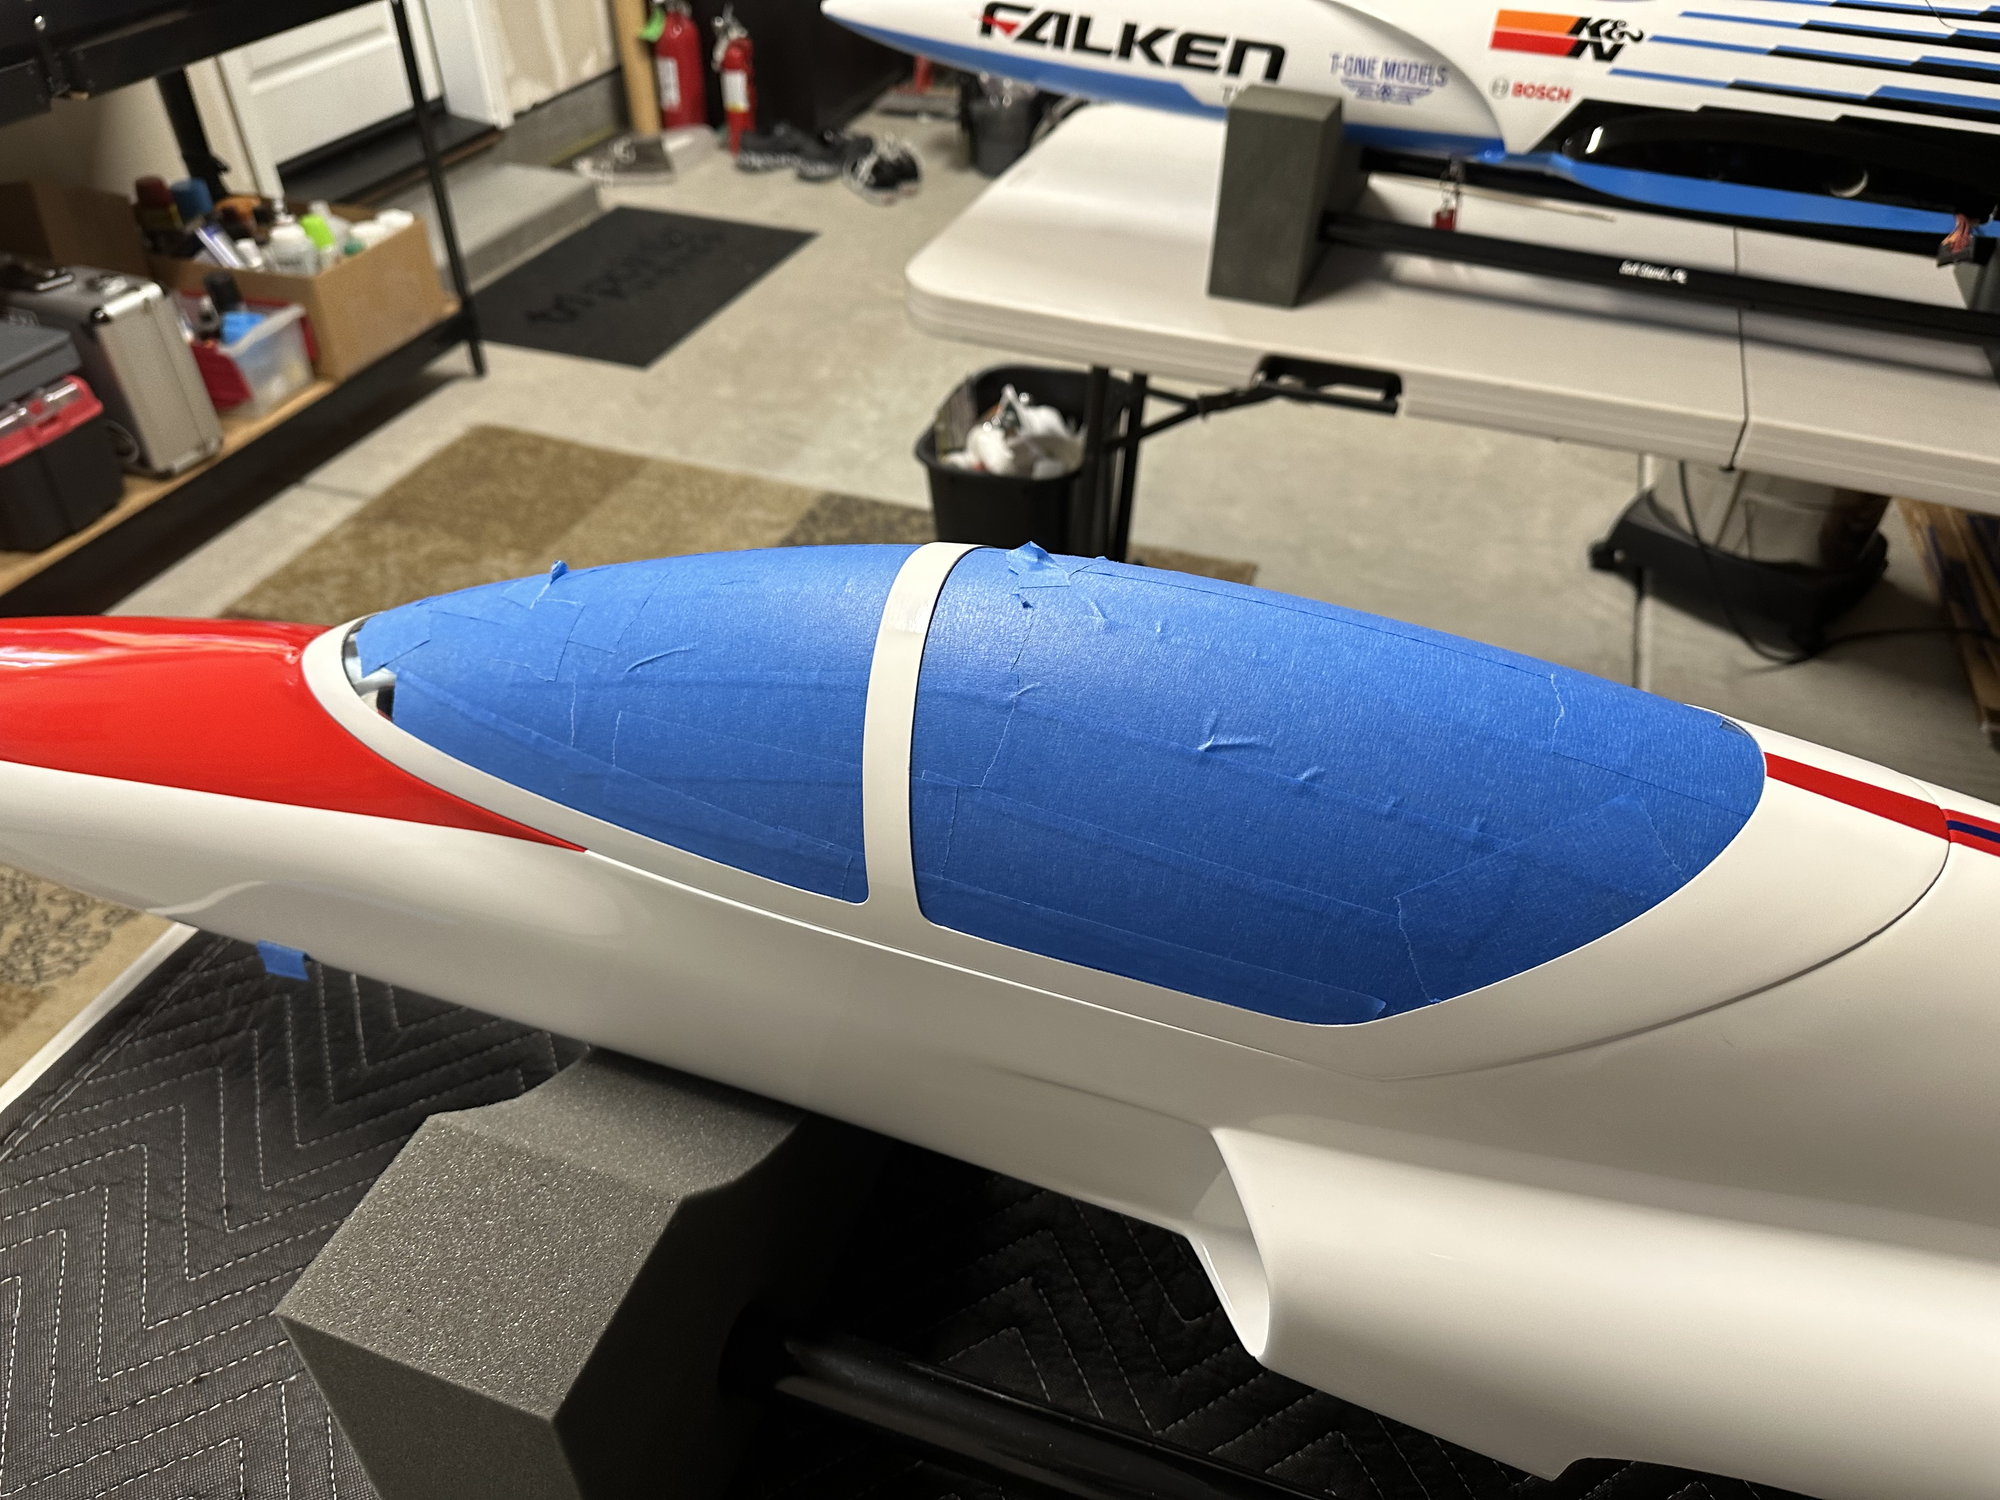
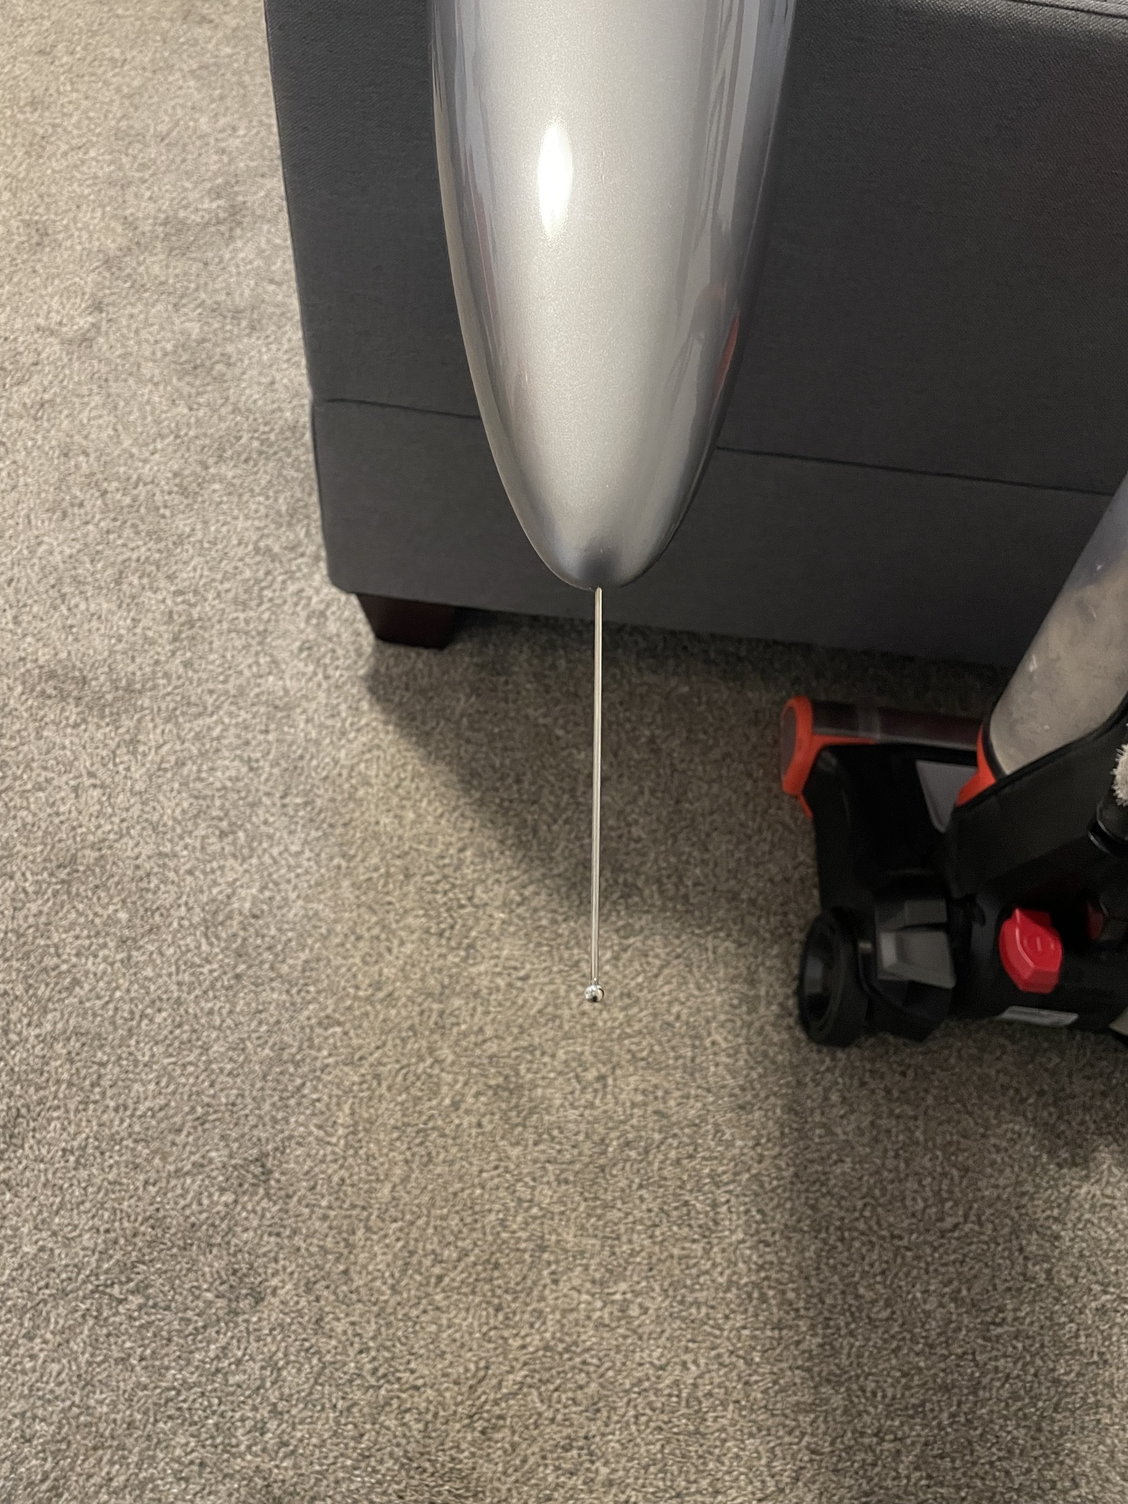
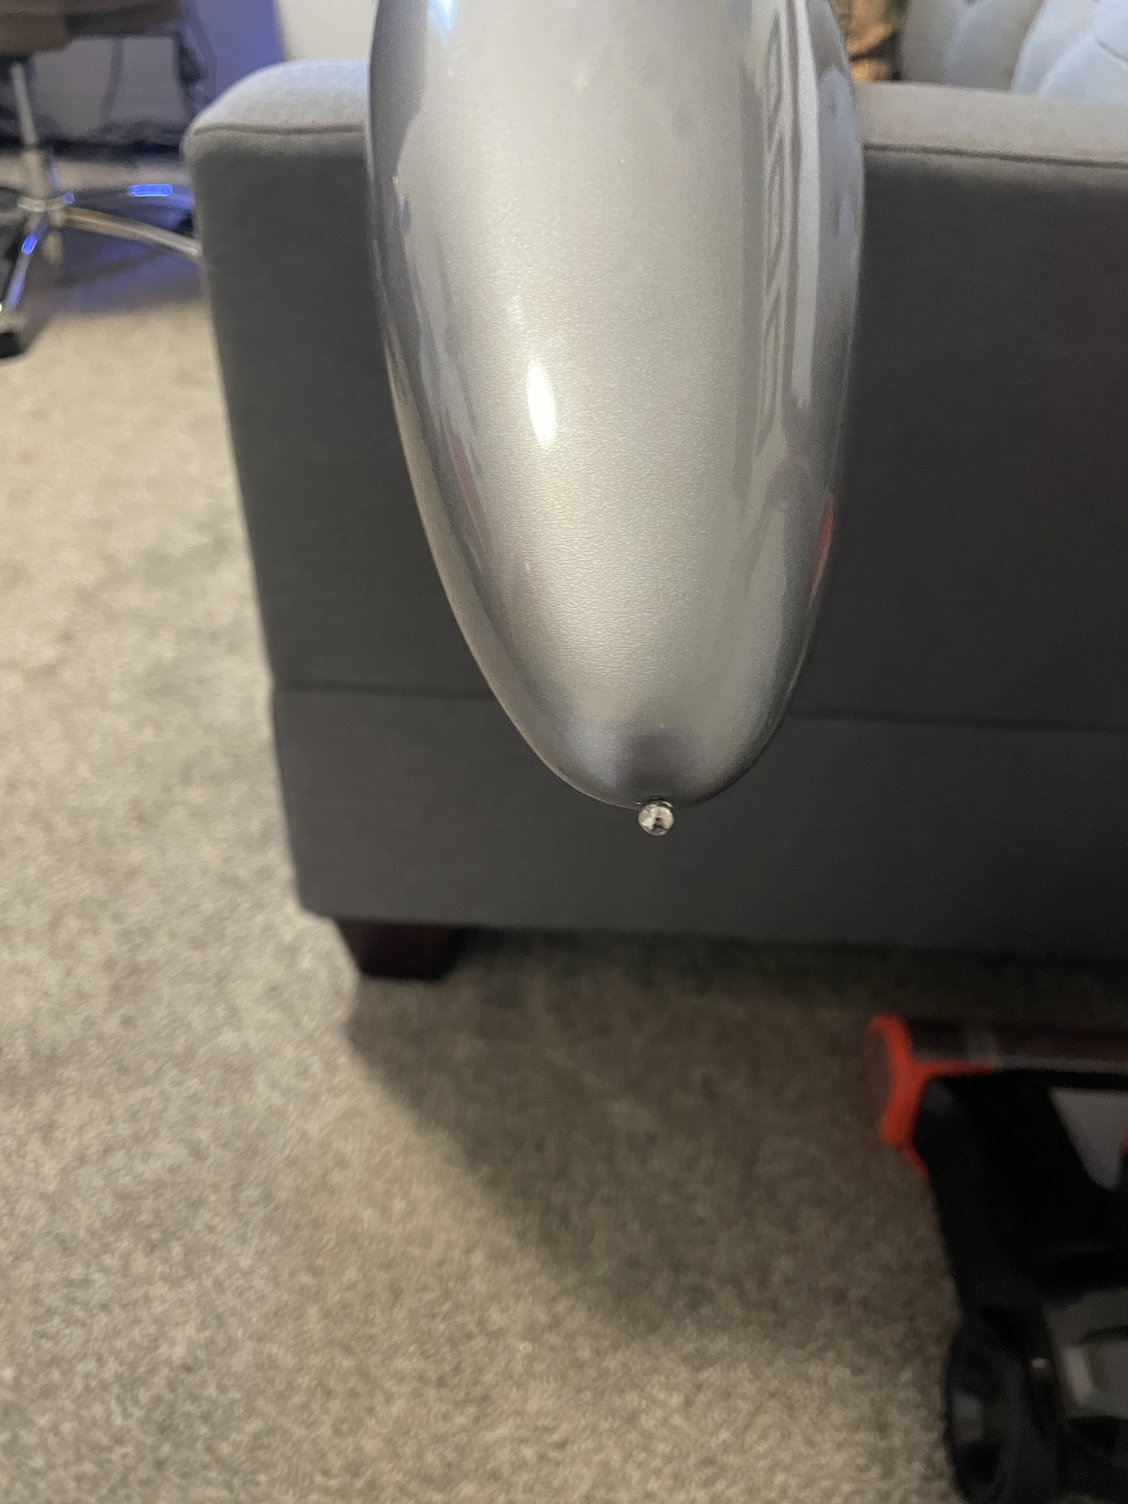
there is a piece of wire that slides in the very tip of the nose back through the front end of the canopy. There should also be a small spare ball link, in the fuselage bag I believe, that you can pop the ball out of and solder it onto the end of the wire to make it easier to remove.
05-04-2023, 04:21 AM
#592
My Feedback: (11)
there is a piece of wire that slides in the very tip of the nose back through the front end of the canopy. There should also be a small spare ball link, in the fuselage bag I believe, that you can pop the ball out of and solder it onto the end of the wire to make it easier to remove.
05-04-2023, 05:22 AM
#593
 05-04-2023, 09:09 AM
#595
My Feedback: (11)
https://carf-models.com/files/produc...aflash-evo.pdf
05-04-2023, 09:10 AM
#596
My Feedback: (11)
Thanks for this! Im not seeing this in the manual but maybe reading text is not what I want to after reading all day. I appreciate the help!
https://carf-models.com/files/produc...aflash-evo.pdf
https://carf-models.com/files/produc...aflash-evo.pdf
 05-07-2023, 09:28 PM
#600
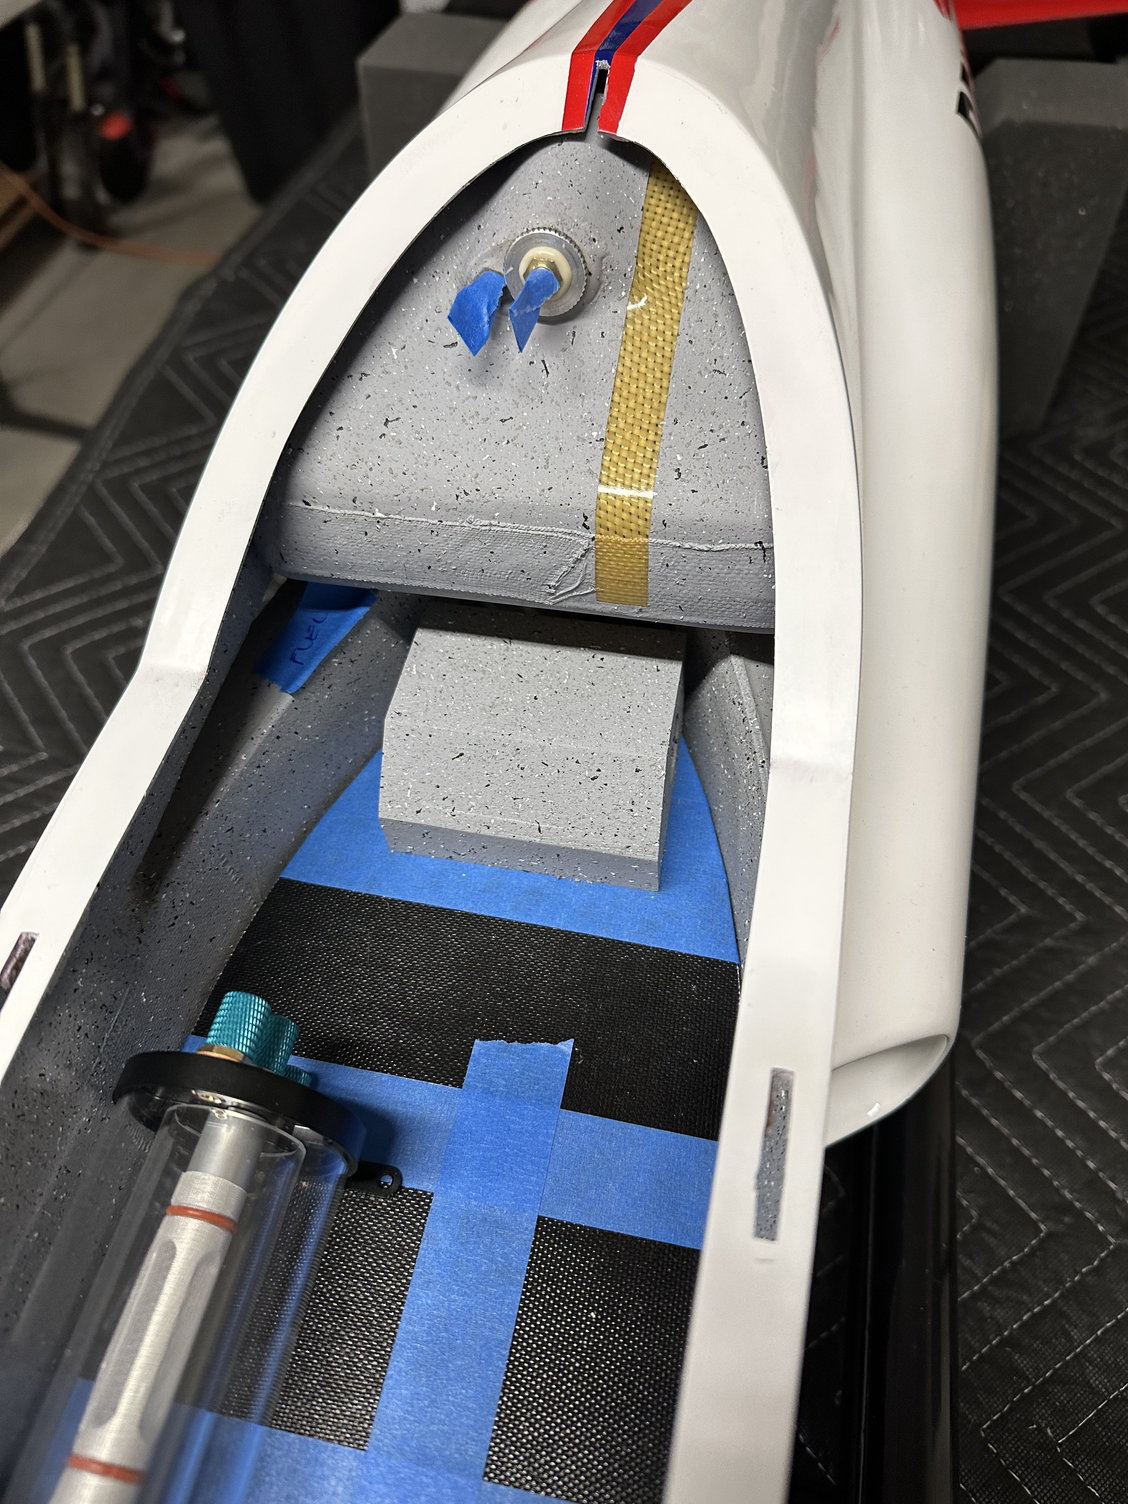
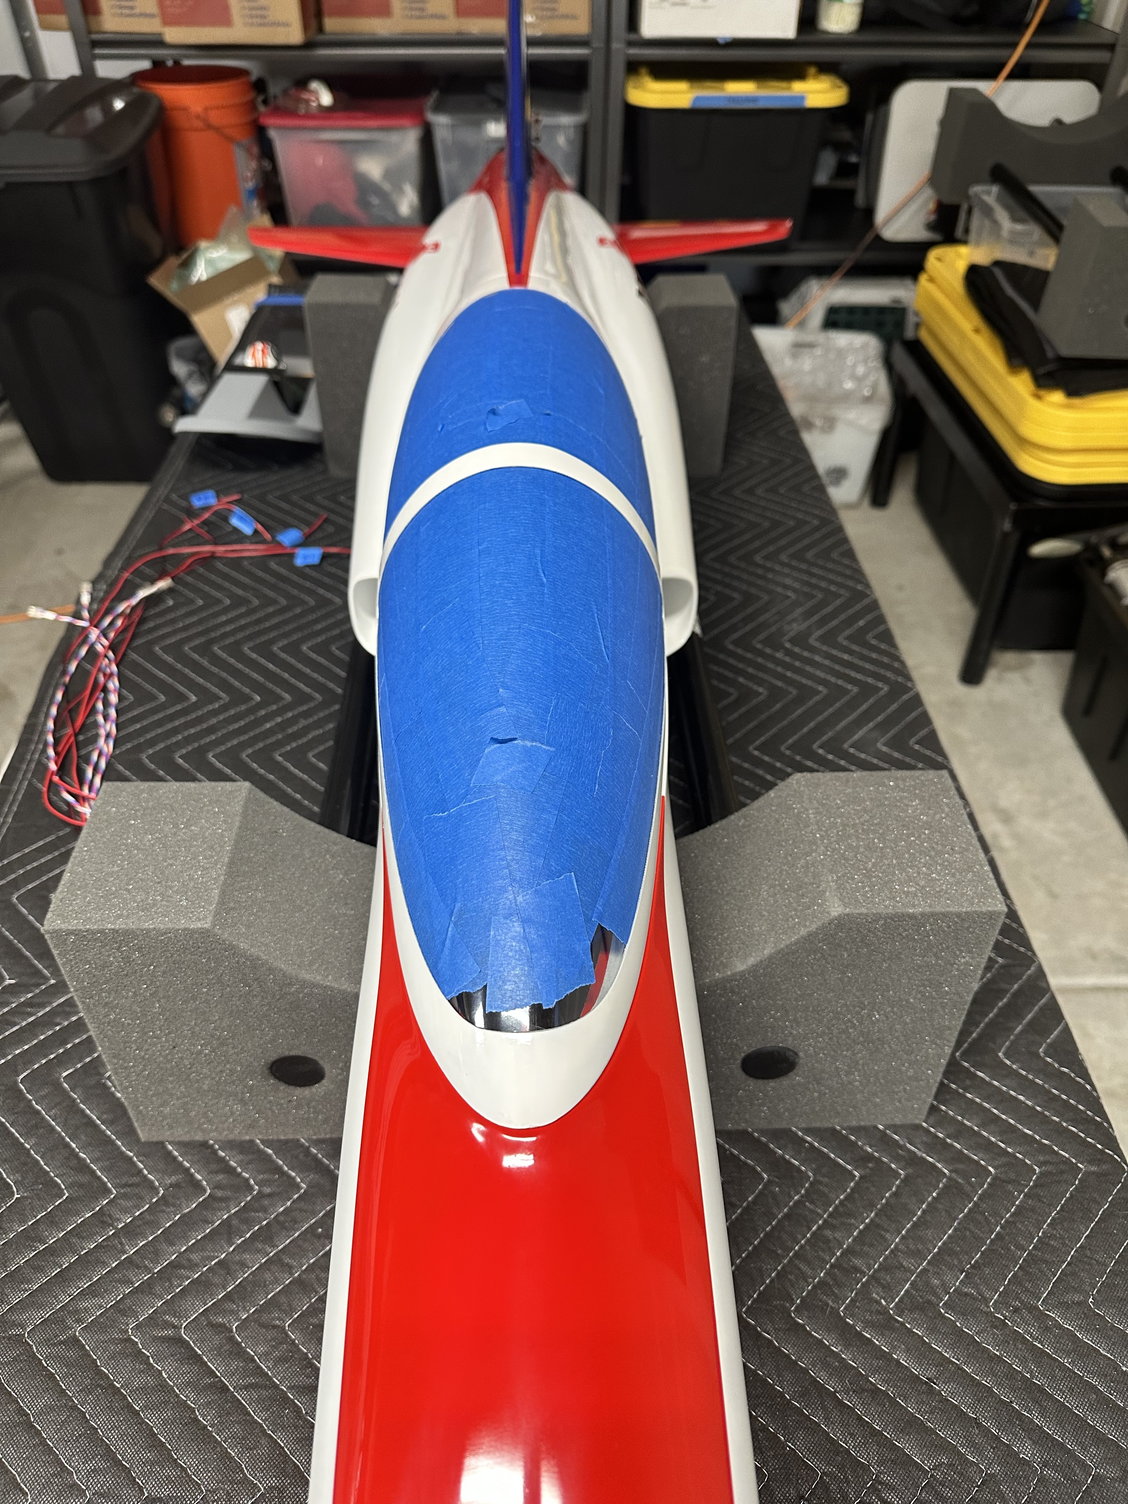
Ok so I did some preliminary CG today… and I’m nose heavy.. Receiver batts and ECU batt will have to go back by the tank which is ok, just a little surprised since I have the 170 in it I was expecting to be more tail heavy.
I was happy to see I”m at 23.2lbs dry it sounds like that’s a pretty good weight.
It’s really light on the nose when the CG is correct with “landing fuel”, I read I think Dave posted that somewhere, but it’s only like 1/2 pound on the nose? Does that sound right for anyone using the Xicoy CG scales? Like without fuel in it, it might actually sit back on the tail, I didn’t try that though. I have the 4 liter tank and put one liter in as landing fuel.
Last edited by camss69; 05-07-2023 at 09:30 PM.